
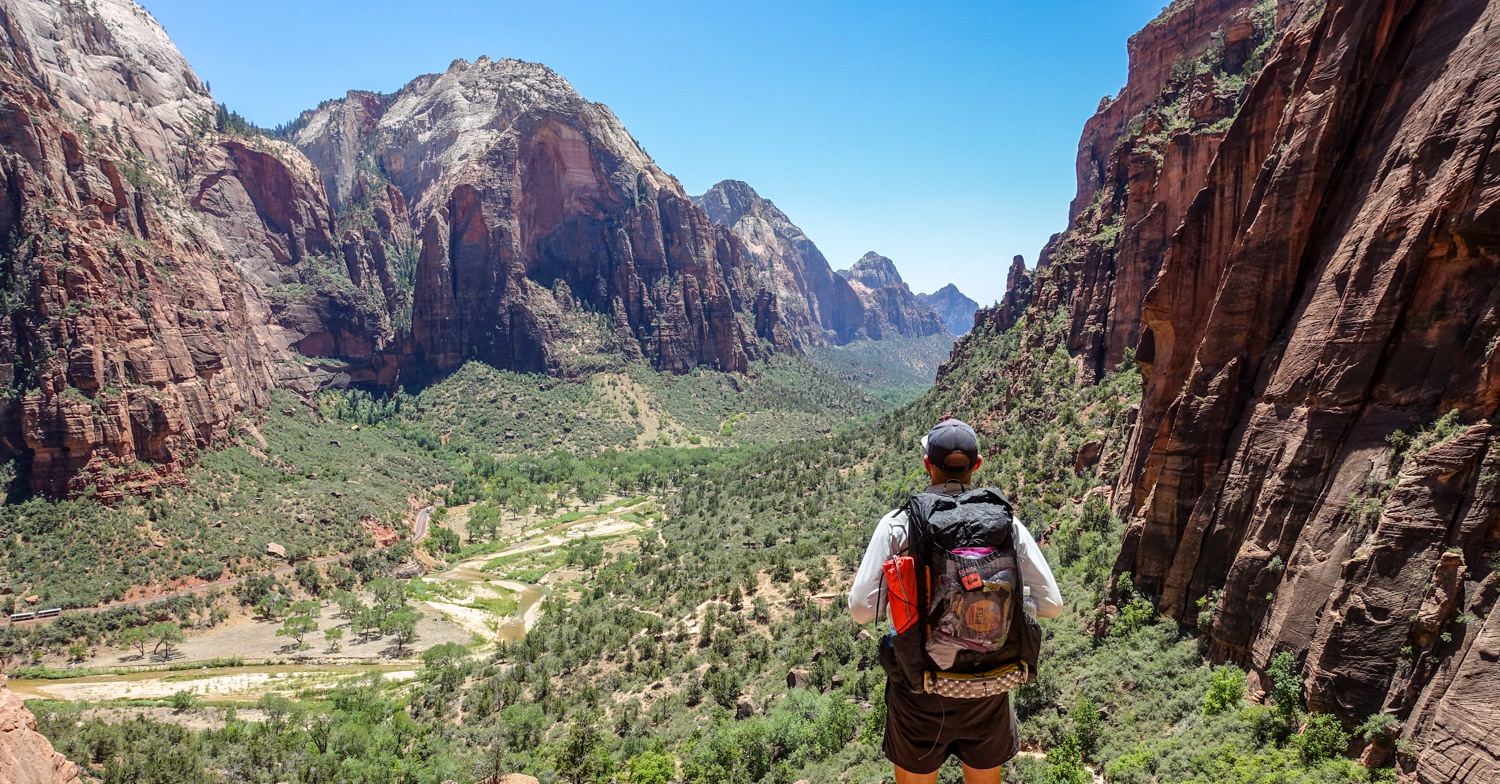
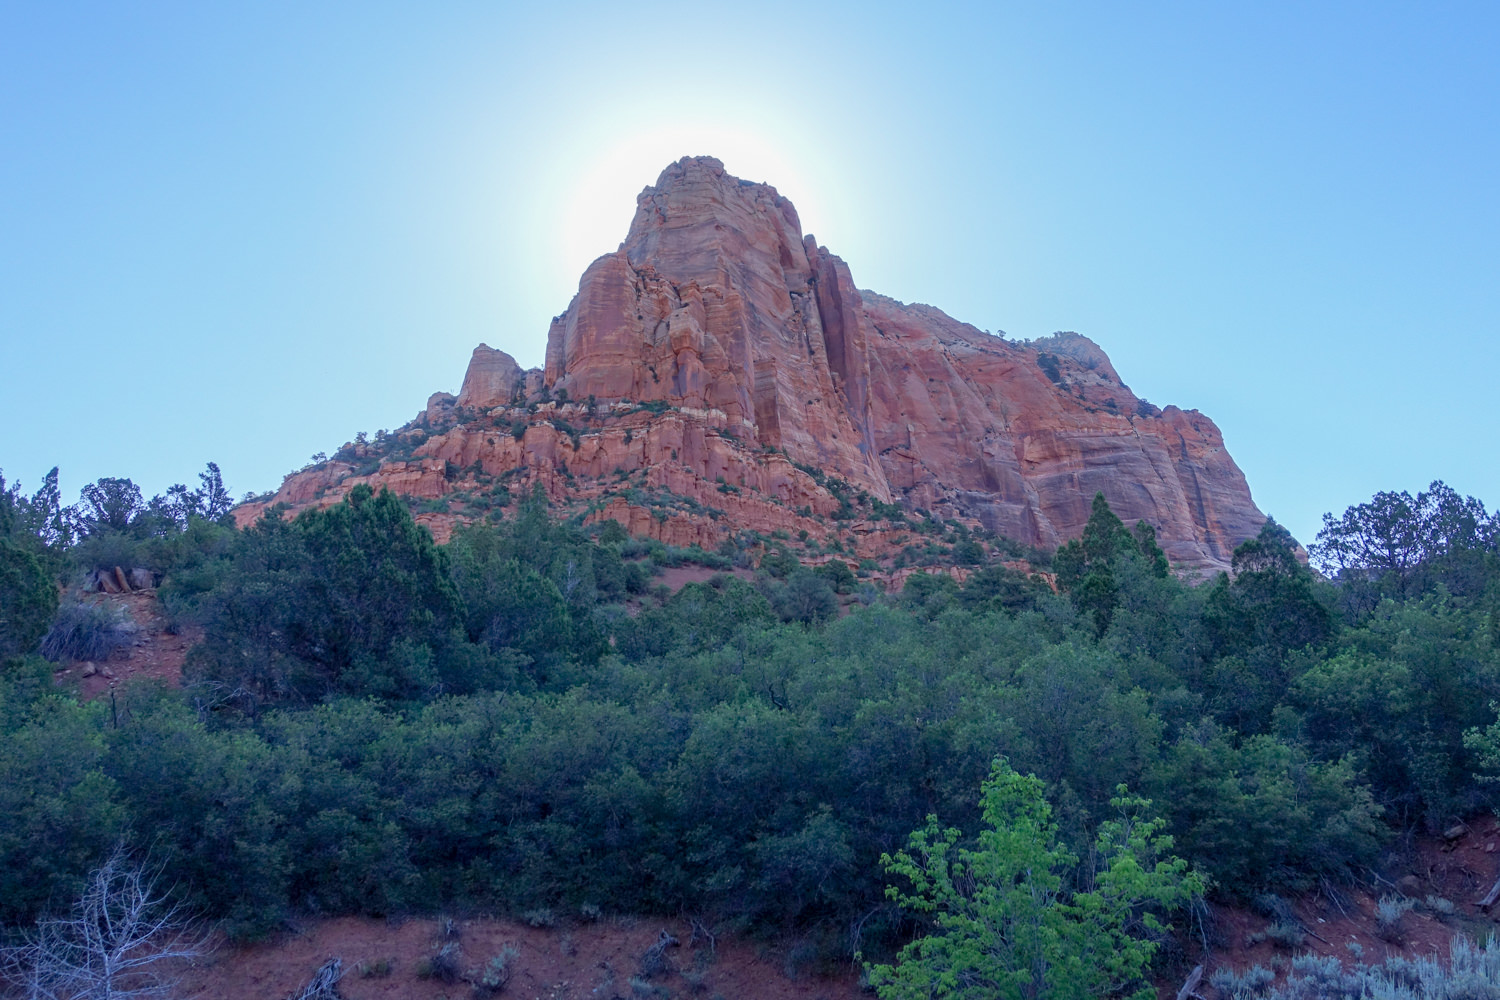
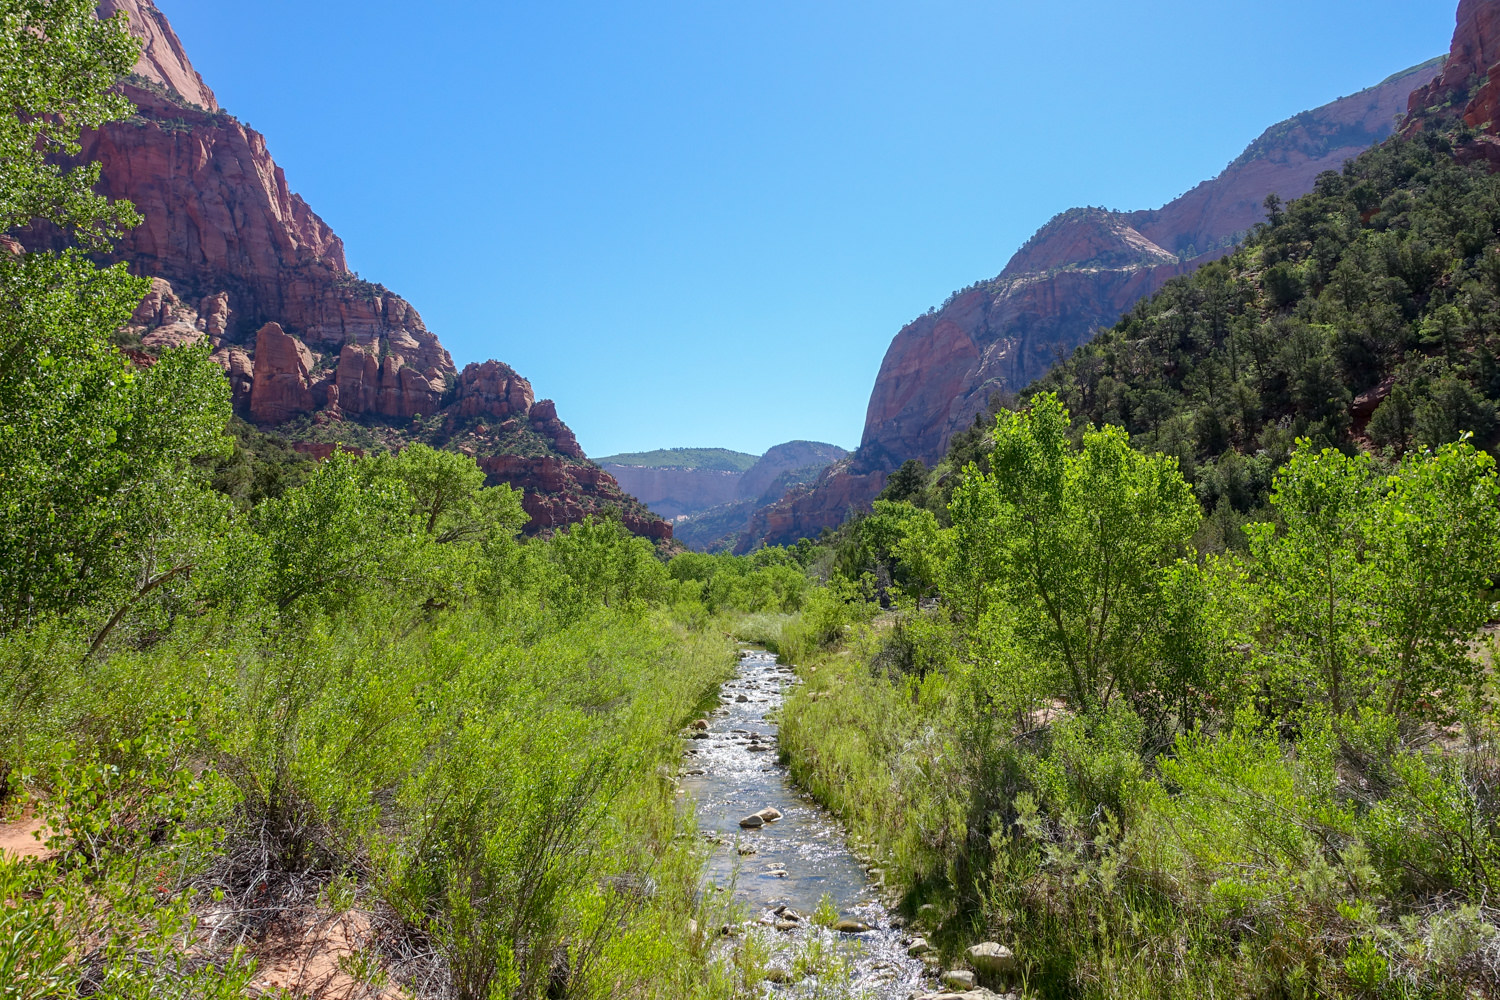
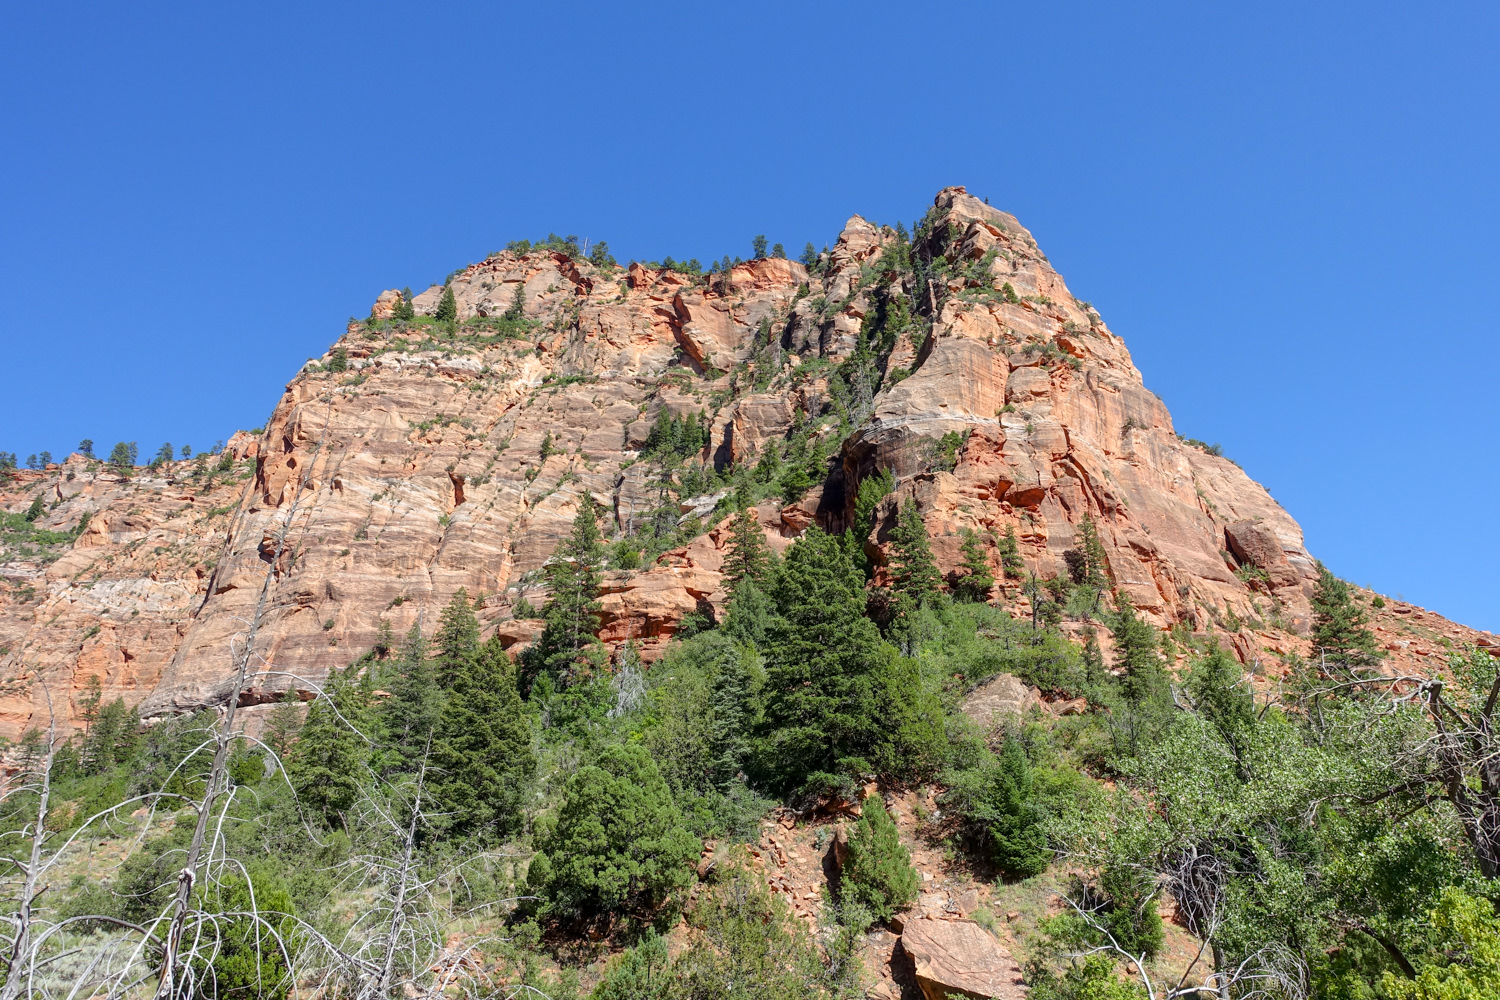
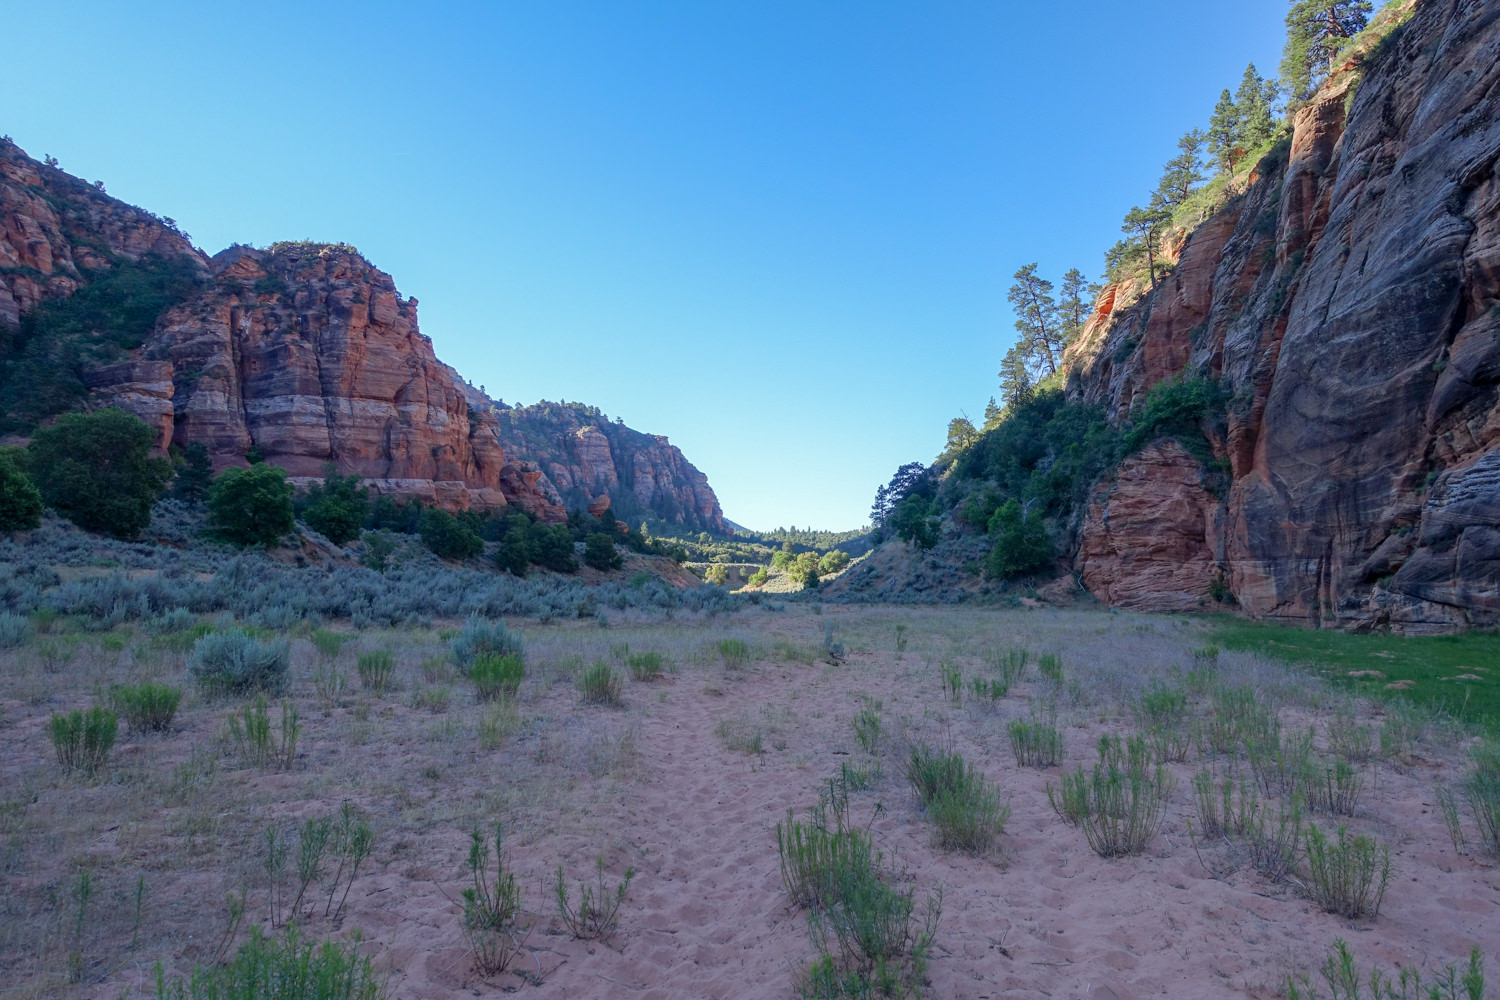
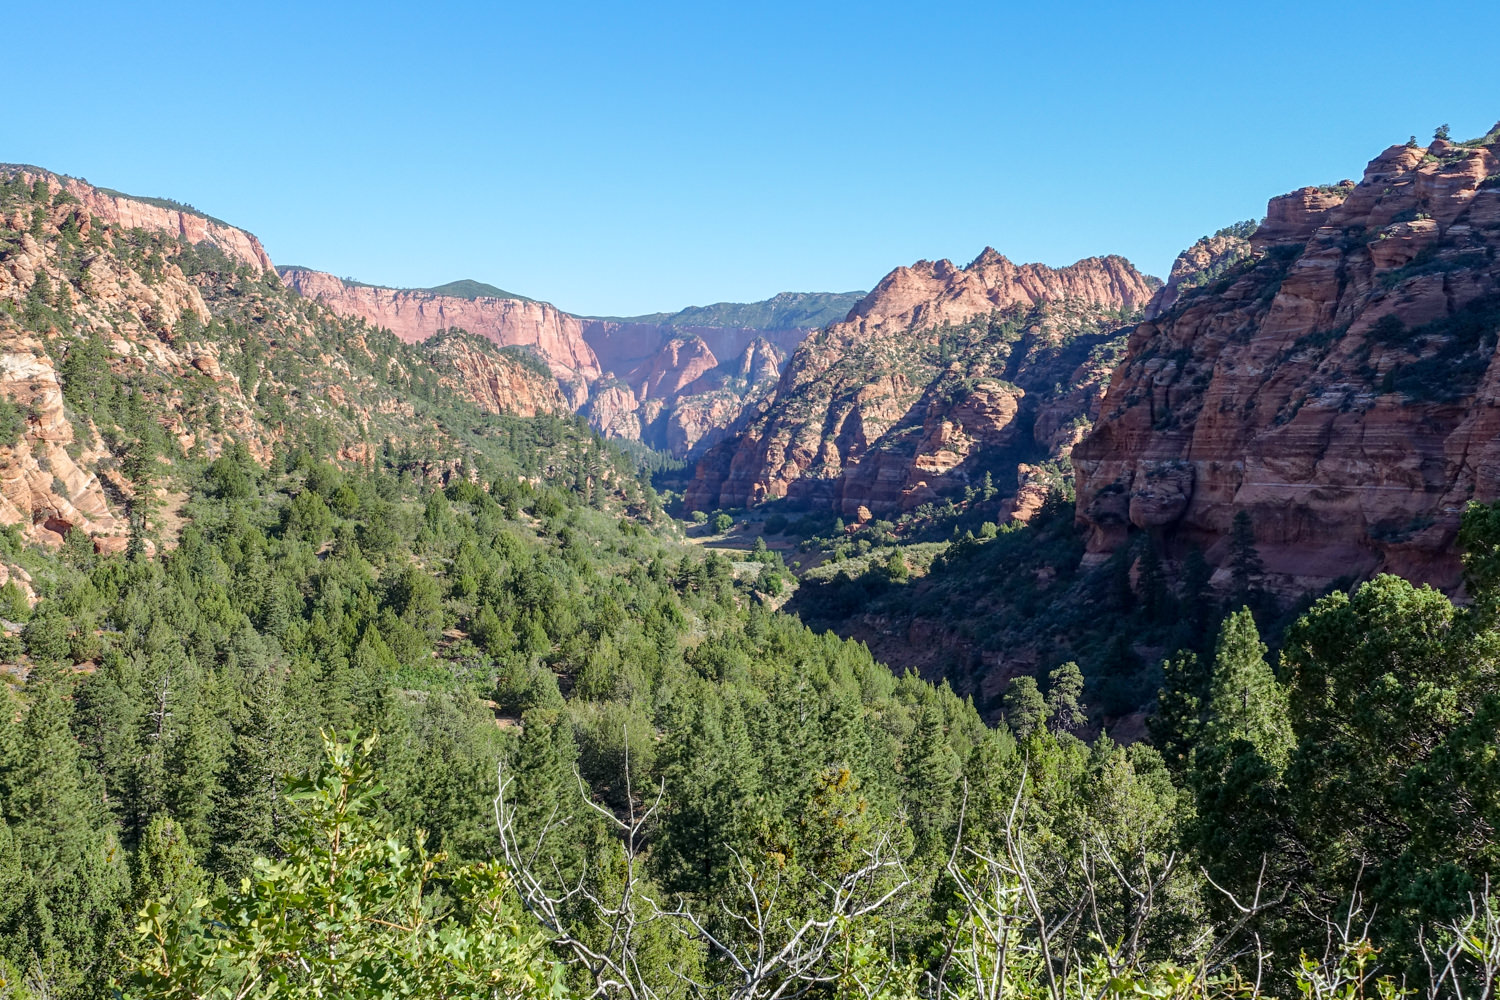
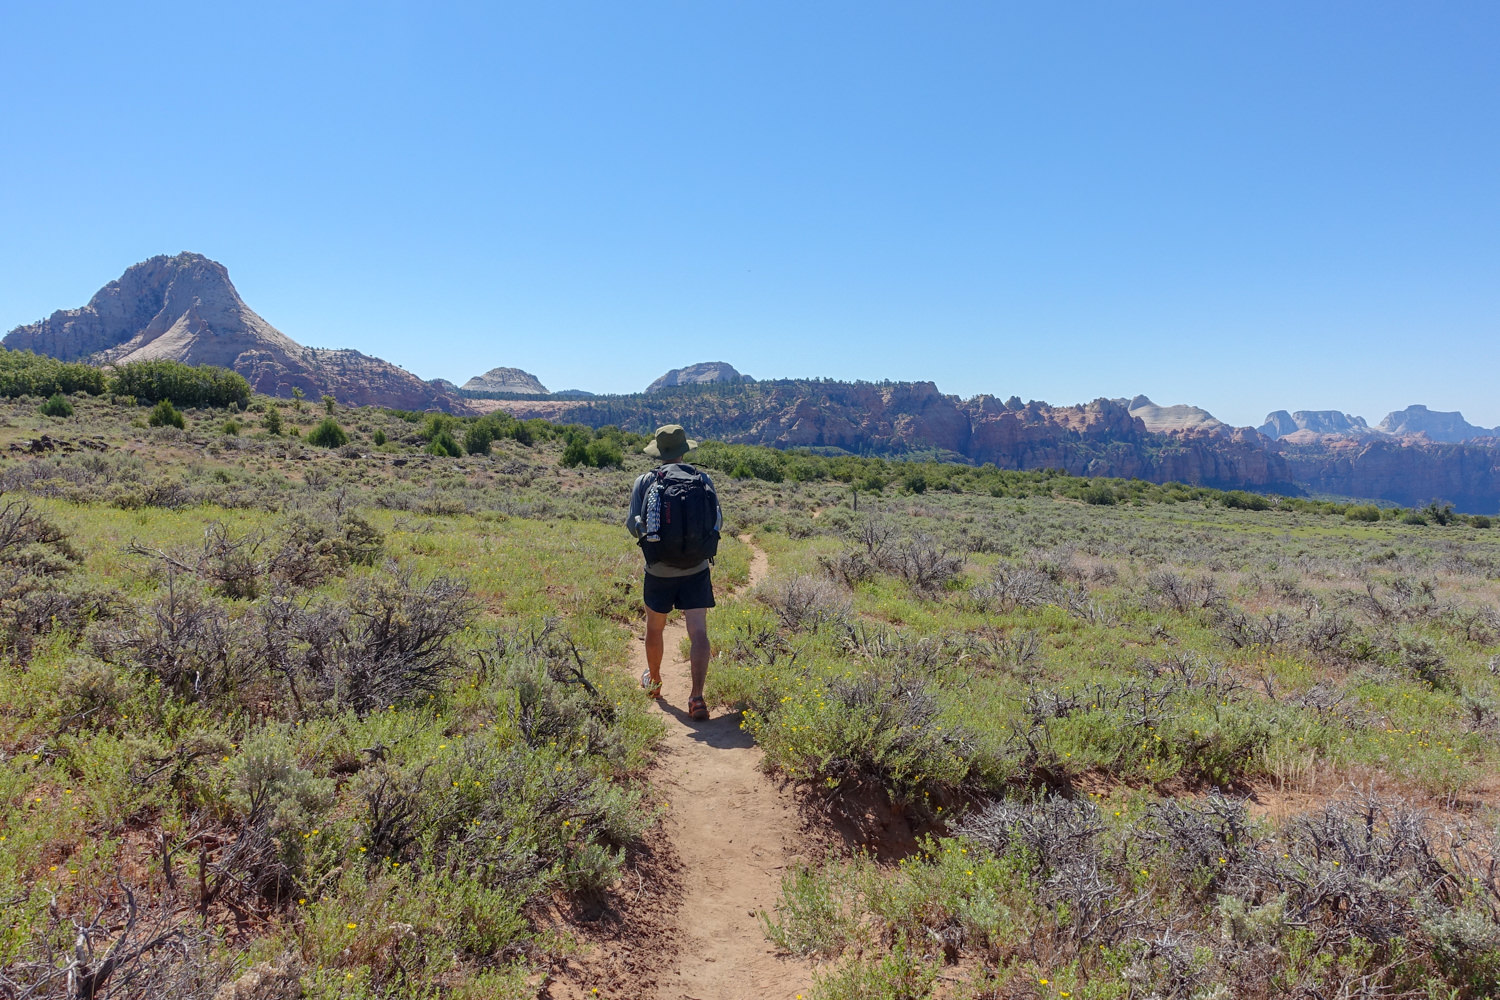
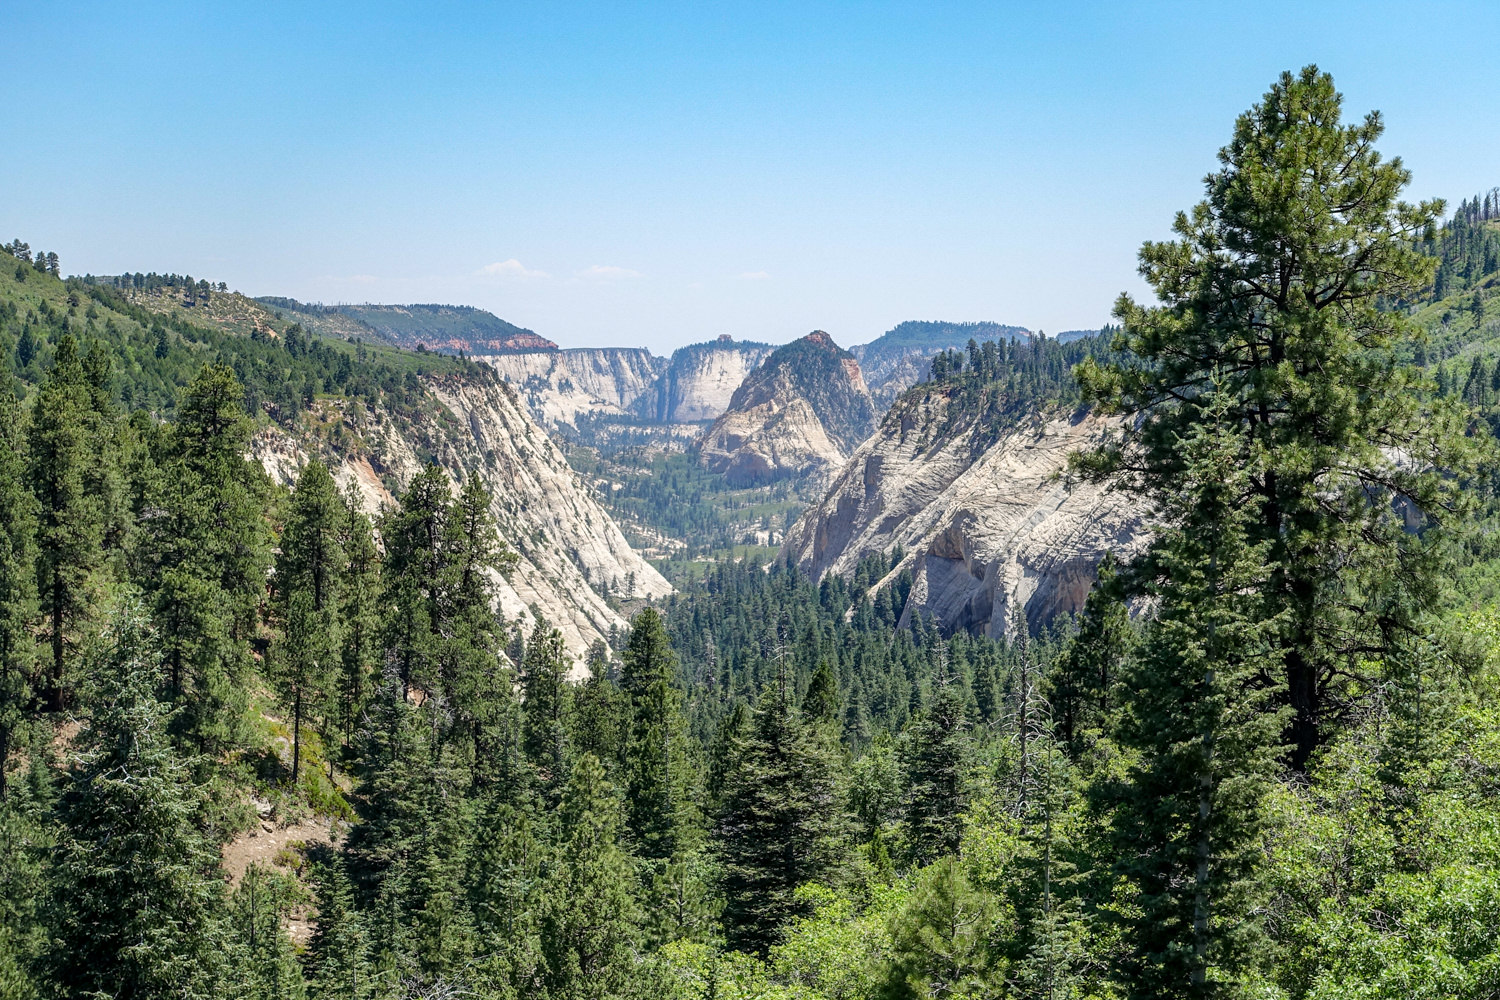
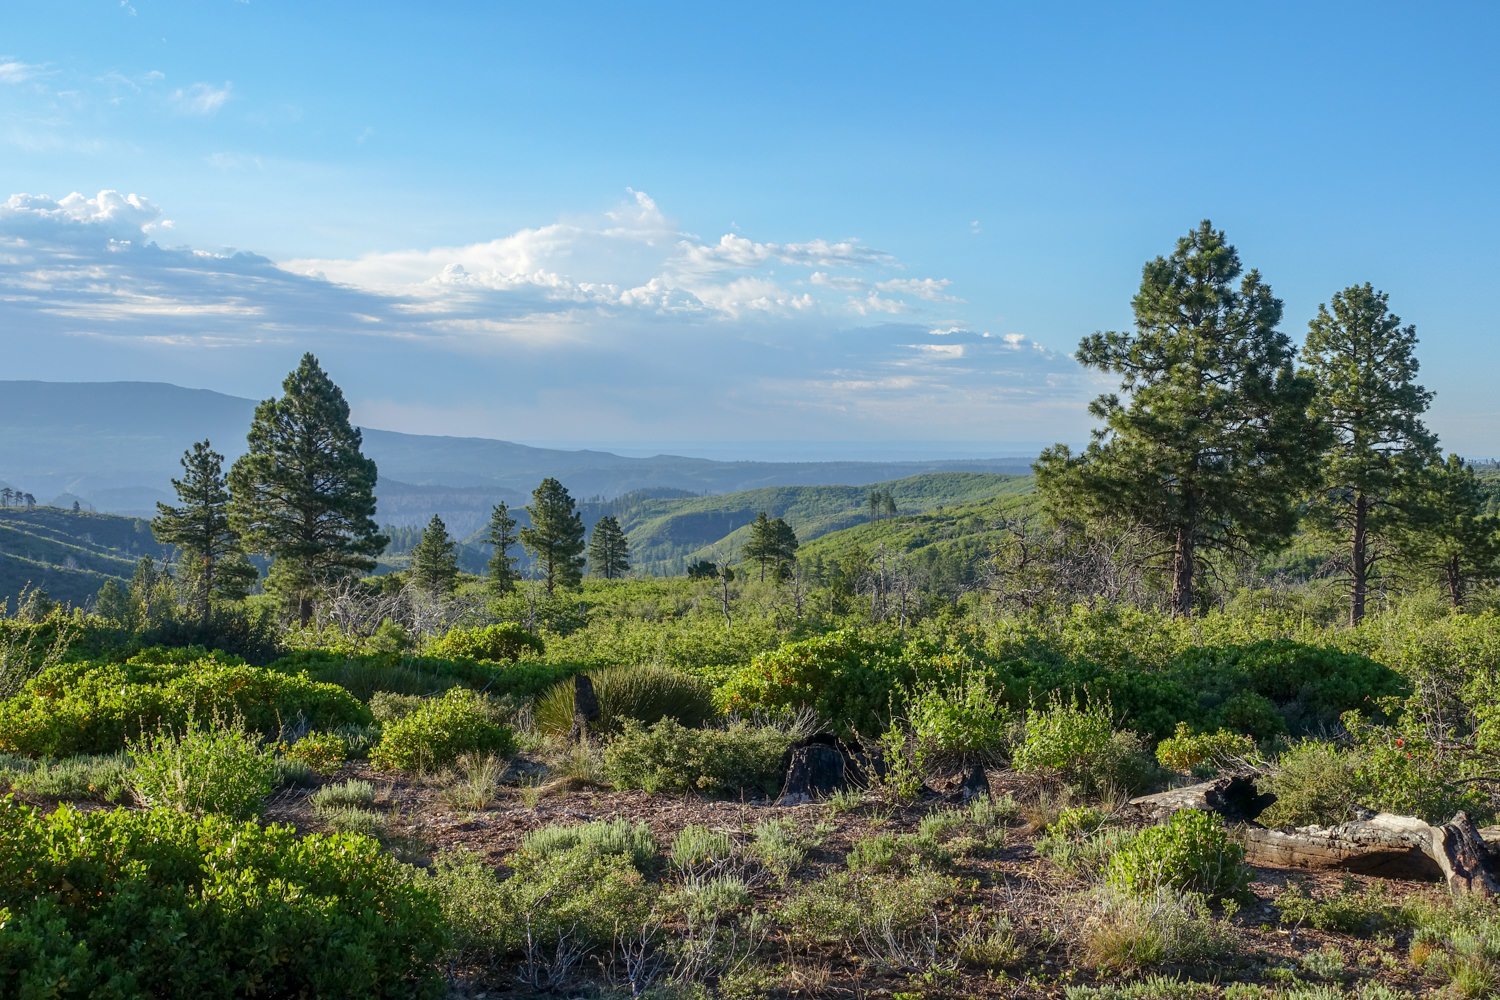
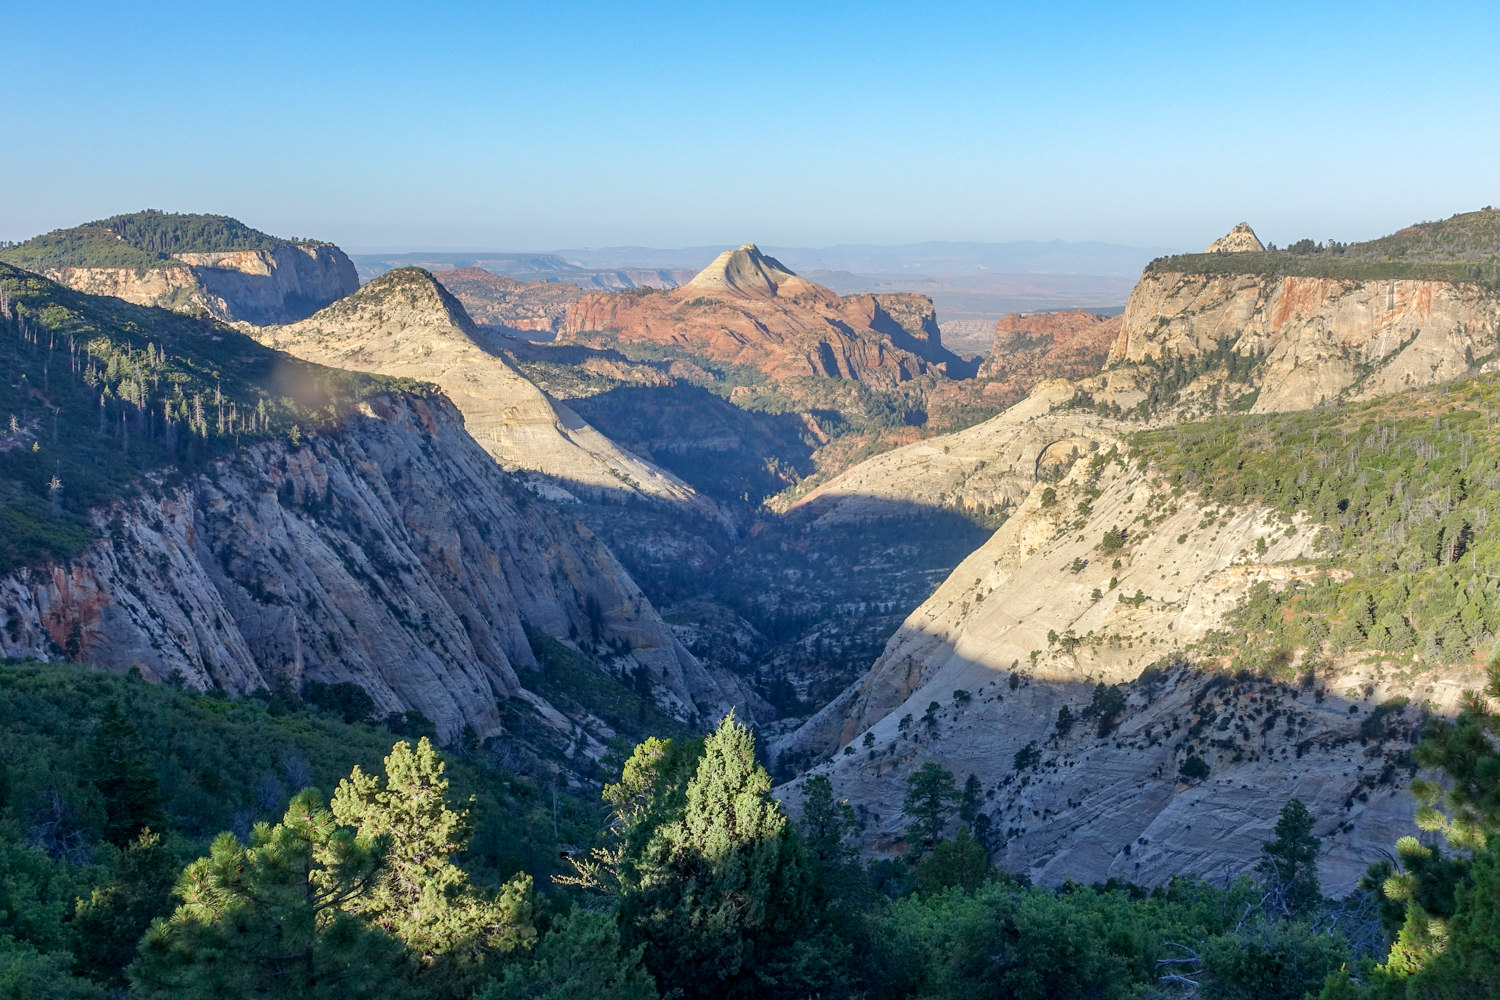
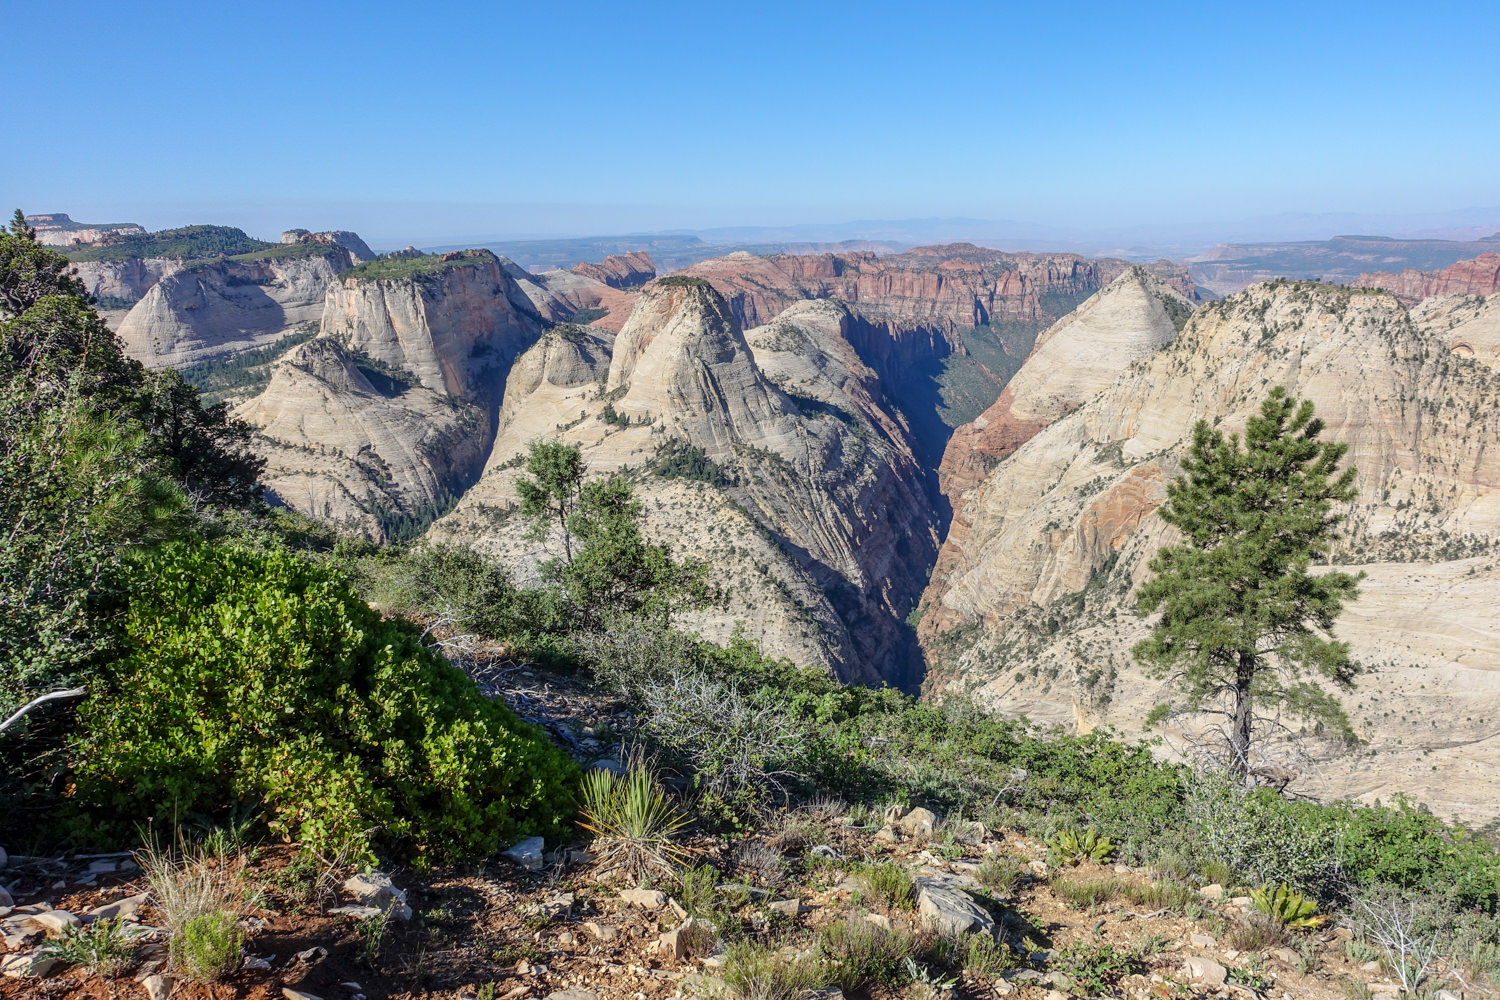
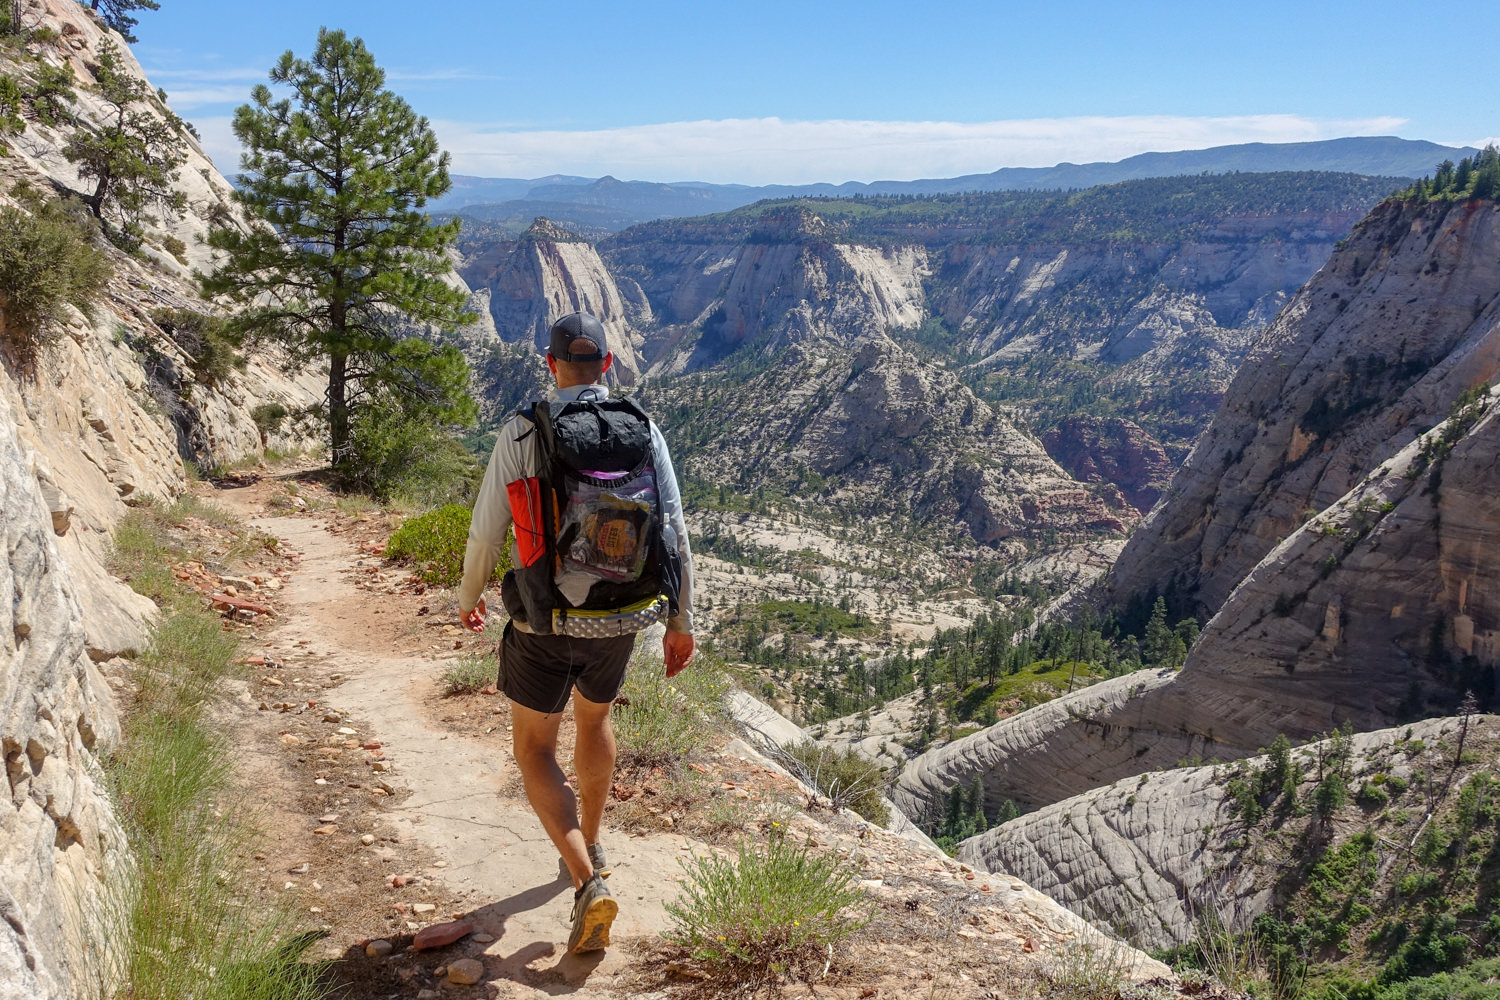
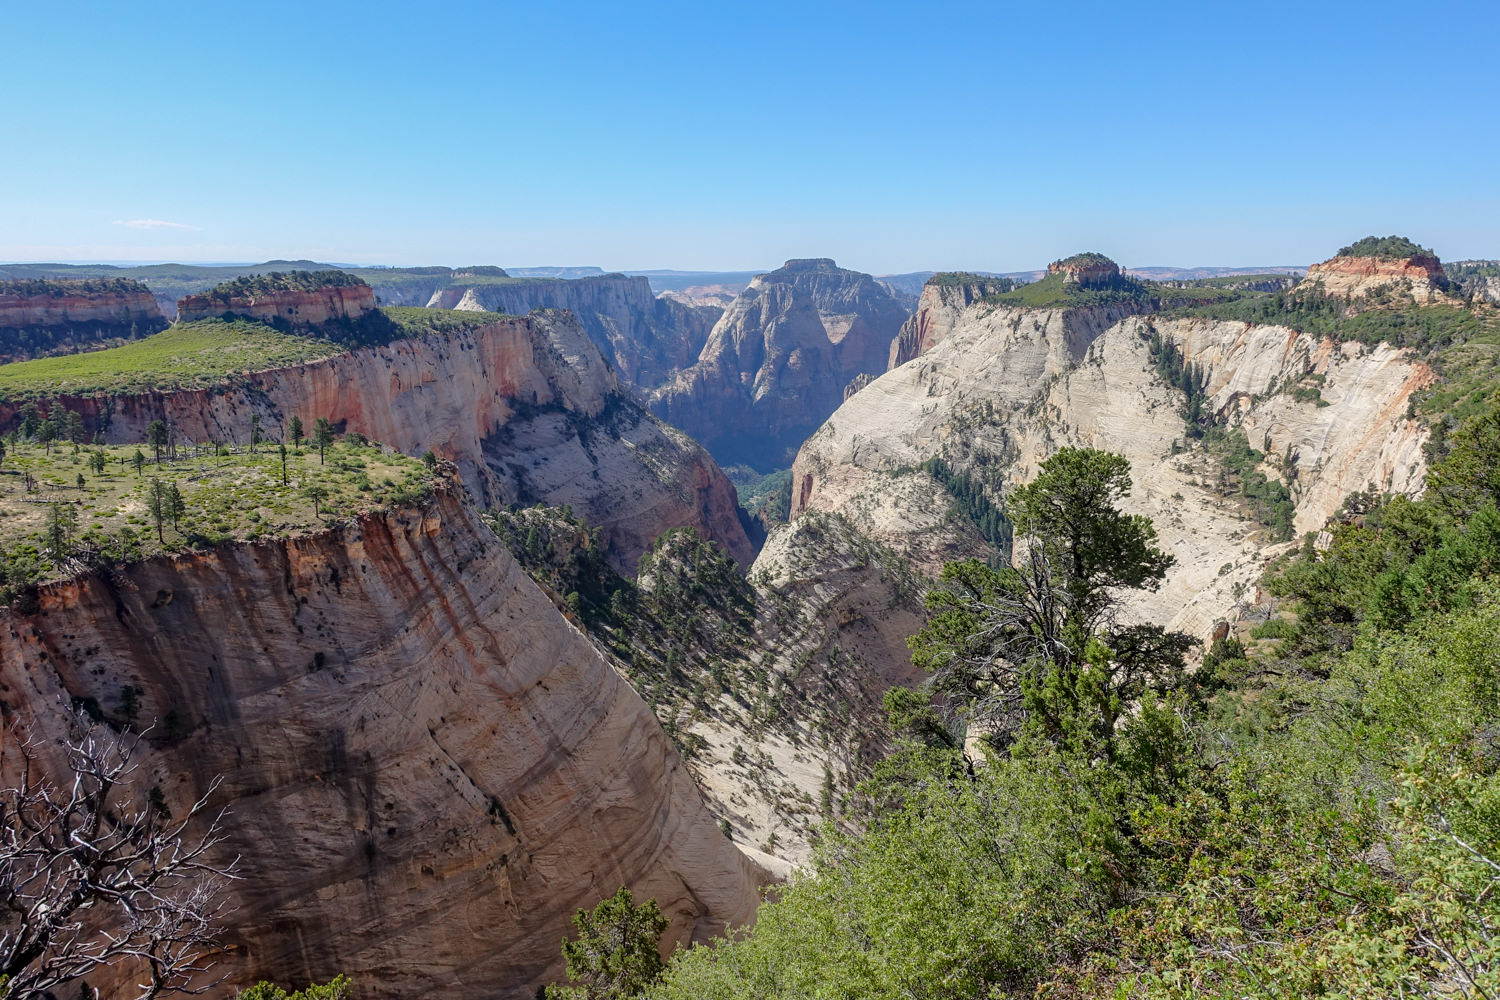
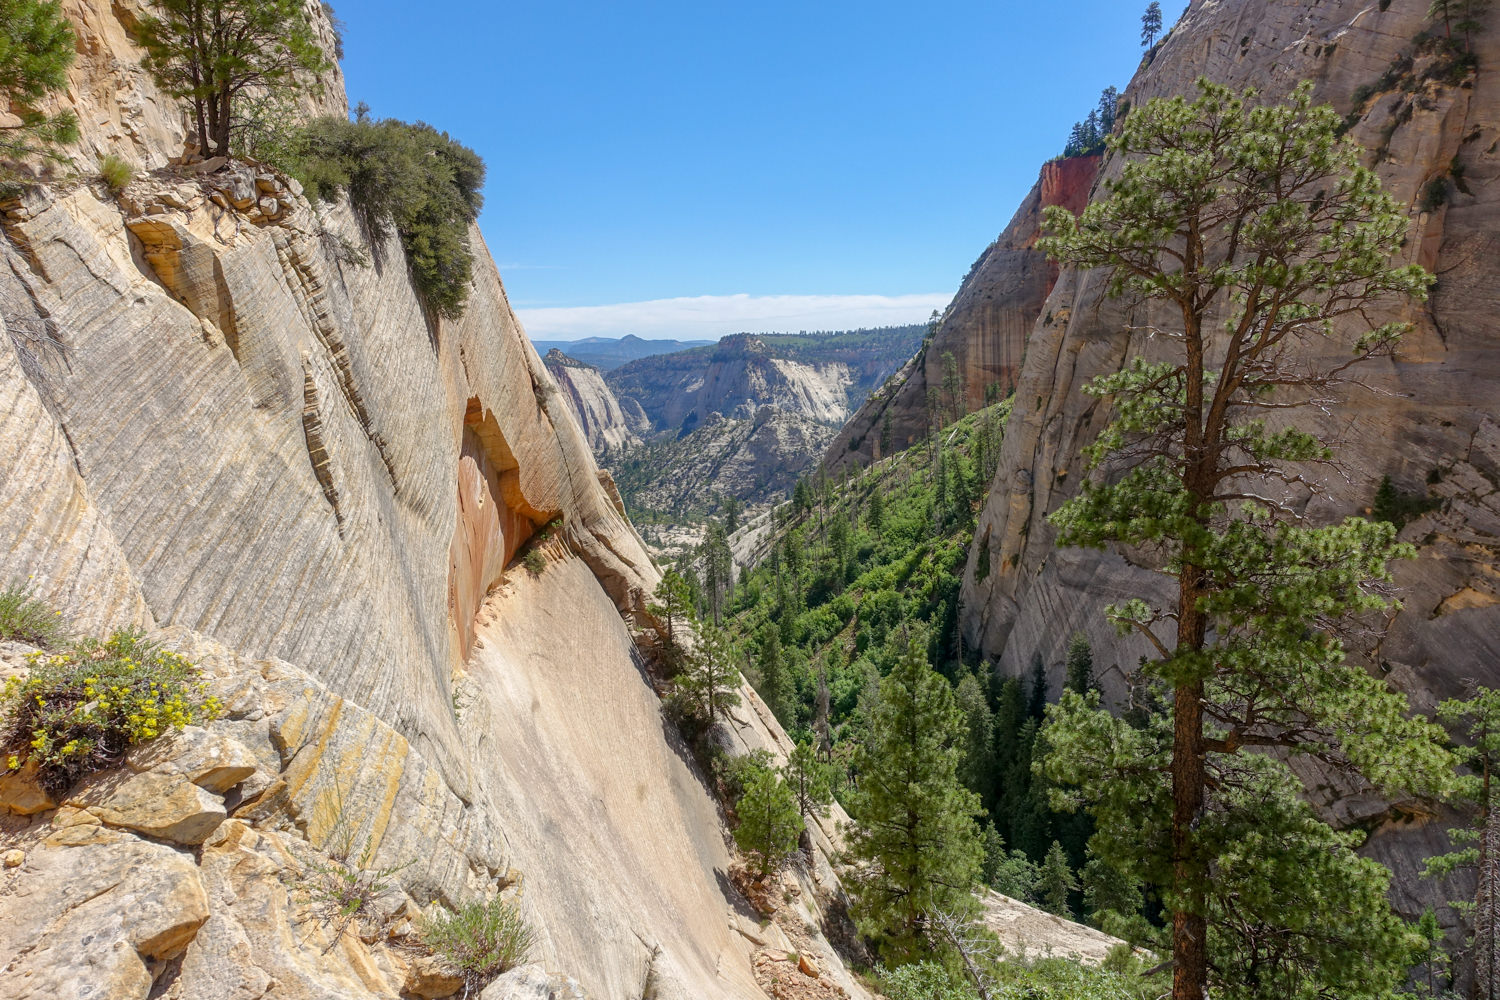
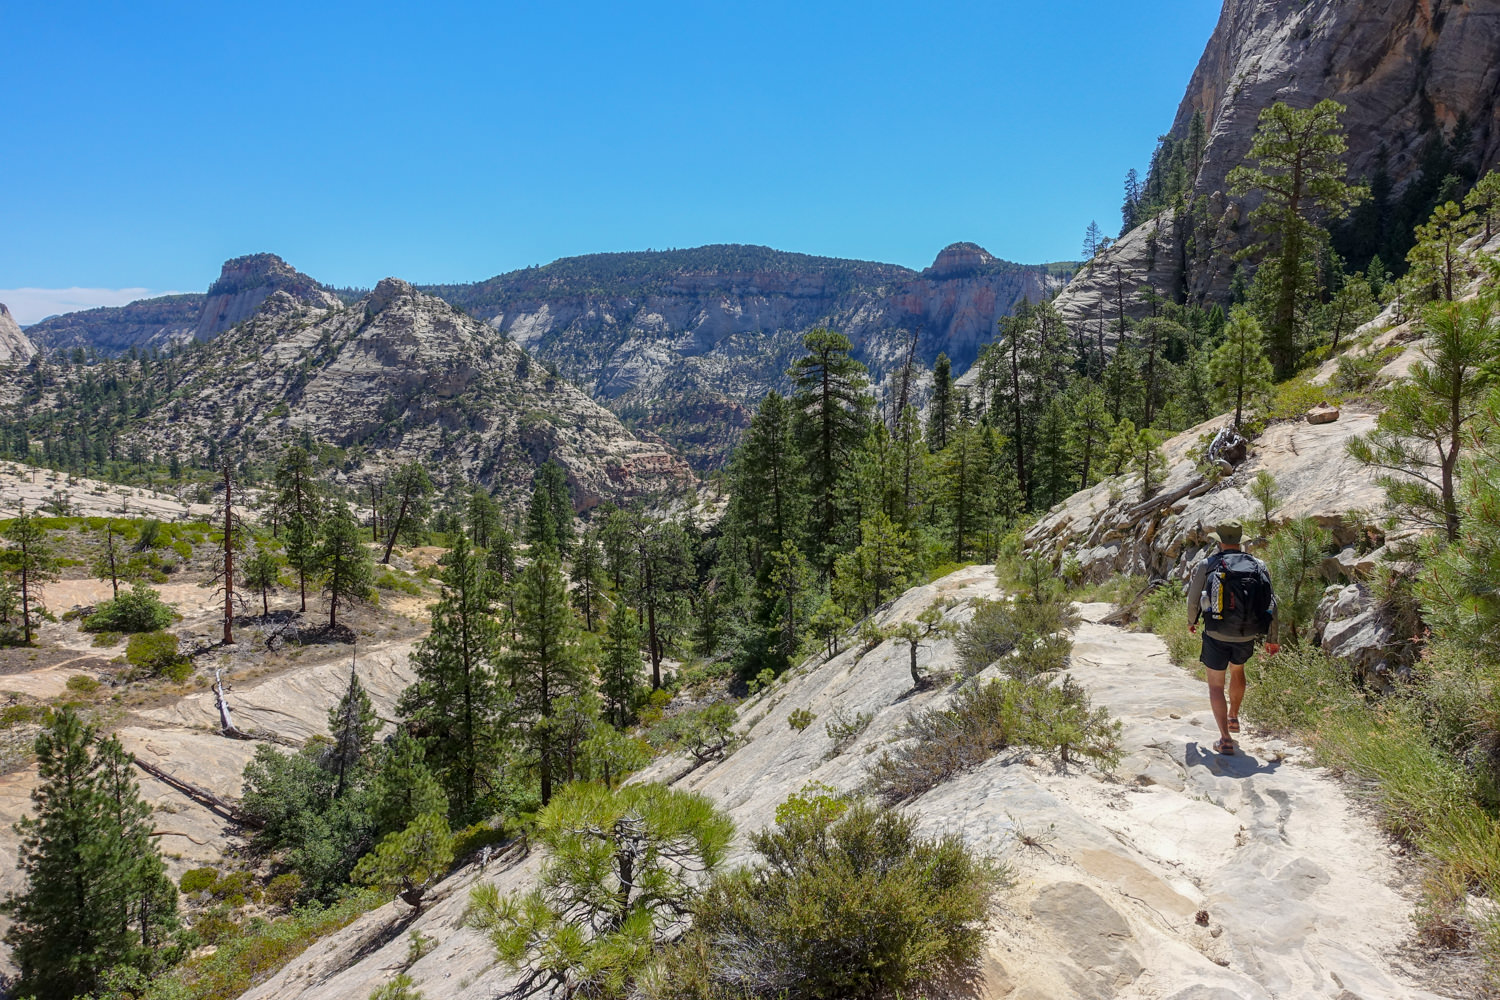
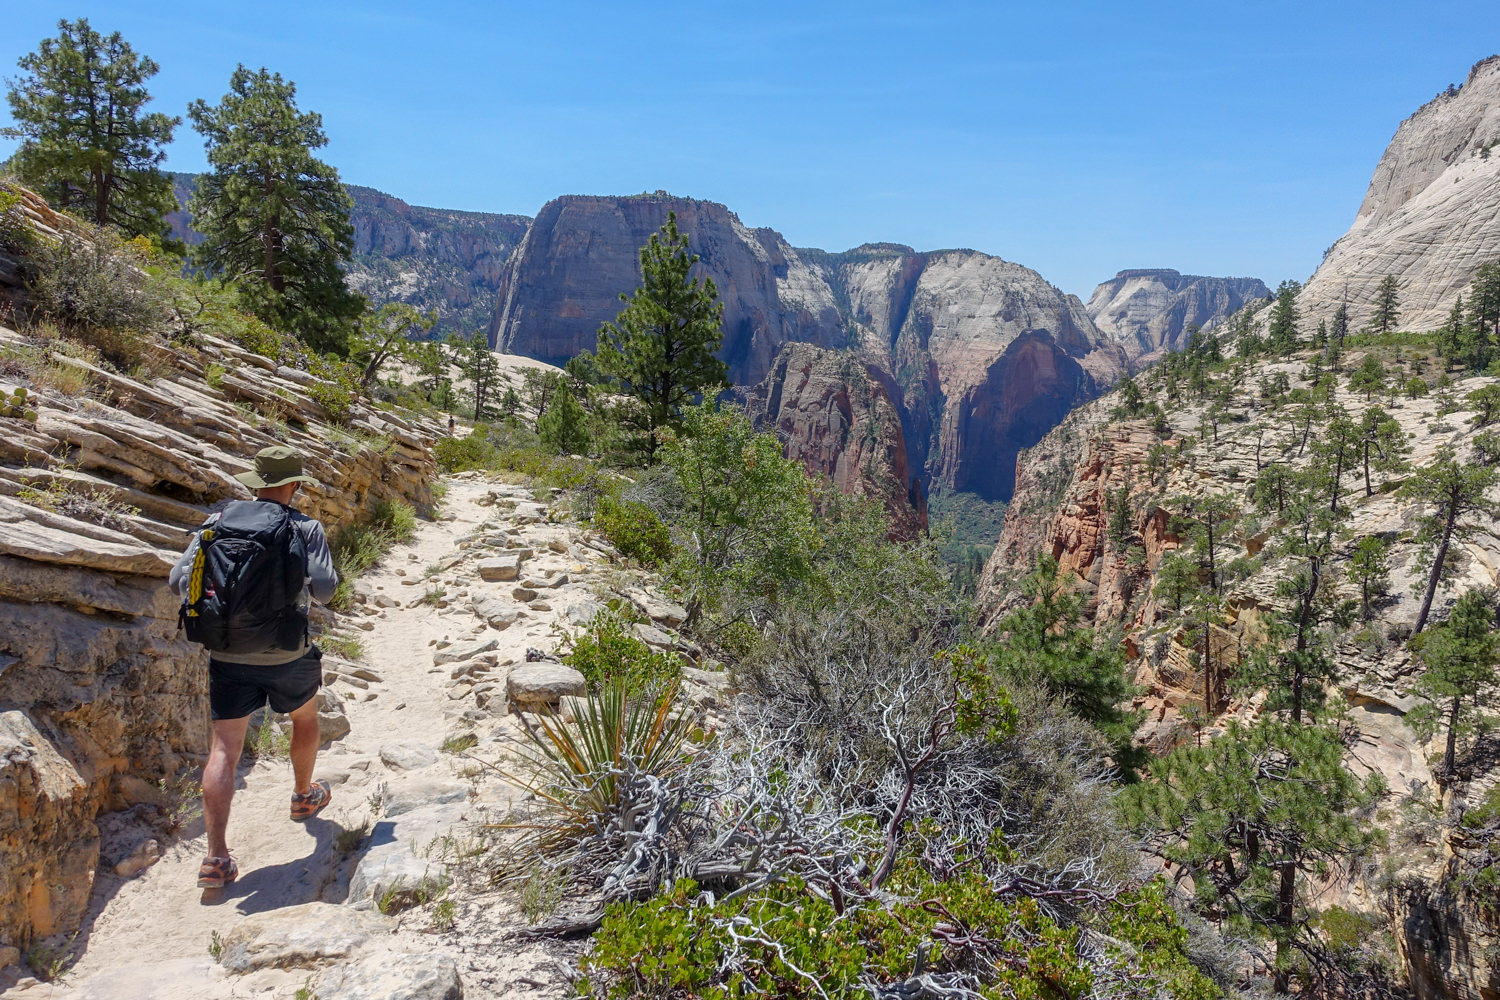
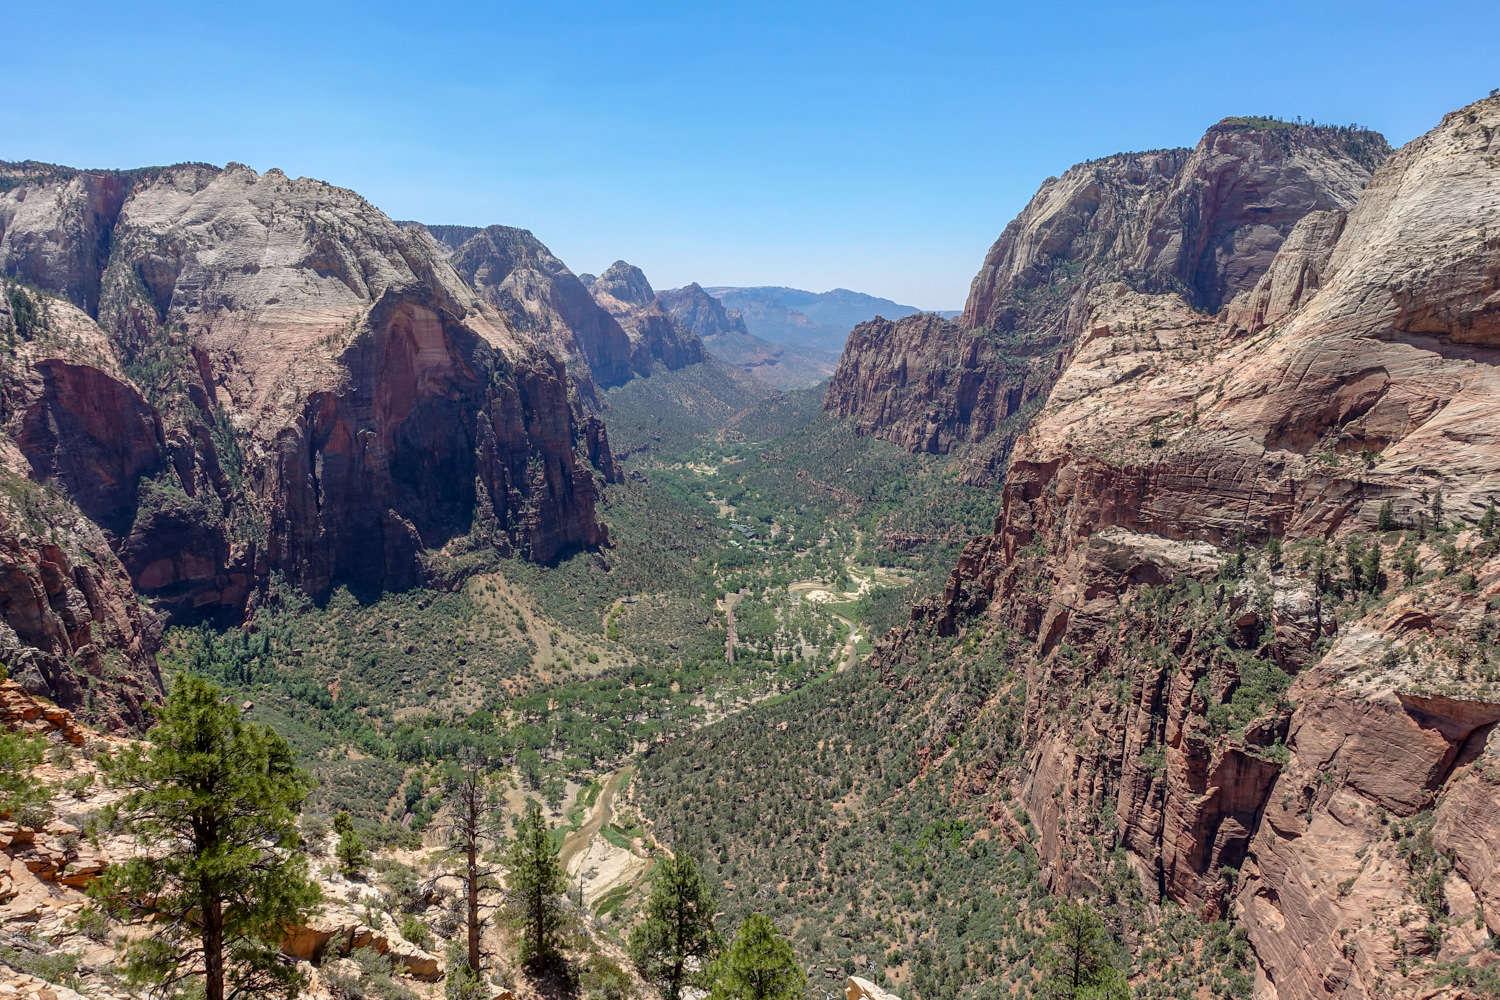
For an adventure that firmly grounds you in Zion National Park’s backcountry where few day hikers roam, The Zion Traverse, also called the Trans-Zion Trek, isn’t so much a single trail as it is a group of connected trails. If you can imagine yourself hiking through a stunning maze-like landscape of steep echoing canyons, soaring Navajo sandstone monoliths, high-plateaus pocked with pine and juniper, high-desert flora, seeps and springs, and a fascinating geology, then this is a trip for you.
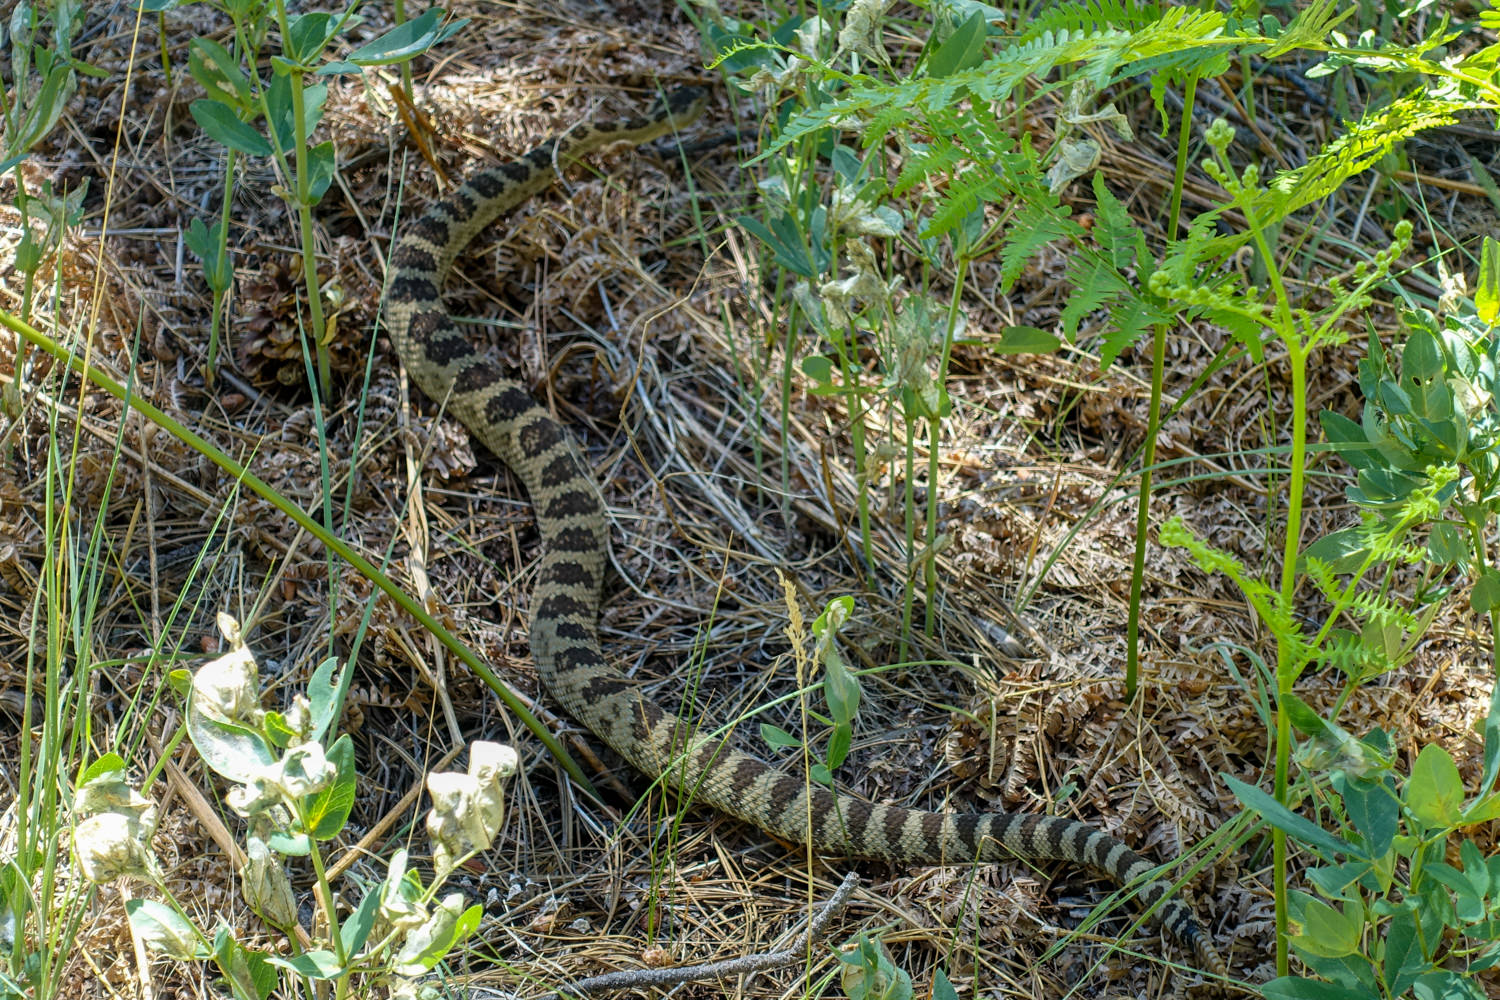
One of the more logistically complicated hiking options in the park, the Zion Traverse offers lots of rewards for the effort. Stealth and observant hikers will catch glimpses of rare Zion snails (living in the hanging gardens throughout the park’s narrowest canyons), pinyon mice, mountain lions, bobcats, canyon tree frogs, golden eagles and great blue herons. As hard as the route is — and it is strenuous — some endurance runners run the entire 47 miles in under 8 hours. The Zion Traverse is something most will want to savor in three to six (or even seven, if you want to explore spur trails) days.
Quick Facts
- Distance: 48.3 miles (77.7 km)
- Days Needed: 3-6 days
- Peak Elevation: 7,441 feet
- Low Elevation: 4, 327’
- Elevation Gain/Loss:6,334’ ascent and -6,646’ descent
- Best Travel Time: April-May or September-October
- Permits: Required (see below)
- Difficulty: Moderate-Difficult
Highlights
- Relative solitude — though you can expect to see other backpackers at certain points.
- Astonishing biodiversity due to the merging of three distinct ecological zones throughout the park.
- Beautiful hanging gardens
- Narrow canyons, tree-lined valleys, red rock skyscrapers and spectacular vista points throughout the route.
- Bugs rarely a bother
Lowlights
- Competitive permit process
- Can be susceptible to quickly changing weather
- Campfires prohibited
- Lots of sandy trail sections
- Parking at trailheads is complicated. Inquire at the Wilderness Desk for your best options on your day of arrival. Limited trailhead shuttle options.
- Summer daytime temperatures often exceed 100°F/38°C in the interior of the park.
- From mid-July into September monsoons bring an increased risk of flash floods.
Best Time to Travel
Spring (April-May), after the melt-off, provides reliable water and moderate temperatures. Fall (September-November) is much the same with water flowing once again after the monsoons (and flash floods) season has passed. Snowpack makes winter a no-go. Summer (June-August is typically very hot — highs in the high 80s and 90s, and water sources much more limited. If you decide to go in spring, be sure to check the Kolob SNOTEL report to learn more about year-to-year forecasts. The Wilderness Desk can provide the latest conditions as you near the start date of your trip. Always be aware of the threat of storms and lightning and be prepared for a change of plans. Study the Weather and Climate page for the Park’s weather forecast site and scan the park webcam before you head out.
Go East or Go West?
You’re able to travel eastbound or westbound – it really comes down to personal preference (like how quickly you like to tackle elevation changes when you hit the trail) and parking logistics. but there’s a good reason ultrarunners prefer westbound travel. Most hikers approach the route in an easterly fashion to avoid the 1,000 vertical feet ascent over 4.5 miles that are required to get to the Lee Pass trailhead westbound (it’s 400′ higher than the East Rim Trailhead). But a closer look at the route’s elevation profile and you soon realize that after the initial 1,000 ft. descent from Lee Pass, you are consistently climbing for 20 miles — albeit gradually — going east to the high point of Horse Pasture Mesa. And the biggest climb comes toward the end out of the North Fork. If you start at the East Entrance Trailhead, you climb 400′ more over the course of the westbound route, but the climb comes early in the traverse and instead of climbing for 20 miles, you get a rather continuous downhill stretch for those same miles instead.
Solitude
Despite how competitive permits for this trip are, you won’t see a lot of other hikers. Campsites are well-spaced.

Difficulty
- Total Distance: 48.3 miles (77.7km)
- Total Elevation Gain/Loss: 6,334’ ascent and -6,646’ descent
- Best Travel Time: April-May, September-October.
- Overall Difficulty: Moderate – Difficult
We rate this hike as moderate to difficult due to the remoteness, the somewhat steep grade, and complexity of exiting early (except near the end). As always, difficulty ratings depend on your experience, physical fitness, pack weight, and weather conditions. Although not a technically demanding hike, it requires careful planning for campsites and water resources. Like any backpacking trip, you should plan accordingly, train properly, know your limitations, brush up on your skills, and dial in your gear. Doing so will make for a safe and enjoyable adventure.
Permits
Whether you plan to day hike or backpack, you need a wilderness permit. for any travel above Big Spring, which is just under half way up the main gorge of The Narrows.
Zion National Park releases half of all available permits for advance reservations vis-à-vis a calendar reservation system. Reservations are available online, for an additional $5 fee, up to three months in advance of your trip date and become available the fifth day of every month at 10am Mountain Time. So for a trip in June, you can look for permits starting April 5,, in July on May 5, and so one. For a more last-minute option, you can try to make a reservation (until 5pm MT) on the day before your trip if a permit is still available for your desire entry day.
When day trips are fully booked up through the aforementioned Calendar Reservations system, the Last Minute Drawing becomes an option. To get one, submit an online application to obtain any remaining reservations for permits. Requests can be submitted as early as one week prior to a trip date until two days before at noon MT. The drawing is held at 1pm MT, two days before a trip date. Any spaces not taken through the drawing will be available as Walk-in Permits the day before a trip date. The Last Minute Drawing is limited to one request per person.
If spaces still remain after the Last Minute Drawing, Walk-in Permits become available one day in advance of your desired trip. Most backpacking sites are also available as walk-in permits and are obtained at park visitor centers the day before your trip.
Permit Costs
- $15.001-2 people
- $20.003-7 people
- $25.008-12 people
Zion Express Membership – Frequent visitors to Zion should consider enrolling in the Zion Express Membership. It allows members who have obtained a reservation to convert it to a permit online, three days before their trip. There’s no cost to enroll, no waiting in line to pick up permits, and reservation fees are applied to the cost of the permit. The entire flexible permit process can be completed online.
Trailhead Options
Depending on your hike direction, you will start or end your trip at two remote trailheads: Lee Pass Trailhead, located in the Kolab Canyon northwestern part of the part and The Zion National Park East Entrance, located near the eastern boundary of the park.
Lee Pass Trailhead – If heading eastbound, you will begin at the Lee Pass trailhead, which is located 4 miles up the hill from Exit 40 on I-15. Get directions to the trailhead here.
East Rim Trailhead – If heading westbound, you will begin at the East Rim trailhead, which is located on UT-9 within eyesight of the East Ranger Station. Get directions to the trailhead here.
*2018 KOLOB CLOSURE NOTICE: SPRINGDALE, UT – Access to portions of the Kolob Canyons District of Zion National Park will be restricted due to a construction project beginning May 1, 2018. All of Kolob Canyons Road, the Visitor Center, and parking lot off of Interstate 15, will be closed to all traffic during the seven month project. The Taylor Creek Trail, Timber Creek Overlook Trail, Lee Pass Trailhead and other areas served via the Kolob Canyons Road will not be available to the public.
Overnight permitted hikes will be drop off / pick up only, from April 15 through April 30, 2018. No vehicles or hiking will be permitted inside the closure beginning May 1, 2018. Construction engineers and Park officials have determined that closing these areas during the project will be safest for visitors and workers, as well as expediting the work, so the area may open at the soonest possible date.
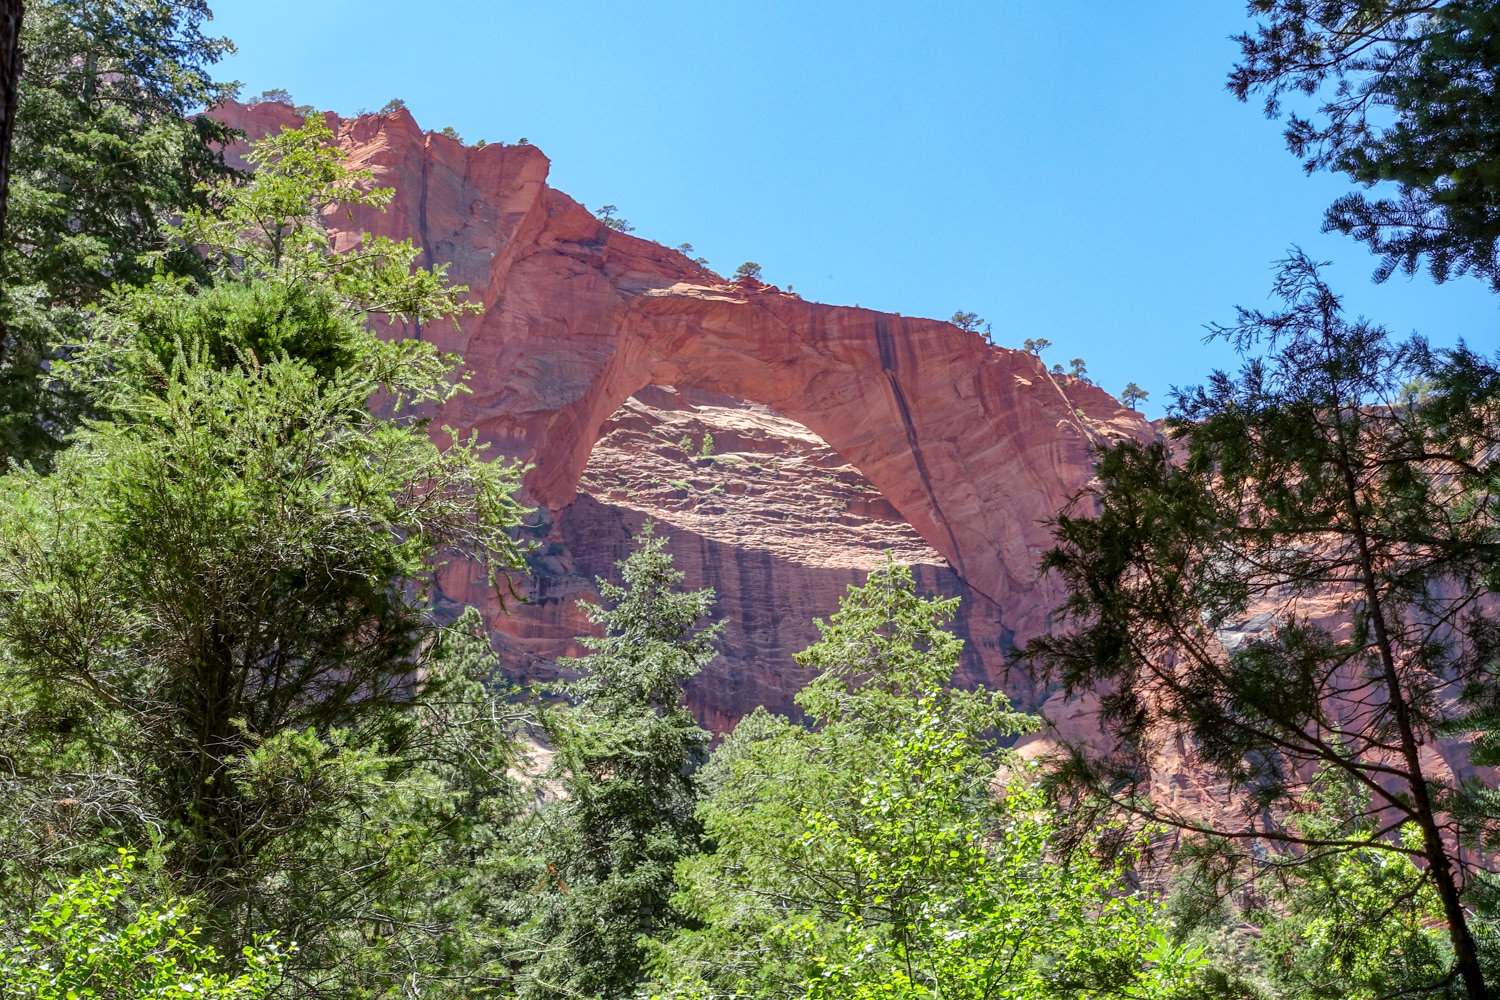
Visitors will be able to access the La Verkin Creek Trail and hike to the Kolob Arch via the Hop Valley Trail. Visitors may access the Hop Valley Trailhead from the Kolob Terrace Road. Overnight trips require a permit. There are many surrounding State Parks, Forest Service and public land scenic areas to consider as alternatives to Kolob Canyons during this closure.
Getting to Trailheads & shuttle options
The Zion Traverse requires some extra detailed planning or a lot of flexibility. It’s a 40-mile drive from Springdale to the Kolob Canyons entrance. You’ll need to take a shuttle service, hire someone to drive you, or take two cars and do a self-shuttle.
We found that the easiest and most logistically smooth way to complete the Zion Traverse is to hire a shuttle service. If traveling from West to East, you can leave your vehicle at the East Rim Trailhead and have a shuttle service pick you up there early morning on your first day and drive you to the beginning of your hike at Lee Pass trailhead. Generally, shuttle services pick you up from East Rim fairly early in the morning and get you to your starting trailhead 2-3 hours later, with several stops along the way.
We recommend contacting the following shuttle services for updated schedules and prices:
Campsites
Camping is only permitted in designated campsites from La Verkin Creek Trail, Hop Valley Trail, and along the West Rim Trail. You need to pre-select your campsite when you get your permit. You cannot camp at any site for which you do not hold a permit and no camping is allowedalong the Connector Trail or the lower section of the East Rim Trail in Echo Canyon.
Campsites along the West Rim are quite a distance apart: Campsites 1-5 are among the most scenic, but require a long day of hiking from LaVerkin or Hop Valley. Limited at-large camping is available along the East Rim Trail, on a first-come, first-served, with a permit.
Along Wildcat Canyon Trail, camping is very limited and only permitted off the Northgate Peaks spur trail and east of Russell Gulch. You may camp on the east plateau above the Echo Canyon but nowhere along the trail through this area. The Wilderness Desk asks that you always avoid setting up tents near springs and seeps. Half of the campsites are available for pre-registration online.
Below are the campsites:
KOLOB CANYONS Campsites #1-13 – The trail from Lee Pass descends into La Verkin Creek, the principal drainage in this section of the park and trail to Kolob Arch, Beartrap Canyon, Willis Creek and Hop Valley.
HOP VALLEY Campsite # 8 – There is virtually only one spot in here to camp for a hiker about half way through this vertical walled valley. From here you follow a flat sandy trail as it winds through and climbs to Kolob Terrace Road and the Hop Valley Trailhead.
WILDCAT CANYON – From the Hop Valley trailhead, head east on Connector Trail to Wildcat Canyon Trail where you can choose from a number of at-large sites, limited to 30 hikers.
LAVA POINT – If you want a side trip to Lava Point, there are 6 primitive campsites available on a first-come, first-serve basis. It’s above the Wildcat Canyon Trail.
WEST RIM Campsites #1 – 9 Follow a fairly level section of trail that wends through pine forest and meadow, then skirts around the White Cliffs above Wildcat Canyon to join up with the West Rim Trail. These are at-large campsites, limited to a max of 50 hikers.
EAST RIM – From the Grotto Trailhead, you’ll hike north along the Zion Canyon Road to the Weeping Rock Trailhead (1 mile) and head up the East Rim Trail. Since there is no camping allowed anywhere in Echo Canyon, be prepared to hike all the way up to the top of the east plateau – there is no camping available on the lower part of this trail. The sites here are at-large with a limit of 50 hikers per night.
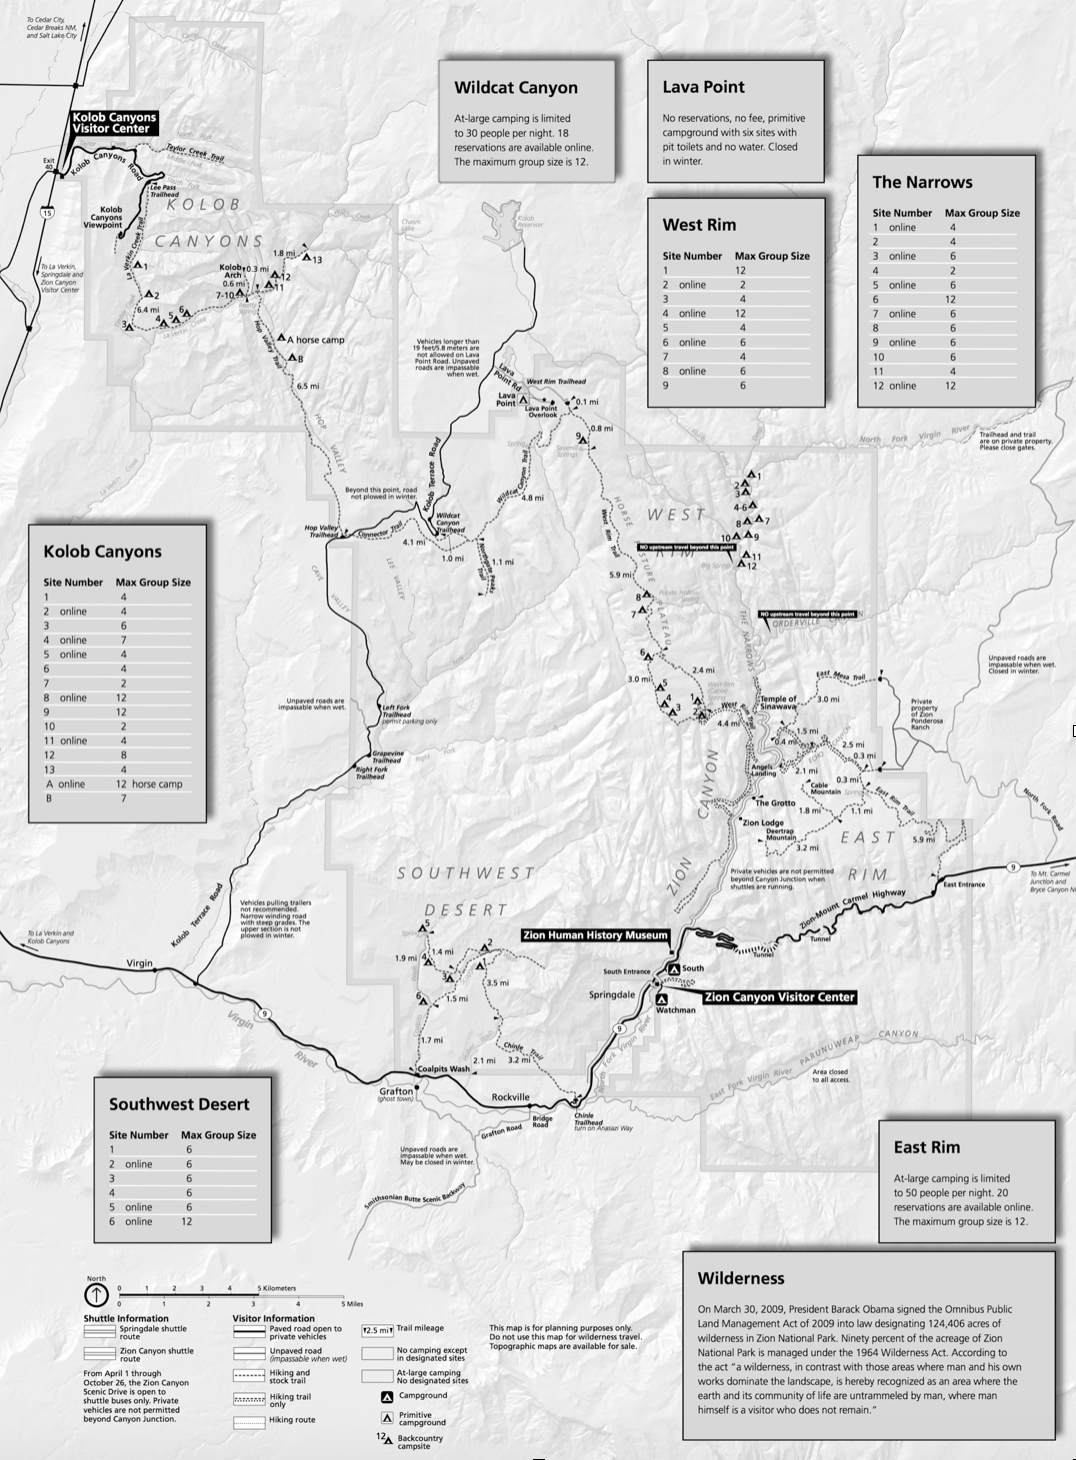
Below is a map provided by the Zion National Park showing mileage, campsites, and the general route of the Zion Traverse.
Possible Itineraries
Most people complete the Zion Traverse in 4-6 days. Below are a few sample itineraries. For more information on mileage between campsites, please refer to the Zion National Park website.
THREE NIGHT OPTION
- Camp 1: Lee Pass TH to La Verkin Creek, camp near Kolob Arch campsites 7-10.
- Camp 2: Hop Valley Trail to Northgate Peaks spur trail for a side trip and then on to West Rim site #9 camp.
- Camp 3: Wildcat Canyon Trail to West Rim Trail, campsite #1 or 2 near Cabin Spring. Out the West Rim Trail via Angel’s Rest
FOUR NIGHT OPTION
- Camp 1: Lee Pass TH to La Verkin Creek, camp near Kolob Arch campsites 7-10.
- Camp 2: Hop Valley Trail to Northgate Peaks spur trail for a side trip and then on to West Rim site #9 camp.
- Camp 3: Wildcat Canyon Trail to West Rim Trail, campsite #1 or 2 near Cabin Spring.Camp 4: East Rim Trail, at-large camping on the plateau.
FIVE NIGHT OPTION
This trip itinerary allows for extra time to explore this spectacular region and take side trips to Northgate Peaks, Lava Point, East Mesa Trail, Cable Mountain or Deertrap Mountain trails to the overlooks.
- Camp 1: Lee Pass TH to La Verkin Creek, campsite #11 or 12 beyond Kolob Arch. Camp 2: Hop Valley Trail to Connector Trail to Wildcat Trail to the Northgate Peaks spur. At-large camping is permitted off of the Northgate Peaks West spur trail, staying east of Russell Gulch.
- Camp 3: Take the West Rim Trail to West Rim site #9 with a side trip up to Lava Point lookout enroute (stash your packs for that part of the trip or setup cabin at Sawmill Spring and retrace back .8 miles to the Lava Point Trail intersection.)
- Camp 4: Take West Rim Trail to the East Rim Trail and find an at-large basecamp on the plateau above the East Rim Trail. Next day take side trip to Cable Mountain or Deertrap Mountain overlooks, or East Mesa Trail.
- Camp 5: East Rim Trail, at-large camping on the plateau again.
Maps & Guidebooks
The Zion Traverse follows a well-defined, established route on well-used trails. There are intersections that require decision-making, and a good map, and GPS can provide additional assurance. The route is not crowded, but portions of lower dayhike feeder trails can get busy. Dayhikers are unlikely to be familiar with directions on the trails that make up the Zion Traverse, so be sure to carry your own directional resources. Below are some resources that will round out trip planning.
- National Geographic Trails Illustrated Zion National – One of the best maps of the area. It includes campsites, trail descriptions and mileages, and is waterproof. Trails are clearly marked and feature mileages between intersections. Key areas of interest featured on this map include: Zion Narrows, Kolob Canyons, La Verkin Creek Trail, Hop Valley Trail, Wildcat Canyon, West Rim Trail, Floor of the Valley Road, East Rim Trail, Telephone Canyon, and the Virgin River.
- Hiking Zion and Bryce Canyon National Parks: A Guide To Southwestern Utah’s Greatest Hikes by Erik Molvar – This is an excellent guide to all the trails that make up the Zion Traverse. It includes accurate directions to the trailheads, comprehensive trail descriptions, trail maps, route profiles, difficulty ratings, and valuable trip-planning information, including a checklist of essential gear.
- Best Backpacking Trips in Utah, Arizona, and New Mexico – This book offers detailed trip information for the Zion Traverse, as well as other great backpacking trips in the SW.
- We used Gaia GPS for planning and navigation on this trip. Although we always carry paper maps, having a GPS handy is convenient.
Water
As you get closer to your permit dates, check Zion National Park water source information for the status of marked water sources. The visitor centers also post signs indicating which springs are flowing. Springs will be noted as: Dry, Trickle and Flowing. Dry spring means nowater is available. Trickle springs will have water but at a low enough volume that it’ll take a while to fill a water bottle. Flowingmeans just that — flowing heartily. You still need to filter/purify all spring, sweep and stream water in Zion National Park due to upland grazing that up the likelihood of contamination. We used the a combination of the SteriPen Ultra and Aquamira Chlorine Dioxide Drops. To learn more about other water purification options, check out our Best Backpacking Water Filters page.
If you go in late spring after a good snow year, water is pretty much available everywhere, even from unmarked streams — thanks to snowmelt. You’ll also find a few permanent water sources en route. Hop Valley flows most of the year, but since this valley is grazed, it’s best to avoid it entirely as it will retain a regrettable odor and taste even after purifying. Both La Verkin Creek and the North Fork are very reliable and much cleaner. The other permanent source is near the bathrooms at the Grotto Trailhead.
Other early and late season reliable sources include the stream a half-mile west of where Wildcat Canyon Trail crosses the streambed, and Beatty Spring, Sawmill Spring, Potato Hollow Spring, Cabin Spring (along the West Rim Trail, and Stave Spring near the East Rim Trail. If you’re heading in during early, mid or late summer, check conditions at the Wilderness Desk or visitor centers as many of these springs taper off during the hotter months. You can also take water from the Virgin River and Weeping Rock in the main canyon, as well as get water from the shuttle stop fountains.
Alternatively, if you have time, you could take Kolob Terrace Road and cache water near the Hop Valley Trailhead, the Wildcat Canyon Trailhead, as well as the West Rim Trailhead off Lava Point Road. In total, you’ll need to at least 4-6 liters per person per day if hiking in 80°F degree or higher weather. Higher temps, low humidity and elevation combine to put you at the higher end of this estimation.
Food Storage
Rodents and crows are an occasional, if not rare nuisance in Zion’s backcountry. If you plan to basecamp — leaving your tent and food at a campsite while taking a side trip day hike — consider carrying an Ursack to keep rodents and birds from devouring your food. But don’t leave it in your tent, which will only tempt critters to peck or chew to get in.
Bugs
Mosquitos and deer flies are not usually a huge problem on the Zion Traverse, except when there have been extensive periods of wet weather prior to your arrival. The same holds for no-see-ums, though, like skeeters, most are only an issue around dusk. Use a combination of permethrin on your clothing and a small amount of DEET on exposed skin for full protection.
Backpacking Gear
We prefer lightweight backpacking because it’s more comfortable and it allows us to cover more ground with less effort. For recommendations on our favorite lightweight backpacking equipment, check out the CleverHiker Gear Guide and Top Picks page.
What to Pack
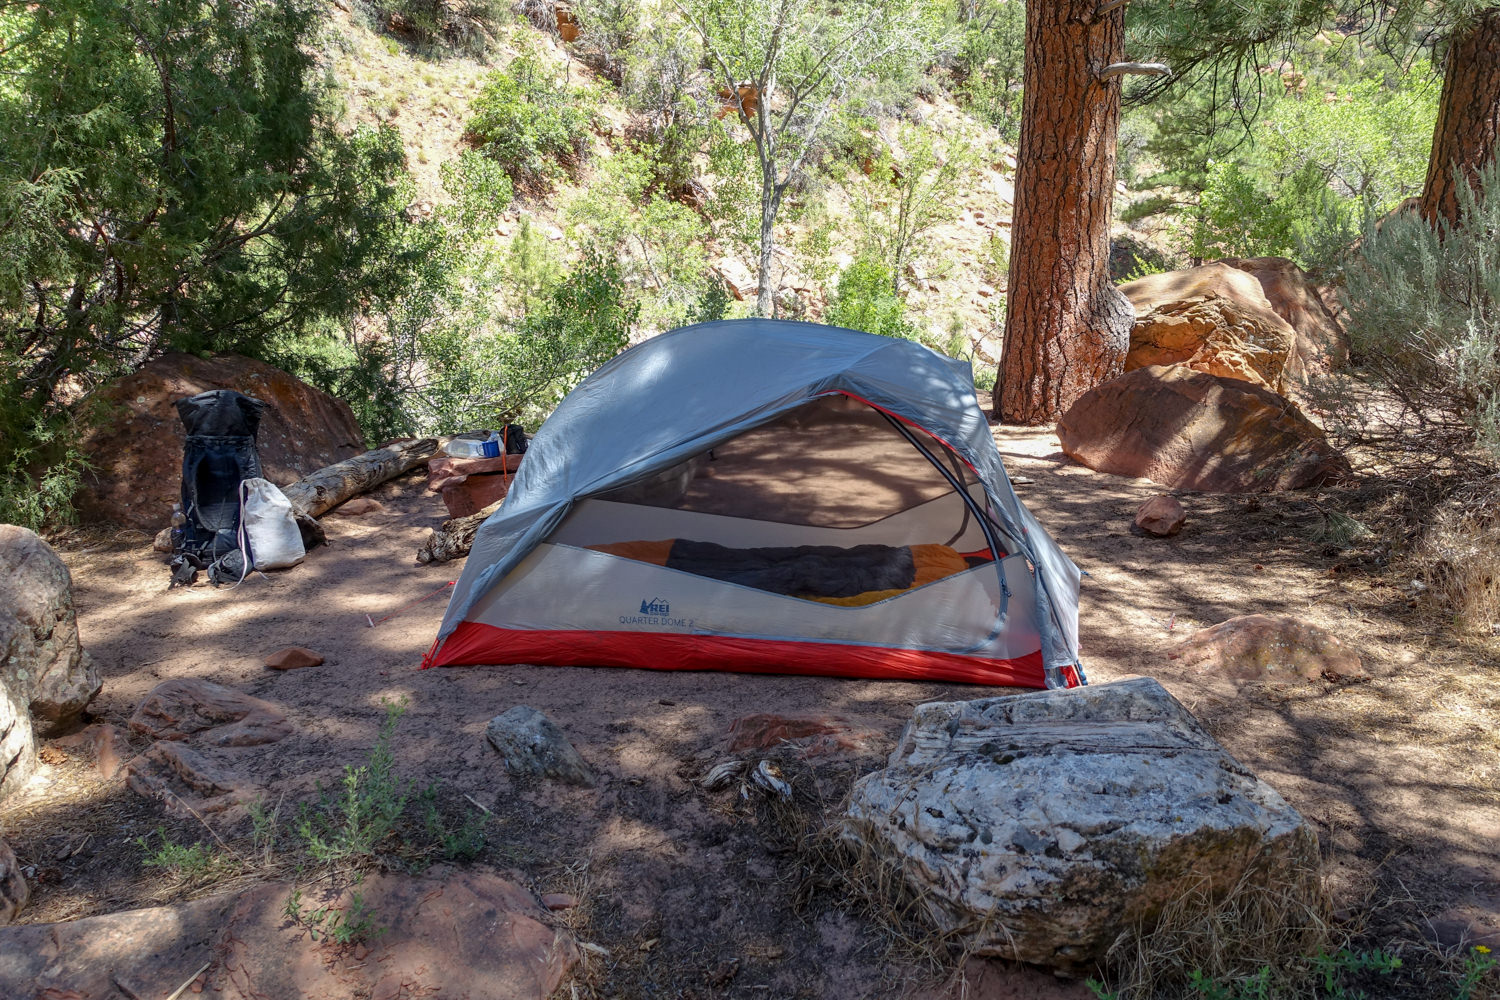
TENT: We used the REI Co-op Quarter Dome 2 on this trip for its lightweight livability and convenience. This tent is a solid budget buy and makes our list of the best lightweight backpacking tents.
BACKPACK: We used the ZPacks Arc Blast backpack on this trek. It’s lightweight, convenient, comfortable, and makes our list of the best lightweight backpacking packs.
SLEEPING BAG: We used the Enlightened Equipment Revelation quilt and REI Magma sleeping bag on this trek. Both are lightweight, incredibly warm, and make our list of the best backpacking sleeping bags.
SLEEPING PAD: We used the Therm-a-Rest NeoAir XLite and Sea to Summit UltraLight Insulated sleeping pads on this trip. Both are light, comfortable, warm, and make our list of the best backpacking sleeping pads.
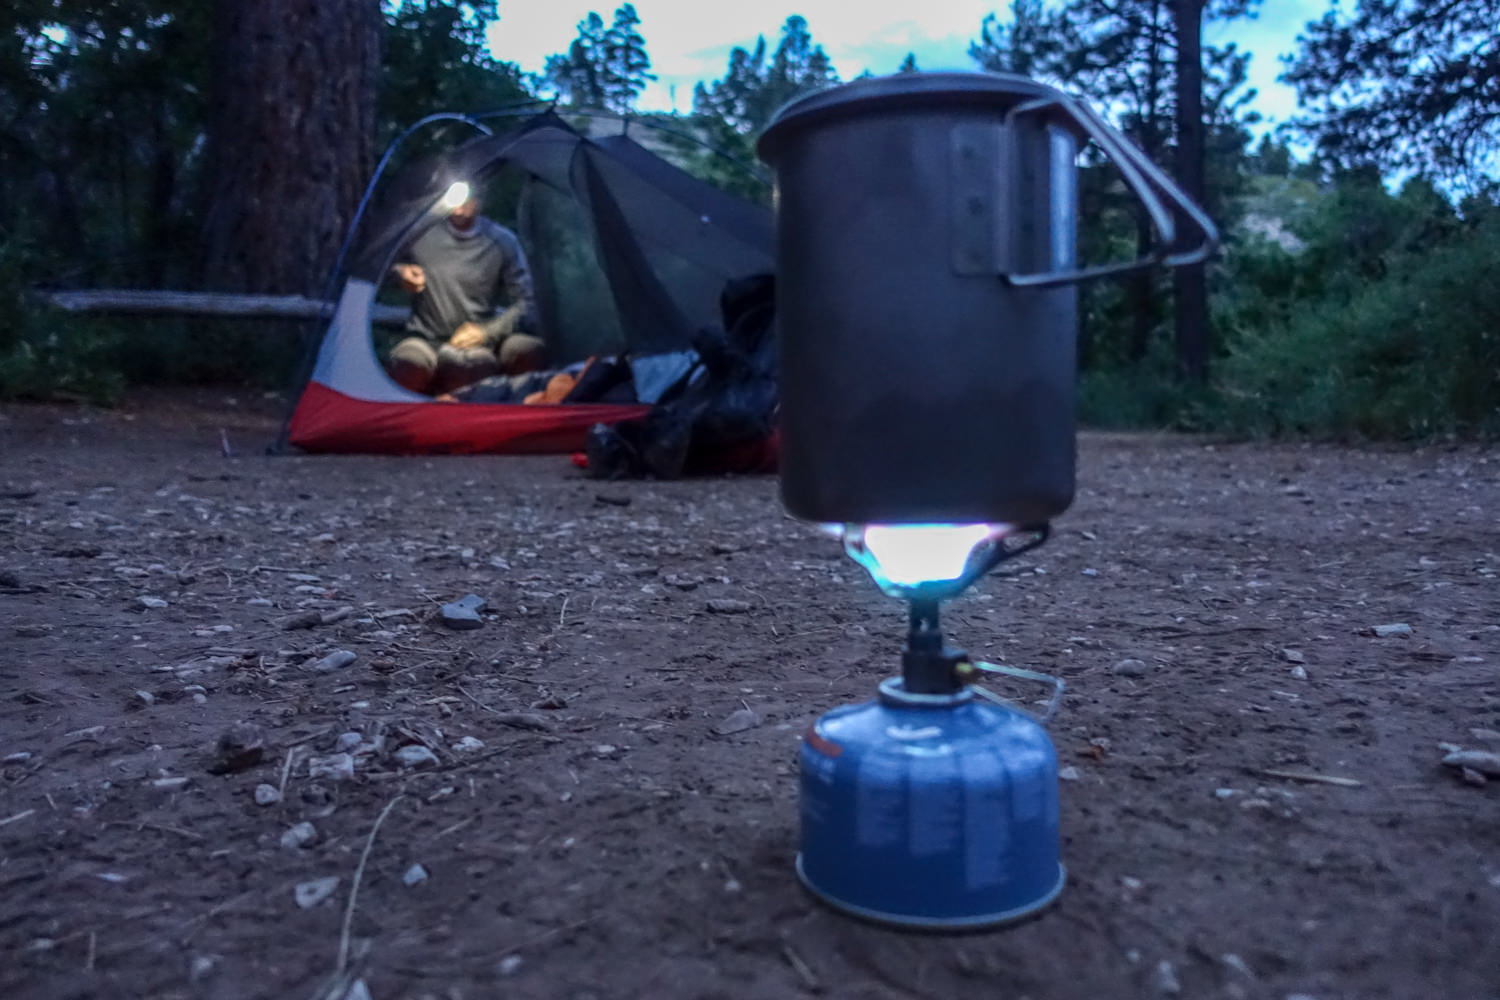
COOKING SYSTEM: We used the BRS Stove, Snow Peak Mini Solo Cookset, and Snow Peak Folding Spoon on this hike, all of which make our Top Picks and Best Lightweight Stoves list.
WATER PURIFIER: We used the SteriPEN Ultra as our main purification method on this trip. We also brought Aquamira Chlorine Dioxide Drops, in case the water had sediment, but we didn’t have to use them. Both options are lightweight and make our Best Water Purifiers list.
SHOES OR BOOTS: We wore Altra Lone Peak 3.5 trail runners on this trail and they were excellent. If you prefer boots, make sure they’re lightweight and break them in really well before your trip. Here’s why we prefer hiking in trail running shoes: 5 Reasons to Ditch Your Hiking Boots. Also, here’s our top picks for the Best Backpacking Footwear.
HEADLAMP: A small headlamp like the Petzl Actik is an affordable, bright, and lightweight option.
FOOD: When backpacking the Zion Traverse you’ll have to carry all your food. Check out our Best Lightweight Backpacking Food Guide and our Best Freeze Dried Backpacking Meals for some of our go-to recommendations. You may want to bring an Ursack to protect your foods from rodents and ravens.
CLOTHING: Here are some of our favorite hiking/backpacking clothing items from our Top Gear list.
- 1 Rain jacket shell – Patagonia Storm Racer/ Rab Kinetic Plus
- 1 Down jacket – Patagonia Micro Puff Hoody
- 1 Pair hiking pants – PrAna Zion Stretch or running tights
- 1 Pair hiking shorts – Nike dri fit running shorts
- 1-2 Hiking t-shirts – Nike dri fit t-shirts
- 1 Long-sleeve shirt – Nike dri fit quarter zip
- 1-3 Pair underwear – ExOfficio boxer briefs or or ExOfficio women’s briefs
- 1 Warm hat
- 1 Sun hat
- 1 Pair gloves or mittens
MAP &COMPASS: The Zion Traverse Trail follows a well-defined and established route, but the risk of getting lost is moderate. Still, you should always carry a topographical map for route finding, water sources, mileage, and possible side trips. For good map options, read Maps & Guidebooks section above. We always hike with a quality compass, though the trails were easy to follow and we didn’t end up needing it on this trip.
FIRST AID KIT: Always bring a small personalized first aid kit. We use the Ultralight .7 Kit and add extras, like painkillers and personal medications.
SUN PROTECTION: Sunglasses (polarized recommended), sunscreen, and spf lip balm are an absolute must on every backpacking trip.
POCKET KNIFE: We brought along a small Swiss Army Knife, which came in handy here and there.
OTHER ITEMS:
- SMALL TOWEL: the Nano pack towel is great.
- CASH and ID
- PERMITS
- PERSONAL TOILETRIES
- HAND SANITIZER: Always apply after using a bathroom and before eating.
- WET WIPES: These can be useful for cleaning up after hiking.
- INSECT REPELLANT: We always bring a 1oz bottle of DEET.You can also treat your clothing with Permethrin prior to your trip.
- CAMERA: The Sony RX100 is our go-to camera for lightweight backpacking.
More Zion Traverse Photos


More Information
We hope this guide helps you plan your trip along the Zion Traverse. Leave a comment below if you have any recommendations, questions, or suggestions. And if you found this guide helpful, please share and click the little heart button below to give us a digital high five!
For more popular CleverHiker content, check out the following links:
Some of the links on this page are affiliate links, which means we may receive a small commission if purchases are made through those links. This adds no cost to our readers and helps us keep our site up and running. Our reputation is our most important asset, which is why we only provide completely honest and unbiased recommendations.