A photo speaks a thousand words, especially when it comes to recalling the details of your adventures. A trip may only last for a few days, but great photos will bring back the feels for a lifetime. Learning to capture professional looking photos takes time, but it’s a skill worth growing if you want to better share your experiences, inspire others, and record your memories.
While I don’t consider myself an expert in the technical aspects of photography, I’ve learned a lot in my years of adventuring and working creative jobs. Here are the most useful tools and tricks I’ve learned to make my photos cleaner, more interesting, and more consistent.
Shoot In Landscape
Whenever possible, turn your phone sideways and use landscape orientation in outdoor settings. You’ll capture more natural beauty surrounding your subject and be less limited when cropping later. There’s a reason why horizontal photos are called ‘landscape’ and vertical photos are called ‘portrait’. I shoot in landscape 90% of the time since horizontal photos tend to fill the space better and be more useful for digital content.
Pay Attention To The Sun
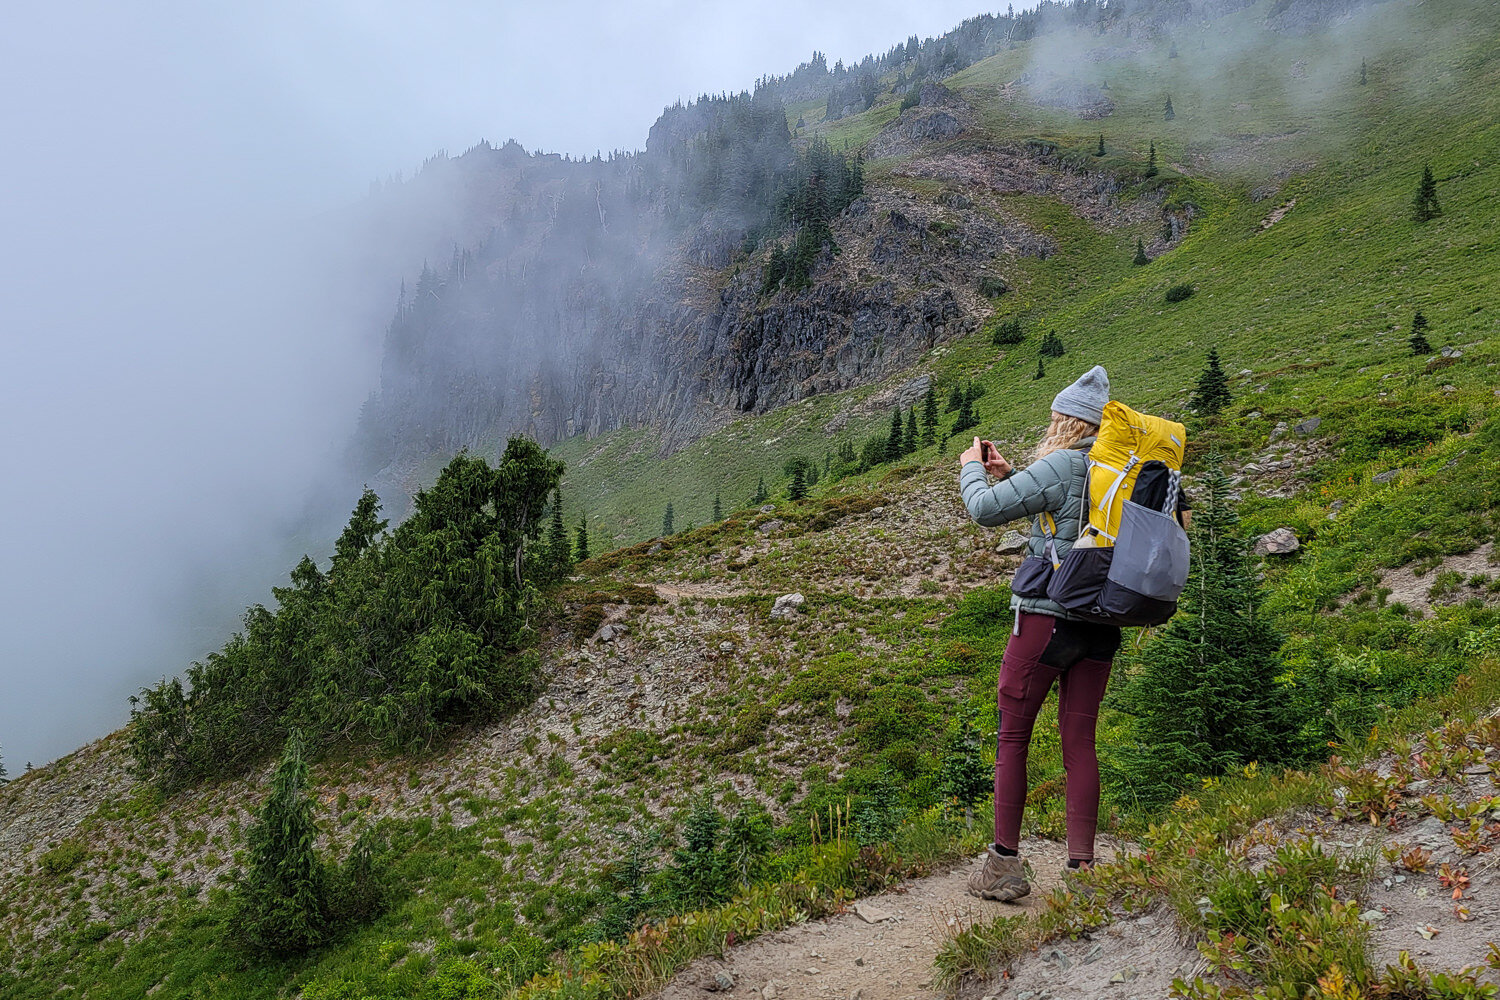
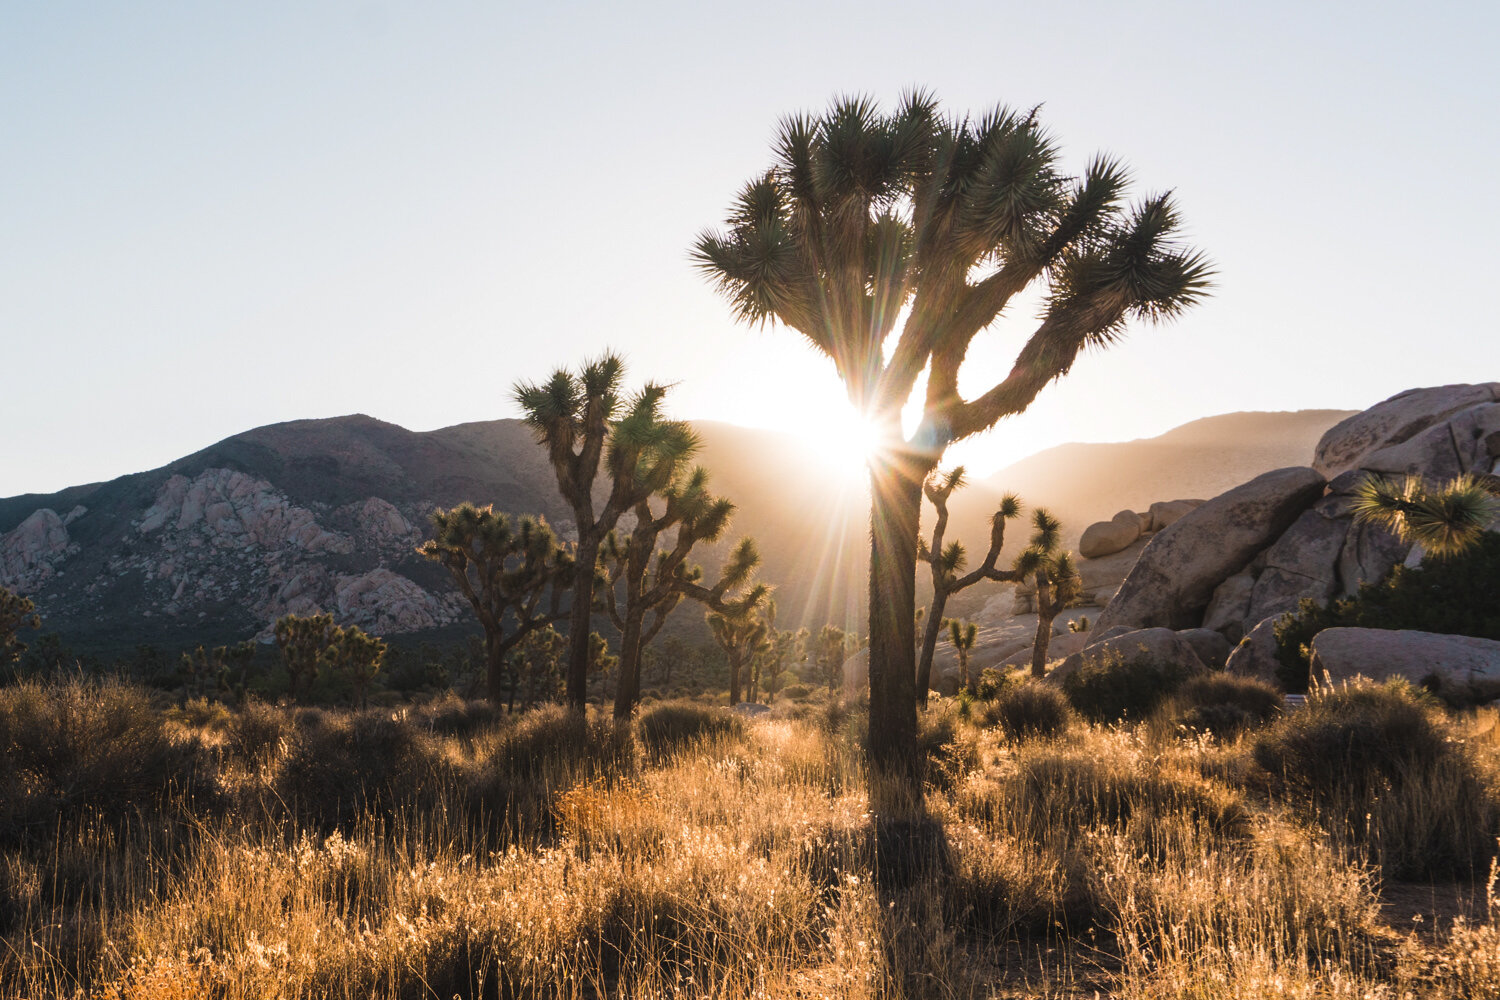
Good lighting is everything in photography, and it’s all about the sun when you’re outdoors. Pay attention to the angle and height of the sun, making sure your subject is well lit and the shadows are working for you instead of against you. Backlighting can create interesting shots, but most of the time you’ll want the sun to be shining towards the subject from behind the photographer’s lens. On clear days, direct sun can be too intense, so it’s best to focus on photography in the mornings and evenings when the lighting is more gentle. Cloudy conditions diffuse the sun and create great even lighting and a moody effect. It can be a challenge to be at the right place at the right time, but it’s well worth the effort to find out where and when the sun will rise and set.
Use the Rule Of Thirds
Use the grid in your viewfinder to place your subject in the left or right third of an image, leaving the other two thirds more open. Similarly, you can line up the horizon, mountains, or water line in the top or bottom third on your frame. There are lots of other ways to compose an image, but using the rule of thirds consistently leads to attractive and well-composed shots. It also helps avoid too much headspace at the top of your photos and will make subjects in the foreground feel anchored and grounded.
Straighten Horizon Lines
When you’re focusing on something in the foreground, it’s really easy to forget the horizon line in the background. If a line is even slightly skewed in the background, it can make the whole image feel crooked. Use the gridlines on your viewfinder to lock onto an anchor point – this might be the top of a mountain ridge, a vertical tree, or the base of a building meeting a sidewalk. It’s really challenging to get horizon lines perfectly straight in the field, so I always leave a little extra space around my subjects in case I need to rotate my images slightly during the editing process.

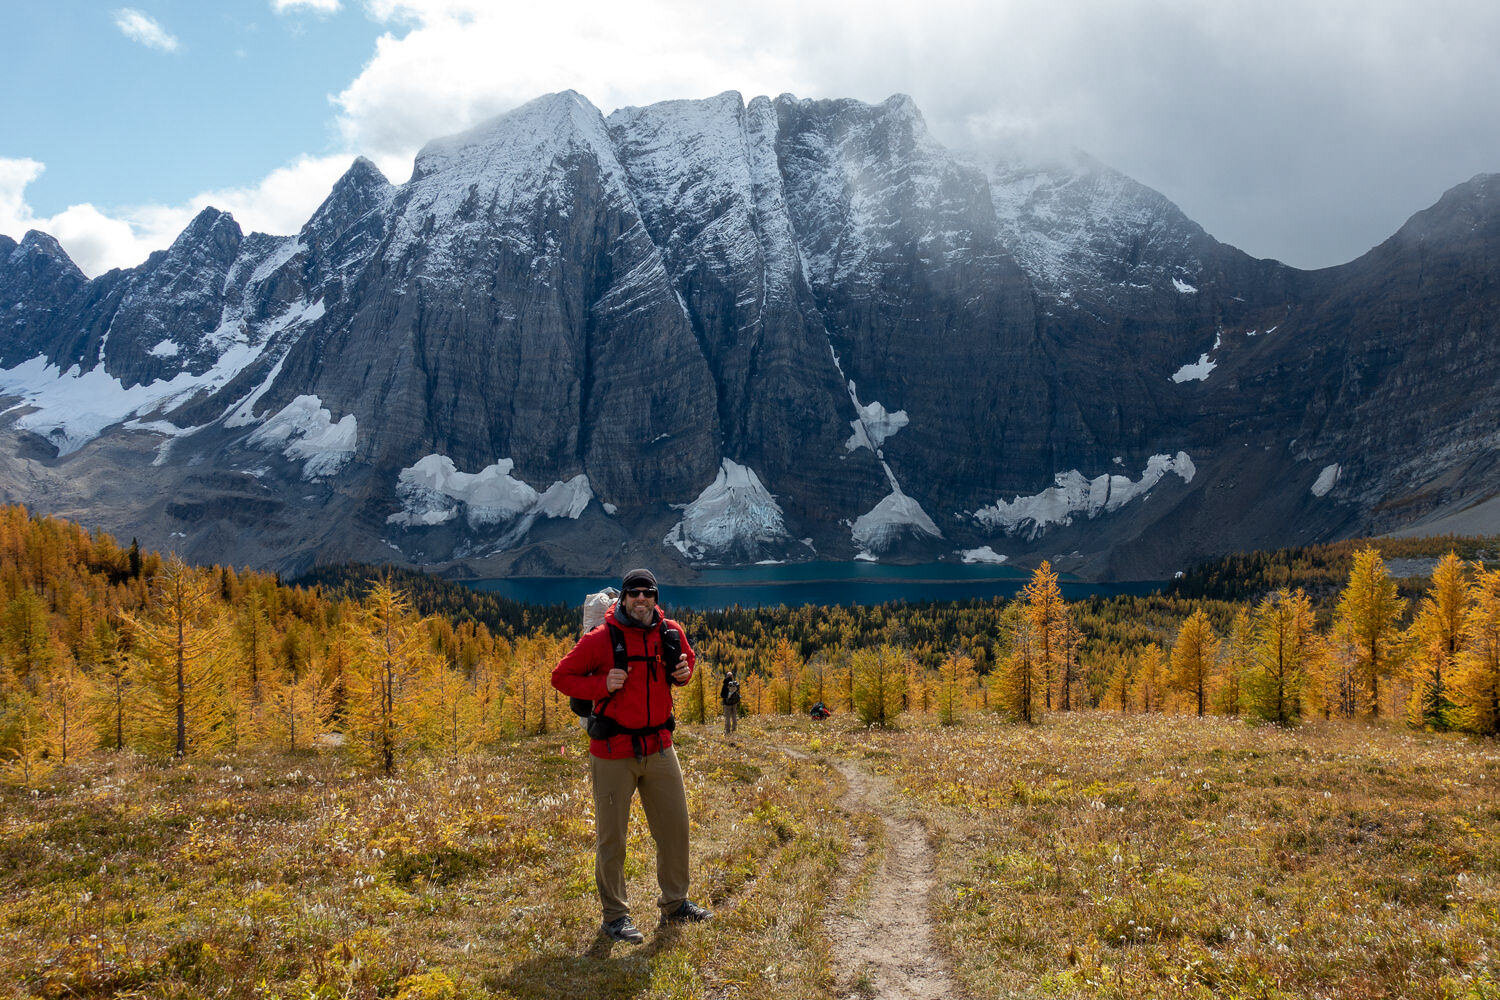
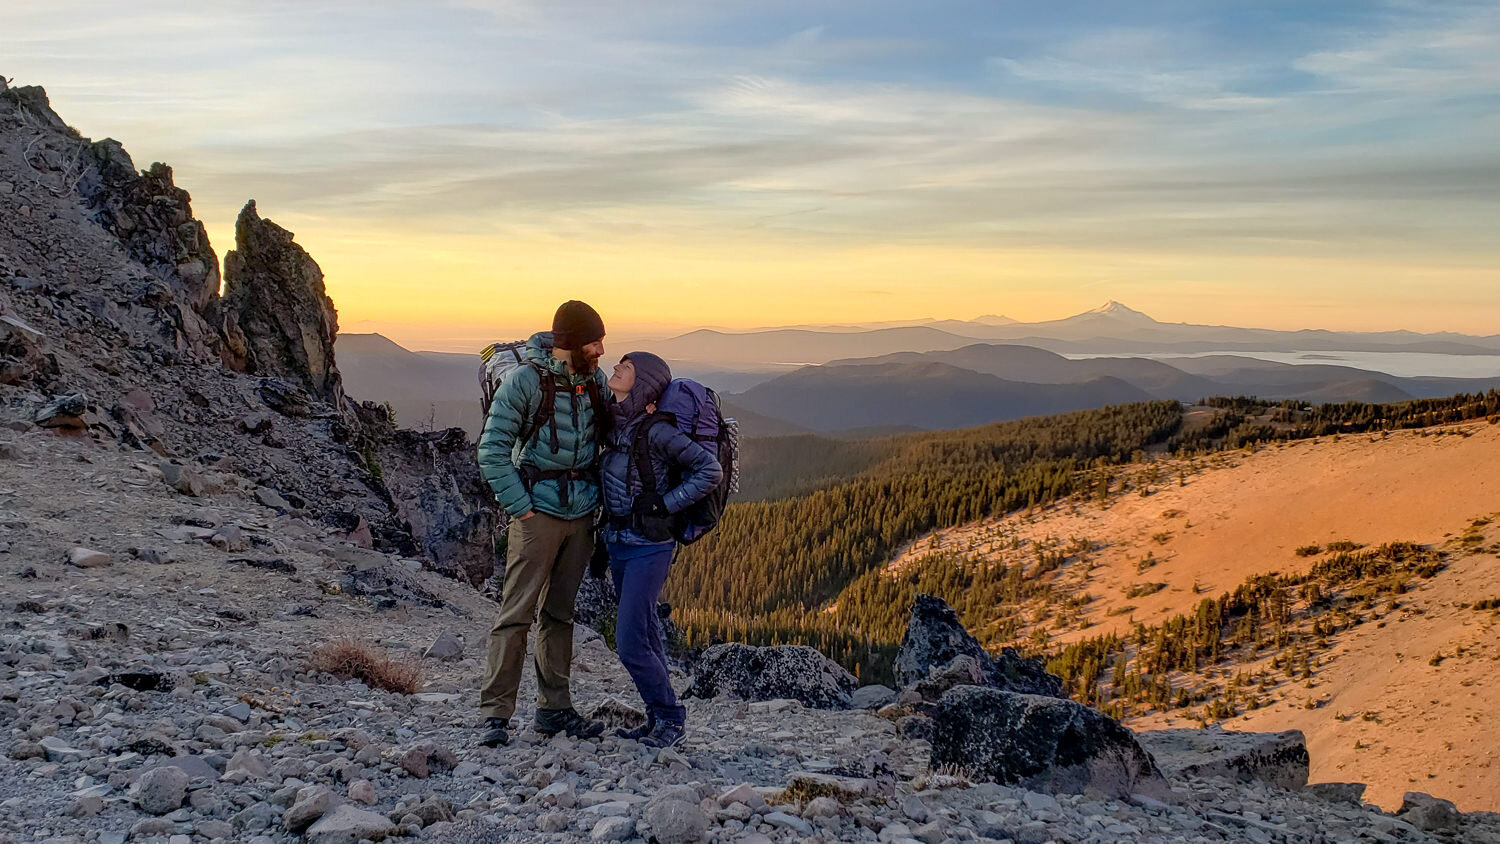
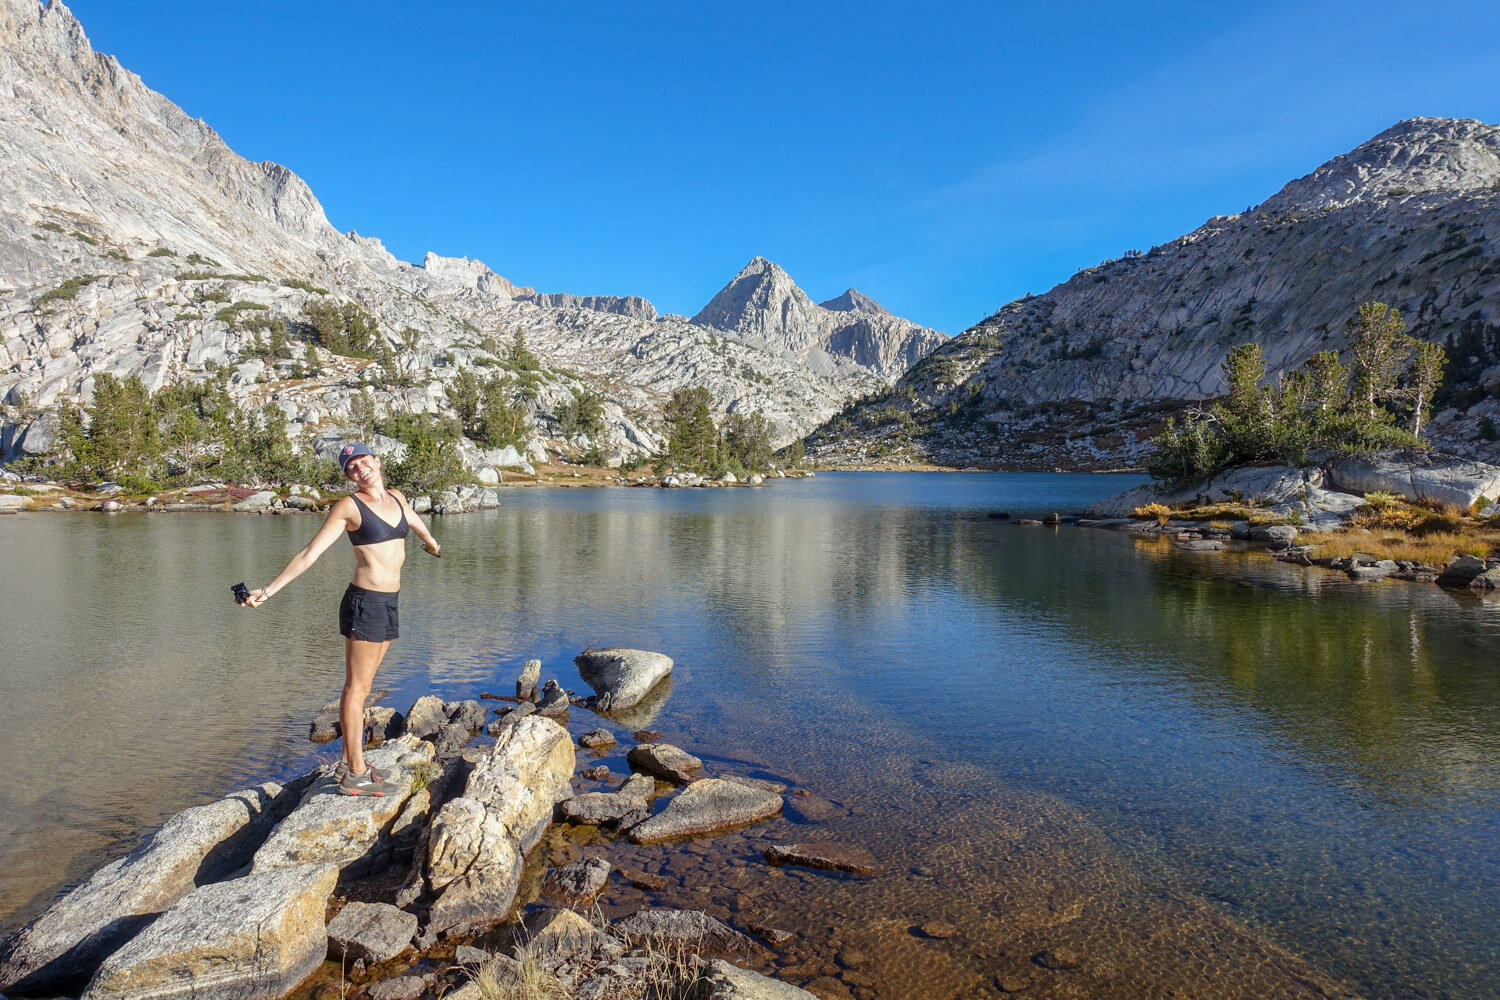
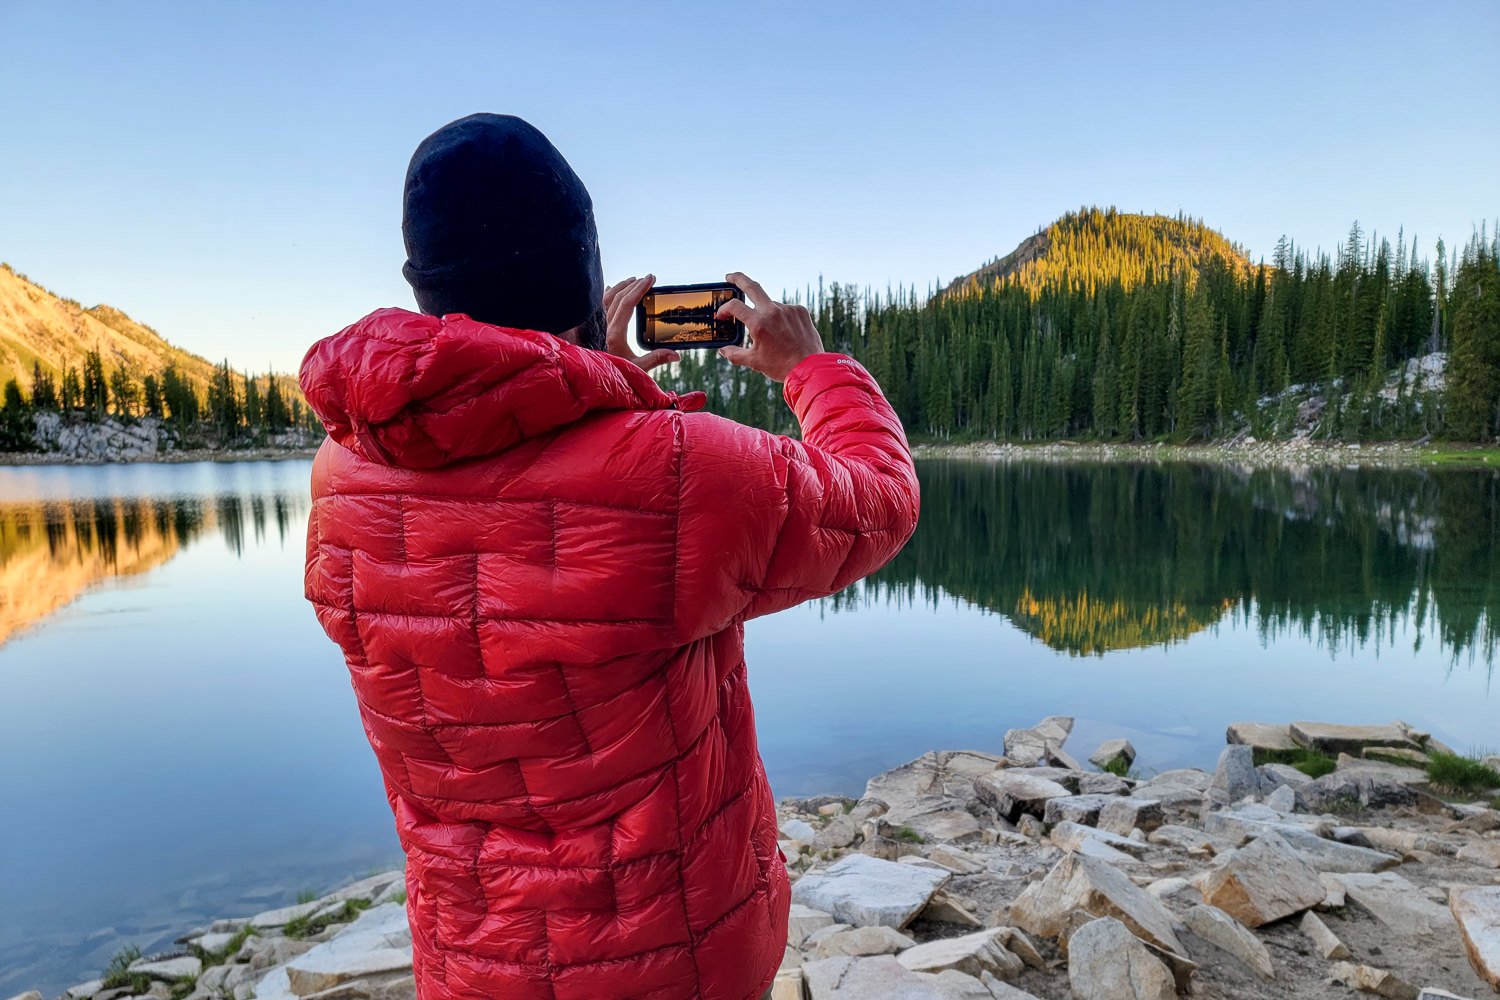
Get in Your Photos
Landscapes can be striking on their own, but most of the time I find photos with a person in them to be a bit more interesting. Viewers gain a sense of perspective and can imagine themselves immersed in a place. A person can provide scale in a landscape to create drama or evoke an emotion to tell a story. To make it easier to get in your photos, it’s a good idea to bring a small, lightweight tripod and remote.
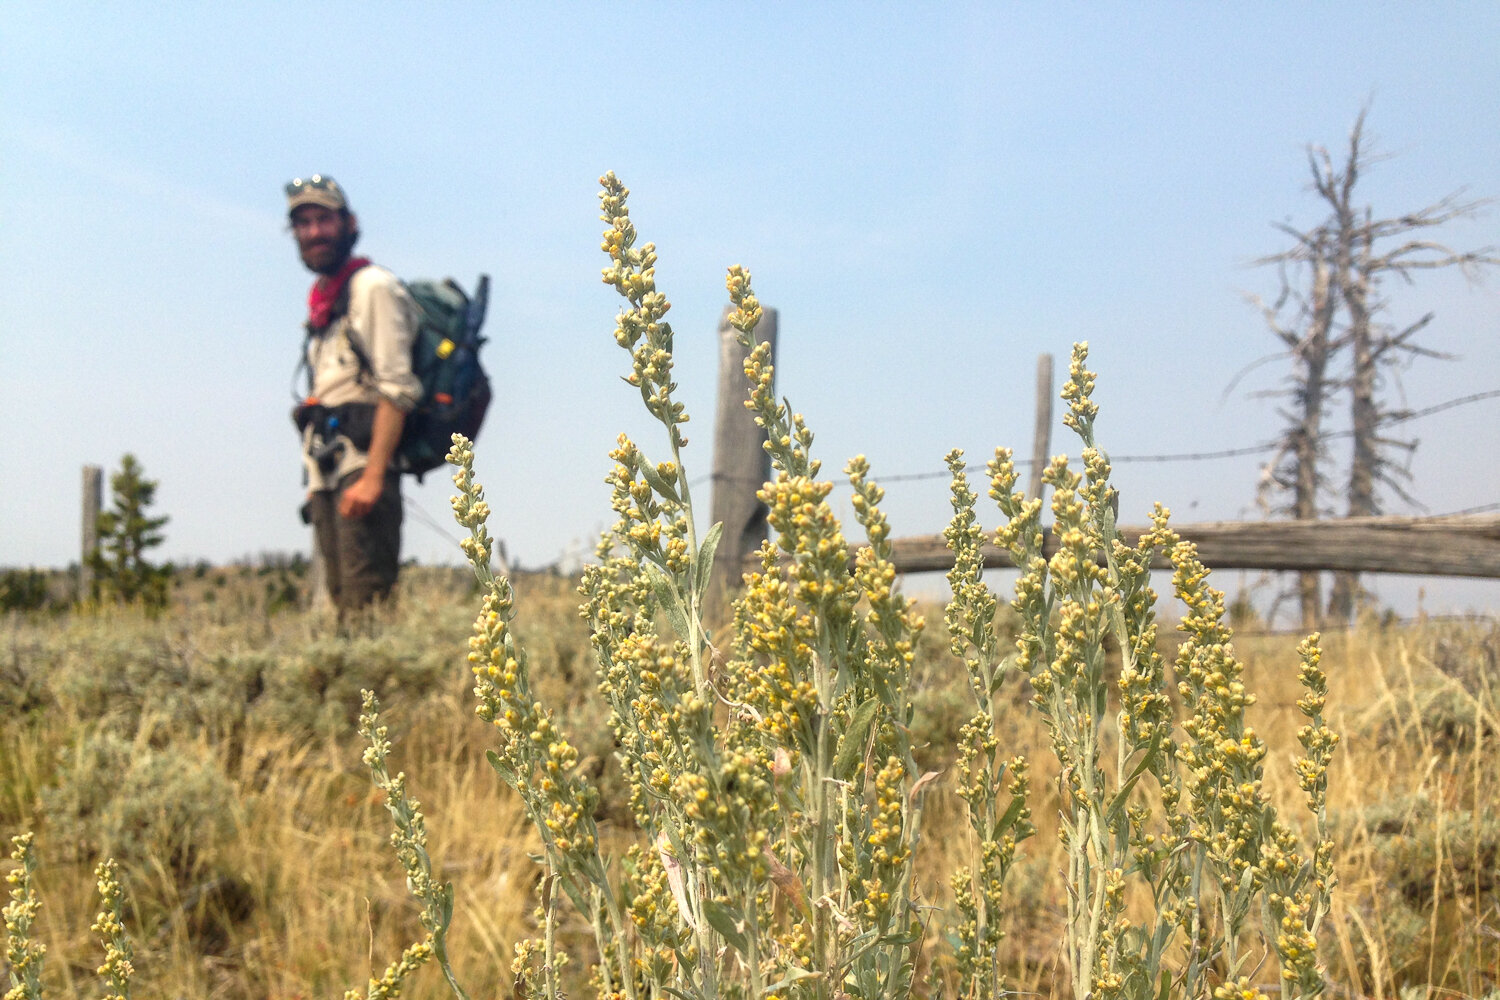
Try different focal points and perspectives
Anyone can take a straight on photo at eye level. If you want your adventure photos to stand out, get creative with focal points and perspective. Try getting low and focusing on a flower in the foreground while a mountain looms in the distance. Or, try the opposite, using closeup grasses as texture in the foreground while focusing on distant scenery. It can also be interesting to shoot straight down onto your subject from above. The key here is to not be afraid to move your body and play with focus. Have some fun with it and you’ll surely come home with some unique shots.
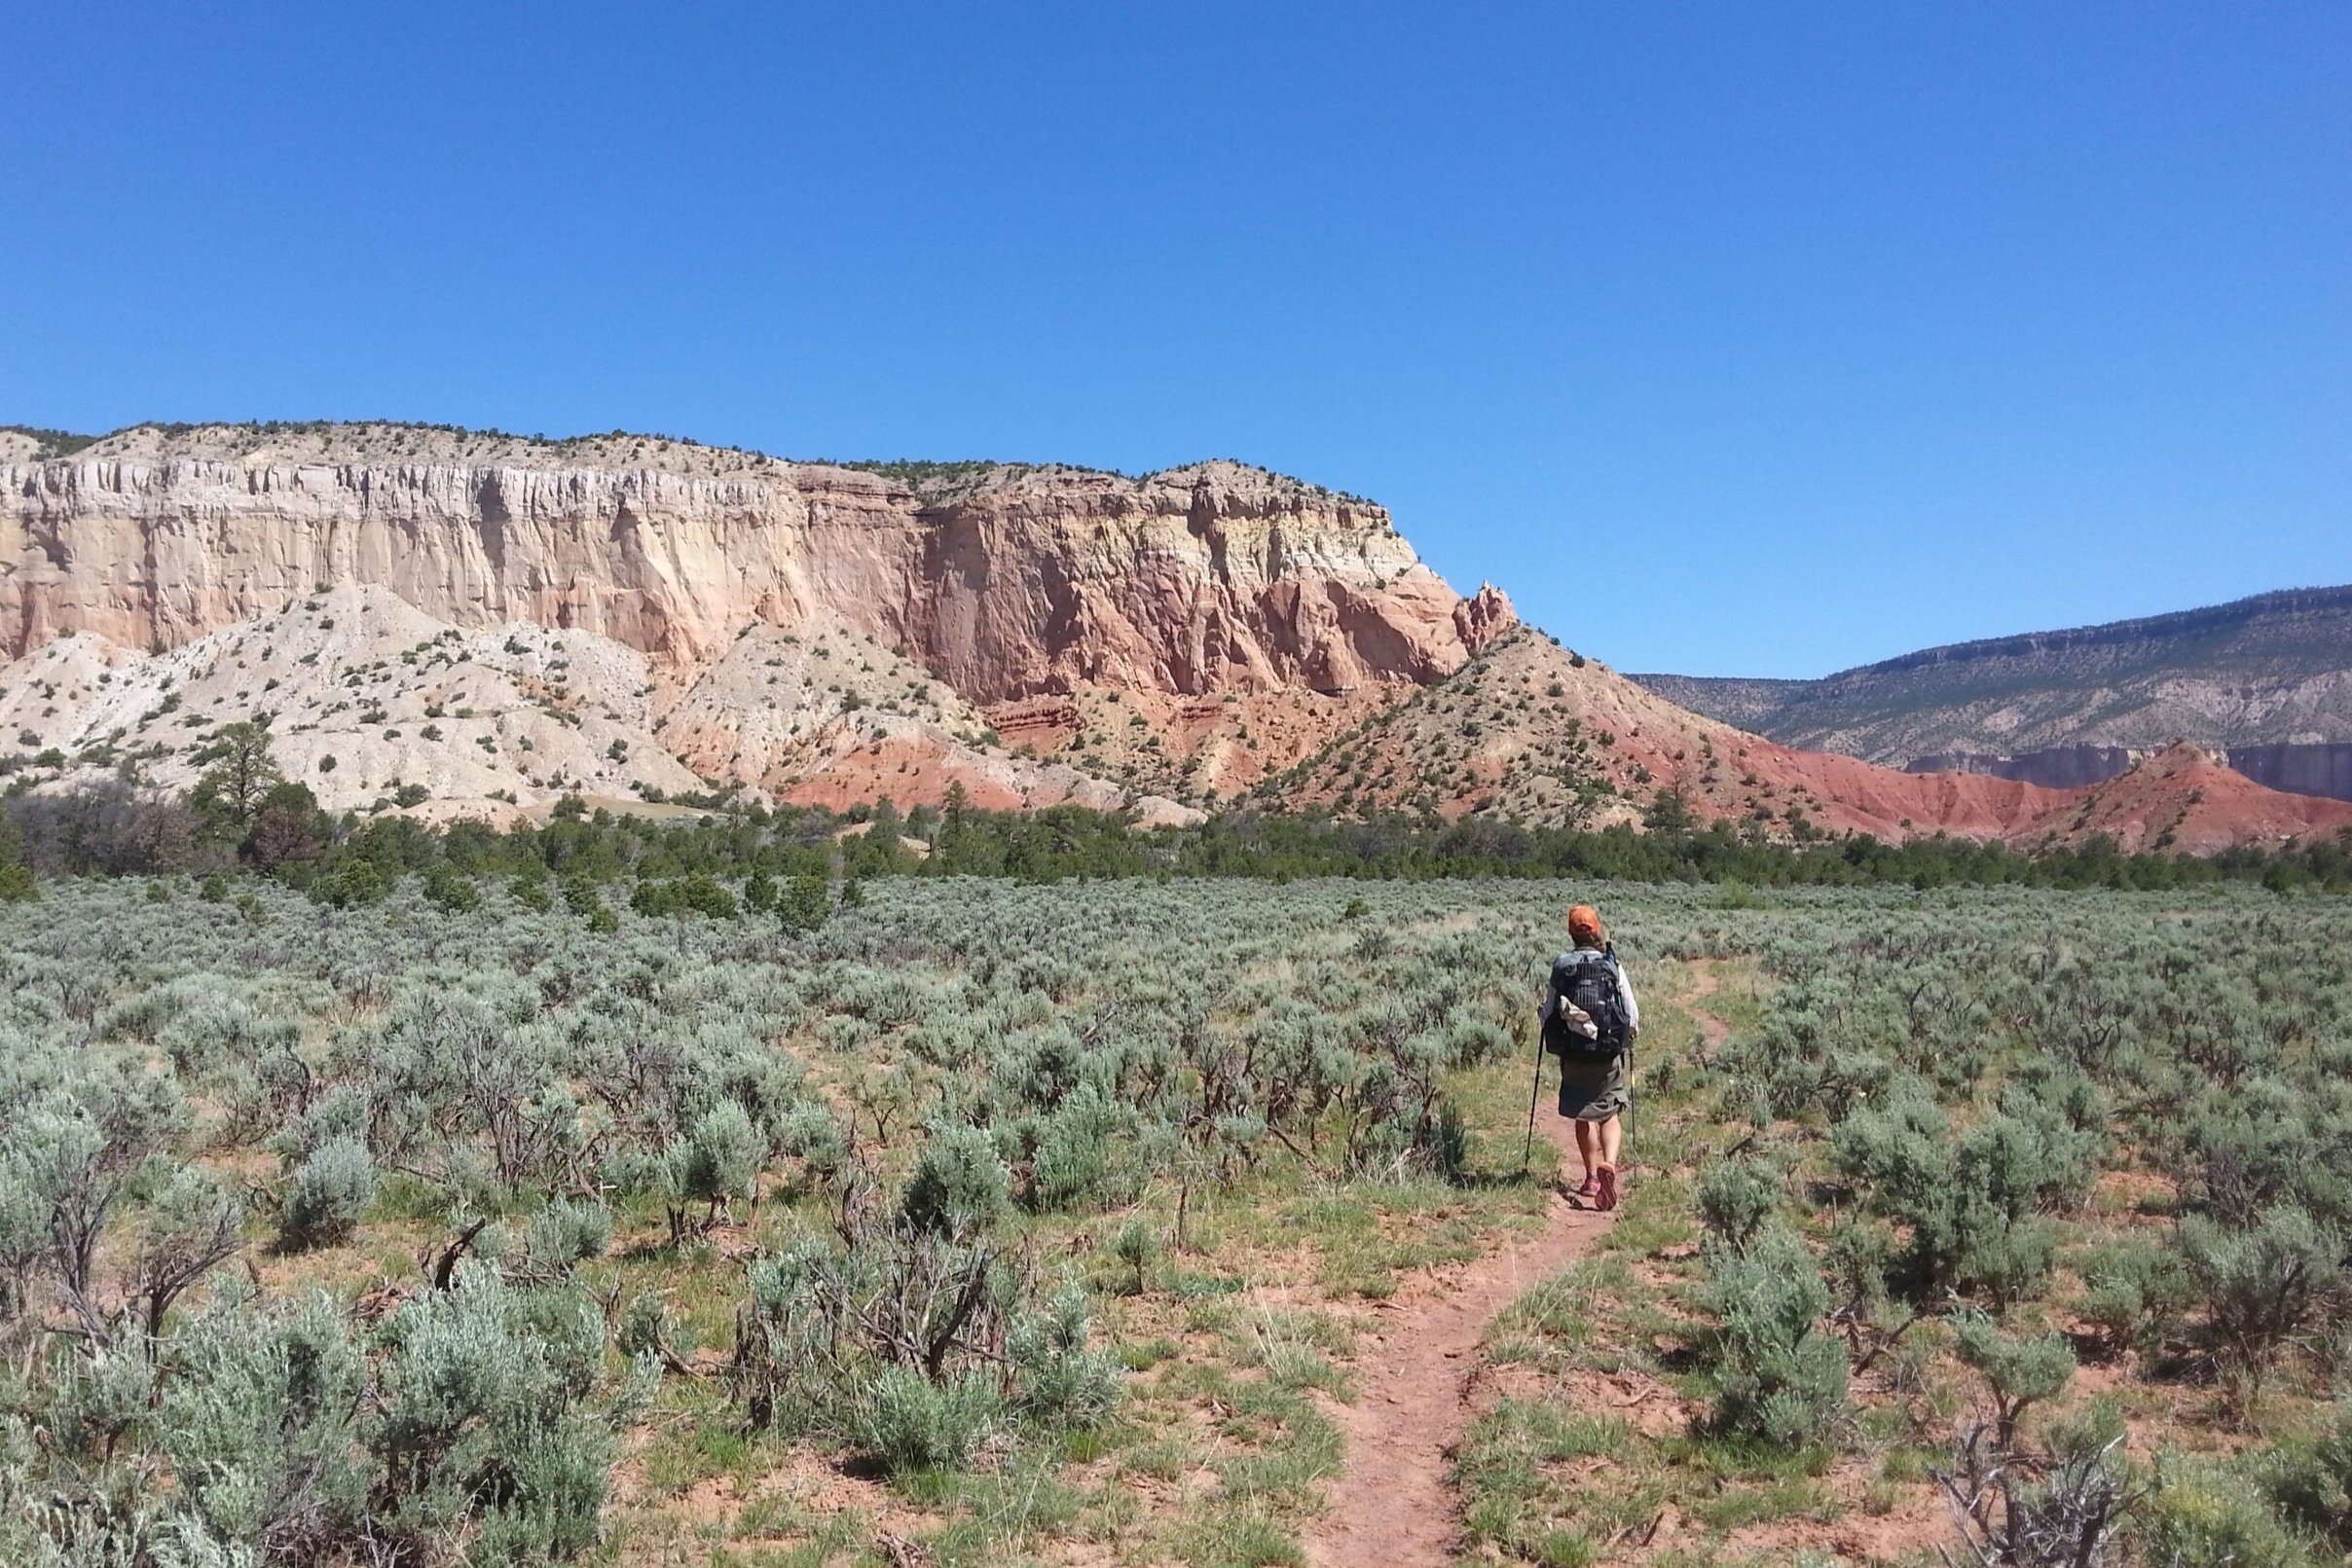
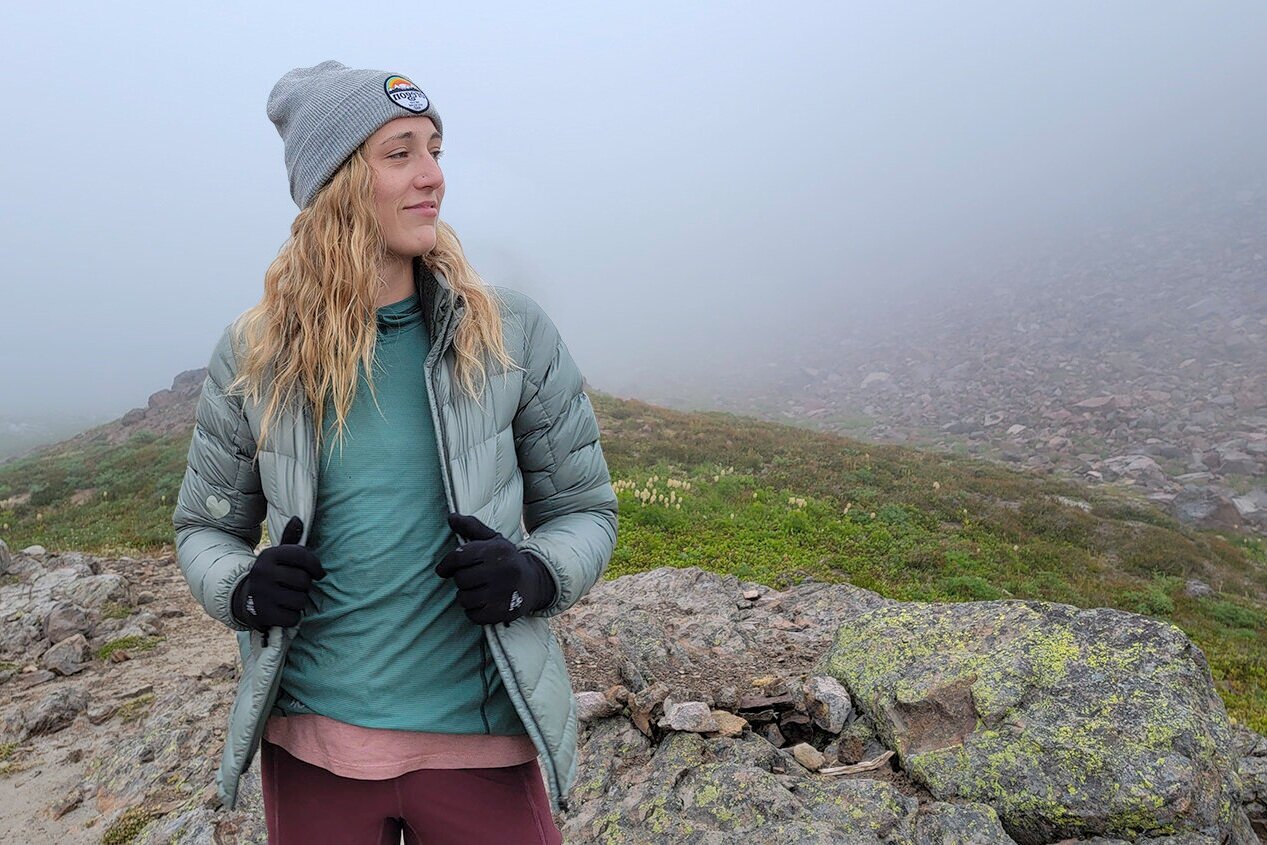
Give The Subject Room To Walk Or Look To The Side
If there’s a person or animal in your photo and they aren’t facing straight on, place them towards one side of the frame and leave the space in front of them open. This invites the viewer to follow the subject’s gaze to see what they see or to imagine the expanse they’re moving towards. It creates a more immersive feeling.
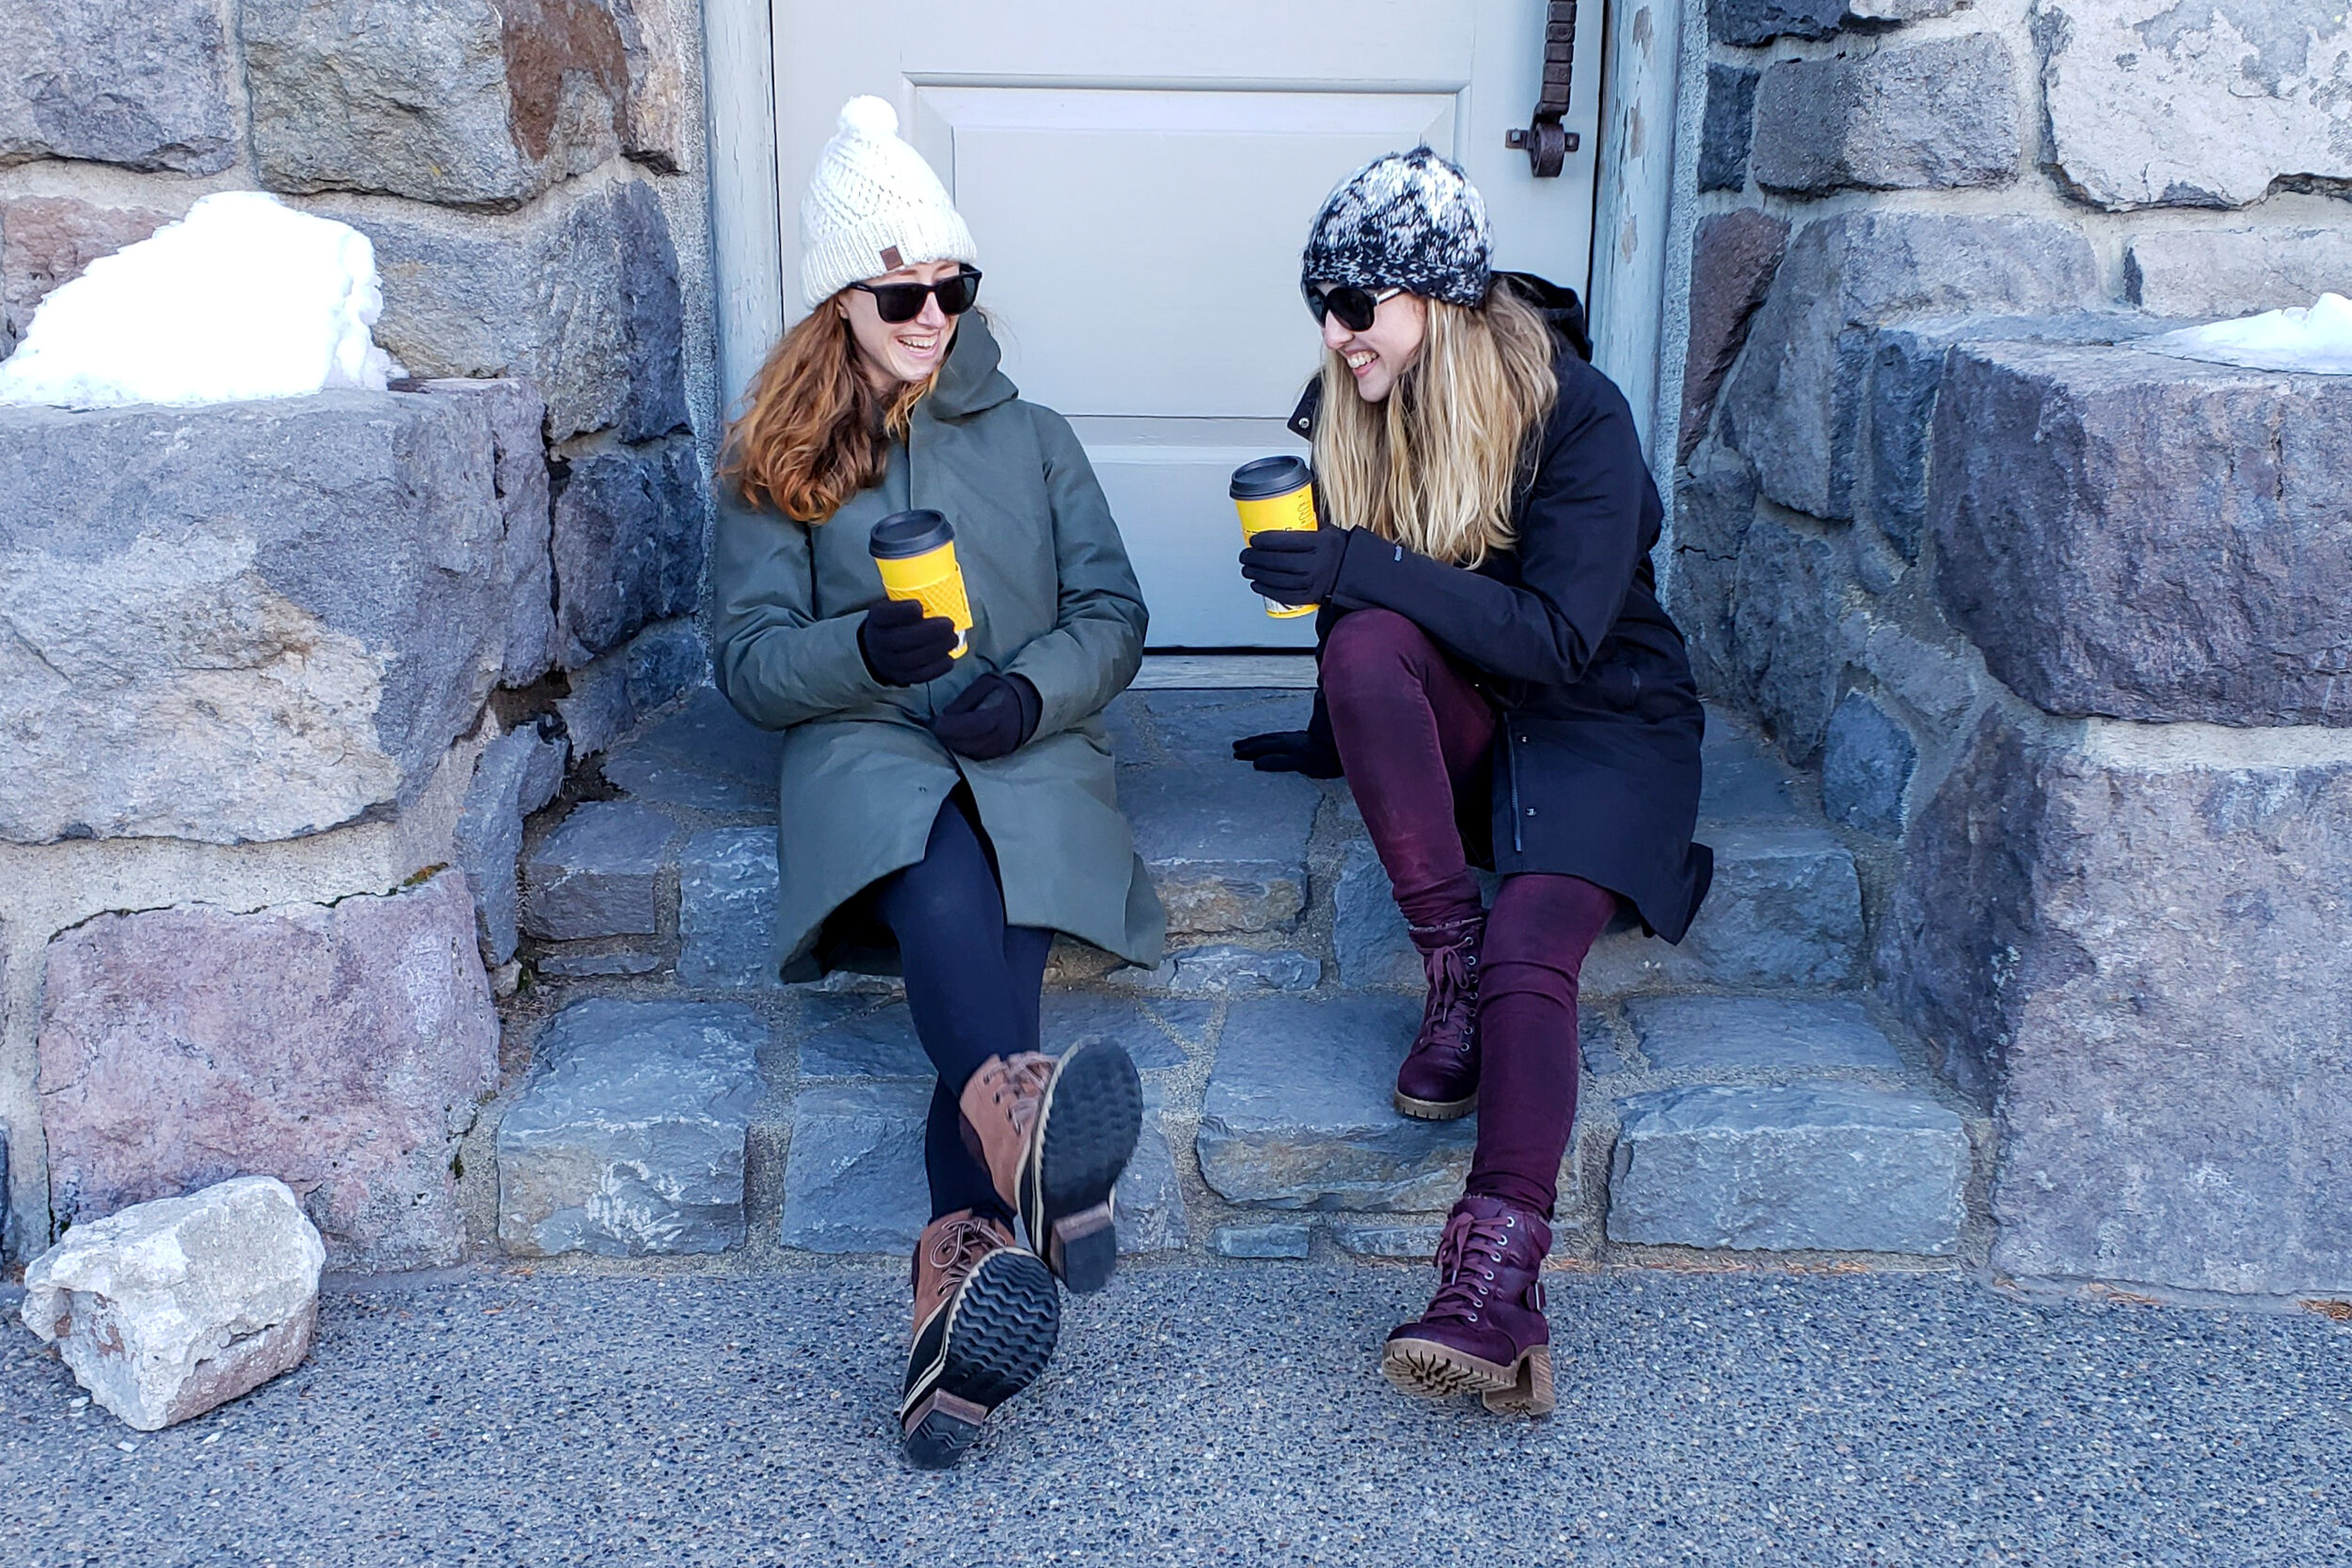
Capture Candid Moments
Most people are uncomfortable in front of a camera, so it’s pretty common for posed photos to look forced and awkward. Candid or unposed photos generally have more life to them and look more natural.
If you really want to take a still portrait of someone and you can tell they’re nervous, make it as quick and painless as possible. Frame up the scene before you put them in it and have a plan, so you can snap a few shots and move on. Showing an example of how to pose, giving a little direction, and complimenting your subject can help. Or give them an action to do and snap the photo just after.
The less arduous you make the process, the more willing people usually are to be in your photos. And the more comfortable they are, the better your photos will look.
Enjoy The Moment
We all want to take home that perfect adventure shot, but don’t forget to be present and enjoy the experience. Take a few pictures, then put down the camera for a bit. Before you move on to a new spot, review your pictures, then take a couple more if you think of any improvements.
Go Natural On Filters And Editing
It’s really easy to overdo it in the editing room. If you’re not careful, you can ruin perfectly good shots.
Unless you’re going for a specific artistic effect, resist the urge to dial up the contrast and saturation in your photos. Images with a more natural look are classy, timeless, and ultimately more useful.
If you want to try something more dramatic, you can always make duplicates of your favorite images. I use Adobe Lightroom to edit all of my photos. The Auto setting does a great job giving my photos a little punch without making them unnatural looking.

Have The Right Tools
Camera
The best camera for adventure photography is the one that you’ll actually use – that means being willing to learn the controls, keep it charged, and carry it. I use a DSLR for dedicated photoshoots in the frontcountry, especially if there will be lots of action (like running). For remote or multi-day adventures, a smartphone is almost always my camera of choice – it’s convenient, easy to use, and makes quality shots for digital use.
- DSLR cameras capture the highest quality images and offer the most control. That said, there’s a steep learning curve to mastering them. They’re also pretty heavy and bulky, which isn’t ideal for activities like backpacking when you’ll be carrying all your gear. If you want to use a DSLR in the backcountry, you may want to splurge for a mirrorless model to save weight.
- Point-and-shoot cameras, like the Sony RX100, have a great balance of image quality and portability, though we find them a bit mediocre in the convenience department since you can’t use them to edit or upload the photos as easily as you can with a smartphone.
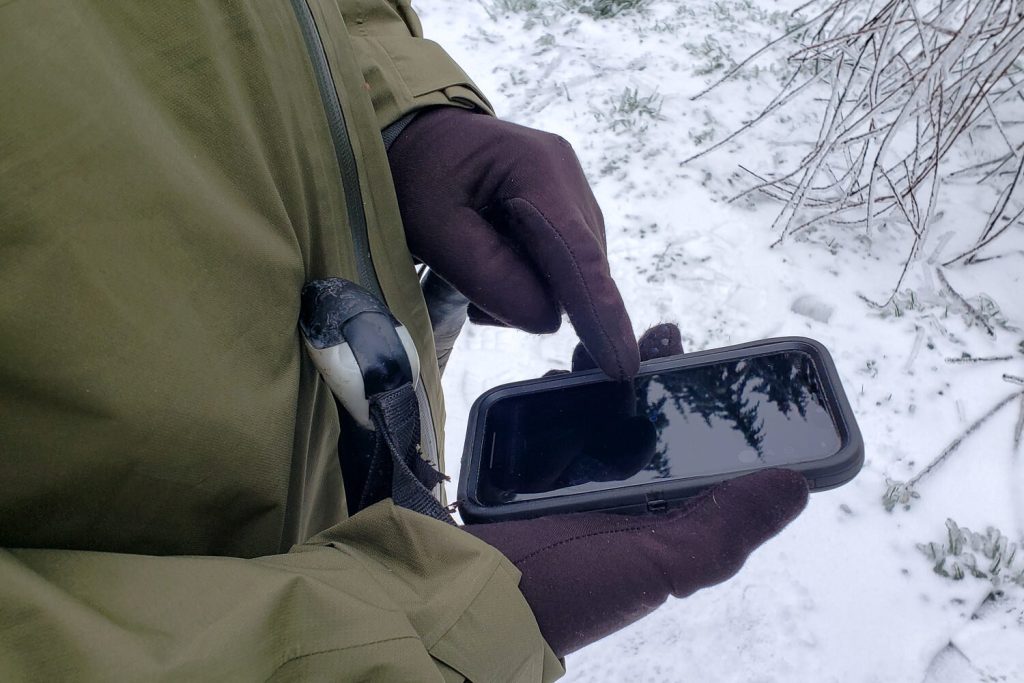
- The most current smartphones (Apple / Android) on the market are capable of capturing some pretty darn incredible photos that give professional cameras a run for their money. And since they’re slim, lightweight, and serve multiple purposes (GPS, phone, camera), they’re excellent for backcountry trips.

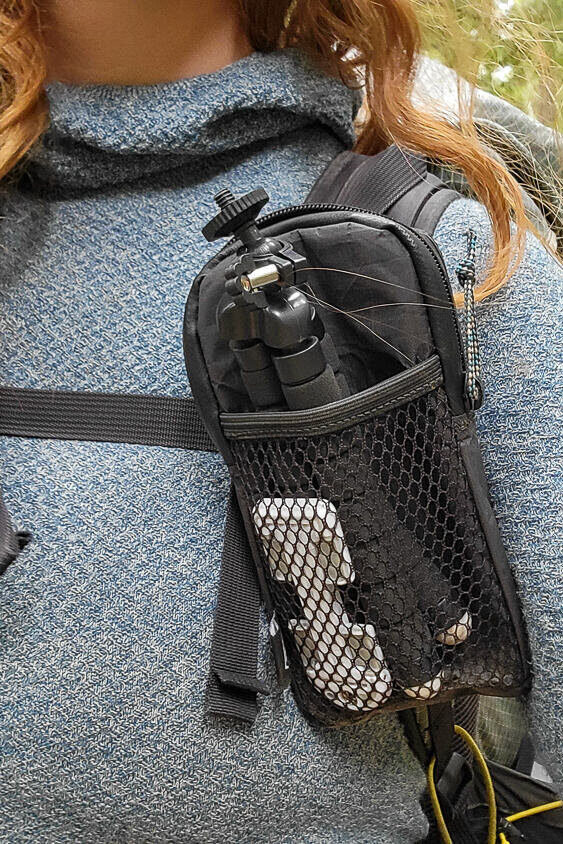
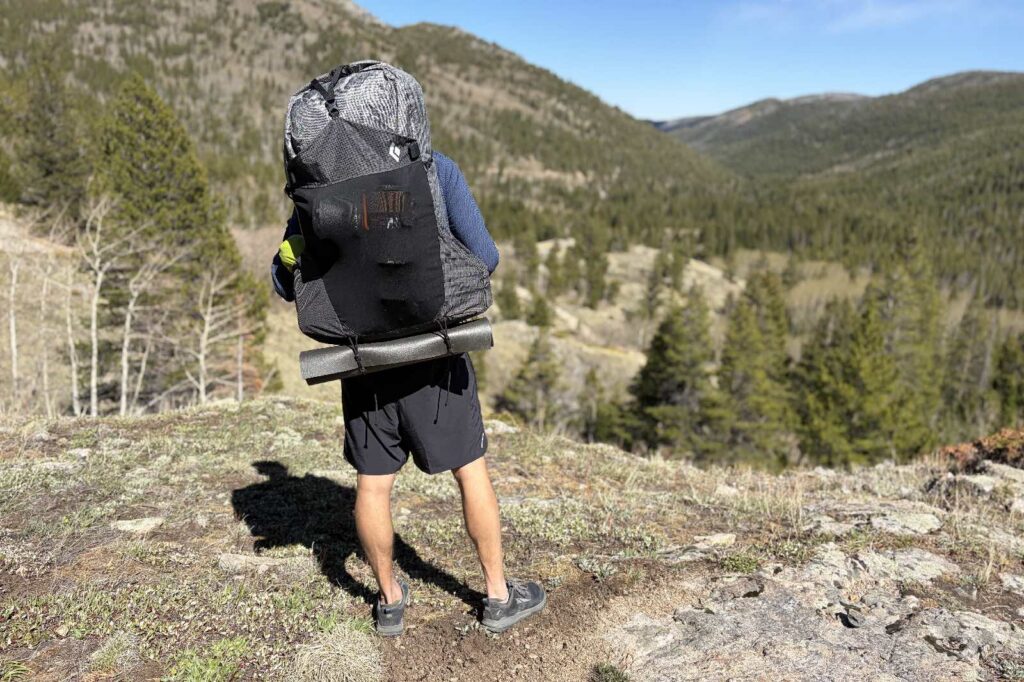
Holster Or Pocket
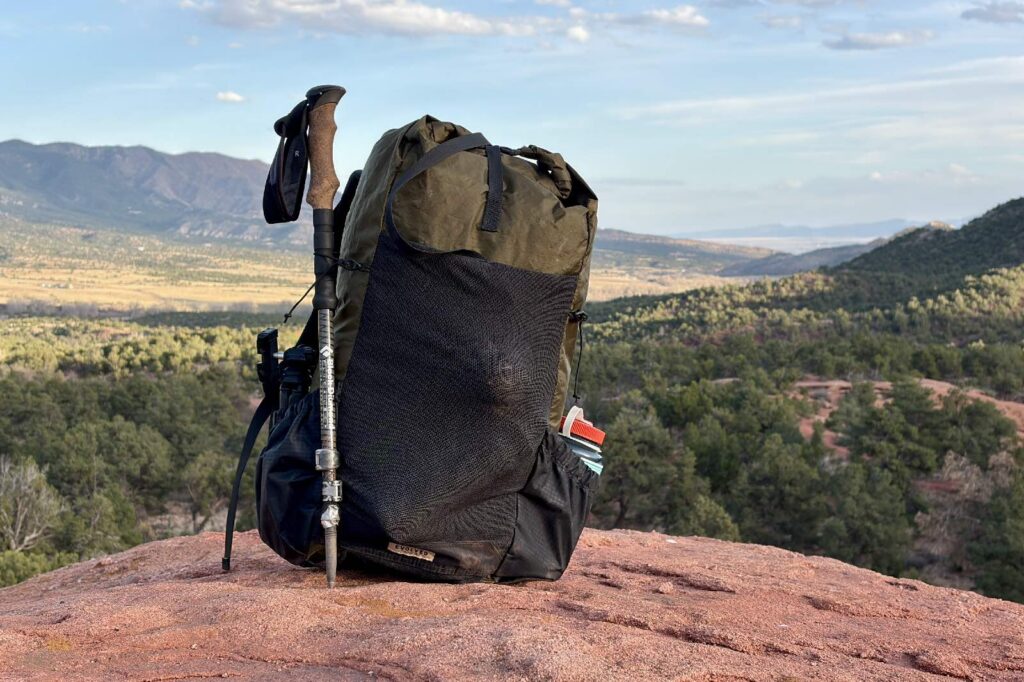
Whether you choose to wield a DSLR camera, a point-and-shoot, or a smartphone, make sure it’s super quick and easy to access, so you don’t have to stop and take off your backpack to reach it. I can’t tell you how many times I’ve missed an epic shot because I was hesitant to dig out my camera before I had the right holster.
A dedicated shoulder or hip belt pocket on your backpack makes it much more convenient to grab your device and put it away again when you’re on the go. Storing your camera in a pocket or case will also protect it from being dropped, shield it from light precipitation, and keep trail dust at bay. For day trips, a waterproof fanny pack will help keep your camera phone ready.
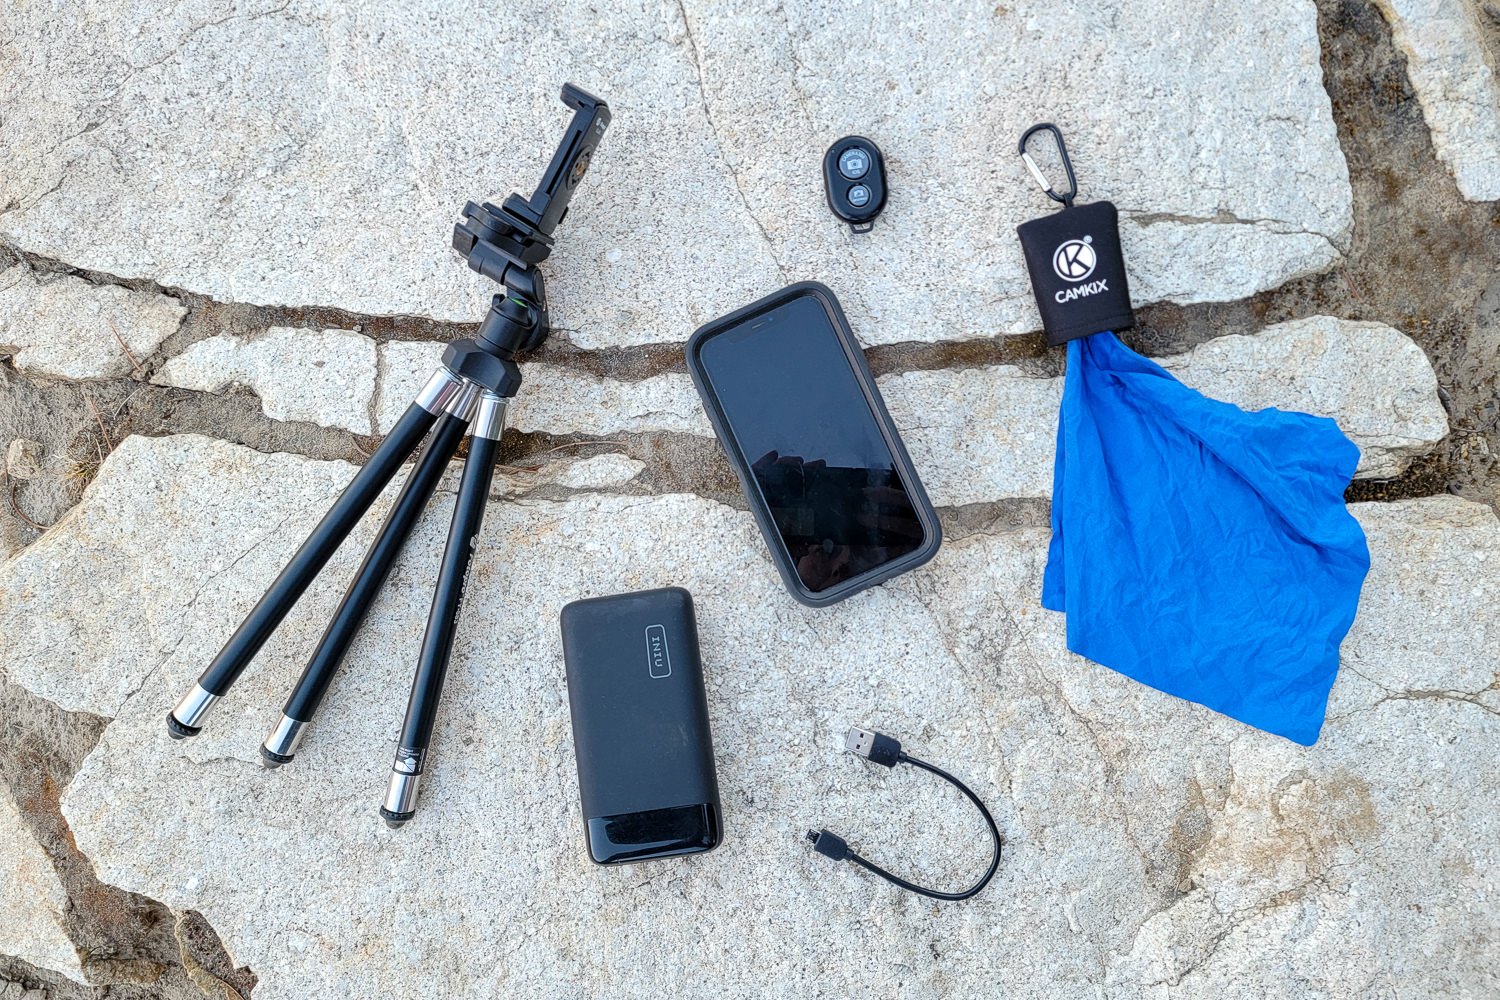
Tripod
A tripod (for phone / DSLR) will allow you to capture clearer low-light photos, and make it much easier to get in your own photos without making them look like a typical up-close selfie. A small tripod with flexible legs is the lightest and most compact, though it’s limited to a low-angle perspective without a boost from a well-placed rock, tree branch, or your backpack. A more substantial telescoping tripod (for phone / DSLR) is easier to place where you want it, but heavier. If you’re shooting with a phone, make sure your tripod is equipped with a quality smartphone tripod mount to securely grip your phone.
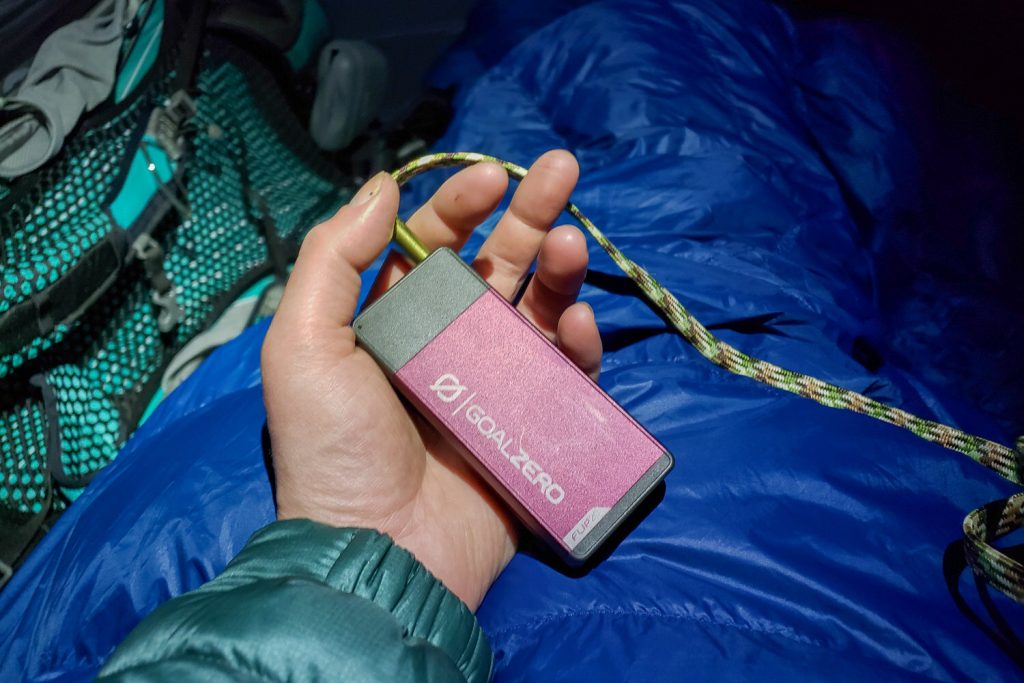
Batteries
If you’re taking lots of pictures, your camera will burn through its battery quickly. Make sure you have a way to recharge your phone or camera each night while you’re out in the field so you don’t miss a shot. I carry an extra battery or two when using a DSLR, and a power bank with a short charging cable for my smartphone on multi-day trips. This adds some weight to my pack, but it’s worth it to ensure I never run out of juice.
Camera Shutter Remote Control
You’ll also need a simple wireless remote to trigger your shutter button from a distance when using a tripod. This allows you to take photos of yourself from a distance and eliminate camera shake on long-exposure shots. Make sure the remote you buy is compatible with your device and that it has a working battery before you head out! Smartphone remotes are small and easy to lose, so I usually attach mine on a lanyard or connect it to the zipper pull on my hip belt pocket with a small carabiner to make it easier to keep track of.
Lens Cloth
A single spec of dust can ruin a whole batch of photos (or make for a time-intensive editing burden later), and it can be a real challenge to keep your lens clean while you’re out adventuring. I always carry a microfiber cleaning cloth and make it a habit to wipe my camera lens regularly. It only takes a second and could save you hours of editing later.
Waterproof Cover
If you know you’ll be out in inclement weather, you’ll need to protect your camera from getting wet while you’re using and storing it. Just remember, it’s important to keep your gear as lightweight as possible when backpacking. A simple rain cover and dry bag should be sufficient for DSLR users. For phones, a waterproof case and Ziploc should do the trick.
PLB (Personal Locator Beacon)
A personal locator beacon is a device that can be used to send a GPS emergency signal from the wilderness in areas without cell phone reception. If you’re ever deep in an isolated wilderness and you need emergency help, a PLB could save your life. The main downside with locator beacons is they tend to be pretty expensive and require a subscription, but their upsides are worth it in our opinion – especially when hiking in truly remote locations. We like the Garmin InReach Mini, which allows us to message with loved ones and can a search and rescue if necessary.
Adventure Photography Checklist
DSLR/Point-and-Shoot
- Camera
- Holster/camera clip
- Tripod
- Remote shutter
- Microfiber cleaning cloth
- Rain cover and dry bag
- Extra battery
- Extra camera card (formatted before trip)
Smartphone
- Phones (Apple or Android)
- waterproof fanny pack
- Tripod
- Smartphone tripod mount
- Remote shutter
- Small carabiner for remote
- Microfiber cleaning cloth
- Waterproof case and Ziploc
- Power bank
- Short charging cable
- Backup photos and clear storage before trip
Final Thoughts
Trial and error, close observation of your own work, and inviting constructive criticism will take you far as a photographer. Shoot often, be diligent in uploading and looking at your images on a larger screen, get feedback, and you will improve. Consider your goals for wanting to grow your photography skills, and when you nail a shot, celebrate! Awesome adventure photos help us all keep the spark alive in our day to day lives.