One of the most common problems hikers and backpackers experience are blisters. They may be small, but they can easily be painful enough to end your trip. We put together this guide to share our favorite methods for preventing blisters entirely and treating them when they do happen – as well as general foot care tips to keep your tootsies happy and healthy on the trail.
What Causes Blisters?
Pressure, heat, and moisture are the leading culprits that cause blisters to form on your feet while hiking. Under these conditions, layers of skin can separate from each other and fill with fluid – this is a blister.
Footwear is Key – Trail Runners vs. Boots
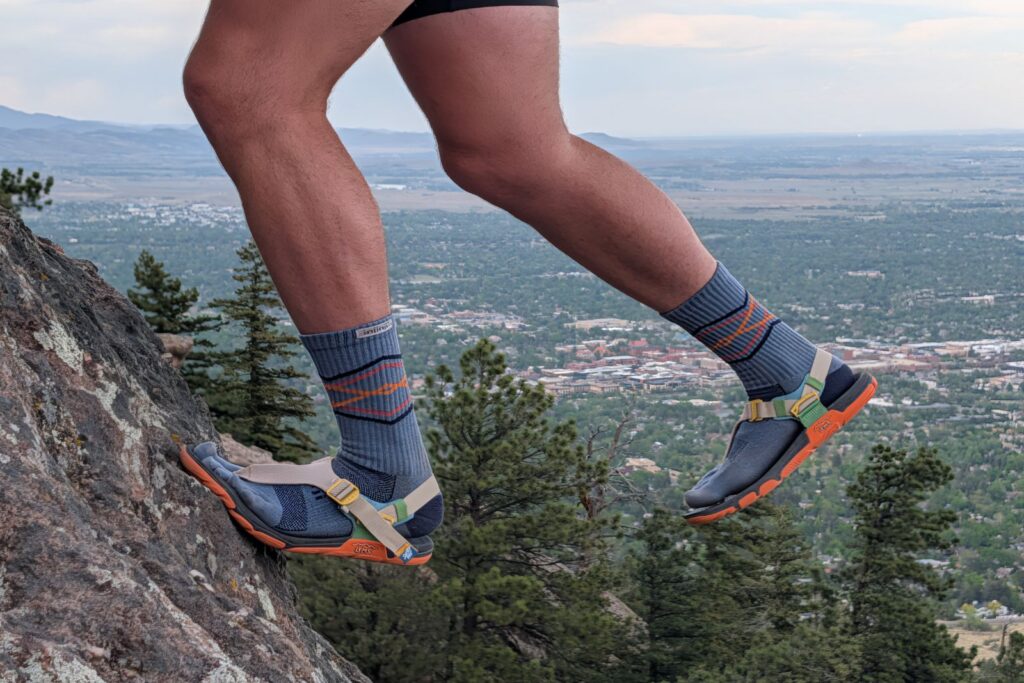
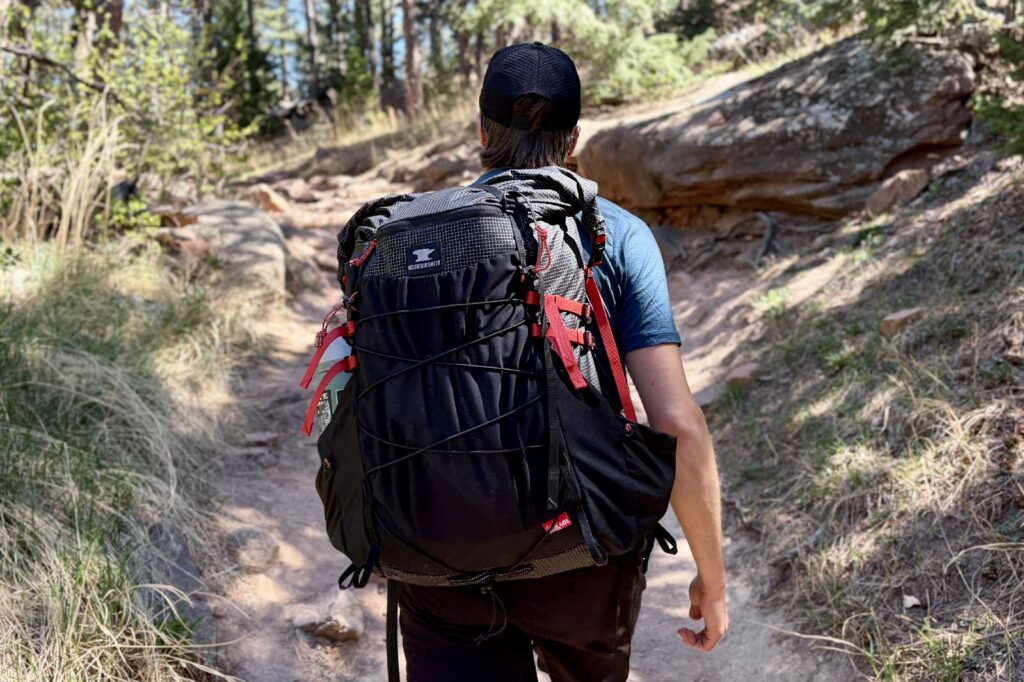
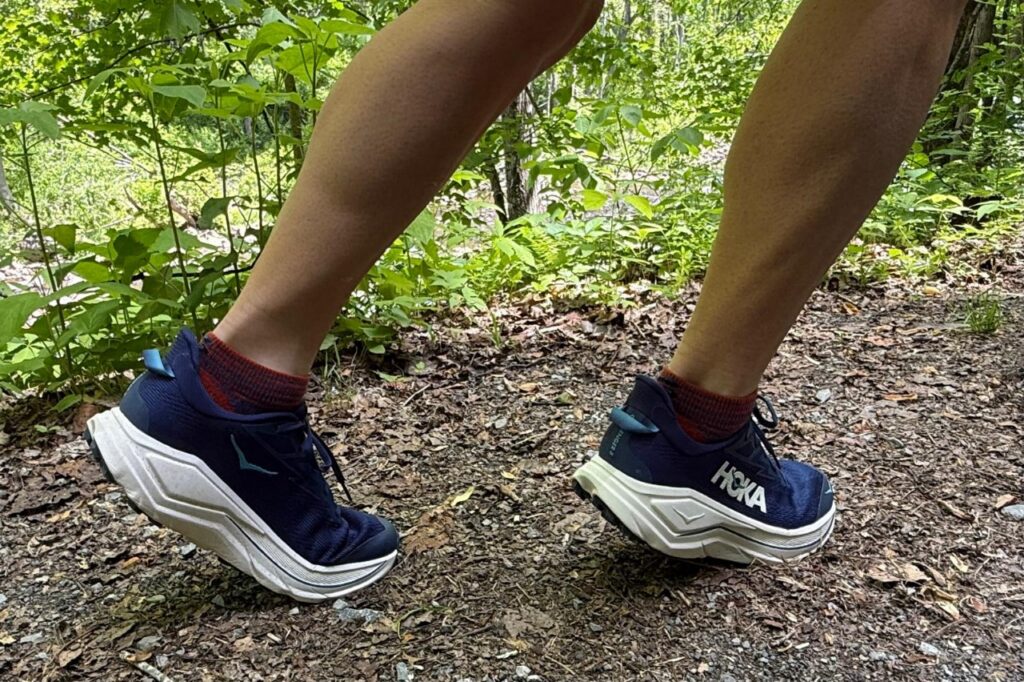
We almost always wear trail runners for hiking and backpacking for reasons we explain in our 5 Reasons to Ditch Your Hiking Boots post.
To summarize, trail runners are far more comfortable, lightweight, breathable, and quick-drying than boots. In most situations, trail runners have helped us mitigate our blisters. There are, however, some situations when boots are the right move. For a more in-depth look at what we look for in excellent footwear for hiking, check out our lists of the best men’s hiking shoes and best women’s hiking shoes.
How to Prevent Blisters
Proper Footwear Fit
One of the most important factors in staying blister-free is making sure your footwear fits well. Shoes or boots that are too loose will only encourage sliding and rubbing, which can agitate the skin and create blisters. Shoes that are too tight also create pressure points and friction, which leads to blisters.
A little extra space in the toe box is a good, but you don’t want your feet to be slipping and sliding, either. Make sure your shoes fit just right. A good pair of insoles can really help if you’re feet are between sizes or need extra support as well.
Feet Grow on Long Trails
If you’re hiking long-distance, keep in mind that your feet may widen and swell a bit as you log serious miles. We don’t recommend buying all of your shoes at once for a thru-hike since you may want to upsize towards the tail end of your journey. One of our writer’s feet grow by almost two sizes on a thru-hike!
Break in New Footwear (Especially Boots)
If you plan to wear brand new footwear (especially boots) on a trip, make sure to break them in by wearing them around before you head into the backcountry. New shoes/boots can be quite stiff and if there are areas of pressure or friction, so you’ll want to address those from the comfort of your own home and make adjustments as needed.
Worn-in footwear is far more comfortable and as your shoes eventually conform to your feet. Having said that, make sure old boots still have good tread on the sole and cushion/support on the inside. Unfortunately, no shoes or boots last forever.
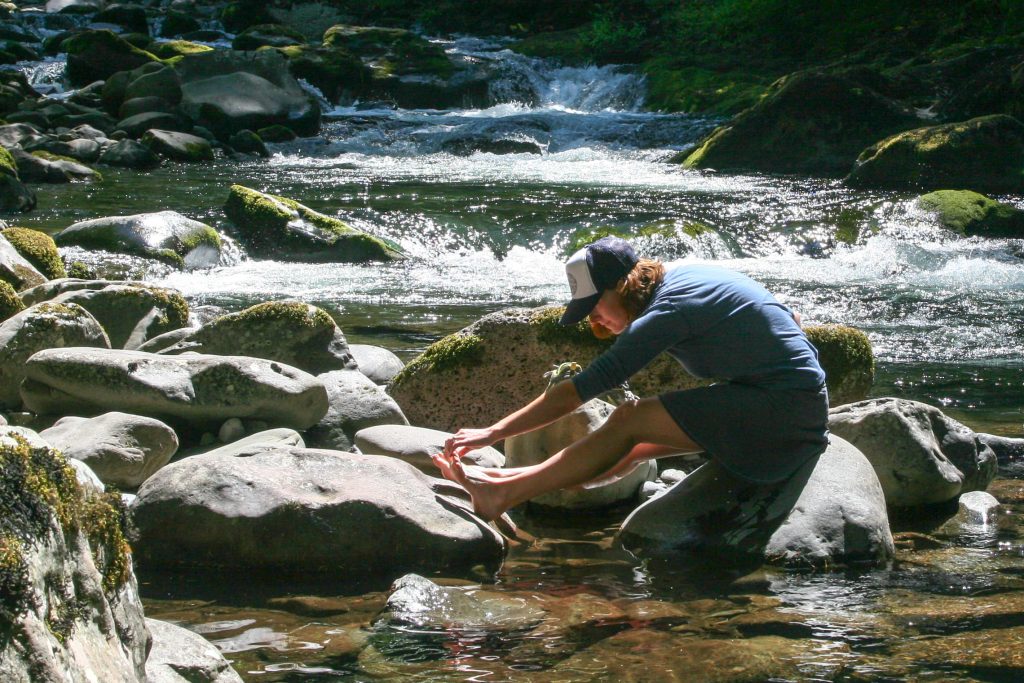
Keep Feet Clean
Keeping your feet as clean as possible will help reduce chafing caused by dirt and debris while also reducing the chances of blisters becoming infected. Seize opportunities to rinse your feet in cool flowing water and clean them in camp at the end of the day.
After long days of hiking (and wet feet in rainy conditions), it’s always important to keep your feet clean and dry throughout the night to allow your skin to recuperate.
Change Your Socks
It’s wise to carry at least two pairs of hiking socks, so you can swap them out as needed and rinse/dry another pair for later. We keep a large safety pin clipped to the back of our packs to secure socks and bandanas, so they can air dry while we’re on the move.
We also like to pack a pair of comfy warm socks and reserve them for wearing in our sleeping bags at night. Keeping your feet in relatively clean socks will help keep them healthier, more comfortable, and blister-free.
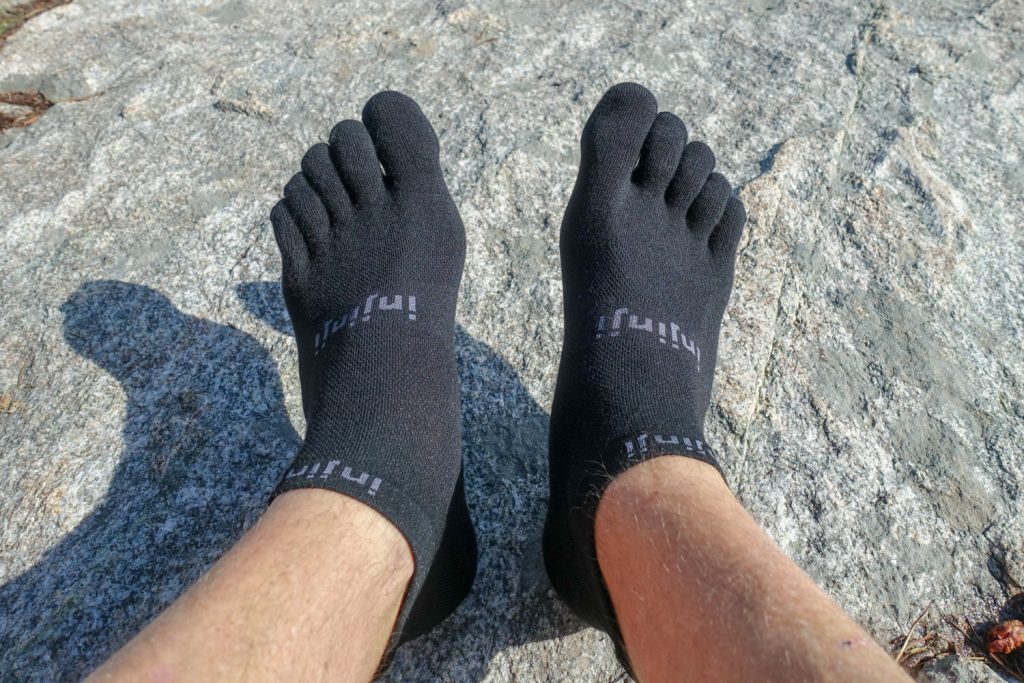
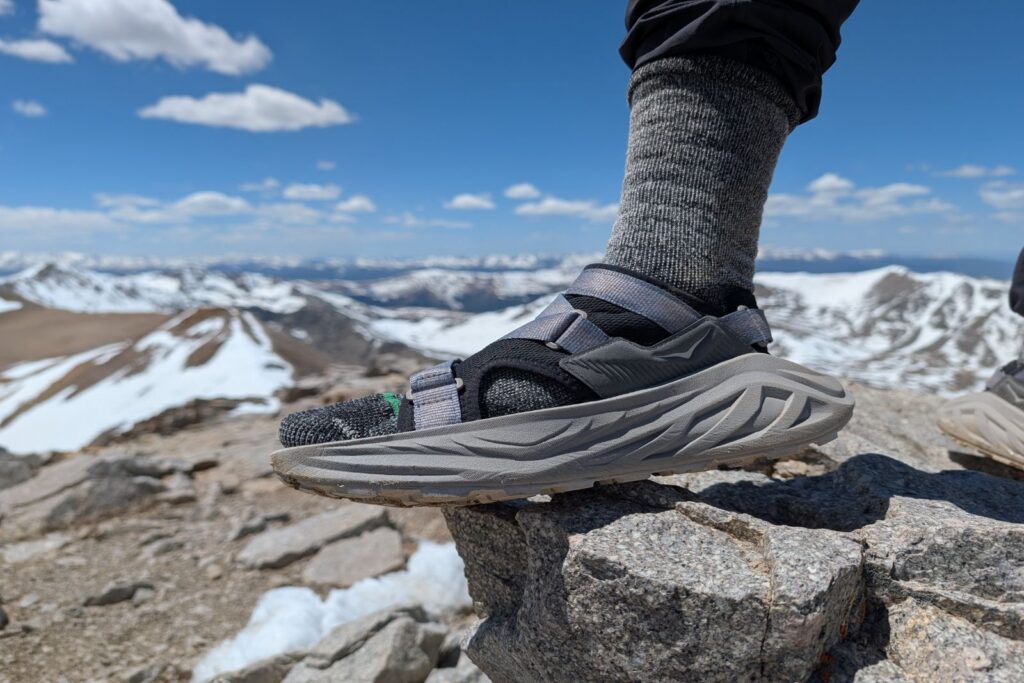
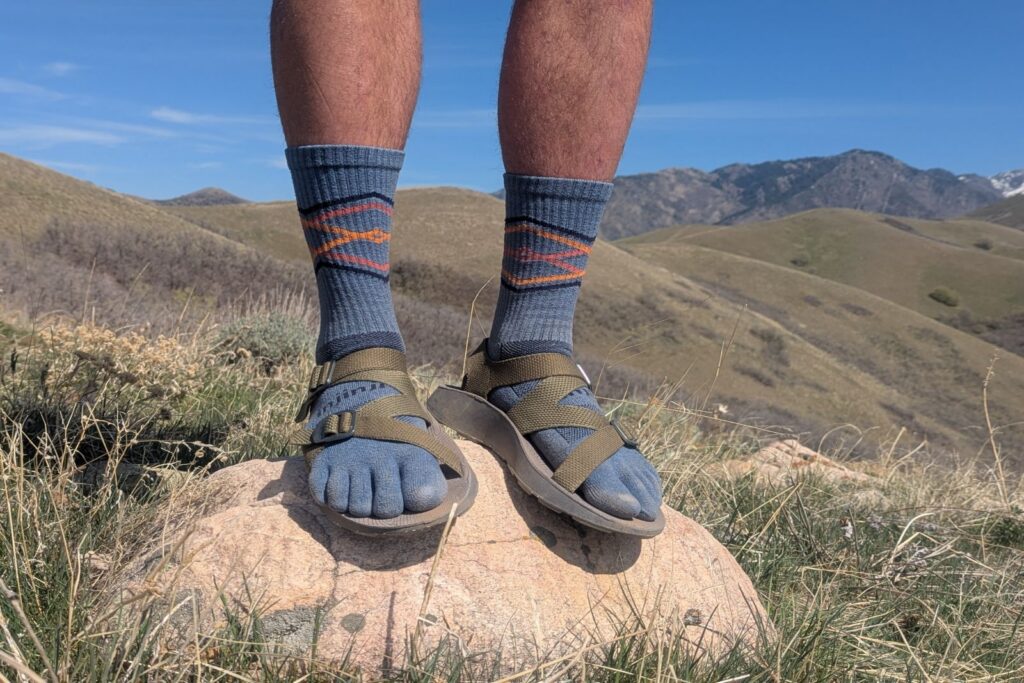
Good Socks
Quality socks are critical for keeping your feet dry and cool on the trail. Wool and synthetic fibers are best for wicking sweat away from your skin, and they dry quickly after water crossings too.
Avoid cotton since it performs poorly and can lead to blisters.
Good hiking socks should fit snugly without wrinkling to minimize friction. Wearing thin liner socks under another pair of socks can be a good way to create a double-layer system for those who are extra susceptible to blisters. And some hikers find toe socks to be helpful, particularly in preventing blisters between the toes. For more details, check out our list of the Best Hiking Socks.
Adjust Your Laces
Taking the time to adjust your shoe/boot laces for different terrain is well worth a pause to keep your feet in good shape. Most of the time, we keep our shoes laced loosely to allow our feet to swell and be comfortable. But on long steep descents, we tighten our laces at the instep (where ankle meets foot) to prevent our toes from hitting the fronts of our shoes.
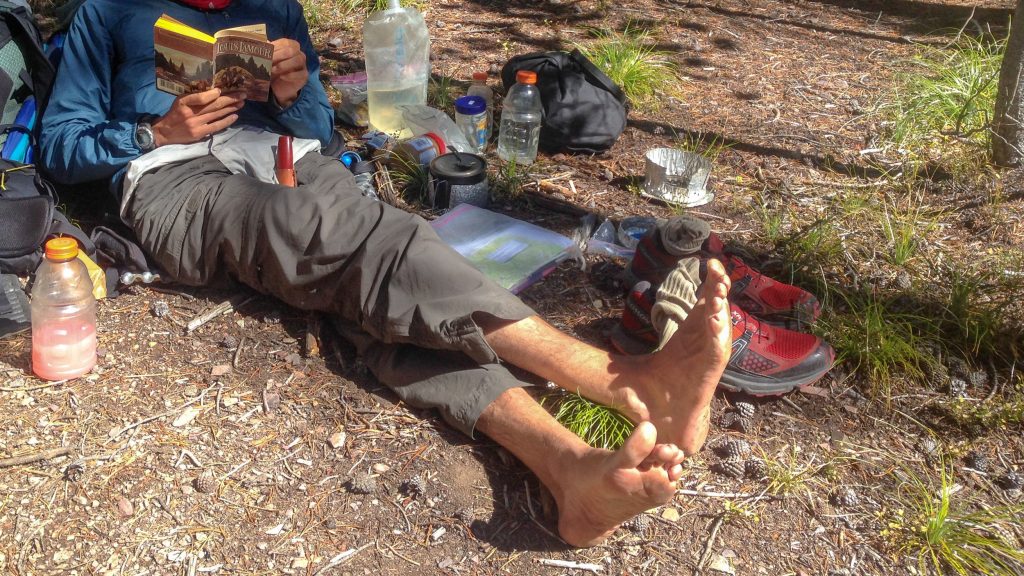
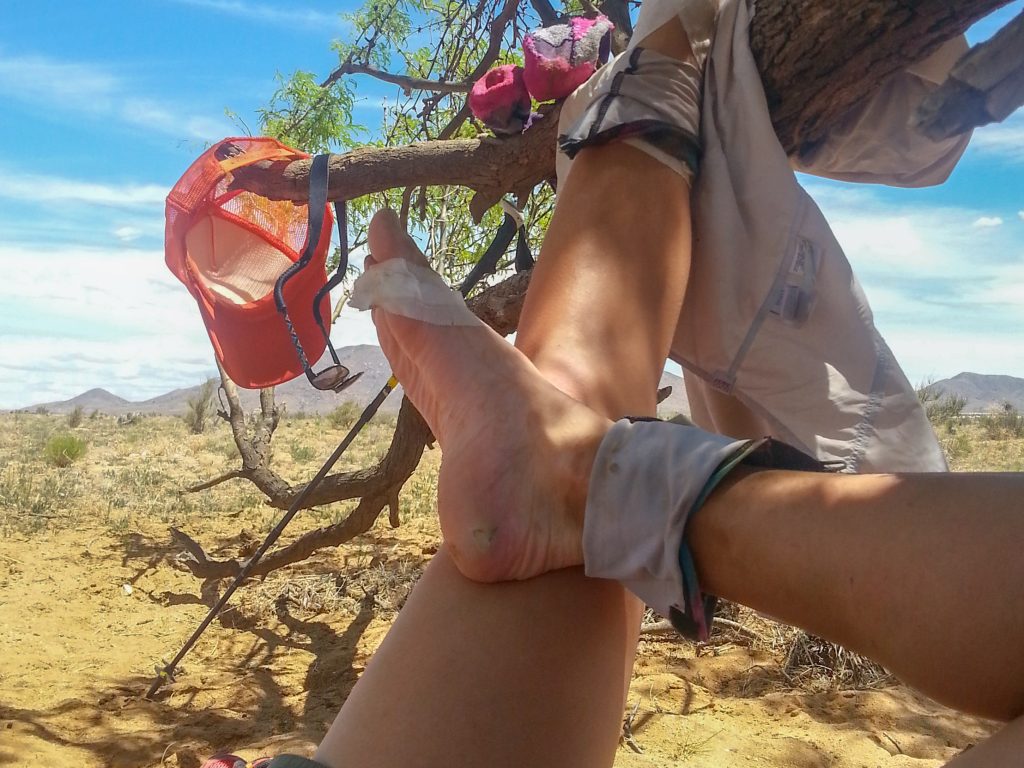
Get Some Air Time
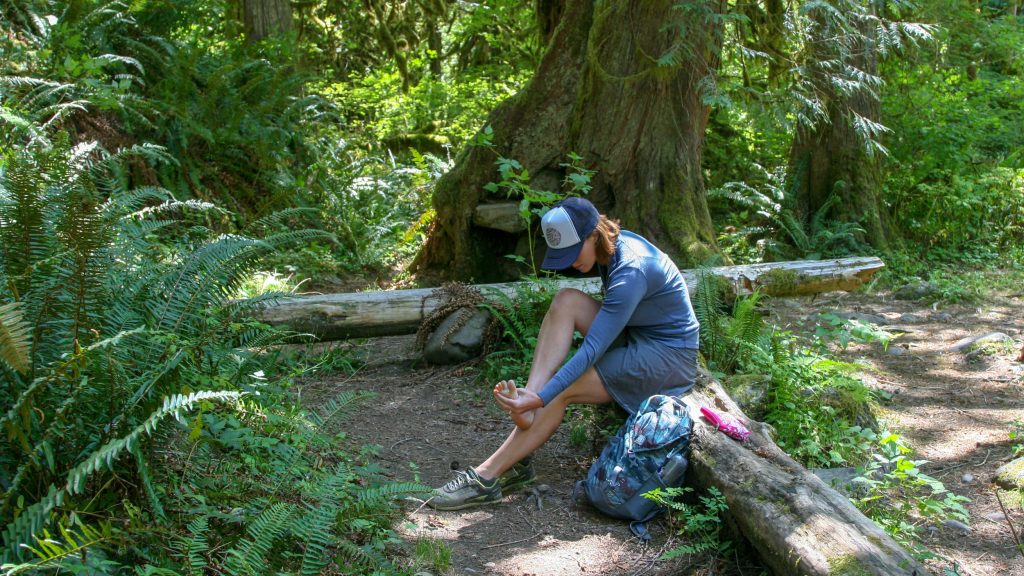
Taking off your shoes and socks to air out your feet during breaks feels good and can go a long way for preventing blisters. Sure, it takes a few extra minutes, but it’s well worth the effort to let your skin breathe and give your socks a chance to dry out.
Our general rule is that if we’re taking a break for 15 minutes or longer, the shoes come off. Elevating your legs and feet by propping them up with your pack can also reduce swelling and speed the recovery of your lower body. This is also an excellent opportunity to dump out any debris that got into your shoes and to inspect your feet for hot spots.
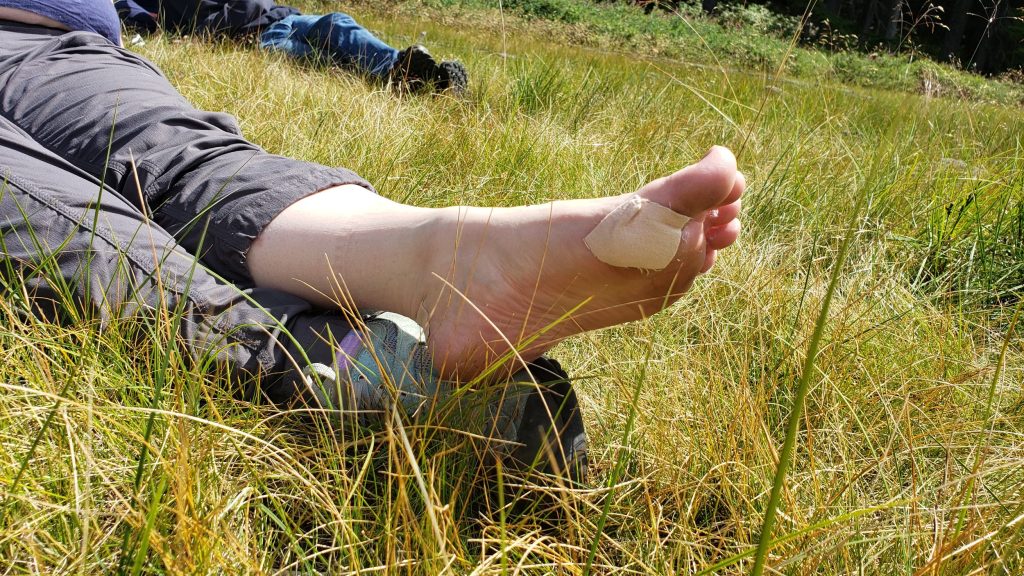
How to Treat Hot Spots
STOP
If you notice any foot pain or discomfort while you’re hiking, stop immediately, find a place to sit, and take off your shoes to assess the situation. It can be annoying to stop, but this simple step will save you tons of time and pain in the long-run.
TAPE
If a blister hasn’t formed yet, clean and dry the area, and then cover the hot spot with a thin layer of duct tape to reduce friction. Make sure the duct tape is affixed as smoothly to your skin as possible.
LUBE
If the skin is red and raw or a blister has partially formed, use antibiotic ointment on it and then cover the hotspot with a blister bandage, Band-Aid, or Moleskin before applying tape.
LEAVE
If the hot spot doesn’t get worse, try to leave the tape in place until you return home and can remove it very carefully to avoid injuring the skin.
How to Treat Blisters
Sometimes, you still end up with a blister – no matter how attentive you are with prevention. But if you have the right first-aid supplies and know how to use them, you can still manage the situation and continue to hike without pain or worry.
Here’s what you can do to get your feet on their way to peak performance:
- CLEAN your hands and the blistered area with soap and water or with an alcohol/antiseptic wipe.
- STERILIZE a safety pin, sewing needle, scalpel blade, or small knife with an alcohol wipe or boiling water.
- PIERCE the blister from the bottom, slightly elongating the hole by gently moving your tool side to side (a pinhole will close up too quickly). Tip: Always try to keep the ‘roof’ or blister top in place to prevent infection and keep the more sensitive skin beneath covered.
- DRAIN the fluid from the blister by carefully massaging it down and out. Tip: If you have a needle with an eye, you can pierce the blister from top to bottom, threading it with a short segment of sterilized floss or thread to create a wick that allows drainage to continue as you hike. We keep a tiny spool of braided fishing line and a big eye needle in our blister kit for this purpose – as well as emergency repairs.
- COVER the blister with antibiotic ointment to prevent infection.
- PAD around (not on top of) the blister with a piece of Moleskin or Molefoam cut into a donut shape. The hole in the center should be slightly larger than the blister.
- BANDAGE the blister with a piece of gauze, an adhesive Band-Aid or Moleskin.
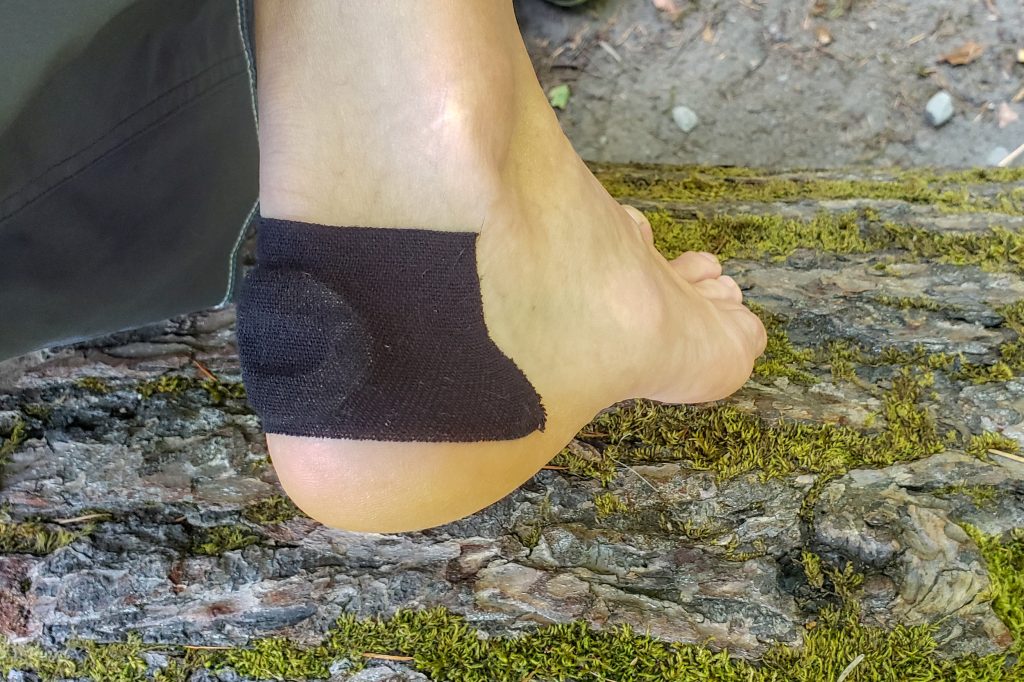
- TAPE over the blister and surrounding area with a larger piece of duct or KT tape. The idea is to protect the area and prevent it from rubbing inside your shoe, so do your best to avoid sticking tape or a bandage directly on the drained blister.
Blister First Aid Kit
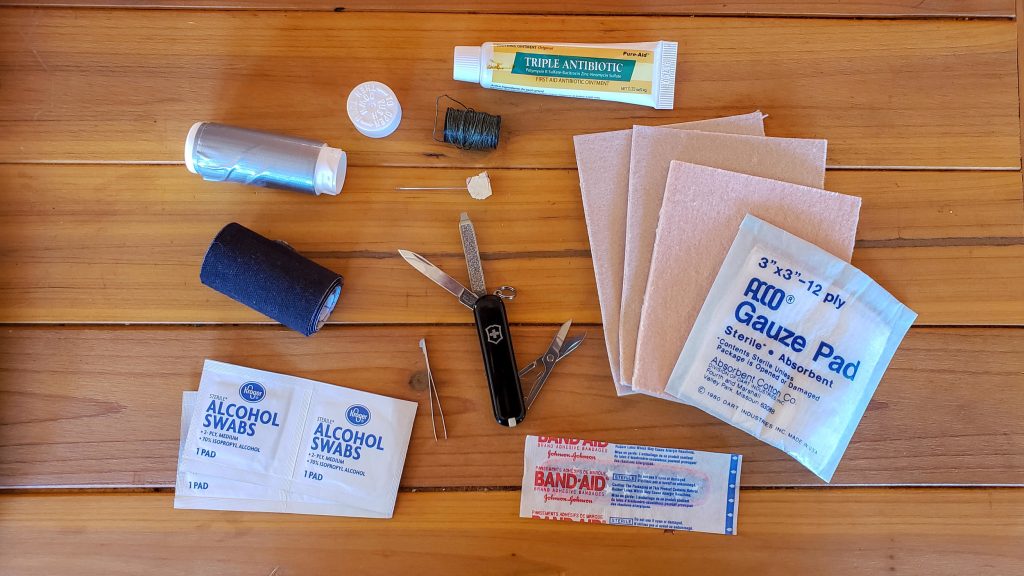
Make sure you’re prepared to prevent and treat blisters by carrying the proper supplies in your first aid kit, or make a small “blister kit” to keep in an easily accessible place in your backpack. Every kit should have:
- Duct tape (we like to wrap it around an empty pill bottle, which can also store a needle, pins, and thread.)
- Moleskin and/or Molefoam
- Lightweight multitool with scissors, tweezers, and small knife
- Soap, alcohol or antiseptic wipes
- Safety pin, sewing needle, or scalpel blade
- Braided fishing line or dental floss on a tiny spool (optional)
- Band-Aids (optional)
- Gauze (optional)
- Blister bandages (optional)
- KT tape (optional) – Elastic therapeutic tape, also called kinesiology tape, or KT, is an elastic cotton strip with strong acrylic adhesive that is used to treat pain from athletic injuries. It has excellent holding power for blister care and is helpful for supporting many other common overuse injuries as well.
Check out our Essential Items and First Aid Kits episode in our Essential Trail Skills video series.
Foot Care Tips
Taking good care of your feet before, during, and after backpacking trips is a good habit that keeps blisters at bay and makes your experience more enjoyable. There’s no shame in having a solid self-care routine on and off the trail.
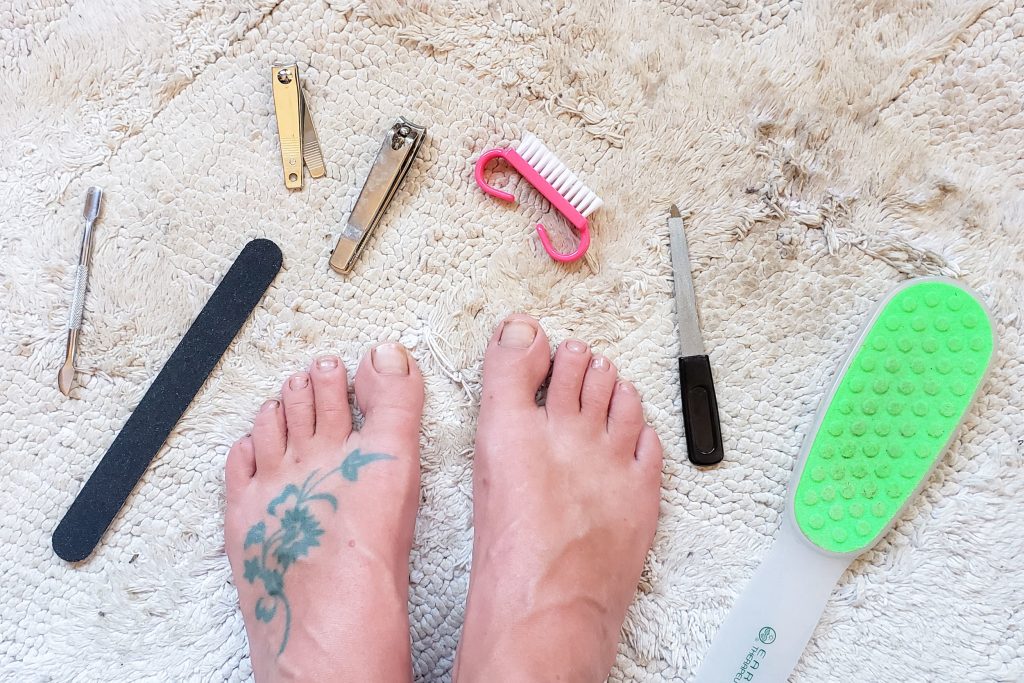
AT HOME OR IN TRAIL TOWNS:
- Trim toenails short and keep them filed smooth, eliminating sharp edges and points. A well-equipped, lightweight multitool can replace clippers, scissors, a file, tweezers, and a knife for maintenance on the go.
- Clean feet regularly and thoroughly, paying attention to details like removing dirt from under toenails.
- Moisturize the skin with lotion or coconut oil to prevent painful cracking and unnecessary roughness that creates friction and wears out socks.
- Rest and elevate your feet during downtime to reduce swelling. If blisters are really bad, you may need to give them a day or more off to heal properly before moving on.
- Soak sore feet in warm water to relax muscles and tendons. Extra bonus if you add Epsom salt to speed recovery. (If you’re on a long trip, you can use a hotel room bathtub, bear canister, or whatever vessel you can find).
- Massage feet for a few minutes a day to keep them strong and flexible. Foot massage is also beneficial for circulation, promoting restful sleep, stimulating healing in the body, and preventing ankle injuries.
- Treat athlete’s foot or other skin irritations by soaking feet in warm water with a shot of apple cider vinegar diluted in it.
- Smooth thick calluses with a pumice stone or foot rasp to prevent blisters from forming underneath them (especially in the heel). It’s good for hiker feet to be slightly tough instead of baby-bottom smooth, but the skin should be alive, pliable, and healthy.
Prevention is far easier than finding a cure when it comes to blisters. But if you’re prone to getting them, don’t give up. Invest in your foot care game, walk or hike frequently, and experiment with footwear until you find a winning combination. Your feet will thank you for it.