Bottom Line
Since we first got our hands on the inimitable Aeropress Go, we were smitten. After all, which other coffee-making device can create espresso, French press-style coffee, and even cold brew in such a compact package? What’s more, this simple brewer also excels at producing the precise strength of brew you desire. All you need to do is adjust your technique and timing, and you can easily transition a cup from light to dark with just a few tweaks and a little extra time.
You can use the Aeropress as a cross between a pour-over and a French press, but you can also invert it, let it steep, and then press it for a more espresso-style cup. This was our favorite way to prepare coffee when we wanted to sip something stronger, such as on mornings that called for dark starts when we needed more motivation to get moving. Indeed, as a quick online search will reveal, there are as many options for brewing with the Aeropress Go as there are coffee drinkers.
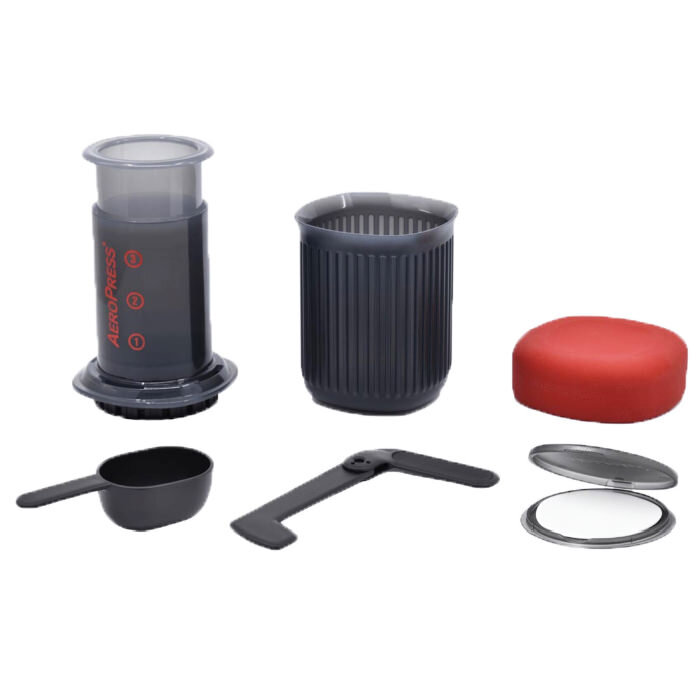
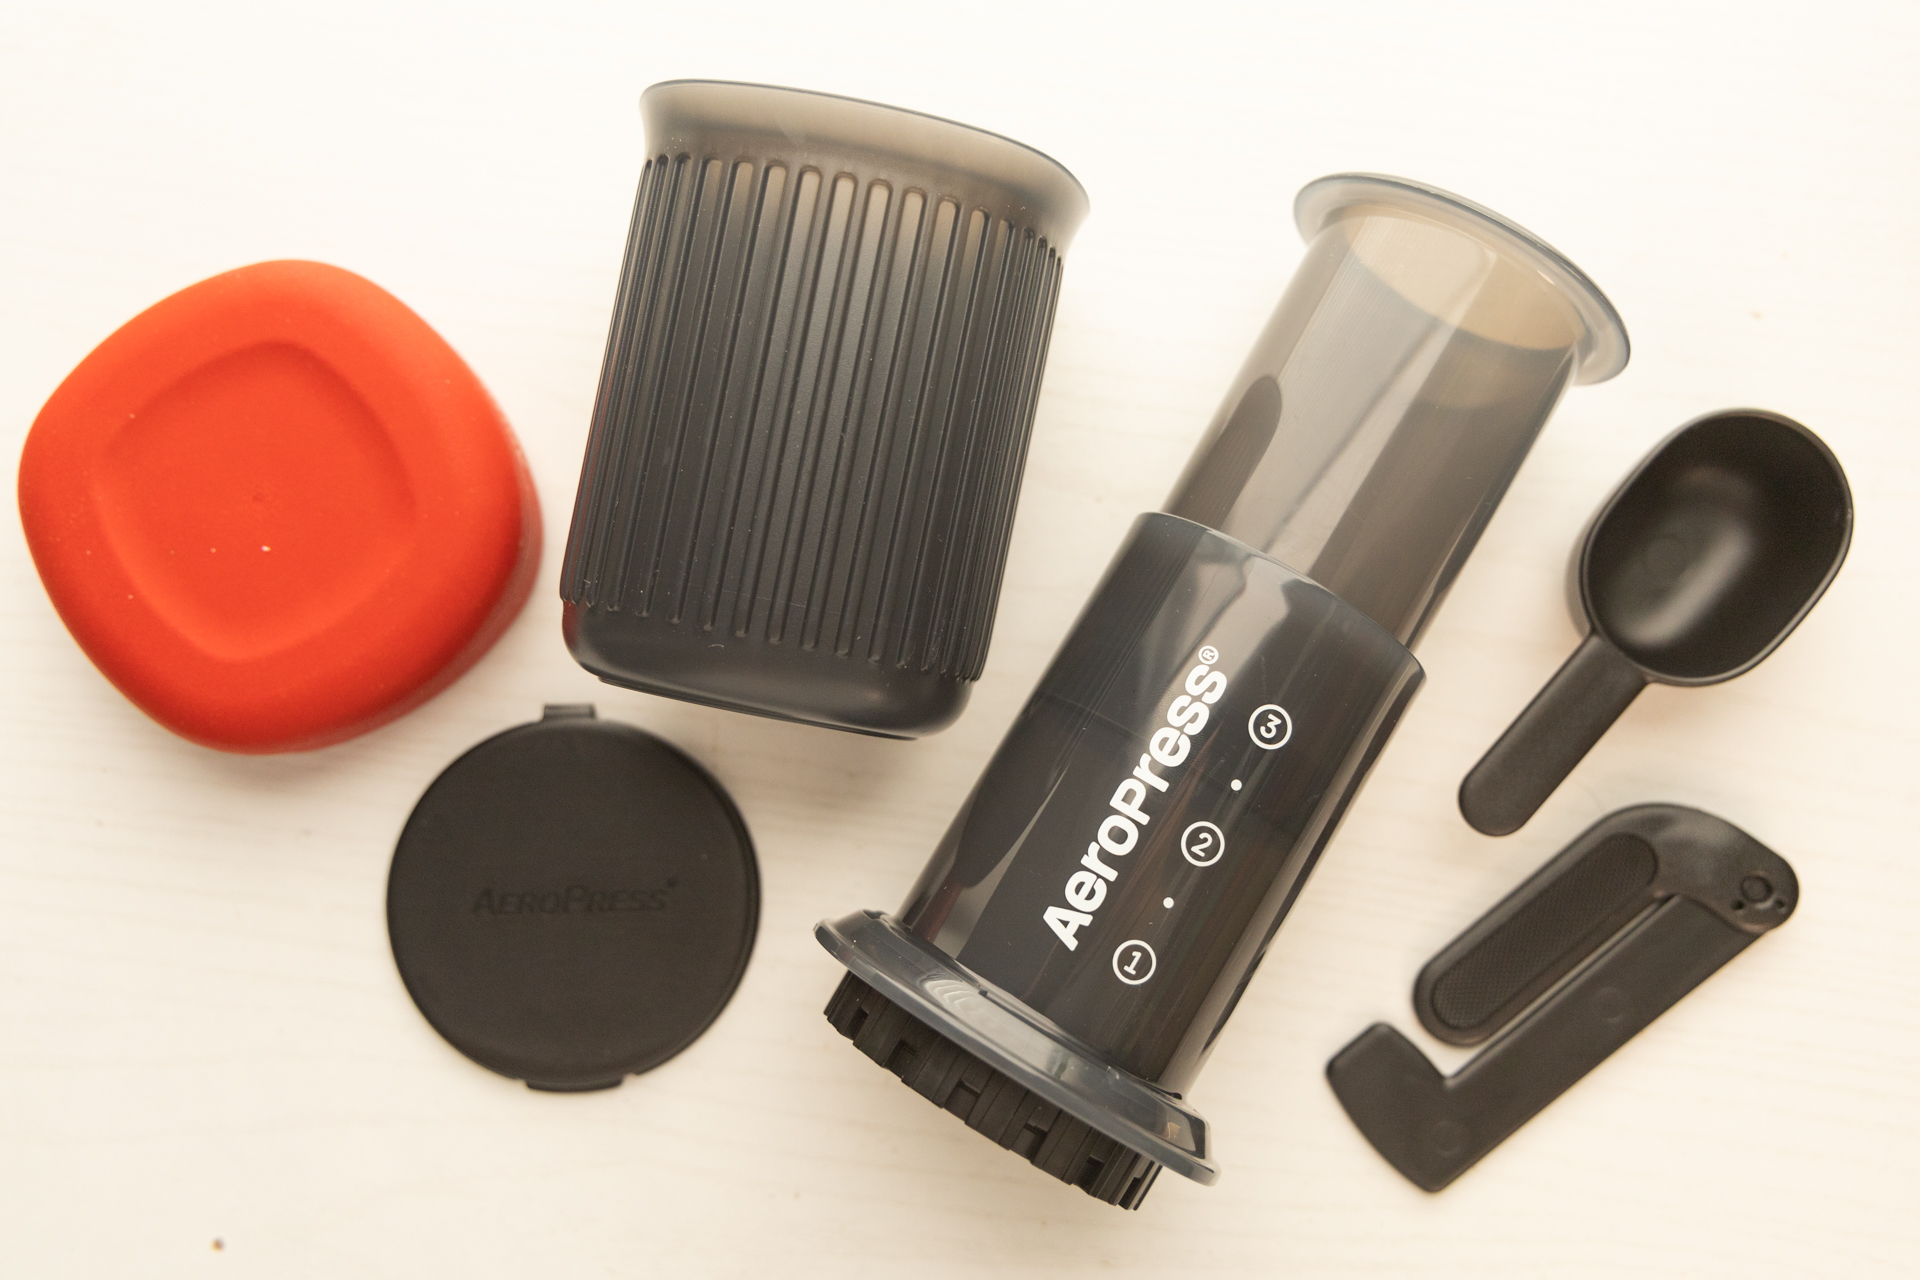
It also comes in a durable, convenient package complete with a coffee scoop, stir wand, and filters–which can be replaced by a reusable metal filter to reduce waste—along with a filter keeper, mug, and lid. Everything nests together for easy storage and transport, and despite years of being knocked around, dropped, and tossed in storage bins on various camping trips, ours remains just as functional as ever.
It’s not the cheapest coffee maker on this list, but due to its versatility and capability to brew various styles and strengths of coffee, we believe it’s worth the investment. Although we prefer using our own mug, the new Aeropress Go Plus provides the same excellent functionality, now with an insulated vessel.
How We Tested
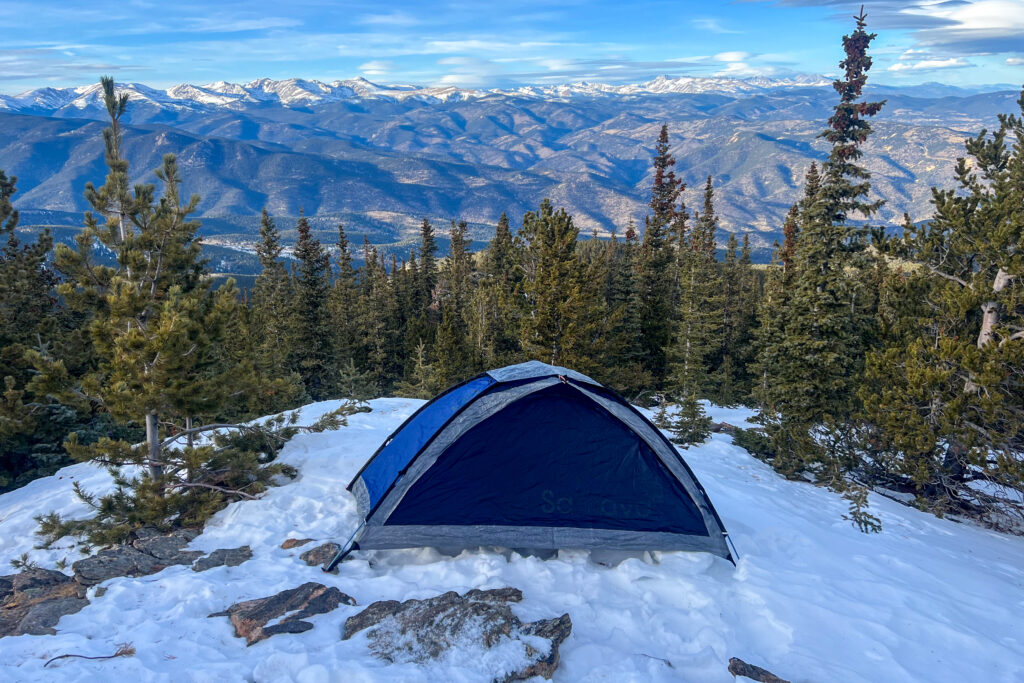
We’ve used the Aeropress Go on cross-country road trips, front country camping in the mountains of Utah, and backpacking trips in national parks for years. However, in the past few weeks, we have focused on testing the device in comparison with other coffee makers. We experimented with different brewing methods, timed the extraction, and assessed how quickly it was to clean up afterward.
Quick Specs
AeroPress Go Travel Coffee Press
Best coffee maker overall
CleverHiker Rating: 5.0/5.0
Price: $50
Liquid Capacity: 8 oz.
Weight: 11.5 oz.
Size: 5.3 x 3.9 x 3.9 in
Pros
- Can customize coffee strength
- Comes in a convenient package
- Can be made zero-waste
- Easy to clean
- Fast coffee prep
- Durable construction
- Makes different types of coffee
Cons
- Mug isn’t insulated
- Only makes 1-2 small cups at once

Portability
When it comes to portability, the Aeropress Go offers an ideal balance of size, functionality, durability, and usability. It comes in a nicely packaged all-in-one kit, making it easy to toss into a camp kitchen box or backpack, both of which we did during testing. Since everything stashes into a usable cup with a flexible lid, everything inside stays clean and free from debris.
While it may not be the lightest camp coffee maker we tested, it is backpacker-friendly at 11.5 ounces. However, you can reduce that weight by removing additional items like the cup if you have a preferred one, along with the lid, stir wand, and coffee scoop. Just the press, filters, and filter caps weigh several ounces less, which we preferred when backpacking.
It’s also reasonably small, although it’s still bulkier than some other options we tested. It doesn’t nest with other kitchen gadgets, but we can drop a spoon, some matches, or even a small bag of coffee inside when not in use. Additionally, it can’t be clipped to the outside of a pack. It is durable, though. We’ve had one Aeropress Go for years, and while the printed text has worn, the device itself shows barely any signs of wear.
Ease of Use
While we didn’t rank the Aeropress Go at the highest end of the ease-of-use scale, it’s still impressively simple to use, whether at home, at the campground, or in the backcountry. The entire kit can be streamlined down to just a few pieces if you’re looking to reduce weight or clutter: the barrel and plunger, filter cap, and filters.
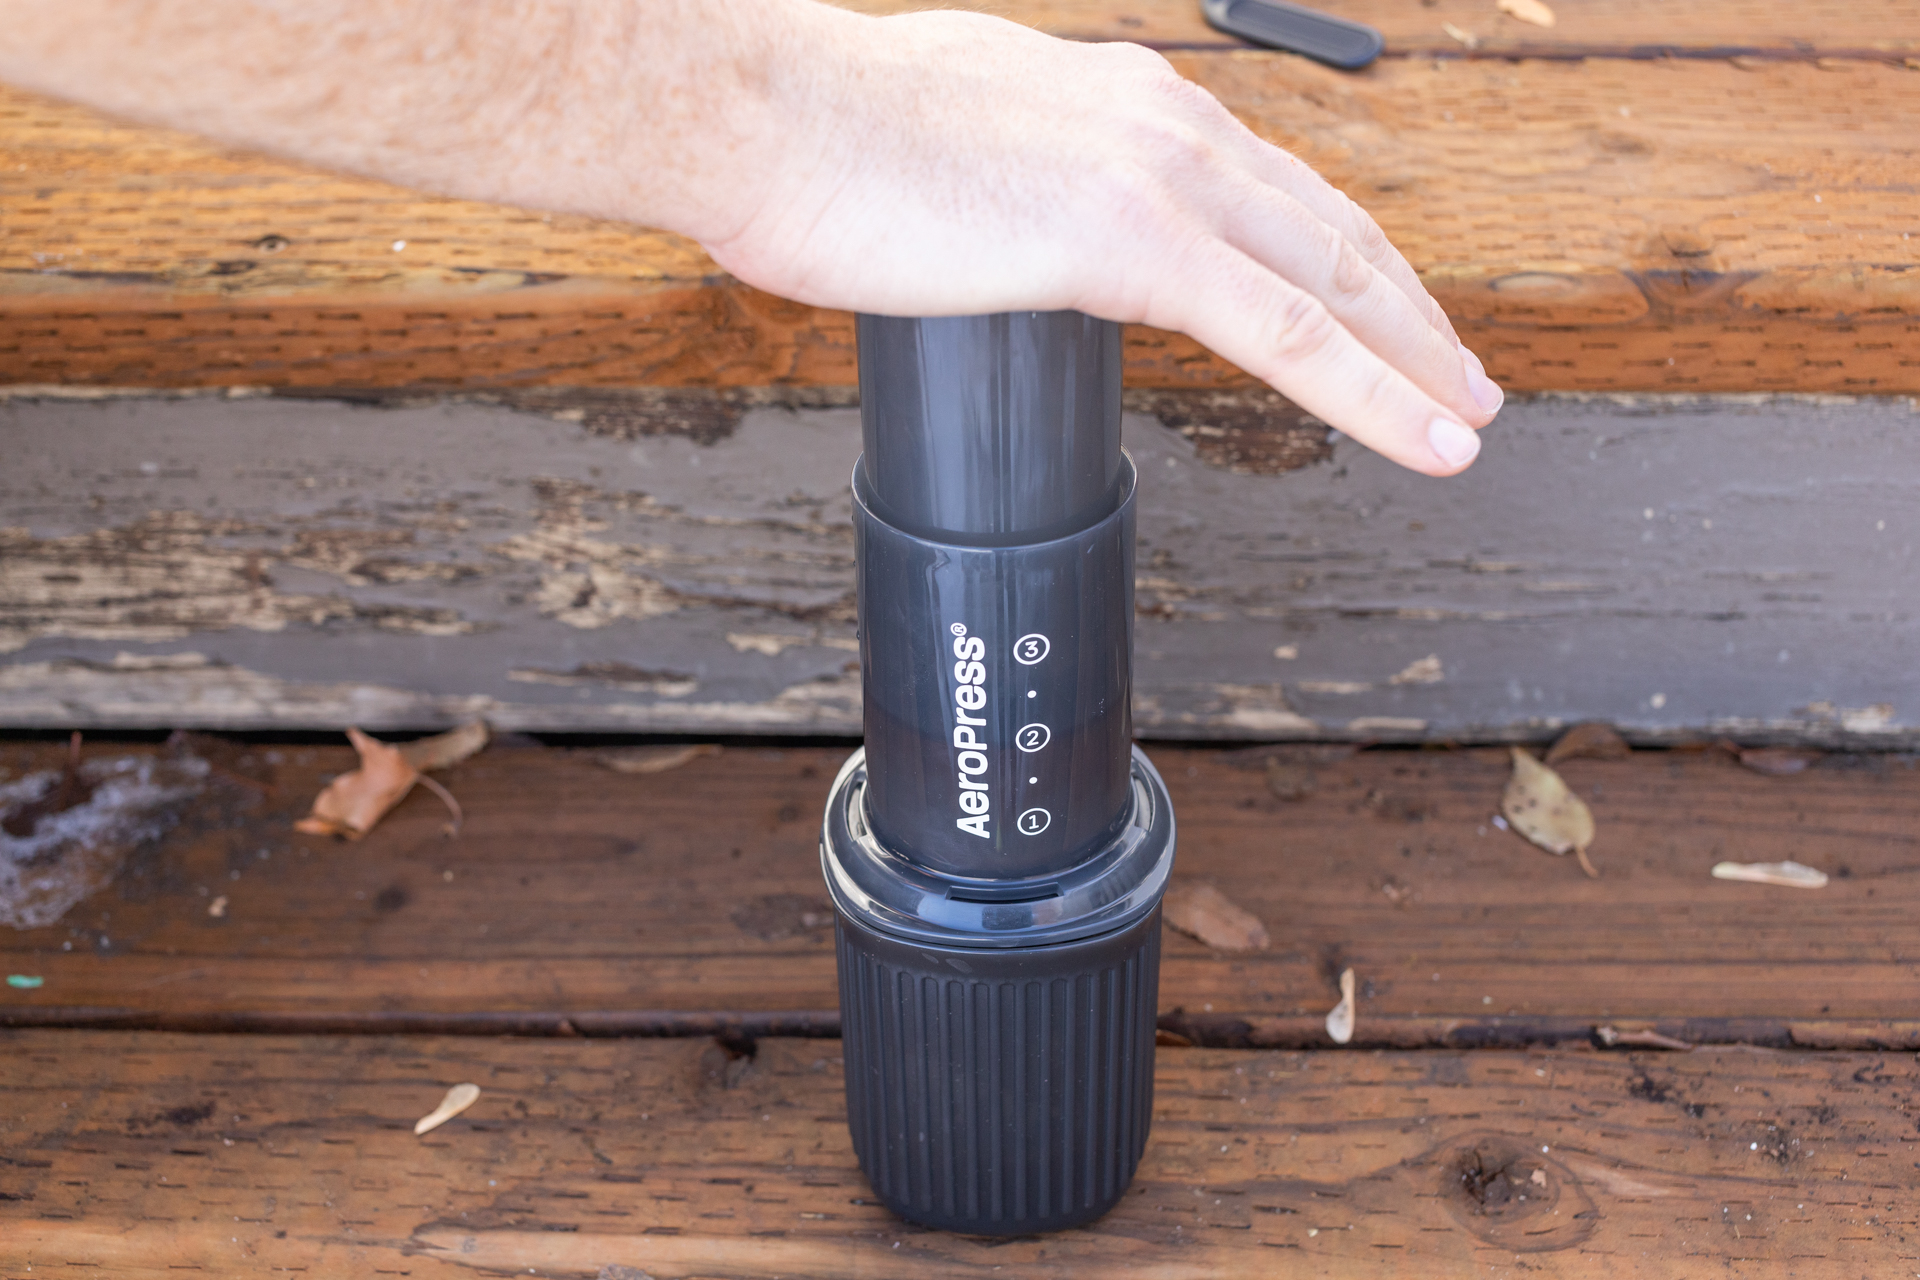
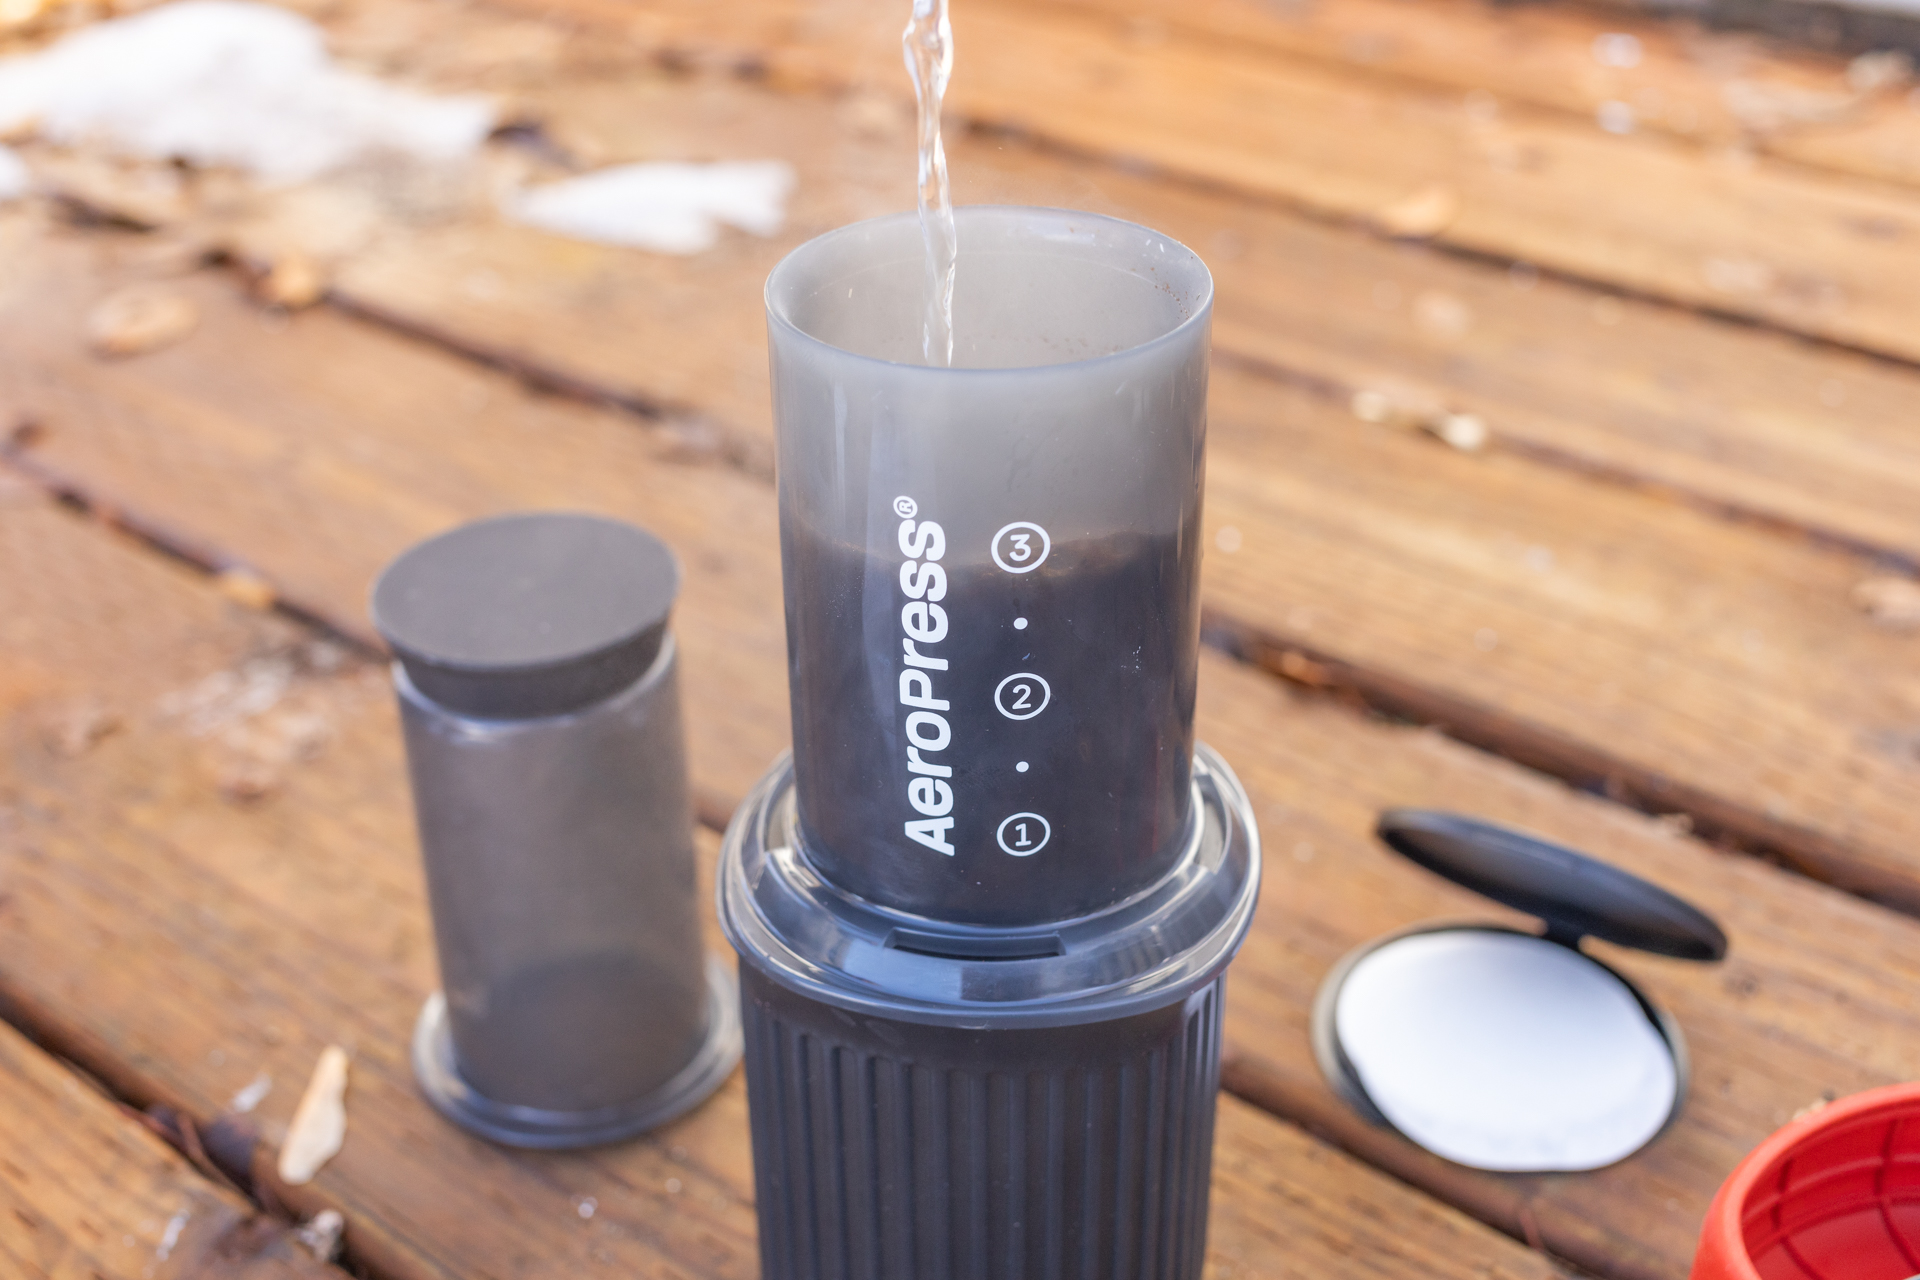
There are several ways to brew. Some are listed in the instruction manual, but our favorites aren’t. Our go-to for a stronger cup involves inverting the device with the plunger positioned at the “3” mark, adding coffee and water, stirring, and setting a timer for three minutes. When the time is up, simply turn it right side up over a mug and press.
The only downside to the Aeropress is that the rim resting on top of your camp mug during pressing isn’t very large. We found that some extra wide-mouth mugs were too big, causing the press to potentially fall in at the corners. That said, most camp mugs worked just fine.
Time to Brew
When it comes to brew time with the Aeropress Go, results may vary based on your preferred brewing method. When we followed the standard instructions, we had a ready-to-drink cup of coffee in one minute and 35 seconds. However, when brewing using a steeping method, which we prefer, it took just over 3 minutes, including steep time, setup, and pressing.
Time also depended on grind size. A finer grind produced stronger coffee, but extraction and pressing took a few seconds longer. Additionally, keep in mind that you’ll need to boil water first, which adds a few minutes depending on your kettle and stove. You can use the Aeropress with cold water, but we found that longer steeping in an inverted position is necessary for the best flavor.
It only makes one cup or two small shots at a time. So if you’re making coffee for a group, keep that in mind. We found it easy enough to make coffee for two while camping in Olympic National Park, especially when adding warm non-dairy milk to the brew.
Ease of Cleanup
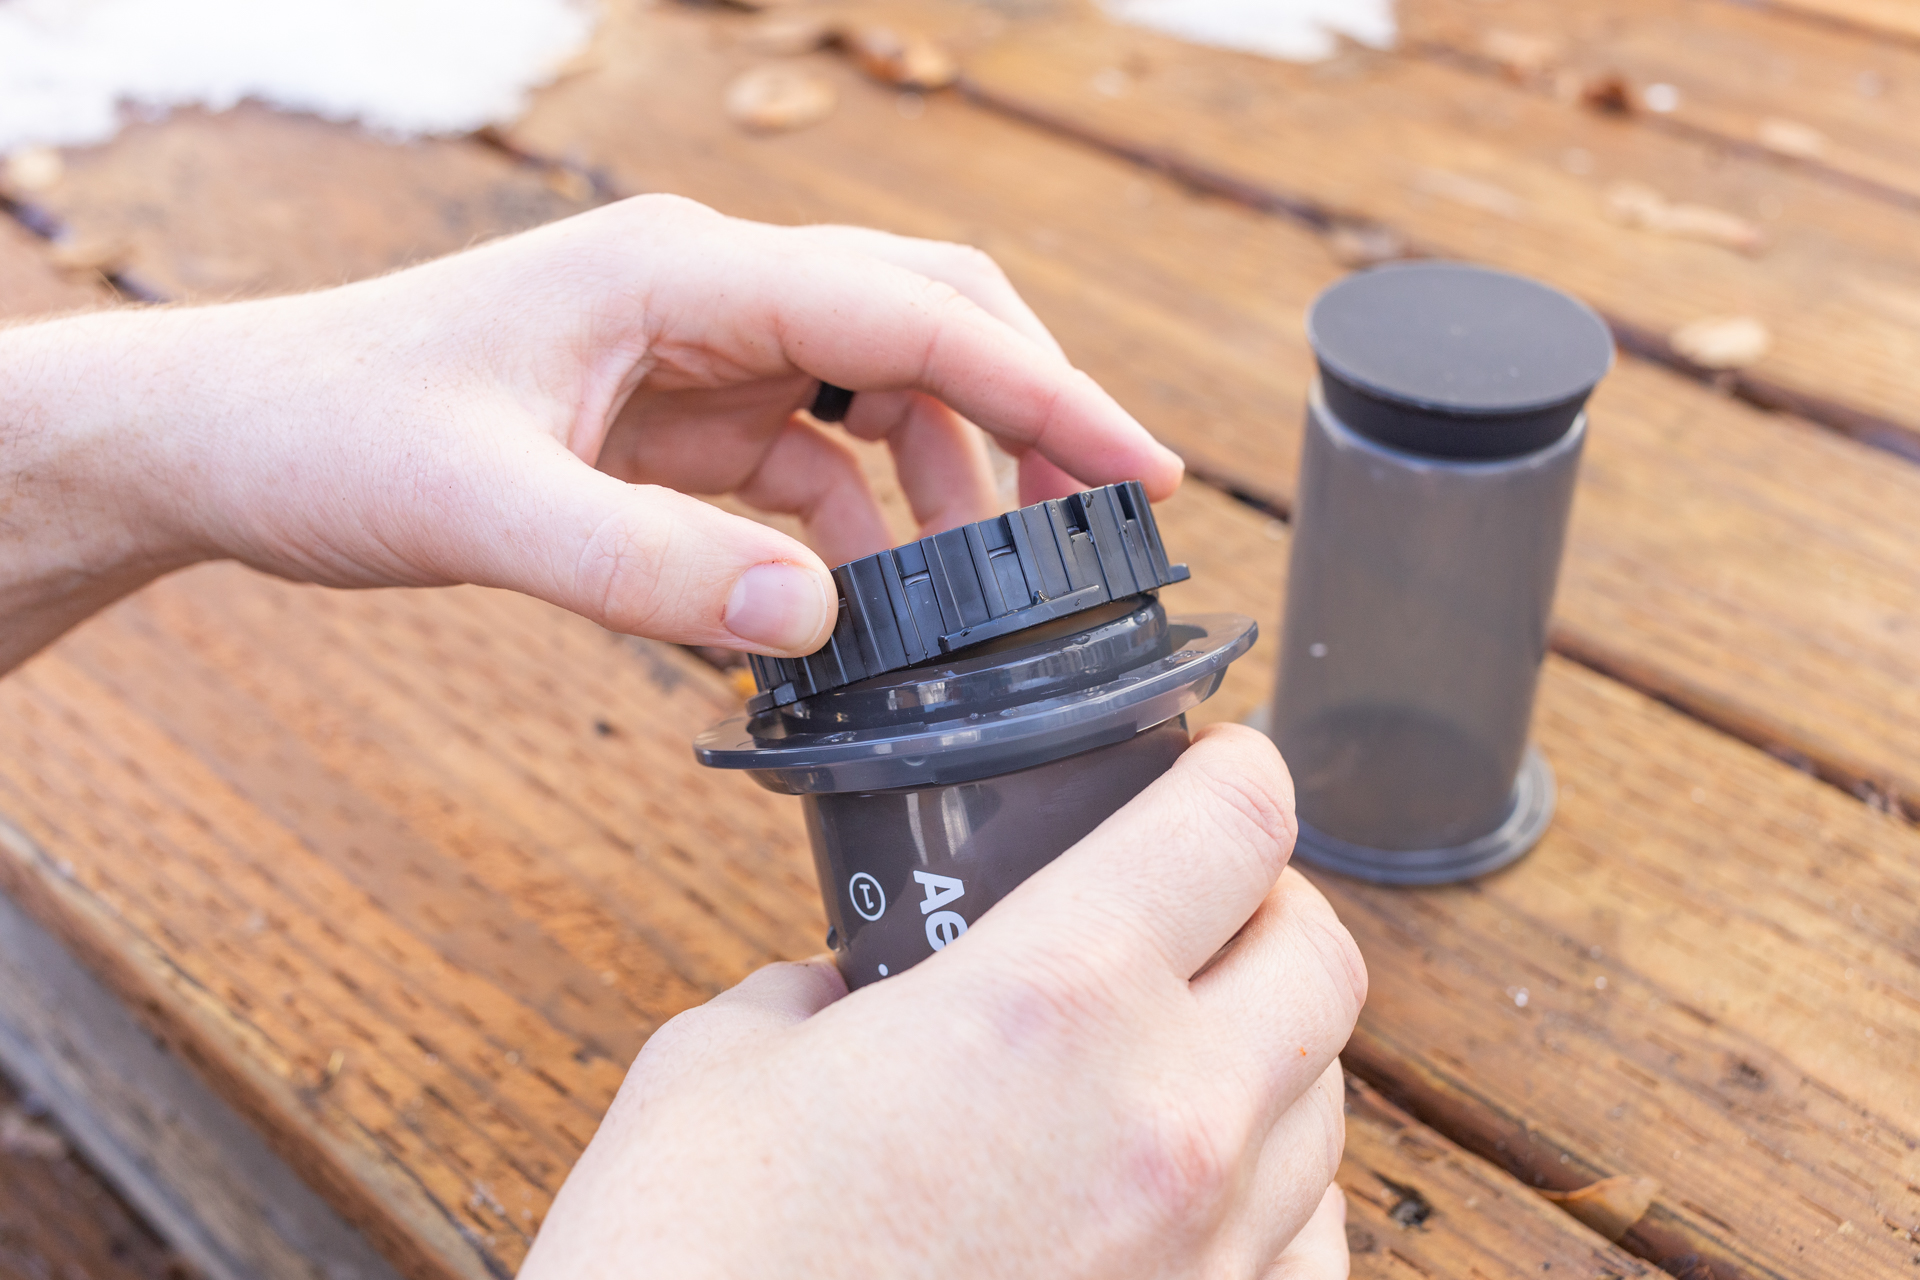
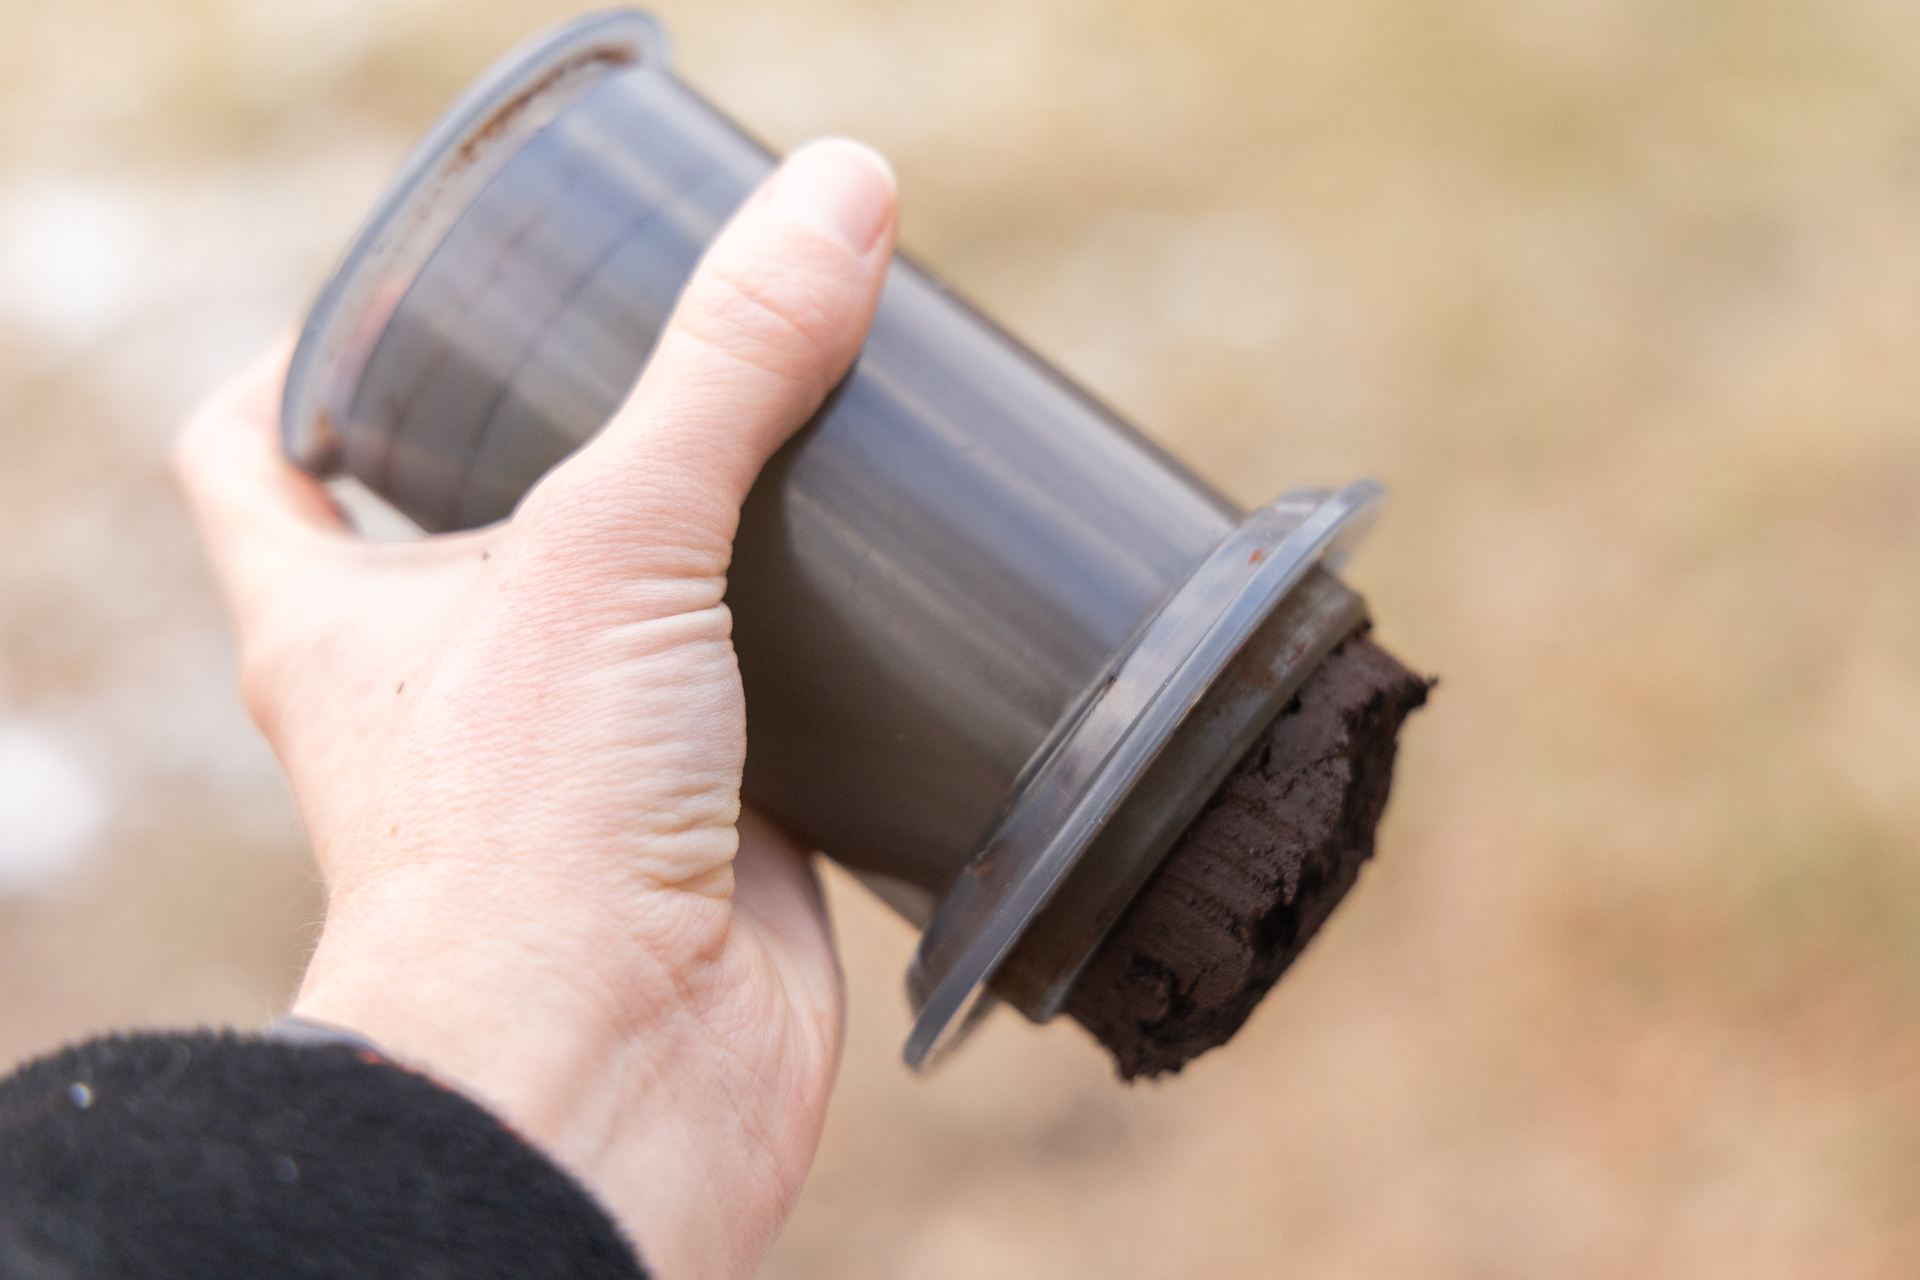
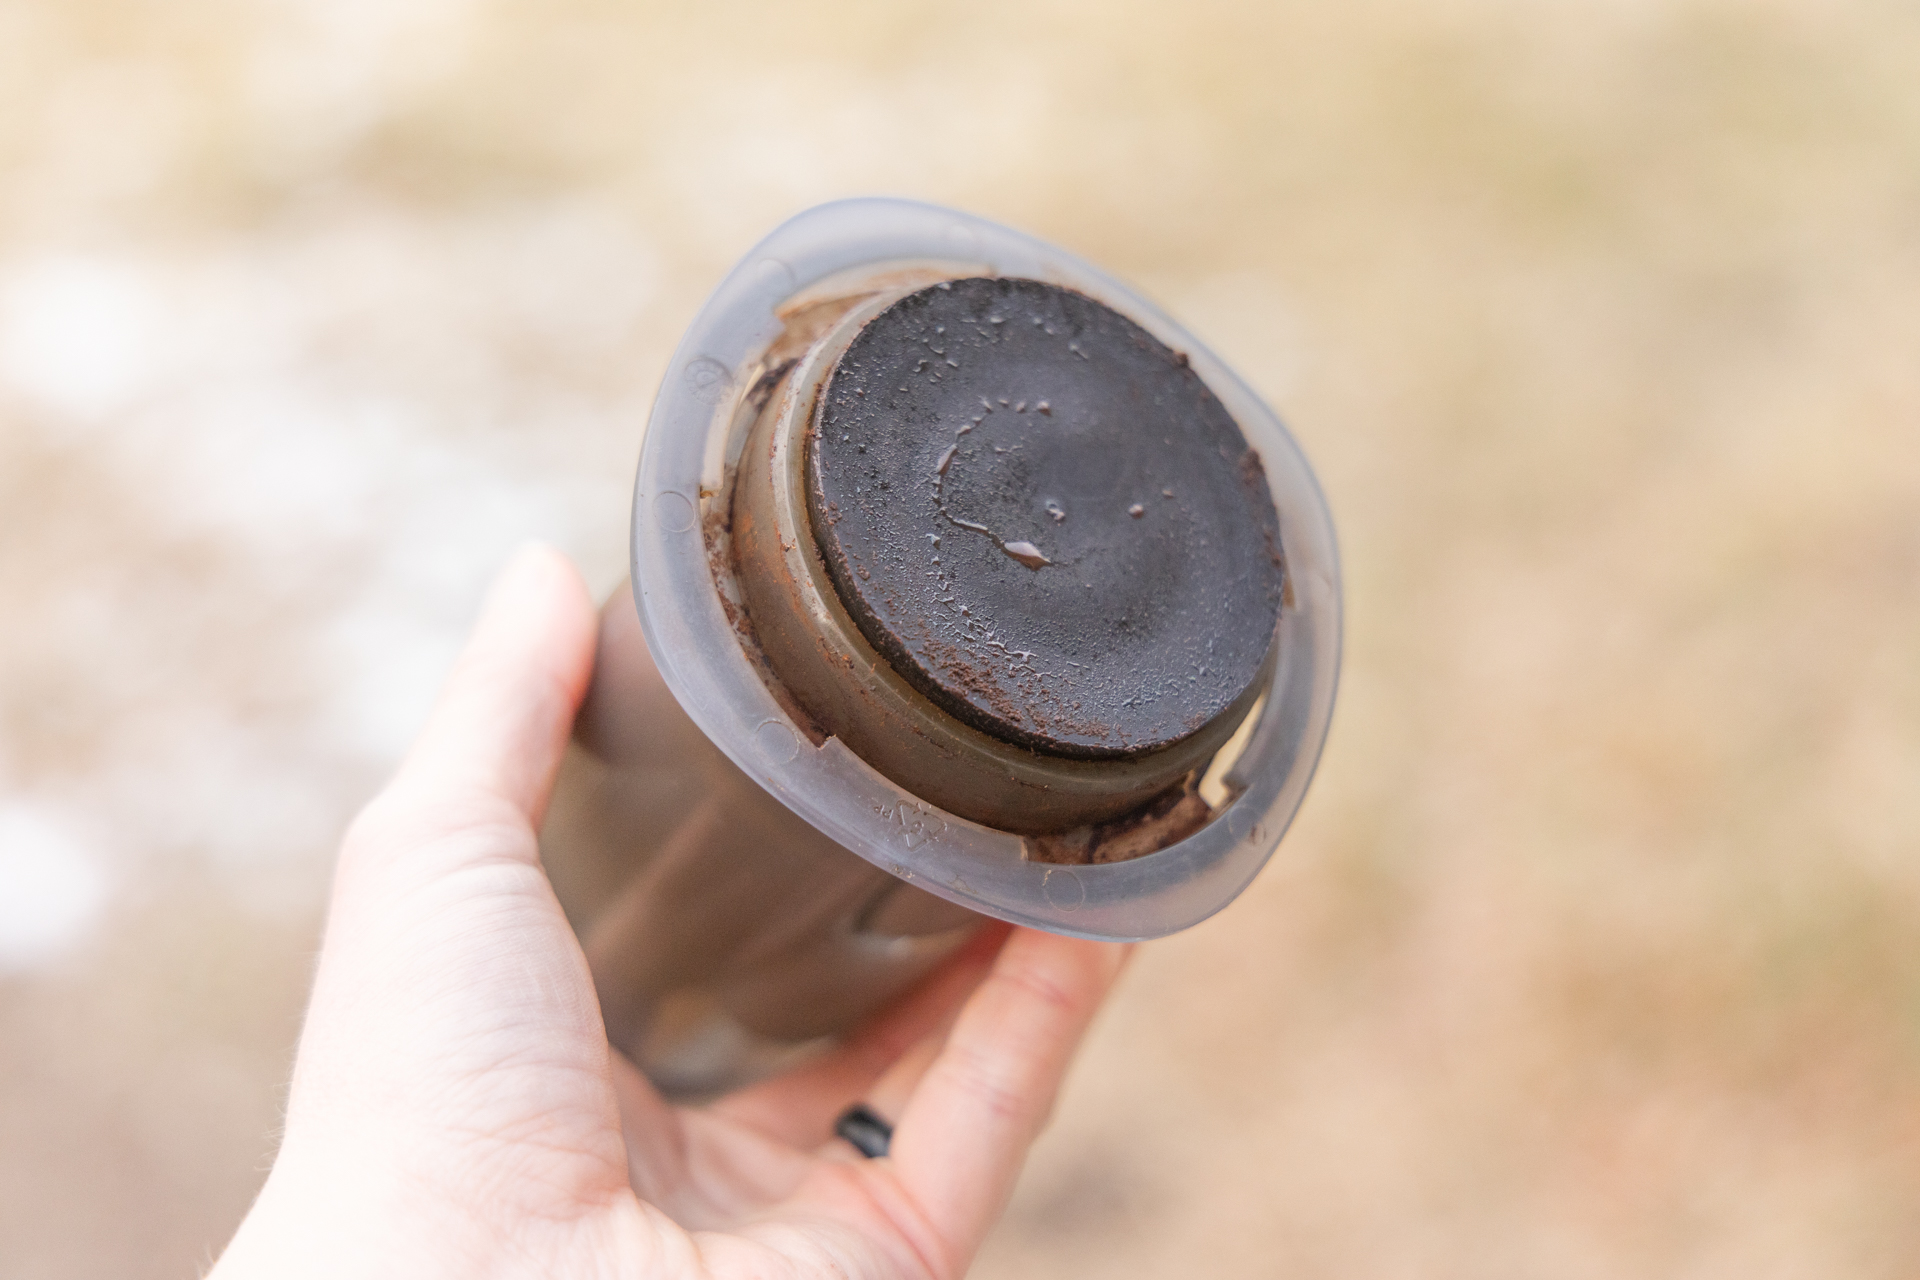
When it comes to cleanup, the Aeropress Go ranks high on our list of the best camp coffee makers. This is because the interior plunger acts like a squeegee as you press, cleaning the sides of the grounds as it descends. Once all the water has been pressed out, just remove the filter cap, position the bottom of the device over a trash can or bag, and push down fully on the plunger to eject the used grounds.
Then rinse the plunger to remove any remaining grounds, assemble the device, and store it or reset it for a second cup. Cleanup took 15 seconds during testing, and it took longer when we swapped the paper filter for a reusable metal filter, which is also available from Aeropress. When using that, the filter needed a few seconds of rinsing or a quick wipe-down, but we believe it’s worth it to reduce waste and eliminate the need to carry extra filters.
Coffee Strength
What we love most about the Aeropress Go is that this single device can produce nearly any strength of coffee. Just adjust the grind size–in general, a finer grind results in stronger coffee–and experiment with the various brew methods to discover which one works best for you.
Preparing coffee by using the typical method of adding coffee and water into an upright Aeropress placed on top of a mug, waiting a minute, and then pressing produces a medium-strong cup. Inverting it and letting it steep for three minutes creates a much stronger cup. Adding more coffee or grinding it more finely increases the strength even further. Half the fun of this coffee maker is experimenting to discover which brewing method achieves the coffee strength that’s right for you.
Should You Buy the Aeropress Go?
The Aeropress Go is designed for campers and backpackers who enjoy good coffee but may not always desire the same type. After all, the device has a wide range of options to create everything from cold brew to espresso to drip coffee with just a few adjustments to grind size, coffee quantity, and brewing method. This versatility provides great value for your money, even though it falls at the higher end of the price spectrum compared to other devices we tested.
The ease of cleanup is an added bonus.
If you tend to prefer a single style of coffee, such as French Press or pour-over, the investment may not be worthwhile. Similarly, if you frequently brew coffee for more than one or two people at a time, other devices might provide a more efficient and streamlined way to prepare it for a group.
What Other Camping & Backpacking Coffee Makers Should You Consider?
If you like the idea of the Aeropress Go but wonder if there’s another camp coffee maker that might suit you better, check out these options, all of which we reviewed in our coffee makers for camping and backpacking gear guide.
Bialetti Moka Express Review: If you desire a robust cup of coffee with less wait time, consider this coffee maker. The all-in-one system means you don’t have to boil water separately before brewing. It produces a strong, small cup or two of espresso.
ESPRO Ultralight Travel Press Bottle Review: For an on-the-go option that still offers some customization regarding brew strength, consider the ESPRO. You brew directly in the insulated bottle using a French press-style filter, so similar to the Aeropress, it includes everything you need to brew and sip.
Wacaco Minipresso GR Review: Like the idea of a single device that can brew hot or cold coffee without compromising flavor? The Wacaco Minipresso can do just that. It even provides brew strength customization. It truly excels at one thing: making strong espresso, one shot at a time.