Washington’s Enchantment Lakes are a truly magical sight to see. They reside in the Alpine Lakes Wilderness, where immense granite peaks, majestic mountain goats, and crystal clear alpine lakes are hidden around every corner. If you haven’t had a chance to experience this captivating place, put it at the top of your backpacking bucket list.
Here’s a quick guide to help maximize your enjoyment while backpacking Washington’s stunning Enchantment Lakes.
Highlights
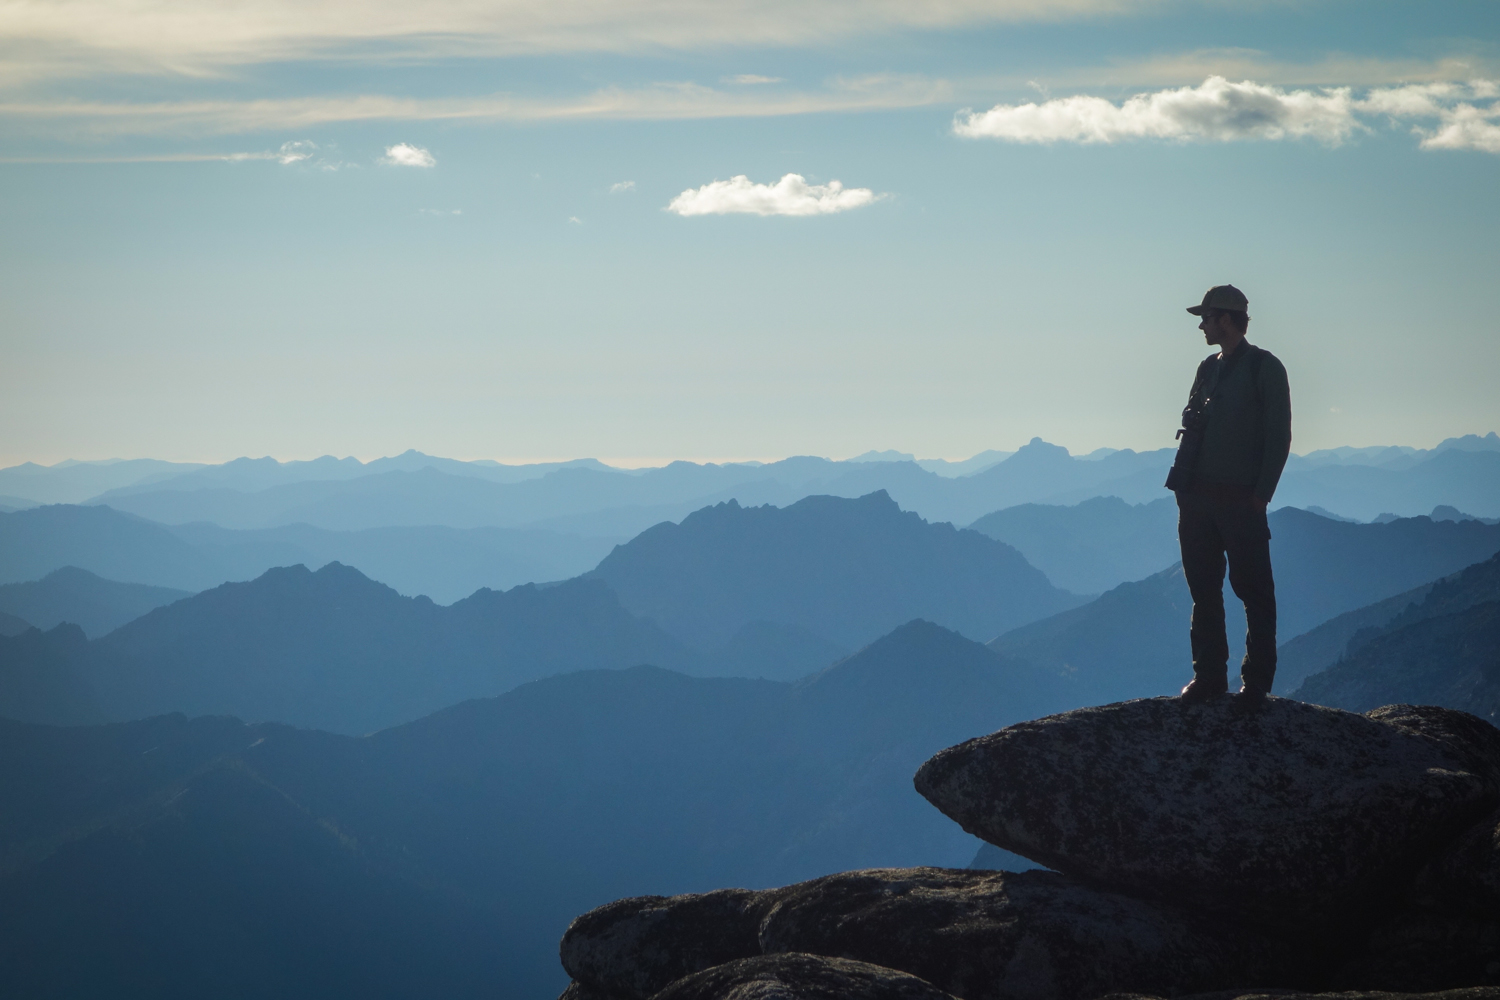
- Incredible Views
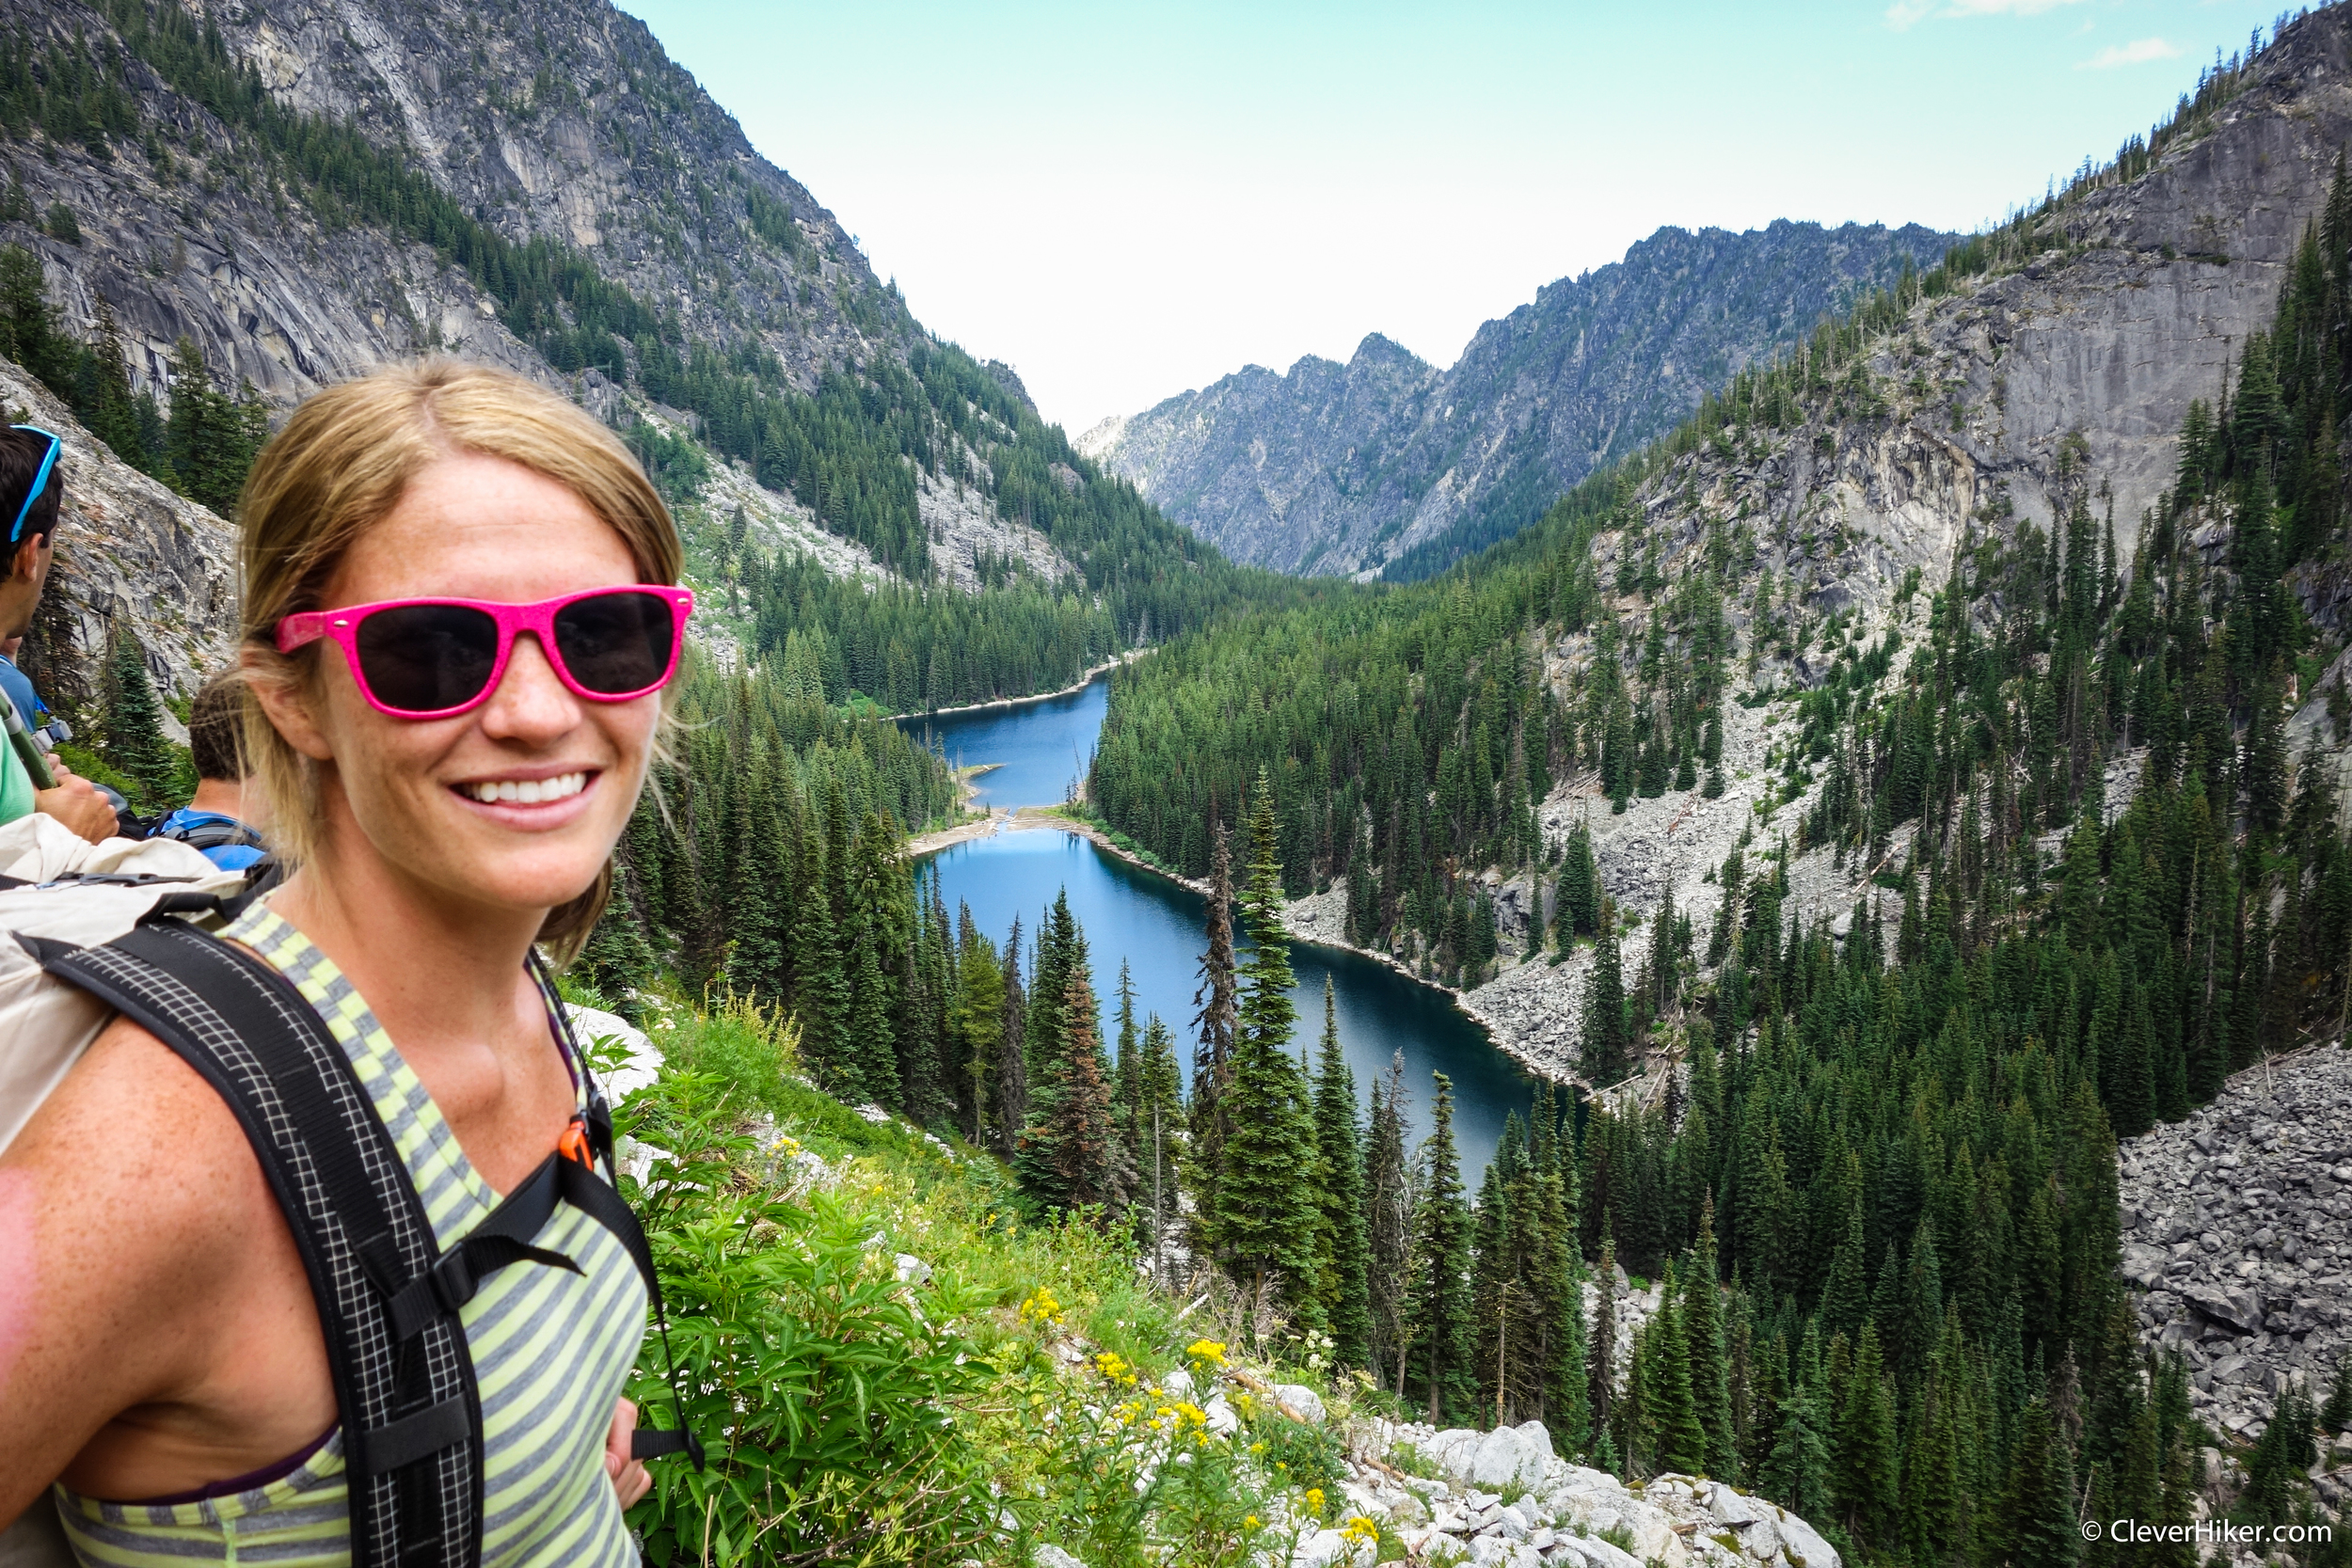
- Pristine High Alpine Lakes
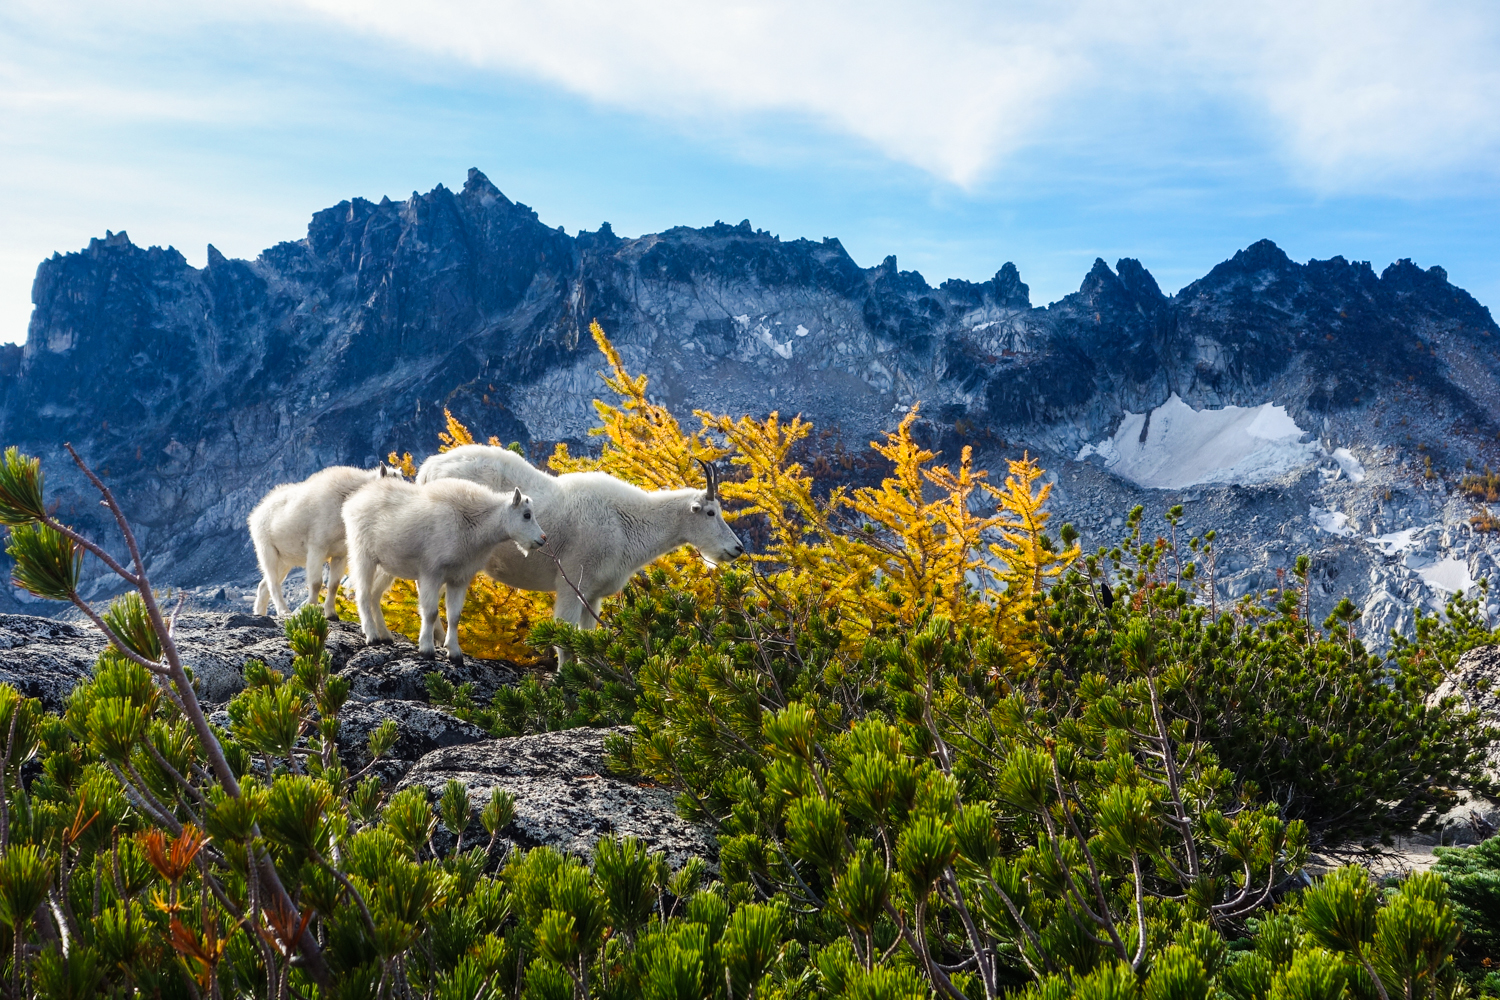
- Mountain Goats
- Jagged Granite Peaks
- Well-Maintained Trails
- Stunning Beauty
Lowlights
- Popular Area
- Big Climbs
- Extreme Permit Planning
- No Campfires
- Seasonal Bugs & Snow
Permits
The Enchantment Lakes are no secret. They are among the most well-traveled sites in the Northwest, and for good reason. Because of their popularity, there is a strict permit process in place to limit impact and keep the area pristine for many years to come.
ADVANCE LOTTERY
Permits need to be obtained for all overnight camping trips from May 15th to October 31st. Permit applications are not necessary for day hikes and trips outside of that timeframe – day hikers can just fill out the free permit form at the trailhead.
Overnight permits for the May 15th through October 31st timeframe are awarded in a permit lottery. From February 15 to March 1, you can apply for a group of up to 8 people. A three or four-night stay is generally considered a good amount of time to see the entire area.
When you apply for a permit you’ll put in your top three choices of 5 different camping zones. The Core Enchantments Zone permit is the best because it will allow you to camp in any of the permit zones.
The Snow Lakes and Colchuck Lakes zones are the next most popular option because they are adjacent to the Core Zone. Obtaining one of those two permits will allow hikers to day-trip up into the Core Zone and return to their camps at Colchuck Lake or Snow Lake.
If you get picked for a permit, pay by March 31st to confirm your trip, print it out, and bring it with you on the trail.
DAILY LOTTERY
The permit process sounds like a terrible hassle, but it’s really not that bad, and it’s for the protection of this special place and to give recreators a pleasant experience. If you didn’t get lucky with the advance permit lotto, you can go for the daily lottery from May 15 to October 31st.
This is a geofence mobile process, meaning you need to be close by to even apply through Recreation.gov. Essentially, you need to apply the day before you want to backpack while within a one-mile radius of the Leavenworth Ranger Station. You can leave the one-mile radius after you’ve applied.
If you win, you will be notified later that day, and you will need to go to the ranger station the day before their hike starts to get your permit issued. This is also competitive, with only one permit per zone issued a day, so have some backup itineraries planned in the vicinity.
Daily walk-up permit applications are only accepted on Monday through Friday (for hikes starting Tuesday through Saturday). If you’re trying to start on Sunday or Monday, you must go through the advance lottery. 10% of applications are accepted, womp womp.
APPLY FOR PERMITS HERE
ADDITIONAL PERMIT INFO HERE
PERMIT RULES & REGULATIONS HERE

Best Time To Travel
The Permit timeframe, May 15th – October 31st, is a good time to travel to this area.
August is the most popular travel month and Thursdays through Sundays tend to be the most popular travel days. For that reason, weekend trips in August will be the most difficult permits to secure. It can also get smoky by then.
It’s likely that there will be snow on the trail – especially in the Core Zone – during May, June, and possibly July. Late autumn is a good time to see the larch trees change color in this area, but be prepared for the possibility of late-season snowstorms.

Difficulty
This trip has a high difficulty rating. Difficulty will obviously depend on your experience level, your fitness level, and how heavy your pack is. We rated it difficult because of the elevation gain/loss potential. For instance, the approach to Asgard Pass from Colchuck Lake is a grueling 1900 vertical feet in less than a mile.
If you want to travel to the Core Enchantment Zone (which you do), you will have a big climb to get there, no matter what. To give yourself an easier time of it, try to pack light or ultralight. Check out our lightweight backpacking videos for more tips and tricks.
Distance
The entire trail from the Stuart Lake trailhead to the Snow Lakes trailhead is about 19 miles.
Some hikers leave a car at both trailheads and hike from one end to the other. If this is your goal, the most popular route is to hike from the Stuart Lake Trailhead (Colchuck Zone) to the Snow Lakes Trailhead (Snow Zone) due to the elevation profile of the area.
Another popular option is to setup a base camp at Upper Snow Lake or Colchuck Lake. Then you can take a steep day hike up into the Core Zone and return back to your camp at night.
Elevation
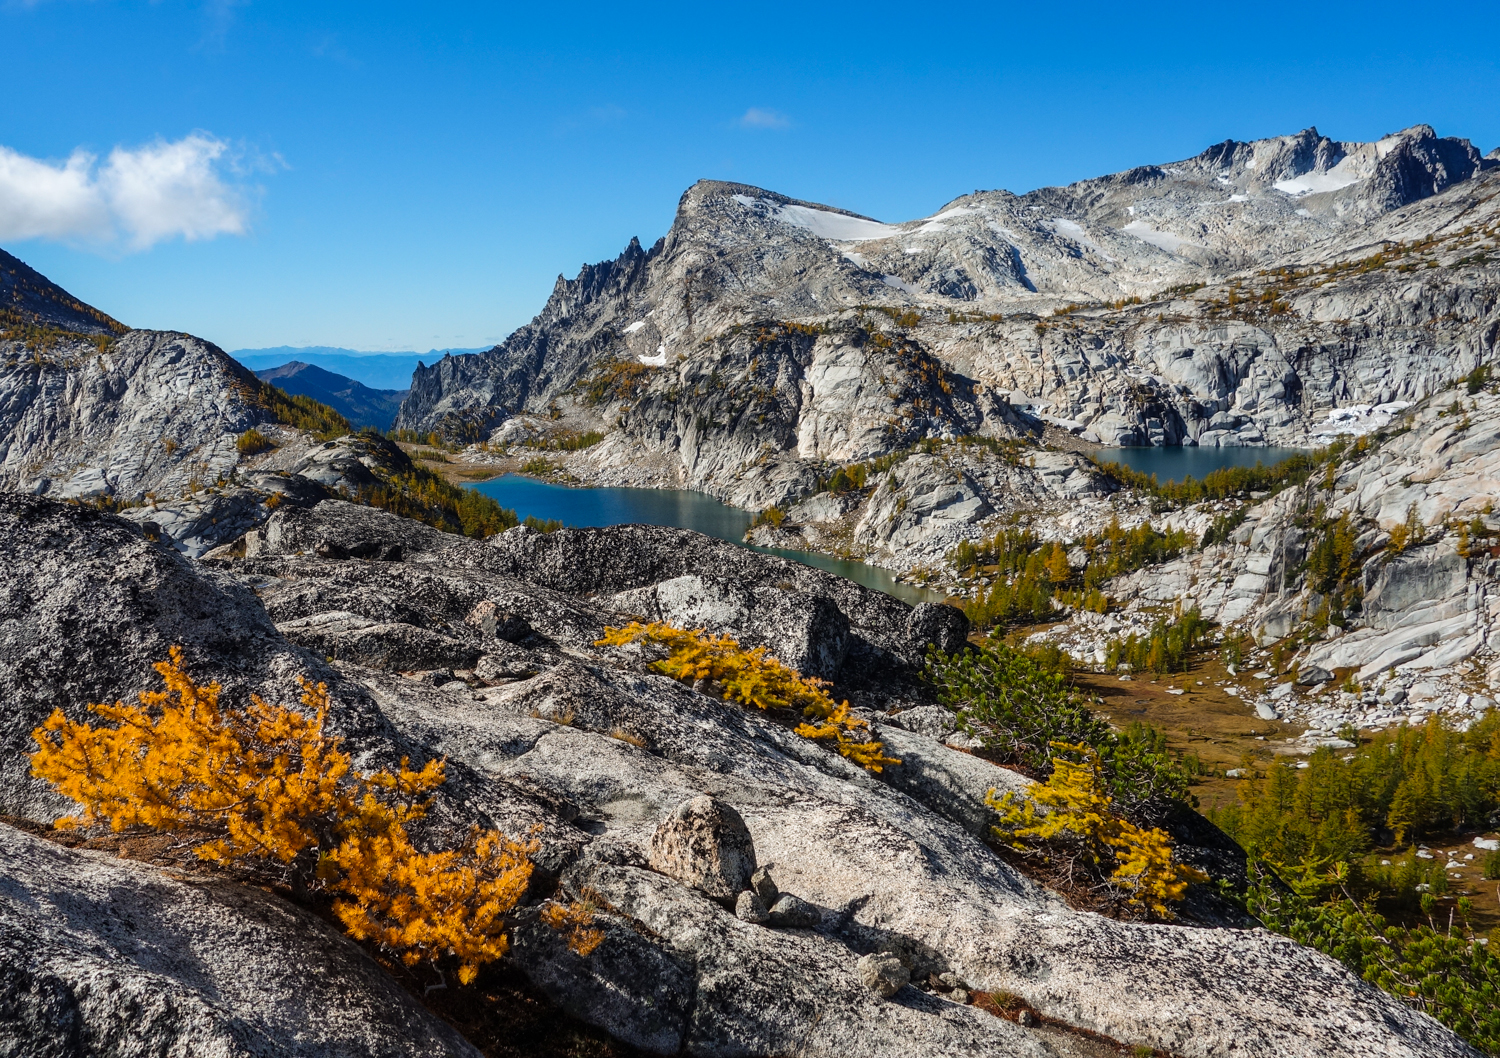
The Core Enchantments zone is where the real jaw-dropping beauty happens. To get to the Core Zone you’re going have a big climb no matter how you slice it.
Aasgard Pass (7841 ft) – the highest point on the trail – is roughly 6,500 feet above the Snow Lakes Trailhead and 4,400 feet above the Stuart Lake Trailhead. Entering from the Snow Lakes trailhead will provide a more gradual ascent. Entering from the Stuart Lake trailhead will provide a very steep (but shorter) ascent from Colchuck Lake up to Aasgard Pass.
Regulations
This is my personal summary of the regulations for this area. Please visit the forest service’s Enchantment Lakes Regulations Page for the official rules.
- No campfires are allowed in this area
- Camp only in established campsites
- Keep your distance from wildlife – goats can be aggressive
- Don’t feed any wildlife
- Use the backcountry toilets provided, pack out waste with a wag bag for unexpected #2’s
- Pee on rocks and in cracks – goats crave salts
Maps & Guidebooks
Water
Water is plentiful along this trail and is generally easily accessible. Carry plenty of water to get from one source to the next and a lightweight water filter or purifier.
Food Storage
There aren’t any specific food storage regulations in this area, but you should make sure to protect your food. There are bears in these woods, but you’re far more likely to be harassed by nighttime rodents and goats looking to get an easy meal or something salty to lick (like your trekking poles you left outside your tent). Do not feed any wildlife – voluntarily or involuntarily. Protect your food.
Learn how to hang a proper bear bag or carry a food storage container. Bear Canisters and Ursacks are the most effective and easy storage methods.

Gear List
Make sure to check out our Ultimate Backpacking Checklist, so you don’t forget something important.
Below you’ll find our current favorite backpacking gear. If you want to see additional options, our curated gear guides are the result of many years of extensive research and hands-on testing by our team of outdoor experts.
BACKPACK
- Best Backpacking Pack Overall: Gregory Paragon 58 – Men’s / Gregory Maven 58 – Women’s
- Best Ultralight Backpacking Backpack: Hyperlite Mountain Gear Unbound 40
- More: Check out our best backpacking backpacks guide for ultralight and trekking options
TENT
- Best Backpacking Tent Overall: Big Agnes Copper Spur HV UL2
- Best Ultralight Tent: Zpacks Duplex
- Best Budget Tent: REI Half Dome 2
- Best Tent Stakes Overall: All One Tech Aluminum Stakes
- More: Check out our best backpacking tents guide for more options
SLEEPING BAG/QUILT
- Best Sleeping Bag Overall: Men’s Feathered Friends Swallow YF 20 / Women’s Feathered Friends Egret YF 20
- Best Quilt Overall: Enlightened Equipment Revelation 20
- More: Check out our best backpacking sleeping bags guide and best backpacking quilts guide for more options
SLEEPING PAD
- Best Sleeping Pad Overall: NEMO Tensor All-Season
- Best Foam Sleeping Pad: NEMO Switchback
- More: Check out our best backpacking sleeping pads guide for ultralight and trekking options
CAMP KITCHEN
- Best Backpacking Stove Overall: MSR PocketRocket 2
- Best Backpacking Cookware Overall: TOAKS Titanium 750ml
- Best Backpacking Coffee Overall: Starbucks VIA
- More: Check out our best backpacking stoves guide and best backpacking cookware guide for ultralight and large group options
WATER & FILTRATION
- Best Water Filter Overall: Sawyer Squeeze
- Best Hydration Bladder Overall: Gregory 3D Hydro
- Best Backpacking Water Bottles: Smartwater Bottles
- More: Check out our best backpacking water filters guide and best backpacking water bottles guide for ultralight and large group options
CLOTHING
- Best Hiking Pants Overall: Men’s Outdoor Research Ferrosi / Women’s The North Face Aphrodite 2.0
- Best Hiking Shorts Overall: Men’s Patagonia Quandary / Women’s Outdoor Research Ferrosi
- Best Women’s Hiking Leggings: Fjallraven Abisko Trekking Tights HD
- Best Rain Jacket Overall: Men’s Patagonia Torrentshell 3L / Women’s Patagonia Torrentshell 3L
- Best Rain Pants: Men’s Patagonia Torrentshell 3L / Women’s Patagonia Torrentshell 3L
- Best Down Jacket Overall: Men’s Patagonia Down Sweater Hoodie / Women’s Patagonia Down Sweater Hoodie
- Best Fleece Jacket Overall: Men’s Patagonia Better Sweater / Women’s Patagonia Better Sweater
- Best Sunshirt Overall: Men’s Outdoor Research Echo / Women’s Outdoor Research Echo
- Best Socks Overall: Men’s Darn Tough Light Hiker Micro Crew / Women’s Darn Tough Light Hiker Micro Crew
- Beste Ultralight Liner Glove: Patagonia Capilene Midweight Liner
- More: Check out our best backpacking apparel lists for more options
FOOTWEAR & TRACTION
- Best Hiking Shoes Overall: Men’s HOKA Speedgoat 6 / Women’s HOKA Speedgoat 6
- Best Hiking Boots Overall: Men’s Salomon X Ultra 5 GTX / Women’s Lowa Renegade Evo GTX
- Best Hiking Sandals Overall: Men’s Chaco Z/1 Classic / Women’s Chaco Z/1 Classic
- Best Camp Shoes Overall: Crocs Classic Clogs
- Best Traction Device for Hiking Overall: Kahtoola MICROspikes
- More: Check out our best backpacking footwear lists for more options
NAVIGATION
- Best GPS Watch Overall: Garmin Instinct 2 Solar
- Best Personal Locator Beacon (PLB): Garmin inReach Mini 2
- More: Check out our article How to Use Your Phone as a GPS Device for Backpacking & Hiking to learn more
FOOD
FIRST-AID & TOOLS
- Best First-Aid Kit Overall: Adventure Medical Kits Ultralight/Watertight .7
- Best Pocket Knife Overall: Kershaw Leek
- Best Multitool Overall: Leatherman Wave+
- Best Headlamp Overall: Black Diamond Spot 400-R
- Best Power Bank Overall: Nitecore NB 10000 Gen 3
- More: Check out our best first-aid kit guide, best pocket knife guide, best multitool guide, best backpacking headlamps guide, and best power banks guide for more options
MISCELLANEOUS
- Best Trekking Poles Overall: Black Diamond Pursuit
- Best Backpacking Chair Overall: REI Flexlite Air
- Best Backpacking Stuff Sack Overall: Hyperlite Mountain Gear Drawstring
- More: Check out our best trekking poles guide, best backpacking chairs guide, and best stuff sacks guide for more options
Getting There
The Enchantments are just outside of Leavenworth, Washington. The drive time from Seattle is about 2.5 hours and the drive time from Portland is about 5 hours. From Seattle you’ll take highway 2 to Leavenworth and from Portland you’ll follow 97 to Leavenworth.
Icicle Creek Road is on the western edge of the small town and the Snow Lakes Trailhead is about a ten minute drive once you make the turn onto Icicle Creek. For the Stuart Lake Trailhead (an additional 15 minute drive), continue down Icicle Creek until you hit road 7601. Take a left on 7601 and follow it past the first trailhead (Eightmile Trailhead) to the Stuart Lake Trailhead.
If you only have one car and you’re looking for a shuttle service, check out Loop Connector.
Additional Resources
Washington Trail Association Enchantments Guide
EveryTrail Enchantments Guide
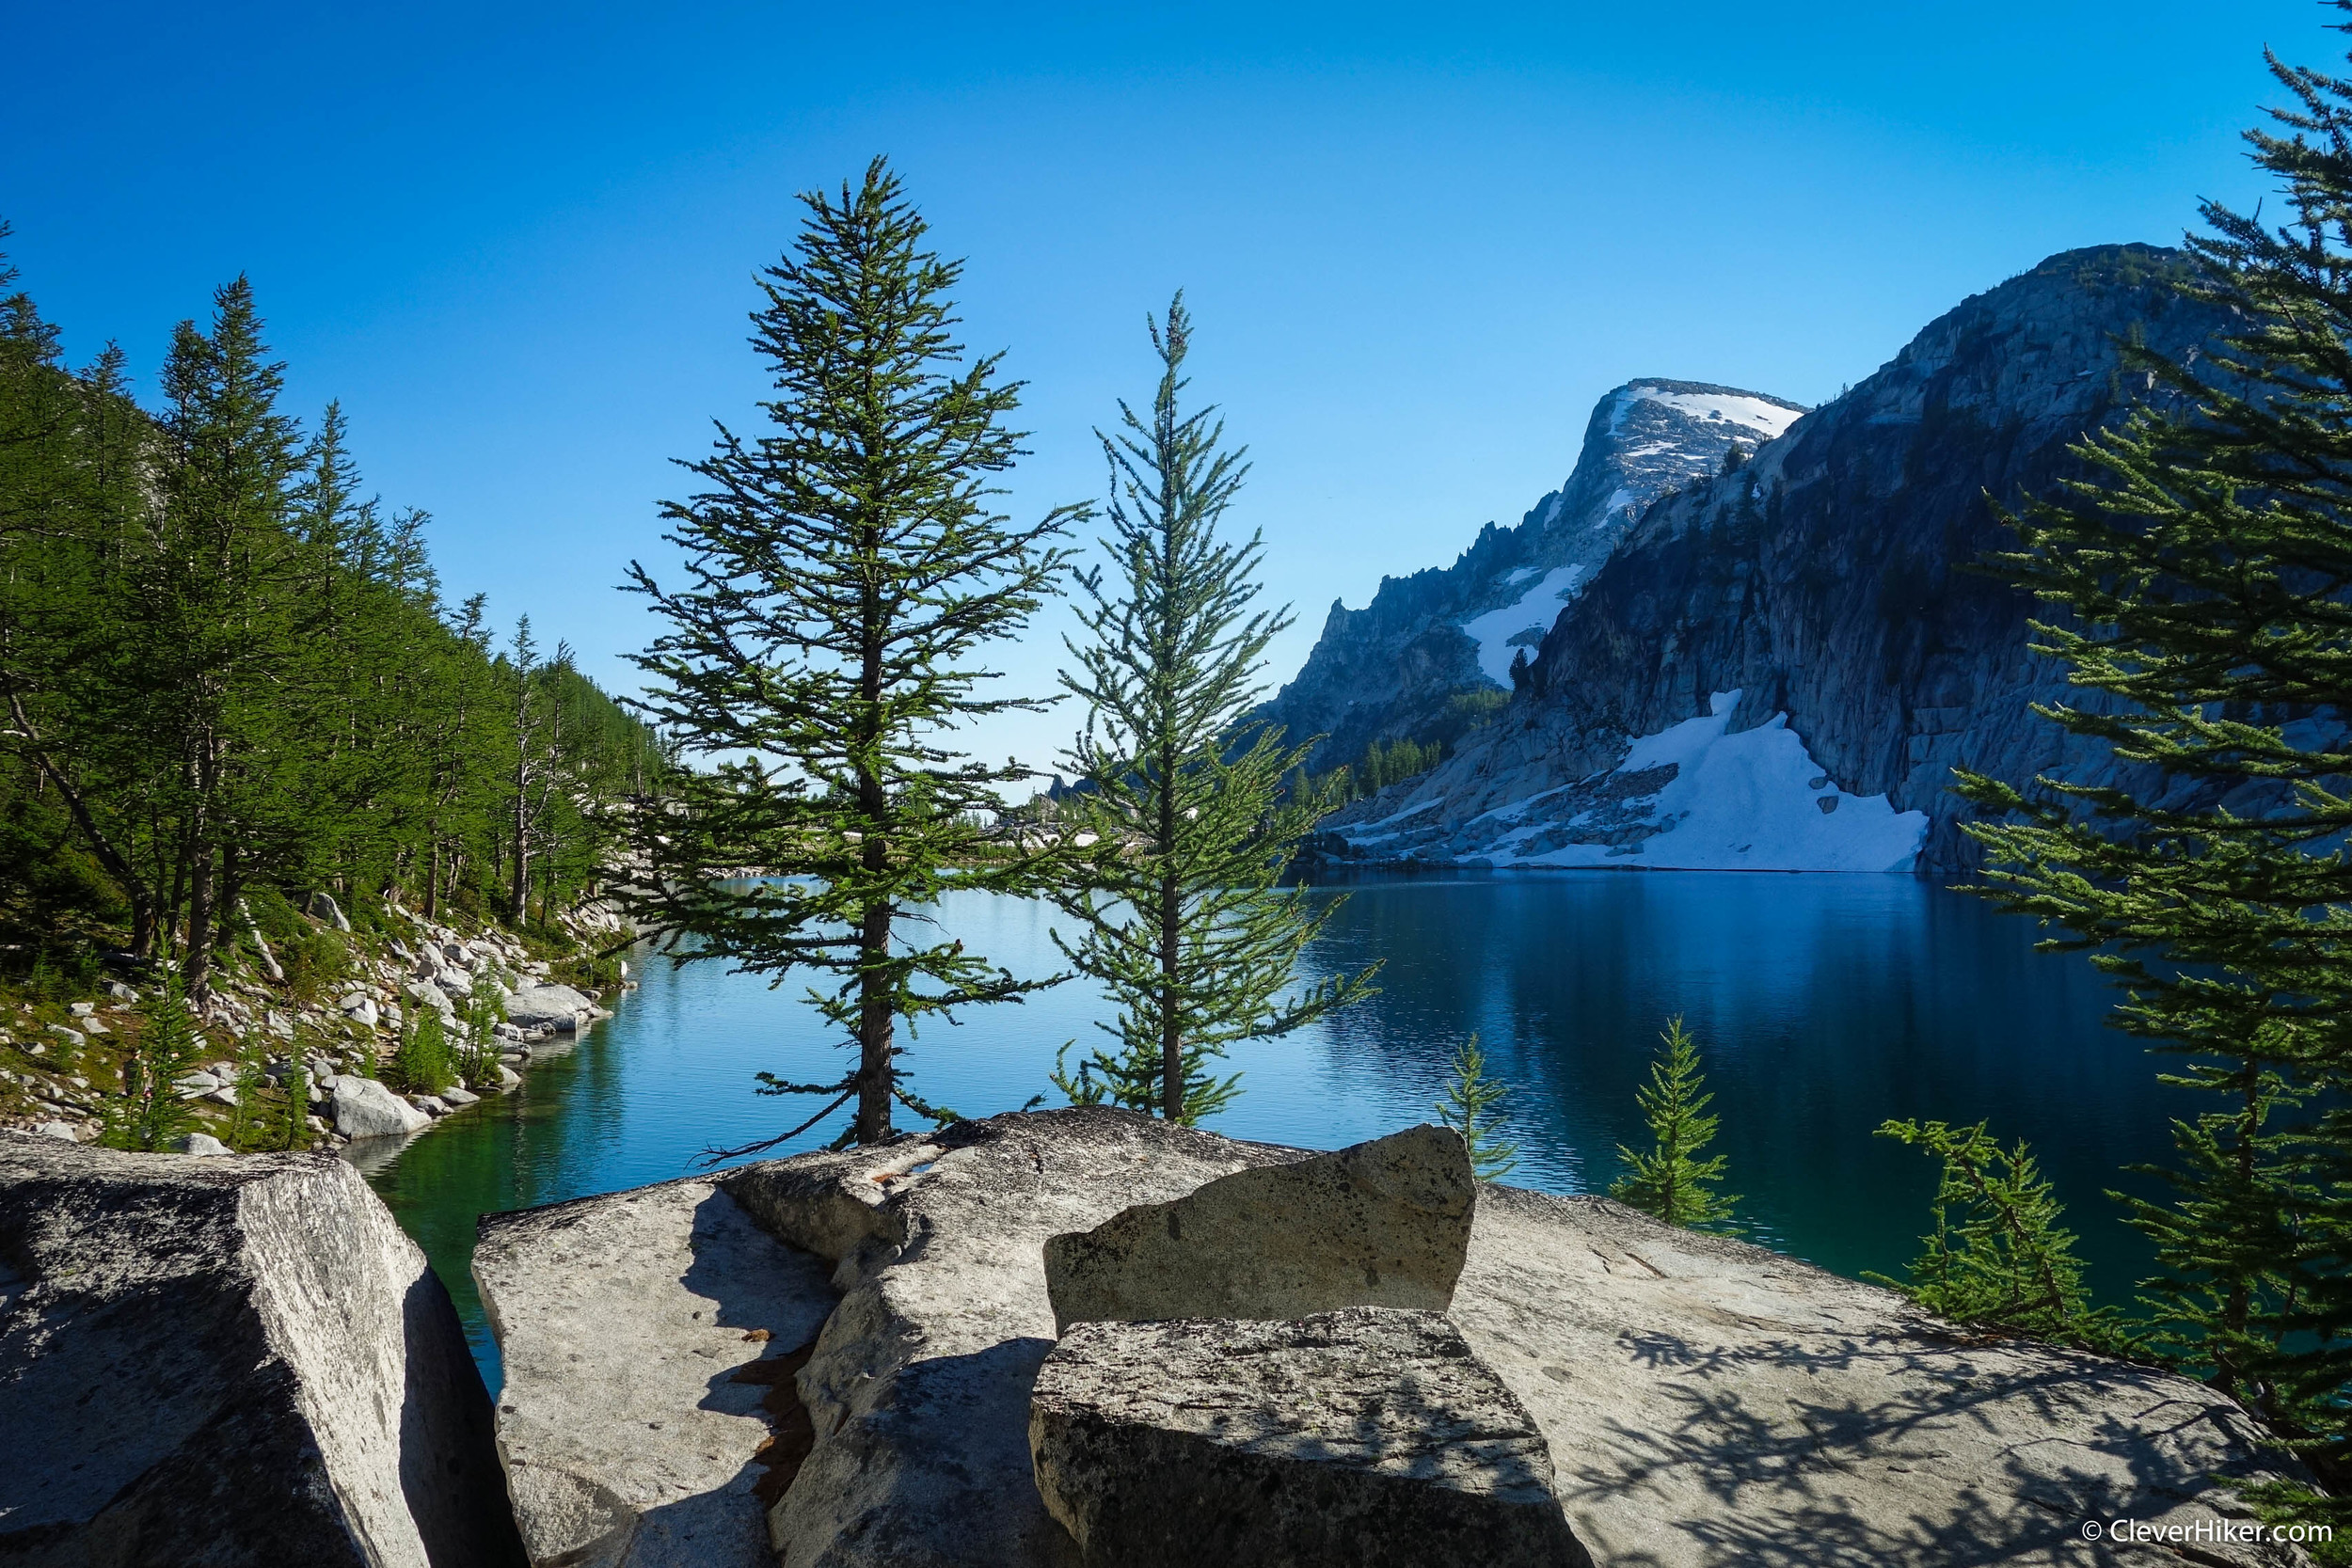
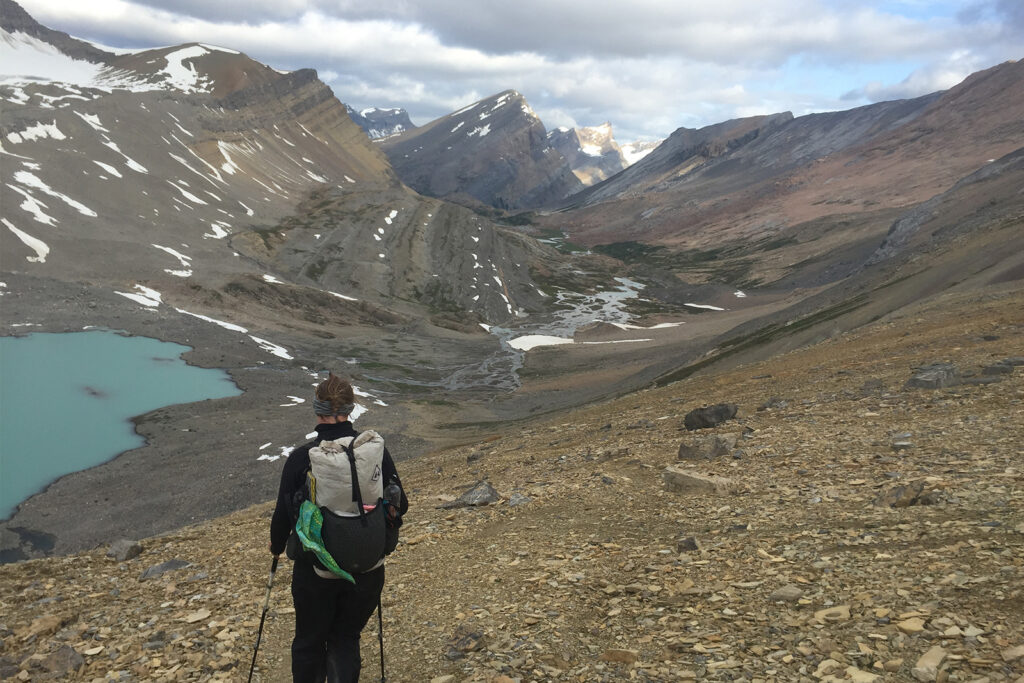
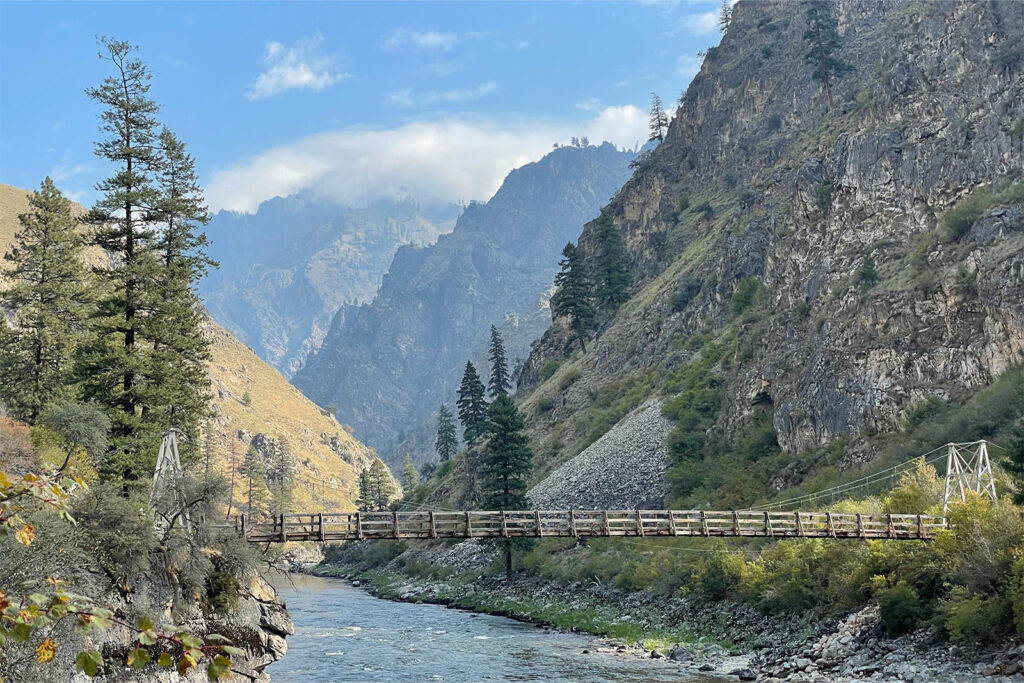
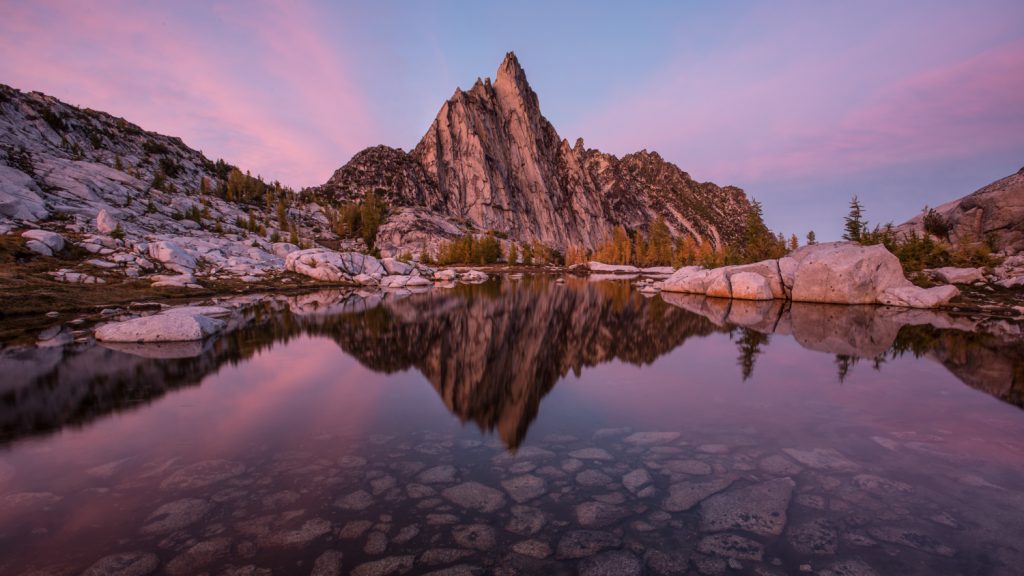
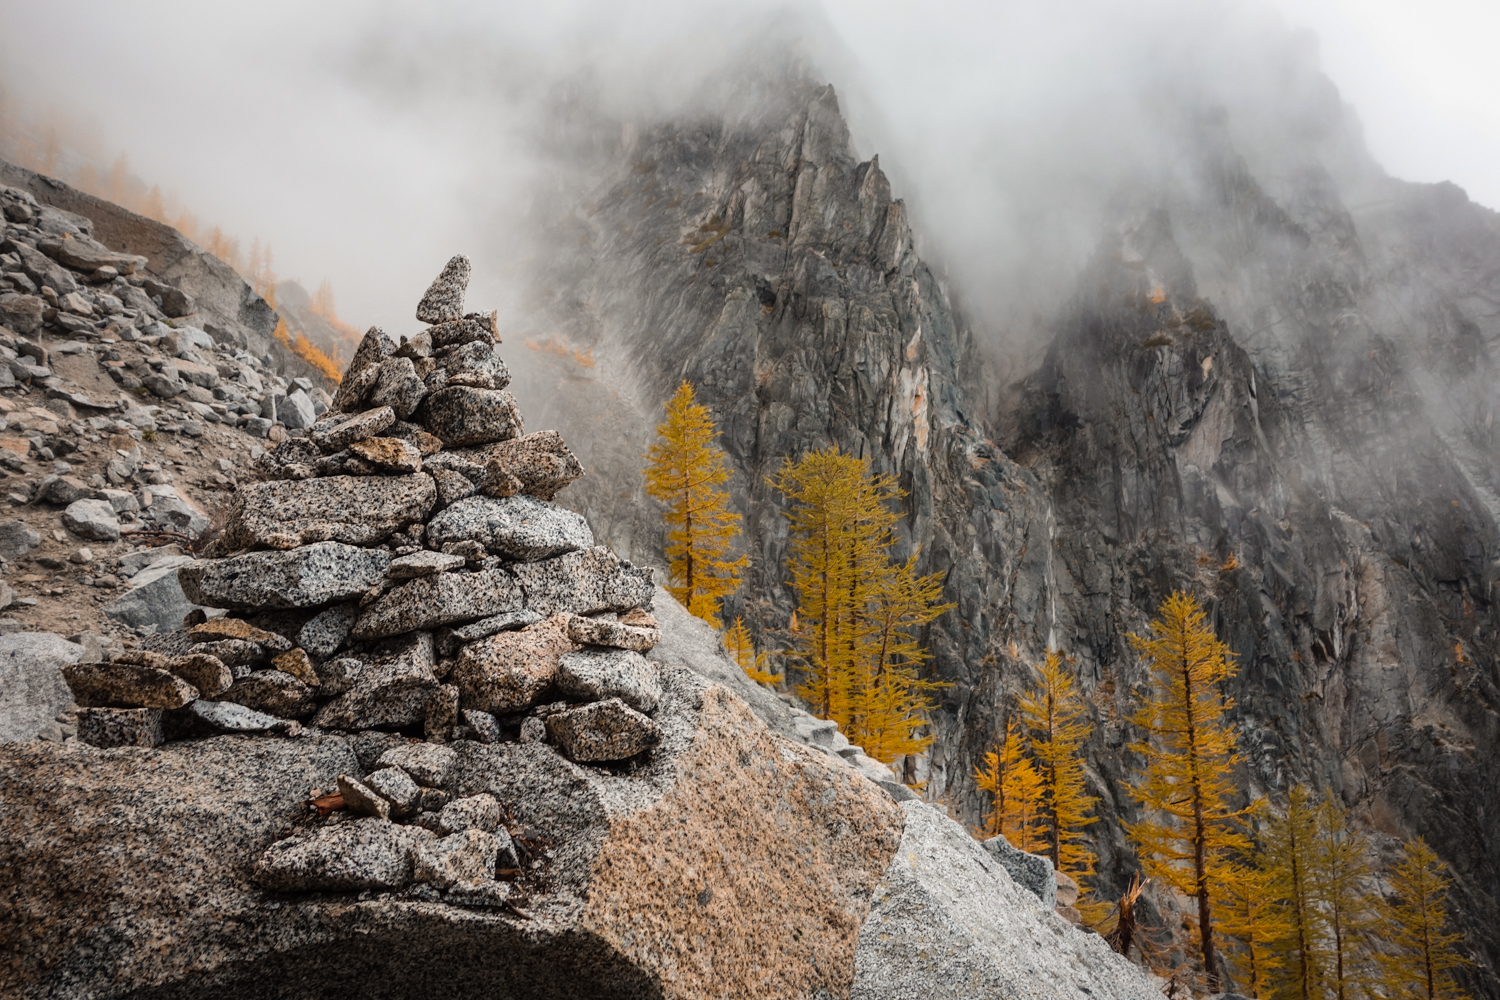
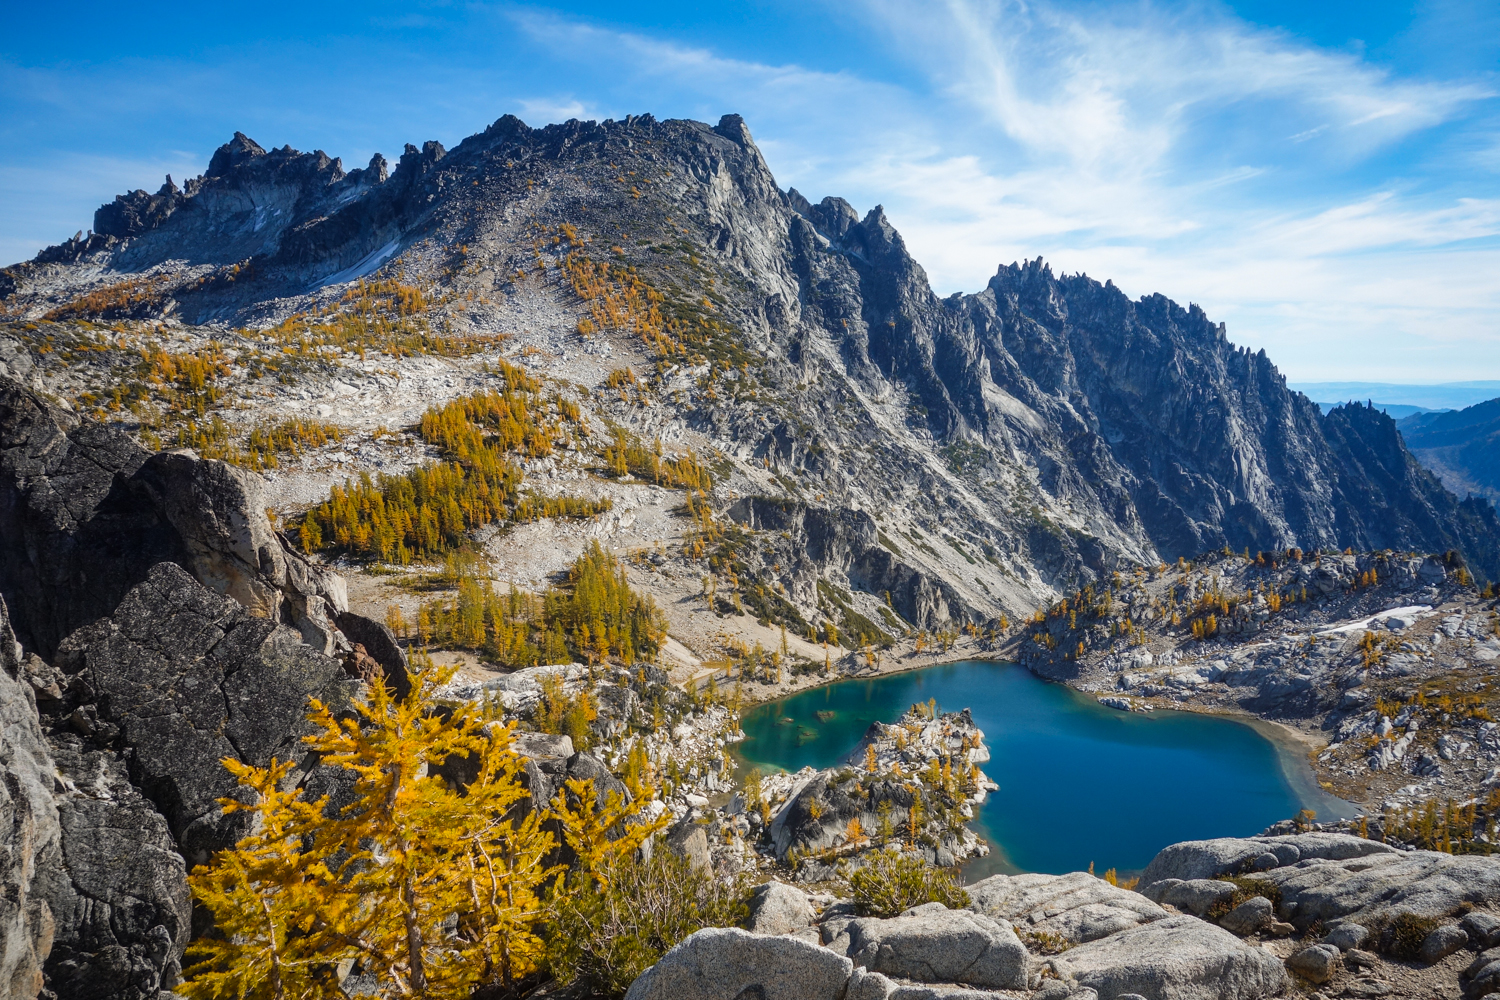
water gets contained between granite spires. – photo credit: dave collins (cleverhiker.com)
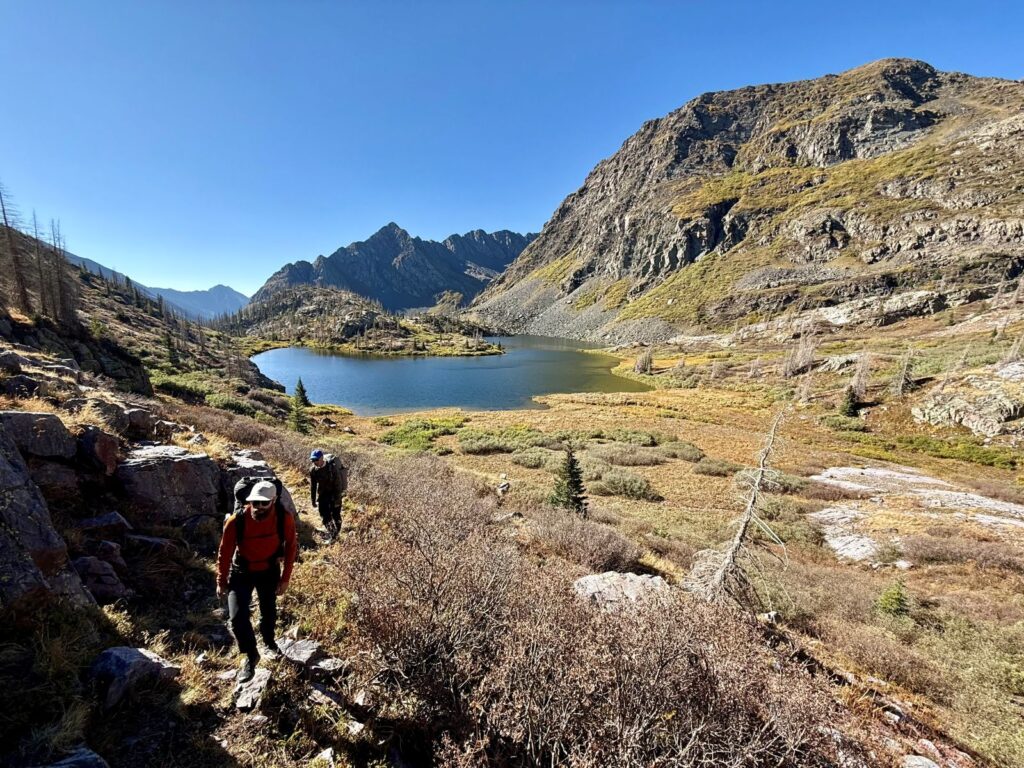
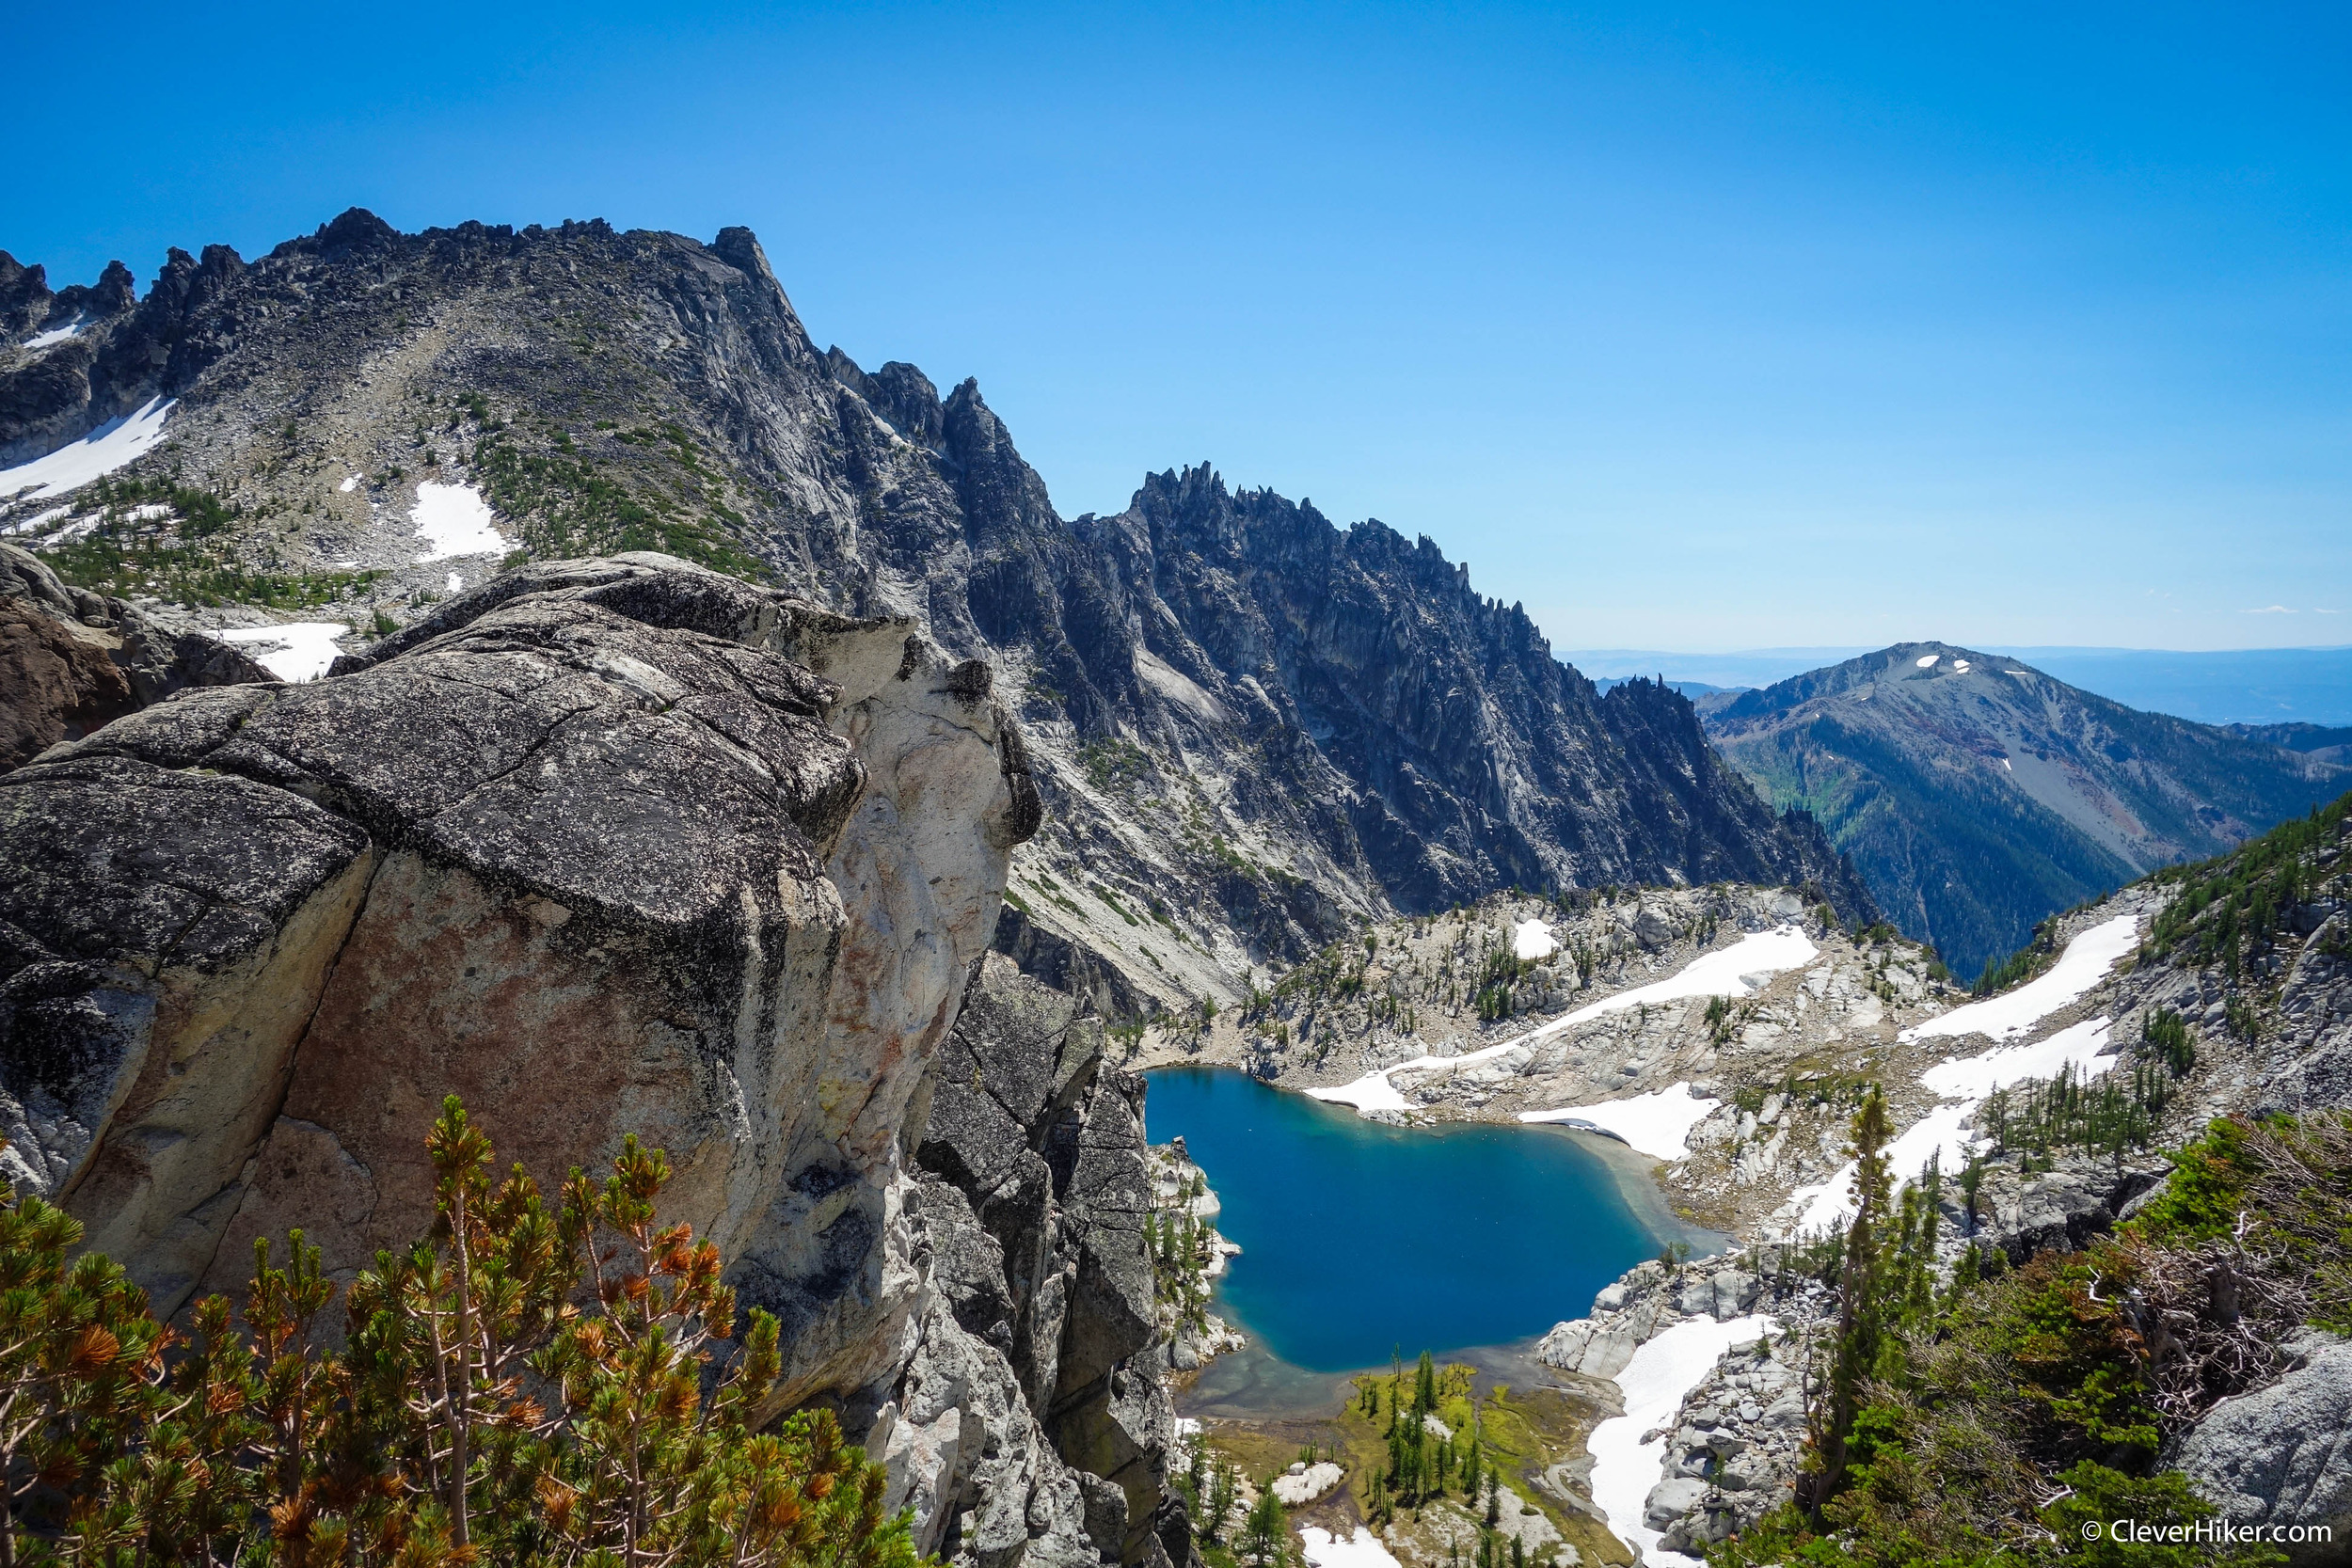
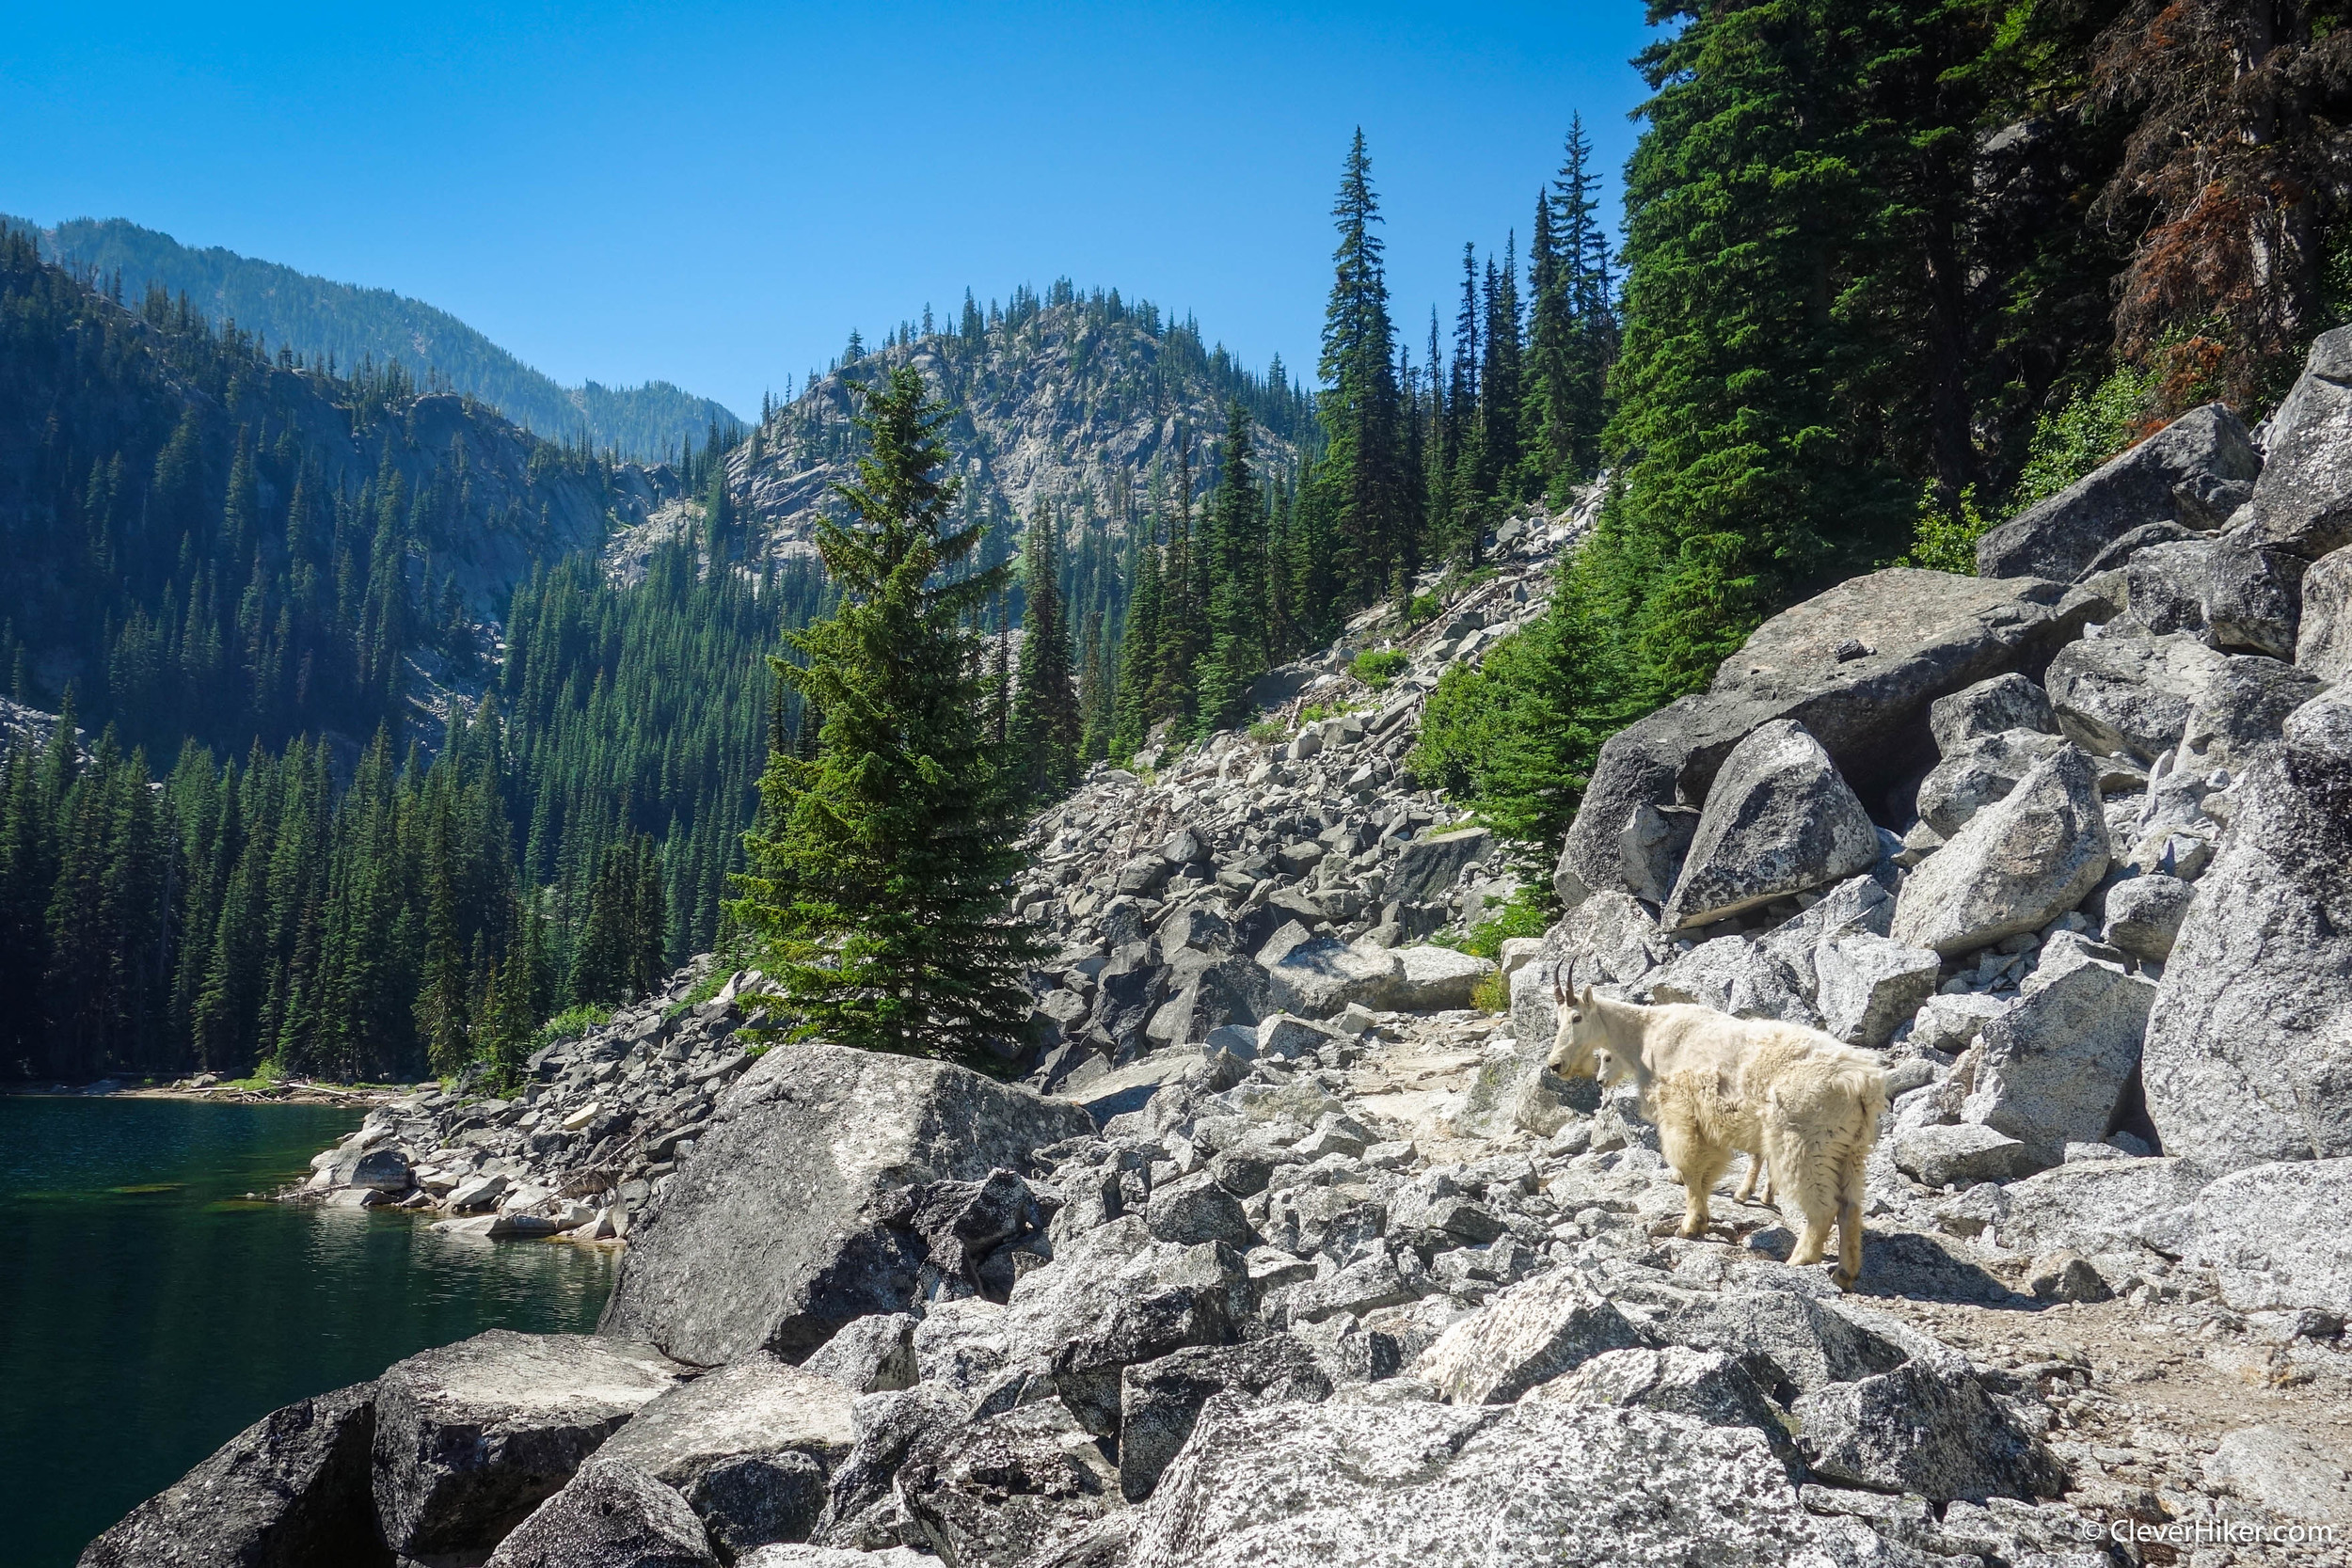
swimming options around every corner. – photo credit: dave collins (cleverhiker.com)
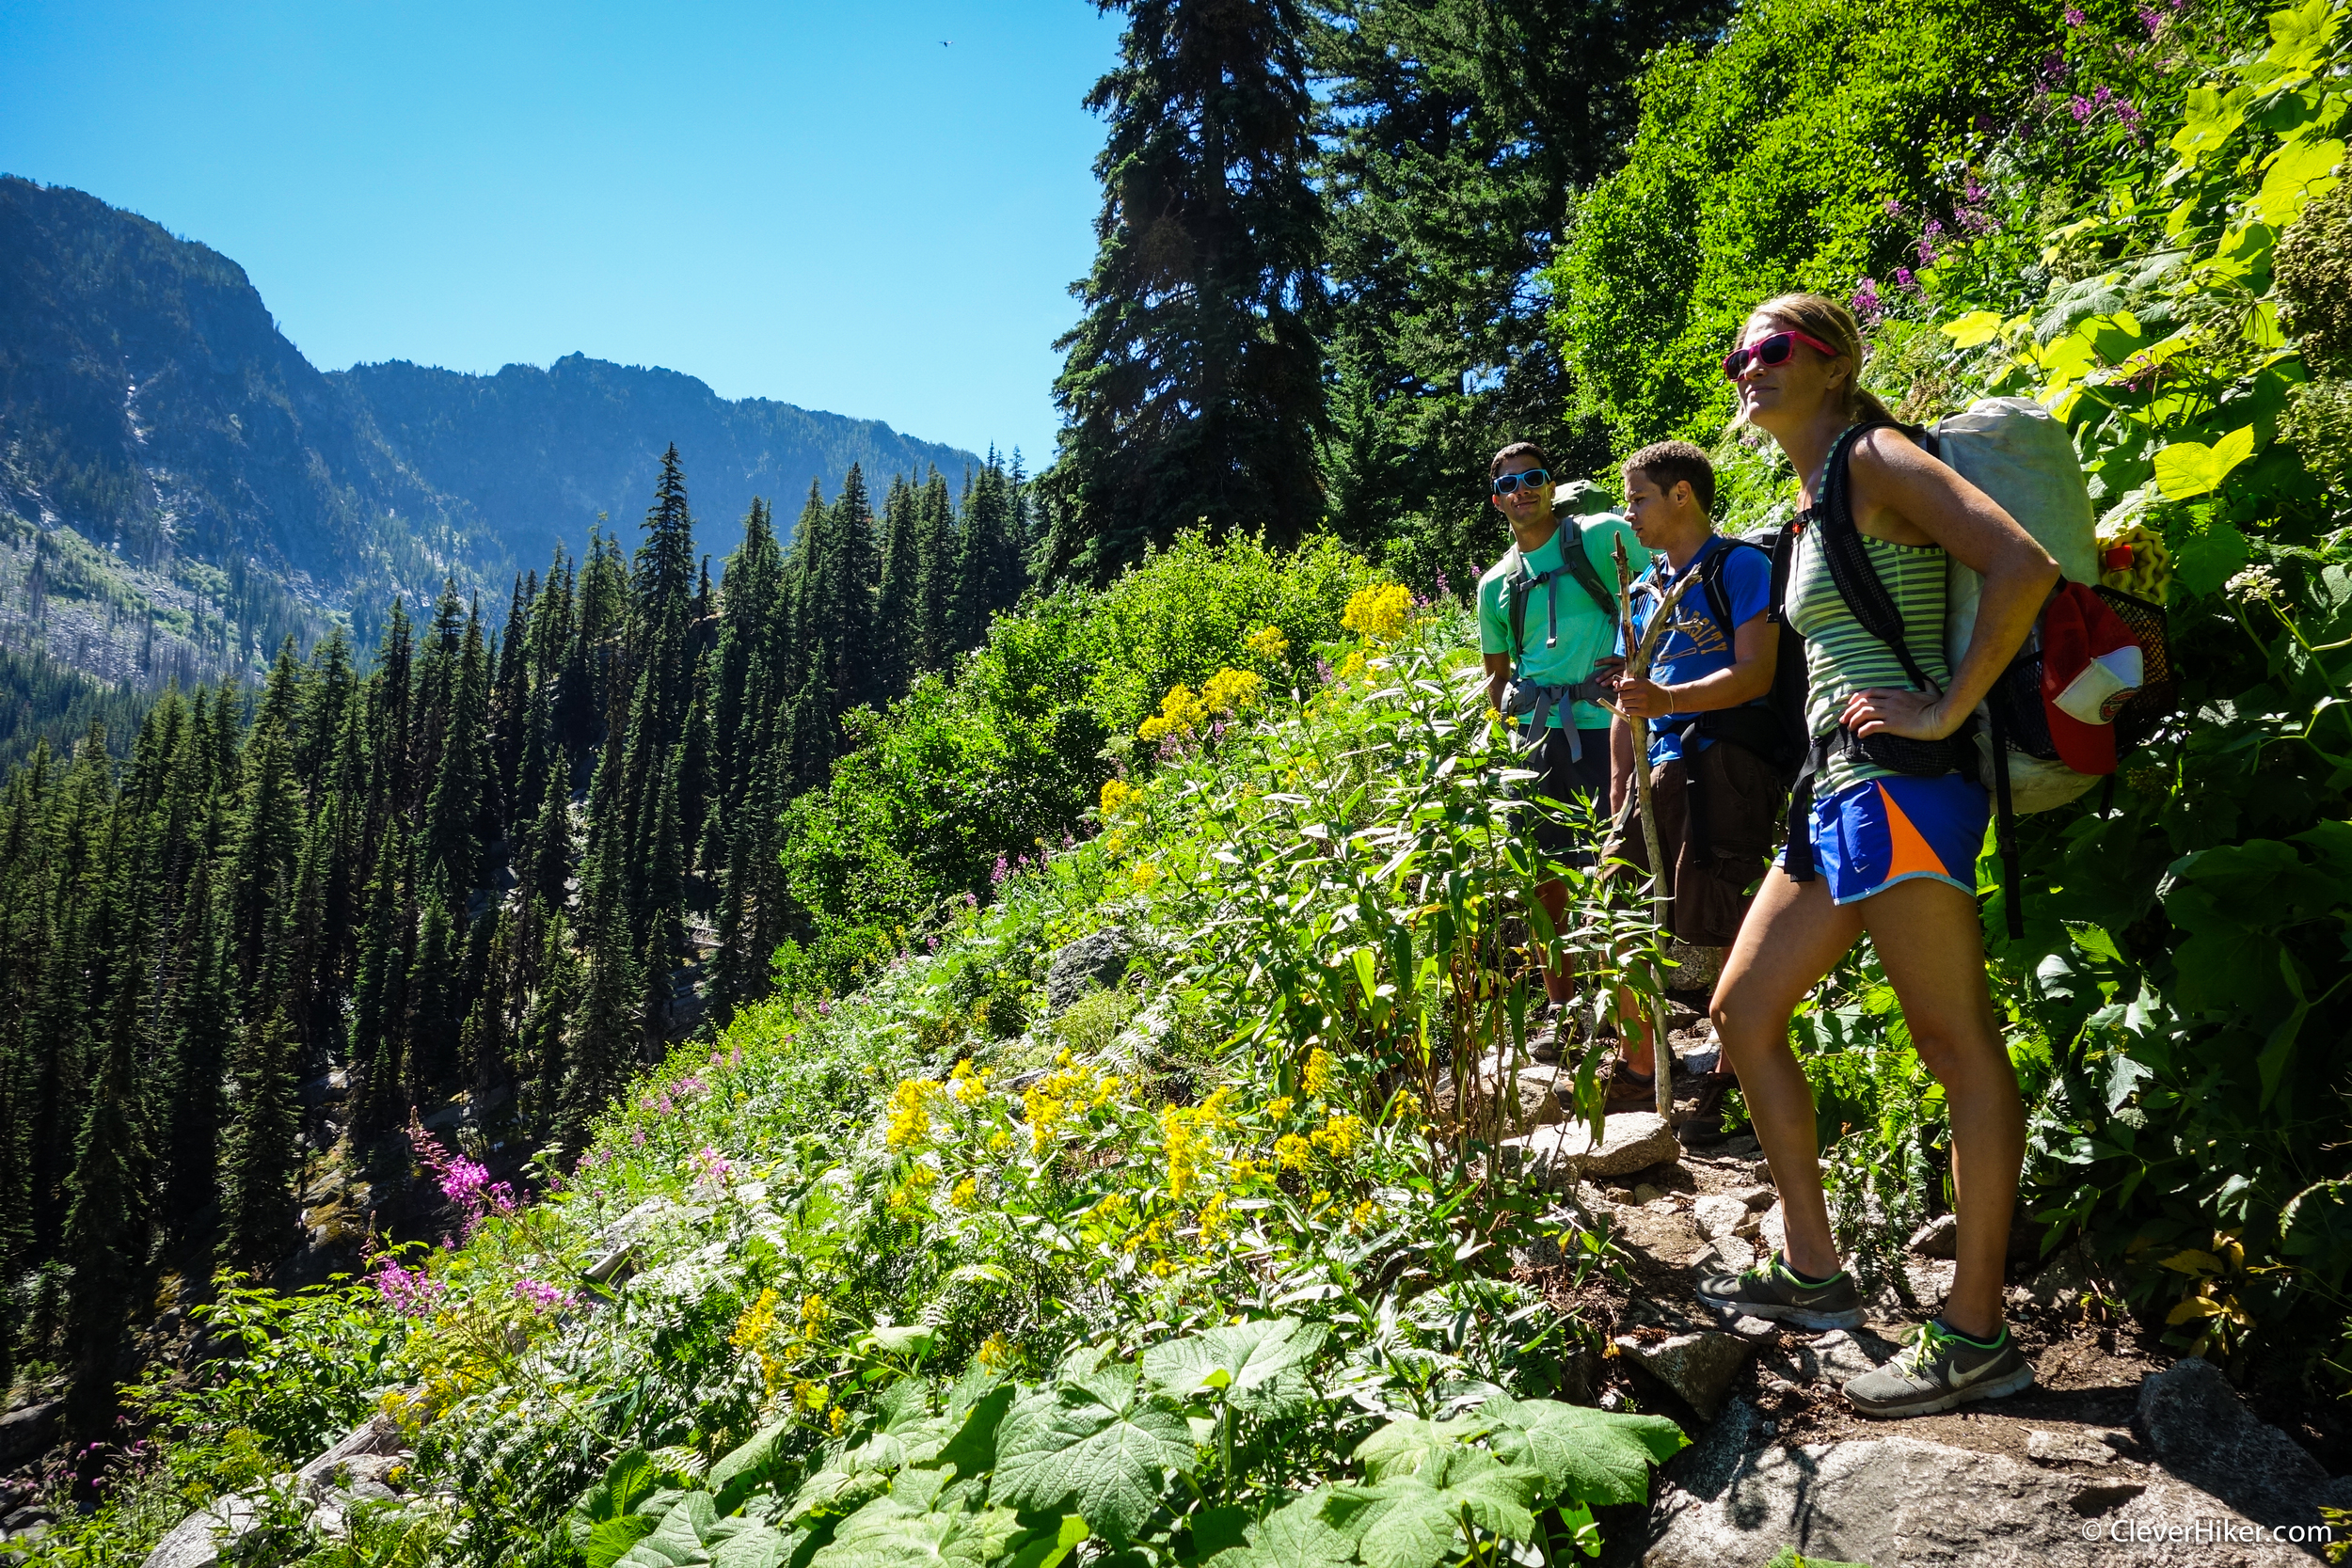
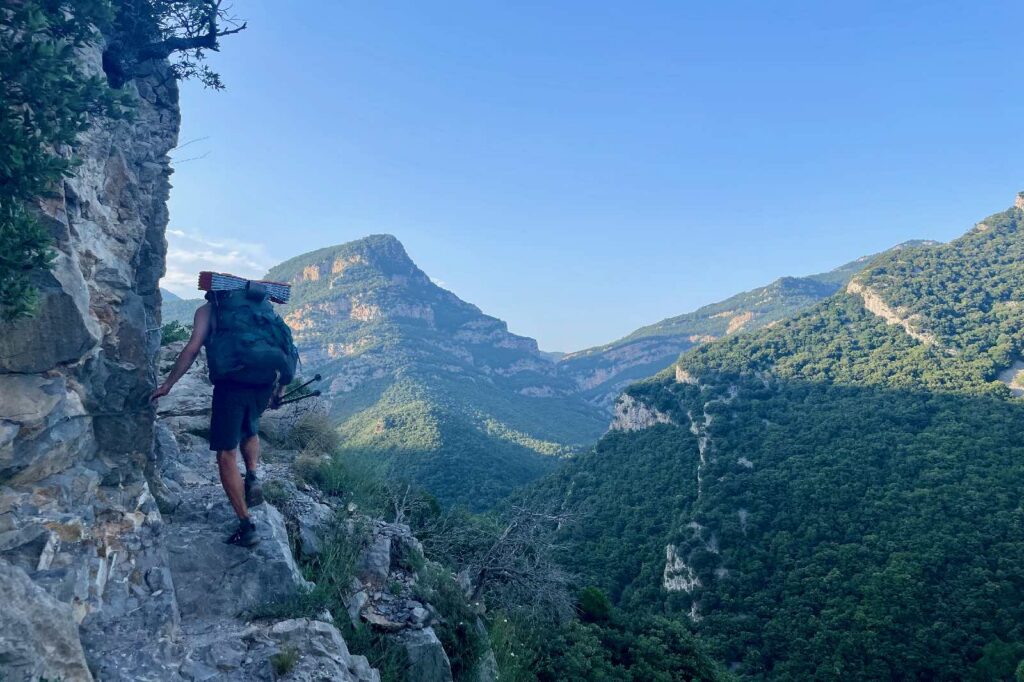
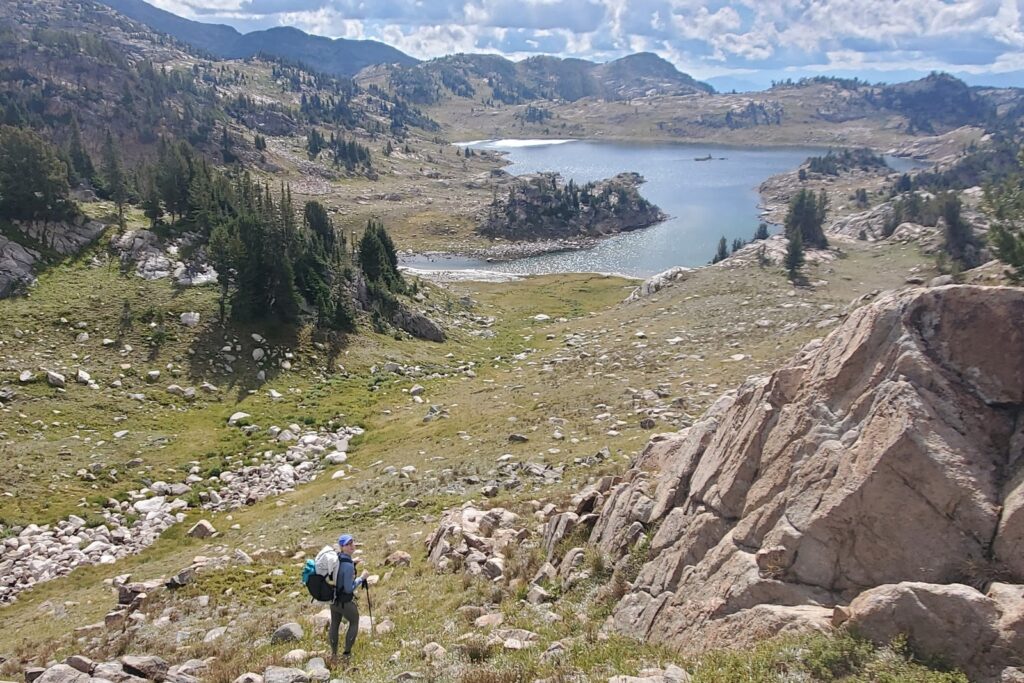
big gains on day one for us. – photo credit: dave collins (cleverhiker.com)
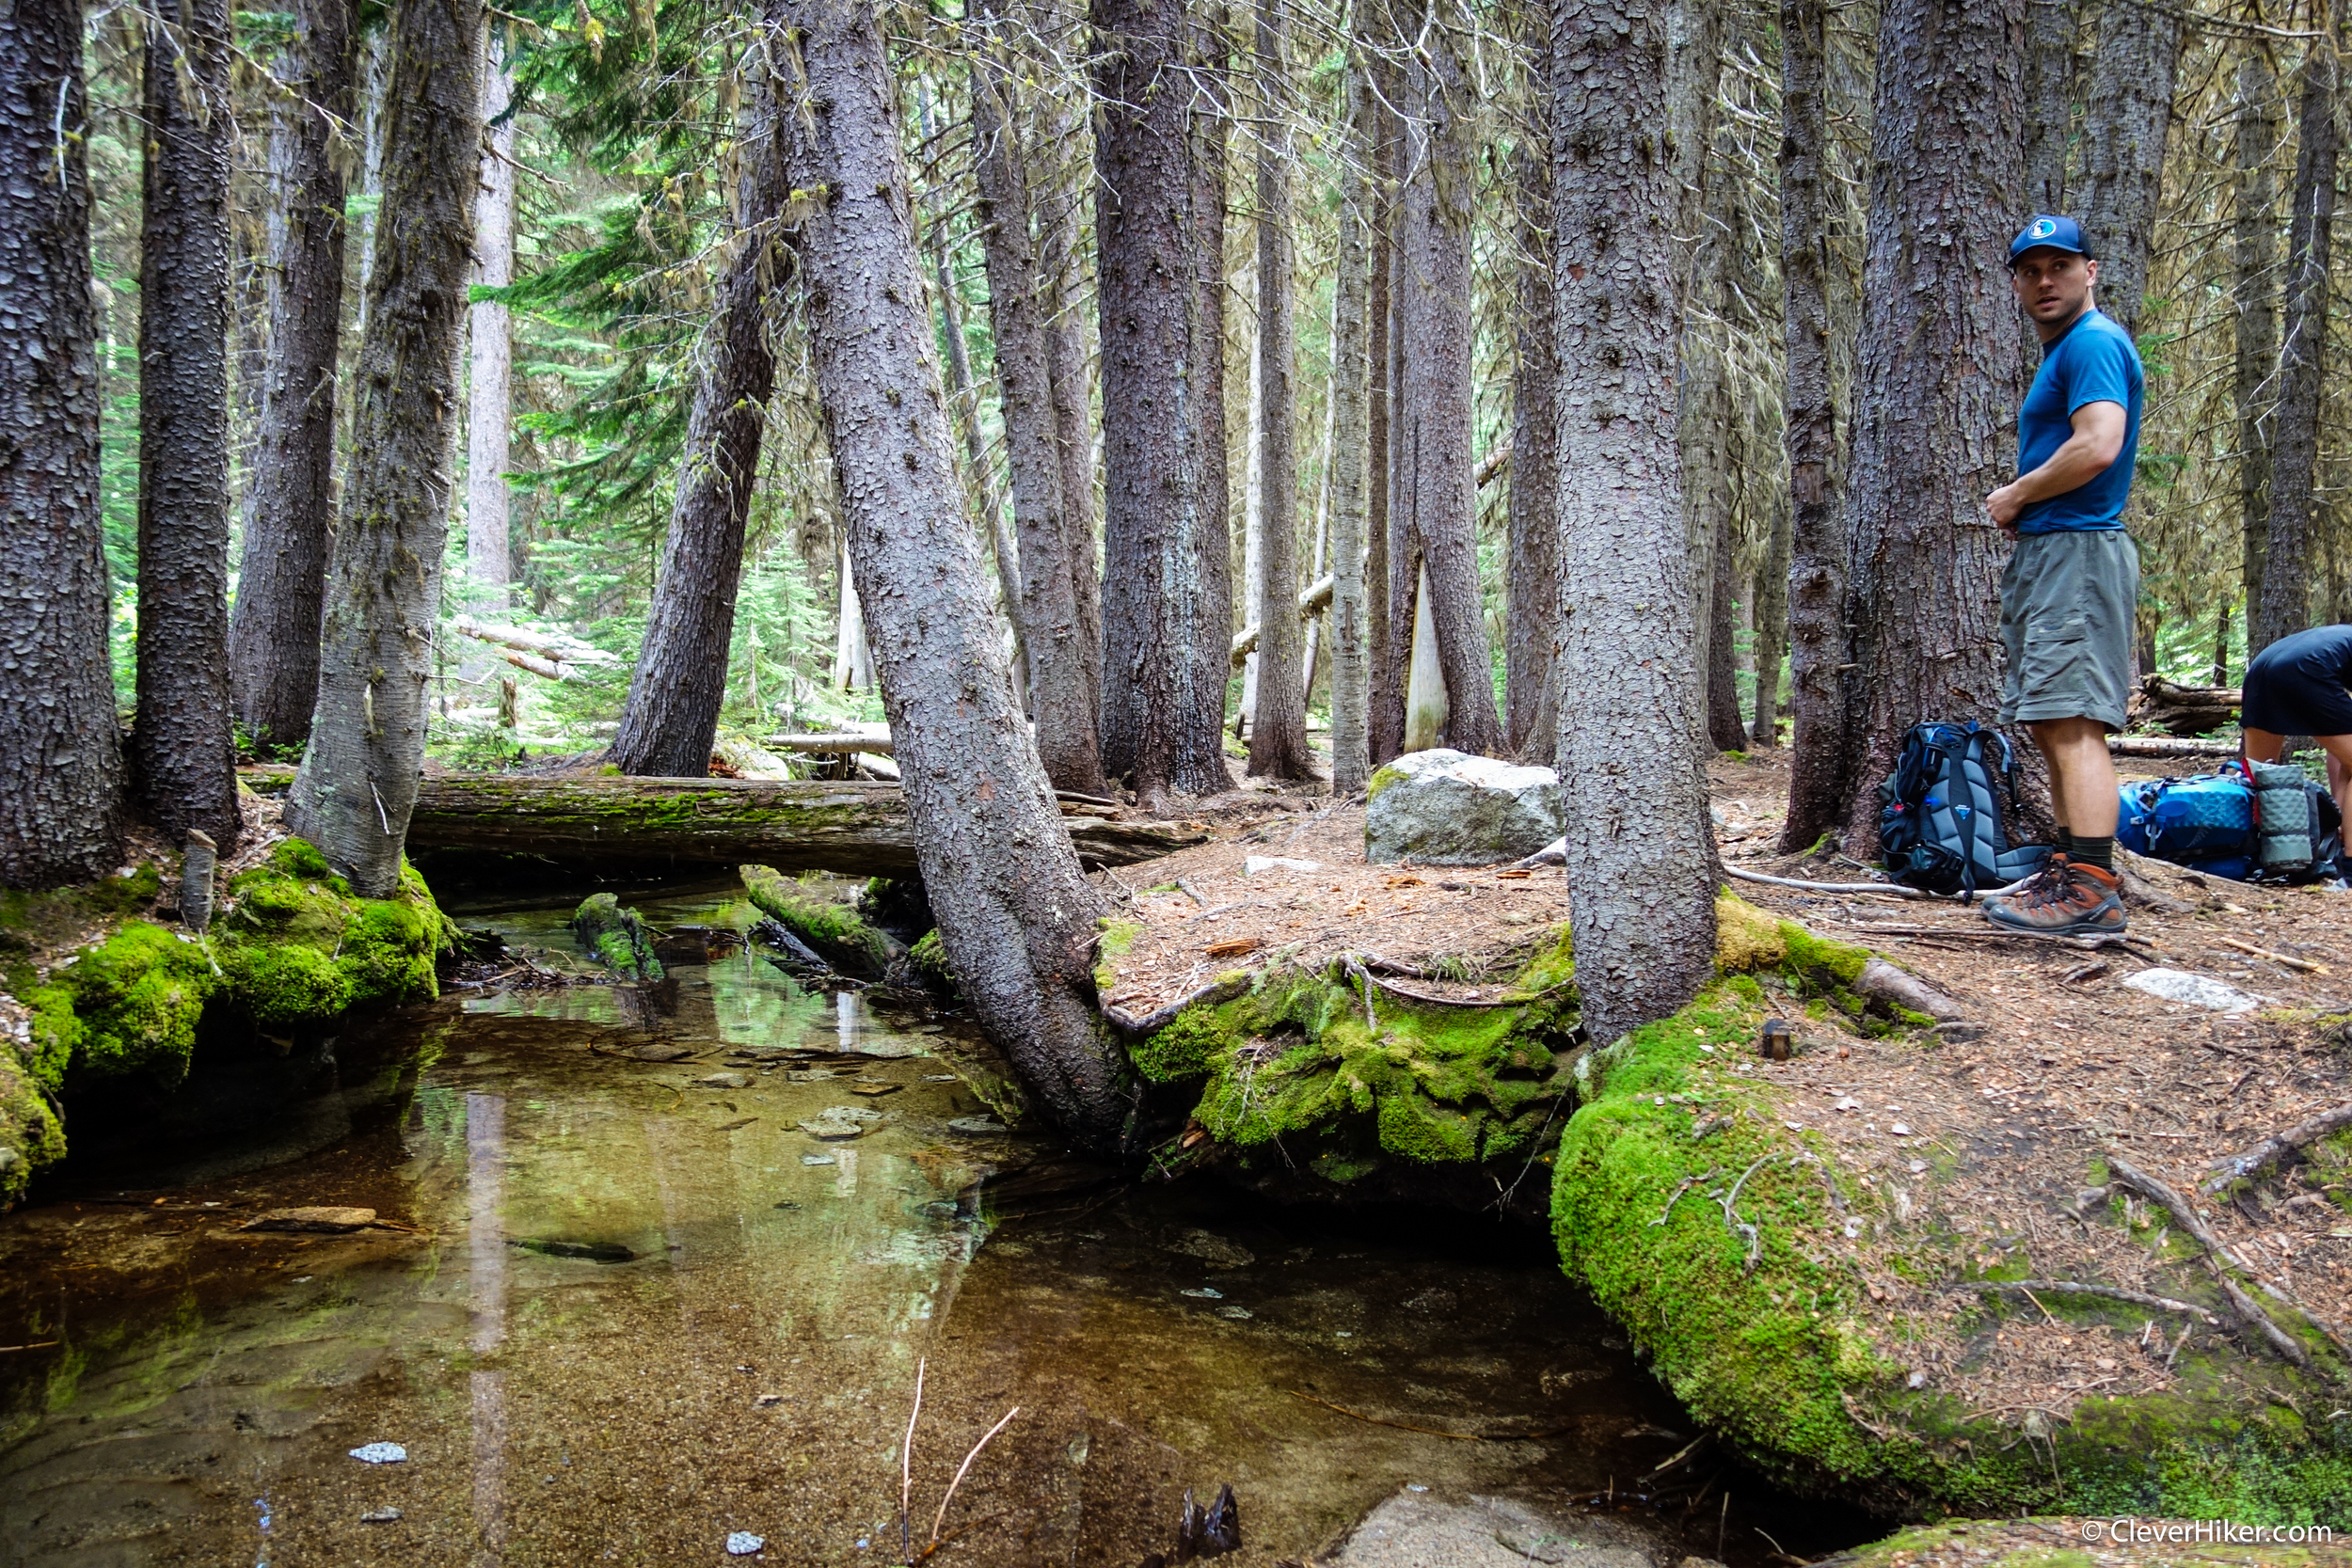
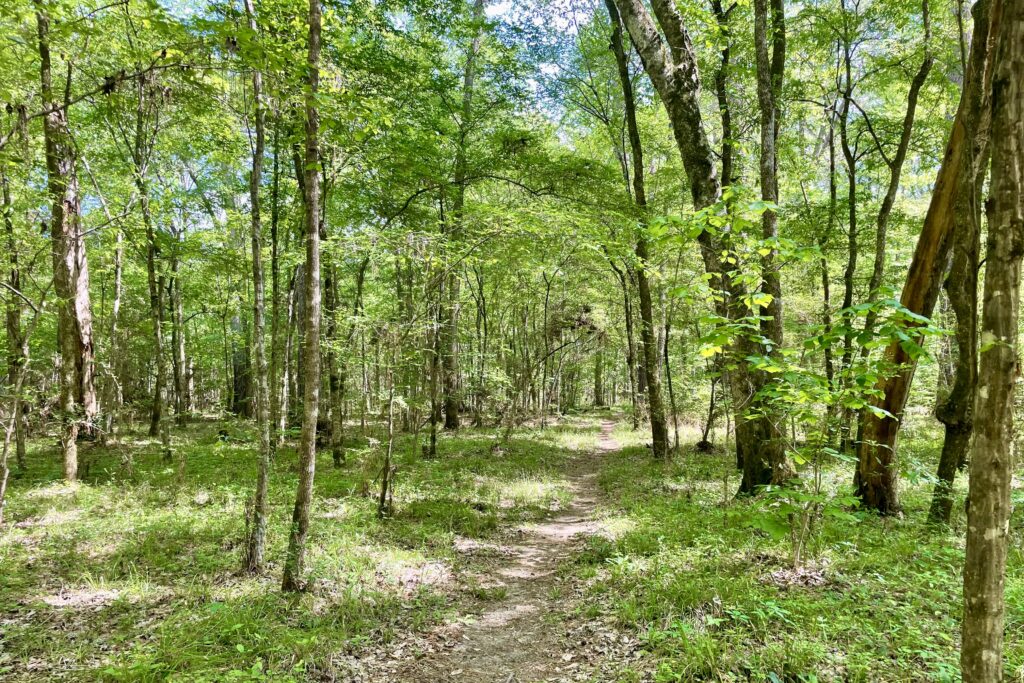
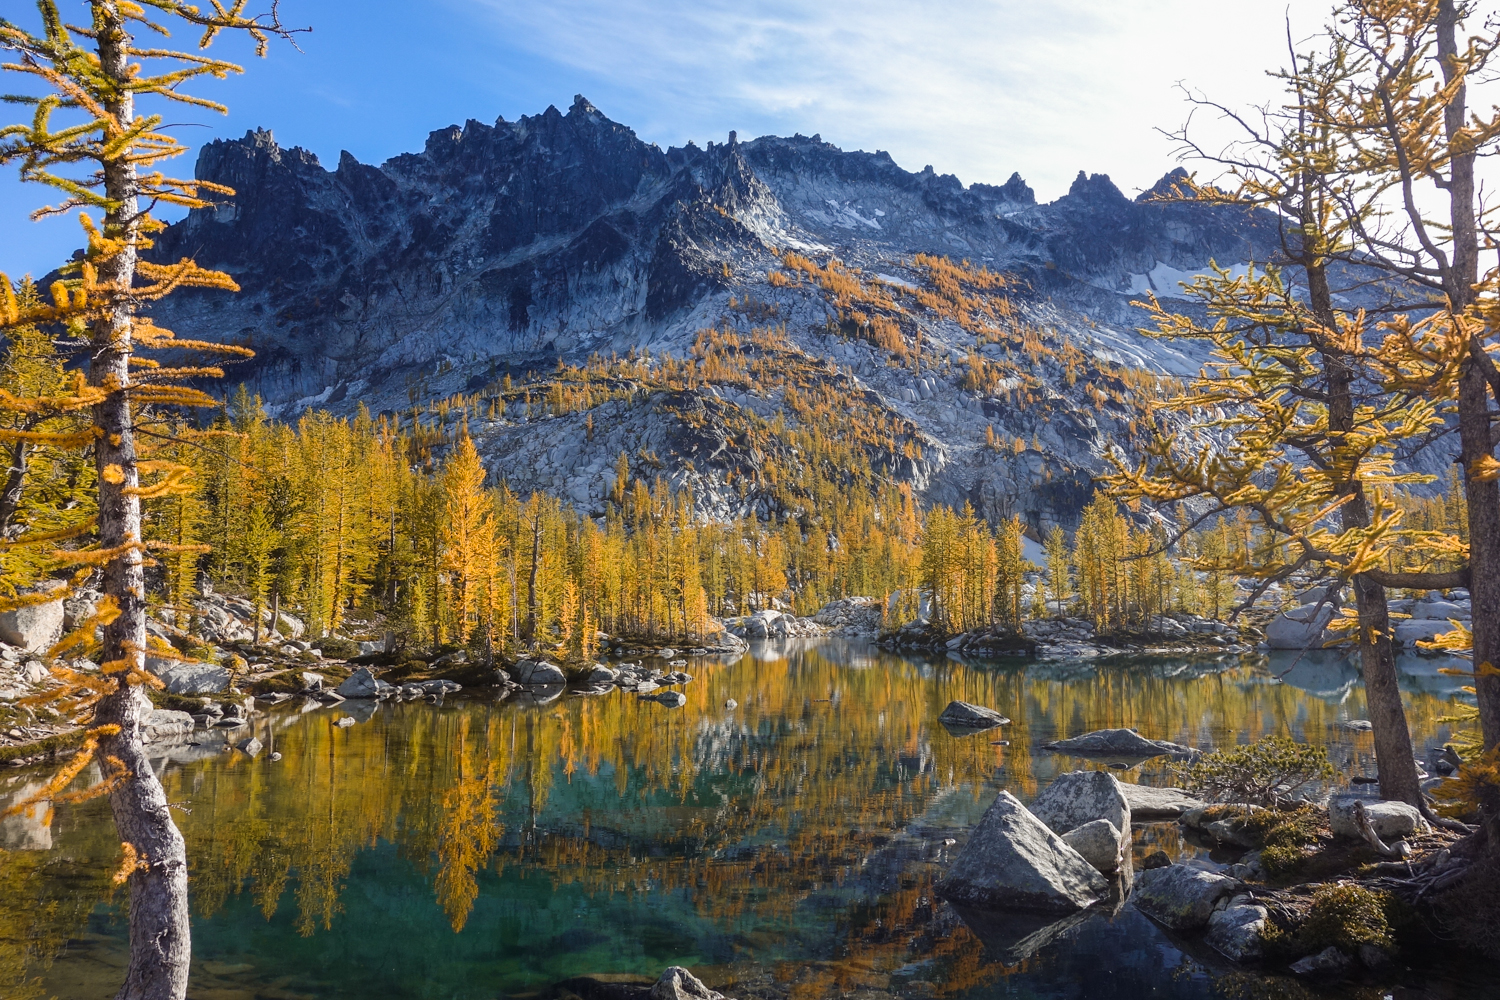
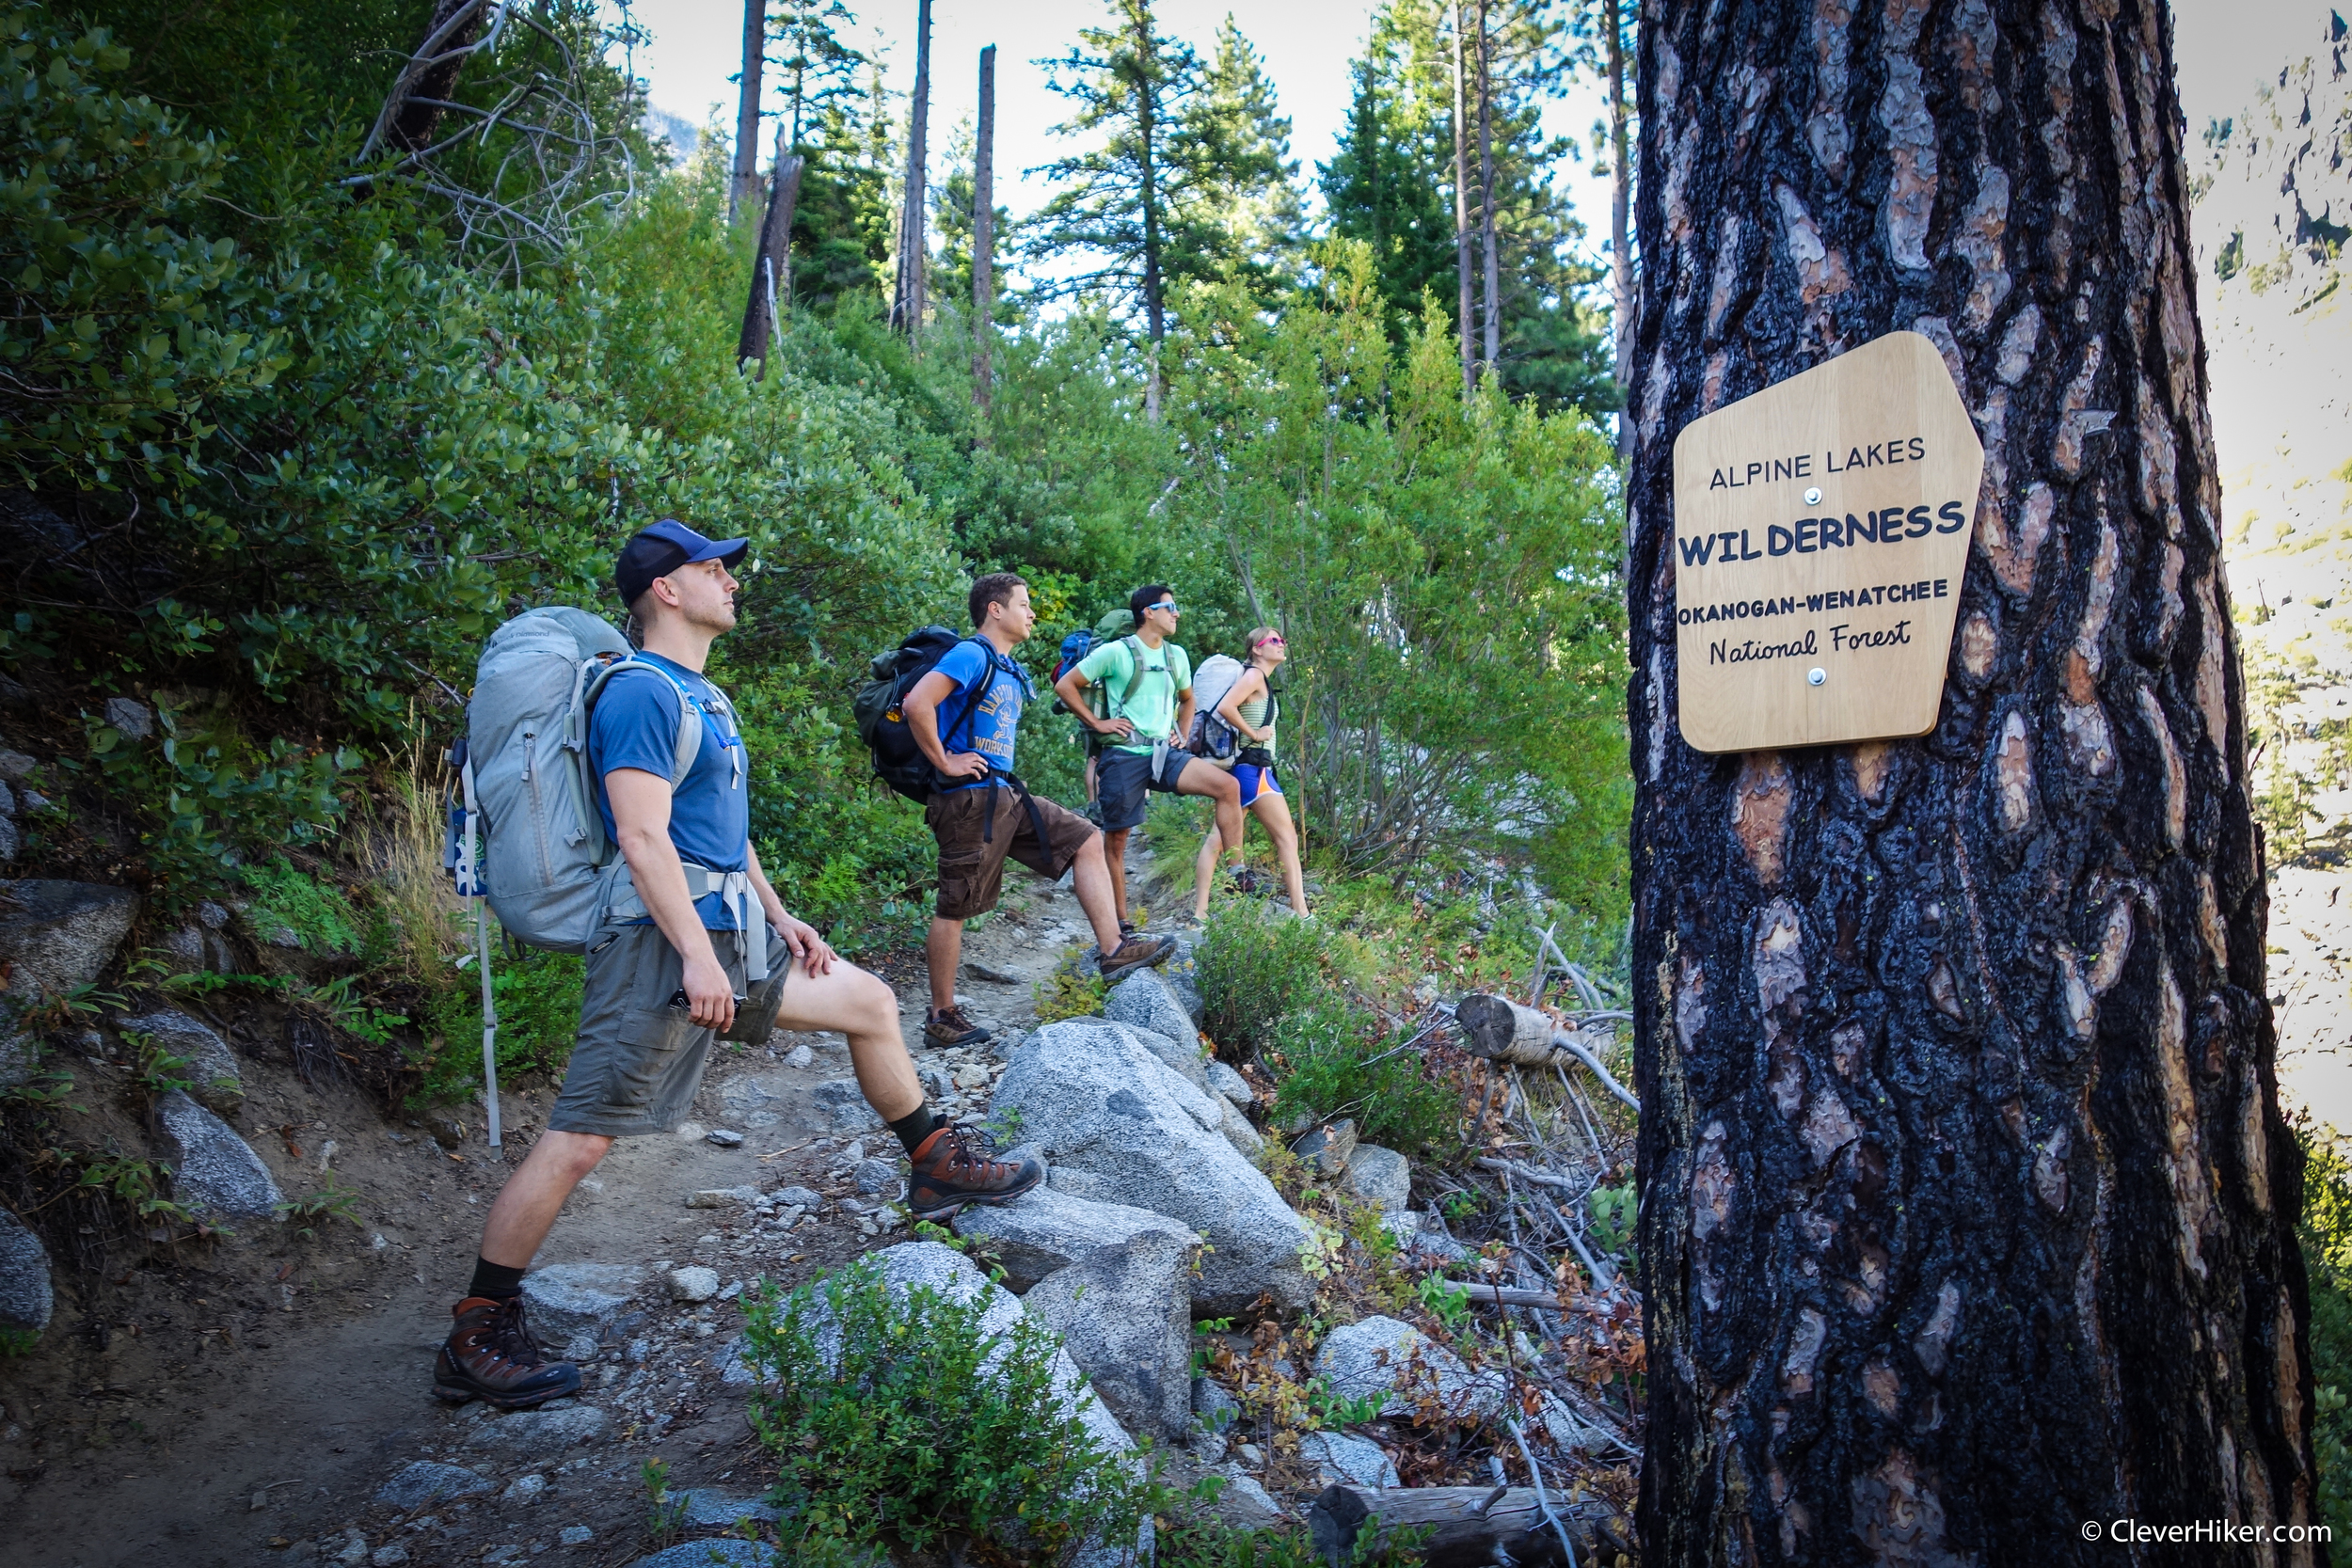
even the forested sections of the trail are beautiful in their own way. – photo credit: dave collins (cleverhiker.com)
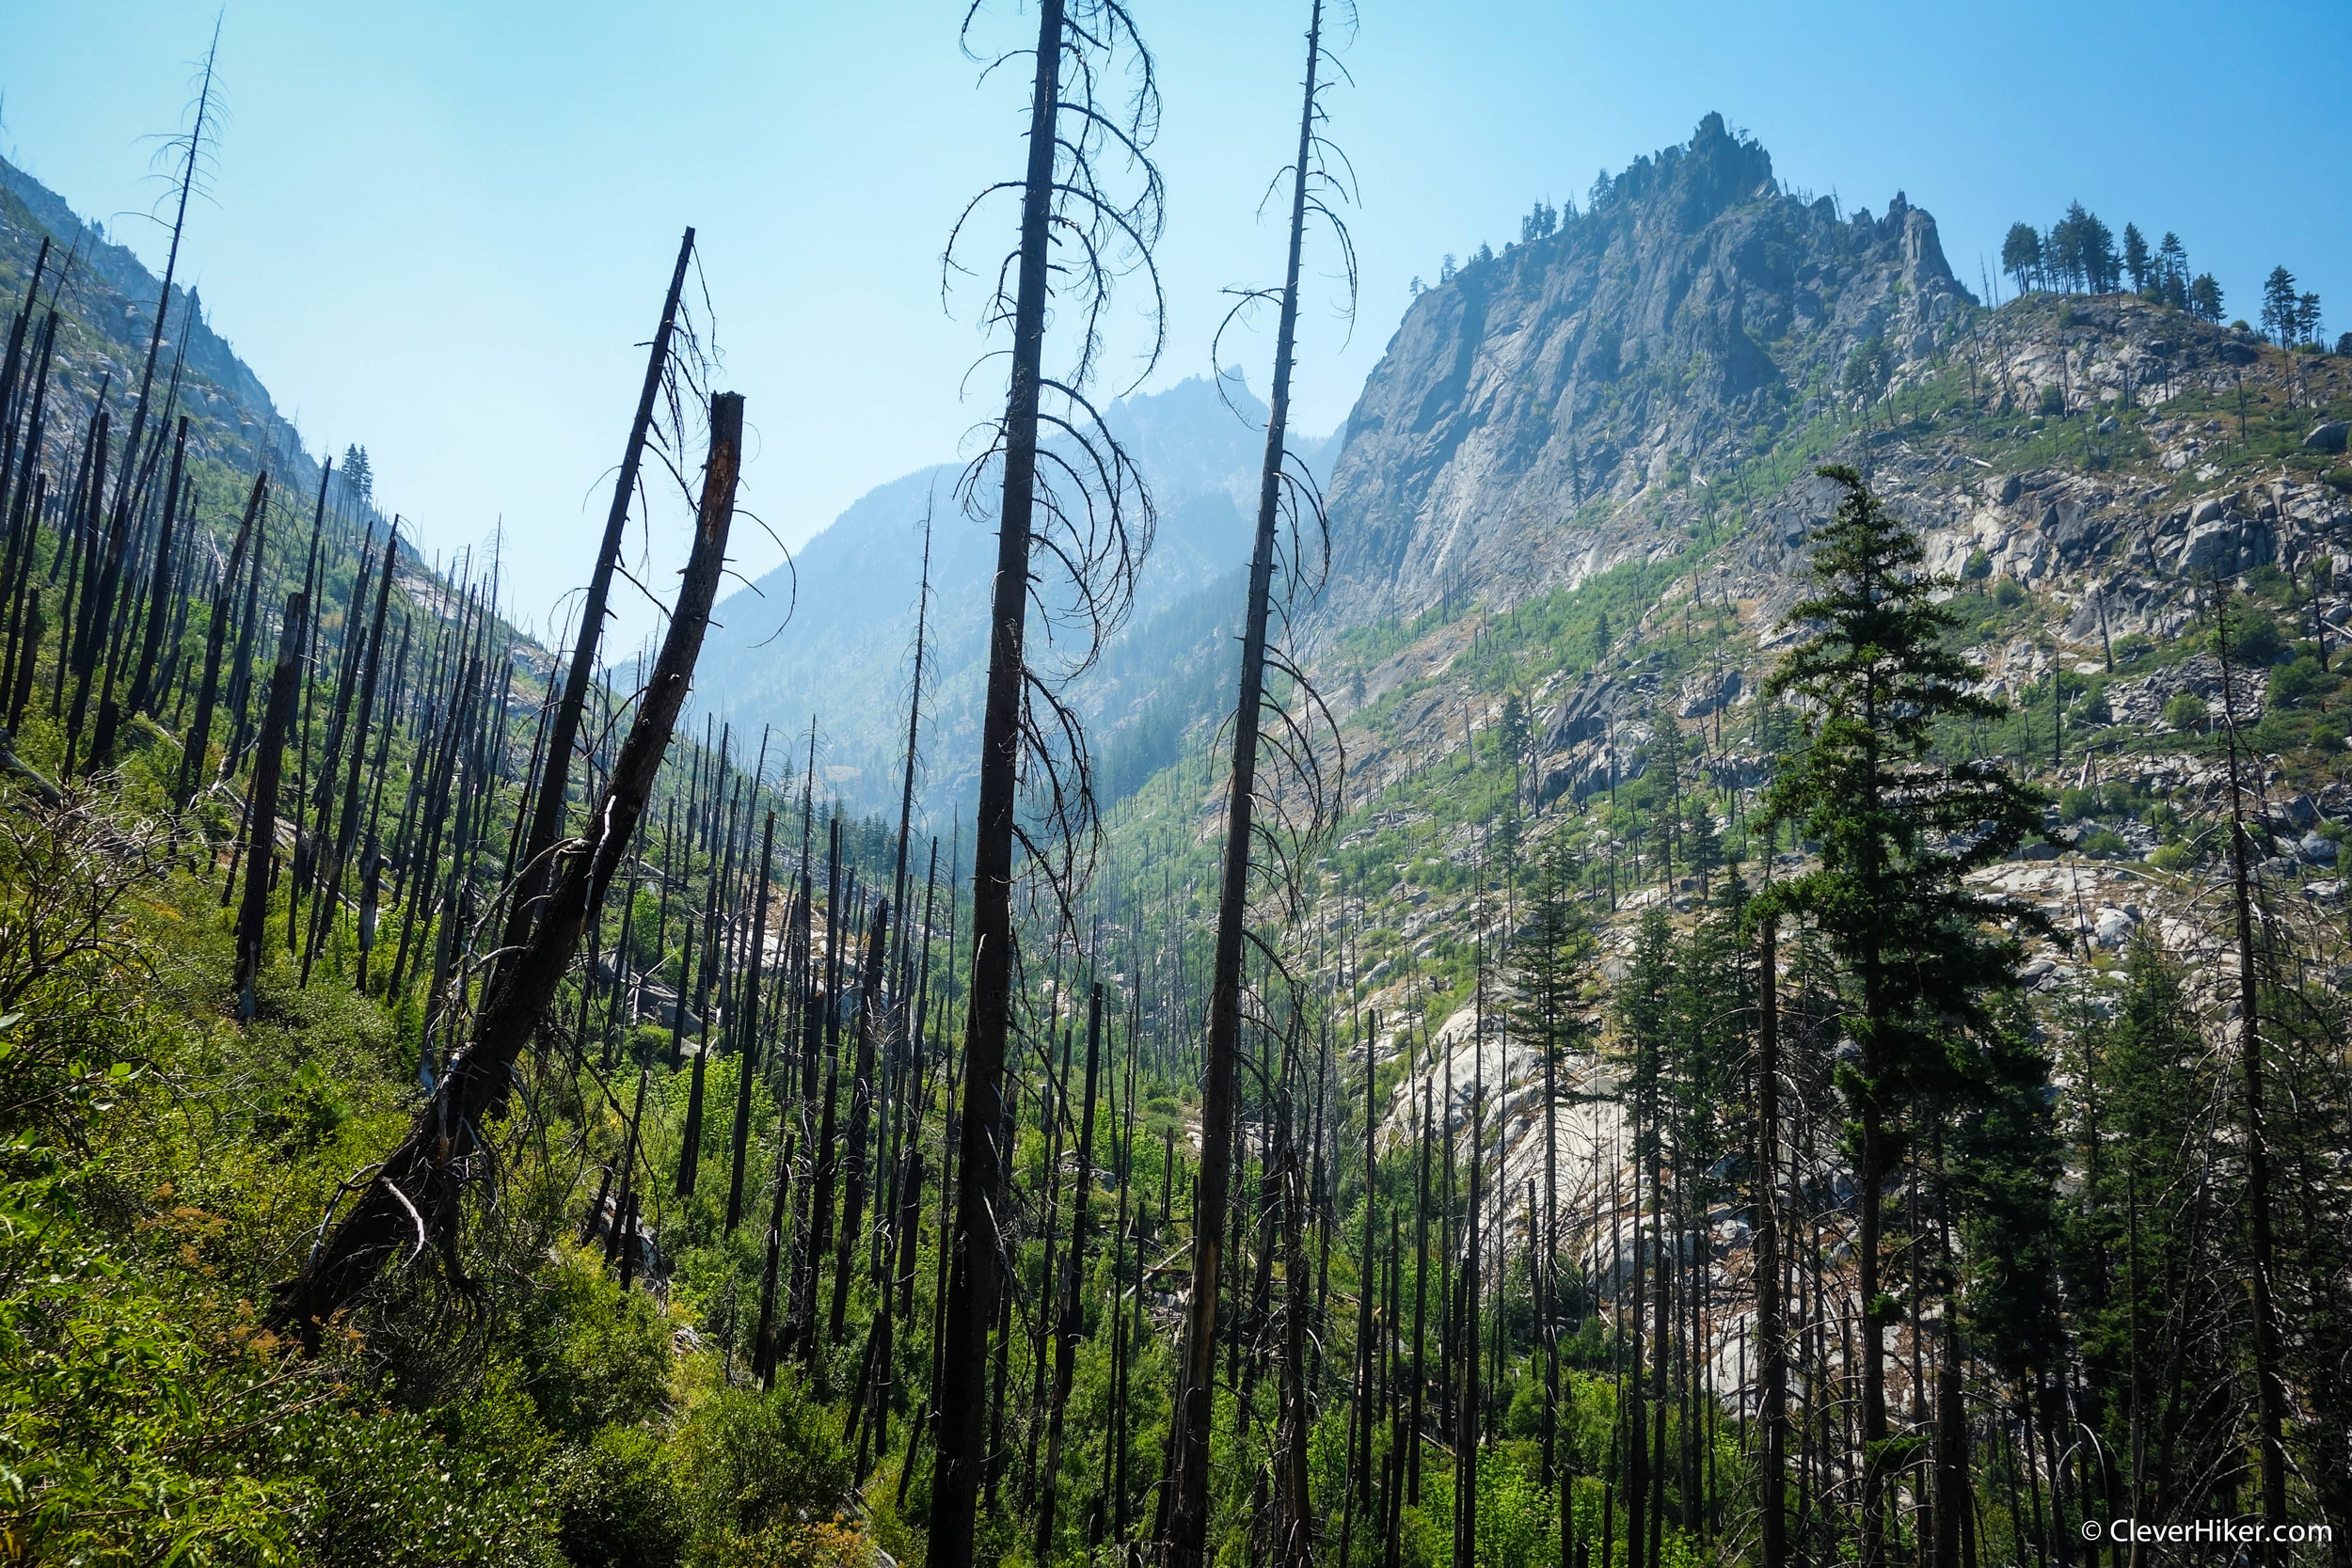
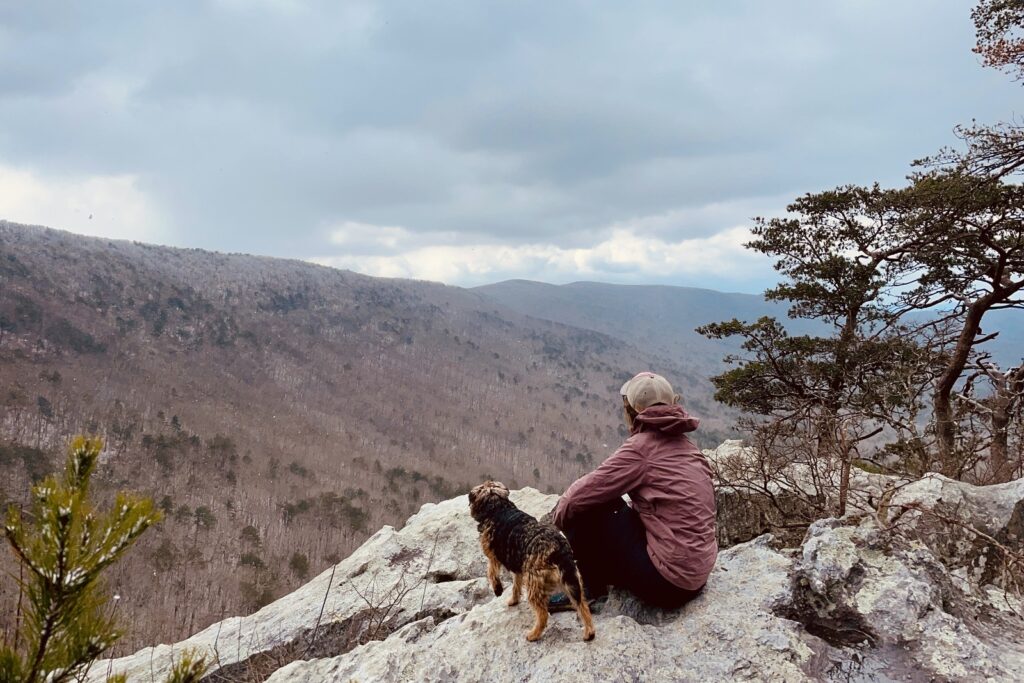
wildfires are common in the area, it’s always a good idea to look at the AQI before committing to all that “fresh air.” – photo credit: dave collins (cleverhiker.com)
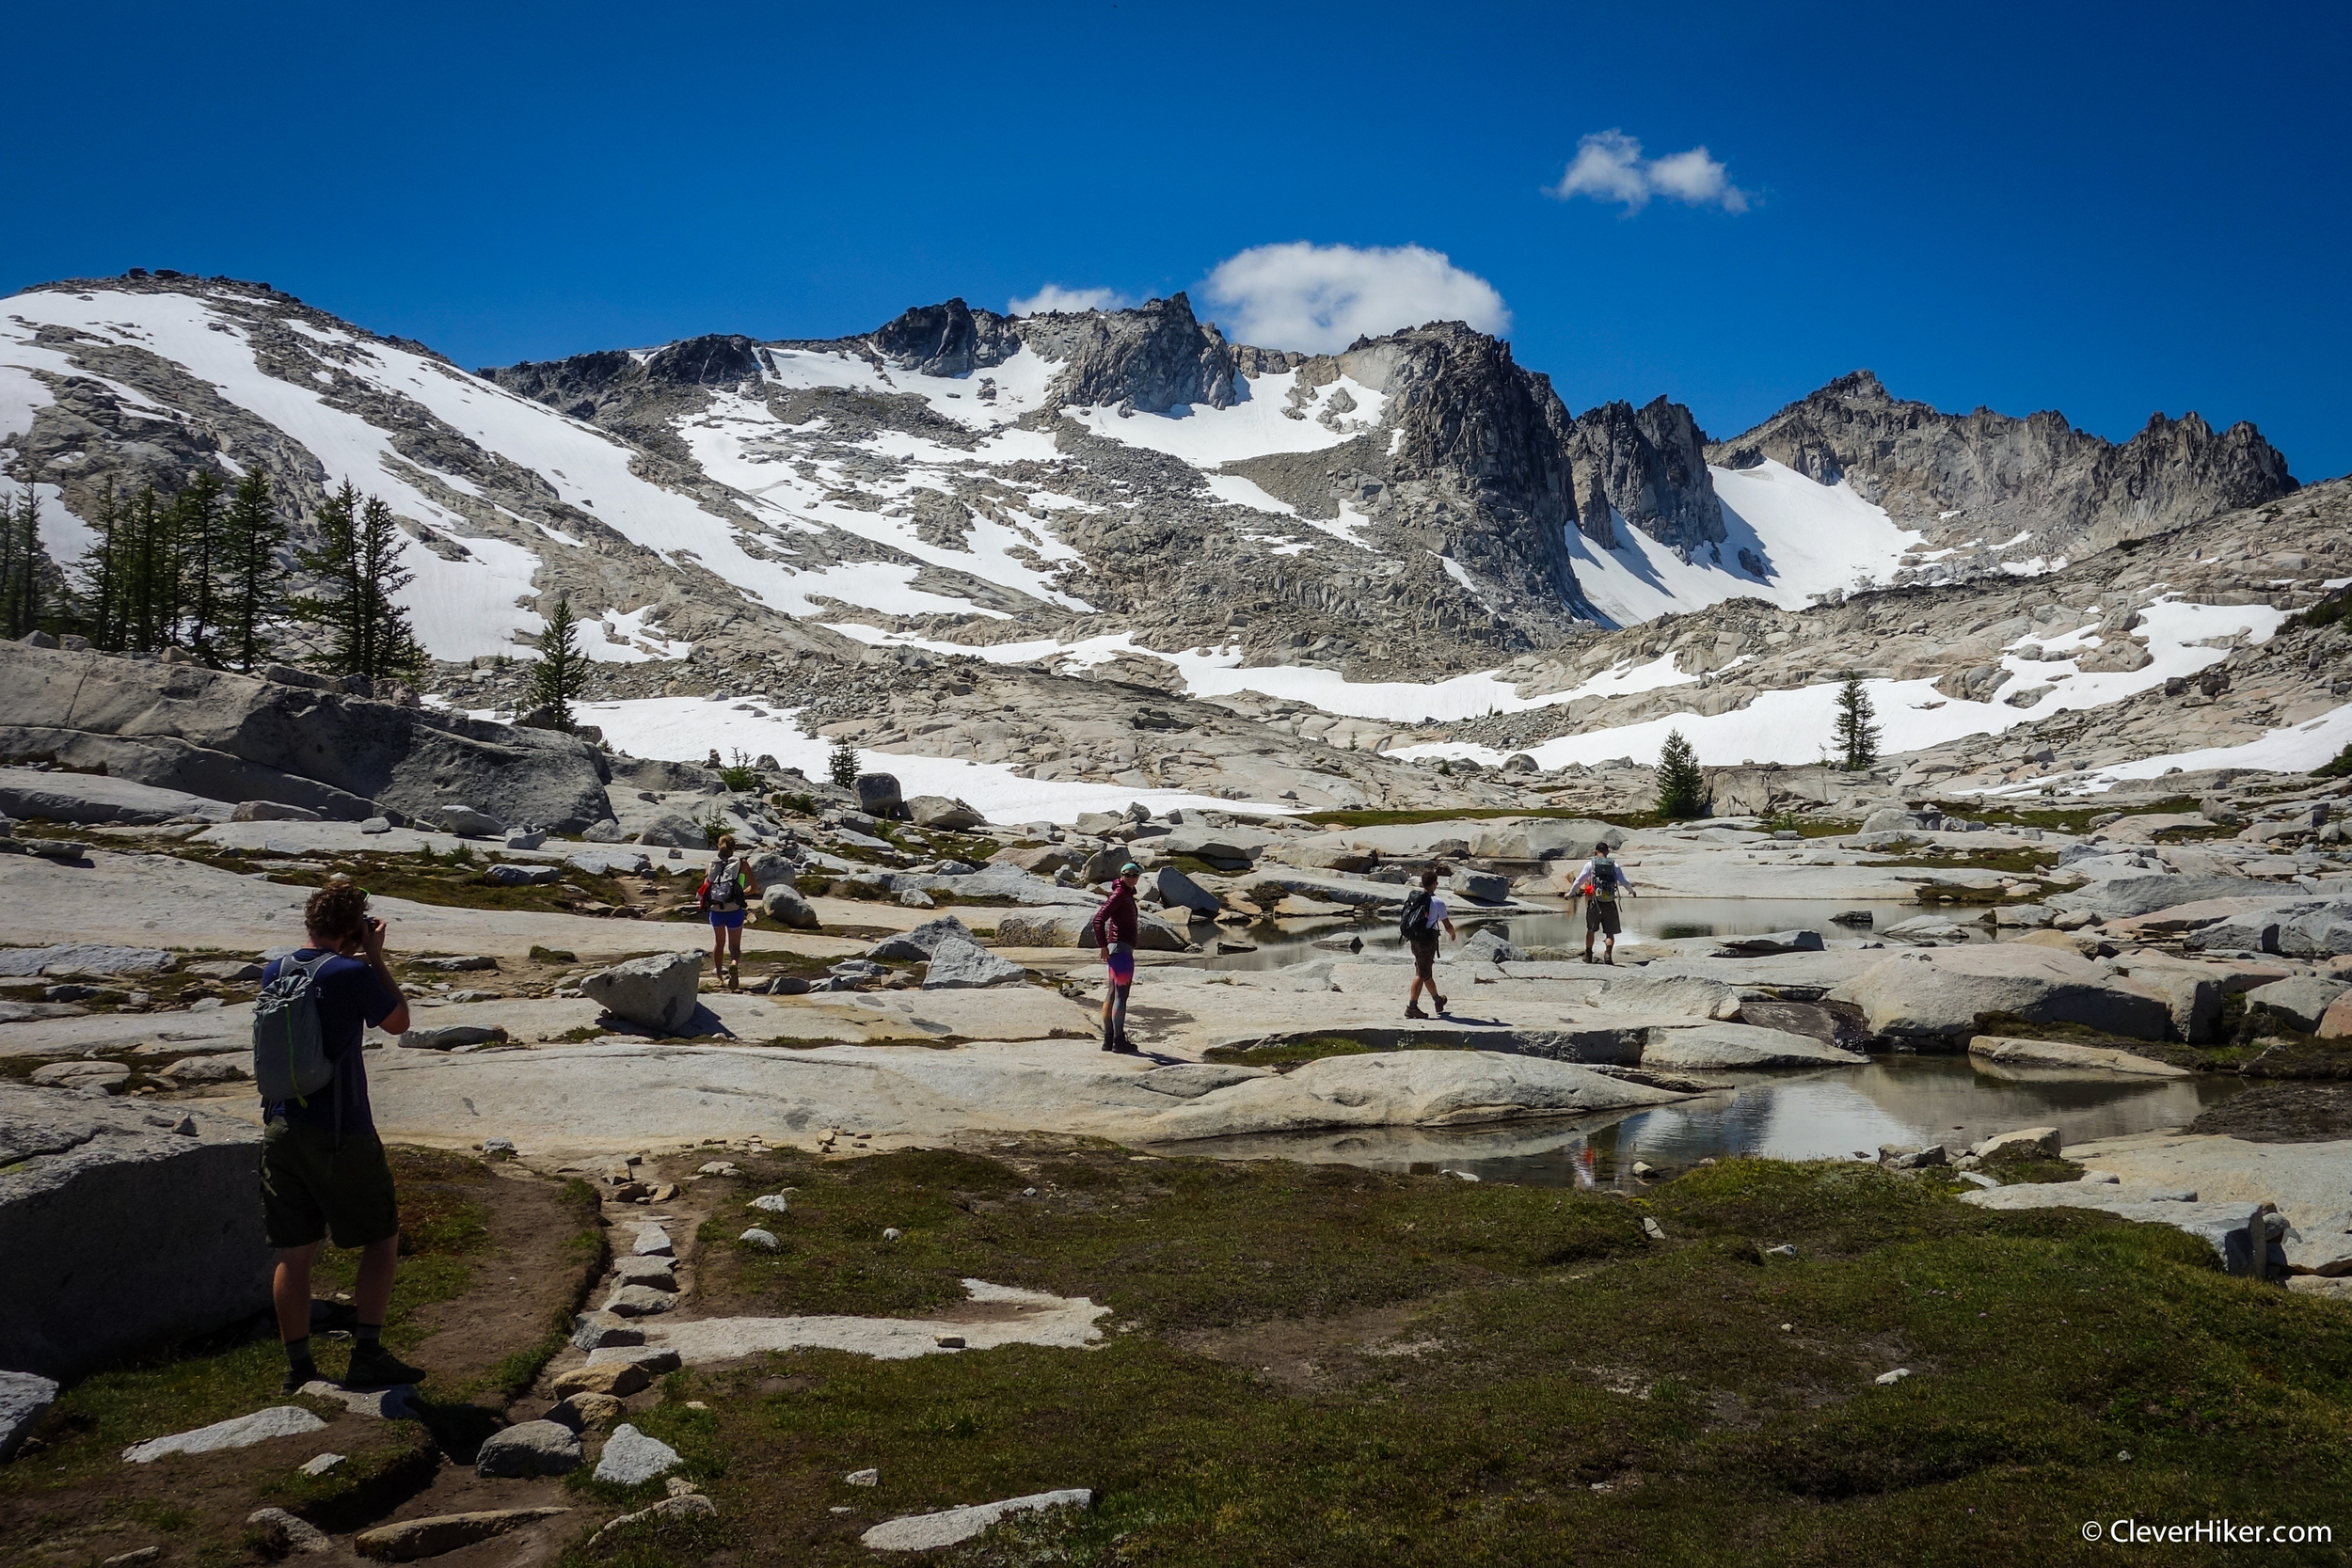
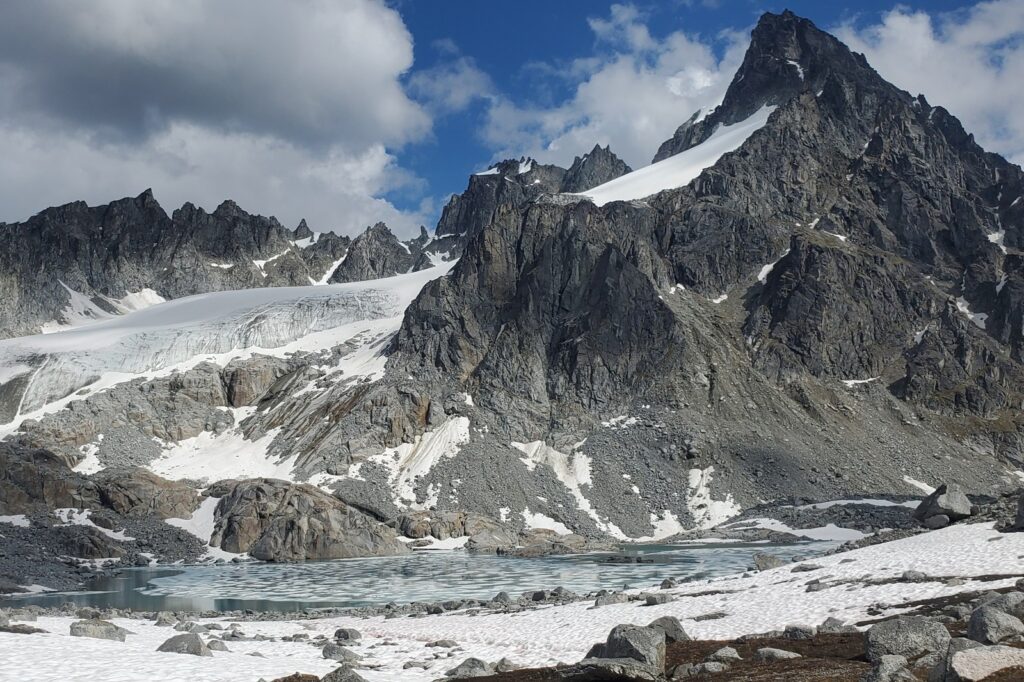
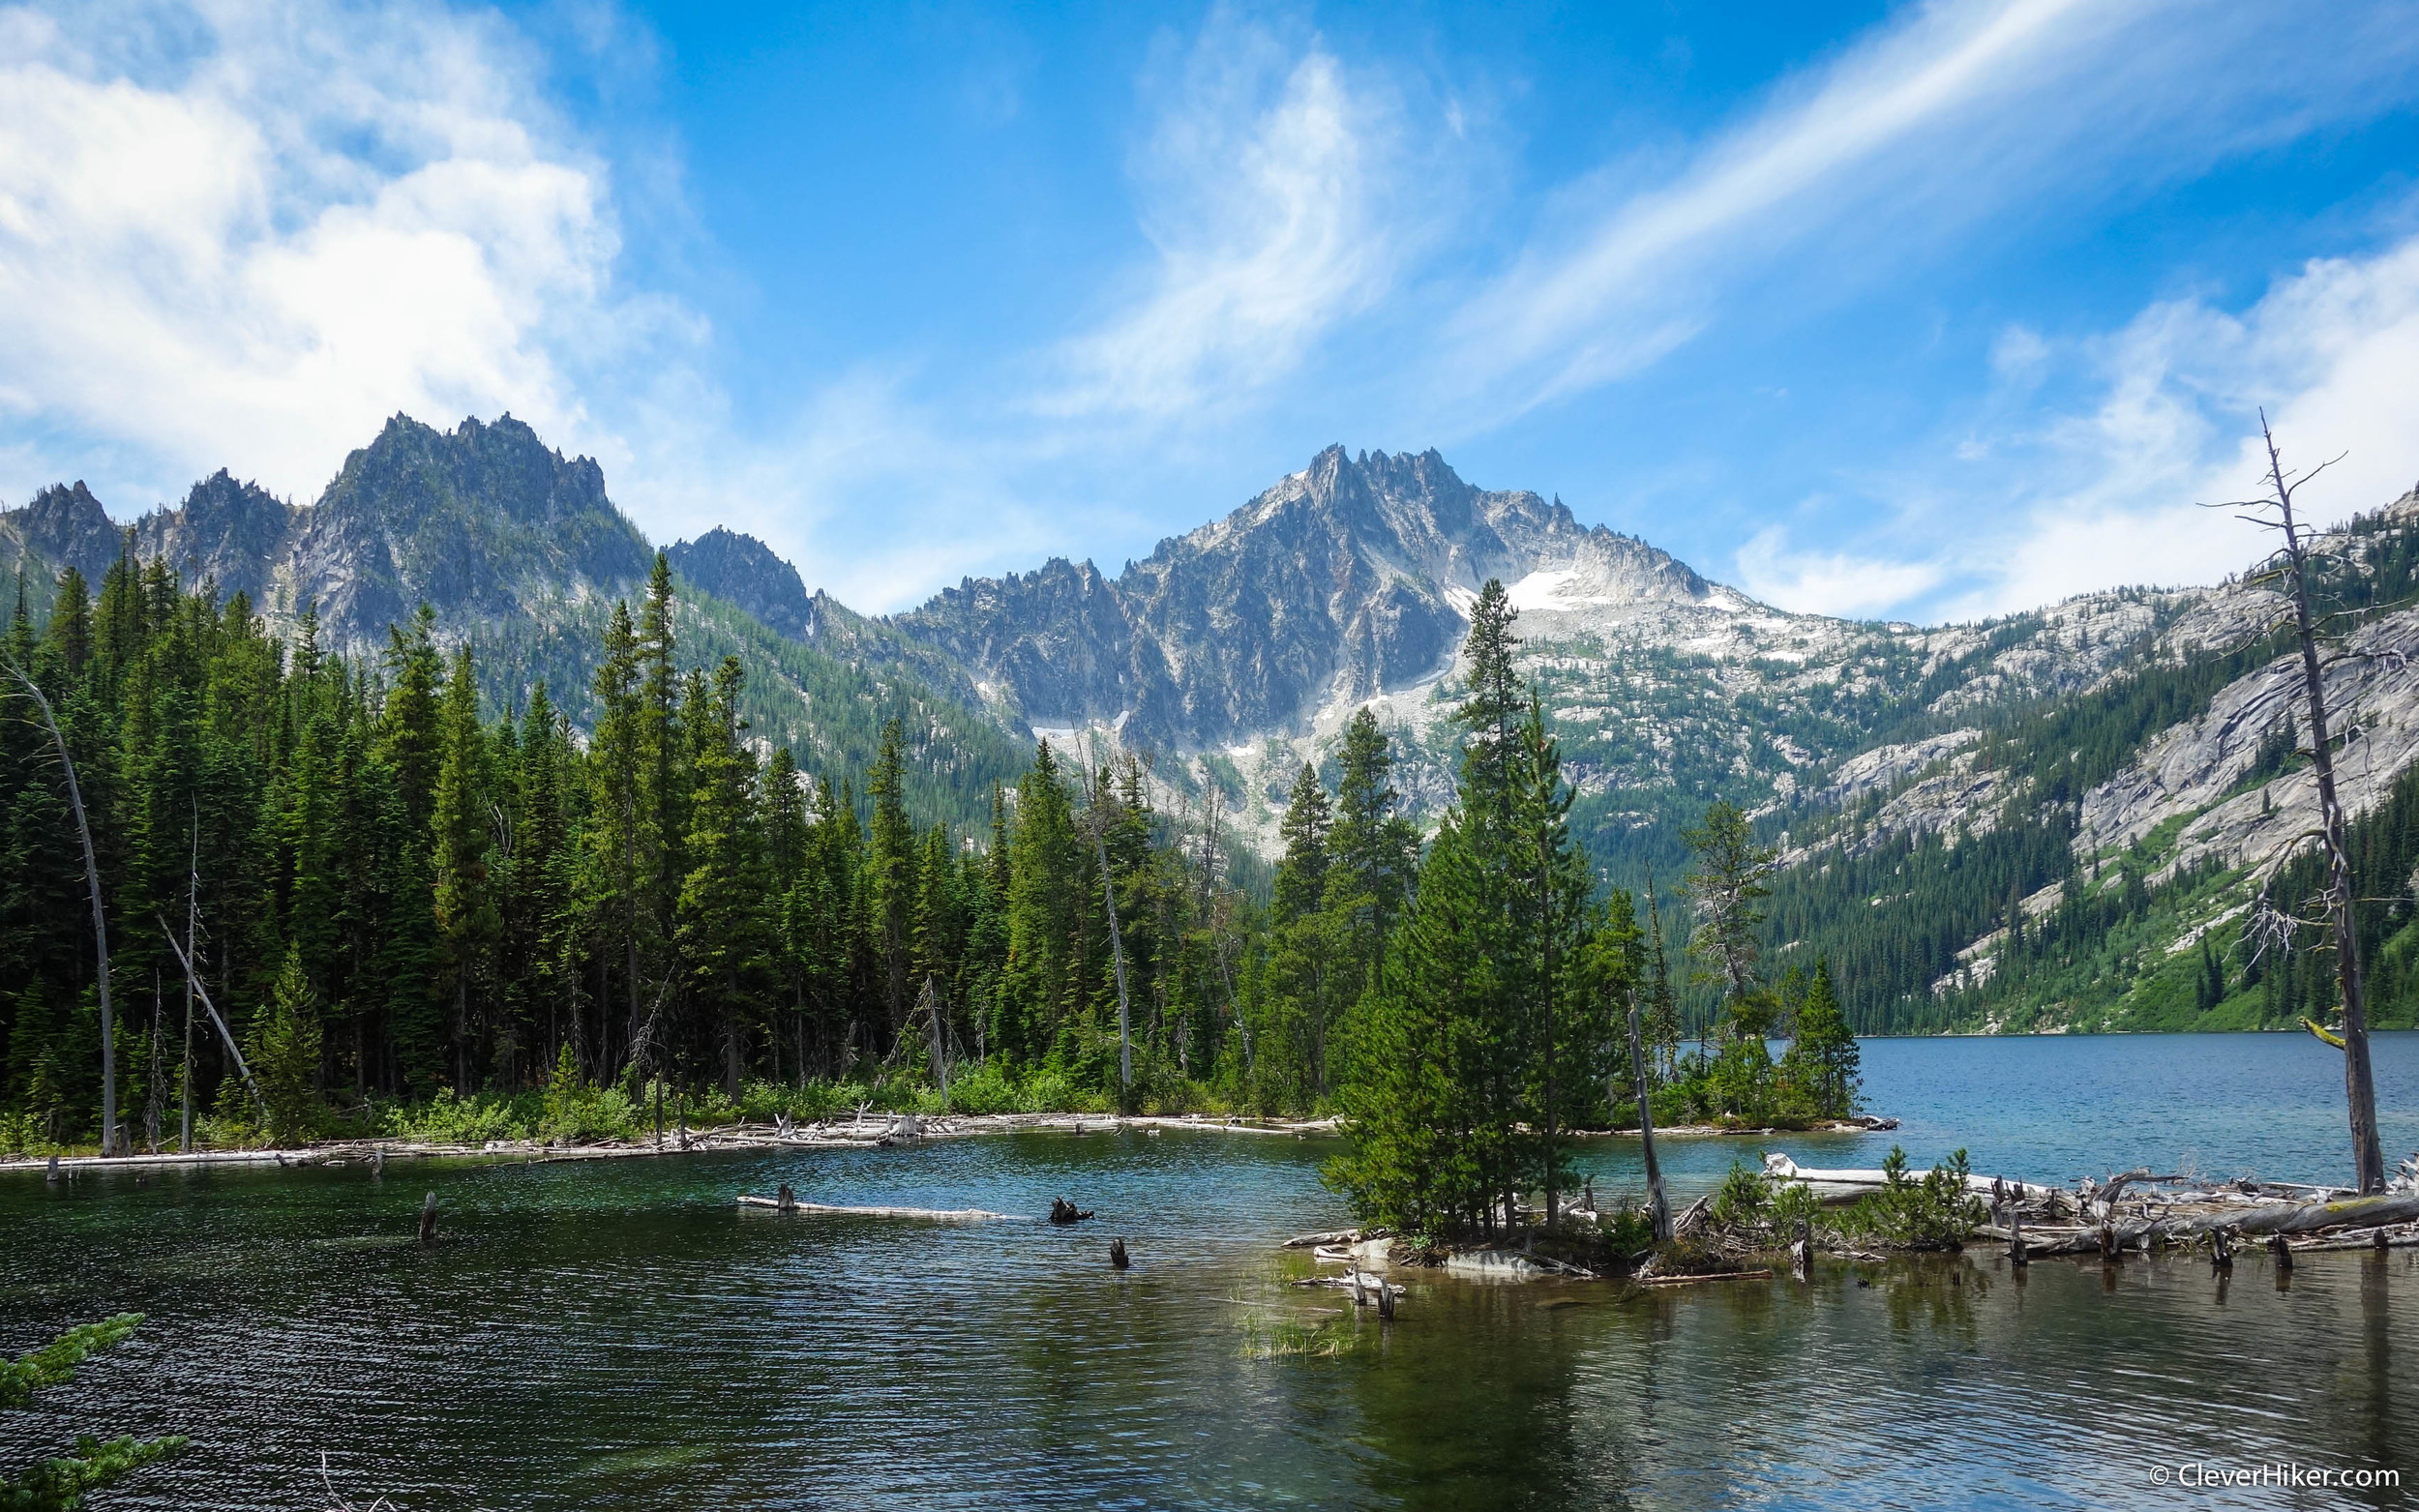
snow and granite in the summer is one of our favorite combinations. – photo credit: dave collins (cleverhiker.com)
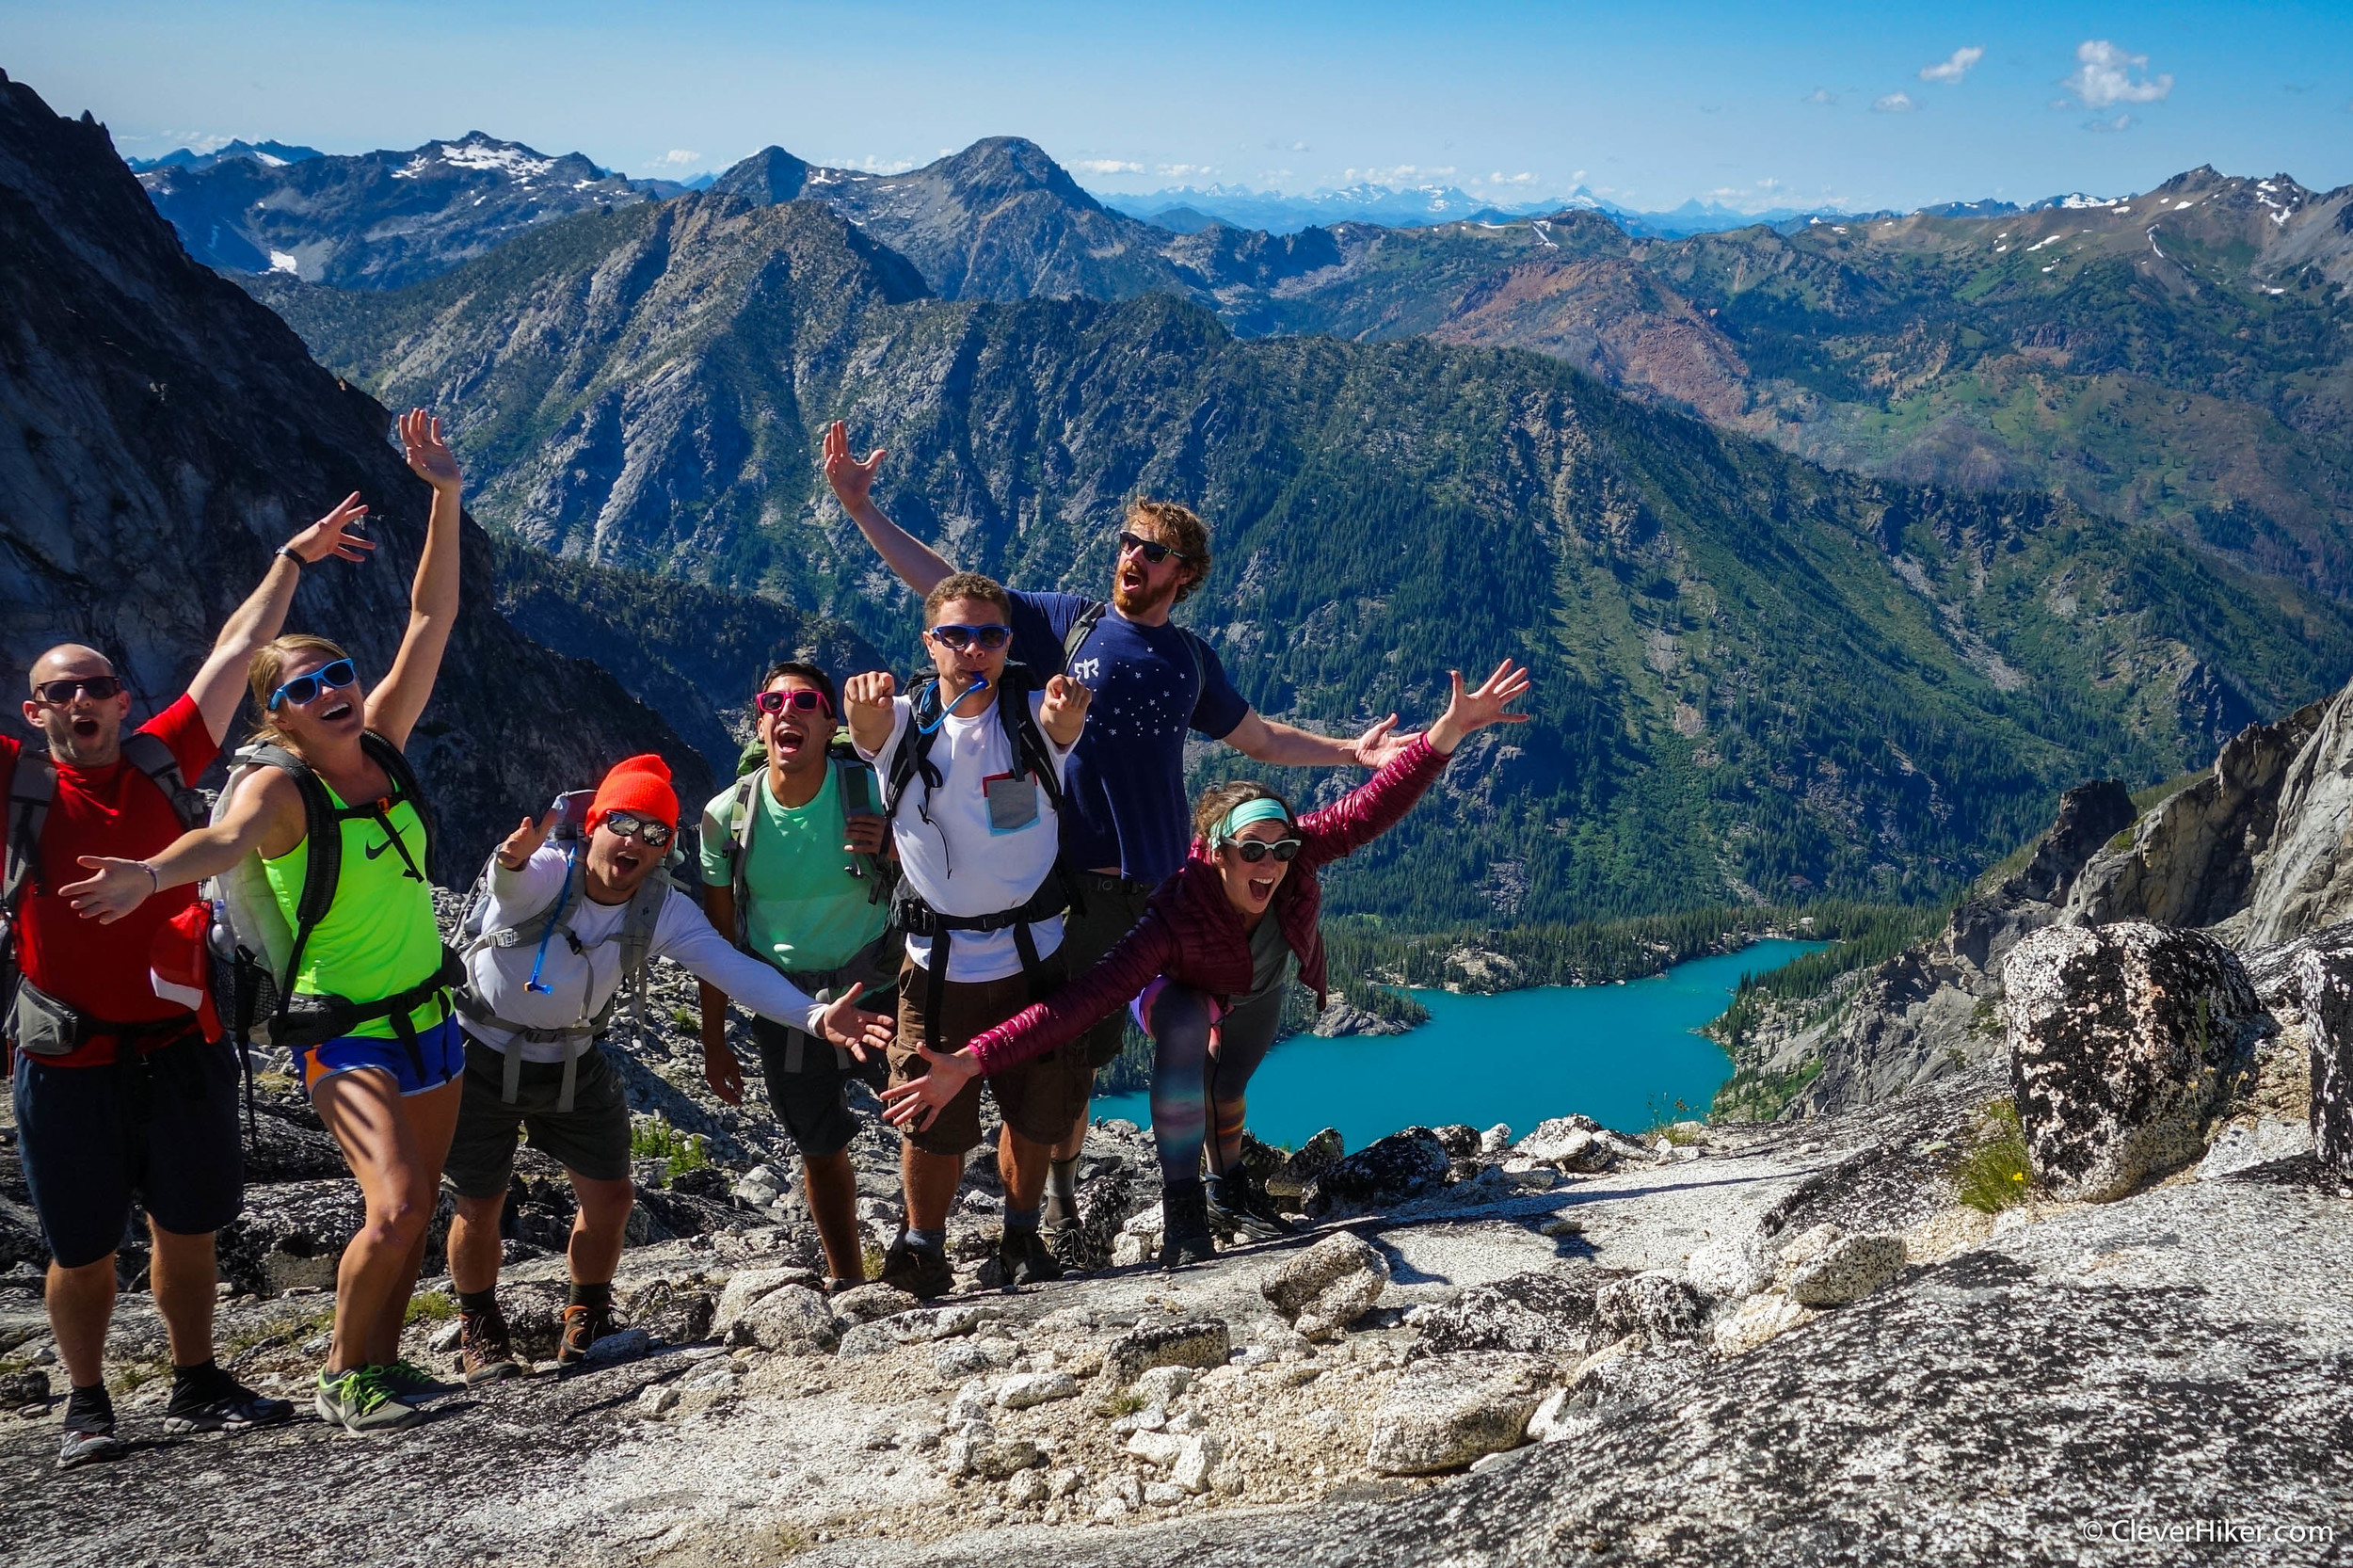
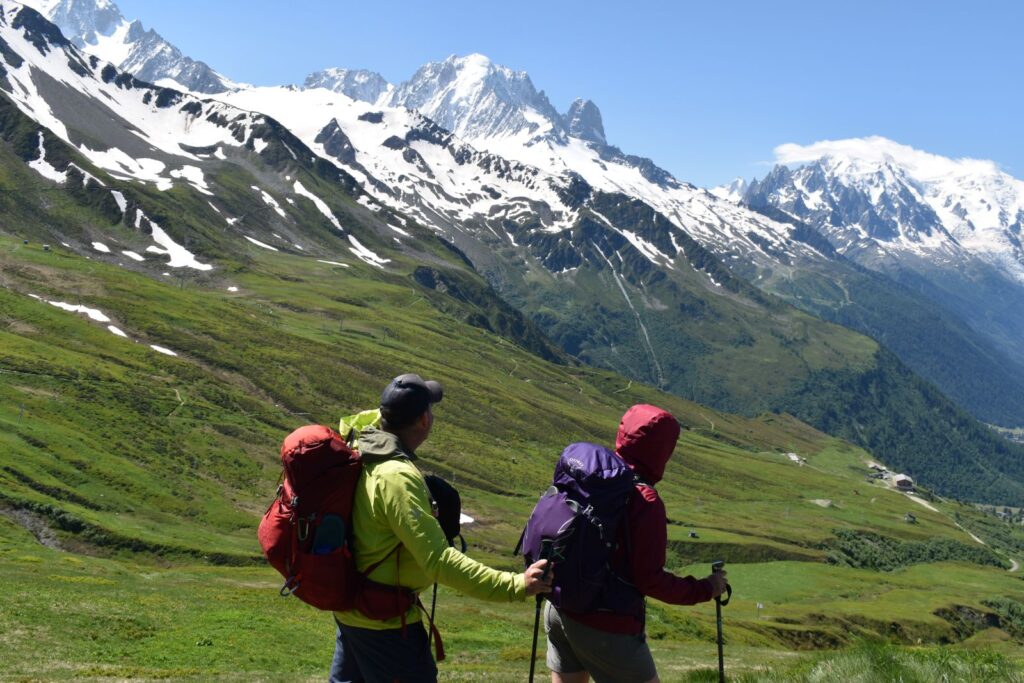
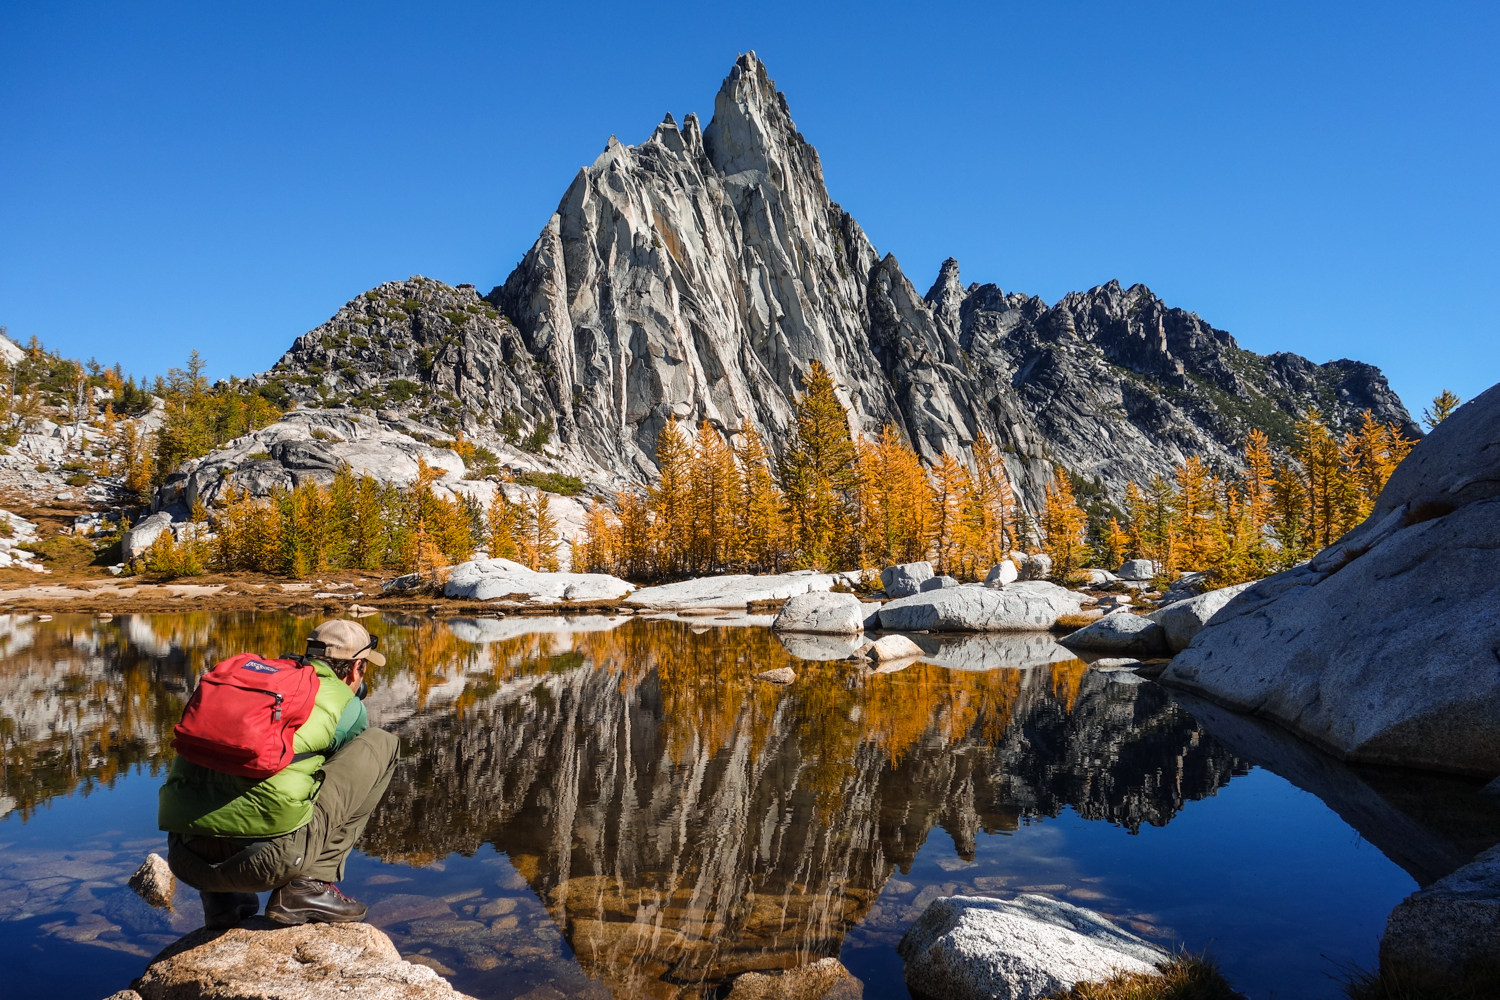
If you get lucky with an advance permit, we suggest sharing the love and finding 8 friends to use the permit. – photo credit: dave collins (cleverhiker.com)