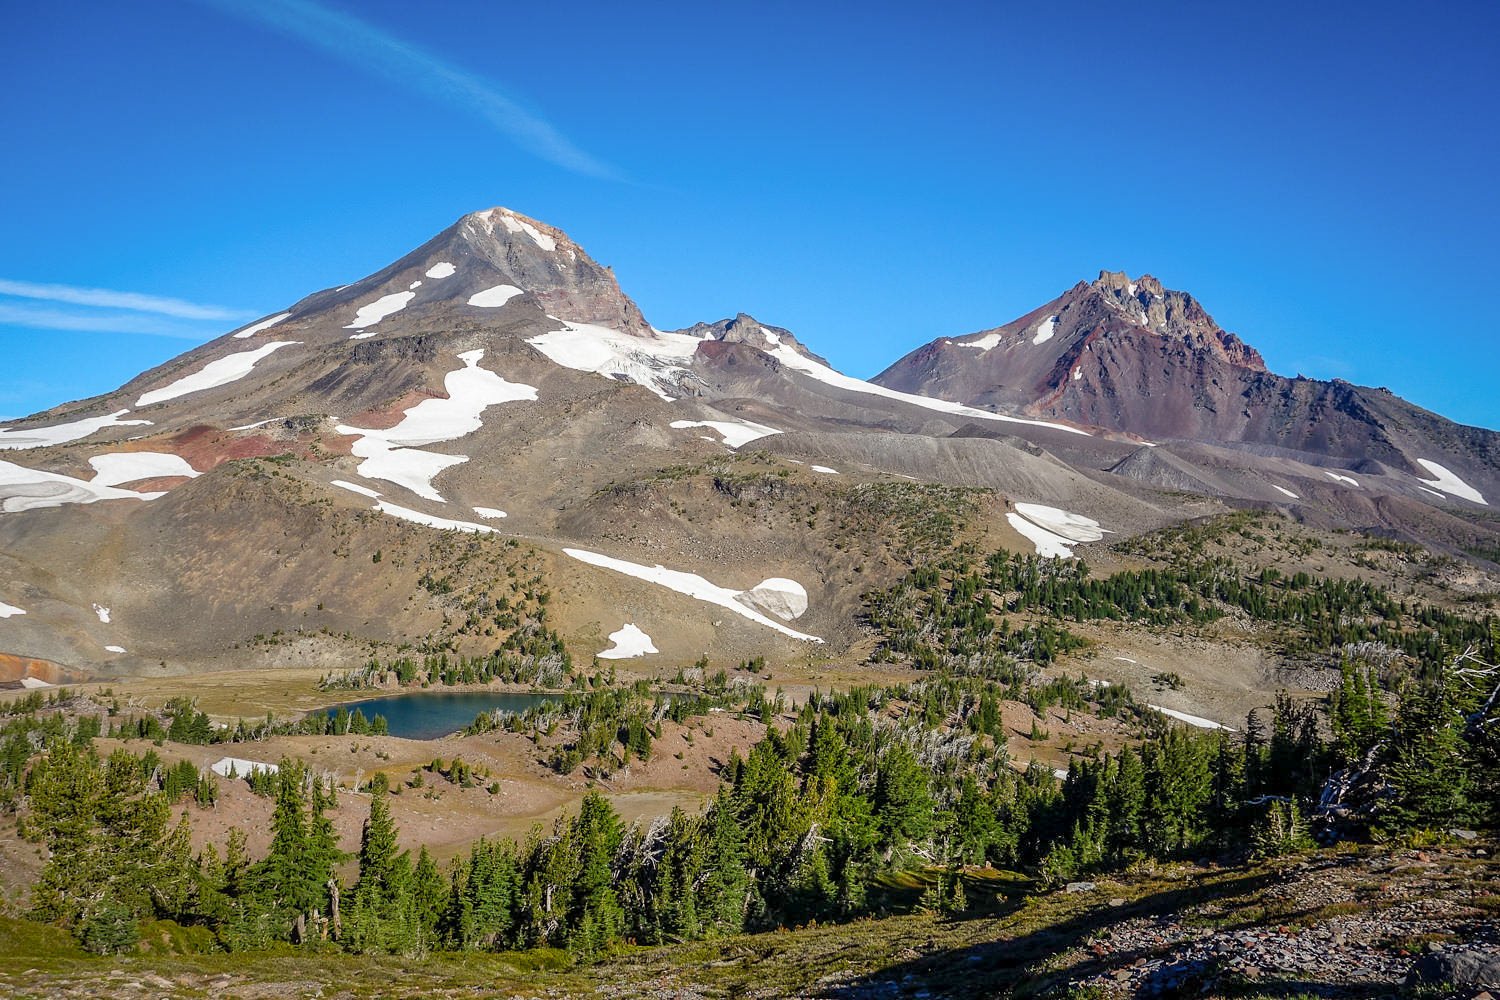
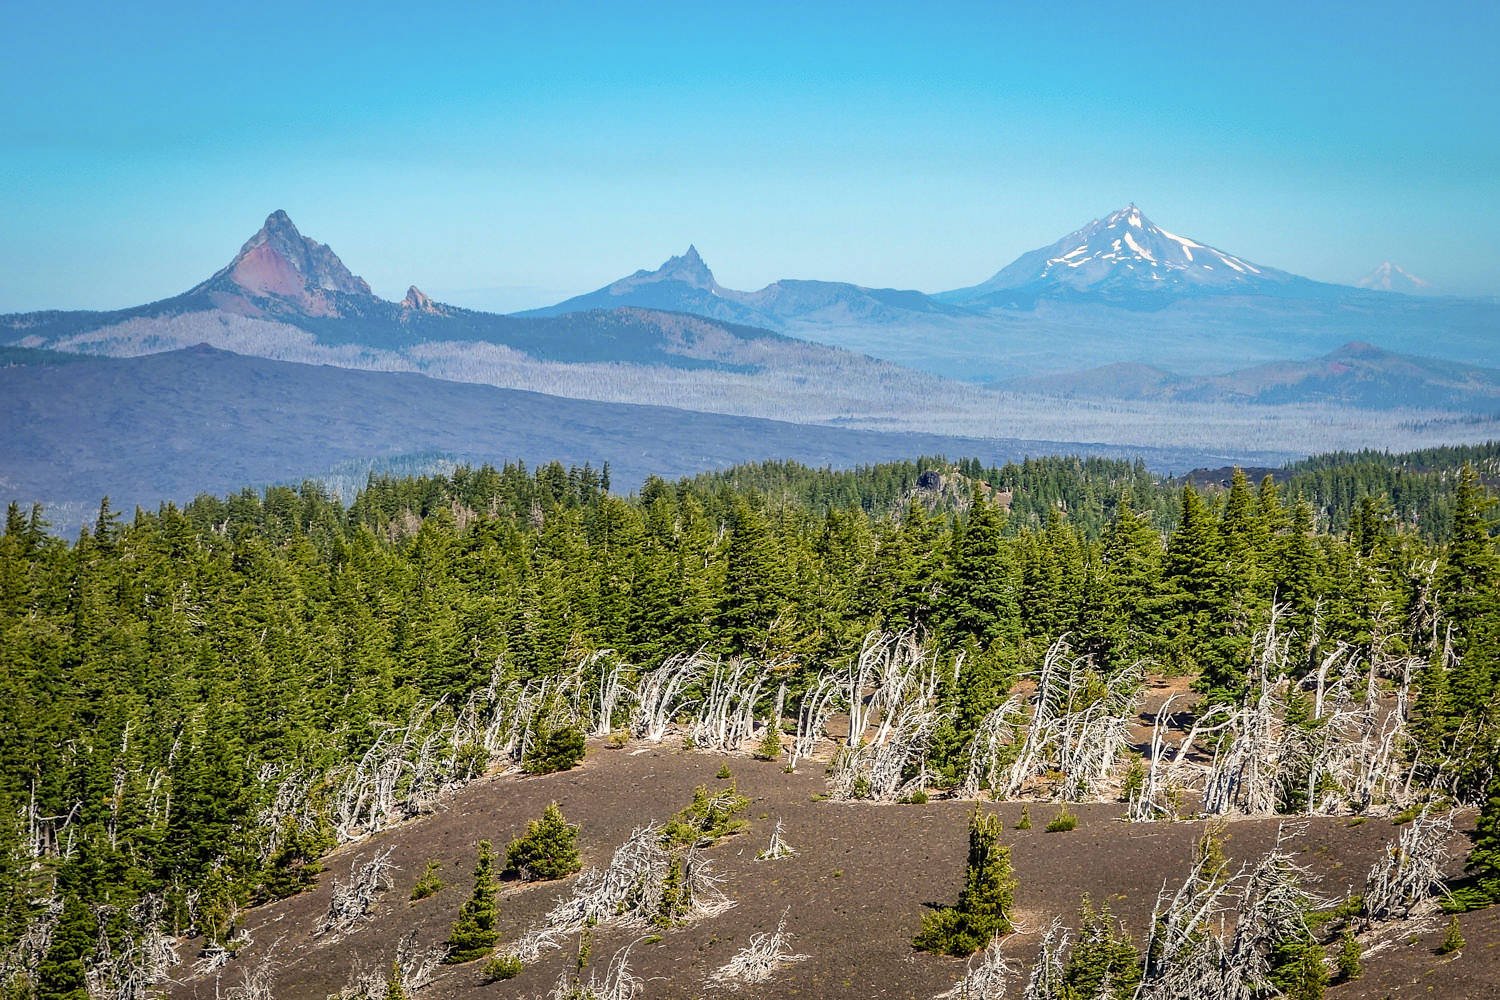
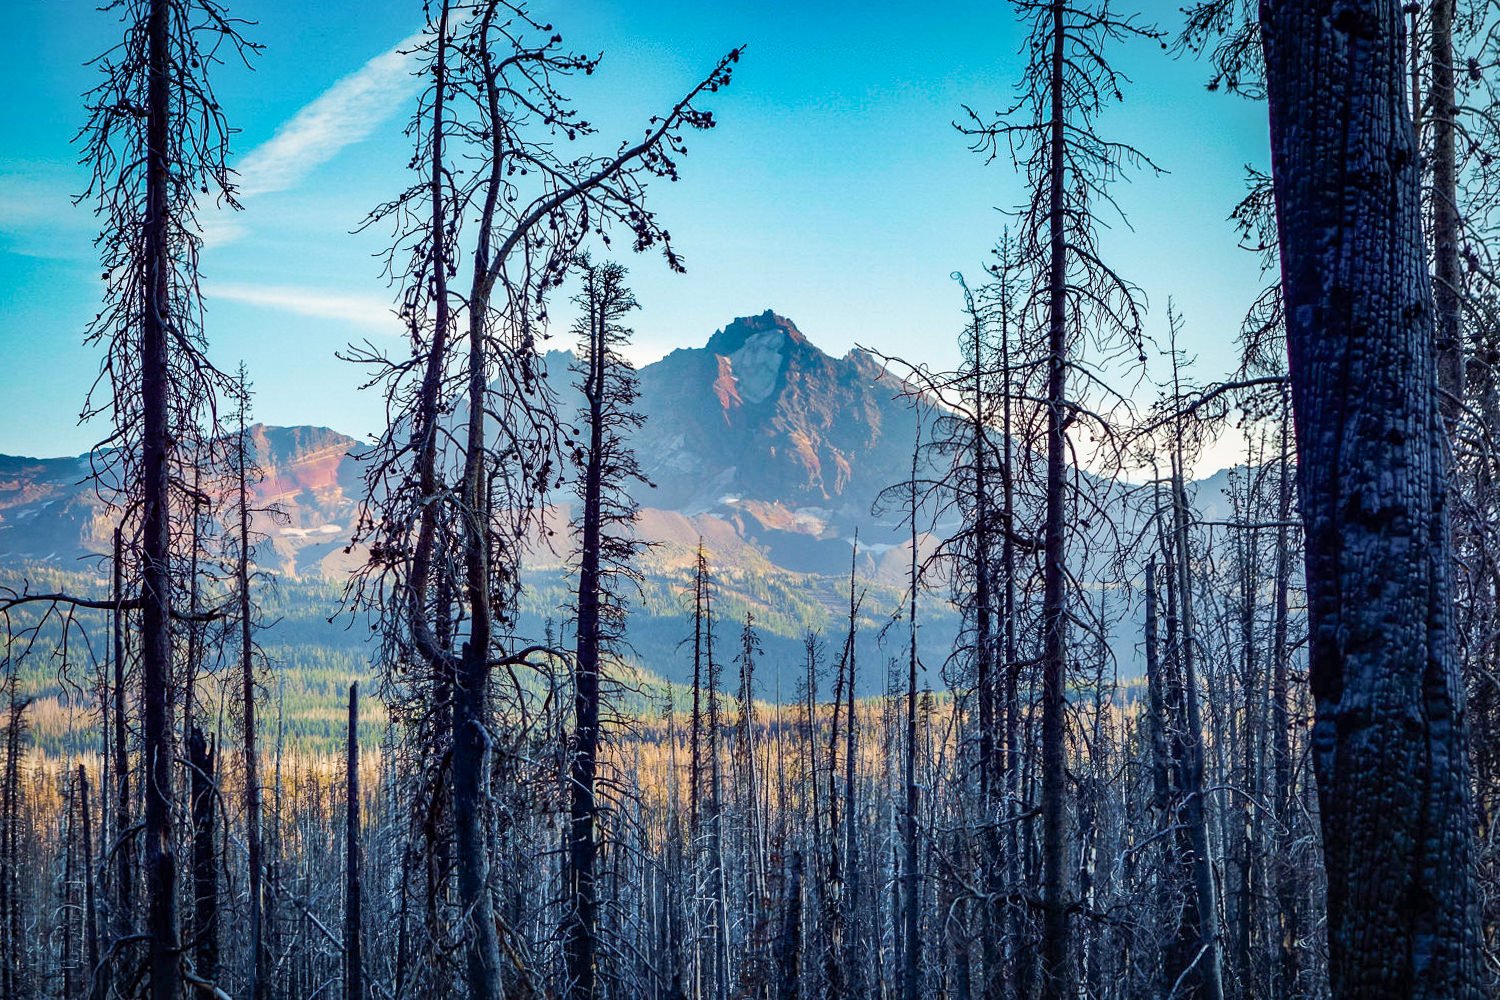
If you’re the type of backpacker who’s into big views, lush forests, stunning peaks, and craggy volcanic landscapes, you’ll absolutely love the Three Sisters Loop. This trail is an iconic 3-6 day backpacking trip set in the Cascade Range among some of Oregon’s prettiest peaks. This 50-mile loop circles the North, Middle, and South Sister volcanoes, providing a fantastic array of diverse terrain. Take this amazing journey and wander through rugged volcanic landscapes with expansive pumice fields, pristine melt lakes, quiet old-growth forests, newly recovering burn areas, peaceful wildflower meadows, and glossy obsidian streams. This is truly a trip that cannot be missed!
Highlights
- Sweeping Volcano Views
- Diverse Landscapes
- Gorgeous Lakes & Streams
- Wildflowers & Forests
- Well Maintained Trails
- Fascinating Rock Formations
- An Array of Excellent Side Trips
Lowlights
- Crowds
- Limited Camping Areas
- Limited Campfire Areas
- Seasonal Bugs, Snow, and Heat
- Competitive Permits Required
Best Time to Travel
Late July-October is usually a great time to travel to this area. August and September are particularly good for this route because of their reliable weather and snow-free trails, but that’s also when crowds will be the largest. Plan your trip to avoid the crowds if possible. Early-season snowpack can be a limiting factor in this area, and late-season storms can cover trails with snow as well. So make sure to check weather forecasts and snow conditions before heading out on an early or late-season trek.
Distance
The length of the inner loop is 46.3 miles, but when you factor a short hike in from a trailhead, your total distance will be around 50 miles. Lava Camp Trailhead (3 miles off the loop), Devils Lake Trailhead (1.5 miles), and Green Lakes Trailhead (2 miles) are common starting points for this trip.
Difficulty
This trip is a good fit for intermediate to experienced backpackers. The trails along this route are well-maintained and well-marked. Trails are also graded with switchbacks to avoid steep ups and downs as much as possible. Packing light will definitely help improve your experience while you’re covering miles on this trek.
Elevation
Shield volcanoes, while they do have long, gradual flanks, are still rugged, so you expect some decent climbs and descents along this trek. Most of the climbs are only between 500 and 700 feet, and they’re generally not too steep either, but there are a few bigger climbs as well. Your total elevation gain along this loop will be between 6,000 and 10,000 feet, depending on the side trips you choose to take.
Permits
Permits are required for day and overnight trips to the Three Sisters Wilderness between June 15 and October 15. You can get one through the reservation system on recreation.gov. The Obsidian trailhead is a limited-entry area, which means you’ll need to get a special permit if you plan on parking or camping in that part of the loop (you can pass through on the trail without a permit, though). This should not be considered a limiting factor if you can’t get a permit for the time you plan to visit. Just use one of the other trailheads and plan to camp outside of the Obsidian limited entry area. There are tons of beautiful places to camp outside the Obsidian limited entry area.
For more information on daily quotas, visit this USFS page. They also have a useful map to show designated trailheads and permitted areas.
Regulations
Leave No Trace backpacking is extremely important in this area because it is so popular. This area has experienced a ton of use and human-caused degradation, so we implore you to follow the rules and follow them to limit your impact. Camping is limited to established campsites at North and South Matthieu Lakes, Green Lakes, and Moraine Lake. These are first come first serve. Only camp in designated areas. No fires are allowed above 5000 ft. This includes Camp, Chambers, Green, Moraine, Sisters Mirror, Eileen, Husband, Golden, and others. As mentioned in the permits section, a permit is required to park or camp at the Obsidian Limited Entry Area. There are no specific regulations about bear canisters in this area, but you should still plan to properly store your food. Never feed any wild animals.
Maps & Guides
- Bend, Three Sisters Map – National Geographic Trails Illustrated
- Map 622 & 589 – by Green Trail Maps
- Backpacking Oregon – Wilderness Press. This book is a fantastic trip resource for those that live Oregon and enjoy the backcountry. I highly recommend picking up a copy. It’s well worth the small investment.
Side Trips
There are serveral fantastic side trip options along this loop that are highly recommended if you have the time. Among the most popular and beautiful are the trips to Camp Lake, the South Sister Summit, Sisters Mirror Lake, Husband Lake, Eileen Lake, and North Matthieu Lake. These side trips will not disappoint. Just make sure you get the right permits, follow designated trails, and camp at designated sites.
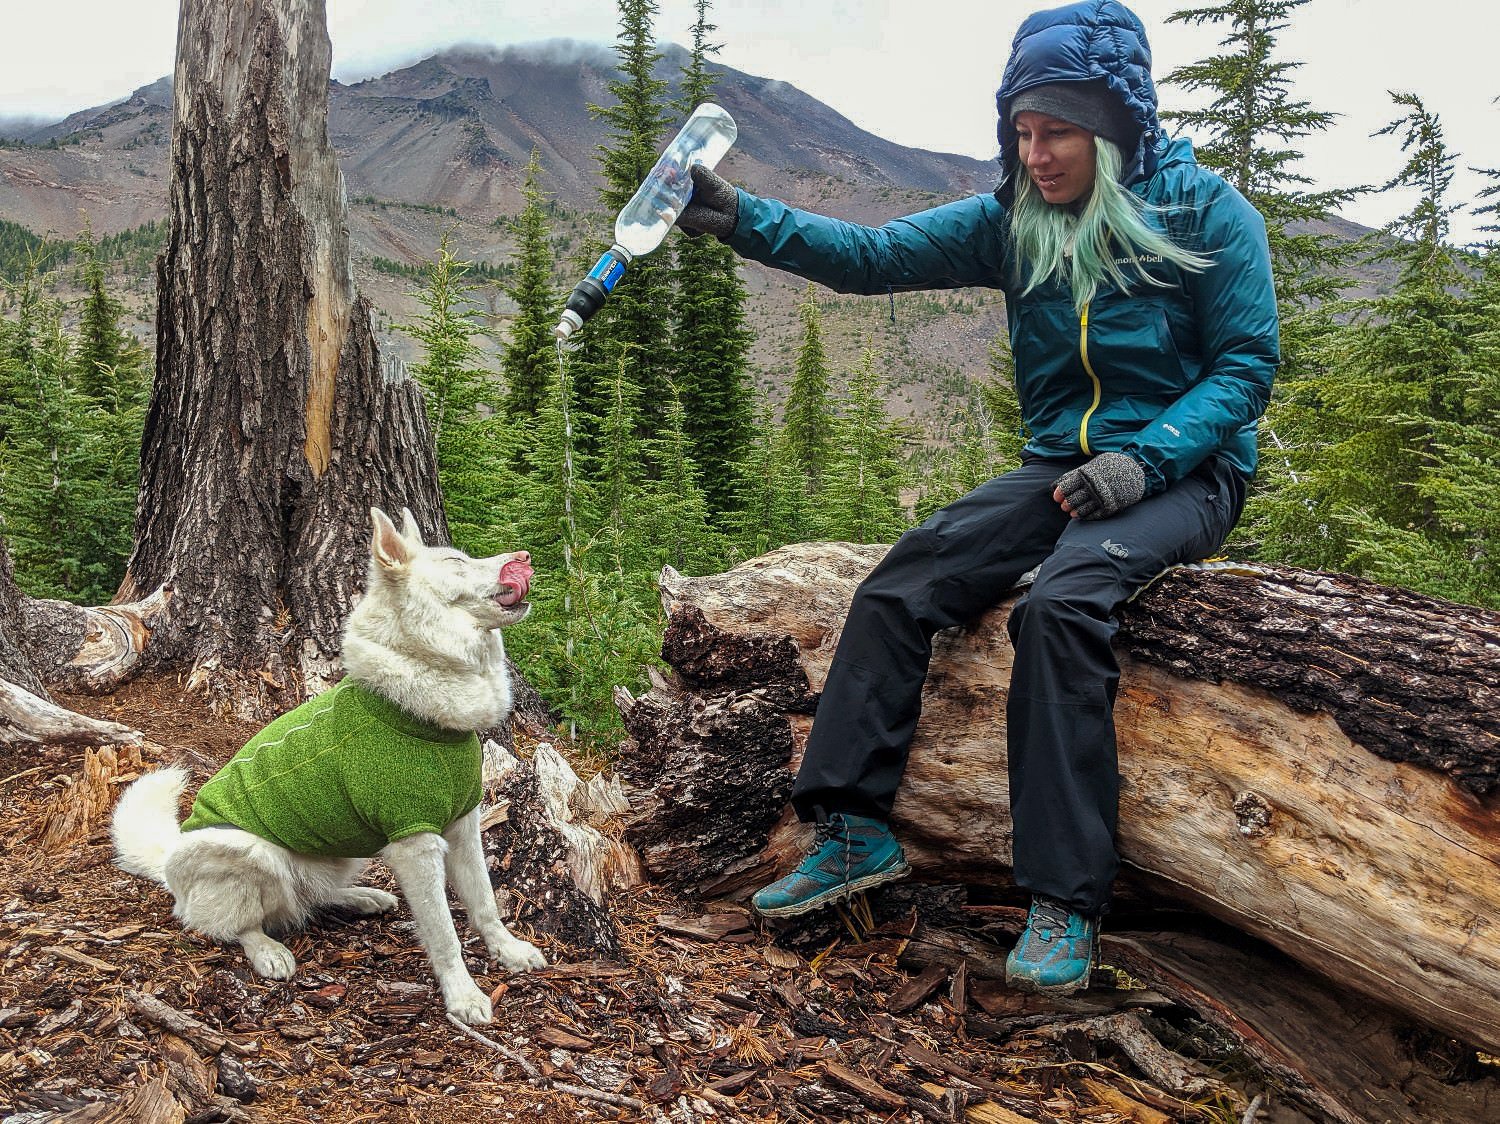
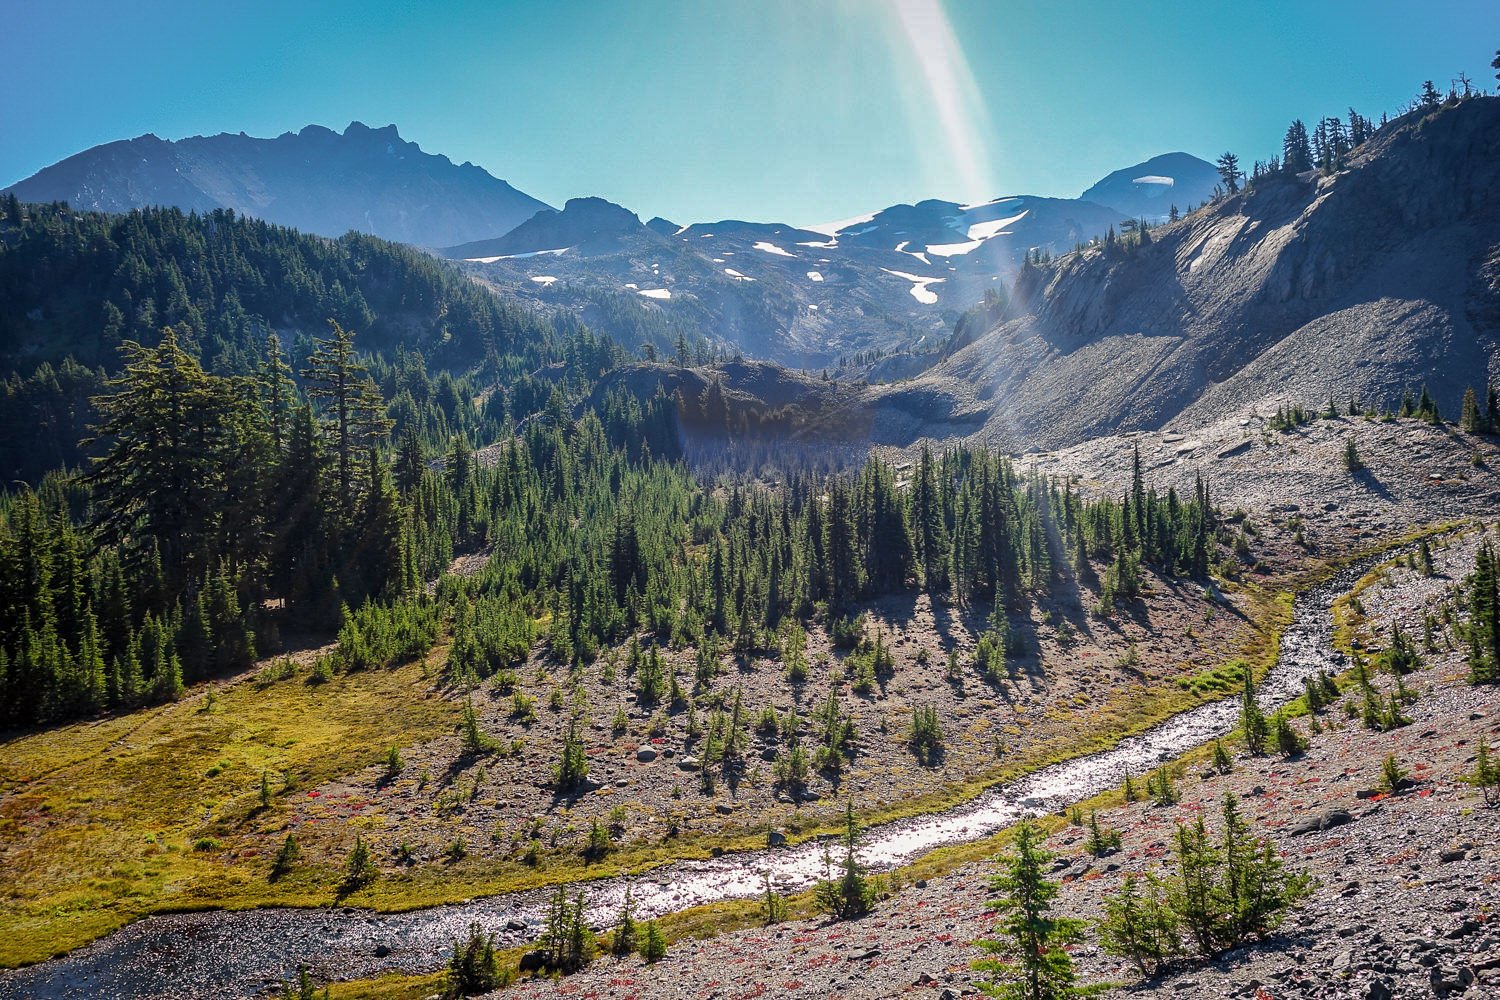
Water
Water is not scarce along this trek, but it’s not quite as plentiful as in many other Northwest backpacking locations. Plan your route accordingly and check on water conditions before your trip. Bring a lightweight water filter – see our list of the best water filters – and carry enough water to get you from one sure source to the next.
Food Storage
There are bears in the Three Sisters Wilderness, but seeing them is quite rare. It’s far more likely that chipmunks and mice will get into your food if you leave it unprotected. Bear canisters shouldn’t be considered necessary, but you should still protect your food from all wild animals.
Trailheads
The most common trailheads to start this loop hike are listed below. All of them are fantastic places to start this hike. You can’t really go wrong, but if you are having trouble landing an overnight permit, it might be worth a few extra miles to begin your hike at a less popular trailhead to make sure you can do the loop. You will need an annual Northwest Forest Pass to park.
- Lava Camp Lake Trailhead – Just East of McKenzie Pass – Closest to Portland – 3 hours 10 min from Portland
- Obsidian Trailhead – Special Permit Required
- Devils Lake Trailhead
- Green Lakes Trailhead
Leave No Trace
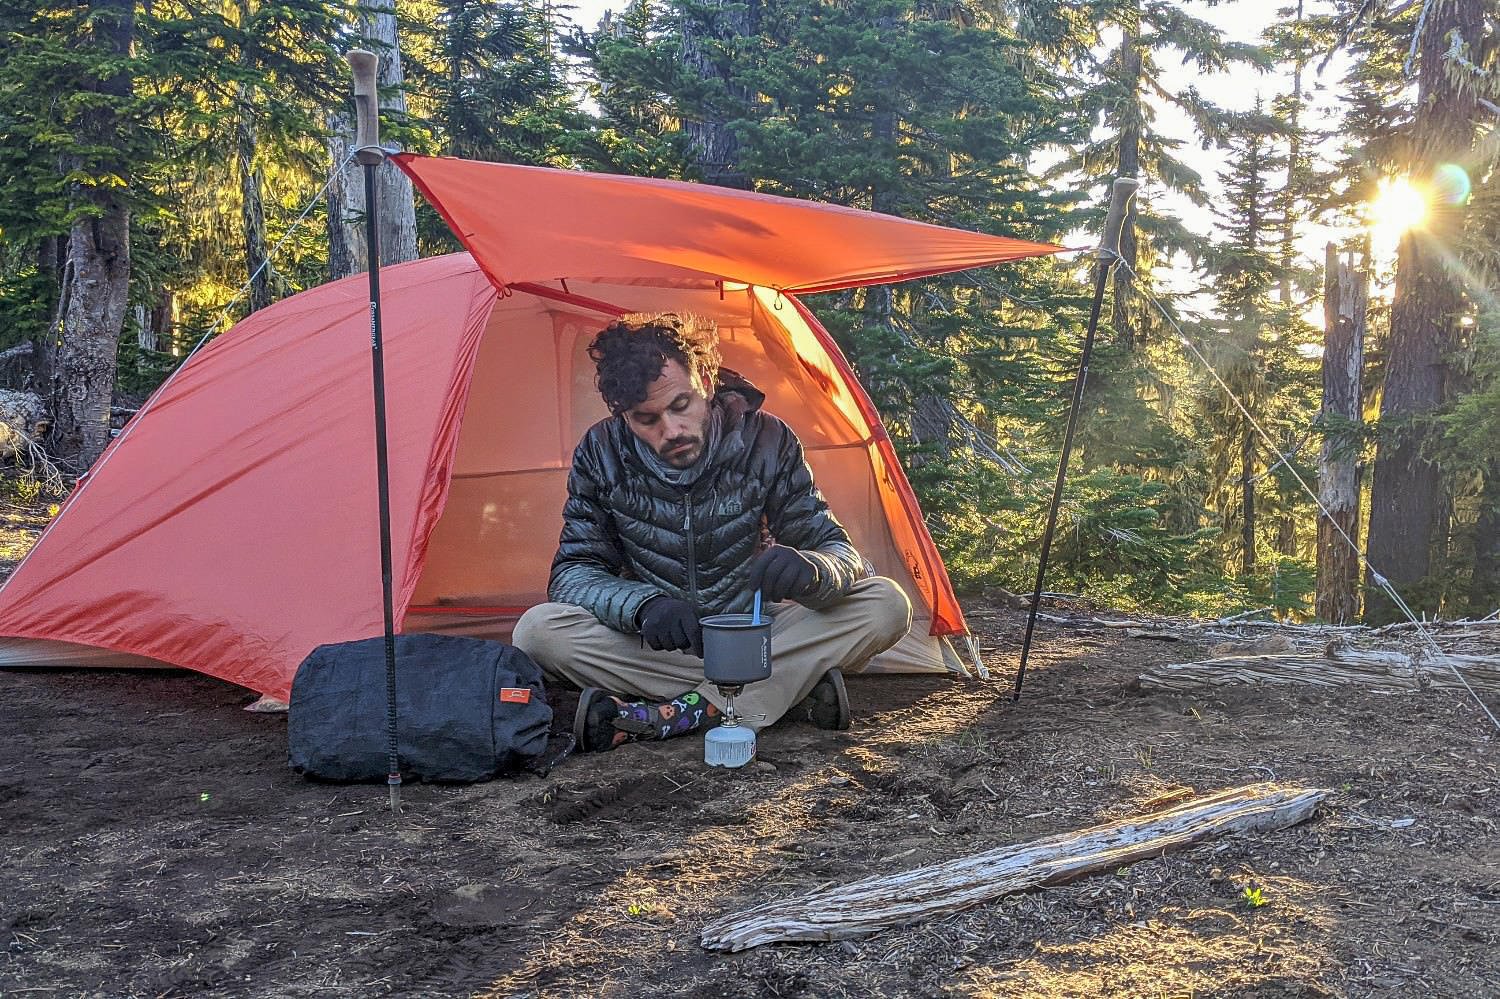
The number of people recreating in the Three Sisters nearly tripled since 2011. Tourism, population growth in the area, and more people recreating increase pressure on this wilderness. Resource damage like unsanctioned fire rings, campsites, structures, exposed human waste, trash, and 300+ miles of social trails (user trails not created or maintained by the forest service that damage wild places) degrades this fragile and once pristine environment. As the saying goes in a desert environment, “Don’t bust the crust,” meaning the surface of volcanic soil is a sensitive biological ecosystem, and by staying on the trail and camping in designated areas, you will help preserve the environment for the flora, fauna, and future hikers.
Because of the high use and degradation this area has experienced, permits are required to protect the area and ensure users have a positive wilderness experience.
Beyond following the permitting system, you can help protect this environment by volunteering for or donating to the nonprofit trail association, Friends of the Central Cascades. Finally, it is always a good idea to familiarize yourself with the principles ofLeave No Trace (LNT). We have a video tutorial that specifically applies LNT principles to a backpacking trip. Last but not least, we made a guide, How to Poop in the Woods, to take the stress and mystery out of that subject. Happy hiking!
Gallery
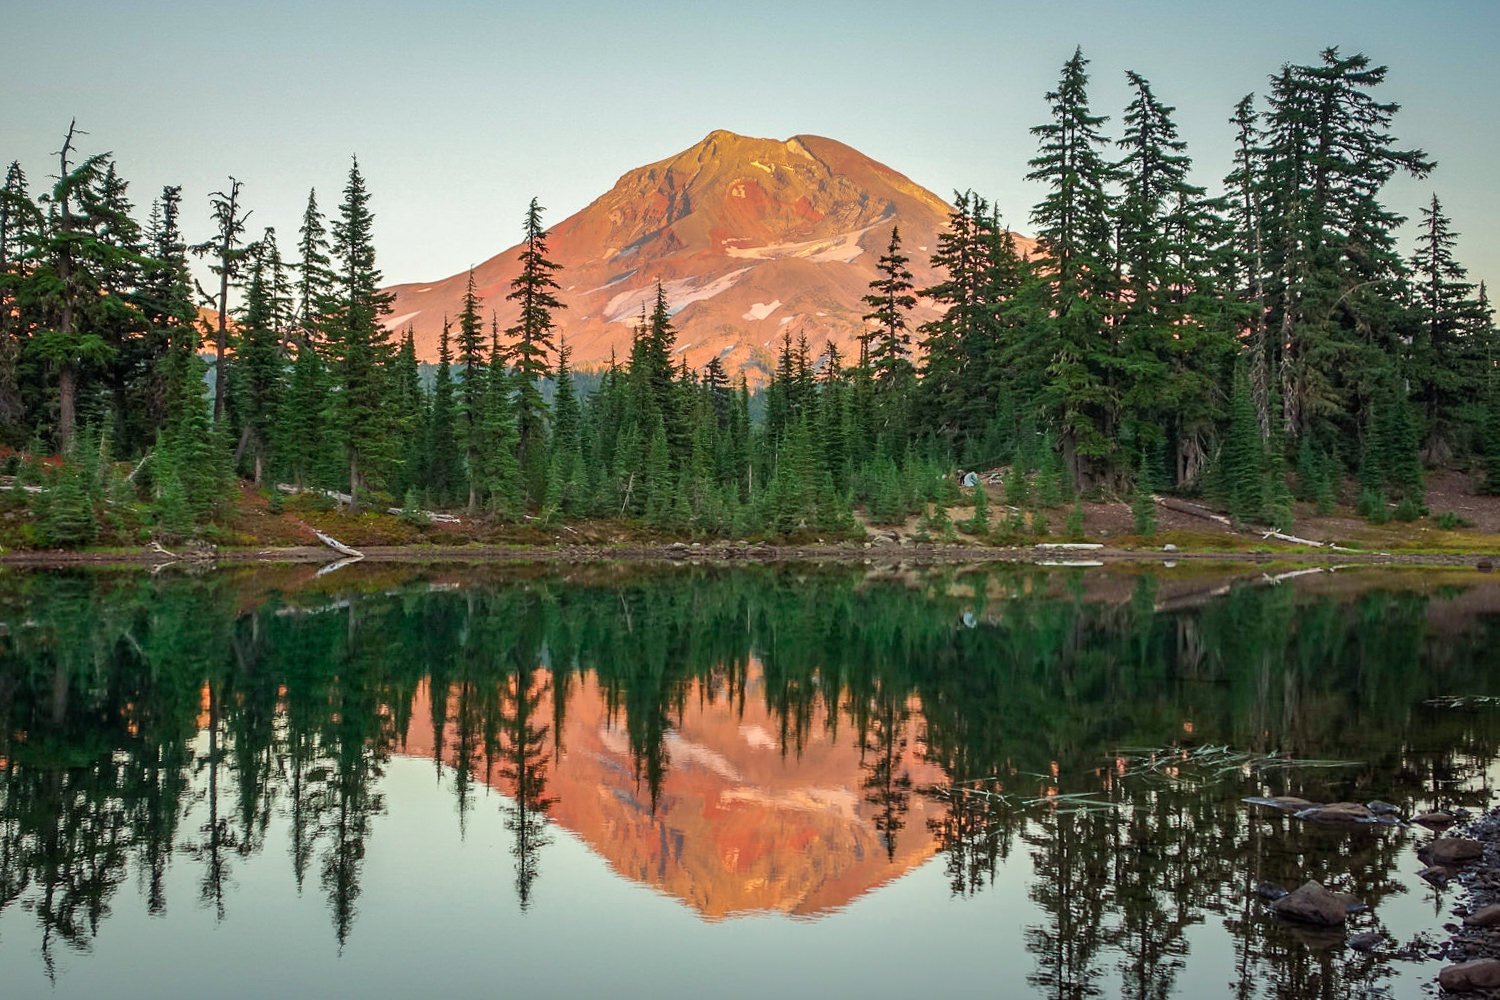
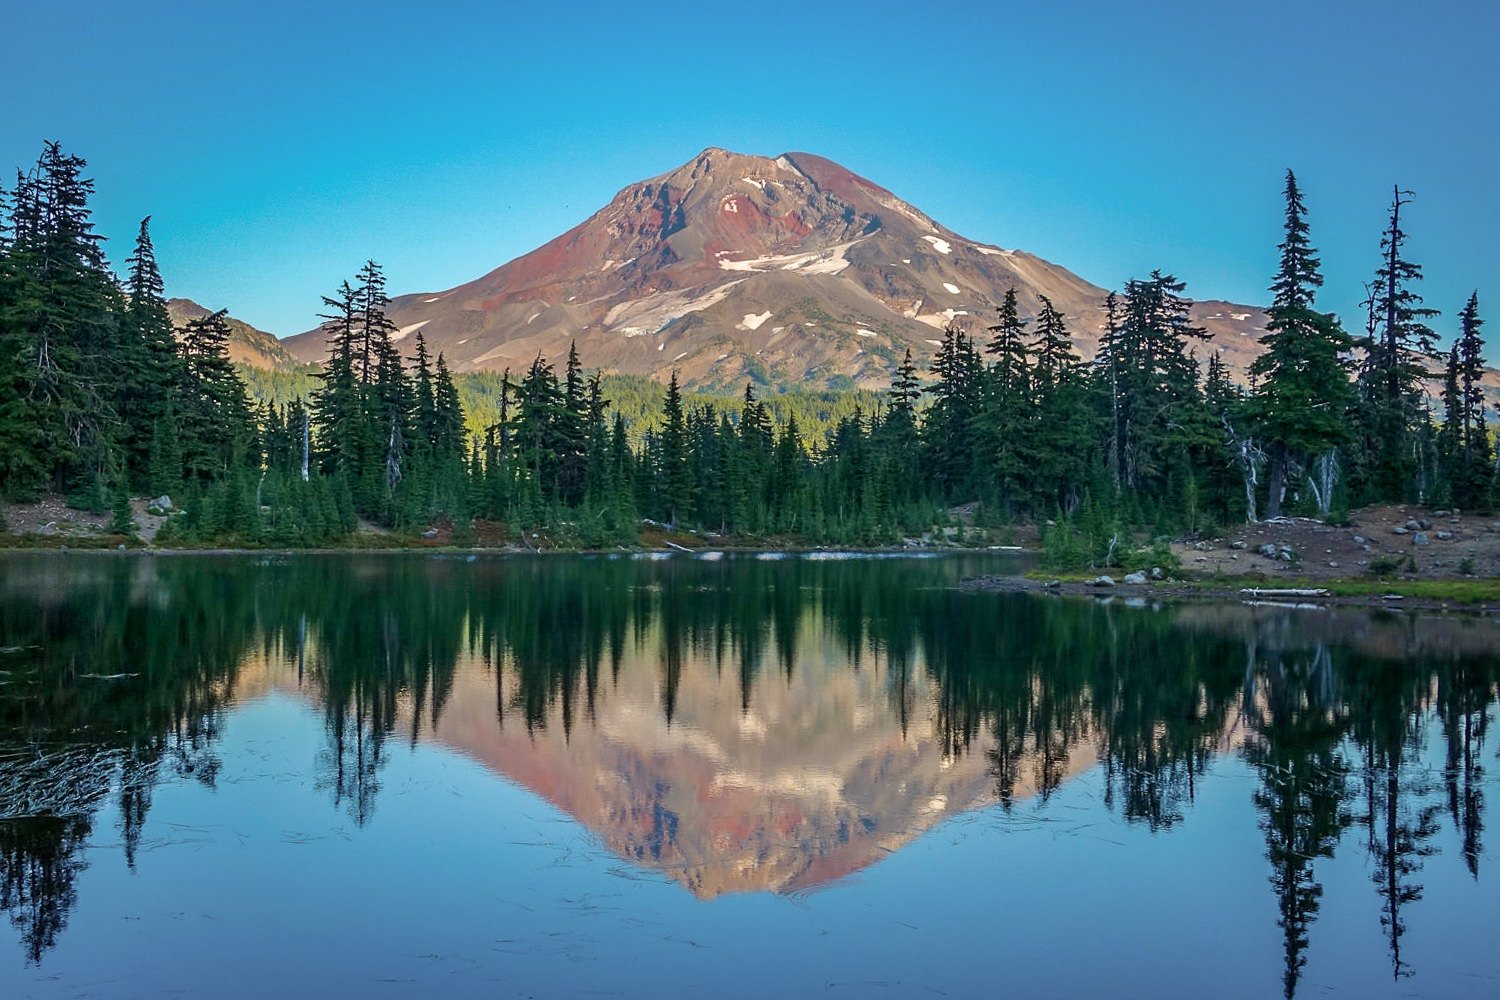
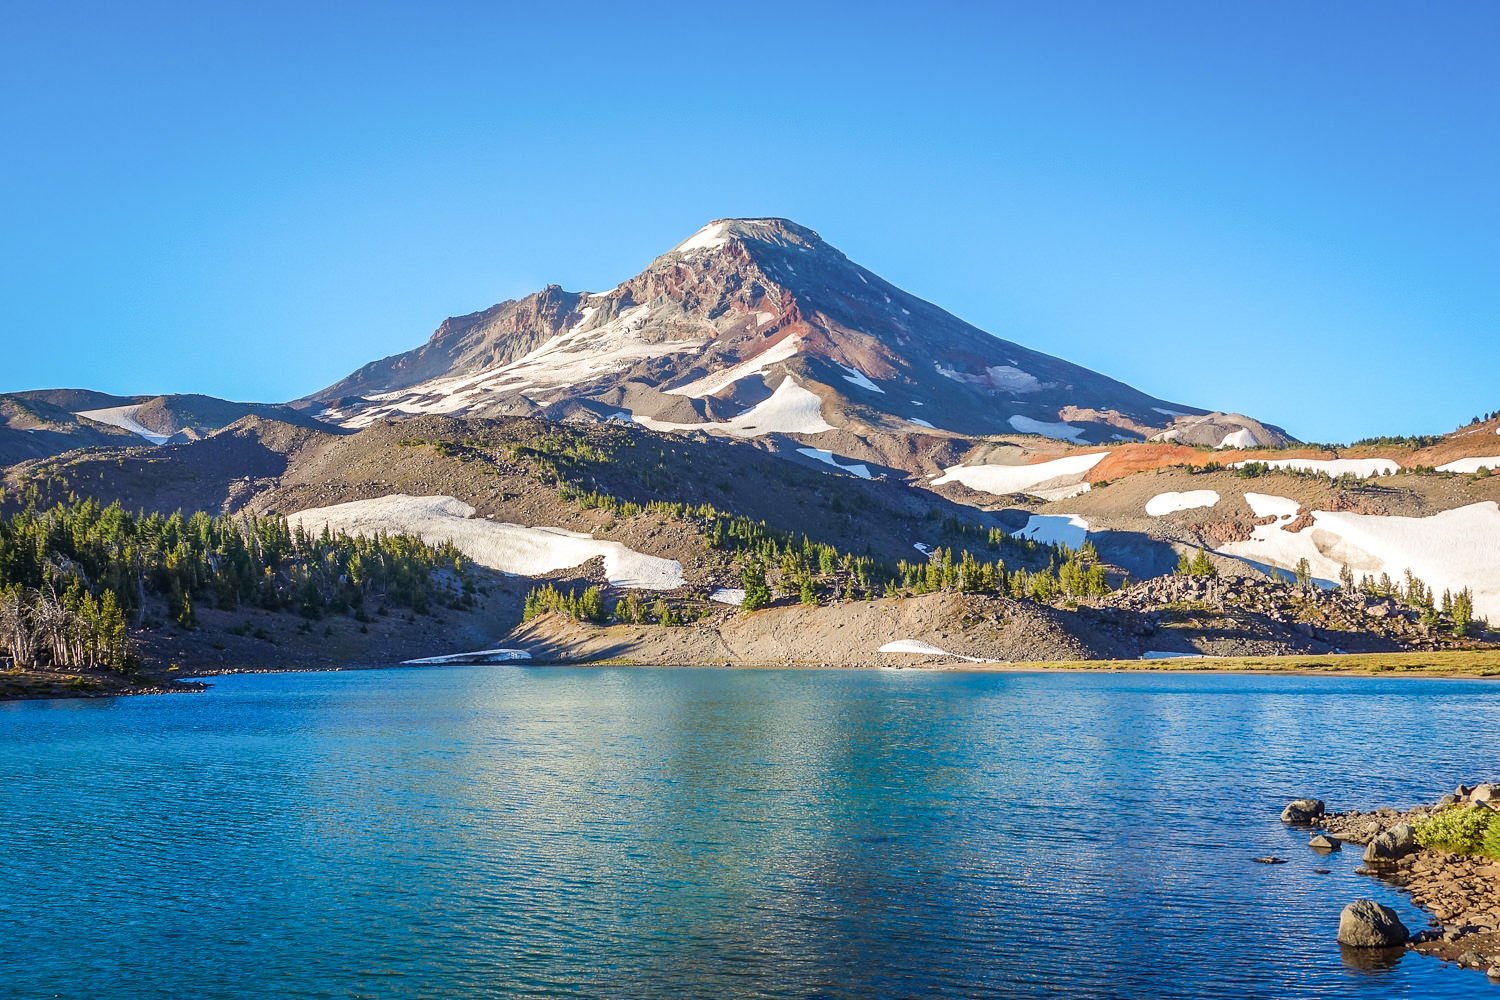
The alpenglow in the cascades is hard to beat. – photo credit: dave collins (cleverhiker.com)
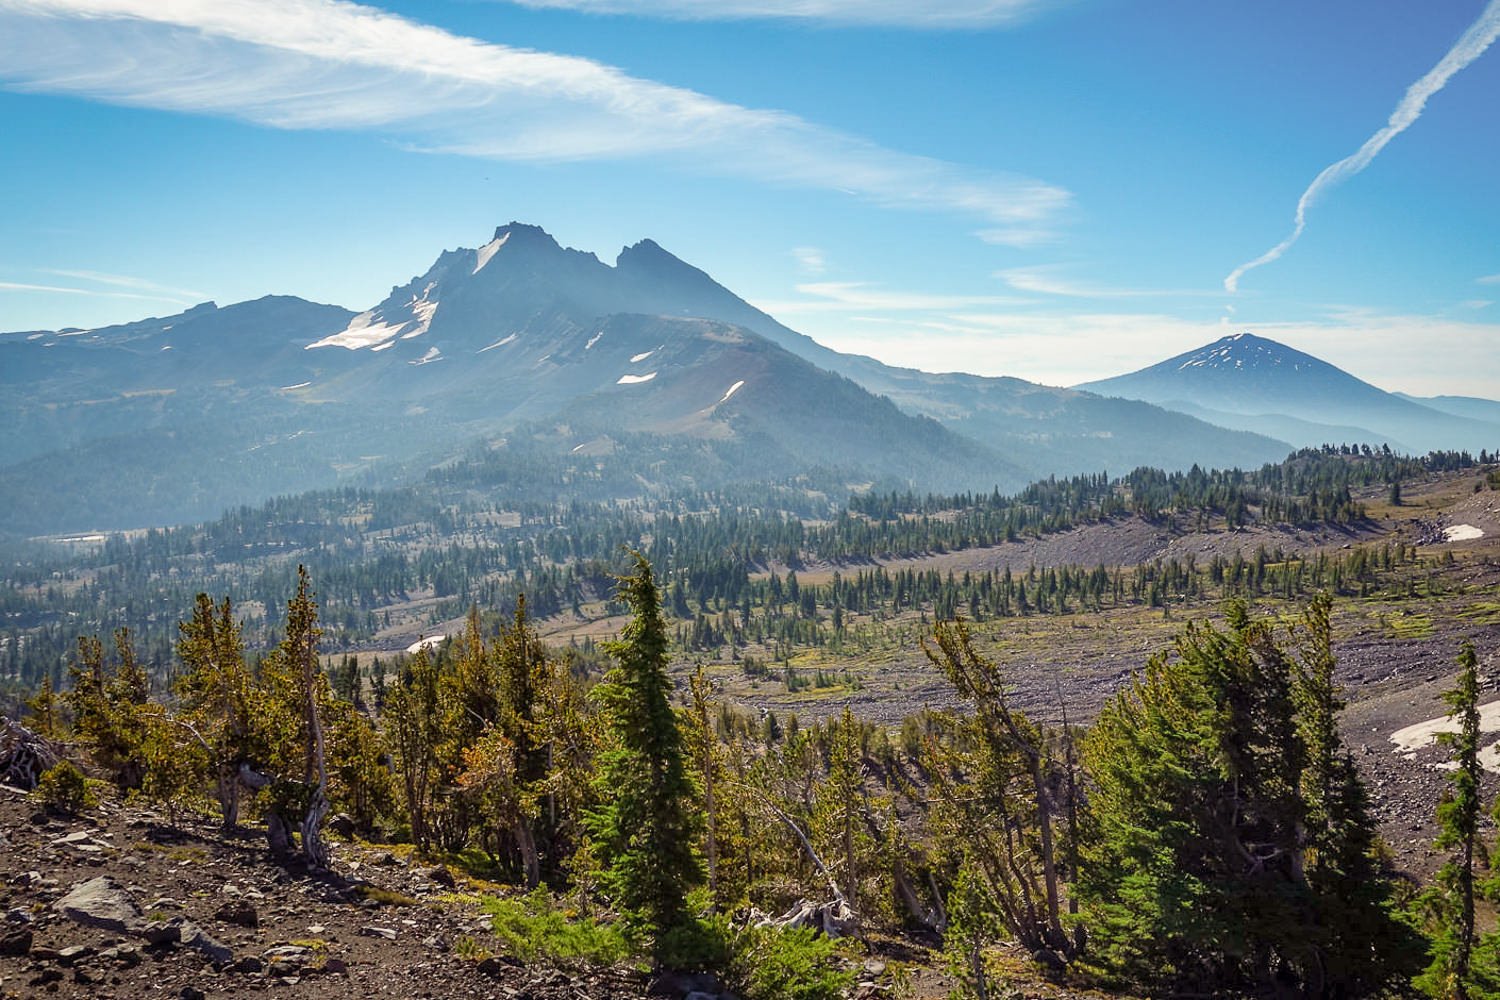
broken top and mt. bachelor in view from the trail. – photo credit: casey handley (cleverhiker.com)
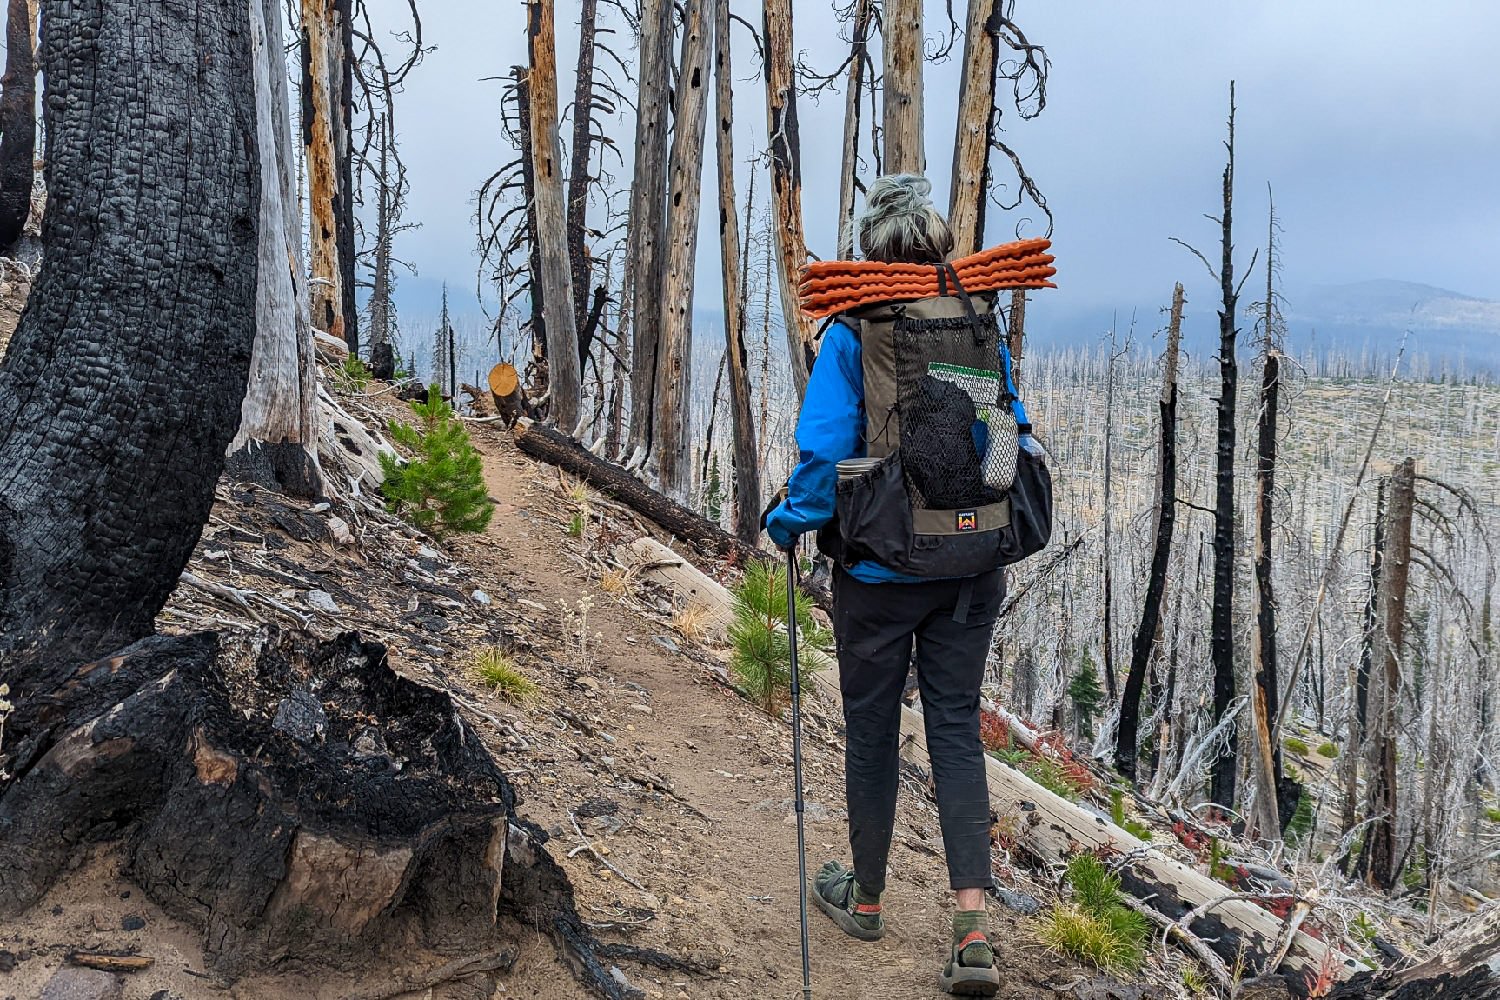
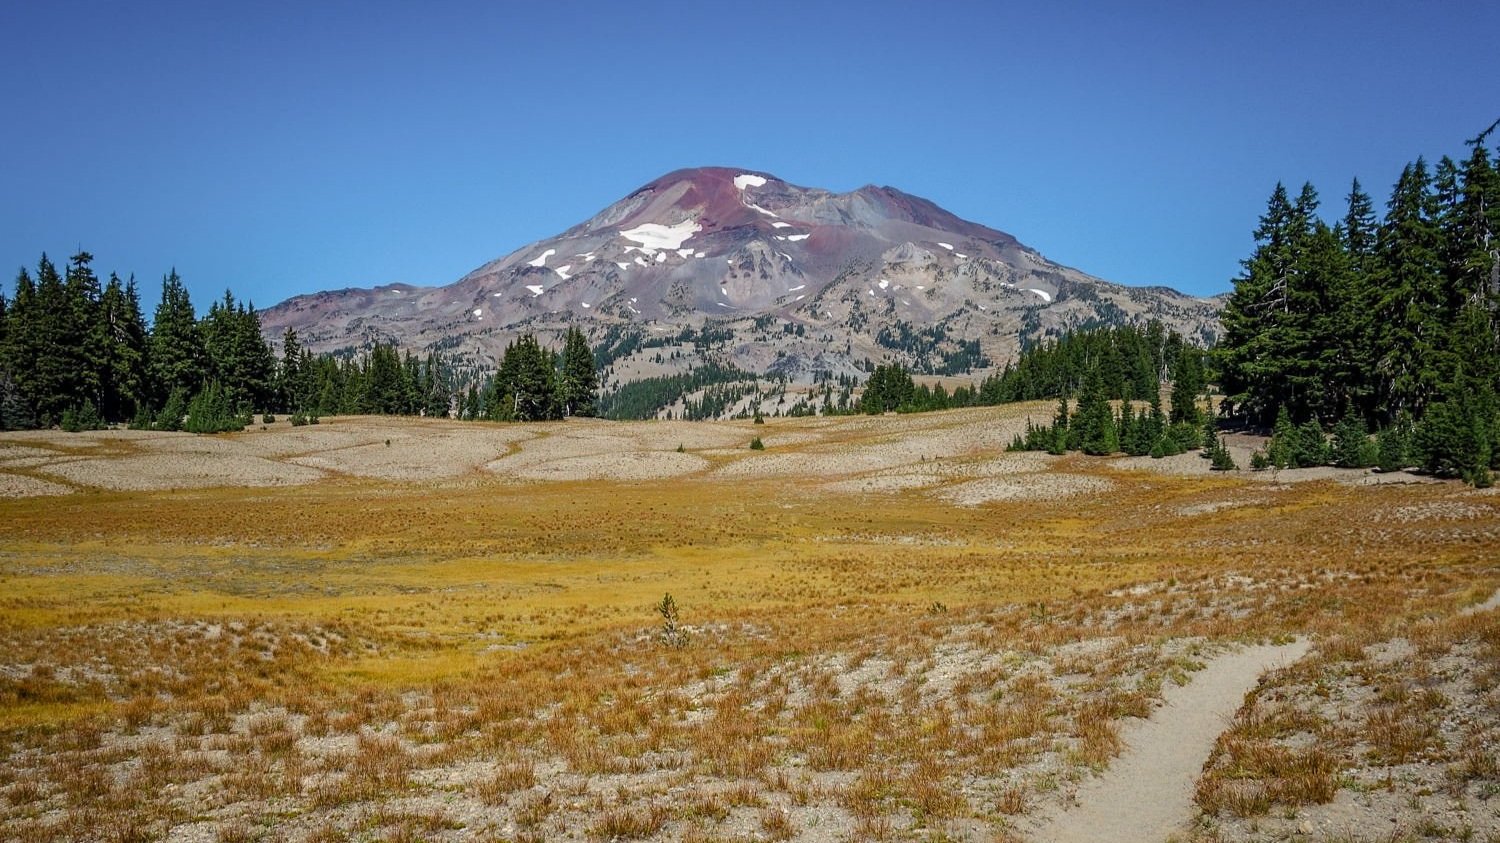
if you can time it, this loop is a great fall trip. – photo credit: casey handley (cleverhiker.com)
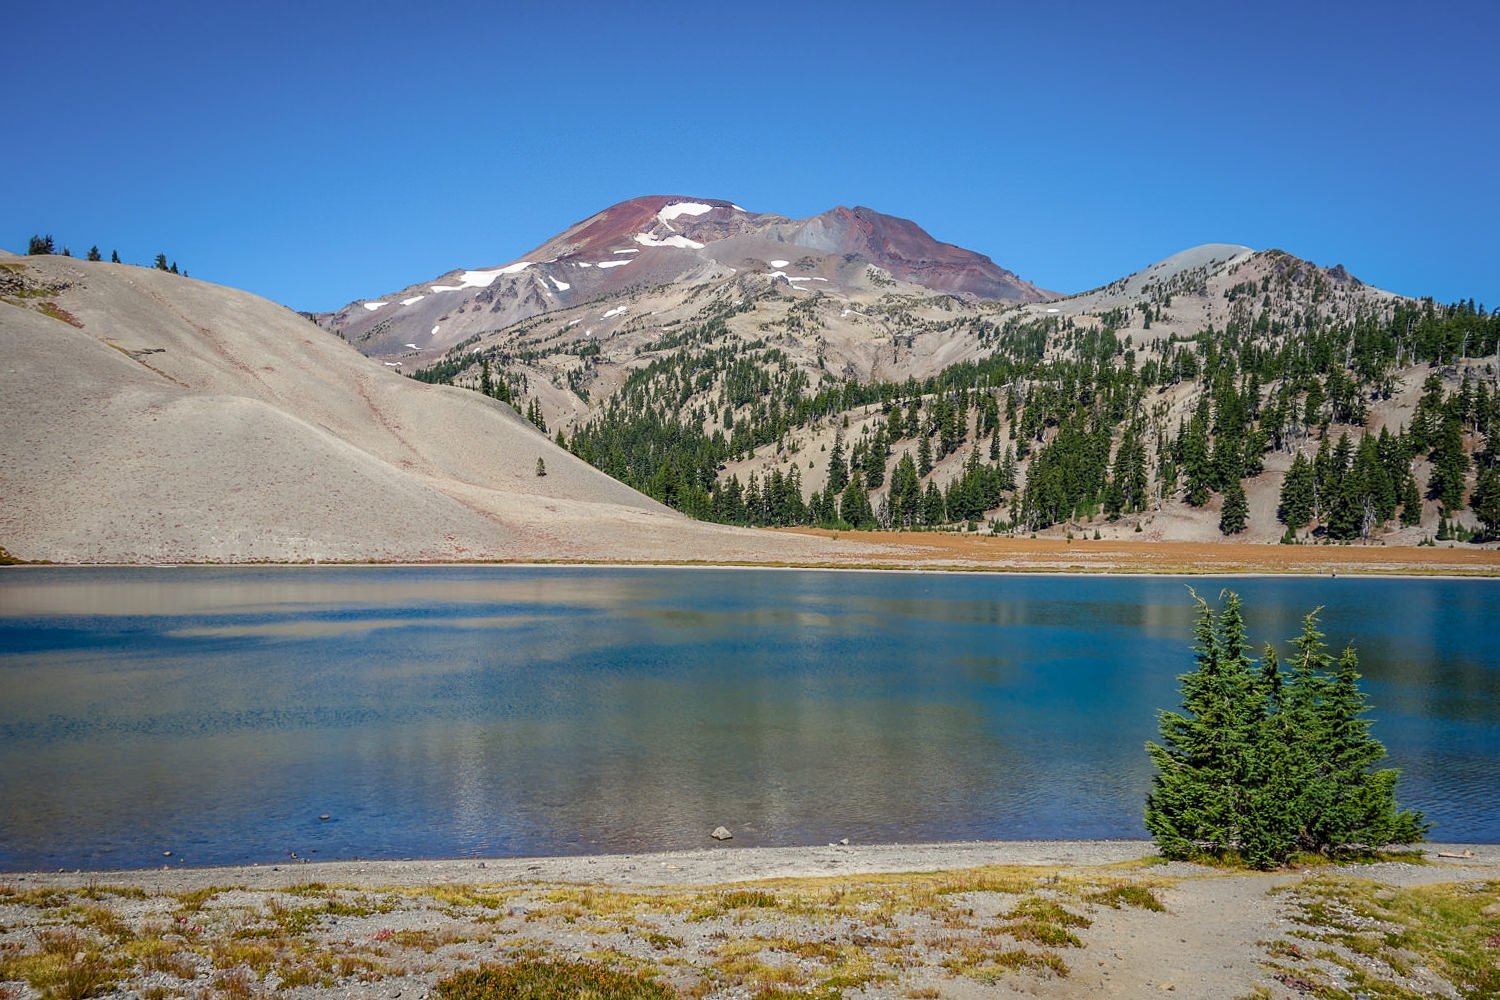
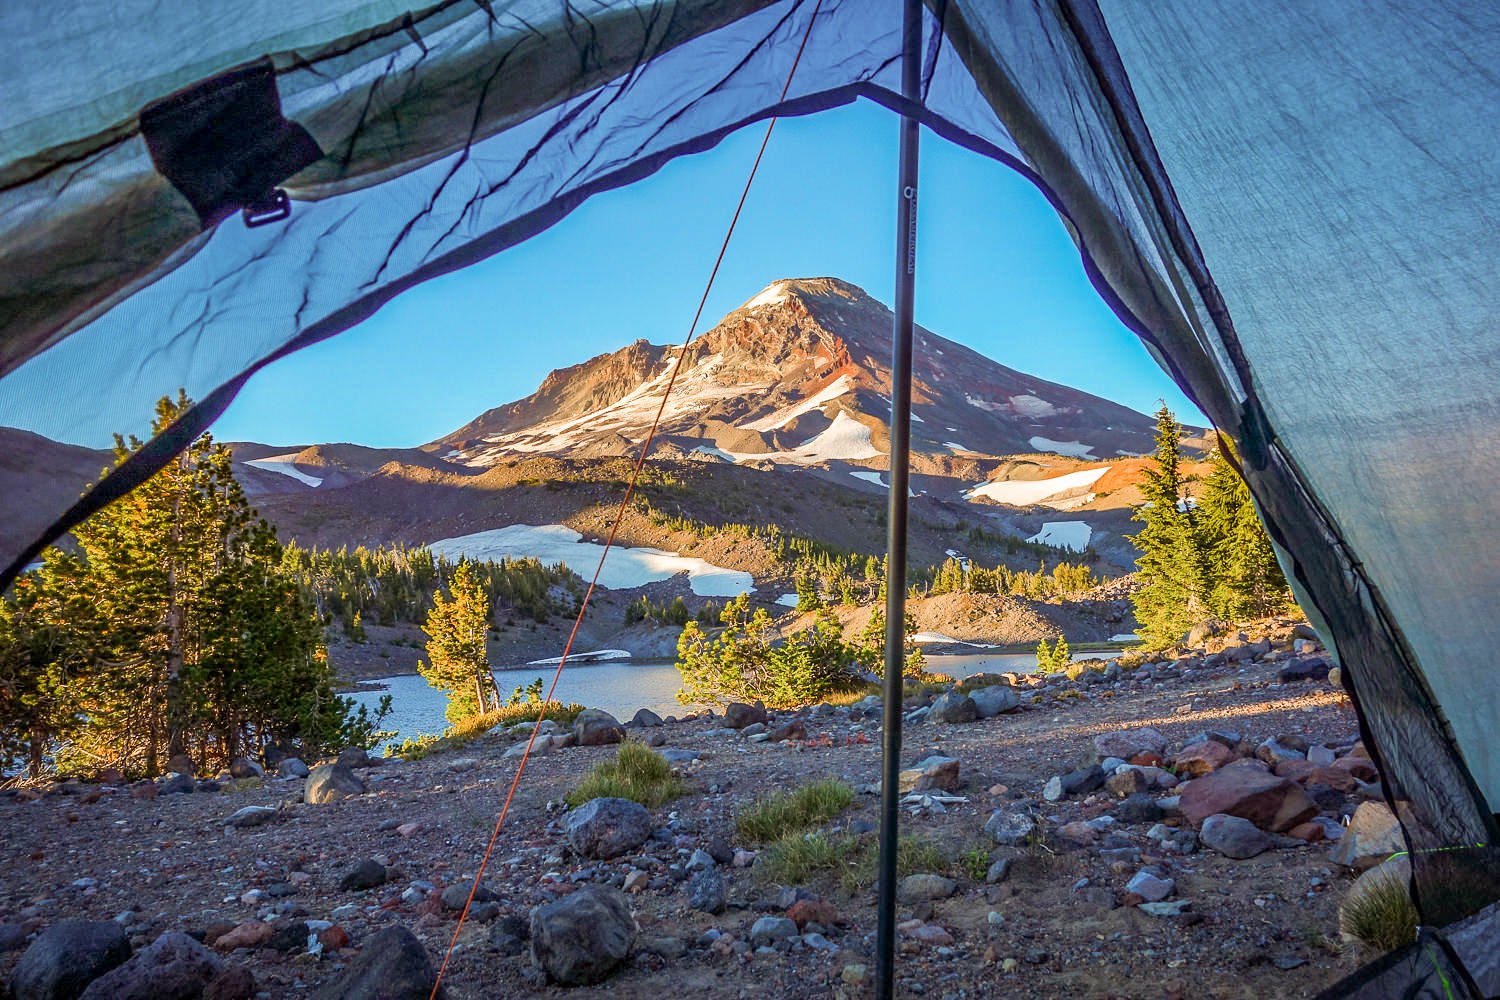
Moraine lake is one of the most popular day use trails in the area, for good reason. The clear water and stunning view of south sister draws the crowds. – photo credit: dave collins (cleverhiker.com)
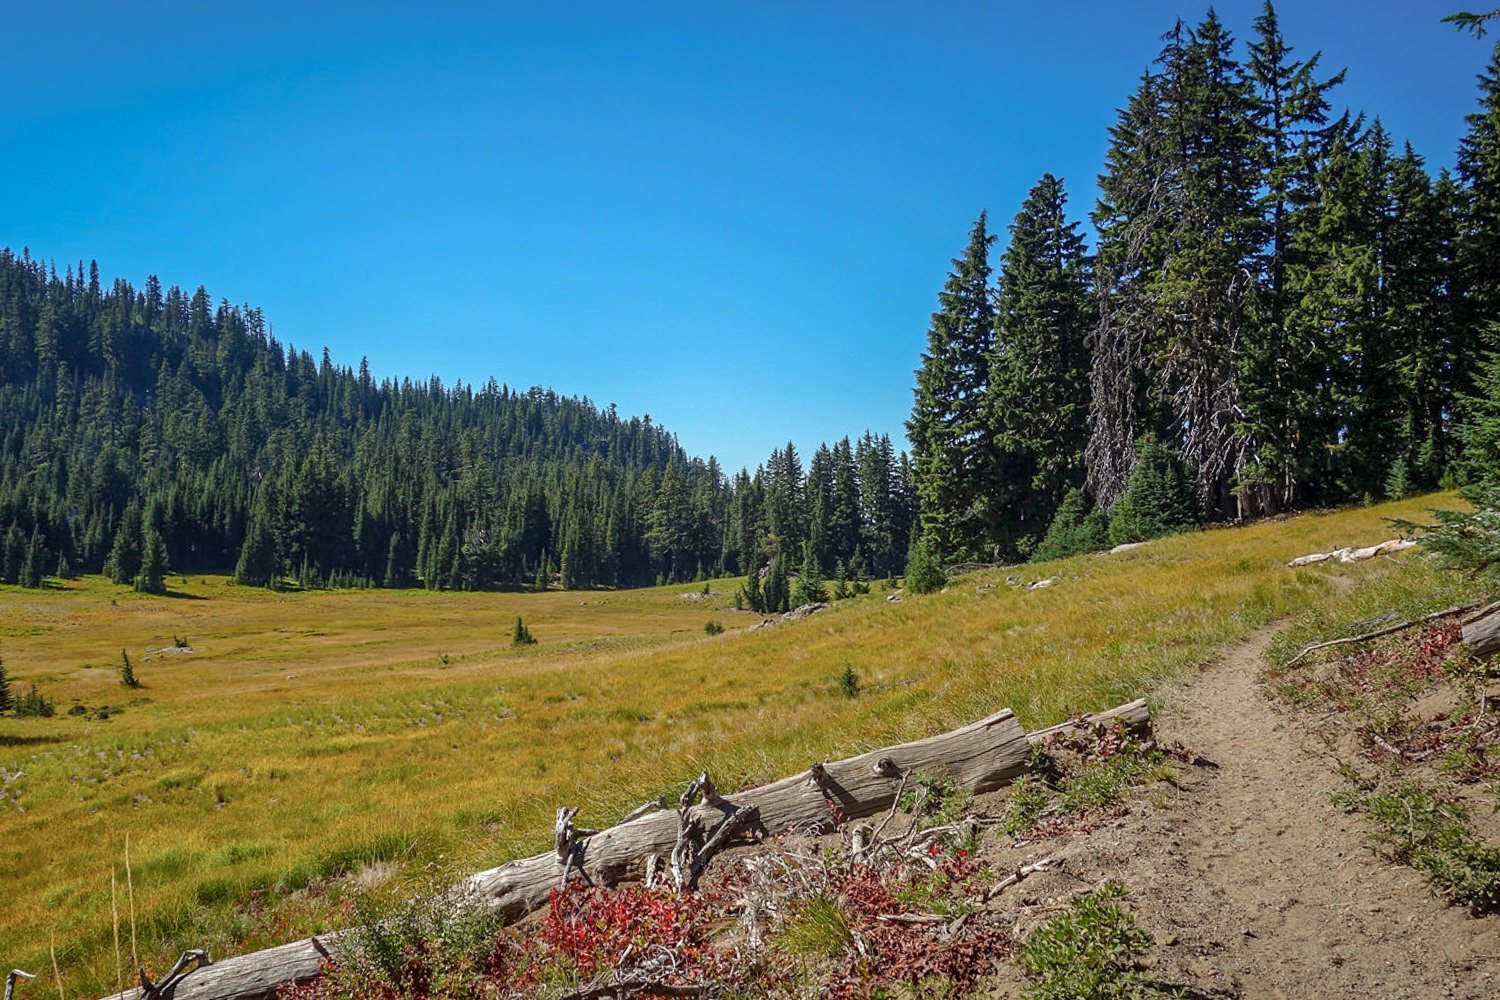
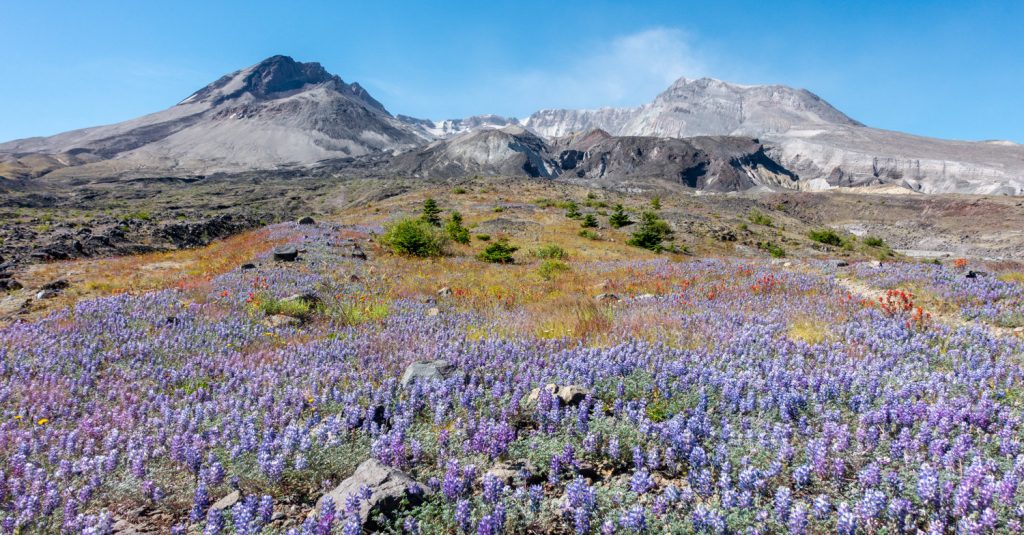
because of the volcanic “soil.” There isn’t much organic matter for the plants in this area to work with, so the ecosystem of these meadows is quite sensitive . – photo credit: casey handley (cleverhiker.com)

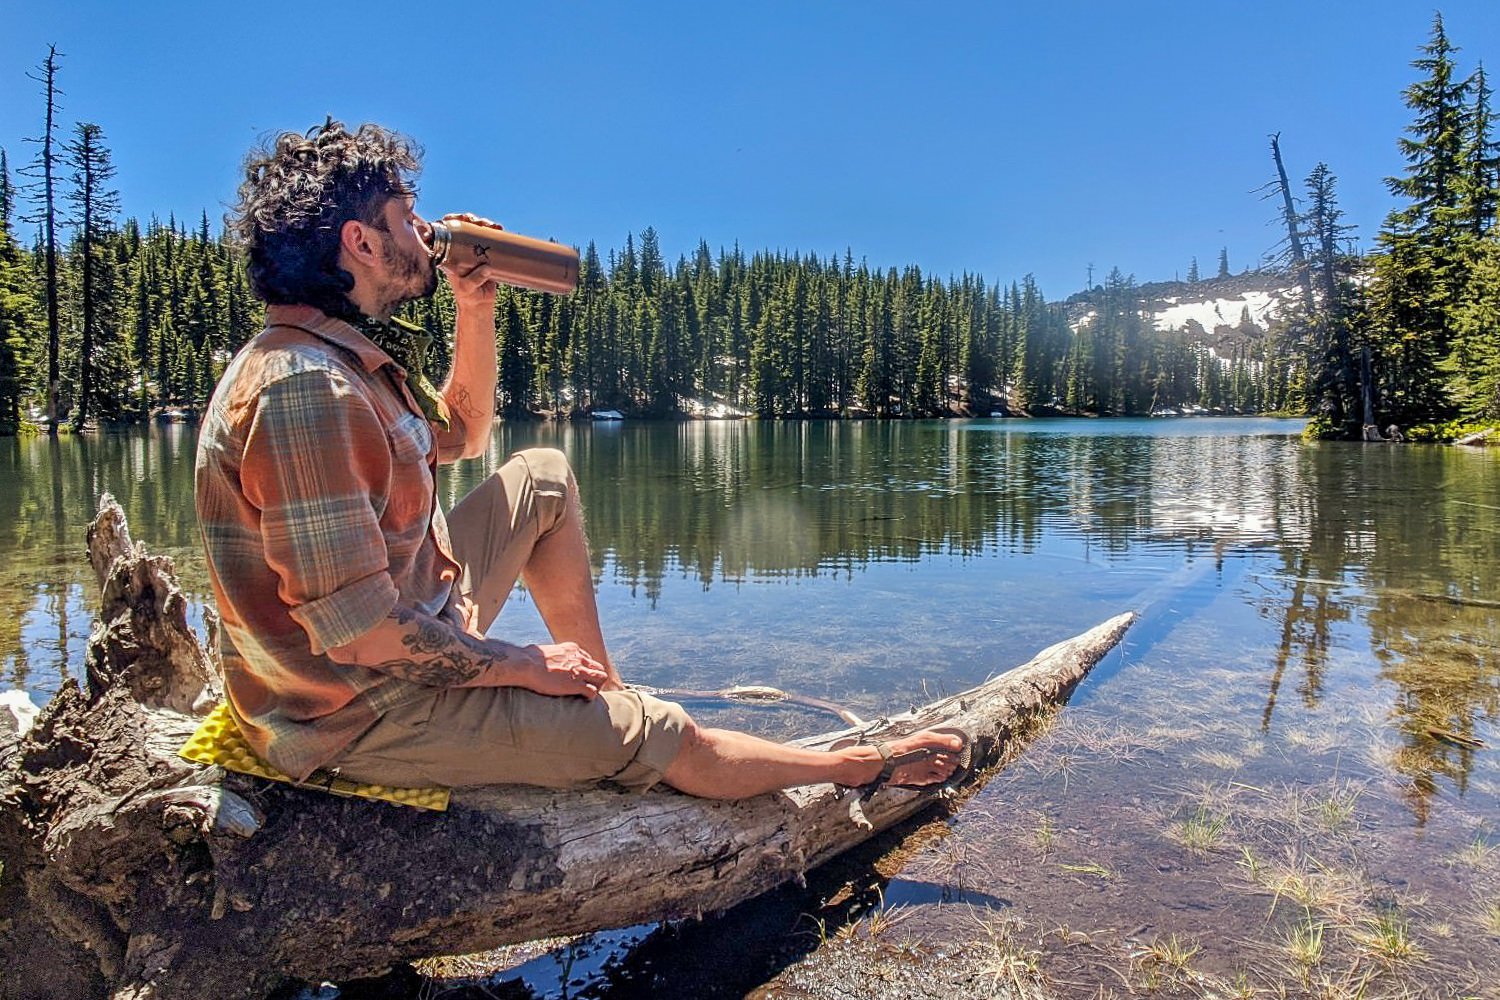
We prefer filling up on water at a stream rather than a lake. The cascades are famous for their water. – photo credit: casey handley (cleverhiker.com)
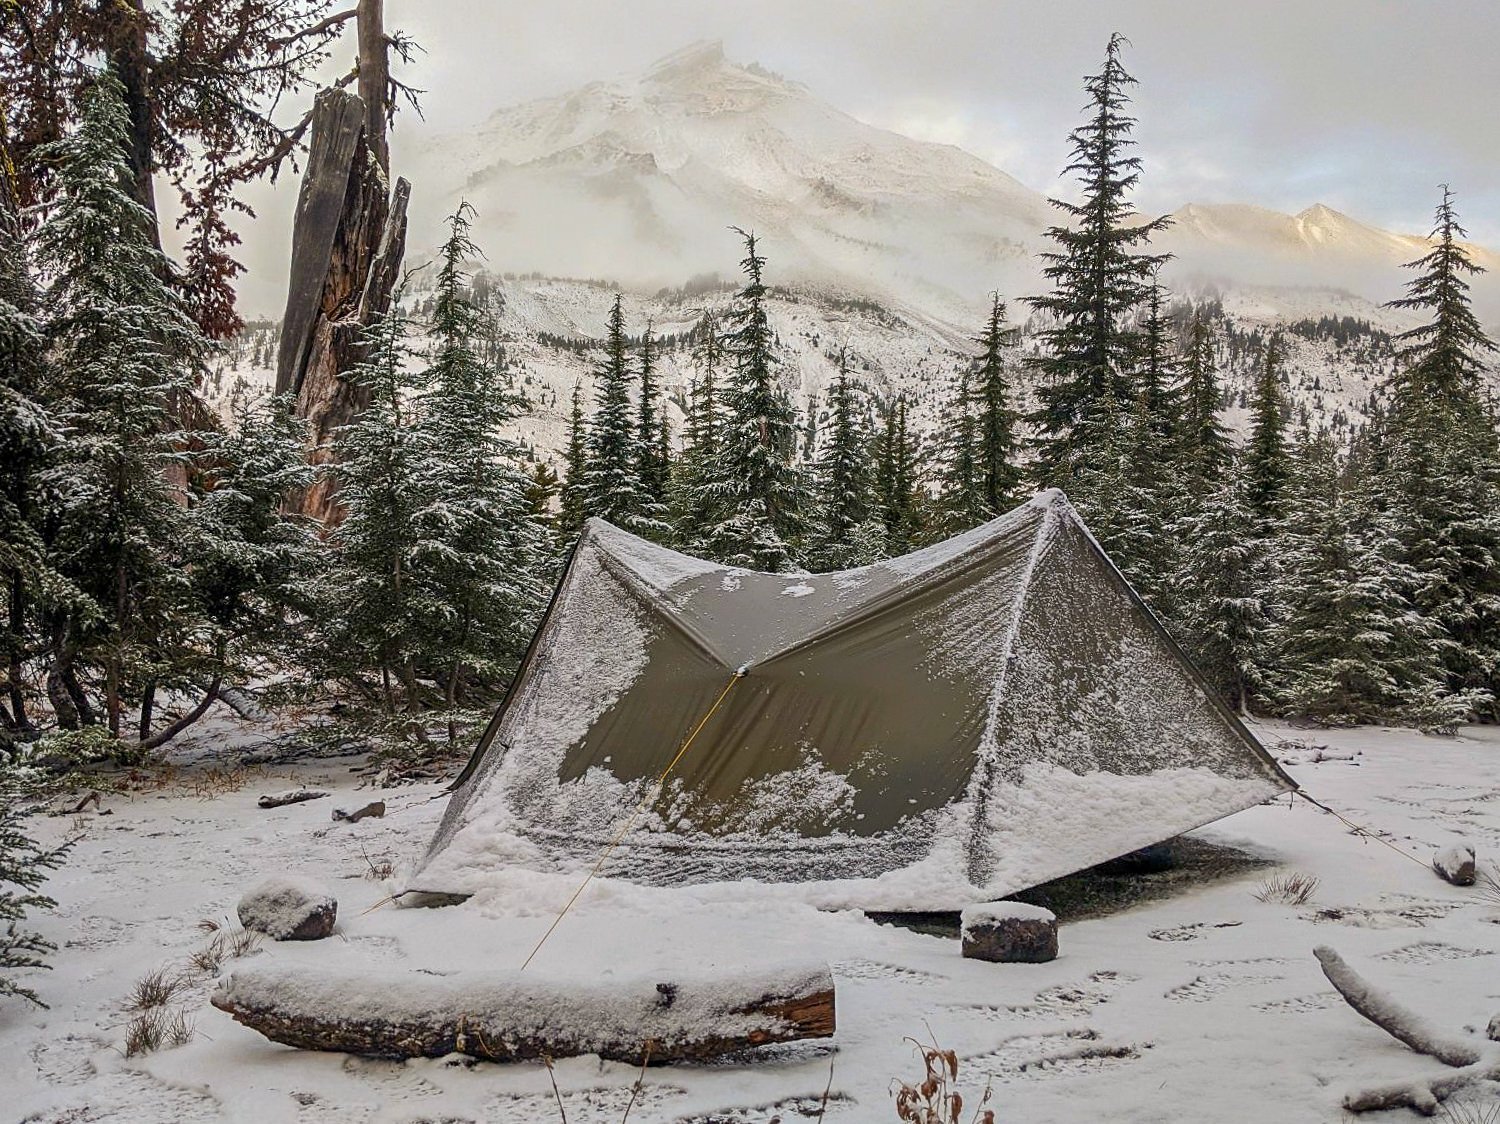
We gambled with the weather and it made for an exciting morning. – photo credit: casey handley (cleverhiker.com)
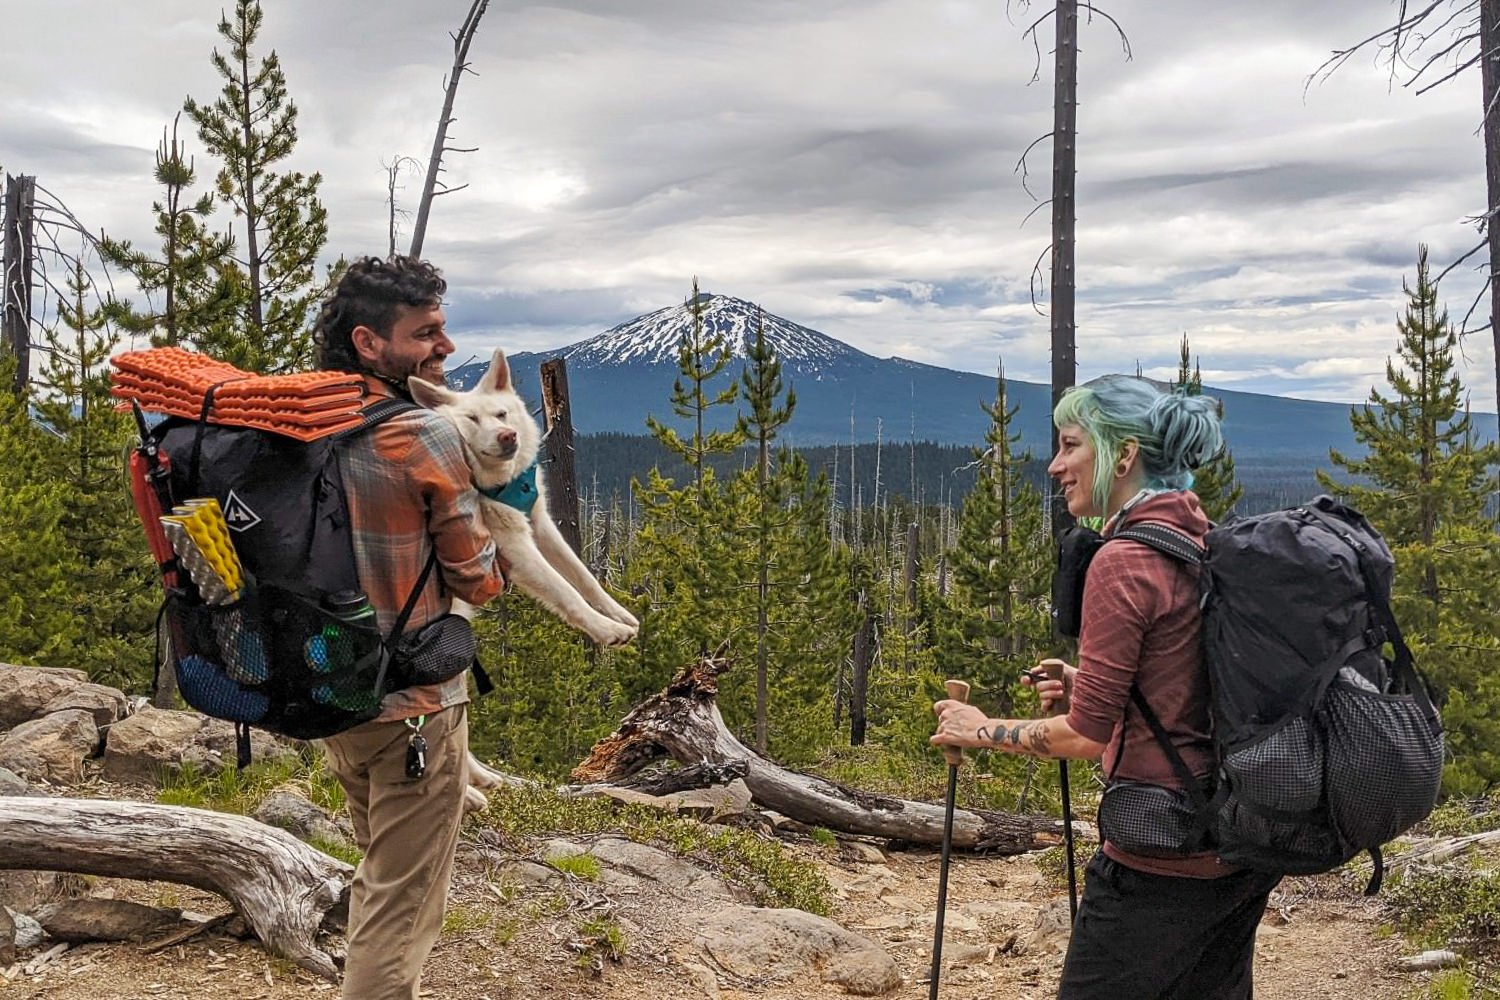
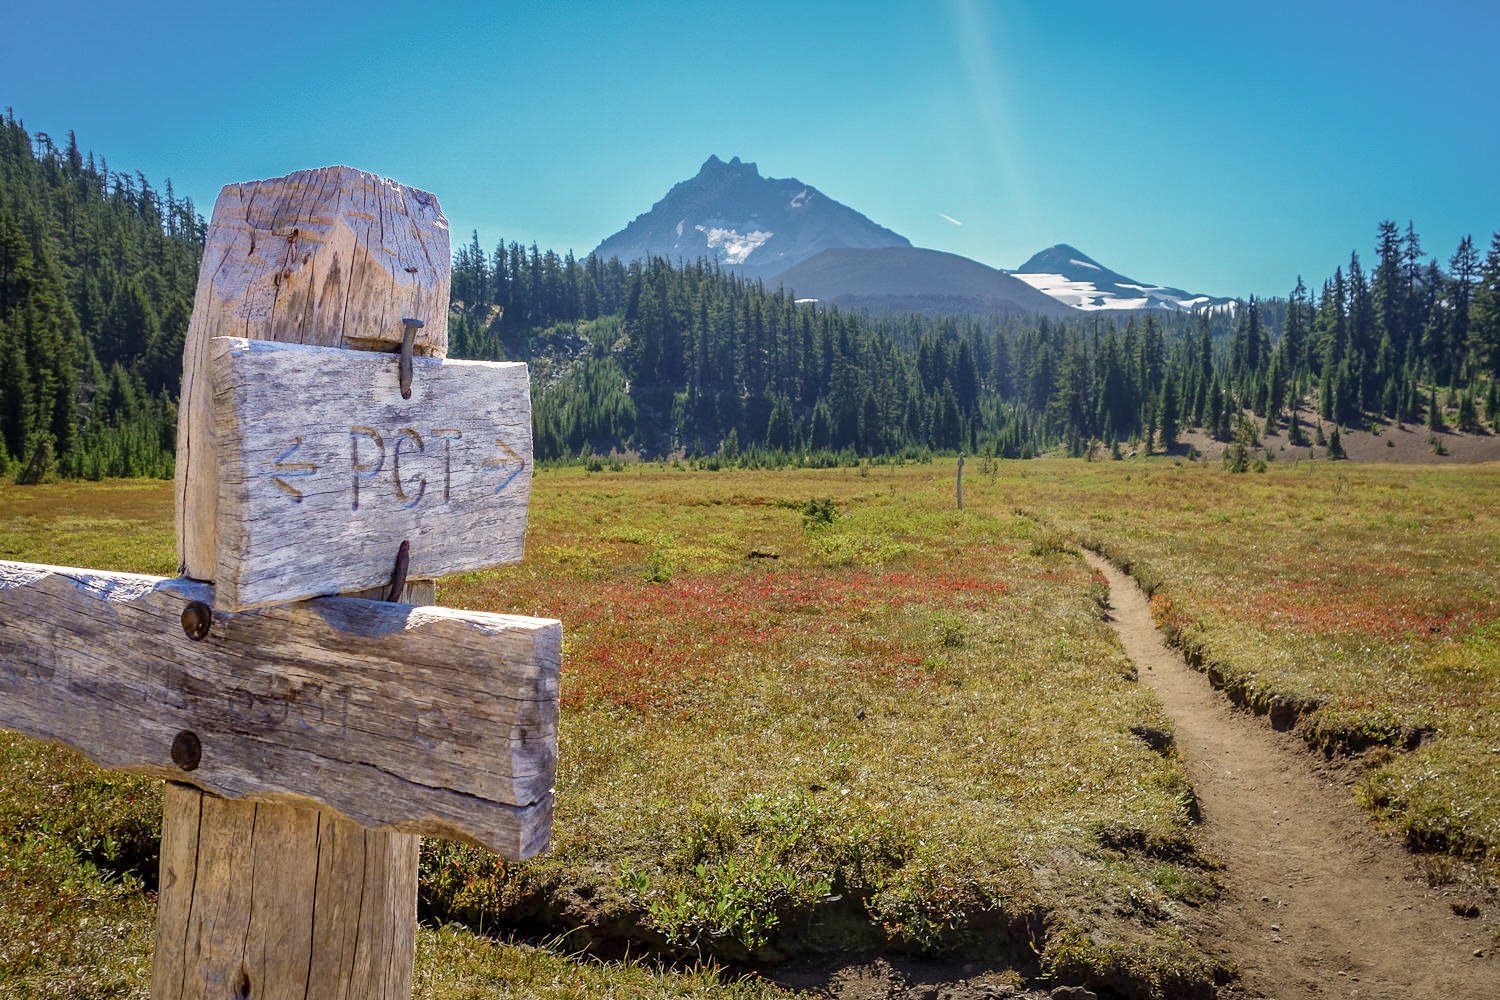
Mt. Bachelor making an appearance on the three sisters backpacking loop. – photo credit: casey handley (cleverhiker.com)