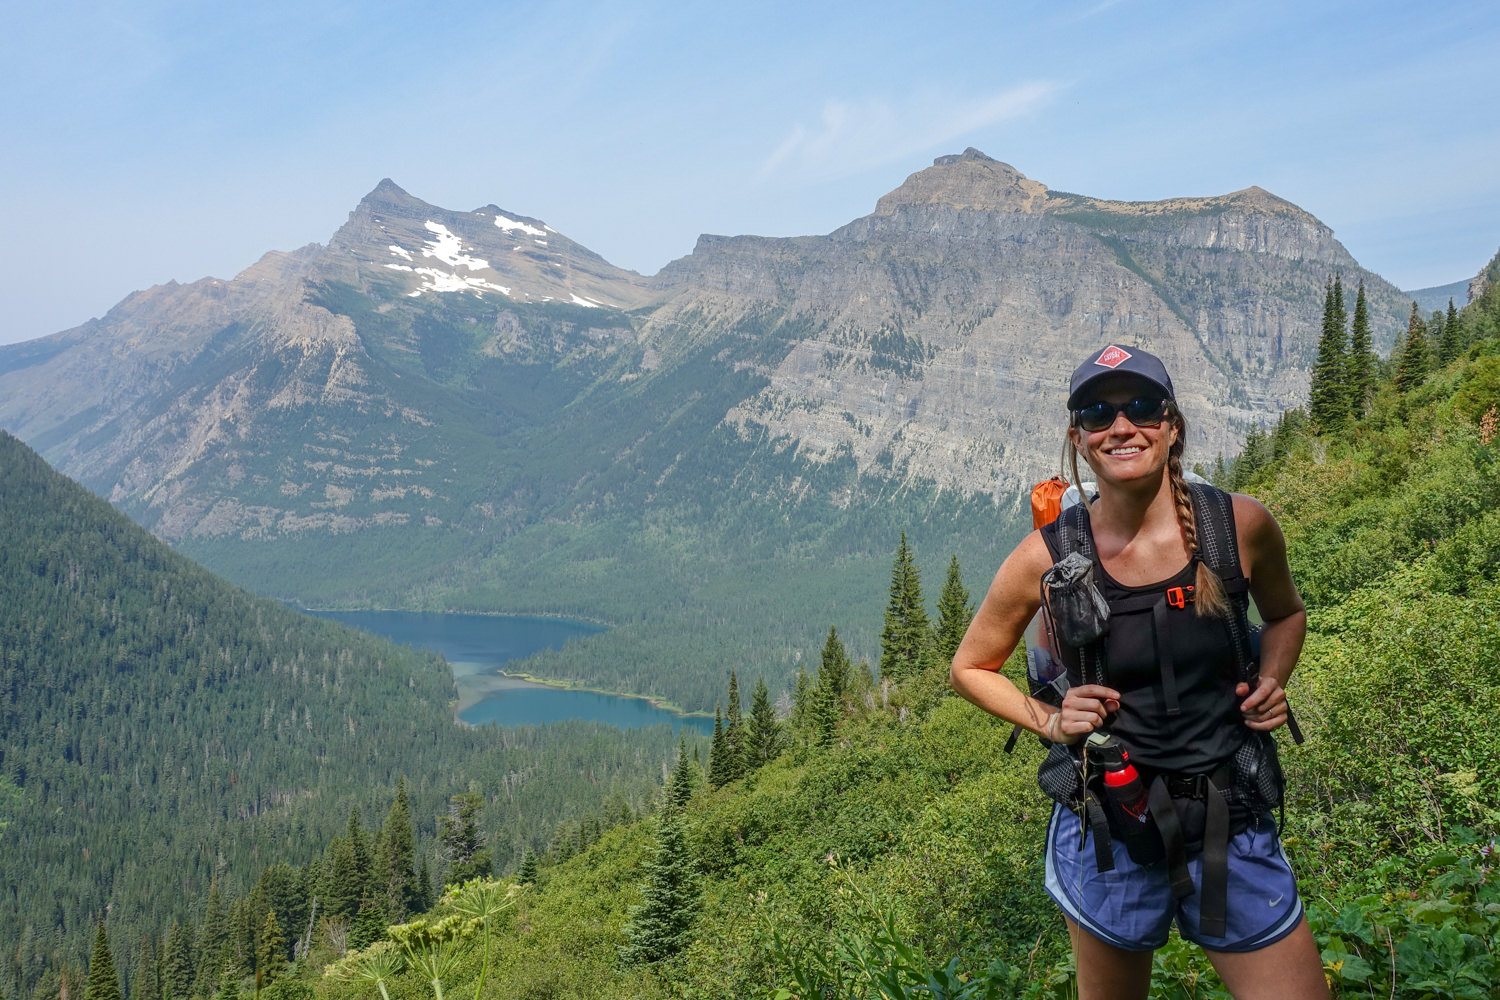
With more than 700 miles of backcountry trails traversing lush alpine meadows, glacier-carved peaks, deep valleys, and moss-fringed cirques cradling stunning azure lakes, Glacier National Park in Montana is breathtakingly beautiful. The trails to some of the best views in the park are challenging, but the rewards are worth it.
Backpackers could spend five continuous summers in Glacier and still have more to explore. Beyond the pure physical beauty of the park, the density of extraordinary wildlife draws people from around the world to its trails. The all-star list of American wildlife includes bighorn sheep, mountain goats, black and grizzly bears, bobcats, gray wolves, cougars, coyotes, elk, moose, bison, and the Canadian lynx – to name a few. If you head into the backcountry in Glacier, chances are high you’ll have some pretty unforgettable wildlife sightings.
As you begin preparations for your backcountry trip to Glacier, you may find the planning process – most notably the permit process – to be complex and, at times, exhausting. In this guide, we provide all the details you’ll need to plan an exciting, safe, and memorable trip to one of our favorite national parks.
If you’re looking for information on day hiking in Glacier, check out our 10 Best Day Hikes in Glacier National Park post.
Best Time to Travel
Although conditions vary year to year, in general, the best time to visit Glacier is from late July to late September. Backpacking season in Glacier is relatively short because snow lingers on most high-elevation trails well into July and can fall again by late September. Mid-August gives you your best shot at completing most backcountry trails, though you will contend with some of the heaviest crowds. In some years, you can hike lower-level trails as early as mid-July and well into mid-October. It should be noted, however, that it can also snow any month of the year in Glacier. So this is one place where you need to be prepared.
Backcountry use declines after Labor Day, making September a less competitive time to secure walk-up permits, while the weather is still great for backpacking most years. September temps are generally mild (highs 60s), though you’ll want to pack a warmer sleeping bag (+15 rather than a +30) for chillier nighttime temps. Shuttle transports get trickier, and at the end of September, staff starts to remove 25 seasonal bridges. Although there are some downsides to backpacking in September in Glacier, it remains one of our favorite times to be on the trail.
How to Get there (Air, train, car)
Air
Located in the northwest corner of Montana, the closest airport is Glacier Park International Airport (FCA) located in Kalispell, MT. It’s a 30-minute drive from the airport to the Apgar entrance of Glacier National Park.
Great Falls, 200 miles southeast, and Missoula, 150 miles south are more direct flights from many U.S. cities, but most likely require renting a car.
Backpackers coming in from Waterton Lakes National Park in southern Alberta have a few other options. For them, the closest airport is 80 miles to the northeast in Lethbridge, Alberta. The limited flight schedule usually means it’s more convenient (and cheaper) to fly into Calgary, 165 miles north of Waterton.
Train
Although it can be just as costly and possibly take longer than flying or driving, many people enjoy traveling to Glacier by train. Amtrak’s Empire Builder, which runs east-west from Chicago to Seattle, makes stops in East Glacier, West Glacier, and Whitefish. If you’re arriving in East Glacier, you can hop on The East Side Shuttle, which runs from Glacier Park Lodge to St. Mary’s and costs $50 each way. Once at St. Mary’s, you can easily connect with the park’s free shuttle service, which runs the length of the Going-to-the-Sun road. If you’re arriving in Whitefish, contact Whitefish Outfitters to see if they are running from Whitefish to Apgar. Grouse Mountain Lodge also has a shuttle service for its guests. If arriving in West Glacier, Xanterra also offers a West Side Shuttle from the train station to the Lake McDonald Lodge for a comparatively affordable fee.
Car
If you’re driving to Glacier, you will need to get a vehicle reservation through recreation.gov. You can book these during the release dates on a rolling basis or through next day reservations. Either way, be ready to navigate right at the time the reservations open because they get booked freakishly fast. If you already have a backcountry camping permit, you will be granted a vehicle entry on the day of your trip. A way around this is visitors may enter the park before 6 am or after 3 pm without a vehicle reservation. Parking is very limited within the park, so using the shuttle services or arriving before the park opens is a good way to avoid the stress of finding parking.
The easiest ways to reach the park are from U.S. 2 and U.S. 89, depending on the direction you’re coming from. It’s often convenient to have a car when backpacking, however we found ourselves happily using the free shuttle service most of the time (more on that below). Also, many roads within Glacier National Park are seasonal. Check road status to see what’s open.
Getting Around – Shuttle Services
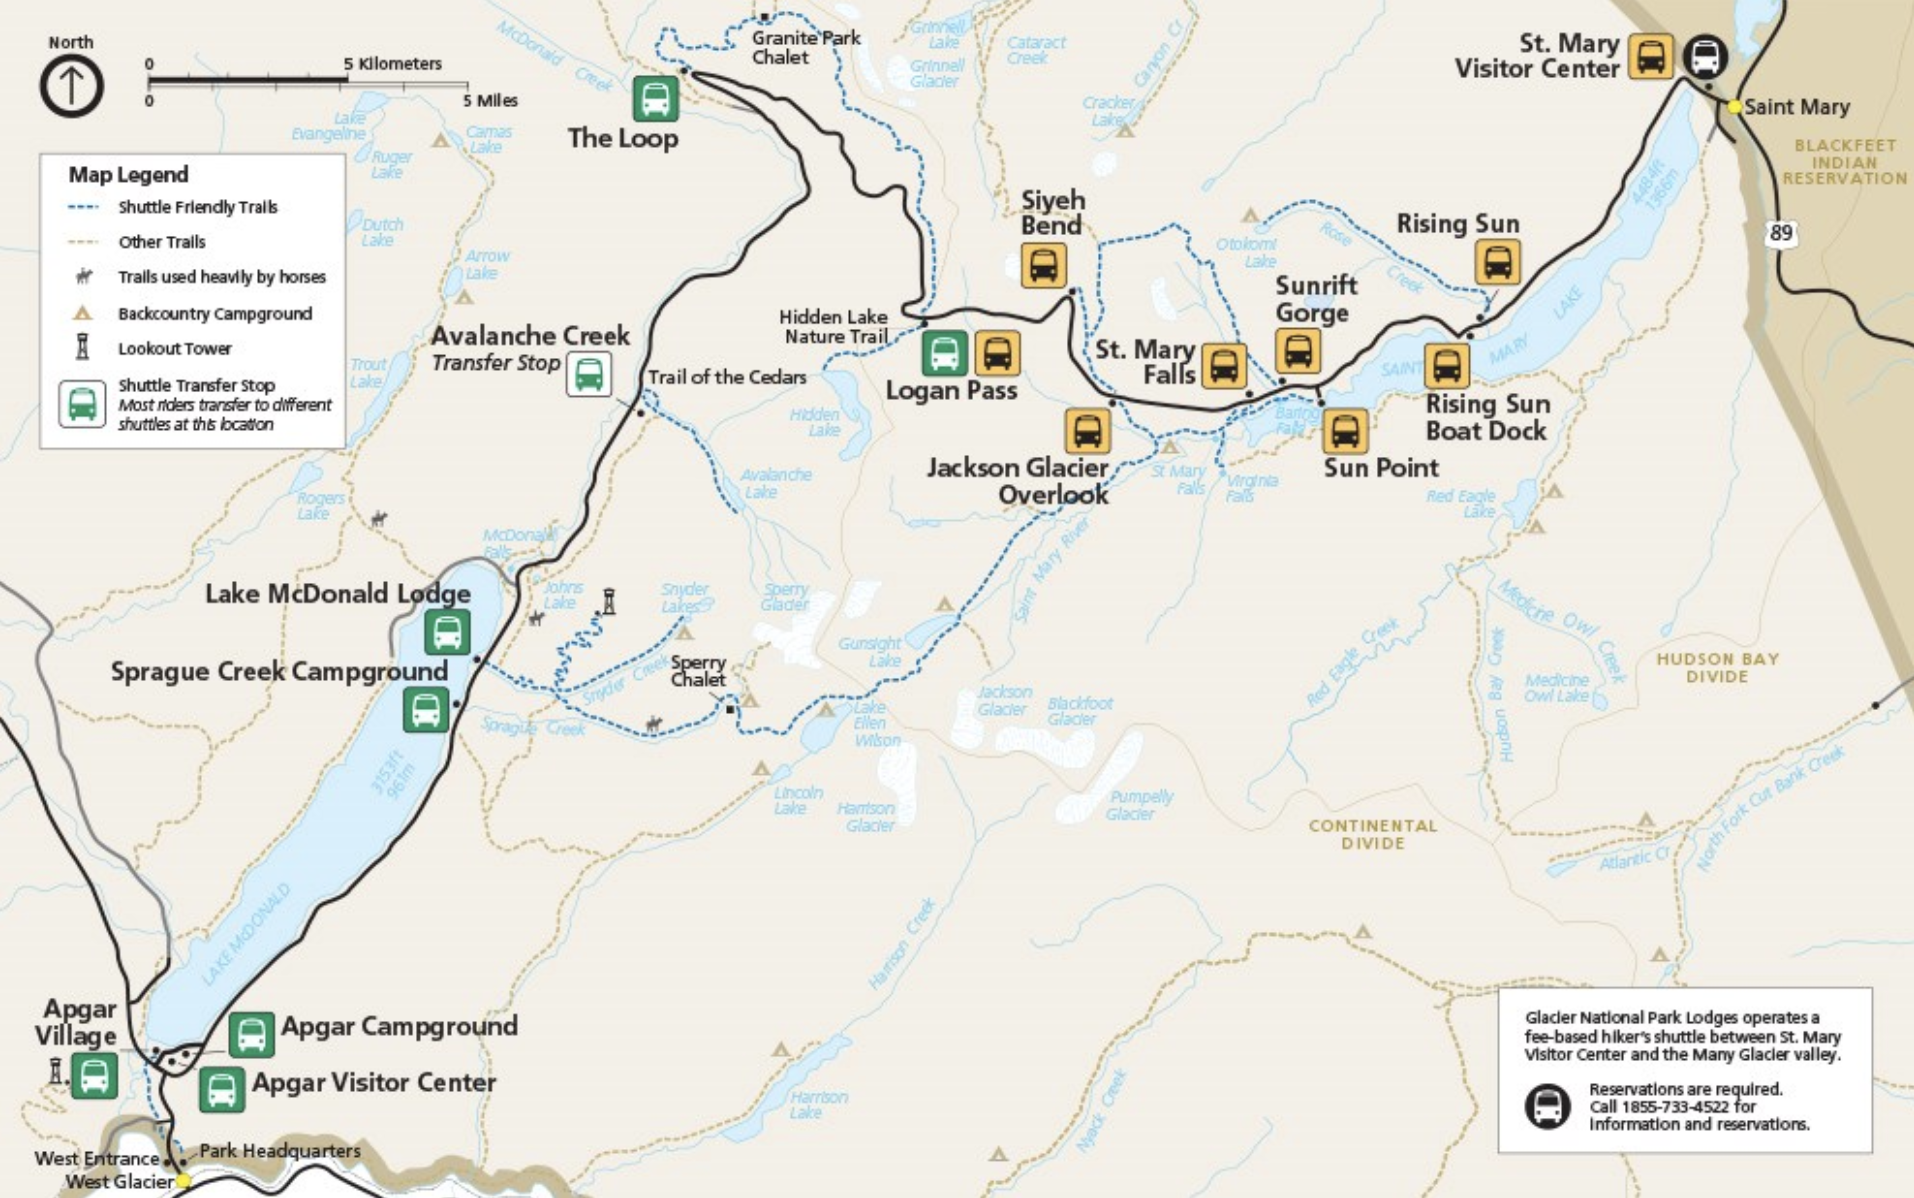
Free Park Shuttle
A comprehensive system of shuttles makes transport to trails fairly easy during peak tourism season. Once you pay the national park entrance fee, you get free and unlimited access to the Park Shuttle System.

The shuttle operates as a hop-on, hop-off two-way service along Going-to-the-Sun Road between the Apgar Visitor Center and St. Mary Visitor Center. It runs on the west side from the Apgar Visitor Center to Logan Pass every 15-30 minutes, and on the east side from Logan Pass to St. Mary’s Center. If you plan to ride the full Going-to-the-Sun Road, you’ll have to switch shuttles at Logan Pass.
There’s room for 12 or 16 passengers on the smaller shuttles and 20+ on the larger ones. All seats are first come, first serve, and at times packed. If the shuttle is full, you’ll have to wait for the next one. There is also limited pack storage on the buses, especially when every seat is full, so you’ll likely need to set your pack in an aisle or on your lap.
You should also be aware of the potential for transit delays. Going-to-the-Sun Road is often under reconstruction/rehabilitation in areas, and construction delays are inevitable.
Also, plan to park your car at a shuttle hub parking lot instead of other locations where parking is limited. The East hub is the St. Mary Visitor Center, and the West hub is the Apgar Visitor Center. Be aware that parking is competitive throughout the park, particularly at Logan Pass Visitor Center. During peak season, many parking lots are full by mid-morning.

Glacier National Park Lodges Hiker’s Shuttle
This fee-based hiker’s shuttle between the St. Mary Visitor Center and Many Glacier Hotel/Swiftcurrent Motor Inn (operates from June 8 through September 18), connects to the National Park Service (NPS) free Going-to-the-Sun Road shuttle system, and like that shuttle service is first come, first served—no advance reservations. Times vary depending on the free National Park Service Shuttle, but it typically takes about 45-50 minute to get from Many Glacier/SwiftCurrent Motor Inn to St. Mary Visitor Center.
It also has a west-side shuttle that requires reservations. To find seasonal shuttle times and book a reservation, contact Xanterra’s customer service agent at 855-733-4522.
Waterton – Chief Mountain Shuttle
If you plan on hiking in the Belly River region, starting or finishing your hike at Goat Haunt, you may consider using this shuttle service for an interesting way to begin/end your hike in Canada. The best way to do this is to park a car at the Belly River Trailhead and backpack to Goat Haunt. From here, you can take the water shuttle to Waterton Townsite and then use the Chief Mt. Connector to get an easy shuttle back to the US border, which is a very short walk from the Belly River Trailhead. If traveling between Goat Haunt and Waterton, you’ll need to bring your passport.
Trip Planning
Glacier National Park’s website offers this insider take on planning: “In the broadest sense, Glacier’s backcountry comes in two flavors—east and west, roughly split along the Continental Divide. Each trail on a respective side offers a similar “feel.” West side trails start at around 3,200 feet in elevation, are more heavily forested, and offer the greatest solitude. Trails start at around 5,000 feet east of the divide, and the terrain is more sparsely vegetated, creating more open vistas and attracting more crowds.” In other words, if you want solitude and lower-level views, go west. If you want alpine trekking with glaciers and summit views, go east.
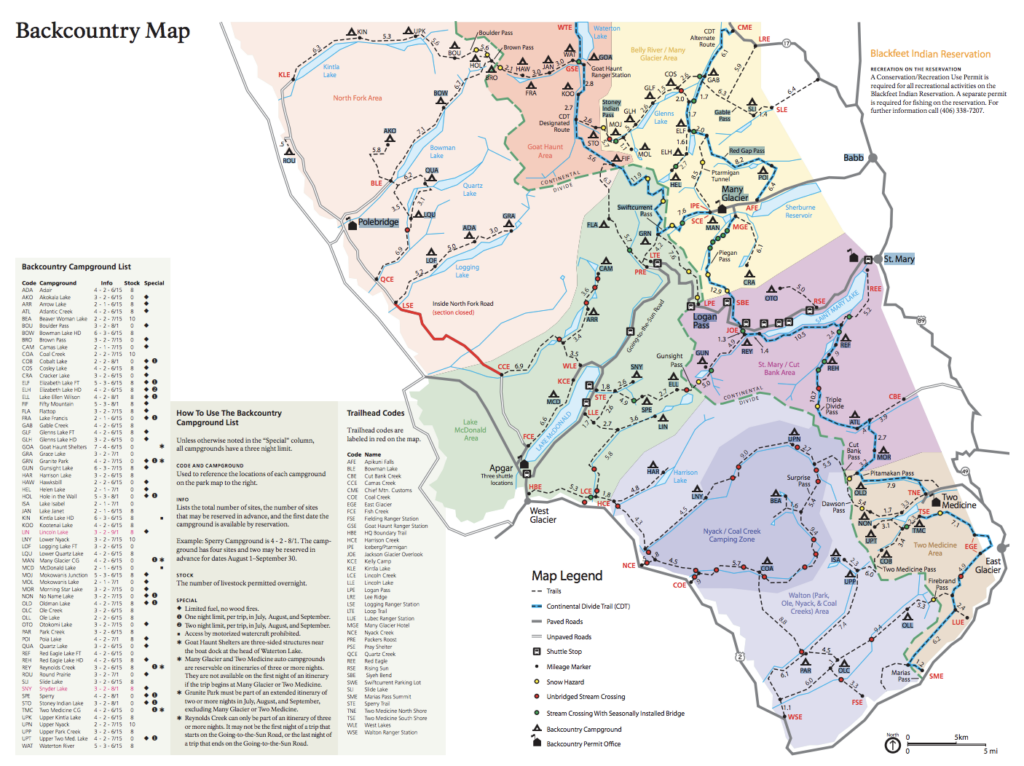
A good place to start is to consider how many days you want to be on the trail, how far you want to go, how much water and food you’ll need to carry, and what your objectives are. Do you prefer high alpine hiking or forested trails with occasional views? Are seeing glaciers an important consideration? Or is your top priority to have opportunities to view wildlife (from afar)? All of these things can help you refine and square up your itinerary. A very helpful tool as you begin your planning process is the backcountry campground, trailhead, and area information map provided by GNP.
Wildlife concerns (ranging from aggressive bears, seasonal feeding/spawning sights, to birthing goats) regularly result in trail closures. The park will list trail closures at every permitting office, so you need to be flexible with your plans. We recommend always building an extra day into your planning/itinerary. Finally, keep in mind that wildfire seasons can impact trail closures and air quality.
Backcountry Camping Permits
The park has 65 backcountry campgrounds with 208 campsites. Permits, at $7 per person per night, plus a $10 administration fee are required for all backcountry camping in Glacier. A backcountry permit is required for all overnight camping and must be in your possession while in the backcountry. They are valid only for the dates, locations, and party size specified. There are numerous backcountry rangers throughout the park who will check your permits.
During the peak summer season (Mid-July to the end of August), backcountry campsites are very competitive. With half of the reservations given in advance, the other half are set aside for walk-in campers. That said, nailing an advance reservation makes life a whole lot easier. Below is the process for both.
Lotteries
Glacier National Park has an early access lottery for Wilderness Camping advance reservations using the recreation.gov wilderness permits online platform. On March 15, apply for the lottery. You will be notified via email if you won. Within this email, they will give you the time and date of your early access timeslot.
On the early access date and a few minutes before the time they provided, log into your recreation.gov account and go to the Glacier National Park wilderness permits. When it is your time, the available inventory will become available for reserving.
While the lottery system reduces the number of users hustling for a site all at the same time during the Early Access Period, it is still competitive. Plan three different preferred itineraries prior to logging in to book a reservation. Note that they have mileage restrictions of 16 miles between each campsite you want to book. The campsites are divided by “starting areas,” so have it all written out so you can quickly navigate the booking system.
The application submission date is March 15.
Advance Reservations
You can log onto recreation.gov and book during the general on-sale period (May 1 – Sept 30). If the itinerary you want is booked, keep an eye on it, especially as the date approaches. People often cancel, and the reservation can open back up. Please help this system function by canceling your reservations early should your plans change to give other hikers a chance to get into the park.
Remember, there’s always the potential to change your reservation in person, pending availability. Keep in mind that there is a limit of 16 miles per day you can hike with advance reservations. Hikers wanting to do longer mileage can only get campsite permits through the walk-in process. Fees are $10 per permit and $7 per night.
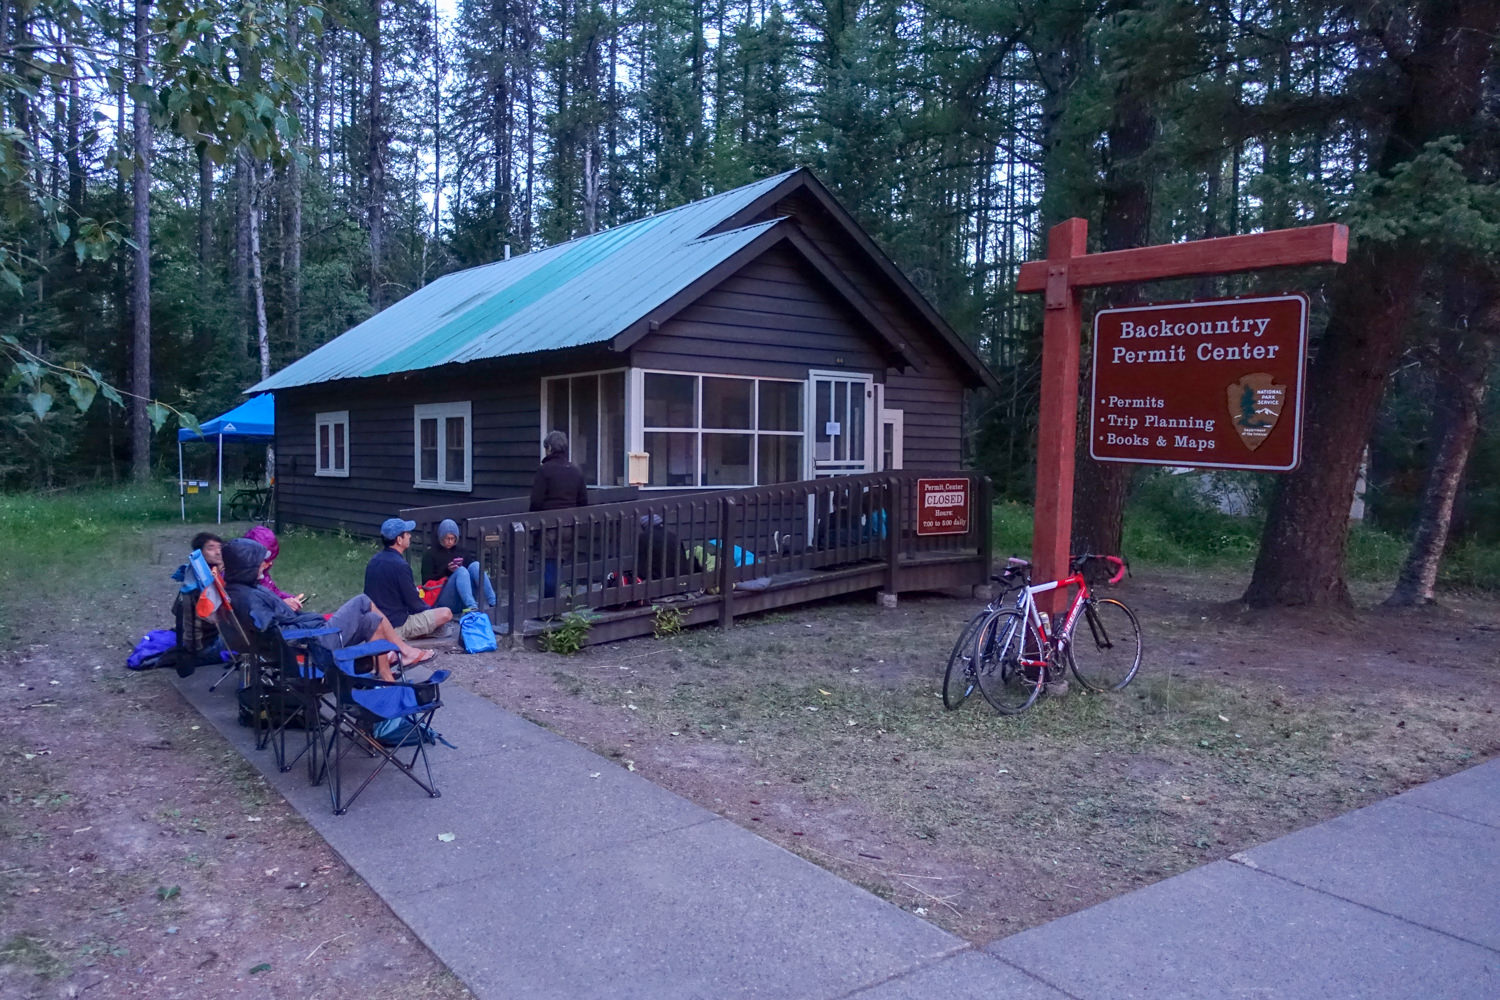
Walk-UP Permits
If you’re unable to secure an advance reservation, it’s still worth it to take a chance on a walk-up permit. If you’re flexible with dates and locations, you can almost always piece together a great trip. Fees for walk-in reservations are $10 a permit plus $7 per night, per person.
For walk-in permits, arrive early the day before you want to start your trip. The backcountry permitting locations open at 7 am every morning. However, we recommend getting to the permitting office well before they open (people tend to arrive at 6 am). Because competition is quite high during peak season, there will most definitely be a line before they open doors.
Approximately 30% of all sites in a campground are set aside for walk-up campers. However, that does not mean those sites will be available at all times. Backpackers on longer trips (4 or more nights) may take walk-up sites well in advance. Permits will not be issued after 4:30 pm at any location. Have a Plan A, B, and C written down to increase your chances of getting a permit.
Permitting Locations
According to NPS, there are 5 different locations where you can obtain a walk-up backcountry permit, some more busy than others. Generally, all backcountry permitting offices open at 7 am, but we recommend checking with each office as this can change from season to season.
- Apgar Backcountry Permit Center – Open daily from May 1 to October 31. Note: This is not in the Apgar Visitor Center (a common mistake). Instead, it’s right next door to Glacier Outfitters in Apgar Village.
- St. Mary Visitor Center – Open daily from late-May to mid-September
- Many Glacier Ranger Station – Open daily from late-May to mid-September
- Two Medicine Ranger Station – Open daily from late-May to mid-September
- Polebridge Ranger Station – Open daily from early-June to mid-September
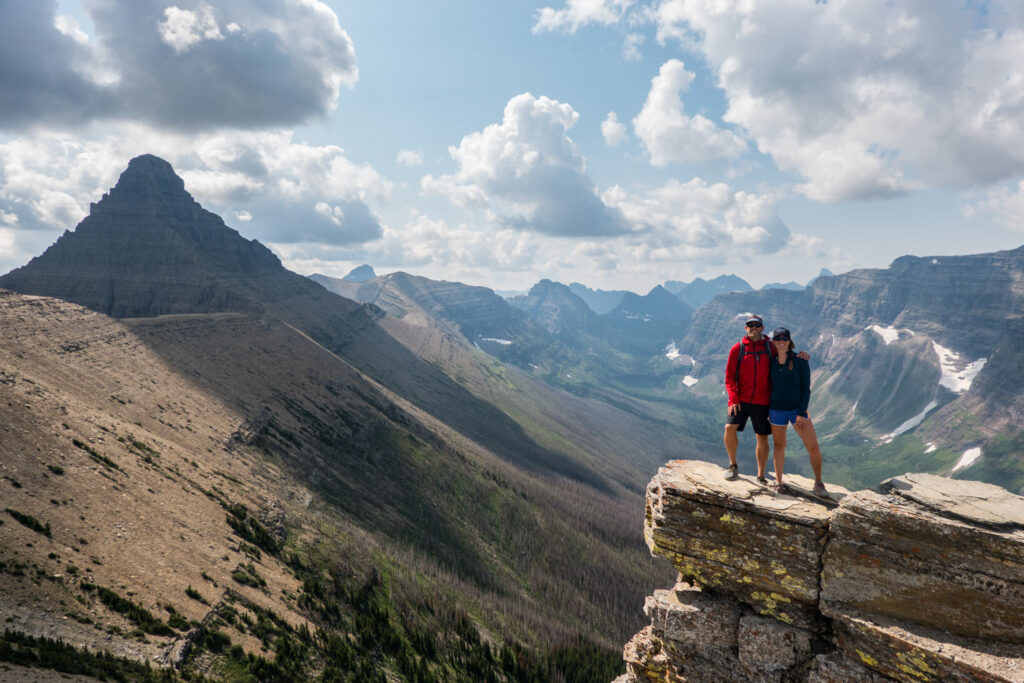
Best Backpacking Routes
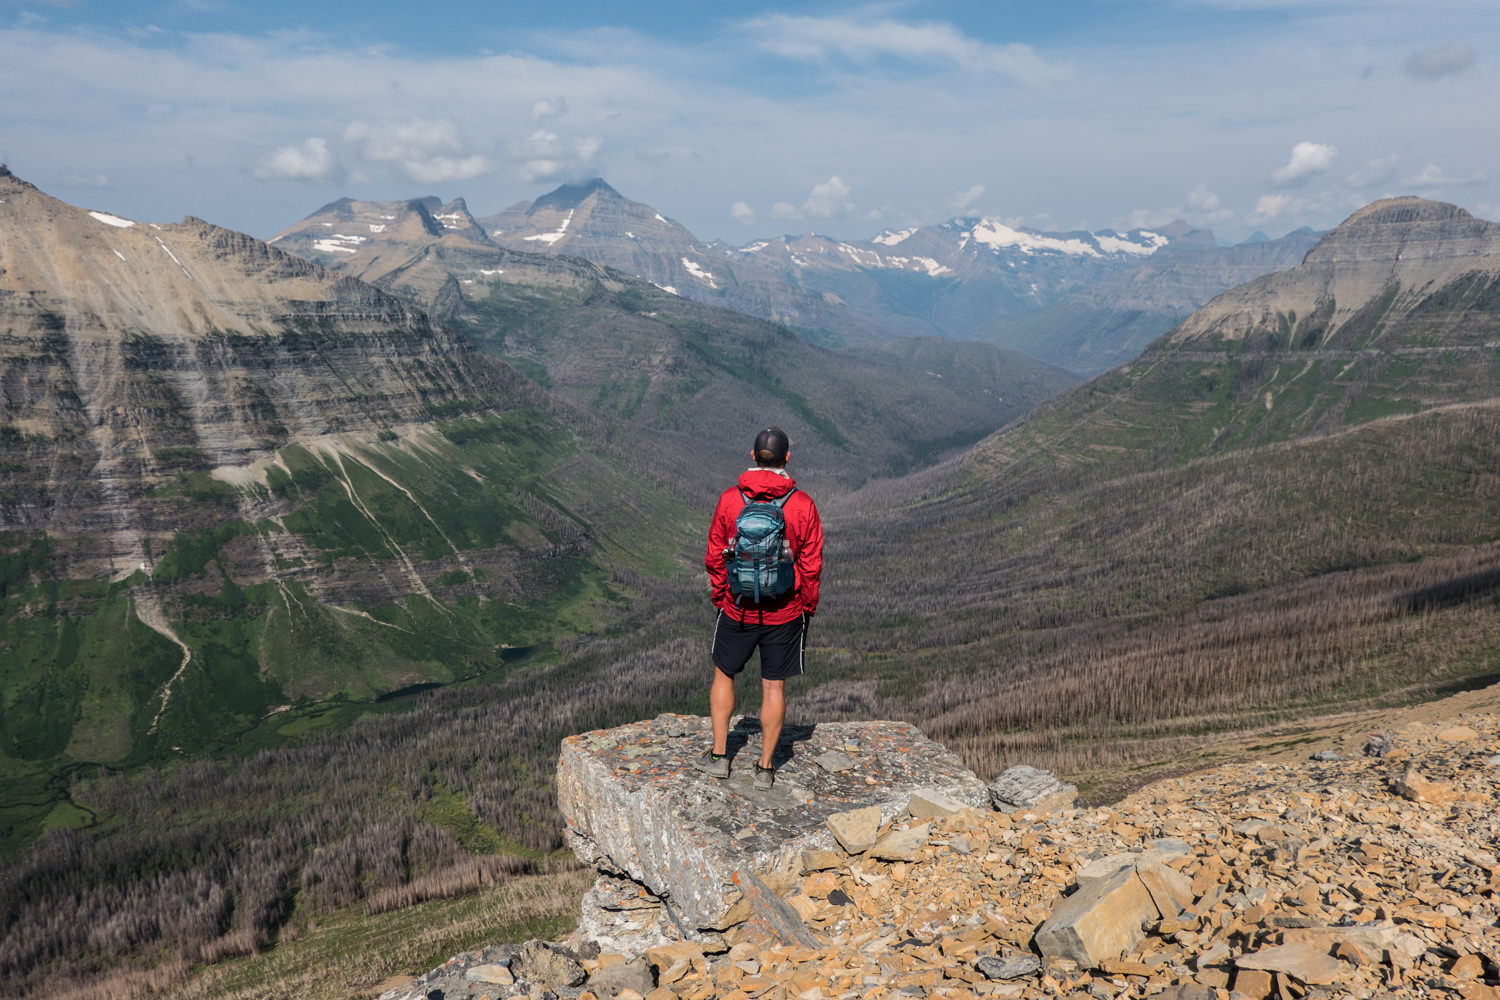
Glaciers backcountry has it all—waterfalls, meadows, vast valleys, high ridges, summits, and lakes the color of the sky on a clear day. Deciding where to go will always be a conundrum, but truthfully, you can’t go wrong in Glacier. Below, we’ll highlight our five favorite trips, varying in difficulty and distance.
Bowman-Kintla Loop
- Distance: 47.5 miles
- Days needed: 3-5
- Trailhead: Bowman Lake or Boulder Pass Trail (Kintla Lake)
- Starting elevation: 3,558 ft
- Elevation gain: 6,958 ft
- Elevation loss: 6,461 ft
The Bowman-Kintla trip is a horseshoe-shaped route that travels between stunning Bowman and Kintla Lakes, traversing over Boulder Pass, Hole in the Wall, and Brown Pass before dipping back down the valley to a stunning lake. Logistics can be tricky in the less-visited northwest corner of the park. You’ll need to arrange a car shuttle or plan to hitch to complete this trip. Many people avoid these logistics by doing an out-and-back from either Kintla or Bowman Lakes.
Stoney Indian Pass Trail
- Distance: 26.6 miles (one way) Chief Mountain Customs to Goat Haunt
- Days needed: 3-4
- Trailhead: Belly River Trailhead
With its diversity of scenic beauty—waterfalls, lakes, breathtaking peaks—the best place to start this hike is at Chief Mountain Customs Trailhead (ending at Goat Haunt instead of starting in Waterton National Park in Canada). The reason? It’s downhill all the way once you’ve reached the pass. But there’s another even better reason to start at Chief Mountain Customs: The best and most stunning views on this trail are right in your line of vision, instead of behind you.
The logistics of this hike will take some pre-planning but it can be a fun way to end a backpacking trip. If you end your trip at Goat Haunt, you can take the water shuttle to the Waterton Townsite and then use the Chief Mt. Connector to get an easy shuttle back to the US border at Chief Mountain, which is a very short walk from the Belly River Trailhead. If traveling between Goat Haunt and Waterton, you’ll need to bring your passport.
Gunsight Pass Trail
- Mileage: 20 miles
- Days Needed: 2-3
- Trailhead: Jackson Glacier Overlook
This spectacular trail begins with a descent into the Reynolds Creek Valley, then evens out as you traverse alongside St. Mary River. Eventually, you’ll begin a gradual climb uphill after a footbridge approaching Gunsight Lake. The climb to Gunsight Pass is stunning, with views of Lake Ellen Wilson across the valley. As you cross over the second and highest pass – Lincoln Pass – you’ll begin your long descent through the 2017 burn area, passing through the Sperry Chalet area as you head down to Lake McDonald.
Park a car or take the shuttle to the Lake McDonald Lodge and catch the shuttle up to Logan Pass. At Logan Pass, grab another shuttle down the other side toward St. Mary (east). Step off at the Jackson Glacier Turnout and begin your hike there. You’ll end up back at Lake McDonald Lodge.
North Circle Loop
- Mileage: 52 miles, can vary depending on itinerary
- Days Needed: 5-7
- Trailhead: Iceberg-Ptarmigan Trailhead (Many Glacier area)
Although there are several variations of this trip, the North Circle Loop we discuss begins and ends in the Many Glacier area. If heading in a counterclockwise direction, you’ll first head north on the Ptarmigan Trail, eventually heading west towards Stoney Indian Pass and Fifty Mountain Trail before heading south on part of the CDT. You’ll stay on the CDT until you reach the Granite Park Chalet and then swing east on the Swiftcurrent Trail towards Many Glacier. If you want to add for miles (and beauty!), you can do a lollipop loop and add a trip along the Highline Trail. The best way to do this would be to begin and end your hike at the Highline Trailhead at Logan Pass.
Another option is to complete this loop and then head north towards Goat Haunt. If you’re planning on continuing to Waterton from Goat Haunt, don’t forget your passport.
It’s important to note that backcountry travel in this part of the park is one of the most sought-after itineraries. Furthermore, you’ll need patience as you encounter many day hikers heading toward the Ptarmigan tunnel, which provides passage to the other side of the Ptarmigan Wall. But once through, backpackers emerge to sweeping vistas of glacially carved valleys, pristine lakes, dense forests, and, more importantly, relative solitude.
Dawson-Pitamakin Loop (Rising Wolf Mountain Loop)
- Mileage: 19 miles
- Days Needed: 2-3
- Trailhead: North Shore/Pray Lake
For spectacular views, fewer people, and a higher likelihood that you’ll see some grizzlies, we recommend checking out one of the best trips in the Two Medicine area of Glacier. For this hike, skip the boat that cuts a few miles off the hike and start hiking as soon as the sun starts rising. We recommend traveling this loop clockwise.
At No Name Lake, take the short detour off the main trail to the lake. Depending on your itinerary, you can camp here or get water before hiking through Bighorn Basin up to Dawson Pass. That’s also your last chance for water for the next 5 miles until descending Pitamakan Pass. Make sure to load up on water again at Oldman Lake or camp there for the night, then enjoy the long downhill back. It’s also possible to do this loop as a long day hike, but know your own limitations before venturing out.
Glacier Can’t Miss Sights
drove the entire 51 miles of the Going-to-the-Sun Road in 1932. – photo credit: dave collins (cleverhiker.com)
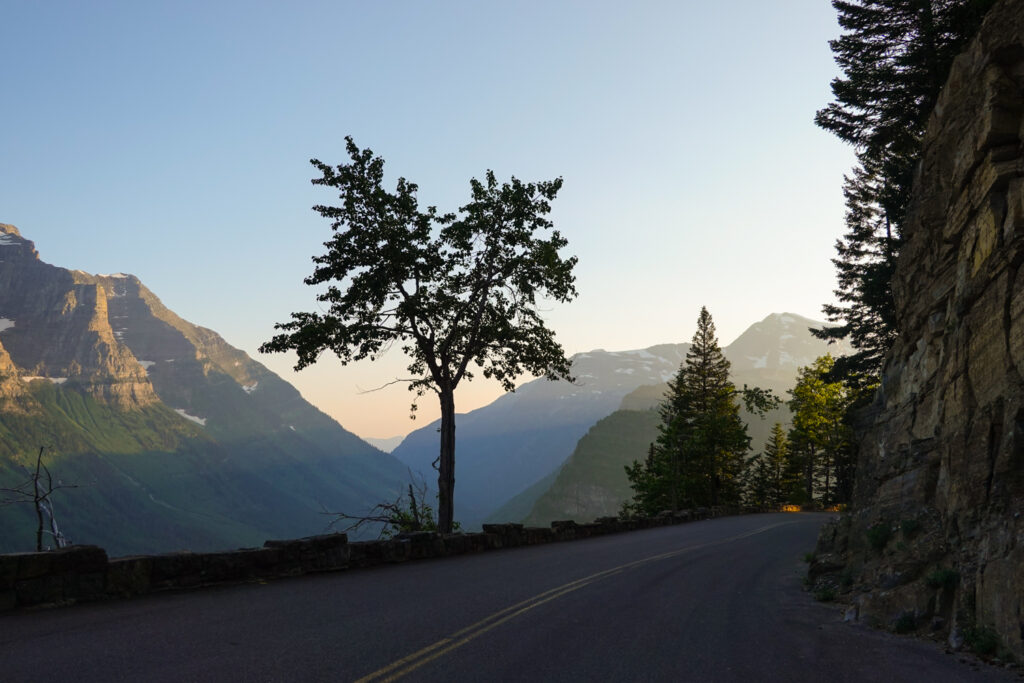
Going-to-the-Sun Road
Going-to-the-Sun Road (GTTSR) is a spectacular 50-mile, paved, two-lane highway bisecting Glacier National Park from west to east and spanning the width of the park, crossing the Continental Divide at 6,646-foot-high Logan Pass. For a greater appreciation of this engineering feat and the immense effort it takes to remain intact, read this NPS article on the road. It takes, on average, 2 hours to travel the full length of the road. A great way to experience it is to use the park’s hop-on-hop-off free shuttle.
Going to the Sun Road is a serpentine lesson in geological, ecological, and human history. It’s on the National Register of Historic Places and is listed as a National Historic Civil Engineering Landmark. The road travels through almost every type of terrain in the park, from forestland to glacial lakes to windswept alpine passes. Park transit users and motorists have many opportunities for views along the well-designed and built road. See the map below for all stops along the free shuttle that runs the length of the GTTSR.
See a Glacier
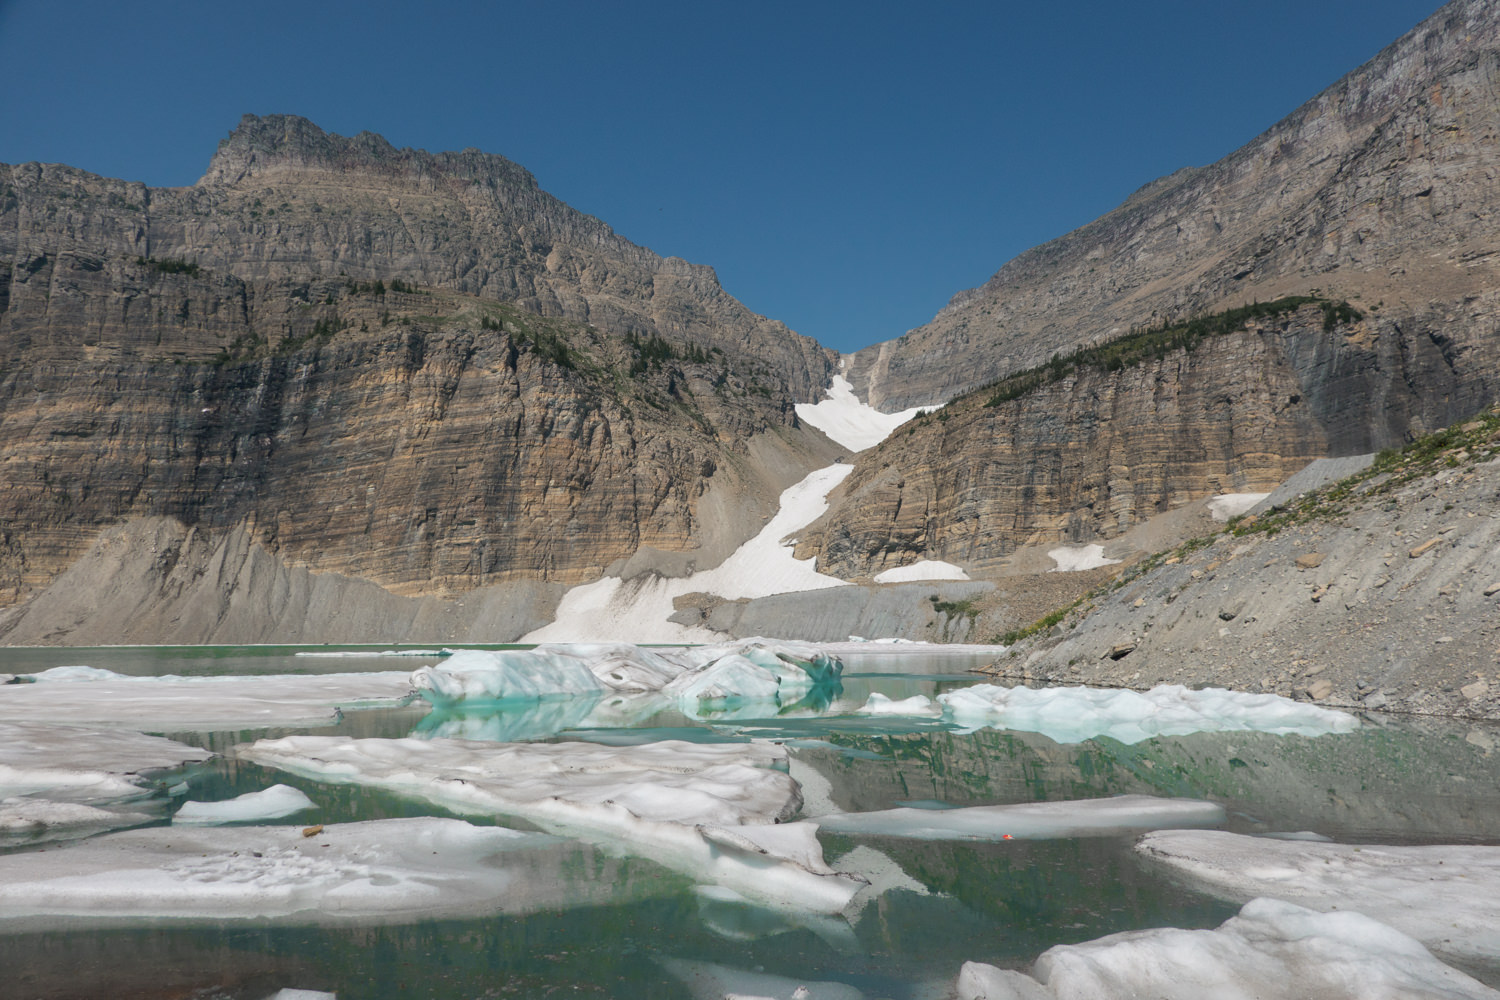
Warming temperatures are rapidly reducing the number and size of many of the nation’s glaciers according to comparisons released by the US Geological Survey (USGS) and Portland State University. Some have lost as much as 85% of their expanse over the past 50 years, with Glacier National Park set to lose all of its eponymous ice formations within the next few decades. Of the 150 glaciers that existed in Glacier National Park in the late 19th century, only 26 remain. See these three: Grinnell, Salamander (once part of Grinnell; separated due to melting), and Jackson. There is a spectacular day hike to get up close to the Grinnell and Salamander Glaciers that’s a can’t-miss trip. You can view Jackson Glacier from the GTTSR, but there are also trails you can explore that will bring you closer into view.
Lake McDonald
We recommend setting aside some time in your itinerary to take in the biggest lake in the park – Lake McDonald. There are a number of ways to experience it. The GTTSR winds alongside it for miles, offering plenty of places to stop and stick a toe in it. The best place to see the whole thing is from Apgar Village. The eponymous Lake McDonald Lodge offers parking, restaurants, trails, and boating. With plenty of flatwater days in summer and fall, consider taking a self-guided tour on a paddleboard, kayak, canoe, or rowboat. They also have small 10-hp motorboats offering tours of the lower portion of the lake.
Lodging, Eating, & Supplies
Looking for a reward beer or meal after all your adventuring? The park offers plenty of options in the core. Lodging options include everything from cabins, backcountry chalets, and inexpensive motels to rooms in historic grand hotels. Do keep in mind that during peak season, restaurants often have long waits, and rooms book up fast, especially during July and August. There are camp stores and limited restaurants in the east and west hubs of the park for stocking up on backpacking food supplies, though options are somewhat limited.
For more information on all the services available inside Glacier, visit the NPS Lodging, Restaurants, and Services page.
Bears & Other Wildlife
Glacier is home to a wide range of wildlife, including elk, bighorn sheep, moose, mountain goats, deer, wolves, wolverines, mountain lions, coyotes, as well as black and grizzly bears. Most people who visit Glacier National Park have bears on the mind, and for good reason. Glacier is home to a thriving and healthy population of both Grizzly and Black Bears. When we visited the park in 2018, we were lucky enough to see a total of 12 grizzly bears over a two-week period (they were all very peaceful encounters).
Before you begin your trip, it’s important to learn some basics about hiking in bear country. Learn about ways to avoid an interaction. Have a plan for what to do if you encounter a bear. Learn how to carry and store food and scented items. Know how to recognize recent bear activity. Learn how to use bear spray effectively. All this will help ensure you have a safe and enjoyable trip in bear country. Below are some quick tips:
- Stay at least 100 yards away from bears (especially mama bears and their cubs)
- Let a bear know you’re there by clapping, making noise, singing, etc
- Avoid hiking solo – best to be in a small group
- Carry bear spray, have it in an easily accessible location, and know how to use it.
- Use proper food storage (see below for specific in Glacier)
Even though the danger of a bear attack is incredibly low, you should always be prepared for bear encounters and know how to properly handle the situation. Learn more about bears and what to do if you encounter one with our article on bear encounters.
Hazards and Risks
Traveling through Glacier National Park does have risks that all visitors should be wary of. While it is rare, given how many millions of visitors recreate in the park every year, we still want to ensure you’re prepared to ensure a safe and enjoyable experience.
- Drowning: The most common cause of death while visiting the park is drowning. The rivers are cold and swift, and the rock ledges are steep and slippery. Use extreme caution when walking or photographing near the rivers.
- Falls: The mountains here can give hikers a false sense of approachability with their wide shoulders, but the exposure and poor rock quality can be dangerous. If you want to summit any of the peaks along your backpacking routes, be sure you have sound navigation experience and follow an established trail. The rock quality can be extremely loose underfoot, and many injuries and deaths have occurred because people lose the trail, accidentally get cliffed out, or slip on loose rock/gravel.
- Rockfall: Be sure to look above you while hiking. Sheep, goats, and erosion can loosen rocks and send them downhill.
- Snow/Ice: Early-season backpacking in GNP can mean snow travel. Be sure to bring crampons or microspikes and avoid snow bridges or crevaces. It is easy to get off trail when it is still under snow, and falling and sliding on snow can be fatal.
- Car/Roads: Millions of visitors drive the narrow roads of Glacier National Park. The views and wildlife sightings can be distracting, so keep an eye out while navigating the park’s roads.
- Wildlife: Wildlife in the park usually spot you first and then avoid getting near you. However, if you spook a threatened animal, unfriendly encounters are a potential. Make noise while you hike, especially on brushy trails with low visibility.
- Lightning/Weather Exposure: Plan for the weather to change while in GNP. Often, area forecasts don’t catch localized systems, which can be fierce. Lightning and storms can approach quickly. They might only last a few minutes but can also sock you in. People have died from getting lost in low visibility and being exposed to the elements for too long.
Food Storage
You’ve probably heard the phrase, “A fed bear is a dead bear,” and this is a very true statement. When hiking in bear country, it’s imperative that you use proper food storage practices to protect your food from bears for your safety, as well as the bear’s. Food-conditioned bears are captured and relocated or executed after having sought and obtained human or non-natural foods, destroyed property, or displayed aggressive, non-defensive behavior towards humans. Please learn about bears before you head to Glacier to minimize this outcome. If you are heading into the backcountry, Glacier requires every person to watch a short video reviewing necessary information on bears and food storage.
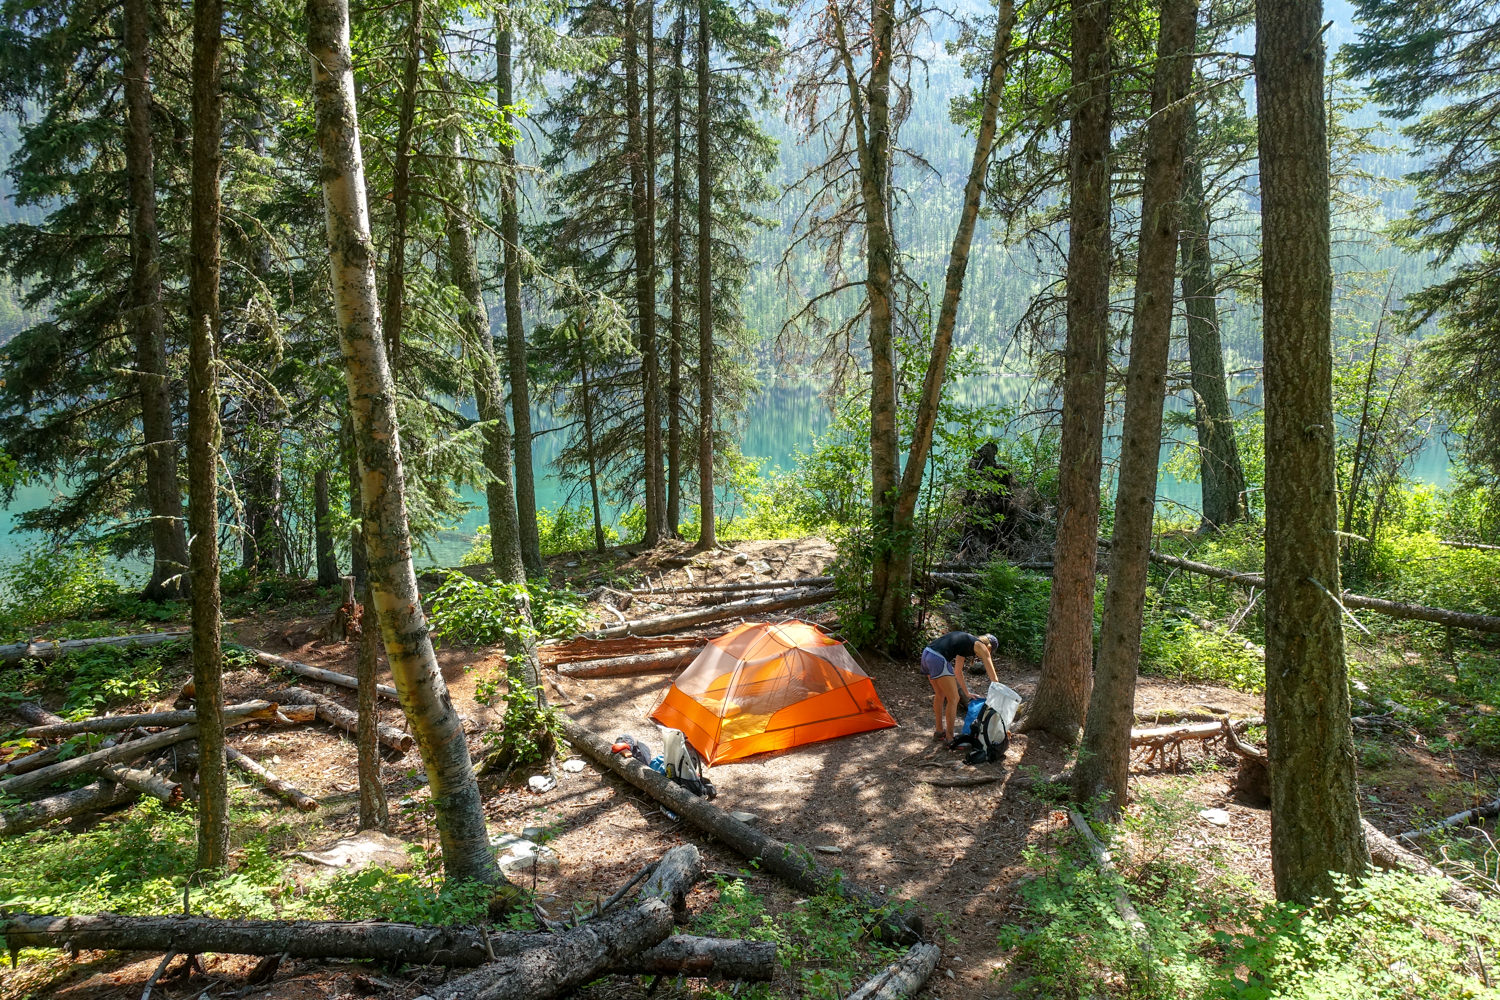
Each backcountry campsite in Glacier will have either a bear box or a communal bear pole to hang your food and all scented items (toiletries, garbage, etc). If heading into the backcountry, you’ll need to bring at least 25 feet of rope, a food storage bag, and a carabiner in order to hang your food. Glacier National Park asks that when you arrive at your backcountry campsite, the first thing you do is go to the food storage area to hang your food in order to ensure that campsites remain free of food or scented items.
Keep your campsite clean and free of food and trash. Regulations require that all edibles, food containers (empty or not), cookware (clean or not), and trash be secure by suspending from any NPS-designated food hanging device or in an Interagency Grizzly Bear Committee (IGBC) approved bear-resistant container when not in use, day or night.
Bugs
Depending on where you are in the park and the time of year, insects might be around but not much of a bother or be outright vicious. Mosquitoes, horseflies, and black flies are present in the park in early summer but level off later in the season as sitting water dissipates. Hiking later in the season is often bug-free.
Water
If you are heading into the backcountry, you’ll need to filter or purify your water to ensure it’s safe to drink. Giardia is a persistent parasite found throughout the park’s lakes and streams. It can cause severe diarrhea, abdominal cramps, and nausea. You’ll want to avoid this by treating your water.
In general, water is plentiful along many of the routes in Glacier and is easily accessible from lakes and streams. There are some exceptions to this, and it’s always important to look at a map and know where your water sources are located. Check out recommendations in our best backpacking water filters guide.
Leave No Trace
Many of Glacier’s backcountry camping regulations are based on Leave No Trace (LNT) outdoor ethics. LNT tells us that by localizing human impacts to smaller concentrated areas, including eating, sleeping, and human waste disposal, we prevent the degradation of a broader area. Concentrating impacts essentially create small pockets of impact and leave nearly pristine conditions over larger areas. Every bit of your awa
Passports
Goat Haunt is a U.S. Class B Port of Entry, and you will not be allowed to pass through the Goat Haunt Ranger Station without proper documentation, whether you start or end your backpacking trip in Canada or the United States. You’ll need a valid (and current) passport to take the Waterton Lake Tour Boat in or out of Goat Haunt, Montana. There will be U.S. Customs Agents at the ranger station to make sure you have it, as well as an agent when you arrive in Waterton. If you don’t have the proper documentation, be prepared to head back in the direction you came. There is no wiggle room on this.
To learn more about crossing the border during your trip, visit the NPS website for details. To learn about ferries in Goat Haunt, visit Waterton tour boat’s website.

Maps & Guidebooks
There are a lot of books on hiking in Glacier National Park, but here are some of our favorites, including some topographical maps we found helpful.
- Hiking Glacier and Waterton Lakes National Parks – We used this guidebook to plan many of our multi-day backpacking trips in Glacier. This book offers excellent backcountry detail for 59 backcountry hikes in Glacier and Waterton. Each has a line graph showing elevation and distance. Each also has a map of general topographic information.
- National Geographic Trails Illustrated Map- Glacier and Waterton Lakes Natl. Parks – We used these detailed topographical maps for all our backcountry travel in GNP. Compared to other Nat Geo maps, this map didn’t have trail mileage listed, so be sure to write them in prior to your trip.
- The Comprehensive Guide to Day Hikes in Glacier National Park – This guide to day hikes is comprehensive. This map guide was laid out to help you decide which trails to explore using distance, slope difficulty and the hike/author’s recommendations. Many of these can be strung together to create backpacking trips.
- Moon’s Glacier National Park Travel Guide – This travel guide is thorough and detailed, providing a vast amount of information on itineraries, hikes, maps, transportation, lodging, campsites, etc. It covers the gamut.
- The 10 Best Hikes in Montana’s Glacier National Park: The Greatest Hikes on Earth Series by Team At 10Adventures and Richard Campbell
- Glacier NPS website – A great resource for planning your trip. They also offer free downloadable maps.
Gear List
Make sure to check out our Ultimate Backpacking Checklist, so you don’t forget something important.
Below you’ll find our current favorite backpacking gear. If you want to see additional options, our curated gear guides are the result of many years of extensive research and hands-on testing by our team of outdoor experts.
BACKPACK
- Best Backpacking Pack Overall: Gregory Paragon 58 – Men’s / Gregory Maven 58 – Women’s
- Best Ultralight Backpacking Backpack: Hyperlite Mountain Gear Unbound 40
- More: Check out our best backpacking backpacks guide for ultralight and trekking options
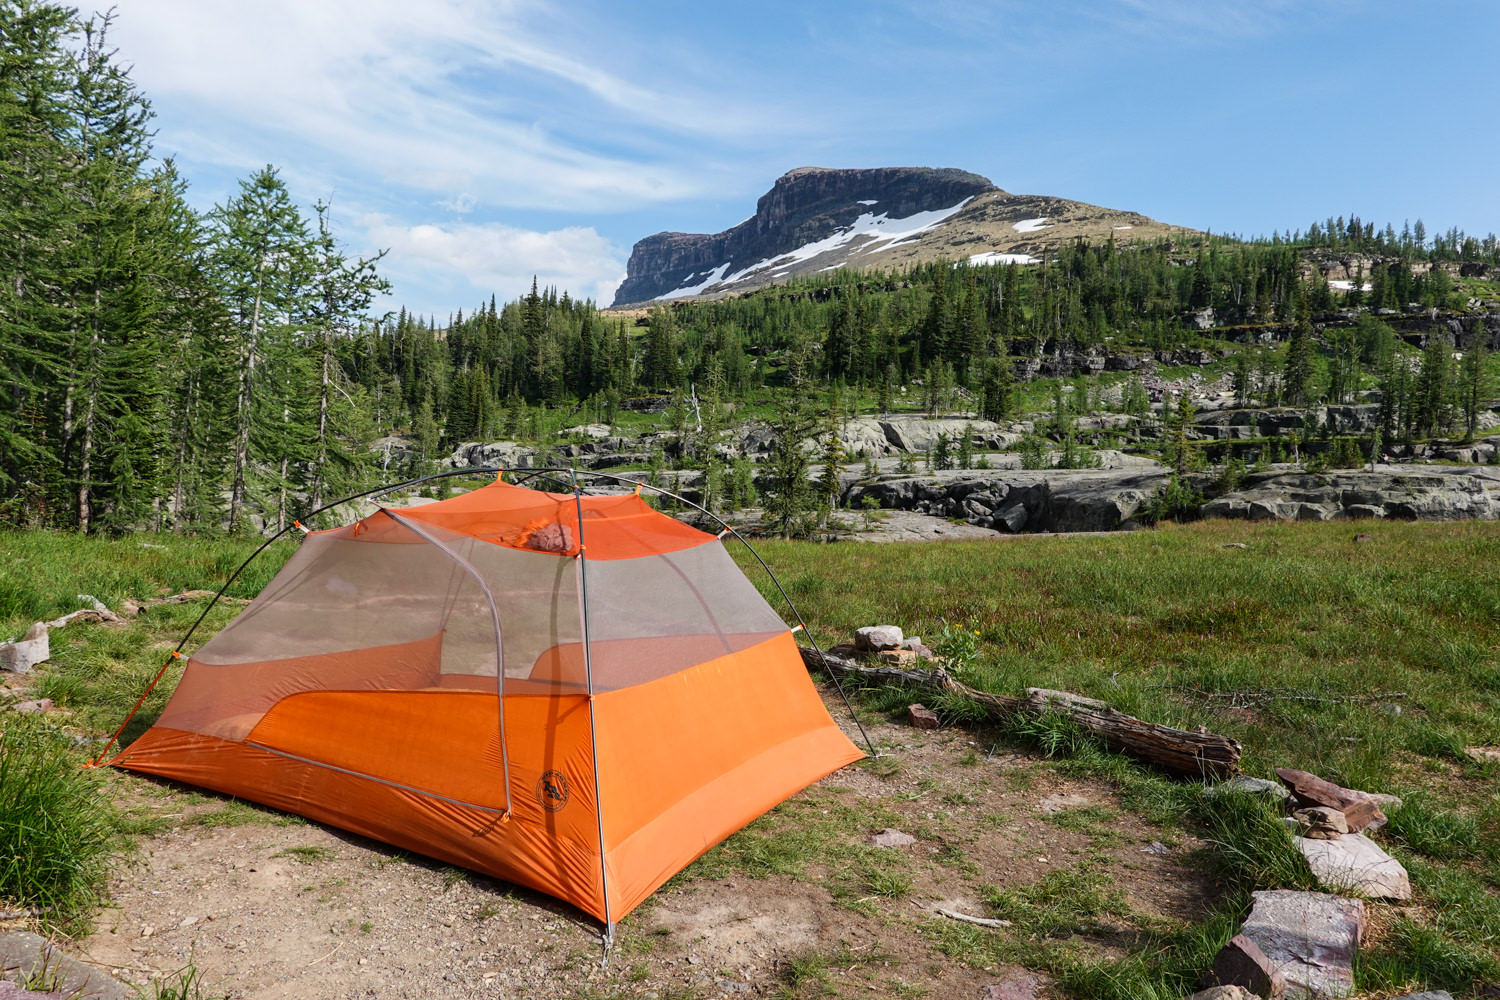
TENT
- Best Backpacking Tent Overall: Big Agnes Copper Spur HV UL2
- Best Ultralight Tent: Zpacks Duplex
- Best Budget Tent: REI Half Dome 2
- Best Tent Stakes Overall: All One Tech Aluminum Stakes
- More: Check out our best backpacking tents guide for more options
SLEEPING BAG/QUILT
- Best Sleeping Bag Overall: Men’s Feathered Friends Swallow YF 20 / Women’s Feathered Friends Egret YF 20
- Best Quilt Overall: Enlightened Equipment Revelation 20
- More: Check out our best backpacking sleeping bags guide and best backpacking quilts guide for more options
SLEEPING PAD
- Best Sleeping Pad Overall: NEMO Tensor All-Season
- Best Foam Sleeping Pad: NEMO Switchback
- More: Check out our best backpacking sleeping pads guide for ultralight and trekking options
CAMP KITCHEN
- Best Backpacking Stove Overall: MSR PocketRocket 2
- Best Backpacking Cookware Overall: TOAKS Titanium 750ml
- Best Backpacking Coffee Overall: Starbucks VIA
- More: Check out our best backpacking stoves guide and best backpacking cookware guide for ultralight and large group options
WATER & FILTRATION
- Best Water Filter Overall: Sawyer Squeeze
- Best Hydration Bladder Overall: Gregory 3D Hydro
- Best Backpacking Water Bottles: Smartwater Bottles
- More: Check out our best backpacking water filters guide and best backpacking water bottles guide for ultralight and large group options
CLOTHING
- Best Hiking Pants Overall: Men’s Outdoor Research Ferrosi / Women’s The North Face Aphrodite 2.0
- Best Hiking Shorts Overall: Men’s Patagonia Quandary / Women’s Outdoor Research Ferrosi
- Best Women’s Hiking Leggings: Fjallraven Abisko Trekking Tights HD
- Best Rain Jacket Overall: Men’s Patagonia Torrentshell 3L / Women’s Patagonia Torrentshell 3L
- Best Rain Pants: Men’s Patagonia Torrentshell 3L / Women’s Patagonia Torrentshell 3L
- Best Down Jacket Overall: Men’s Patagonia Down Sweater Hoodie / Women’s Patagonia Down Sweater Hoodie
- Best Fleece Jacket Overall: Men’s Patagonia Better Sweater / Women’s Patagonia Better Sweater
- Best Sunshirt Overall: Men’s Outdoor Research Echo / Women’s Outdoor Research Echo
- Best Socks Overall: Men’s Darn Tough Light Hiker Micro Crew / Women’s Darn Tough Light Hiker Micro Crew
- Beste Ultralight Liner Glove: Patagonia Capilene Midweight Liner
- More: Check out our best backpacking apparel lists for more options
FOOTWEAR & TRACTION
- Best Hiking Shoes Overall: Men’s HOKA Speedgoat 6 / Women’s HOKA Speedgoat 6
- Best Hiking Boots Overall: Men’s Salomon X Ultra 5 GTX / Women’s Lowa Renegade Evo GTX
- Best Hiking Sandals Overall: Men’s Chaco Z/1 Classic / Women’s Chaco Z/1 Classic
- Best Camp Shoes Overall: Crocs Classic Clogs
- Best Traction Device for Hiking Overall: Kahtoola MICROspikes
- More: Check out our best backpacking footwear lists for more options
NAVIGATION
- Best GPS Watch Overall: Garmin Instinct 2 Solar
- Best Personal Locator Beacon (PLB): Garmin inReach Mini 2
- More: Check out our article How to Use Your Phone as a GPS Device for Backpacking & Hiking to learn more
FOOD
FIRST-AID & TOOLS
- Best First-Aid Kit Overall: Adventure Medical Kits Ultralight/Watertight .7
- Best Pocket Knife Overall: Kershaw Leek
- Best Multitool Overall: Leatherman Wave+
- Best Headlamp Overall: Black Diamond Spot 400-R
- Best Power Bank Overall: Nitecore NB 10000 Gen 3
- More: Check out our best first-aid kit guide, best pocket knife guide, best multitool guide, best backpacking headlamps guide, and best power banks guide for more options
MISCELLANEOUS
- Best Trekking Poles Overall: Black Diamond Pursuit
- Best Backpacking Chair Overall: REI Flexlite Air
- Best Backpacking Stuff Sack Overall: Hyperlite Mountain Gear Drawstring
- More: Check out our best trekking poles guide, best backpacking chairs guide, and best stuff sacks guide for more options
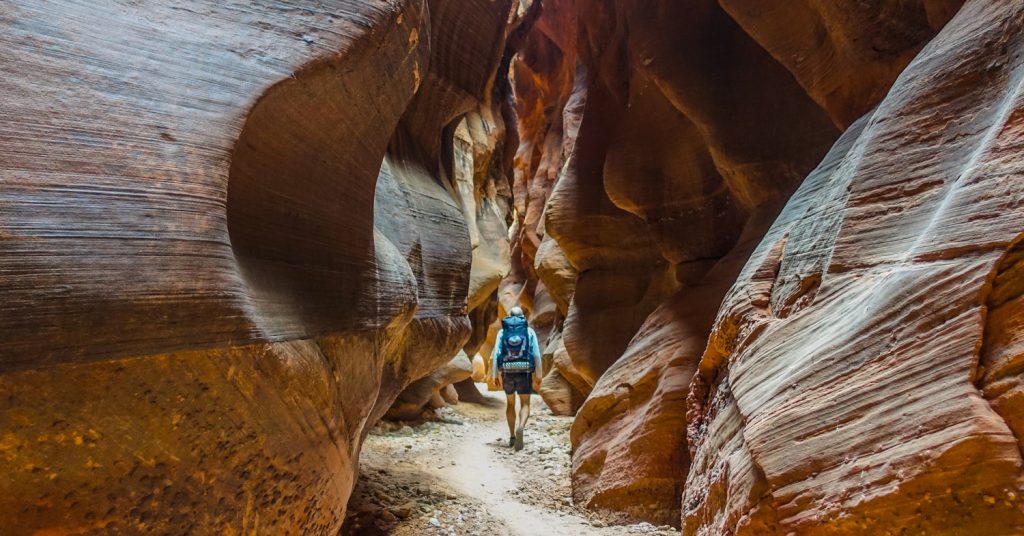
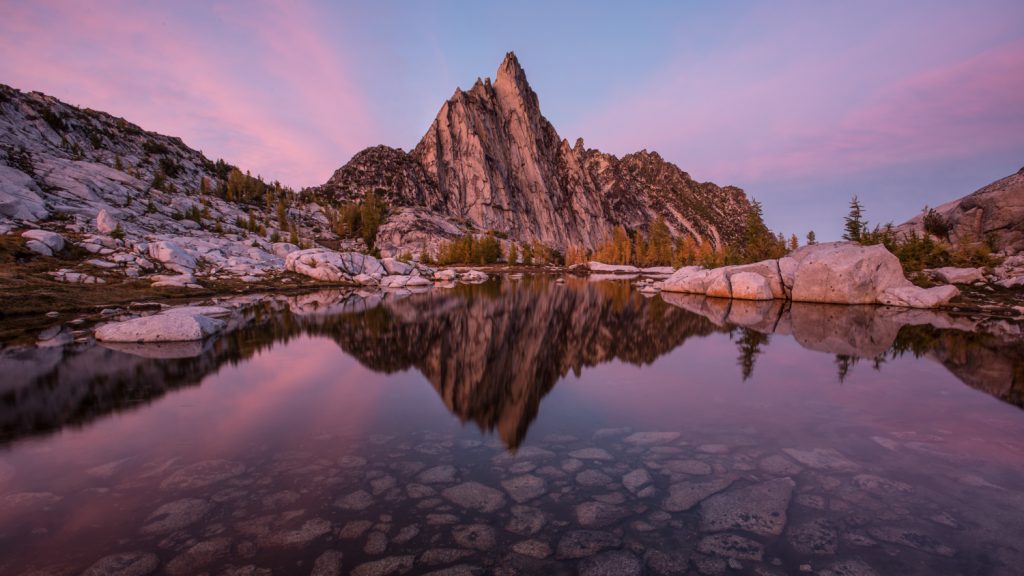
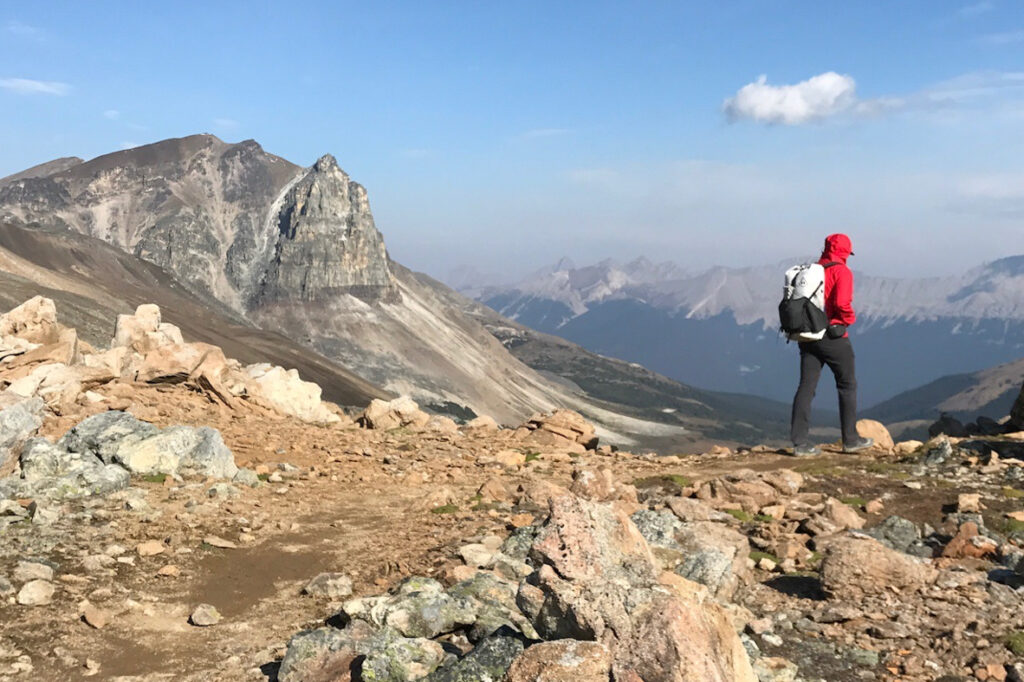
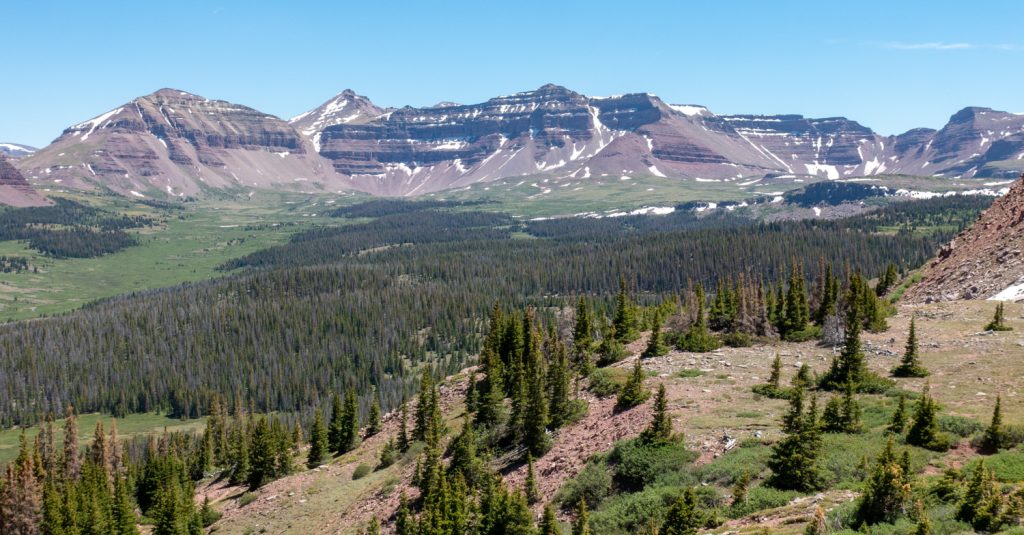
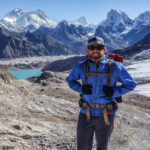
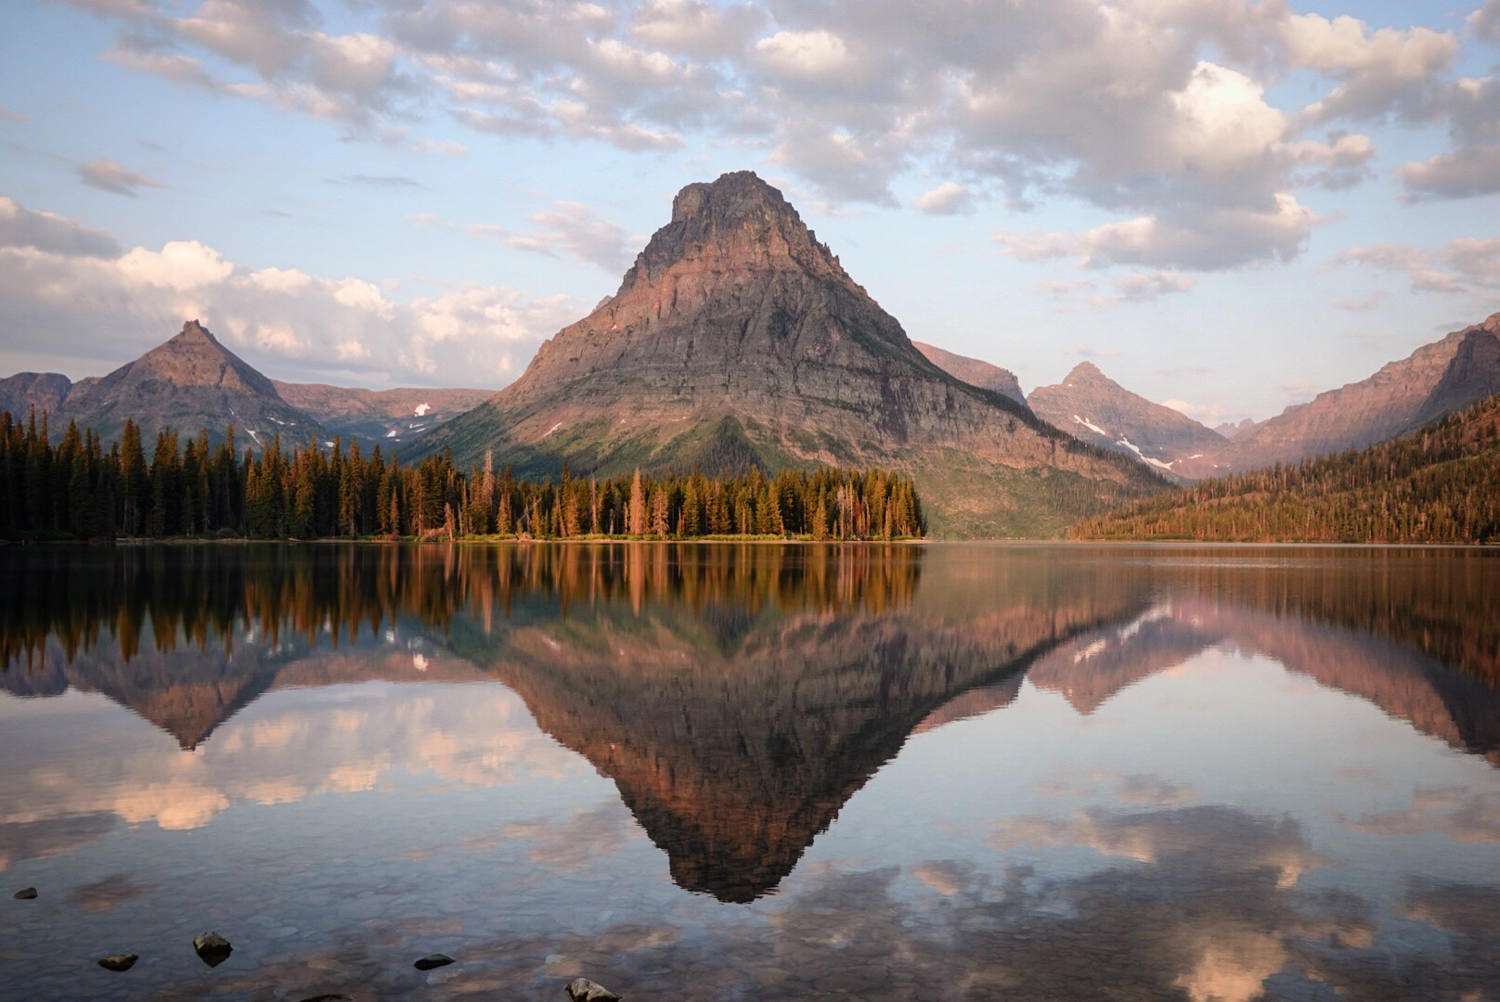
More Photos of Glacier National Park

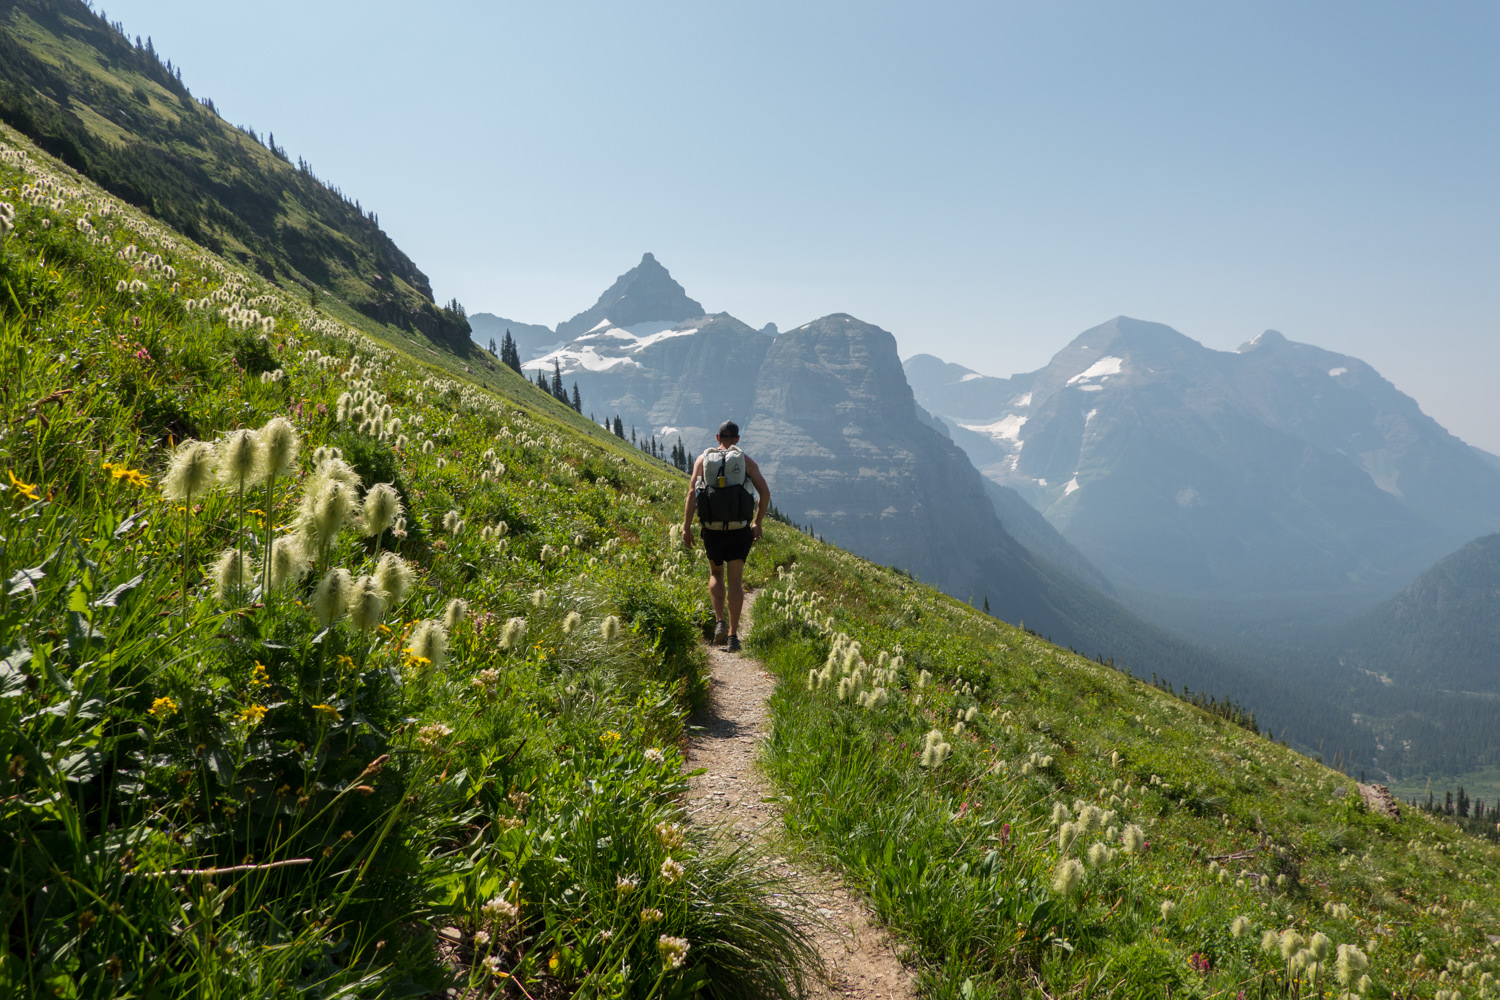
We were blown away by the wildflower meadows. Just remember to stay on the trail so everyone can enjoy them! – photo credit: dave collins (cleverhiker.com)
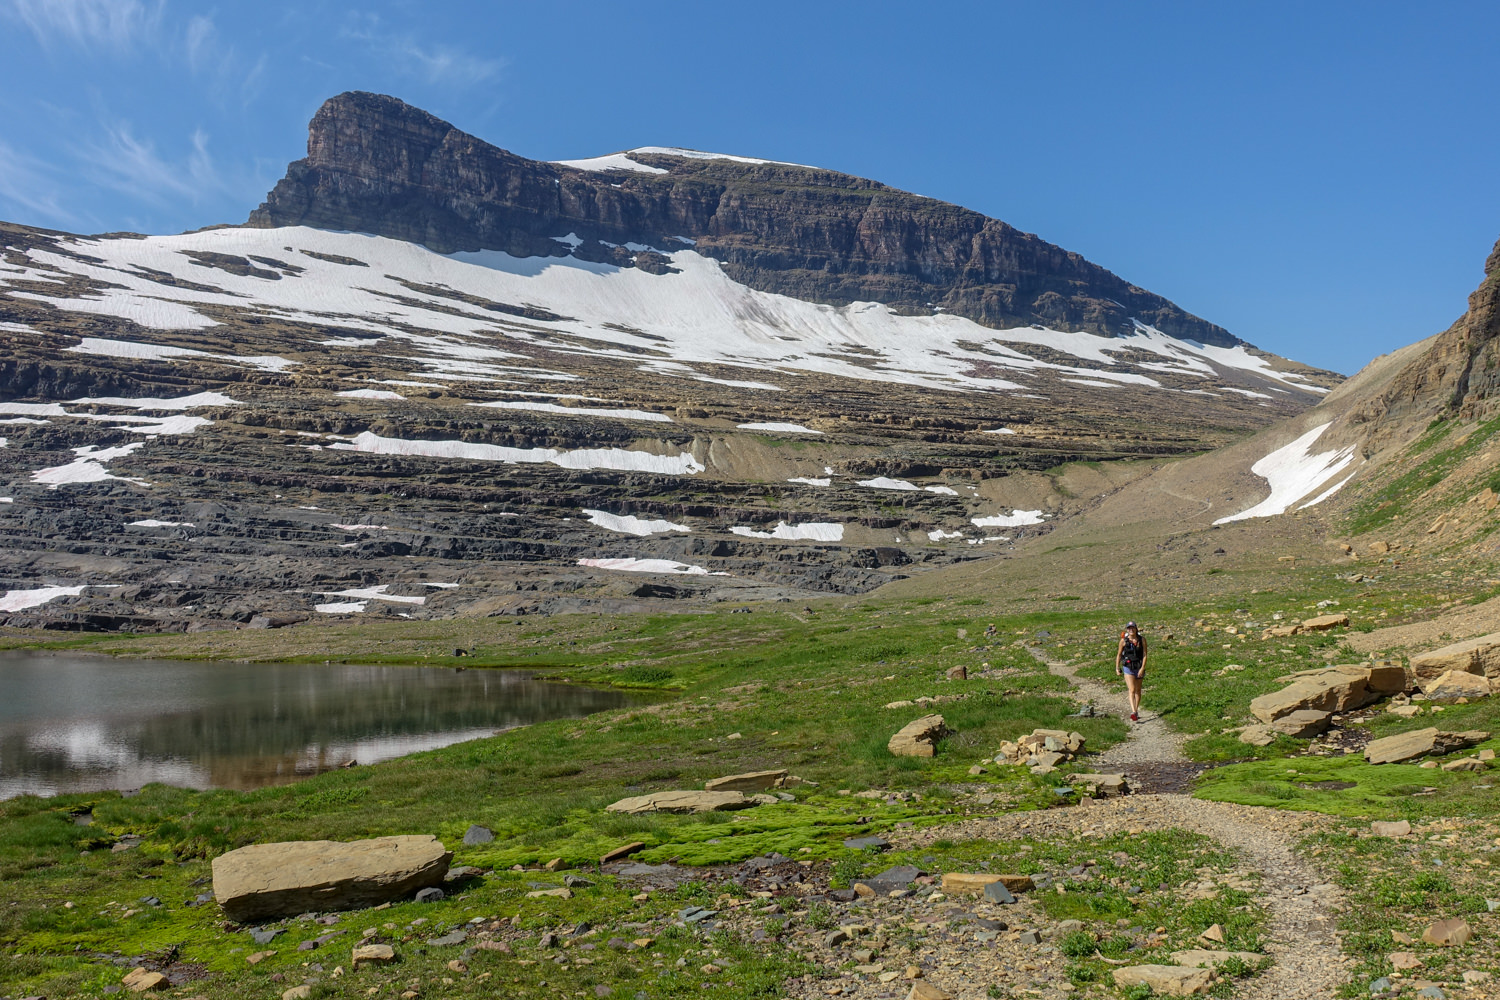
Snow will persist on north facing aspects well into the summer. – photo credit: dave collins (cleverhiker.com)
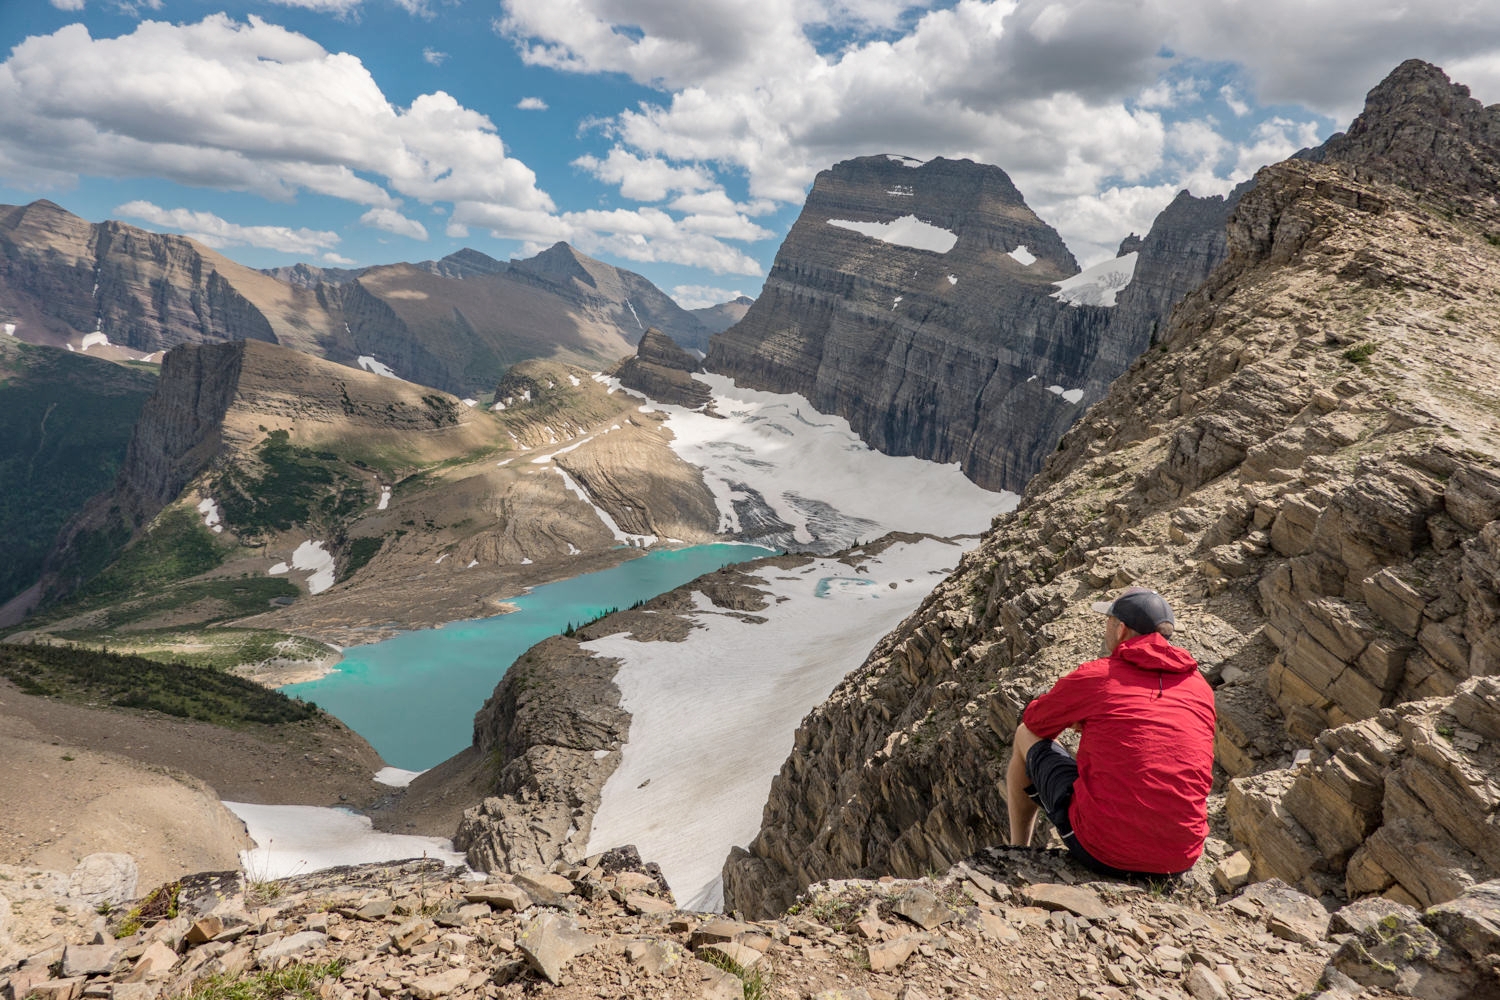
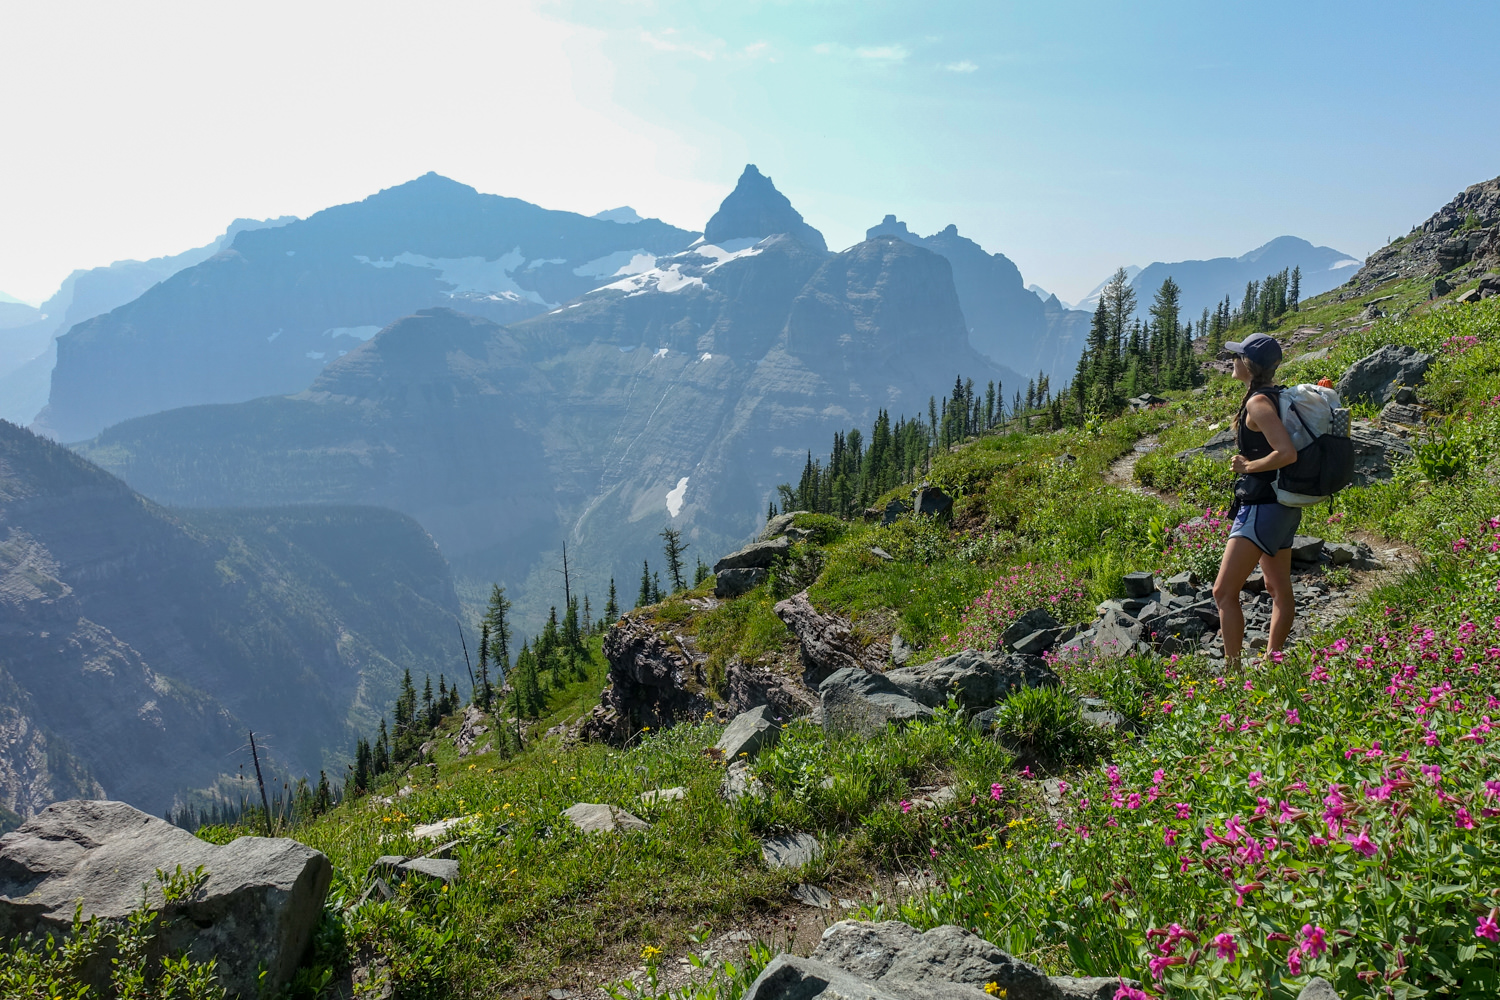
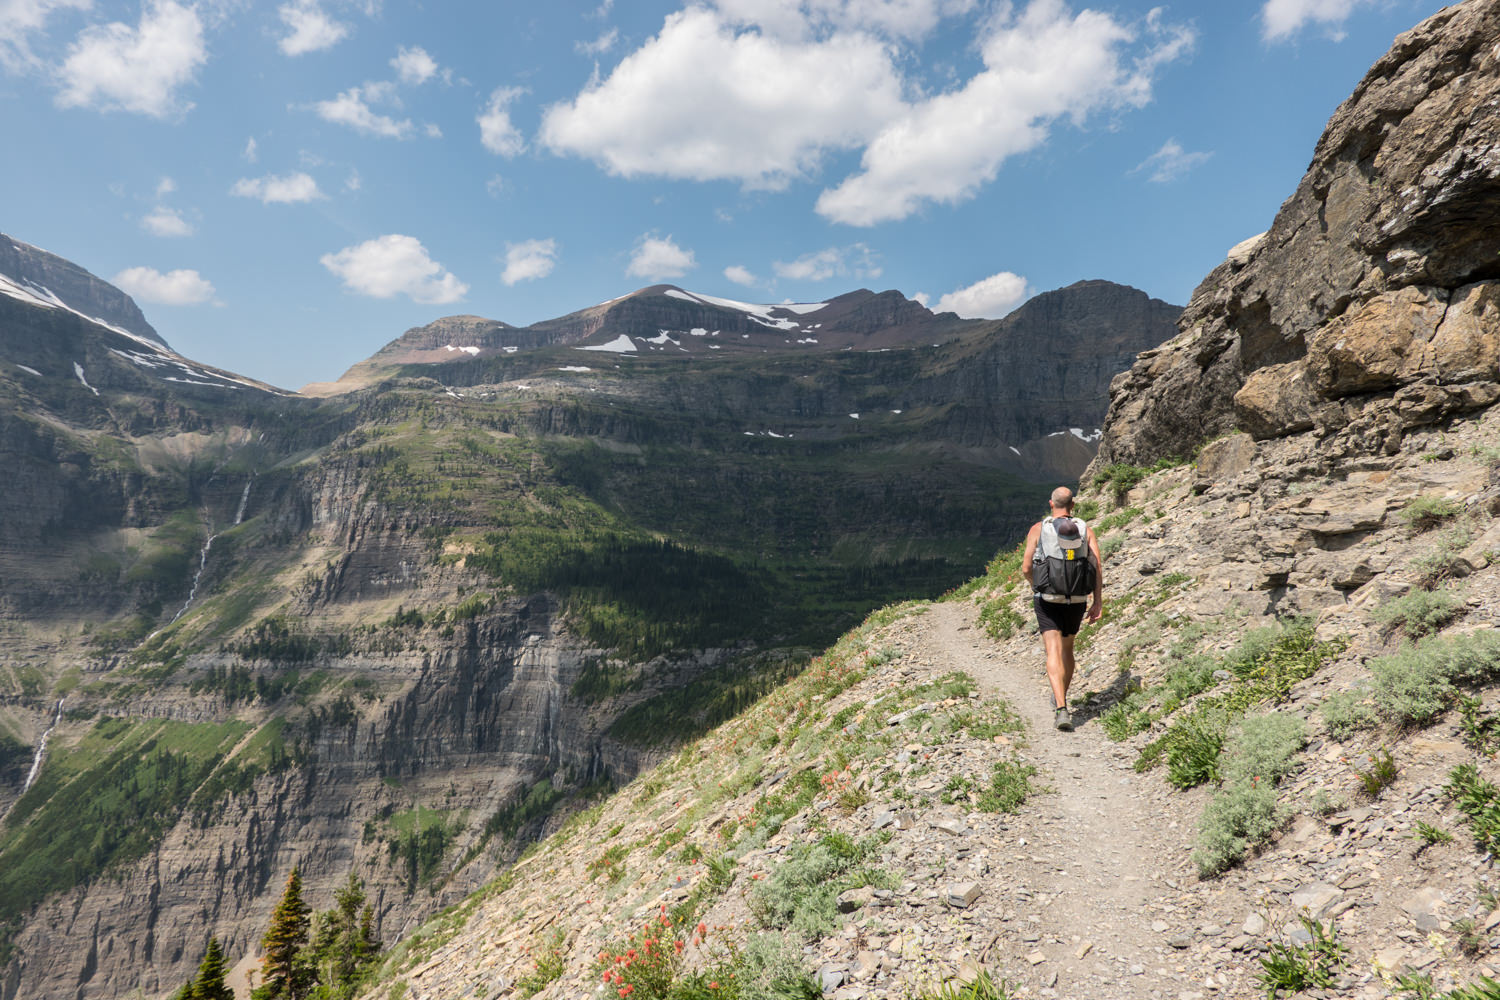
The views are outstanding on the highline trail, but it also brings some hefty crowds. – photo credit: dave collins (cleverhiker.com)
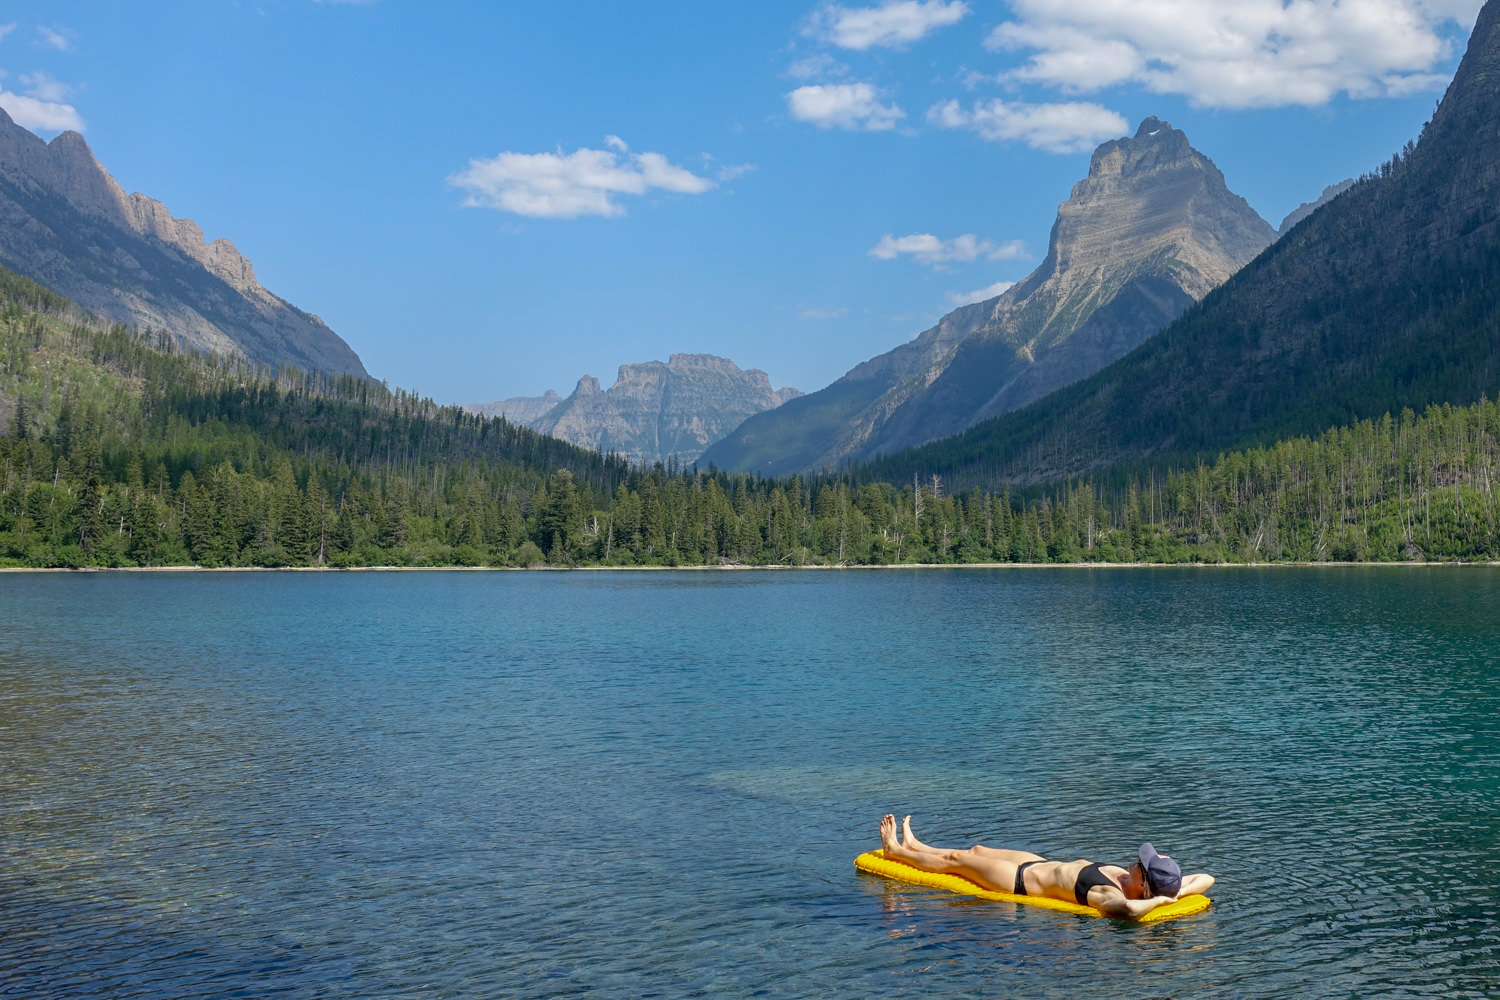
Sleeping pads double as a floatie on a glacial lake in GNP. – photo credit: dave collins (cleverhiker.com)
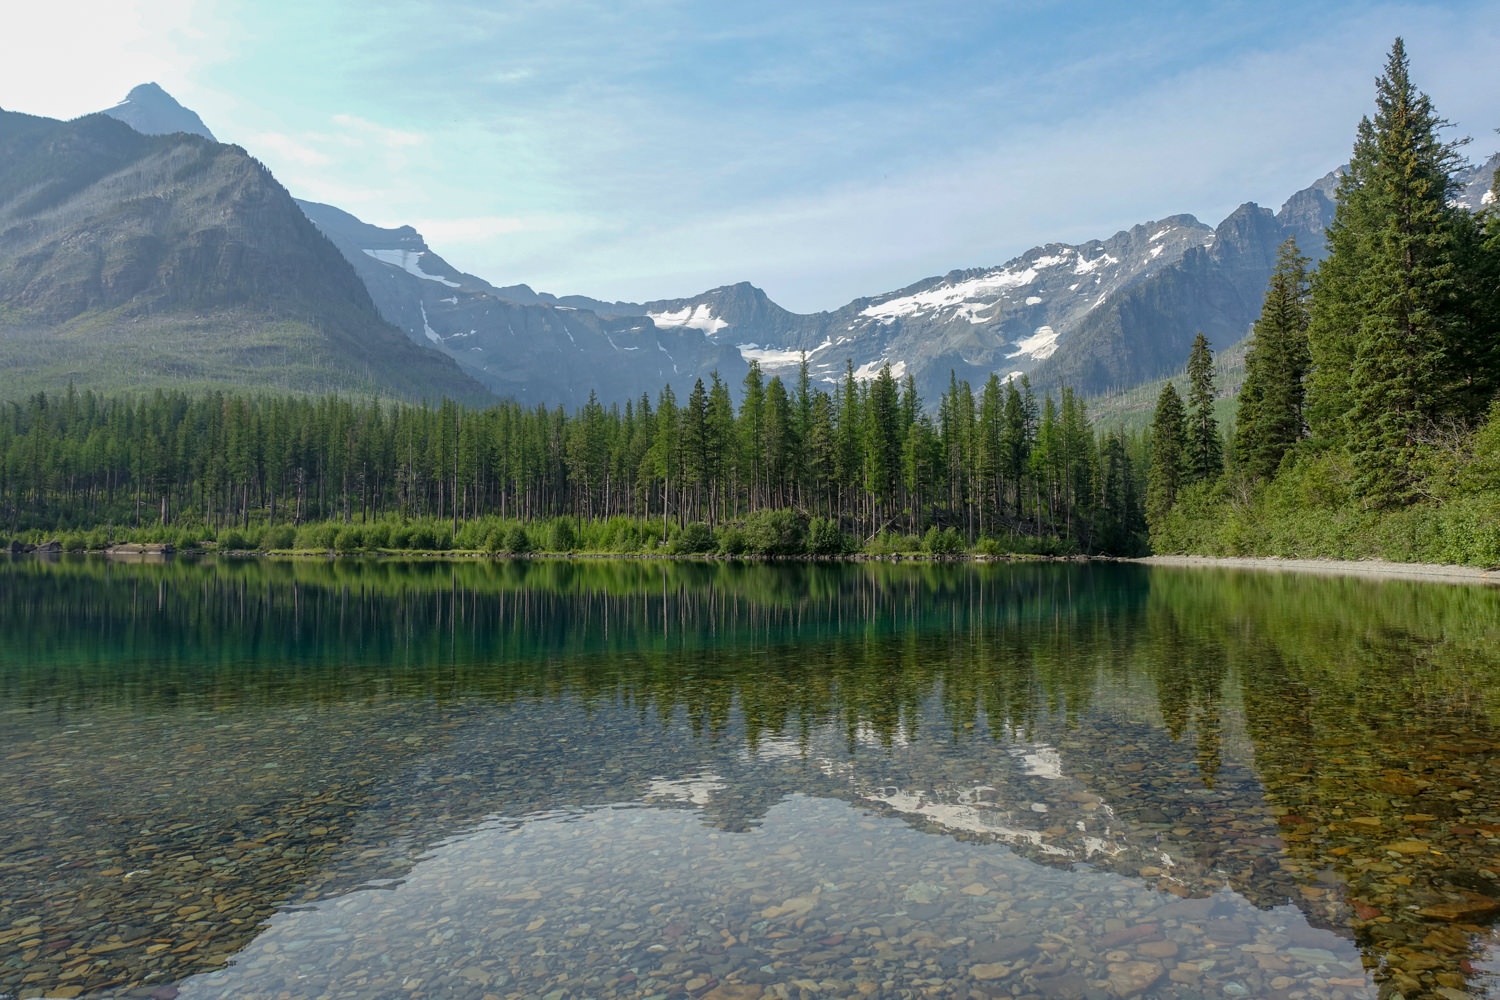
Glacier National Park is famous for its rounded colorful glacial river and lake rock. – photo credit: dave collins (cleverhiker.com)
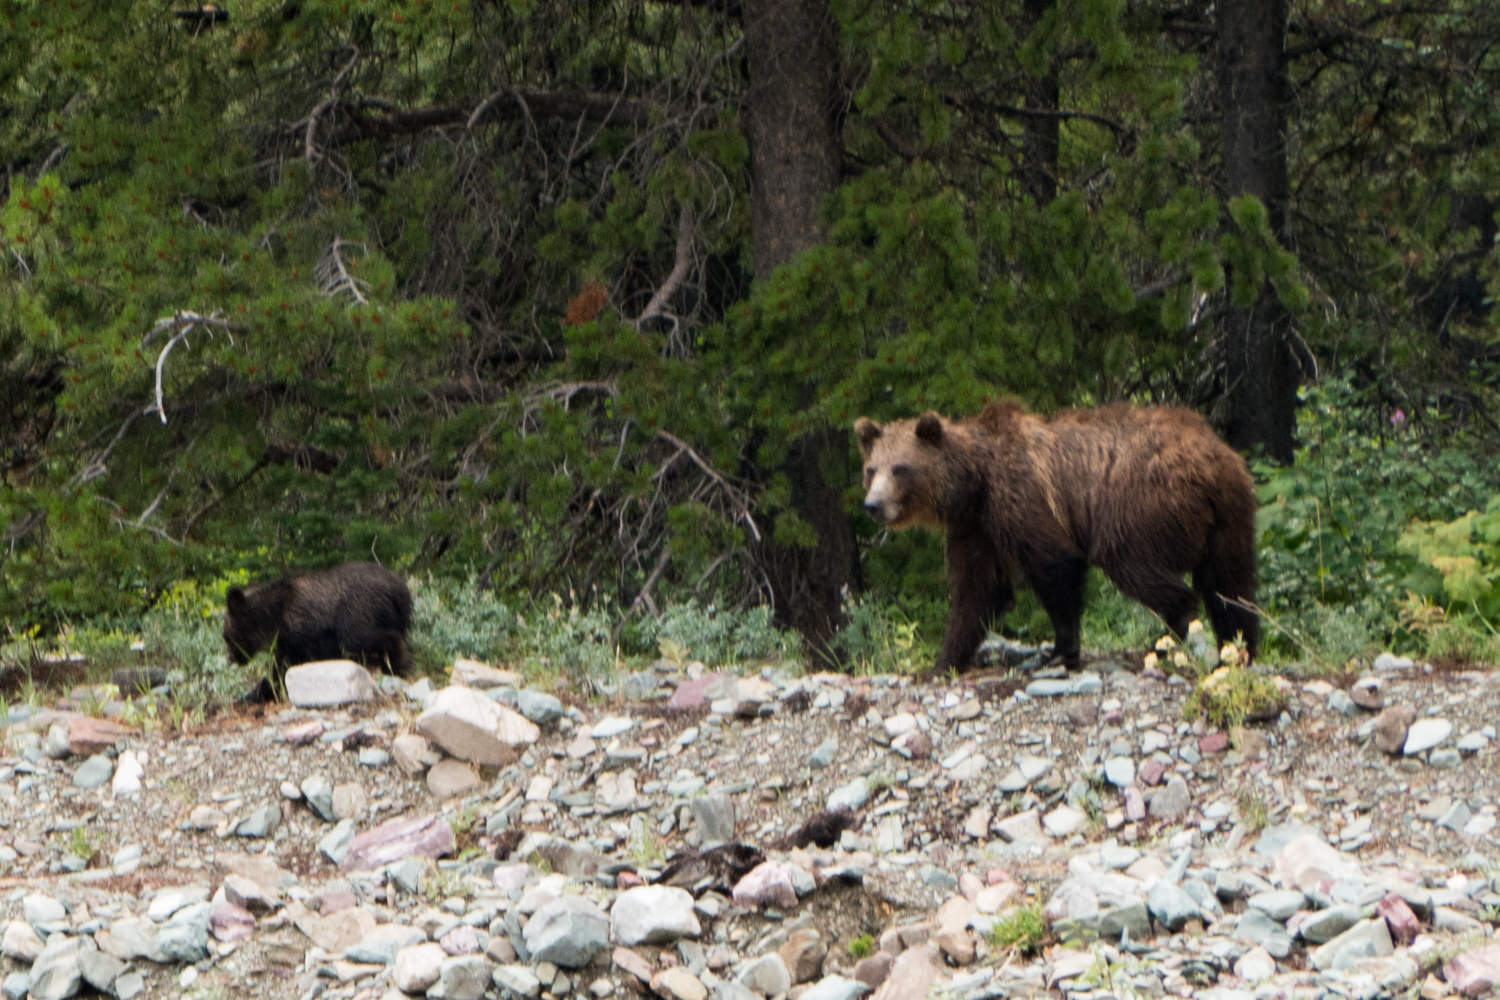
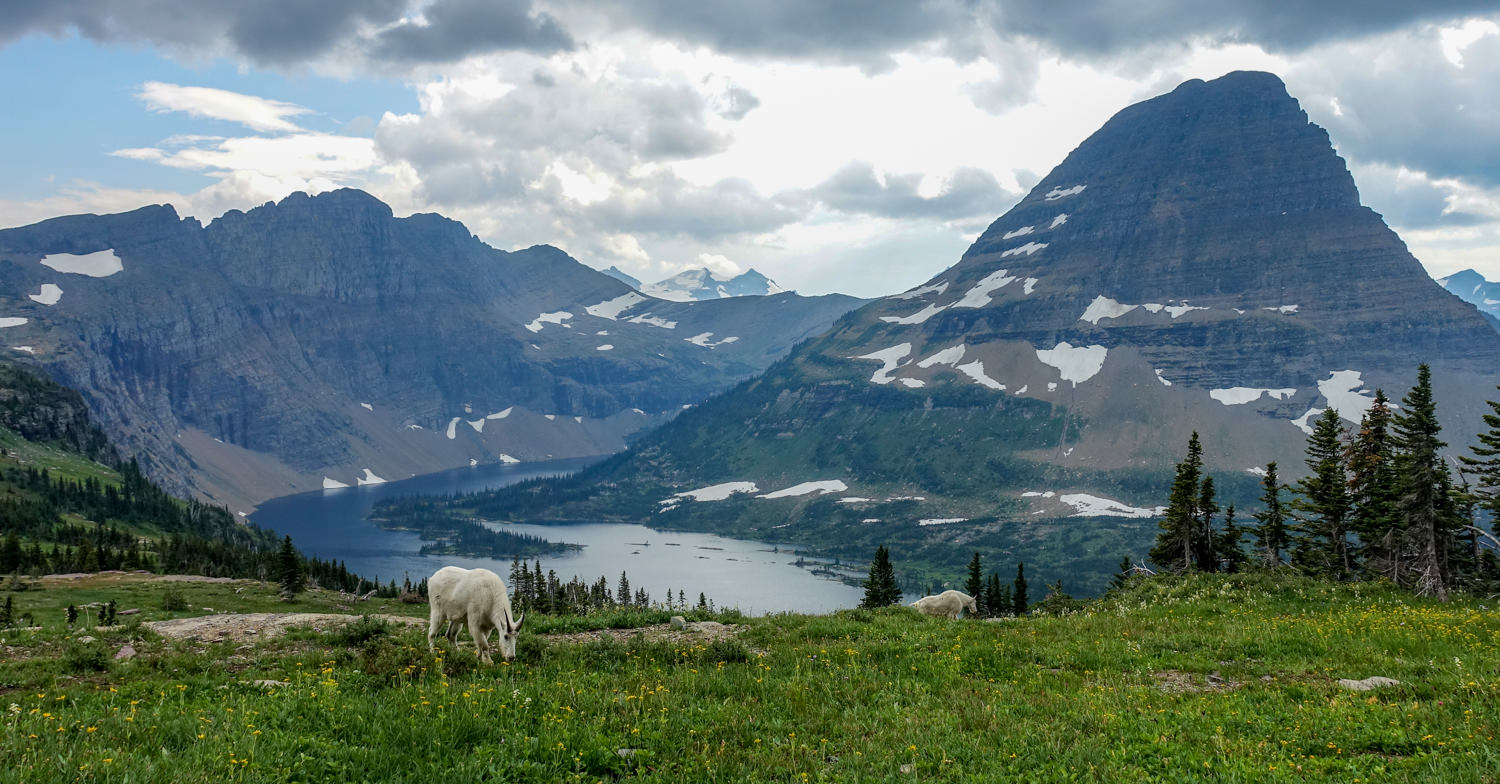
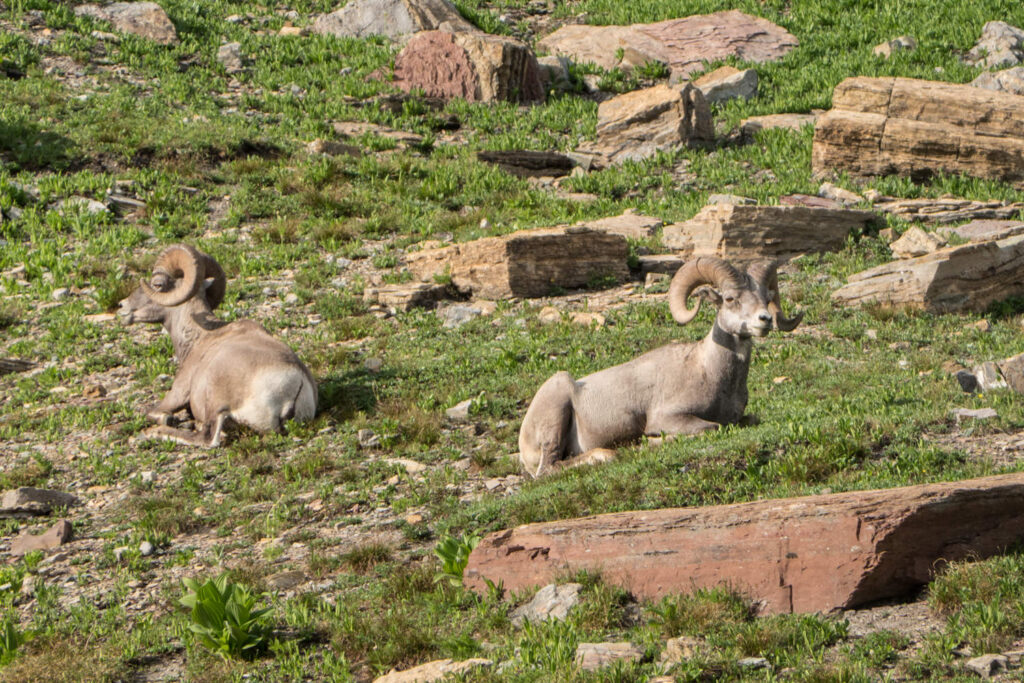
We are backpackers, not wildlife photographers, but we did manage to snap a quick pic of these two peacefully grazing. – photo credit: dave collins (cleverhiker.com)
If your trail begins at logan pass at 6,600ft, you’ll be above the treeline for the sometimes the entire hike. – photo credit: dave collins (cleverhiker.com)
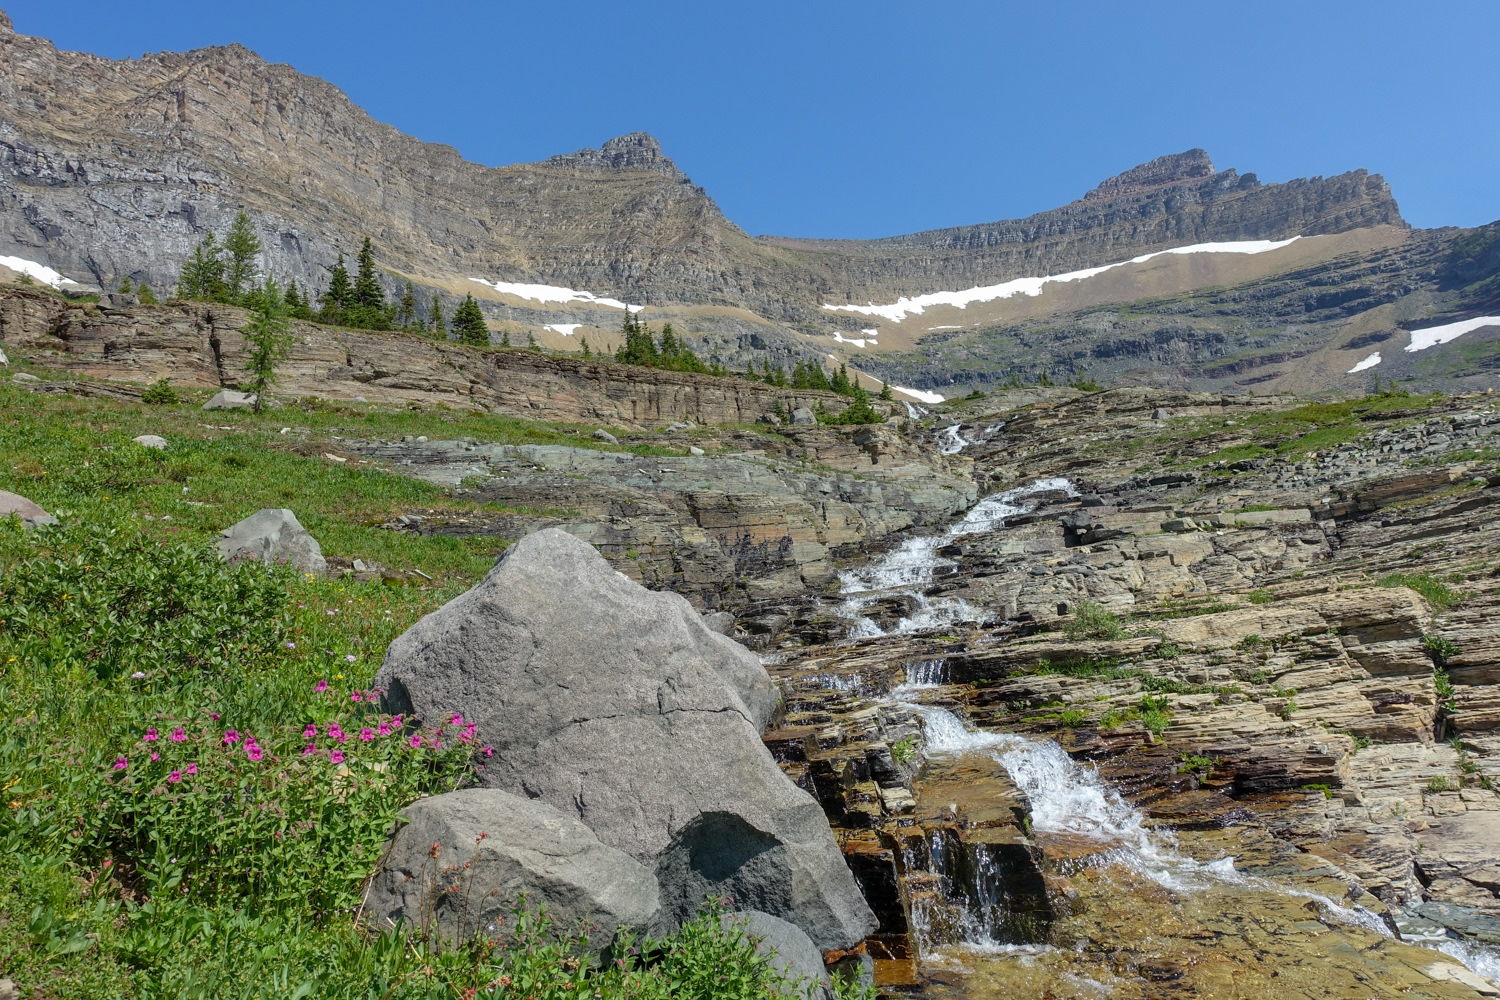
snow and glacial melt make for some cold streams in the high alpine. – photo credit: dave collins (cleverhiker.com)
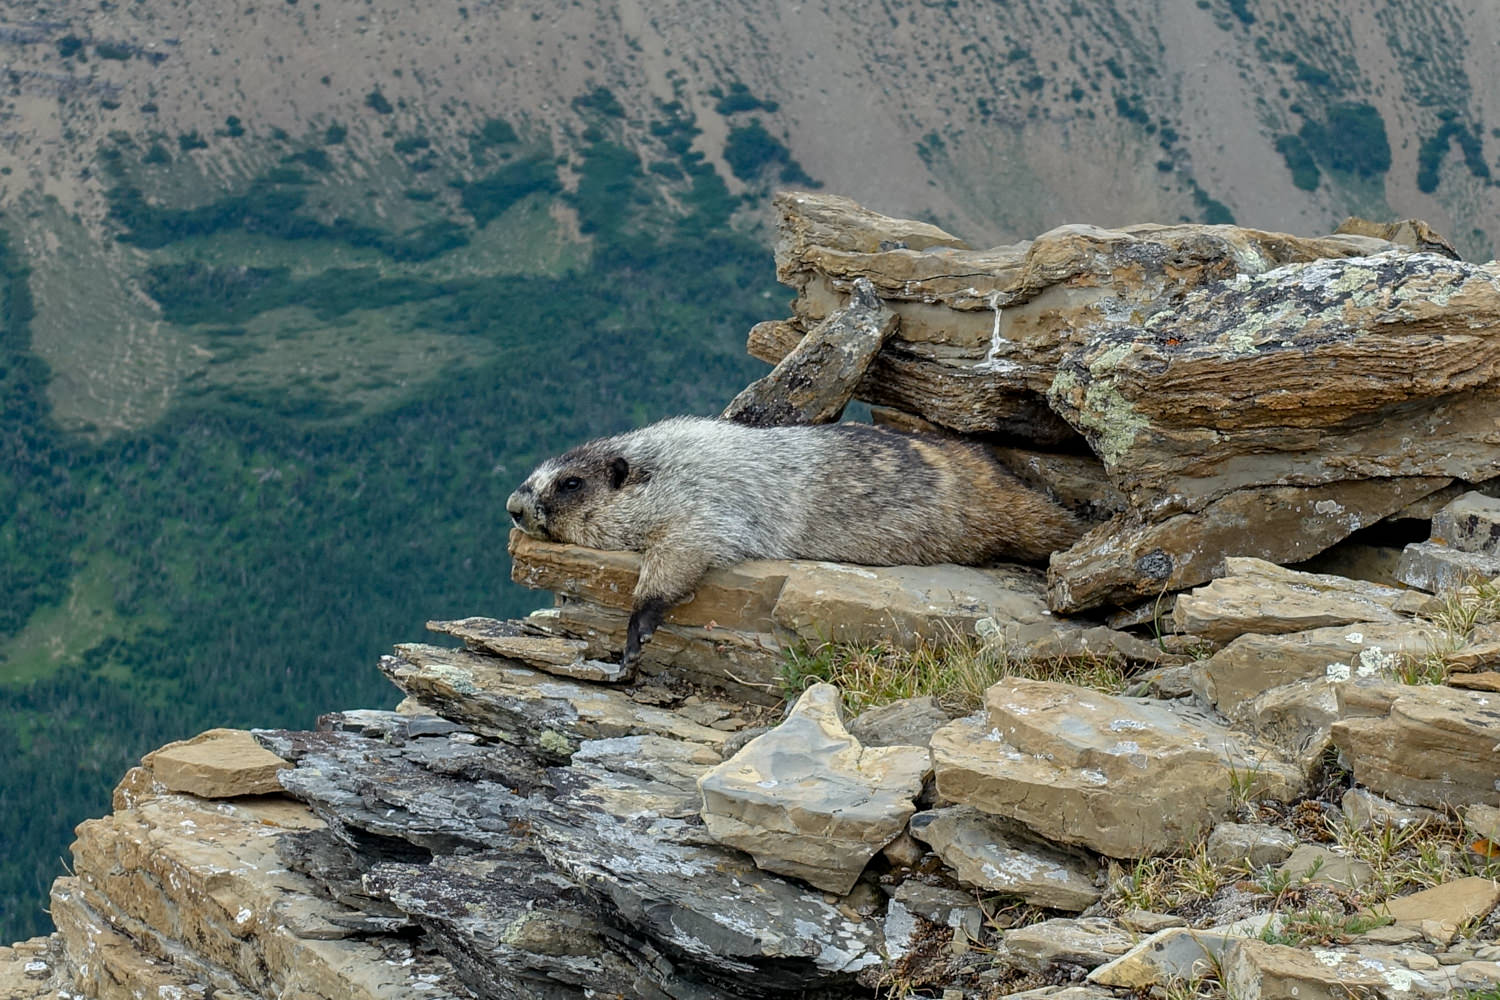
Marmots will often squeek well before you spot them. They always have the best viewpoints. – photo credit: dave collins (cleverhiker.com)
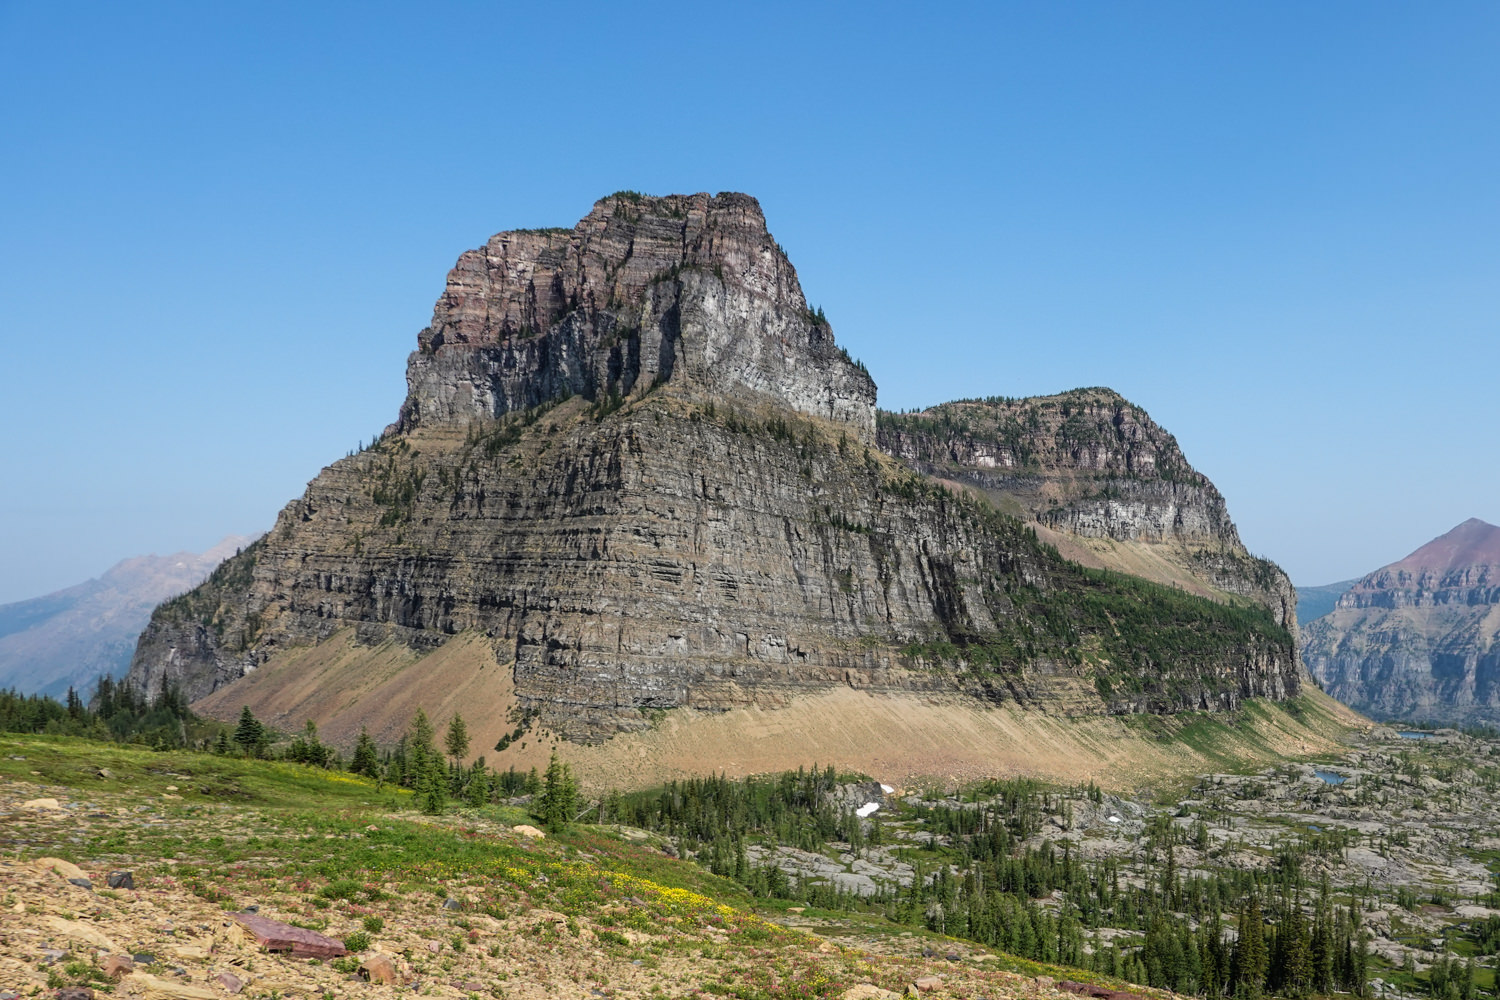
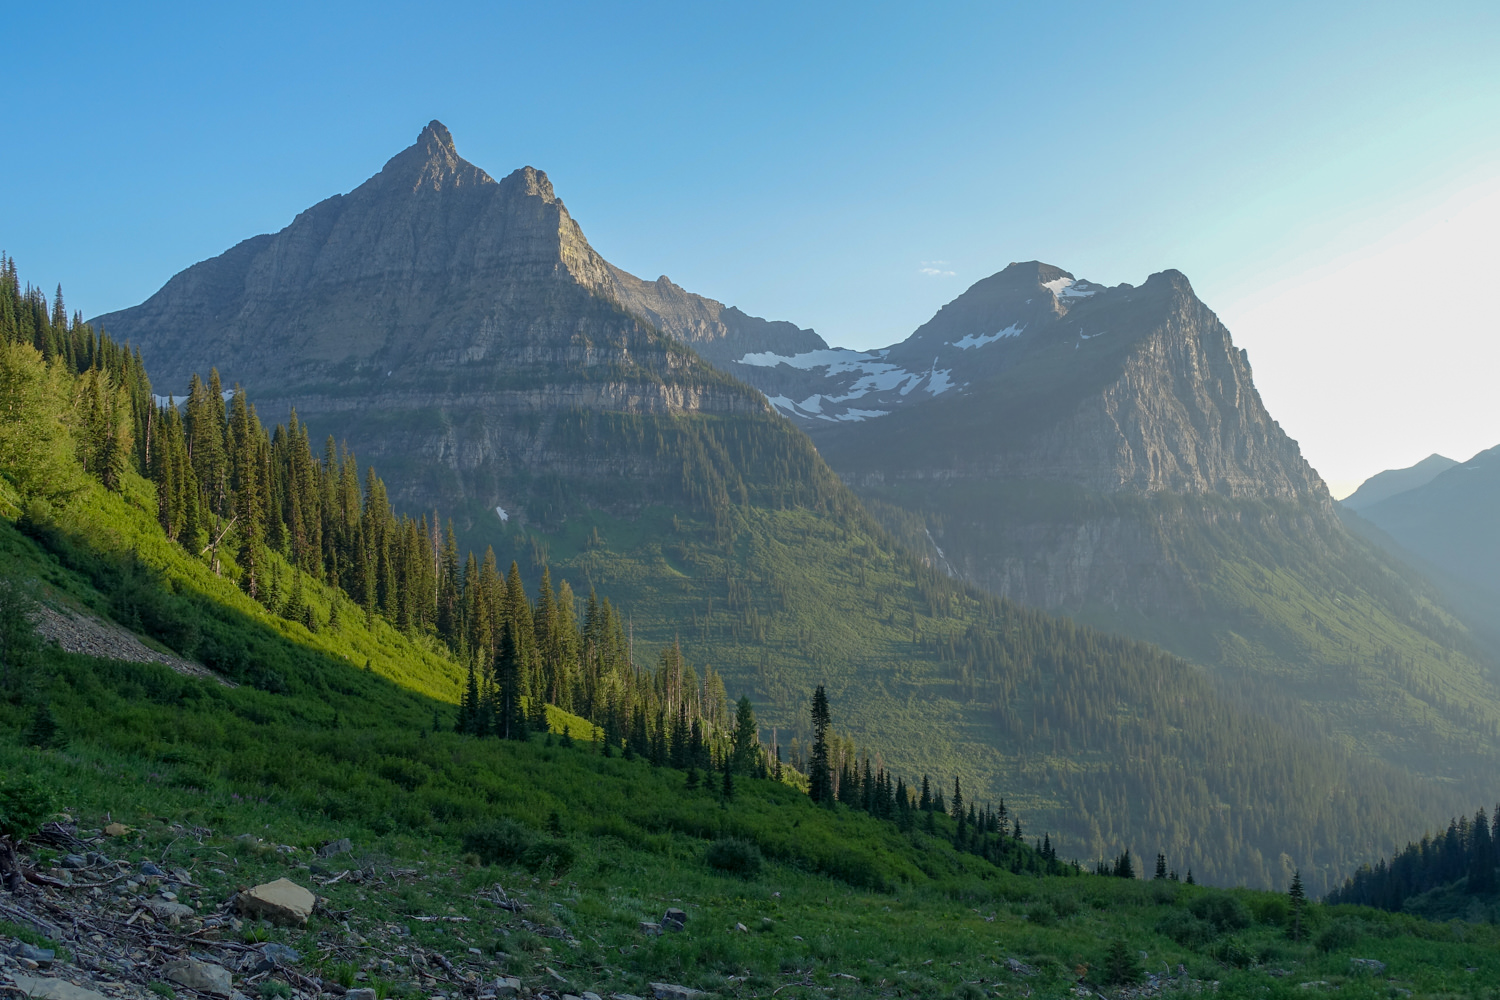
chief mountain on the east side of GNP. – photo credit: dave collins (cleverhiker.com)
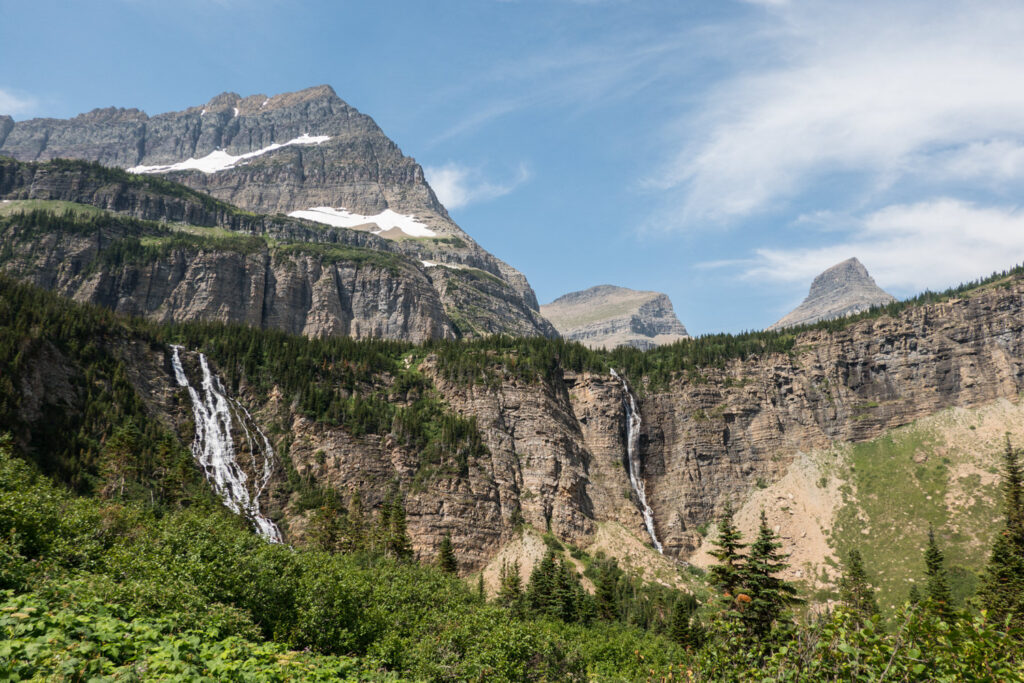
Cascading waterfalls across the valleys are a unique feature of backing through glacier national park. – photo credit: dave collins (cleverhiker.com)
Final Thoughts
Glacier is, without a doubt, one of the most spectacular national parks in the United States. We hope this guide helps you plan an awesome, safe, and memorable adventure.