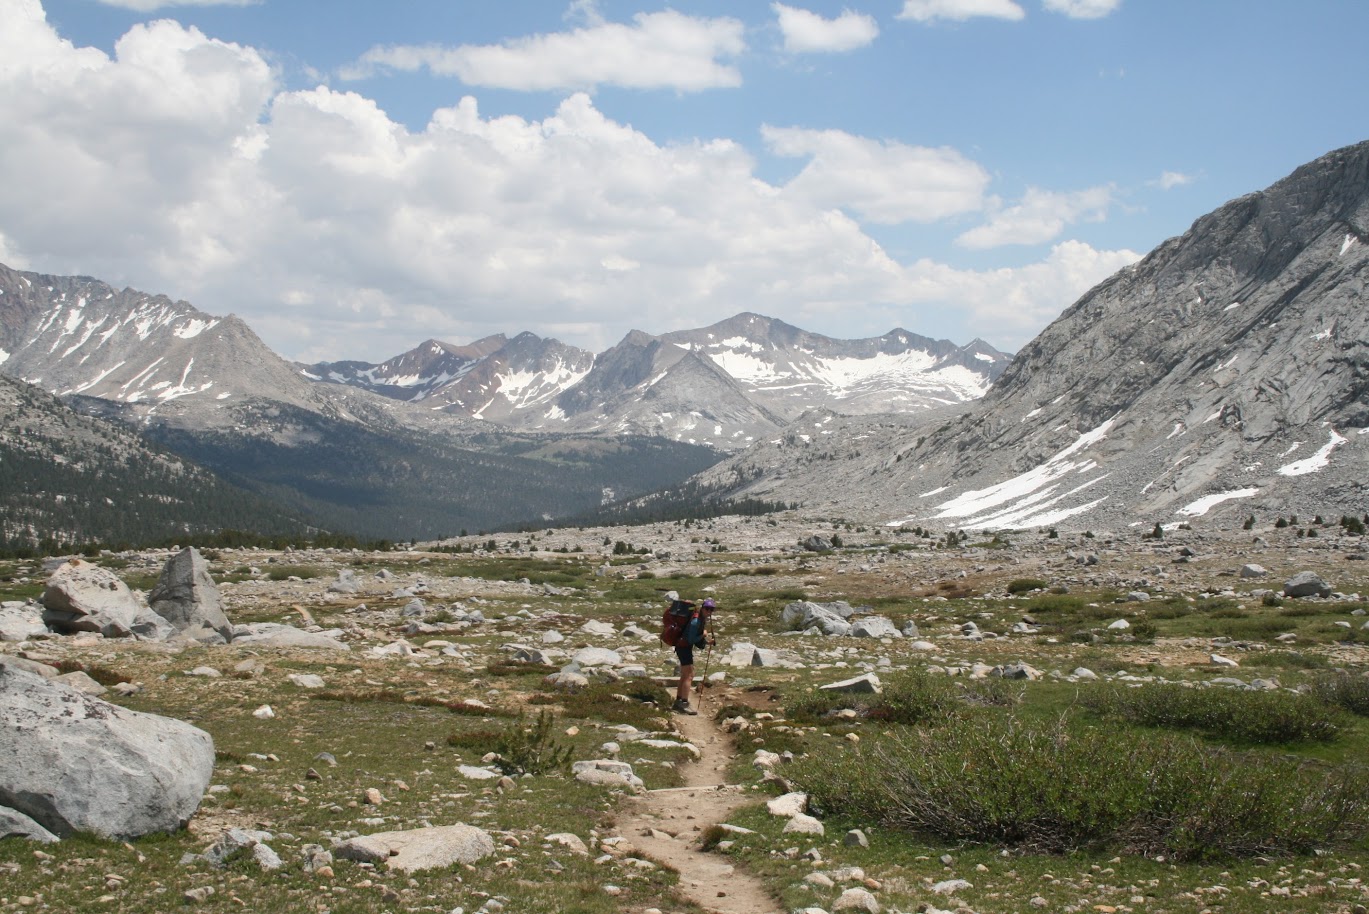
If you’re lucky enough to get a permit for the John Muir Trail (JMT), you’ll want to pack the right gear so that you can fully enjoy what is widely considered one of the most spectacular stretches of trail in the world. Our John Muir Trail packing guide digs into what we packed and why.
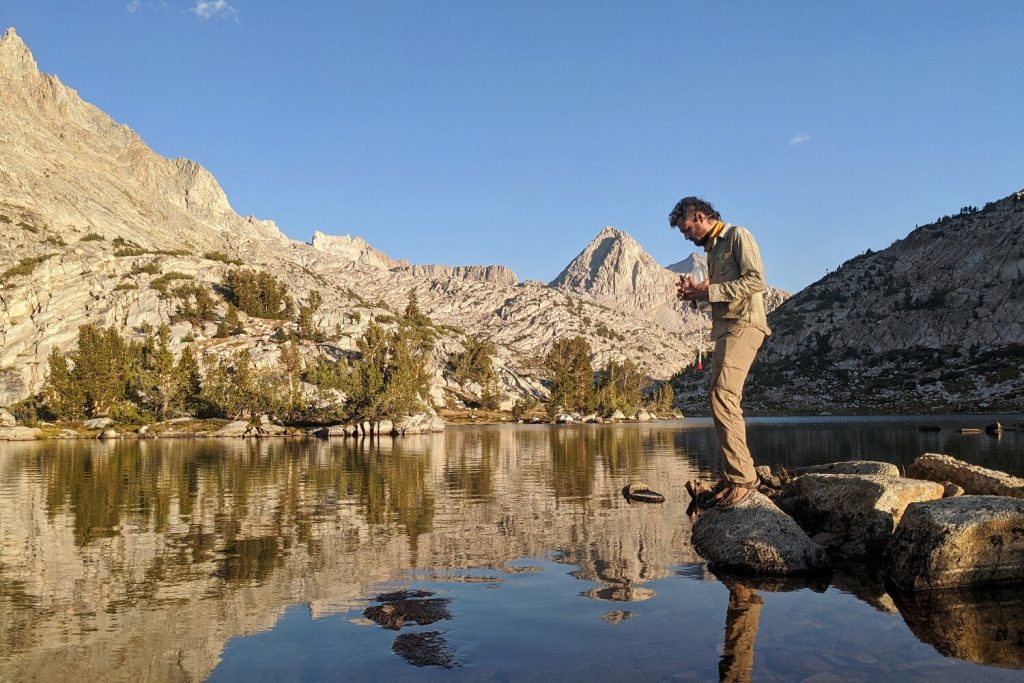
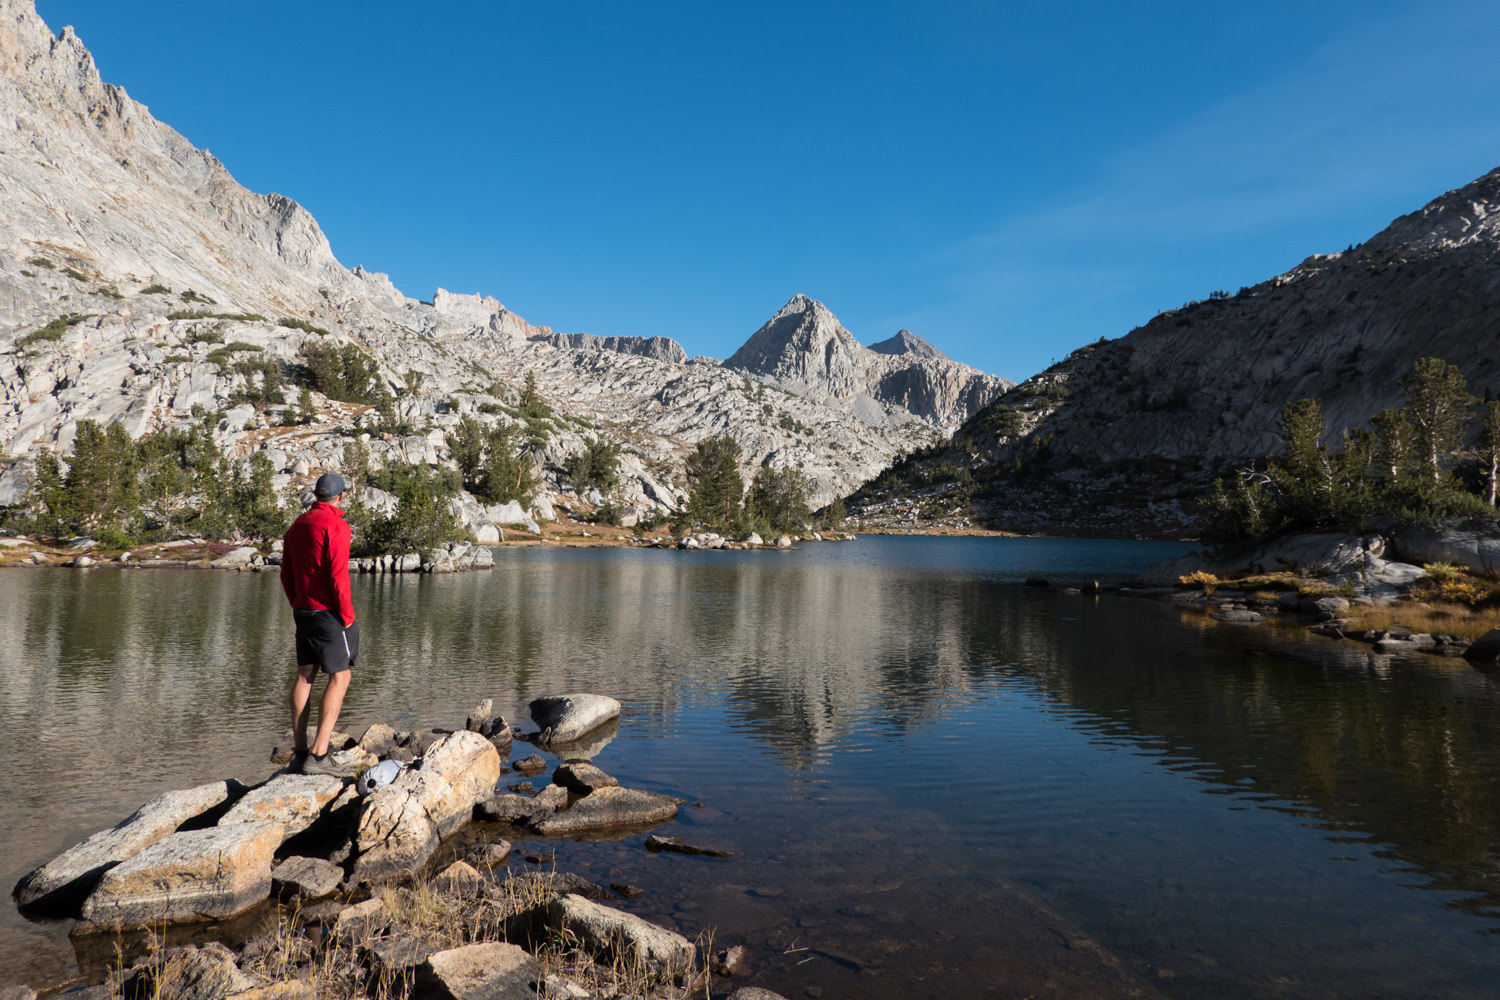
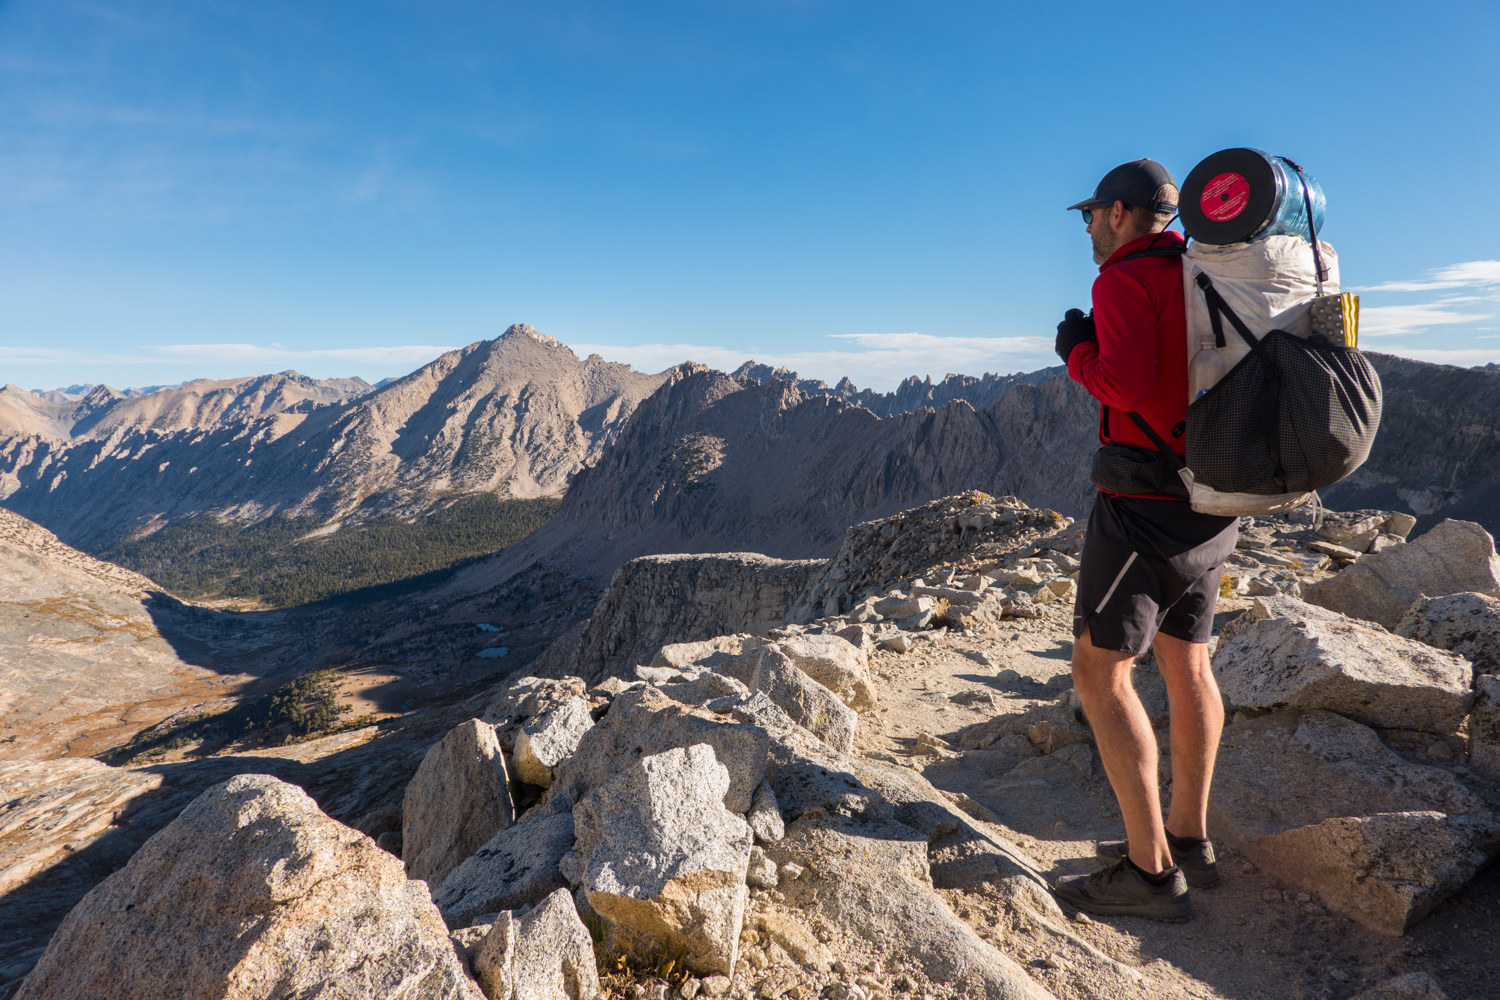
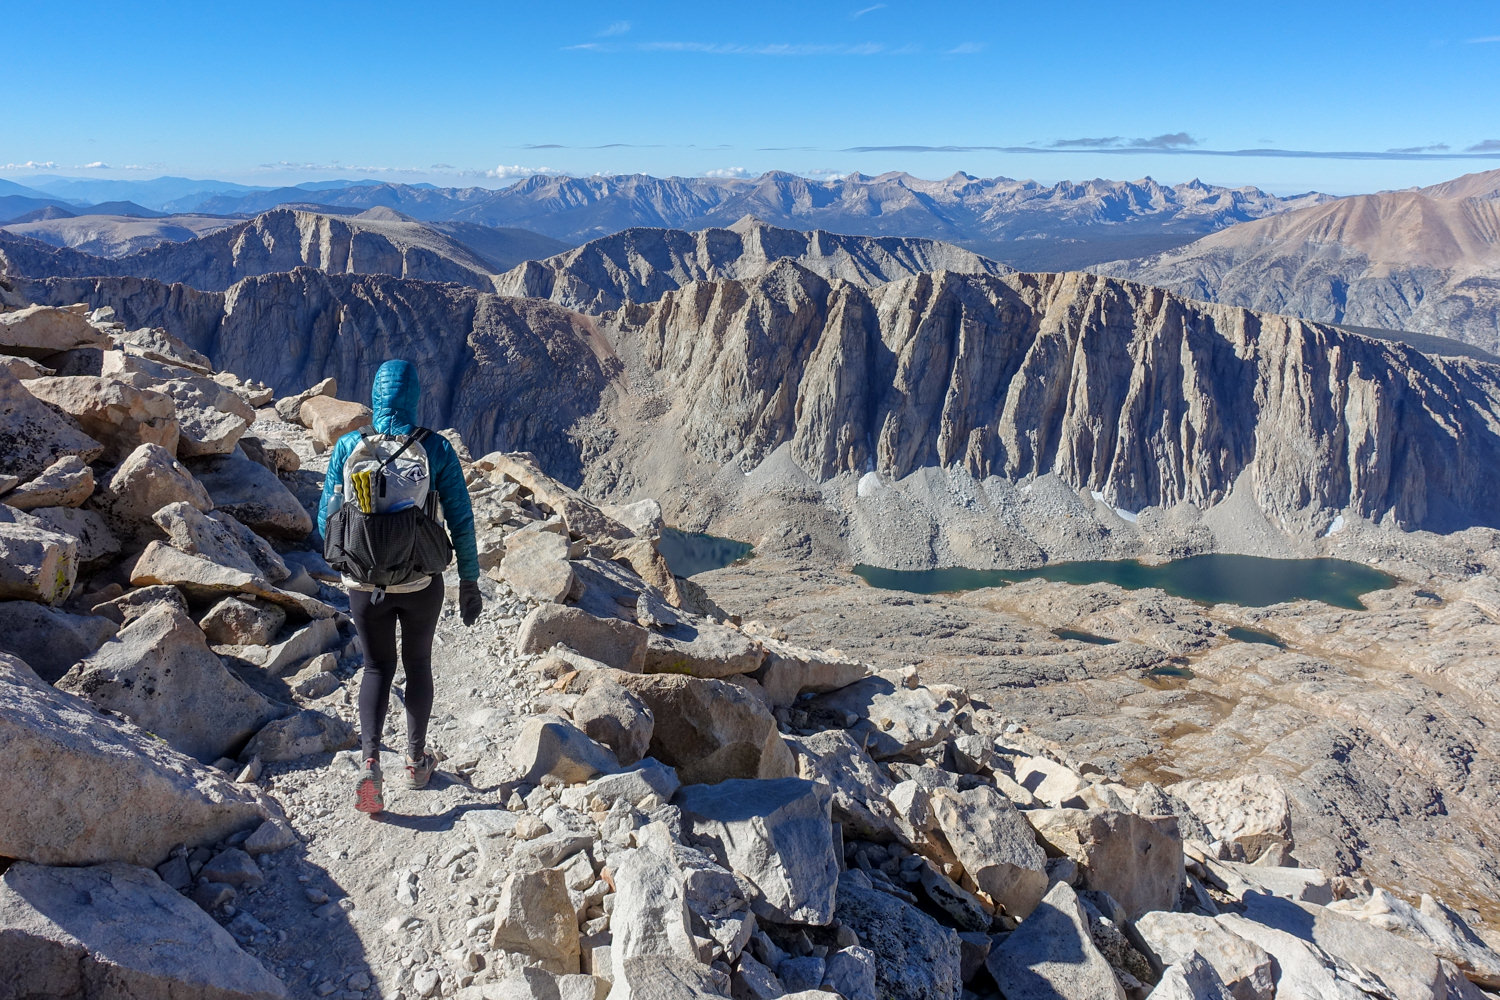
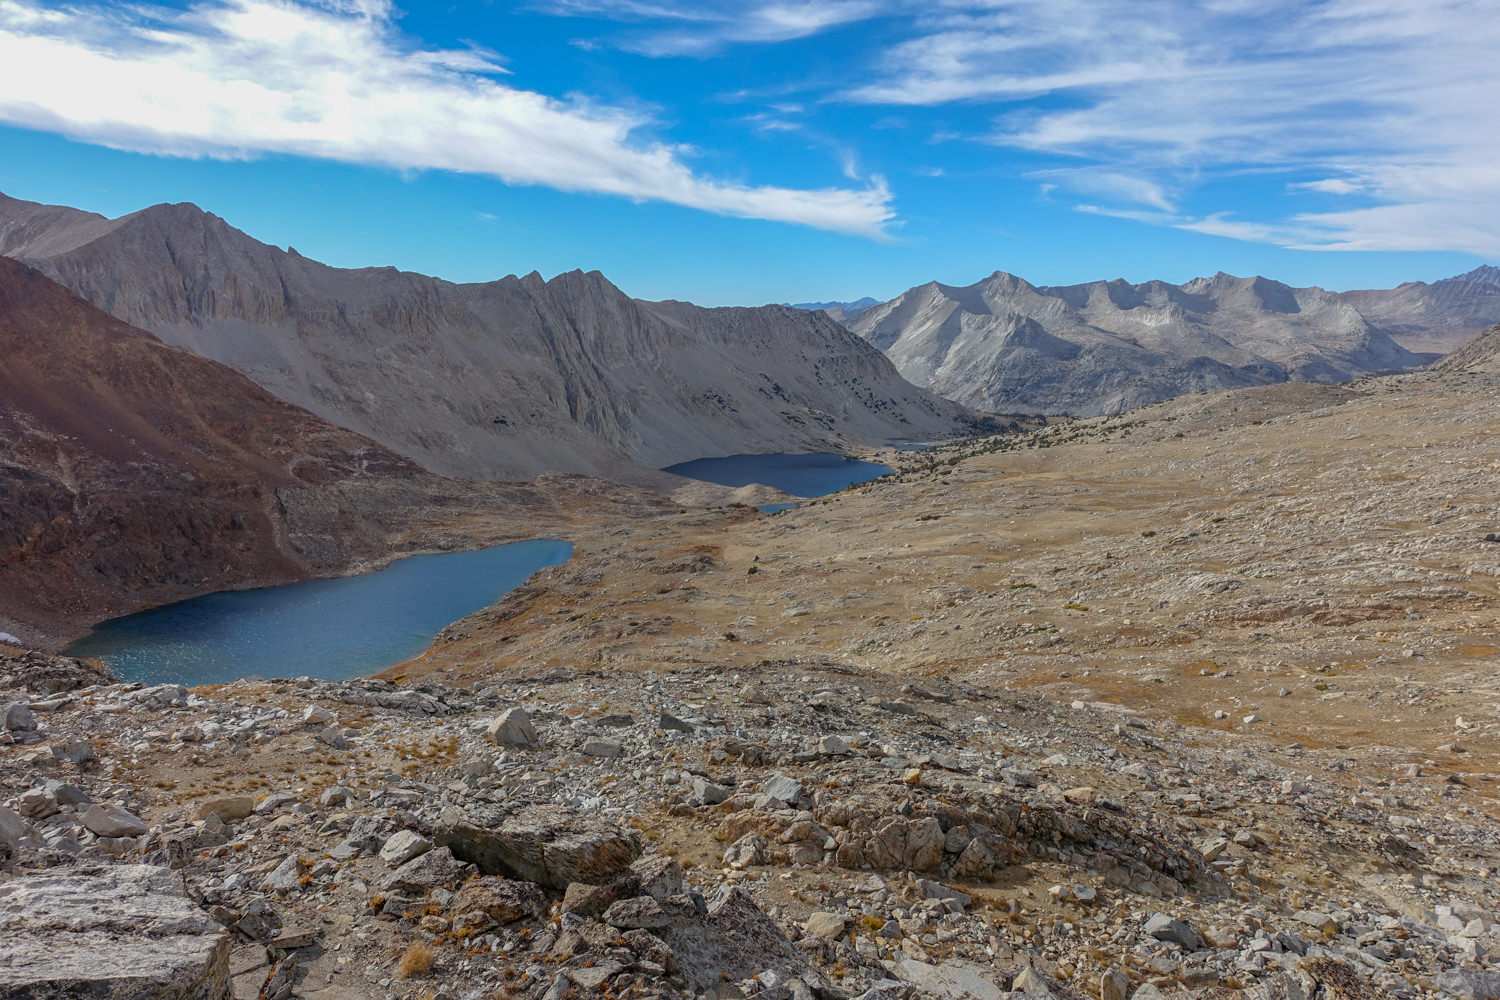
The JMT traverses the High Sierras of California for 210 miles over mountain passes and through pristine wilderness dotted with alpine lakes. It offers both an immense challenge and equal reward. Of all the trails we’ve hiked, the JMT is one of our all-time favorites.
One of the most important considerations for thru-hiking the JMT is determining what gear to bring. We recommend channeling your inner thru-hiker, digging into our lightweight backpacking videos, and testing and breaking in your gear before your hike. Your goal should be to pack as light as possible while still remaining safe and comfortable.
For more comprehensive information on planning and logistics, check out our Complete Guide to Hiking the John Muir Trail.
And for more info, check out some of our other popular gear guides:
Why Hike Light?
The John Muir Trail is jaw-droppingly beautiful, but also incredibly challenging. Most days you’ll hike 2,000 feet or more up one side of a mountain pass and then 2,000 feet down the other side. If you’re trying to complete it in a short amount of time, expect multiple passes a day.
For this reason, we really can’t stress enough how important it is to keep your pack weight to a safe minimum. We aim to keep our base weight (everything in your pack minus consumables like food and water) to no more than 15 pounds, so our total pack weight is never above 25-30 pounds.
Refining your kit will make your 2-3 weeks on the JMT far more enjoyable and increase your chances of finishing. Sadly, we saw quite a few hikers bailing on their trip at resupply points because of exhaustion, blisters, running out of time, and injuries. A low pack weight can reduce the risk of these issues.
If you’re not quite sold, here are some of the main benefits of hiking light:
- Hike long distances more comfortably, take fewer breaks, and cover many more miles in a day.
- Allows you to hike with your head up, see more of the sights, breathe fully, and spend less time hunched over staring at your feet.
- Be more nimble and coordinated on the trail, avoiding stumbles and walking at a brisk pace.
- Allows you to wear lightweight footwear, which will also save a ton of energy, help you avoid blisters, and feel far more comfortable.
- Makes big climbs and descents much, much easier.
- Puts less stress on knees and joints, which will help you avoid injury.
- Improves overall mood and morale, so you’ll have more fun. Less dread everytime you have to put your pack on.
What Gear Should I Pack?
Tent
Your tent will be one of the four heaviest items in your backpack, so it should be one of the first places you look to keep weight down.
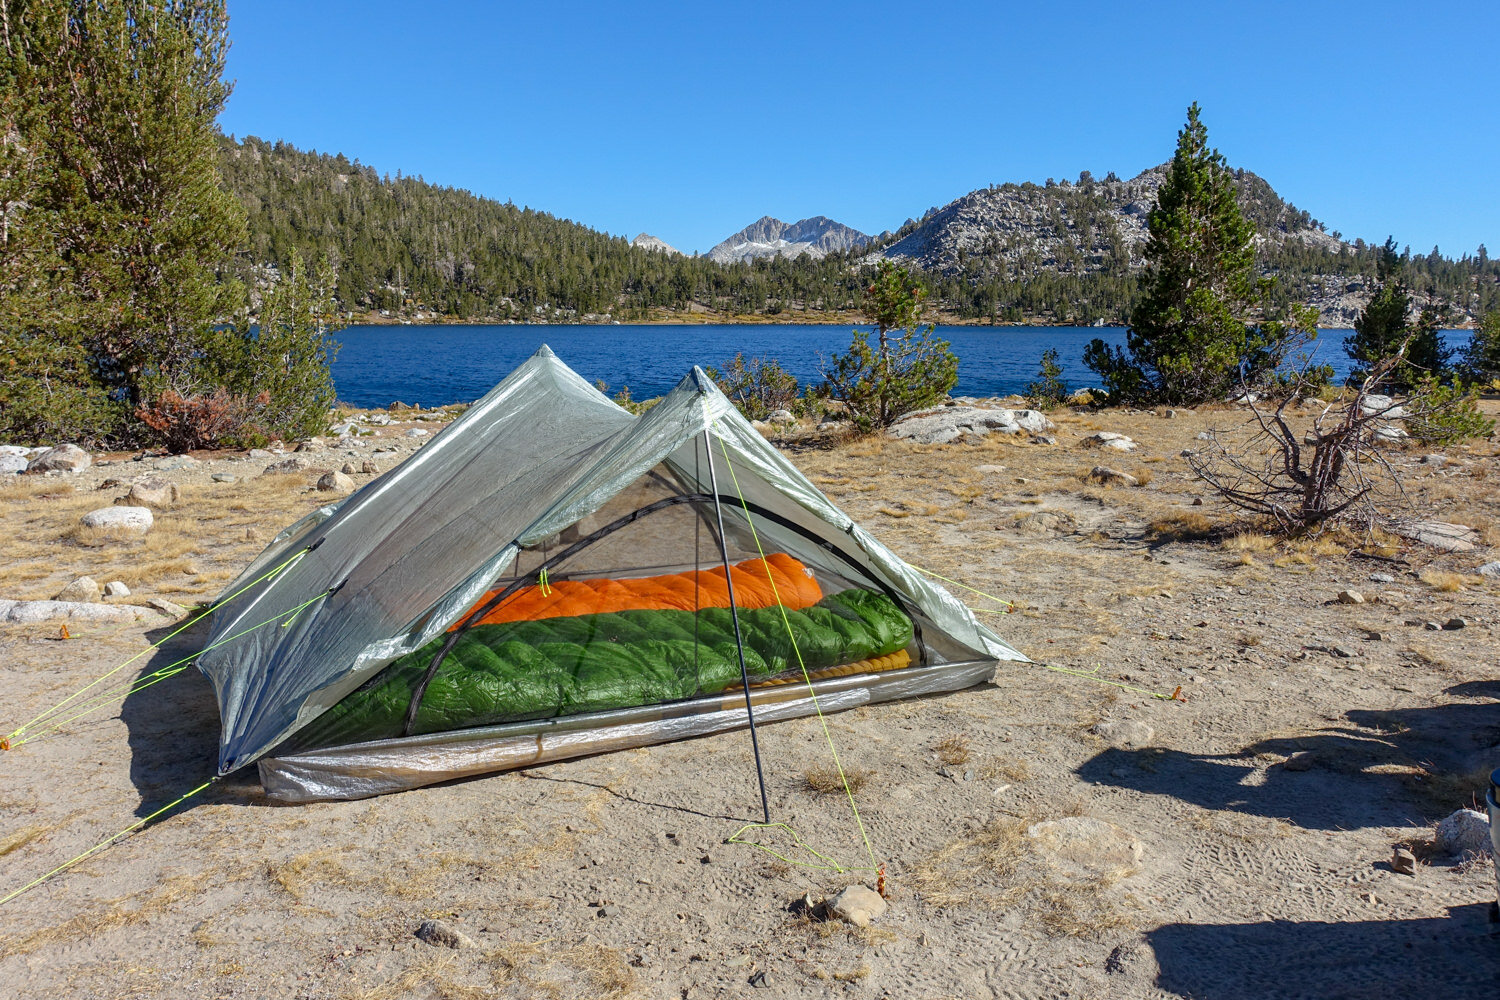
Non-freestanding
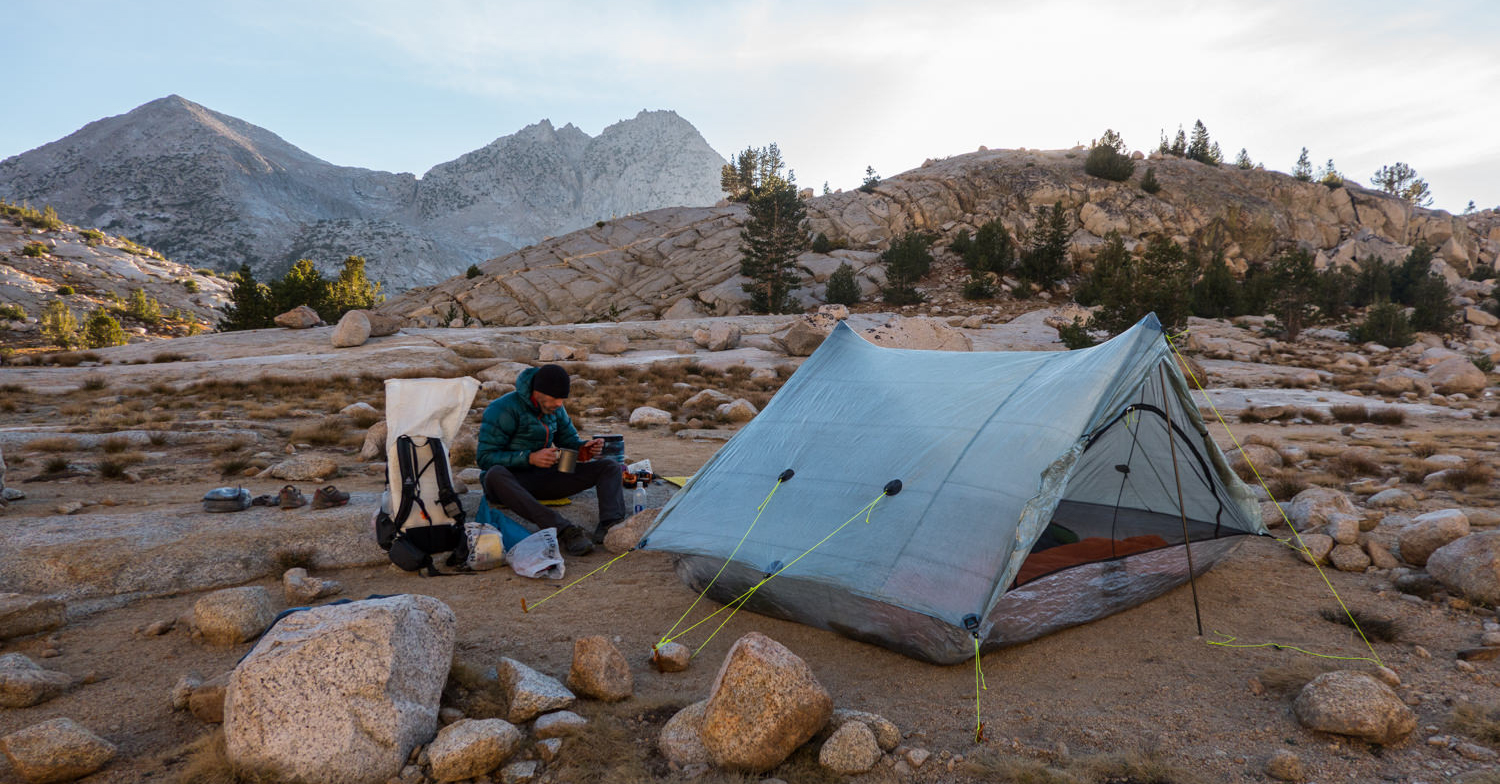
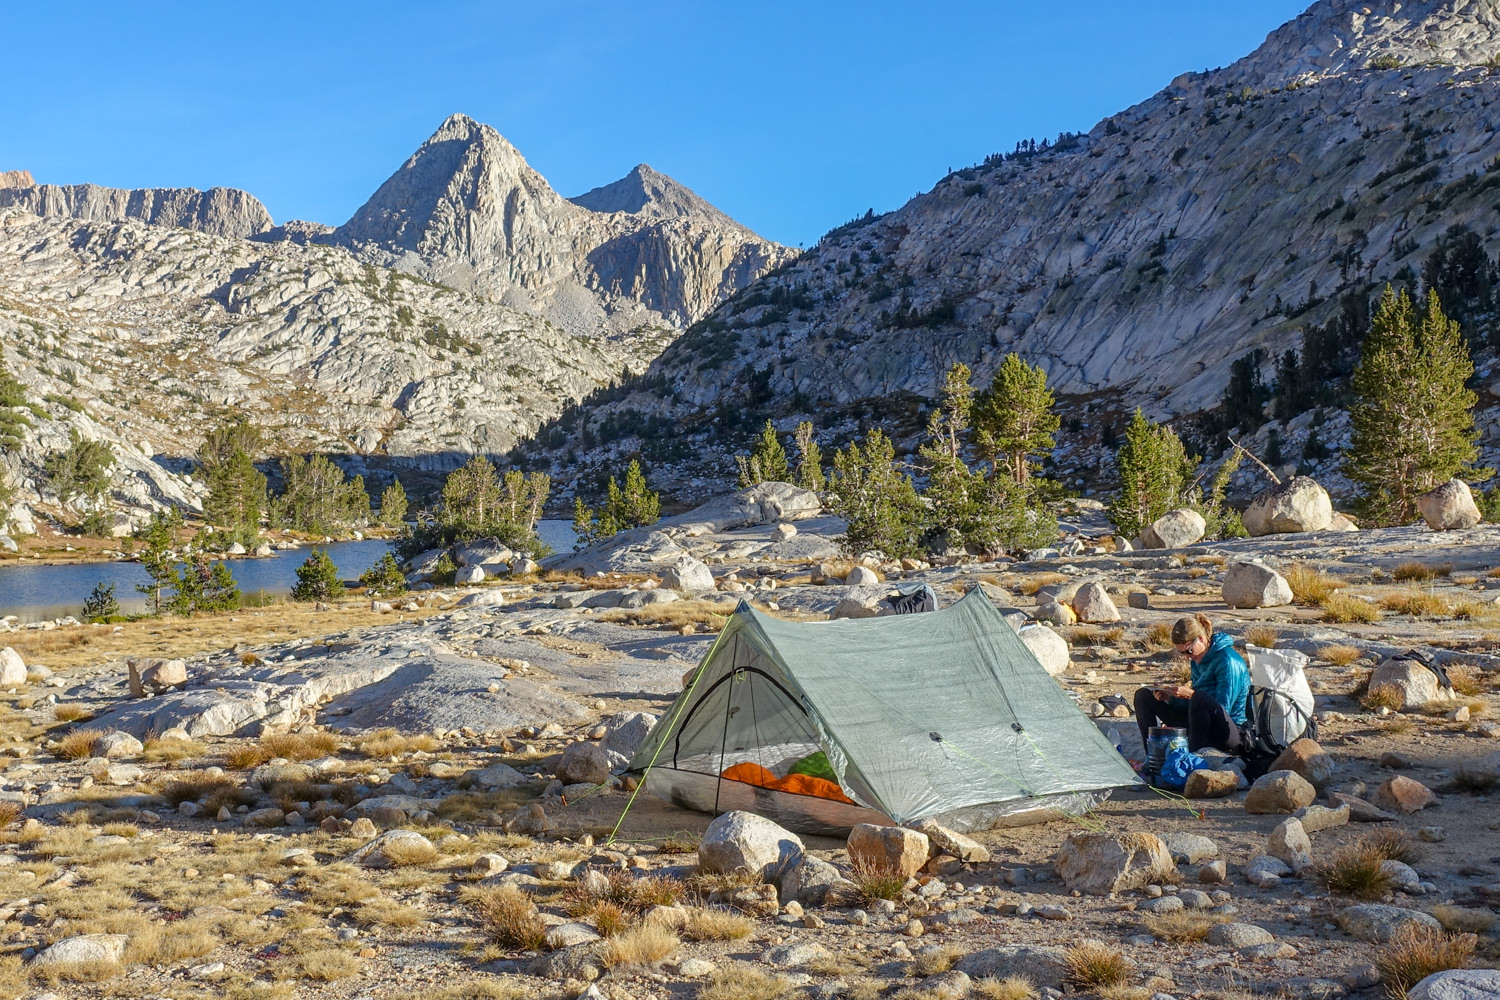
Long-distance thru-hikers often choose ultralight, non-freestanding single-wall shelters to minimize tent weight. Their main advantage over a traditional tent is that they can be far, far lighter (sometimes by multiple pounds). The disadvantages are that they often take longer to set up, accumulate more interior condensation, and can be tricky to pitch on hard ground/rock. Most camping spots on the JMT are suitable for non-freestanding tents.
FREESTANDING
If you prefer nighttime comfort over daytime weight savings, you may find that a freestanding double-wall tent is a better fit. Make sure to get a lightweight/ultralight model (with a packed weight of around 3 pounds or less, assuming you are sharing with another person), as some freestanding tents can be very heavy. For the more casual backpacker, this tends to be the most popular choice. A lightweight freestanding tent will be fairly foolproof and can be used for backpacking, car camping, and everything in between.
SEMI-FREESTANDING
For those who like a solid compromise, semi-freestanding (typically double-wall) tents are usually lighter than freestanding models but also less temperamental than non-freestanding shelters. They achieve this by using fewer pole segments, instead requiring (usually two) stakes at the foot for a complete pitch, reducing overall weight. At the same time, they retain a main tent that is separate from the rainfly, so they still have some of the creature comforts like interior pockets, vestibules, and decent ventilation.
WHAT WE PACKED FOR THE JMT
The Zpacks Duplex and Triplex are our top picks for non-freestanding ultralight tents. They are definitely top-of-the-line thru-hiking shelters, but they’re also pretty expensive.
If you’re looking for a freestanding tent, other staff packed the Big Agnes Copper Spur UL2 & UL3. The convenience and comfort of the Copper Spur is fantastic, and this line is among the lightest freestanding tents on the market.
As for size, we generally prefer 3-person ultralight tent models and use them as roomy 2-person tents. Although 3-person models weigh slightly more, they provide significantly more space, which is really nice when you’re spending many nights out with another person.
If you’re traveling solo or don’t mind tight living quarters and leaving your pack outside the tent, go with a 1P or 2P tent.
Check out our best backpacking tents gear guide and best ultralight tents guide if you want to shop around some more.
Sleeping Bag
Most of the John Muir Trail is at high elevation (8,000-13,000 feet), so nighttime temperatures dip fairly low, even during summer months. If you’re hiking in spring or fall, there is a high likelihood of encountering below-freezing nighttime temps.
Your sleeping bag will be one of the heaviest and bulkiest items in your pack. For this reason, it’s really important to find a good balance between weight and warmth.
See our guide to the best sleeping bags for our most recent round-up of our favorites.
Temperature rating
It’s also important to remember that the temperature rating listed on most sleeping bags and quilts is almost always closer to the low end of the bag’s tolerance rather than a comfortable sweet spot.
For example, a sleeping bag with a 20 at the end of its name will keep you alive at 20°F, but you won’t be sleeping like a baby. Be sure to look at the comfort rating instead – it’s about 10° higher than the lower limit rating. A 20°F sleeping bag should keep you comfortable down to around freezing (32°F), or slightly below.
If you run cold, add a liner, a hot water bottle, and layers to boost your comfort with a bag that’s on the cusp of being insufficient.
Quilts
Backpacking quilts are a good option because they have an excellent warmth-to-weight ratio, but they also tend to be draftier because they don’t have a sewn underside and instead rely on straps that clip around your sleeping pad in order to close them up.
In addition, we’ve found that most quilts are even less realistic in their temperature ratings, so we add an extra 20° (yes, 20!) when we calculate comfort ratings for quilts. For example, we expect a 10°F quilt to keep us comfortable to right around freezing (32°F) or a little below.
See our guide to the best backpacking quilts for our latest reviews and recommendations.
RATING WE RECOMMEND FOR THE JMT
Most backpackers used a 20°F sleeping bag or a 10°F quilt for the JMT during peak season.
In hot summer weather, you may want to bump up 10°, or in frigid early spring / late fall, you may want to bump down 10°, but in general, those are good baselines.
WHAT WE BROUGHT ON THE JMT:
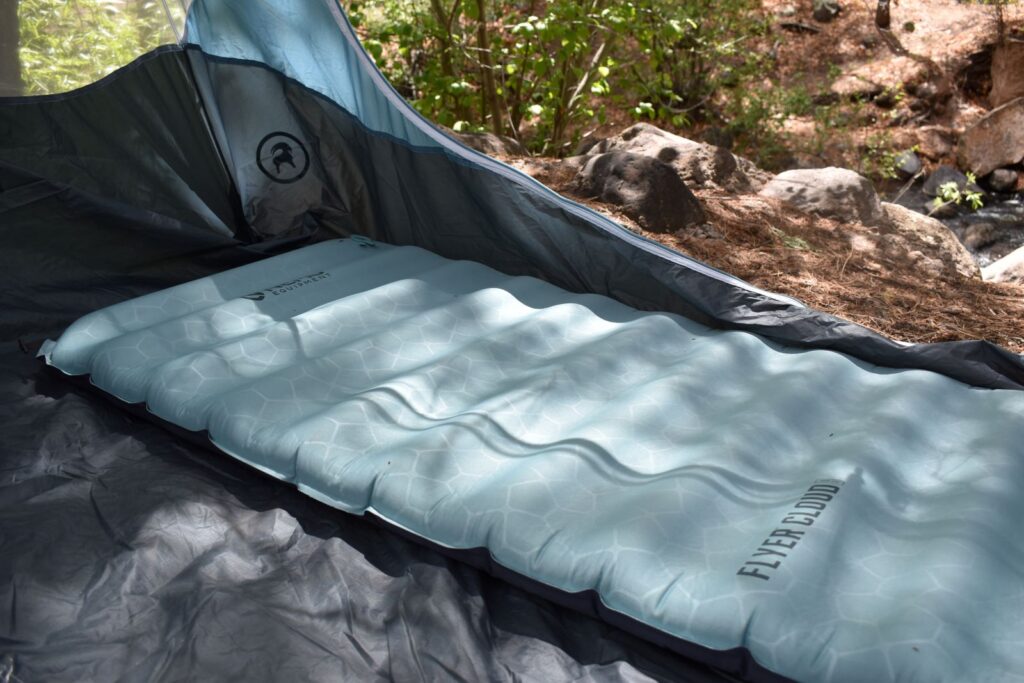
Sleeping Pad
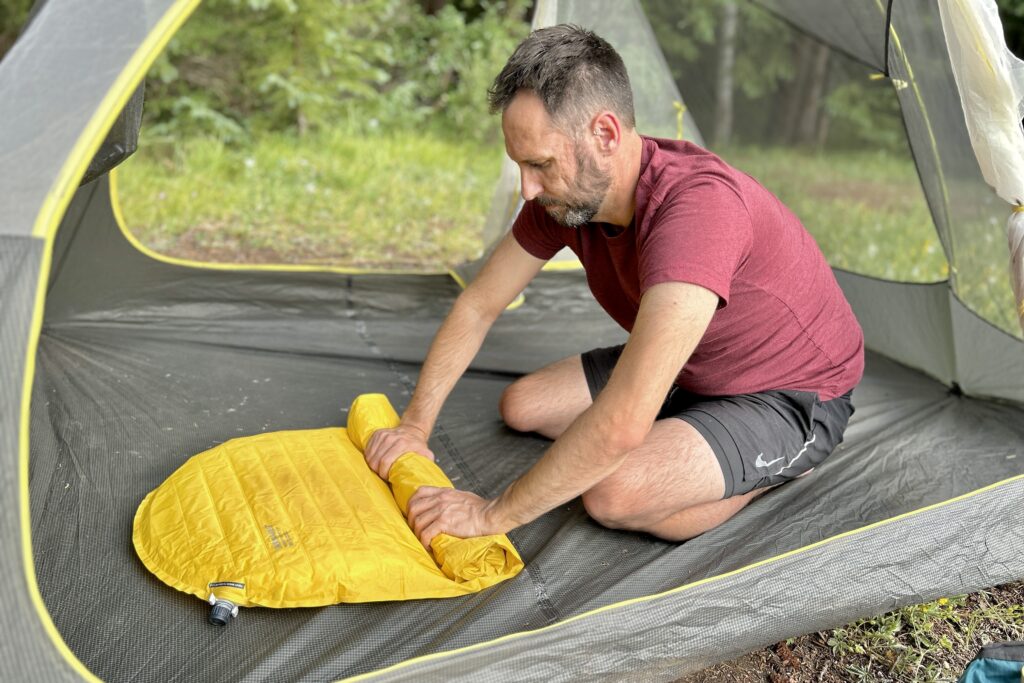
Your sleeping pad is another key factor to consider when minimizing weight and bulk. With chilly nighttime temperatures in the Sierras, you’ll also want to ensure you’re insulated from the cold ground. It’s also a lot of granite, sharp granite. So we recommend a durable, insulated sleeping pad with an R-value (warmth rating) of 3 or higher.
Our top pick among backpacking sleeping pads is the Therm-a-Rest NeoAir XLite NXT, which offers exceptional warmth and comfort for its weight. If you’re a cold sleeper and you’re hiking during shoulder season, you may even want a 4-season pad with an R-value of 5 or higher, like the Therm-a-Rest NeoAir XTherm.
We also have a lineup of other top picks in our best sleeping pads gear guide.
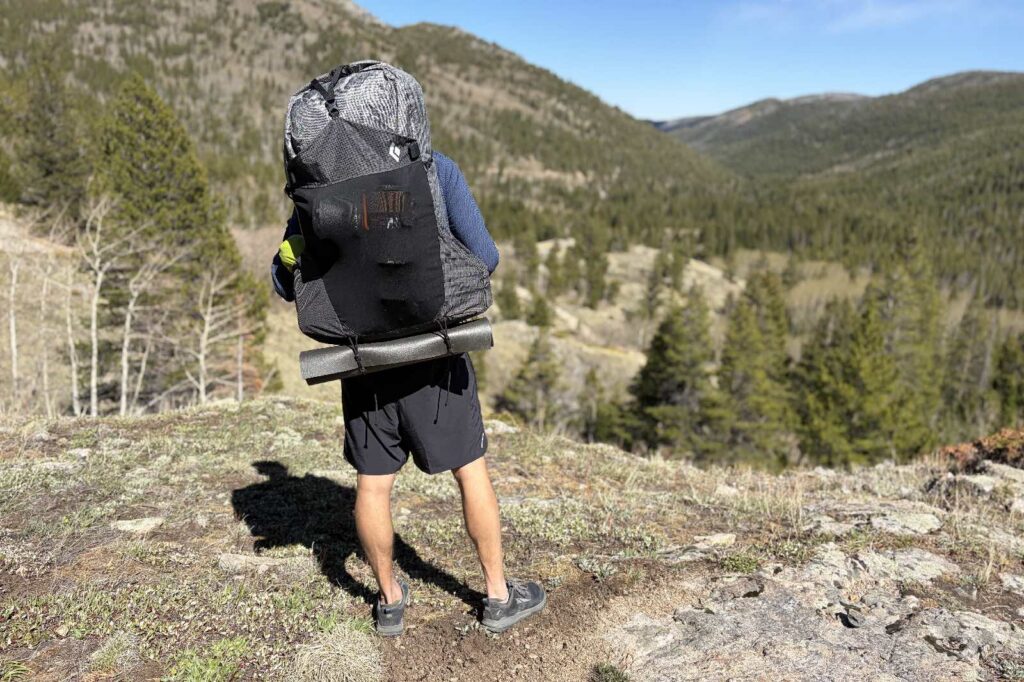
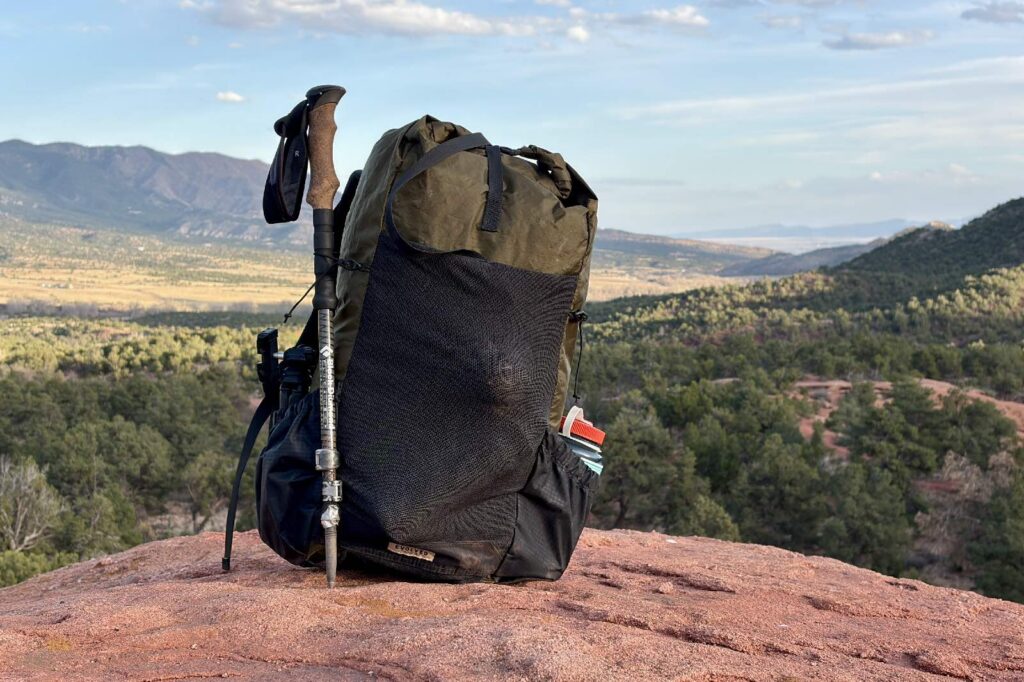
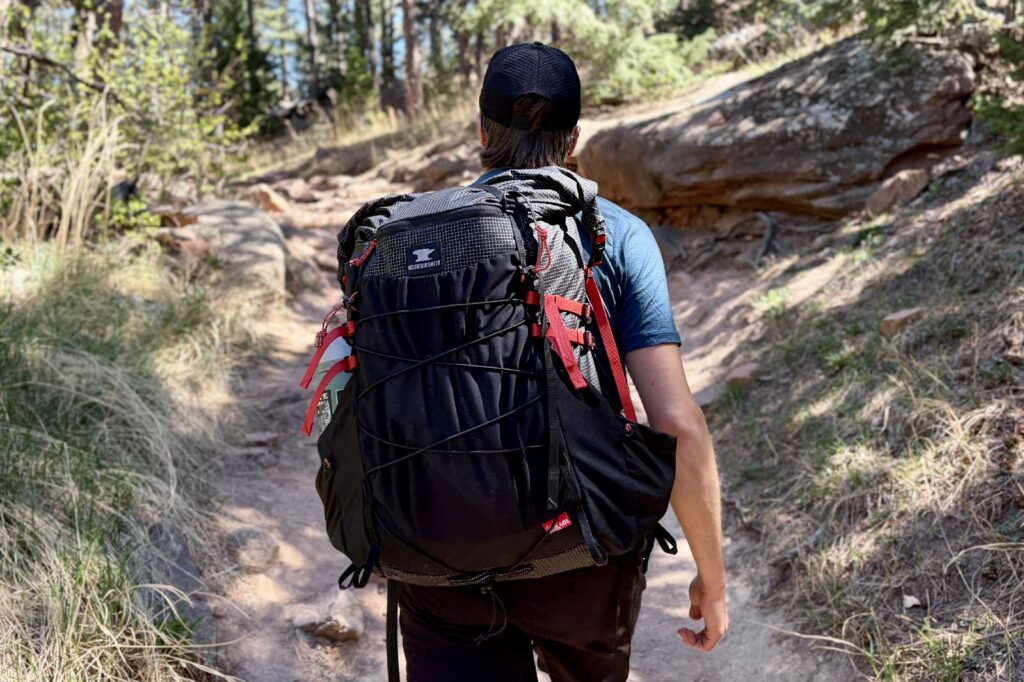
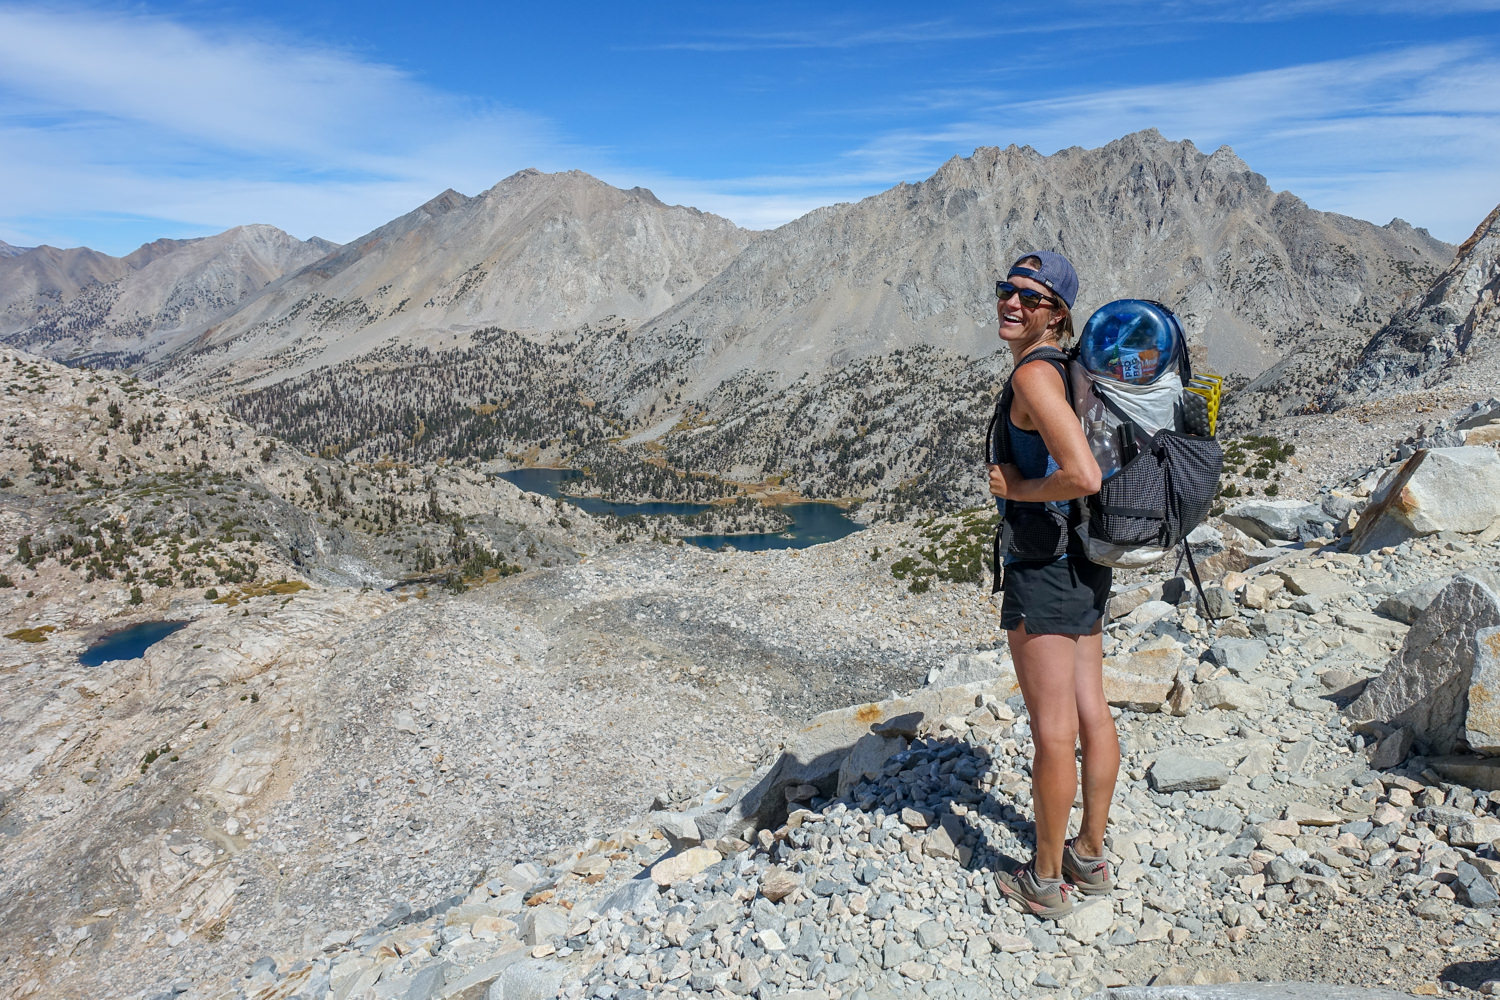
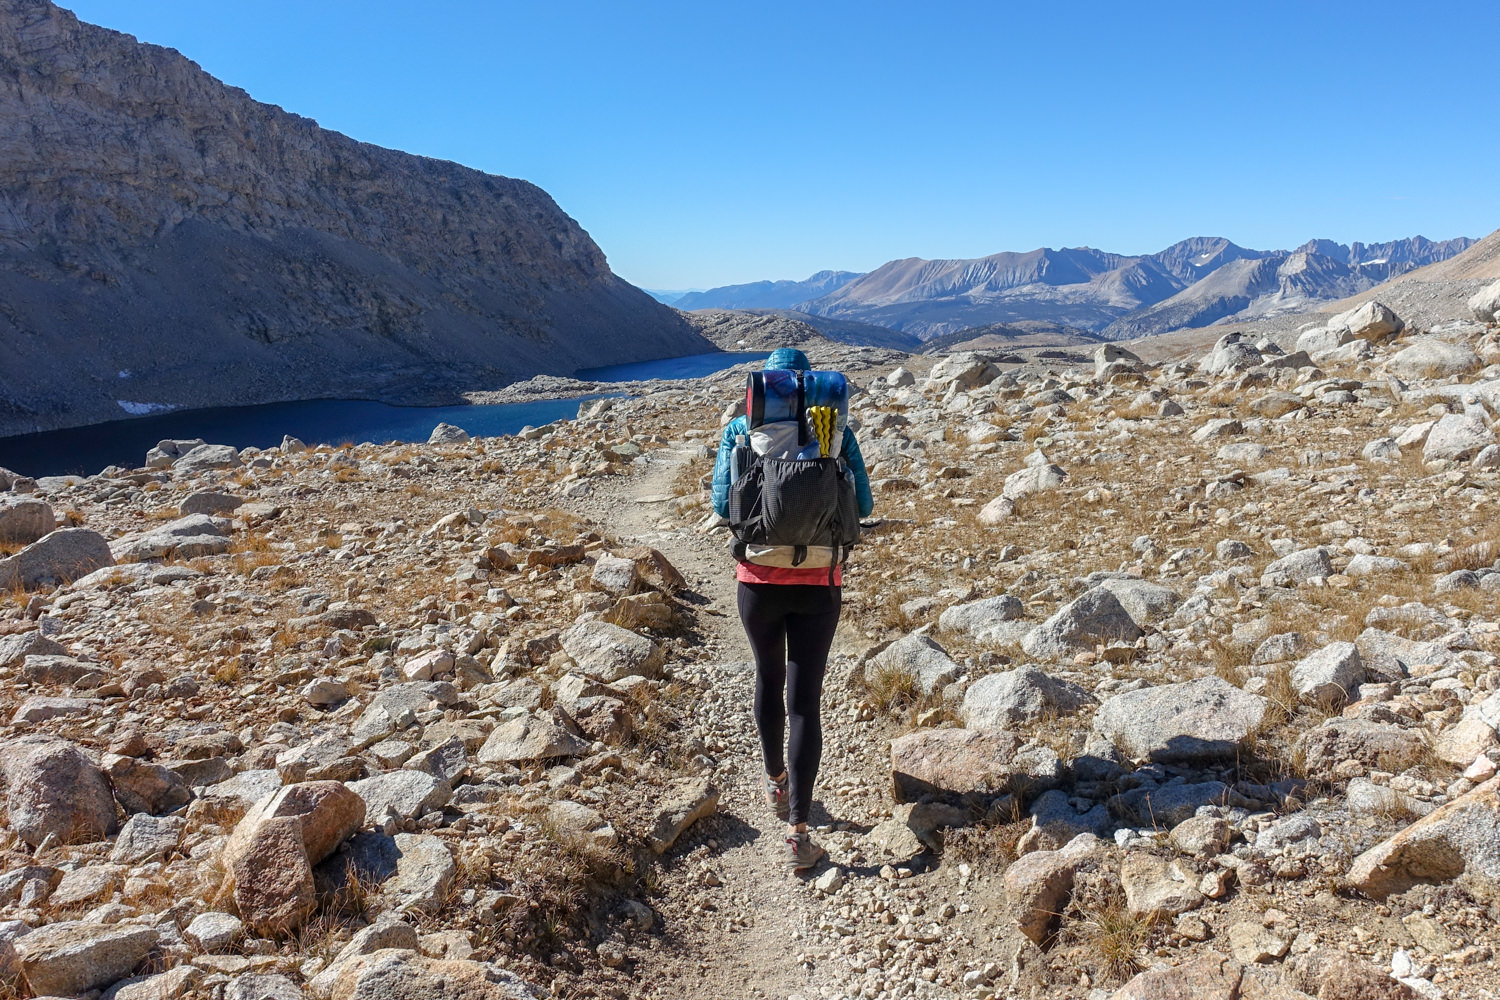
Backpack
Your backpack is the final item in the big four. We prefer lightweight backpacks under 2 pounds (so long as our gear is under the pack’s weight limit). There are also many solid backpacks in the 2-3 pound range rated for slightly heavier loads, but we wouldn’t recommend a pack over 3 pounds for the JMT if you can avoid it.
The key to a lightweight pack is to minimize the weight and bulk of its contents. Lightweight packs have simple frames (or no frames at all) that are usually excellent up to 30 pounds. But if you load them down with much more than that, they’ll quickly become uncomfortable and can wear the pack out faster.
Our top recommendations for lightweight backpacks are the Hyperlite Mountain Gear 40 & 55, Gossamer Gear Gorilla 50 or Mariposa 60, and the ZPacks Arc Blast (but only if your gear has a base weight of 10 pounds or less).
For more of our favorites, check out our guide to the best backpacking backpacks and guide to the best ultralight backpacks.
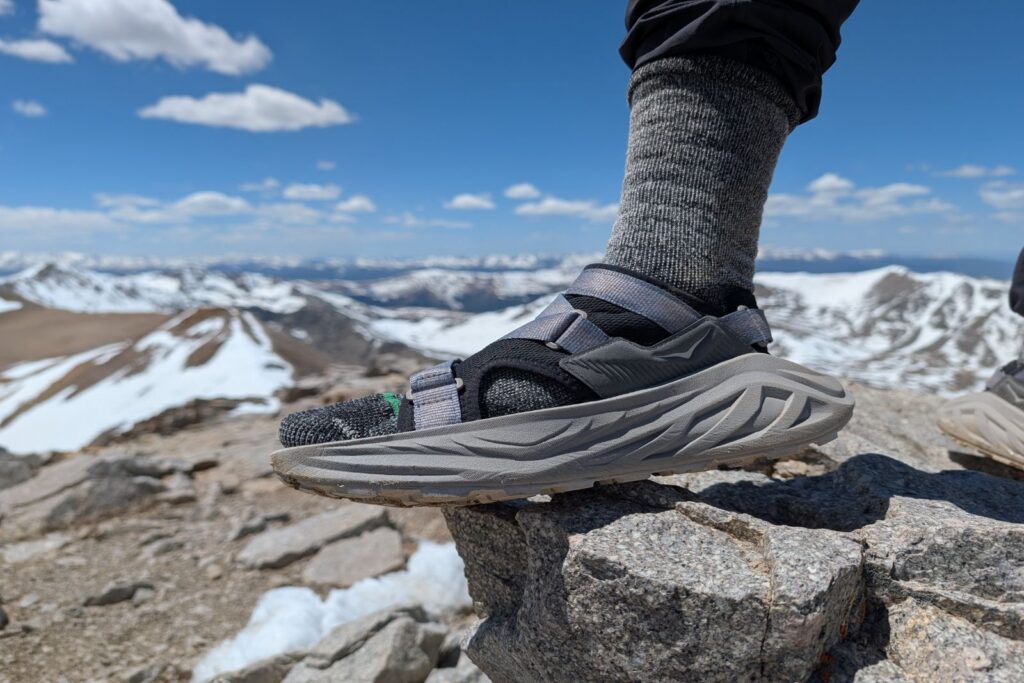
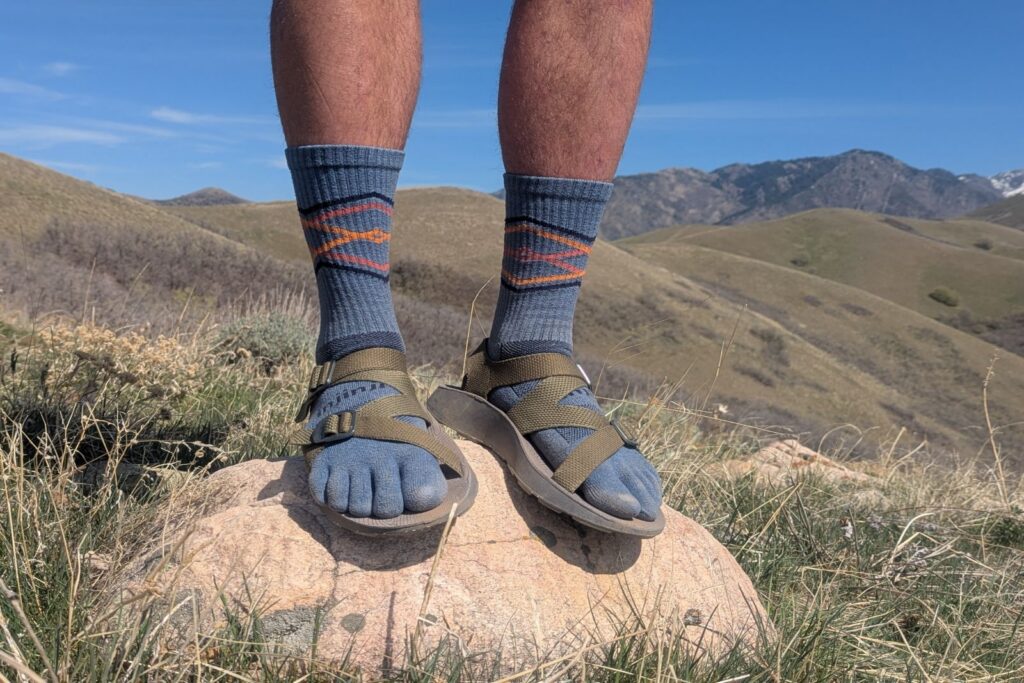
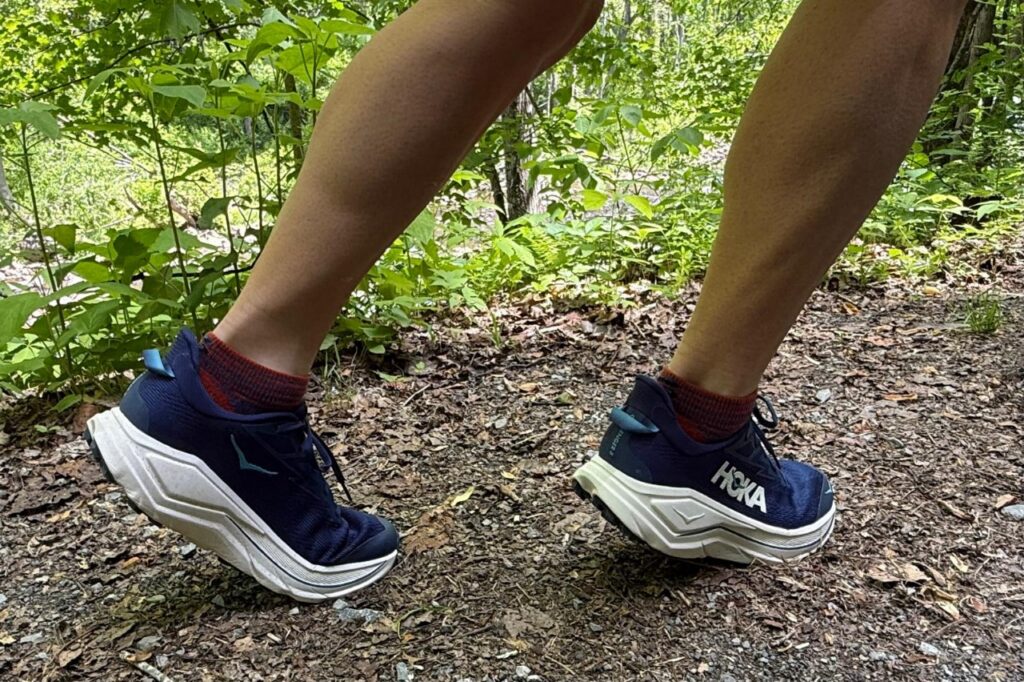
Footwear
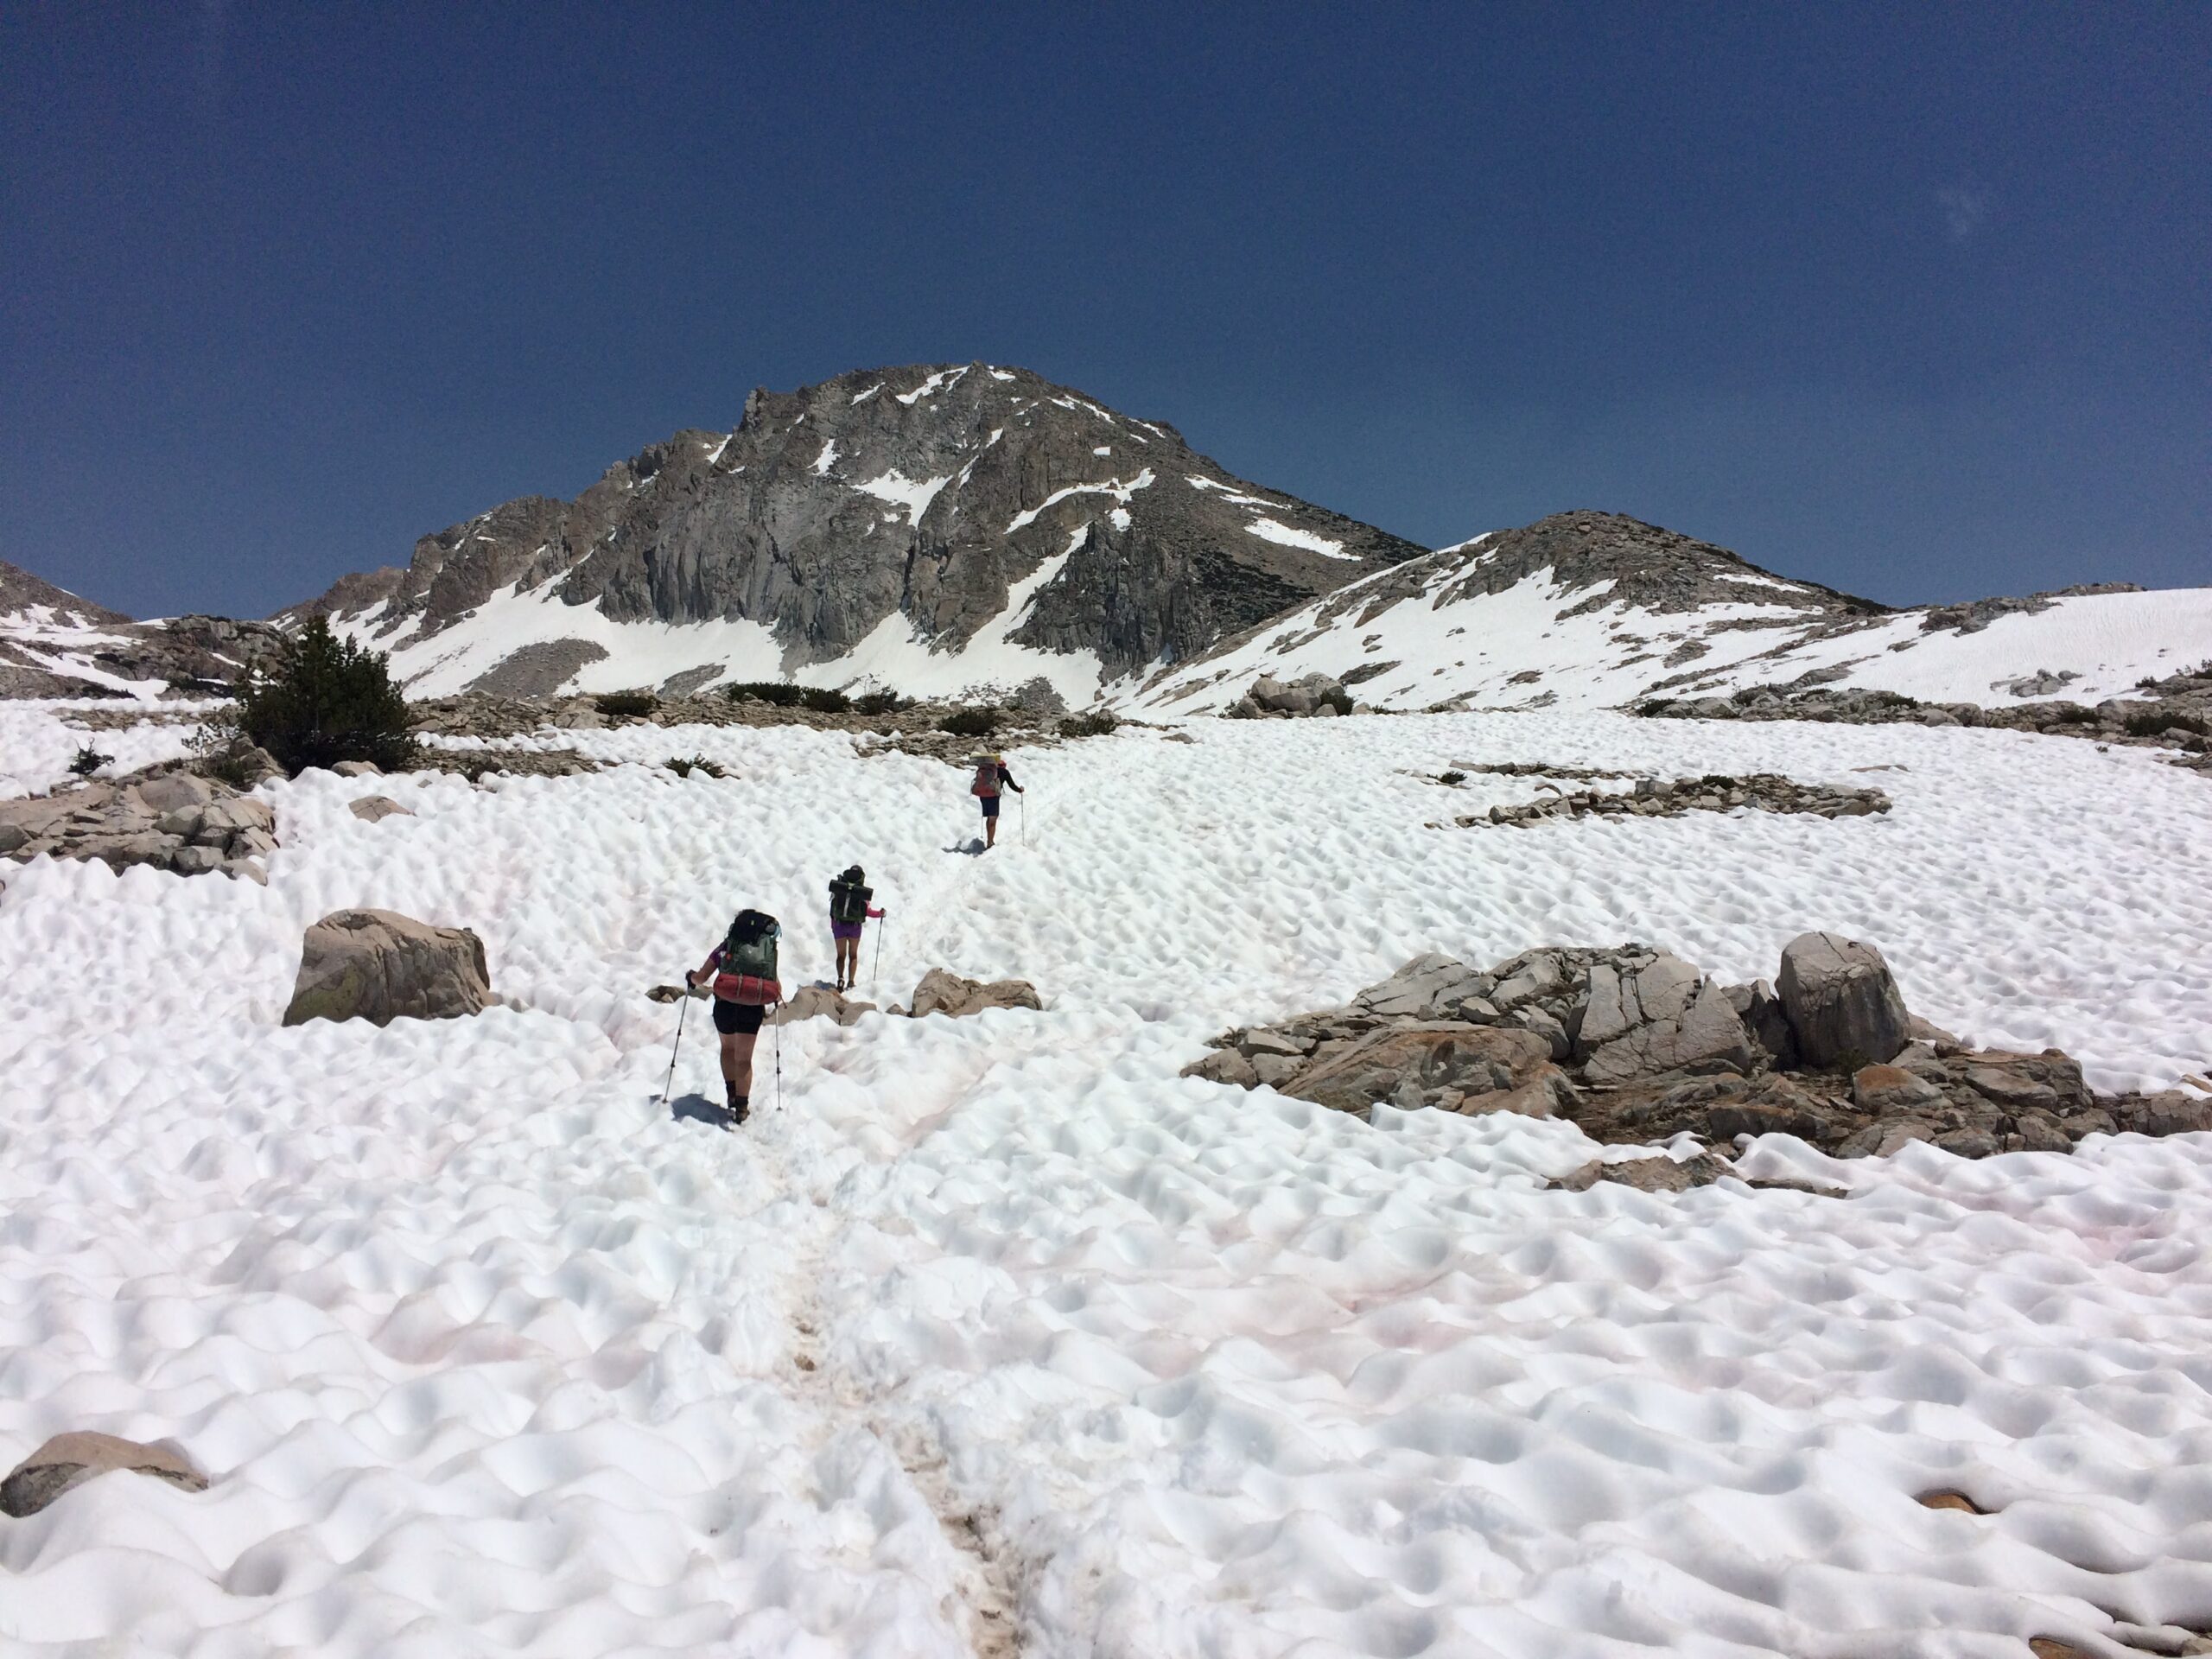
The JMT is well-maintained and well-traveled. There are stream crossings, and some of our staff encountered high water and snowfields on their trips. Depending on the season and timing, you may want to add microspikes to your footwear. We also didn’t bring any camp shoes and just went barefoot or wore socks around camp. Not saying we don’t love a camp shoe, in fact, we have a whole article on our favorite camp shoes.
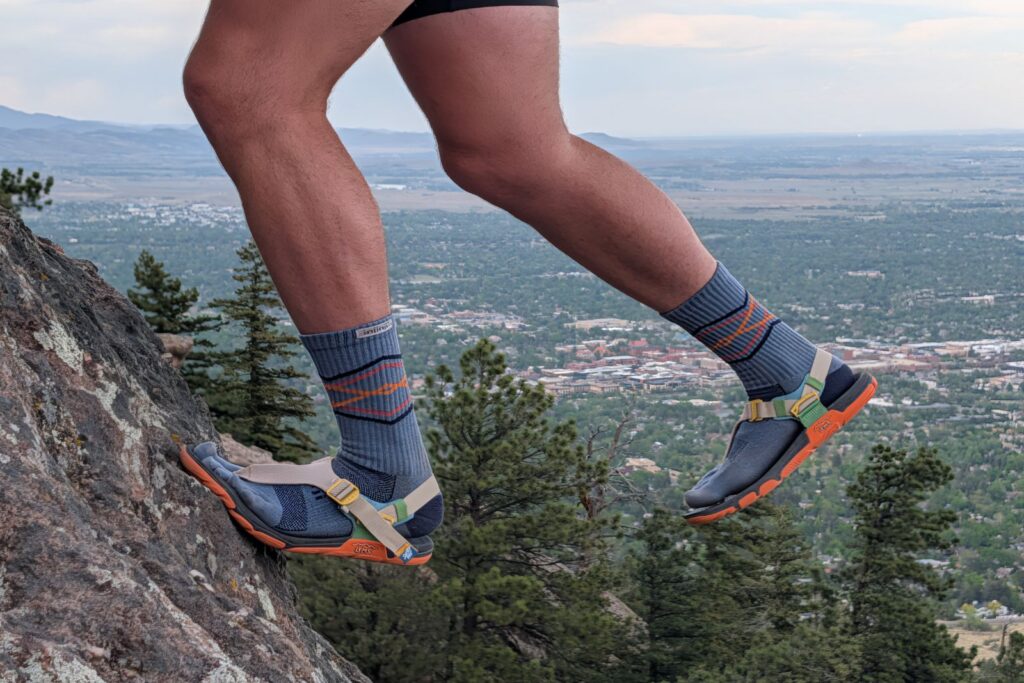
On well-maintained trails like the JMT, we almost always wear trail running shoes. Boots have their place, but if you’ve never tried hiking in trail runners, it might be worth considering our 5 reasons to ditch your hiking boots. However, if you need the support of a high-ankle shoe or boot, check out our guide to the best hiking boots (men / women).
For the JMT, our group wore Saucony Peregrines (men’s / women’s) and Brooks Cascadias (men’s / women’s). They were a great balance of support, breathability, and low weight.
For more recommendations on hiking footwear, check out our guide to the best hiking shoes.
Rain Gear
Compared to most mountain ranges, hiking in the Sierras during peak season tends to be clear and dry. On one of our JMT thru-hikes in late June, it didn’t rain a single day. That said, rain gear is a critical piece of safety equipment and doubles as a wind/warmth layer. Protecting against hypothermia is one of your most important safety considerations.
We recommend choosing a lightweight rainshell and pairing it with a warm puffy coat (see below). We brought the Patagonia Torrentshell 3L (men’s / women’s) and the Outdoor Research Foray (men’s / women’s).
If you’re looking to go as minimal as possible, check out our guide to the best rain jackets for ultralight options.
For rain pants, consider them optional if your trip is scheduled for high summer. If you are edging into shoulder season, they are a must. See our guide to the best rain pants if that’s you.
Umbrellas: Our Gossamer Gear Lightrek umbrella has kept us drier in extended rain and hail better than any rain jacket ever has. No joke. Because we hiked the JMT in the dry season, we just didn’t bring it.
Puffy Coat
A lightweight and warm down jacket is a key piece of gear for any backpacking trip. Even on warm summer adventures, as soon as the sun goes down or you flip to the shady side of the mountain, you’ll want to throw on your puffy.
A good backpacking puffy is lightweight, warm, and packs down to a very small size. Some of our favorite down jackets are the MontBell Plasma 1000 Alpine Down Parka and Mountain Hardwear Ghost Whisperer (men’s / women’s).
For warmer summer trips, we really love Patagonia’s synthetic Nano Puff Hoody (men’s / women’s).
For more recommendations, check out our guide to the best down jackets.

Fleece Jacket
A lightweight fleece can be very useful in a clothing layering system. On cold, wet trips, a fleece will come in handy because it stays warm even when wet and can be worn under your puffy coat and rain shell.
For summer backpacking trips on the JMT, we skipped a fleece jacket. But on shoulder season trips with lower temps and possibly moody weather, other staff definitely did.
Some of our top lightweight fleece recommendations include the Patagonia R1 Air Hoodie (men’s / women’s) and Outdoor Research Vigor line (men’s / women’s).
Clothing
Packing too much clothing is a common mistake that leads to a lot of unnecessary weight on trail. Instead, pack clothes you can layer easily and avoid bringing two items that serve the same purpose.
Bring quick-dry synthetic clothing you can rinse and try to keep a set of clothes clean and dry for camp. Here are some clothing items we brought for the JMT:
- 1 Hiking pants – (see: men’s / women’s)
- 1 Hiking leggings – (see: women’s leggings guide)
- 1 Hiking shorts – (see: men’s / women’s)
- 2 Hiking T-shirts – (like: REI Active Pursuits)
- 1 Long-sleeve sun shirt – (see: guide to the best)
- 3-4 Pairs of underwear – (see: men’s / women’s)
- 3 Pairs hiking socks
- Sock liners (if wearing boots)
- Camp socks
- Long underwear – worn in camp and during cold morning starts
- Warm hat
- Buff
- Sun hat
- Liner gloves / mittens
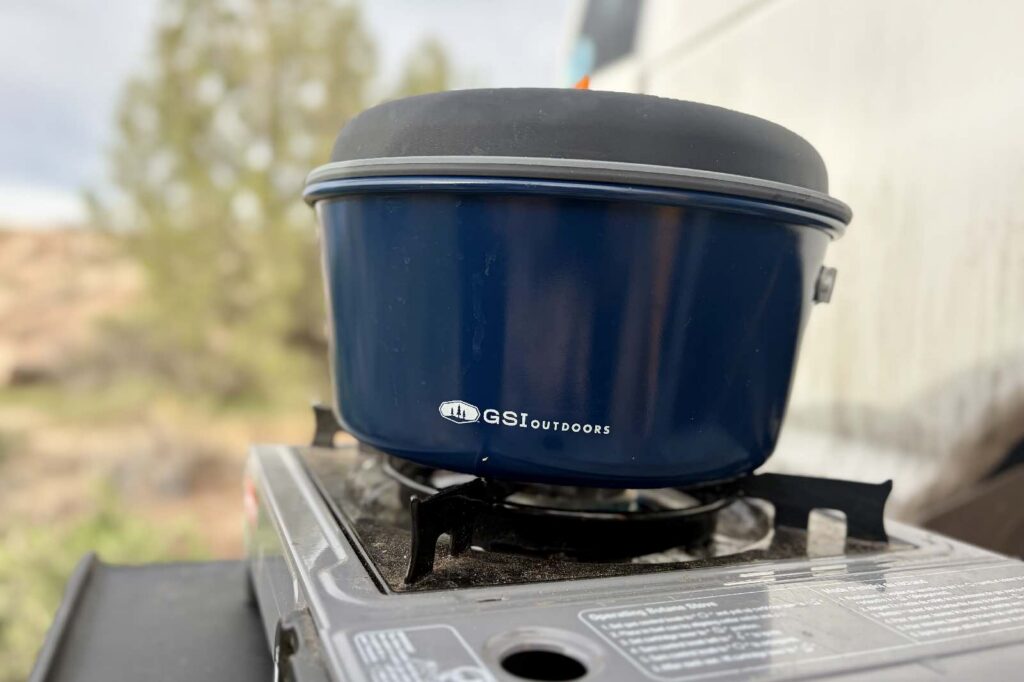
Stove & Pot
If you value speed and convenience, an integrated canister stove system, such as the Jetboil MiniMo, Jetboil Flash, or MSR WindBurner, is a good option.
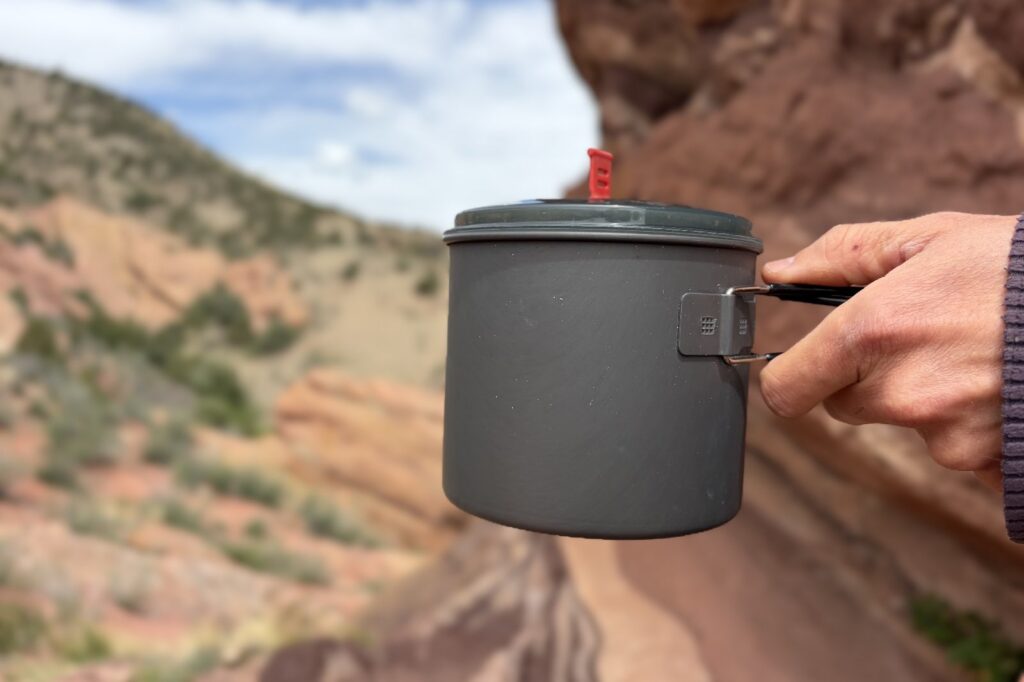
On a strenuous trip like the JMT, we chose to cut the weight by about half and brought the BRS Ultralight Stove and the Snow Peak Mini Solo Cookset. This combo isn’t as fast, easy, or fuel-efficient as a Jetboil, but it’s lighter and less bulky.
You could also use a popular, durable, and trustworthy canister stove like MSR PocketRocket 2 and pair it with any ultralight pot system.
For more options, check out our best backpacking stoves and best backpacking cookware guides.
Spoon & Cup
If you’re preparing your own meals or enjoy a cup of coffee in the morning, you’ll want to pack a lightweight cup, which can double as a bowl for meals.
You’ll also want to bring a durable spoon. We brought a Toaks long-handle spork, which is A+ for eating out of freeze-dried meal pouches. We plan simple meals in the backcountry, so we don’t bring a fork, and if we need a knife, we have our Swiss Army.
For more recommendations, see our guides to the best camping utensils and best pocket knives.
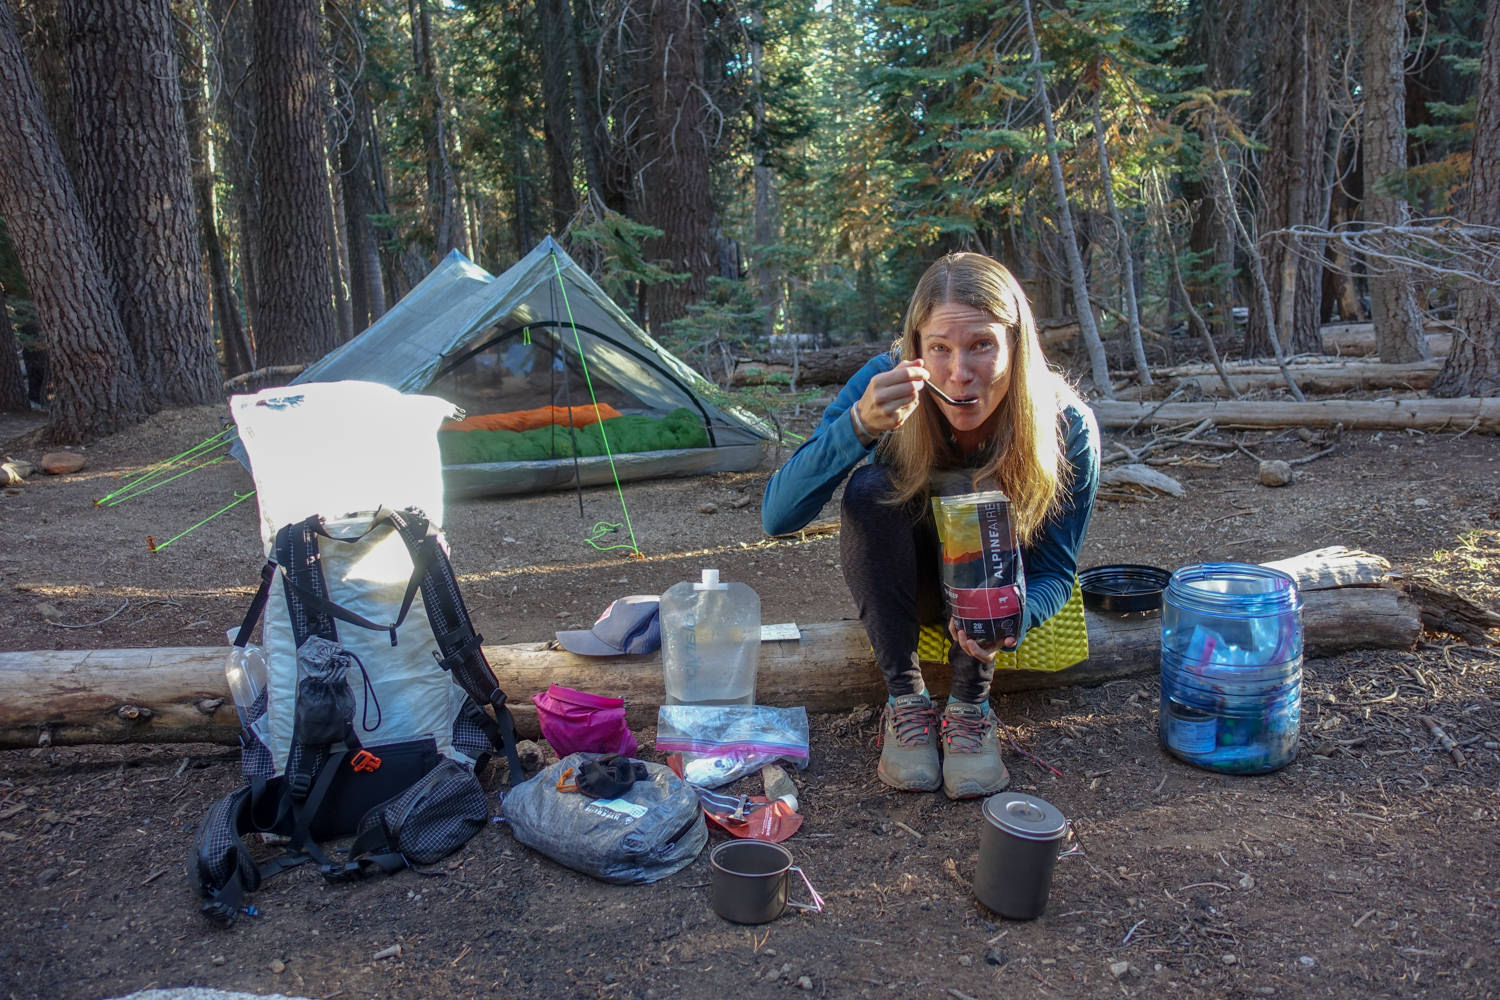
Food
Hiking the JMT is hard work, and some of our staff have underpacked on the JMT and had to bum a couple bars off of other hikers to make it to their resupply. It wasn’t pretty. To avoid that, you’ll need a lot of calories – 3,000-5,000 per day – to sustain you on the trail. Because you’ll be out for 2-3 weeks, you’ll need to stop and resupply at least a couple of times (more info on resupply in our Complete John Muir Trail Guide).
As you prepare your food plan, check out our Lightweight Backpacking Food Guide. Lightweight meal options such as freeze-dried meals, mashed potatoes, couscous, and other easily rehydrated foods are common on the trail.
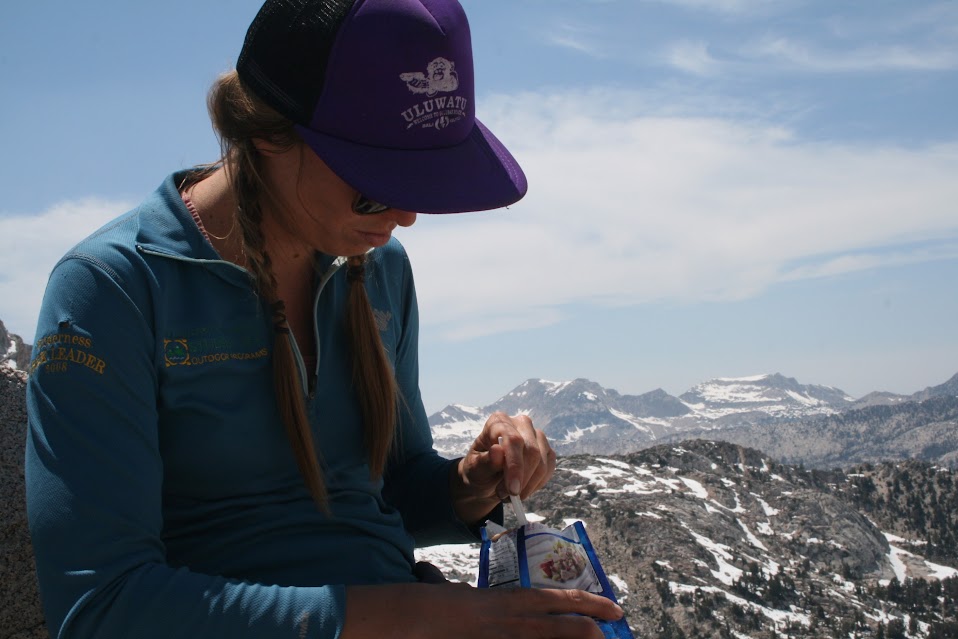
We recommend packing calorically dense foods such as energy bars, chocolate, olive oil, peanut butter, and nuts to supplement your meals. Remember, variety is key in your food plan – you don’t want to be 4 days in and hate everything you are carrying – this happens, and it’s not fun. Hiker boxes are at resupply points if you want to swap out your tired options for someone else’s.
It’s important to not only consider weight but also bulk on your JMT hike. You’ll have to fit all of your food into a bear canister (it’s the law), so you’ll want to avoid food that is too bulky, like bagels and chips. To help with food prep, we recommend repackaging food items into Ziploc bags.
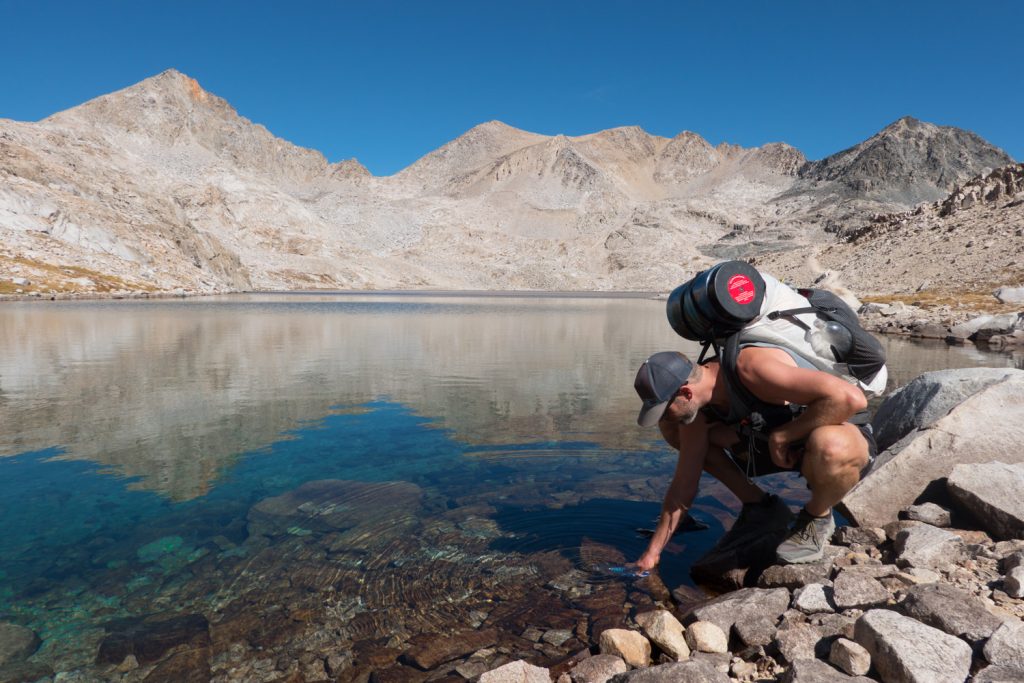
Water Filter / Purifier
Water is plentiful and easily accessible along the John Muir Trail. There were only a few places where we had longer carries (check your maps to know when).
Most water sources in the Sierras are clear and free of sediment, so we chose to use a SteriPEN Ultra as our primary water purification method. The SteriPEN is lightweight, works quickly, and requires no pumping, squeezing, or chemicals. Its battery covers about 5 days of water for two people, but we also brought a lightweight power bank and chlorine dioxide tablets as backups.
Another popular, affordable option is the Sawyer Squeeze, which is lightweight and convenient. Whatever purification method you choose, we recommend bringing some chlorine dioxide pills as a backup in case your main filtration system malfunctions, clogs, breaks, or loses power.
See our guide to the best water filters for more recommendations.
Headlamp
While one of our staff noted she not once turned on her headlamp for the entire JMT, they are essential should s$%t hit the fan. A small headlamp like the Petzl Actik Core is a bright and lightweight option.
Make sure to test your headlamp batteries before you set out, and bring a small backup light source if your smartphone doesn’t have one.
Check out our guide to the best headlamps for more recommendations.
Camp Pillow
Finding the right camp pillow can make all the difference in getting a good night’s sleep.
After years of wobbling around on inflatable pillows, we’ve found our favorite option is the HMG Large Stuff Sack Pillow. It’s featherlight and comfortable with a soft fleece layer against your face. We stuff our down jackets into the pillow, and that makes it feel as close to our bed at home as we’ve found.
We have lots more to say about camp pillows in our review of the best backpacking pillows.
Trekking Poles
There’s a lot of elevation gain and loss on the JMT, so many hikers find trekking poles helpful in reducing strain on their knees during long ascents and descents.
They are also key for water crossings in the springtime. Plus, if you’re using an ultralight shelter, trekking poles can often double as tent poles, which saves quite a bit of weight. We like them a lot, but consider the pros and cons of hiking with trekking poles, and then check out our guide to the best trekking poles for our trail-tested recommendations.
Map & Compass
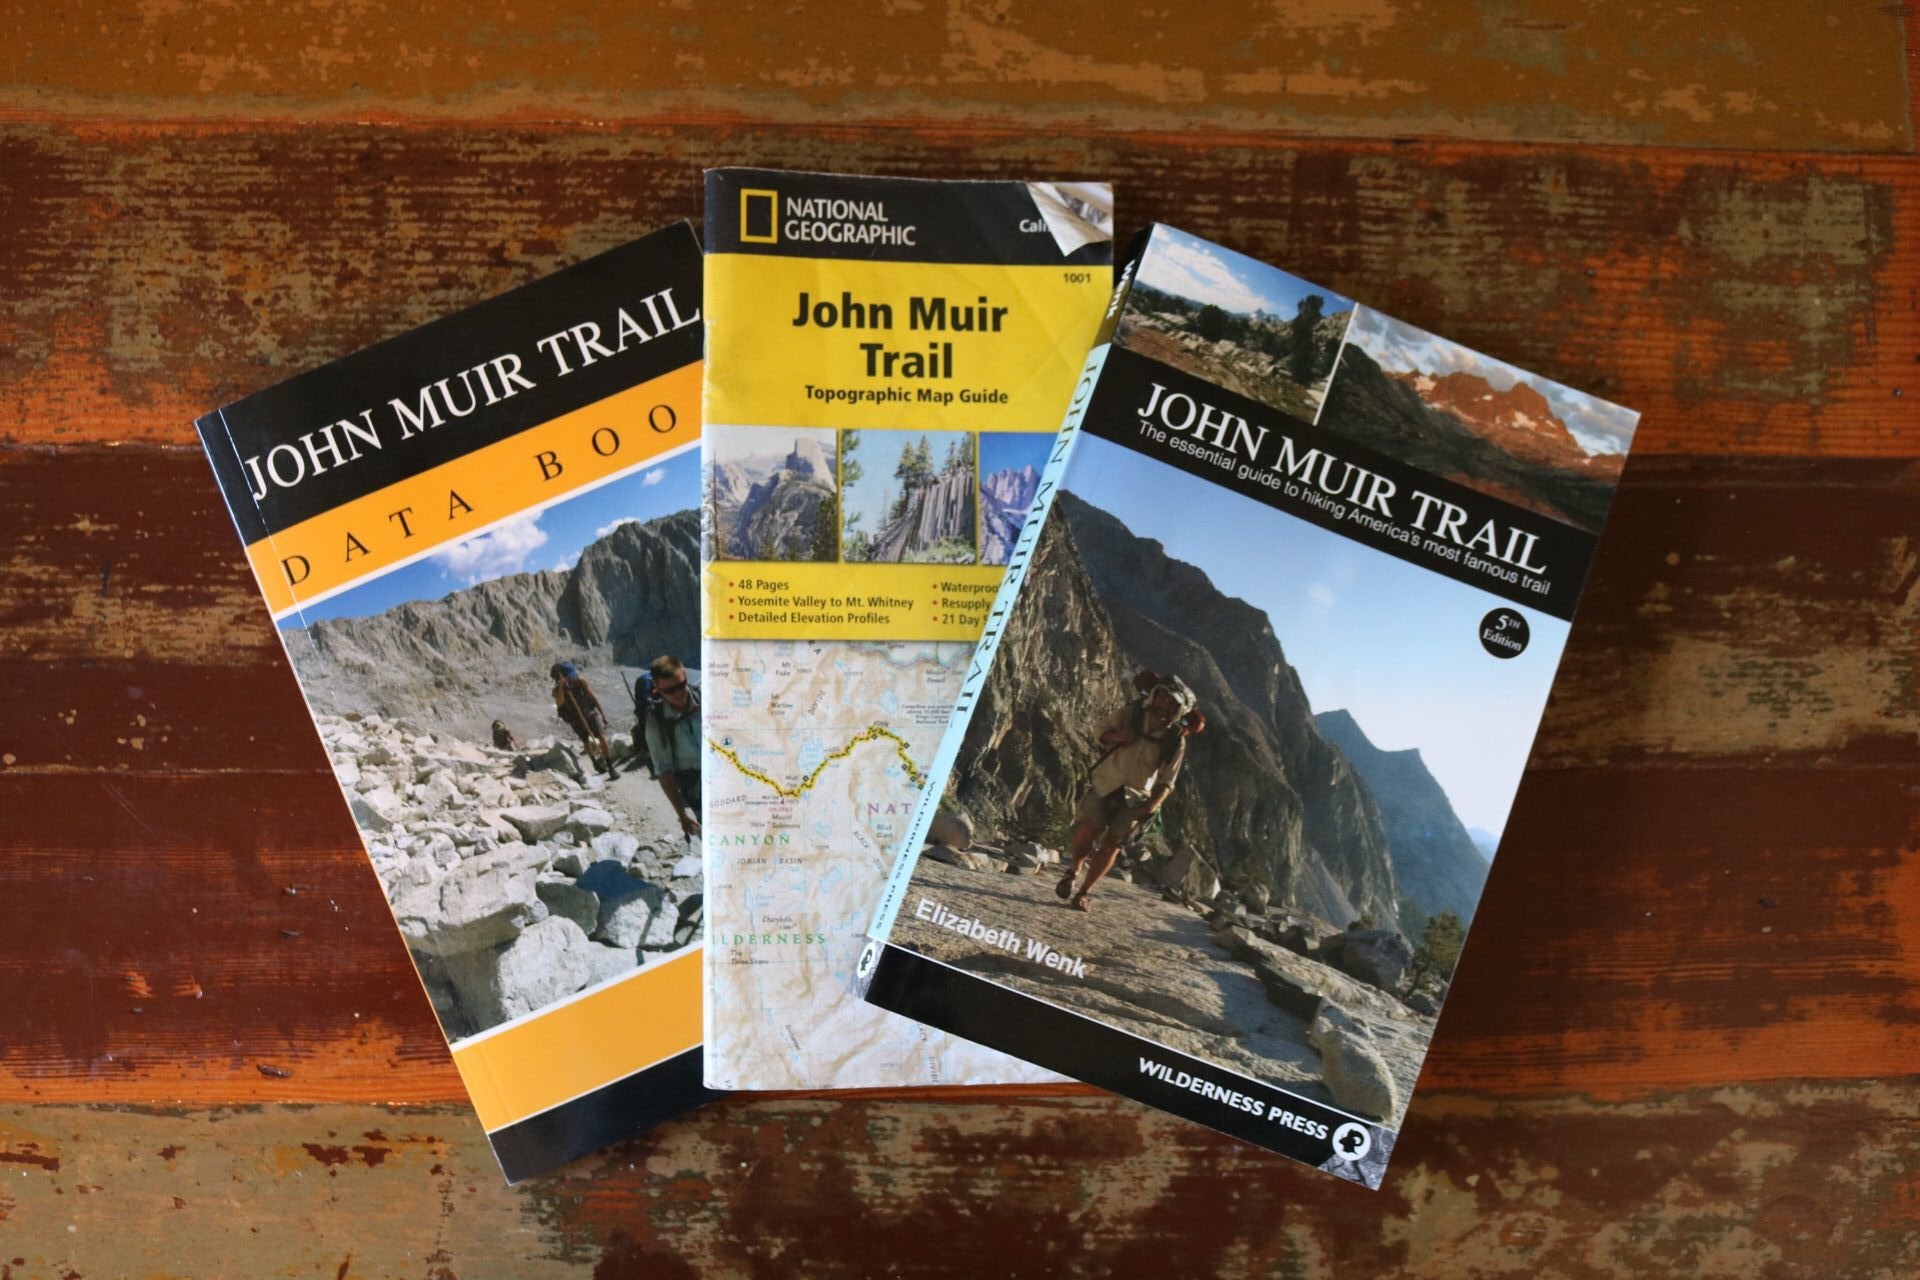
National Geographic offers an excellent John Muir Trail Topographic Map Guide, which is a 48-page pamphlet style set of maps. They’re waterproof, compact, and provide important information on mileage, water sources, resupply locations, campsites, and much more. We used it every day on the trail and thought it was an excellent resource.
Another option is the John Muir Trail Pocket Hiking Atlas, which is a great on-trail resource. In addition to topo maps, we always hike with a compass just in case. And if you know the concept but maybe wouldn’t feel 100% having to actually use it on trail, we’ve got you covered with a quick video tutorial on how to use a map and compass.
Guidebook
Before you set foot on the JMT, you’ll most likely have spent many hours planning and preparing for your hike. We found that the John Muir Trail: The Essential Guide to Hiking America’s Most Famous Trail and the accompanying John Muir Trail Data Book were instrumental in our planning. Although we decided to leave the data book behind, we still used it extensively for the planning phase.
GPS & Phone Apps
Almost every thru-hiker you run into on the John Muir Trail will have a FarOut JMT App downloaded on their phone. It’s a great GPS resource that’s user-updated to give on-trail information regarding water sources, campsites, and other helpful tips.
Be aware that it occasionally has campsites listed that do not follow National Park or LNT guidelines. Always ensure your campsite follows Leave No Trace guidelines to minimize impact.
Other GPS apps we like are GaiaGPS, Cal Topo, and OnX. See our article on how to use GPS apps for backpacking to make the most of it on the JMT. Practice on short trips and trails before you leave for the crown jewel.
Camera
You’ll be hiking across some of the most beautiful terrain in the United States. If you are at all inclined to take high-quality photographs, this is the trail to do it.
We absolutely love our Sony RX100 VI for trips like the JMT. This camera is widely considered the best point-and-shoot camera available. It’s got a huge sensor for a camera of its size and excellent zoom. If zoom isn’t super important to you and you’re looking to cut the cost significantly, the Sony RX100 III is also a great option.
Small Towel
A bandana and the PackTowl Luxe are great for cleaning up after a day on the trail. Proper hygiene will not only keep your tent mate happy, but you’ll feel far better and more refreshed as well. Remember, never wash directly in water sources. That’s harmful to wildlife and the ecosystem. Instead, walk 200 feet away and take a 1-2 liter water bottle shower using your bandana as a washcloth. We do this every day after hiking and it feels great.
Toilet Paper, Trowel & WAG Bags
You’ll need to pack in and pack out all of your toilet paper on the JMT. We recommend storing it in a small Ziploc bag to make sure it stays dry and well-sealed. Always use a trowel and dig a proper cat hole at least 6-8 inches deep. Remember to find a place 200 feet from water sources.
There’s also a section of trail in the Whitney Zone where you’ll need to do your duty in a WAG bag and carry it out. It’s actually not as gross as it sounds – there’s a deodorizer in the bag which neutralizes the smell. If you’re picking up your permit in Yosemite, they may give you a wag bag kit to carry with you on your hike. You’ll understand why this is so necessary when you see how many people visit the Whitney Zone every day. Solid human waste takes a long time to decompose at high altitude, and nobody wants a minefield of cat holes. Check out our article, How to Poop in the Woods, for more tips.
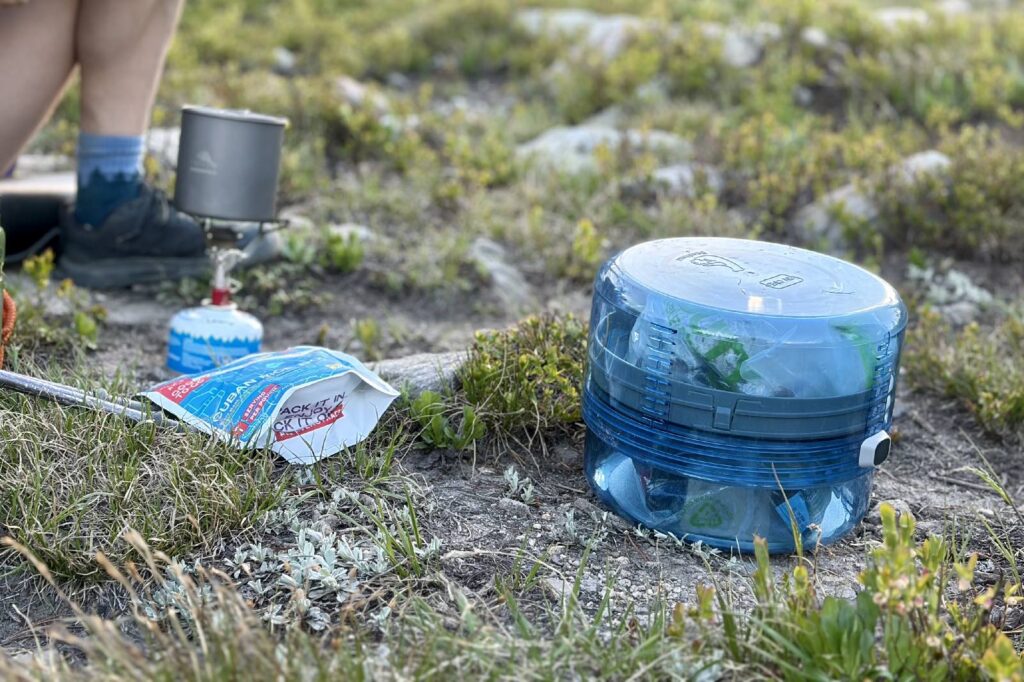
Bear Canister
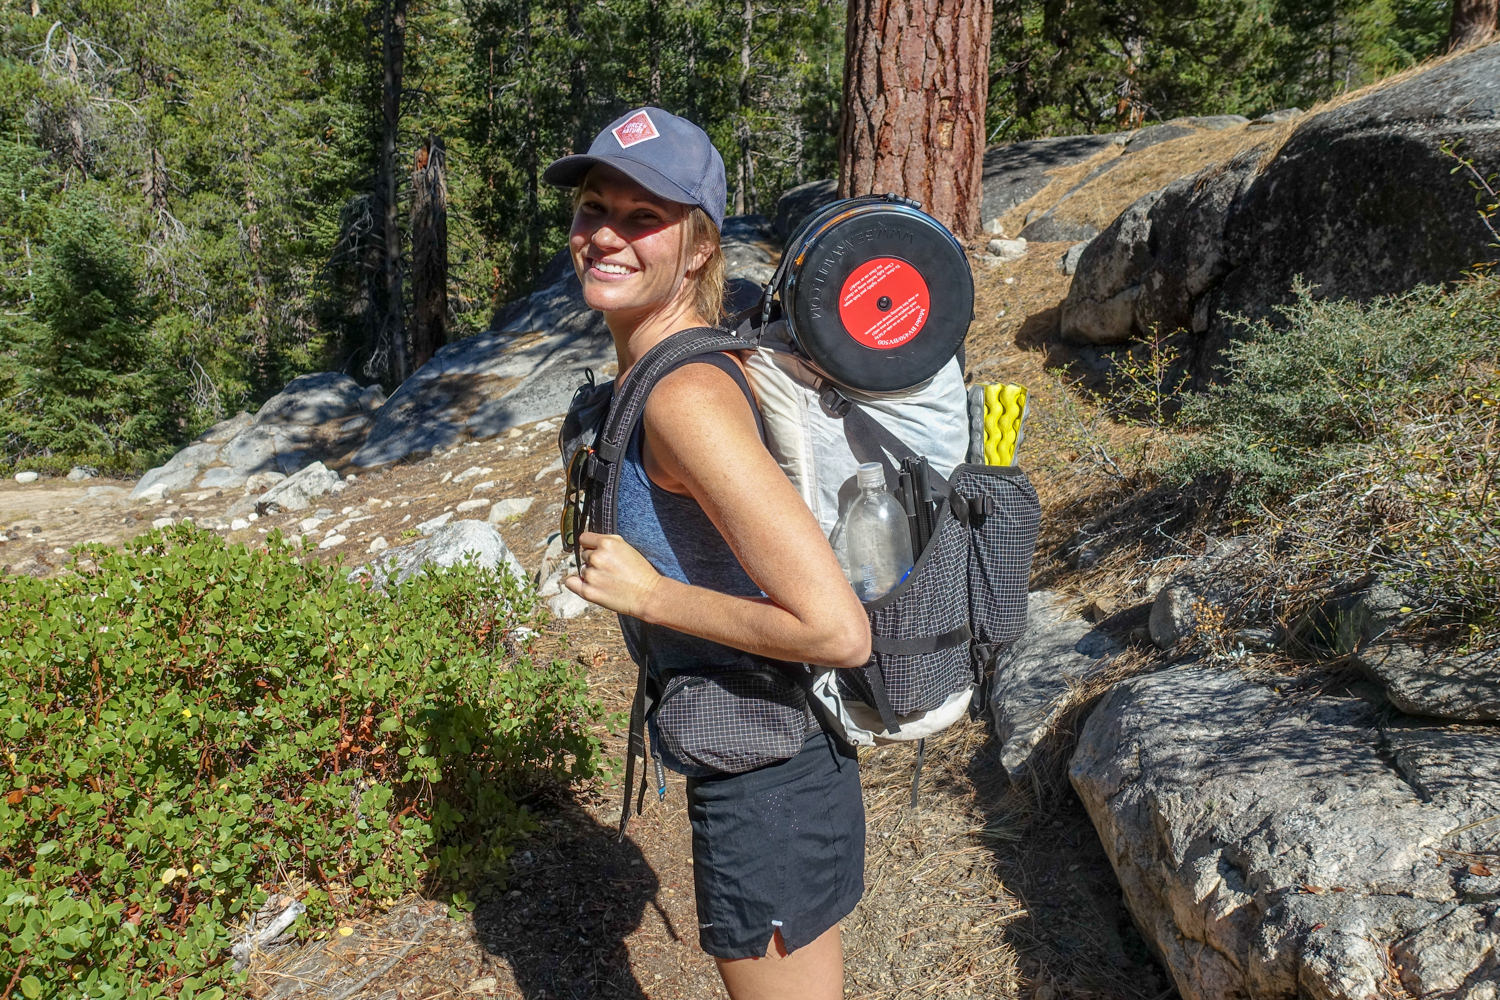
All JMT hikers must carry and store all their food and scented items (toiletries, trash, etc) in an approved bear canister for the entire route. We love the Bear Vault BV500 Food Container, and it was a great size for our resupplies. At night, simply place your locked bear canister about 100 feet away from your campsite. Just make sure to avoid placing it near rivers, lakes, or cliffs in case an animal does knock into it in the night.
Though most people store bear canisters inside their backpacks while hiking, we found it convenient and comfortable to strap them to the top of our packs. Just be careful with any food you don’t want to melt in the sun.
Check out our guide to the top food storage canisters for this year’s reviews and recommendations.
Hand Sanitizer
We always hike with a small container of hand sanitizer in our hipbelt pockets. We use it before snacks and meals, as well as after going to the bathroom.
Insect Repellant
Depending on the time of year, mosquitoes can be ferocious on the JMT. July and August are typically the worst months for bugs, and the worst locations are typically Tuolumne Meadows to Edison Lake and the Rush Creek drainage.
If you’re going to be hiking the JMT during the spring or summer, we recommend being as prepared as possible. Spray your clothing with permethrin prior to your hike and carry a small container of Picardin Lotion (our choice) or DEET to protect yourself.
Power Bank
If we’re going on a backpacking trip for more than a couple of days, we usually carry a small, lightweight power bank. Items such as your phone, camera, or headlamp may all run out of battery, so it’s good to have a backup. We like the Nitecore NB 10000 and it has come in handy quite a few times.
See our guide to the best power banks for more tested and reviewed favorites.
First Aid Kit
A small personalized first aid kit is essential for all backcountry trips. We used the Ultralight .7 Kit and added extras, like painkillers and personal medications. Adding extra Band-Aids and blister remedies to your kit is also a good idea for a trip like the JMT.
Sun Protection
Sun protection is an absolute must for every backpacking trip. Even on cloudy days you’ll want to wear sunglasses (Goodr OGs are our faves), sunscreen, and SPF lip balm.
Gear Repair Tape
Tenacious Tape is a fantastic tool that should go with you on every backpacking trip. It can quickly fix a popped sleeping pad, a tear in your tent, or seal up ember burns in your puffy coat. We also bring a small roll of duct tape (wrapped around a pencil, lighter, or water bottle) for quick gear repairs or heavy-duty blister protection.
Pocket Knife
We brought along a small Swiss Army Knife which comes in handy from time to time. Some hikers consider tools like this optional, but we think it’s always good to have a small knife and a few tools (tweezers, toothpick, can opener, etc). Check out our lists of the Best Pocket Knives and Best Multitools for more of our top picks.
Waterproof your backpack
Sleeping in a wet sleeping bag is the pits. Always waterproof the important gear stashed in your backpack on rainy days. We bring a large garbage bag or two in case the weather turns foul, and we need to line the inside of our backpacks.
We also like using lightweight waterproof stuff sacks for organization, which makes waterproofing easy. Our favorites are HMG Waterproof Stuff Sacks and Sea to Summit Ultra Sil dry bags.
Permits
You’ve scored a JMT permit – congrats! That’s no easy feat. Now make sure you have that bad boy on you and in an easily accessible location. You might need to show it to multiple park rangers along the way.
Toiletries
Don’t forget things like a travel toothbrush, toothpaste, contact lenses, personal medications, and any other small toiletries you may need.
Games, Books & Journal
Although you’ll most likely be exhausted after long days of hiking, we always found it great to have some lightweight entertainment with us. We wrote in our Rite in the Rain All-Weather Journals almost every night. There were a few people with Kindles on the trail as well.