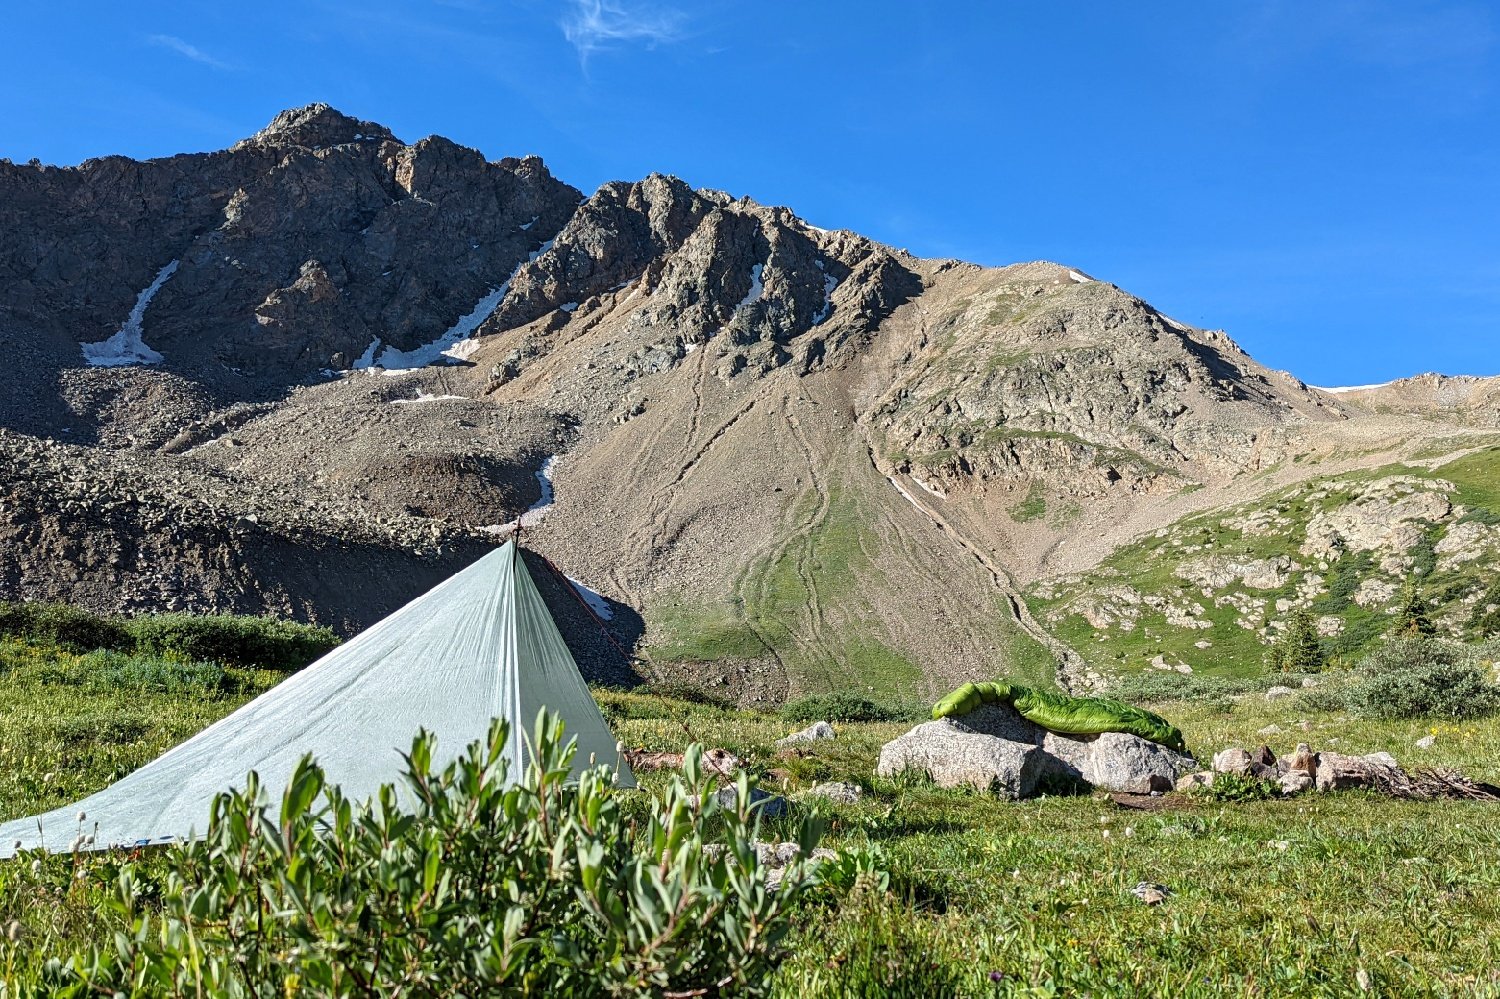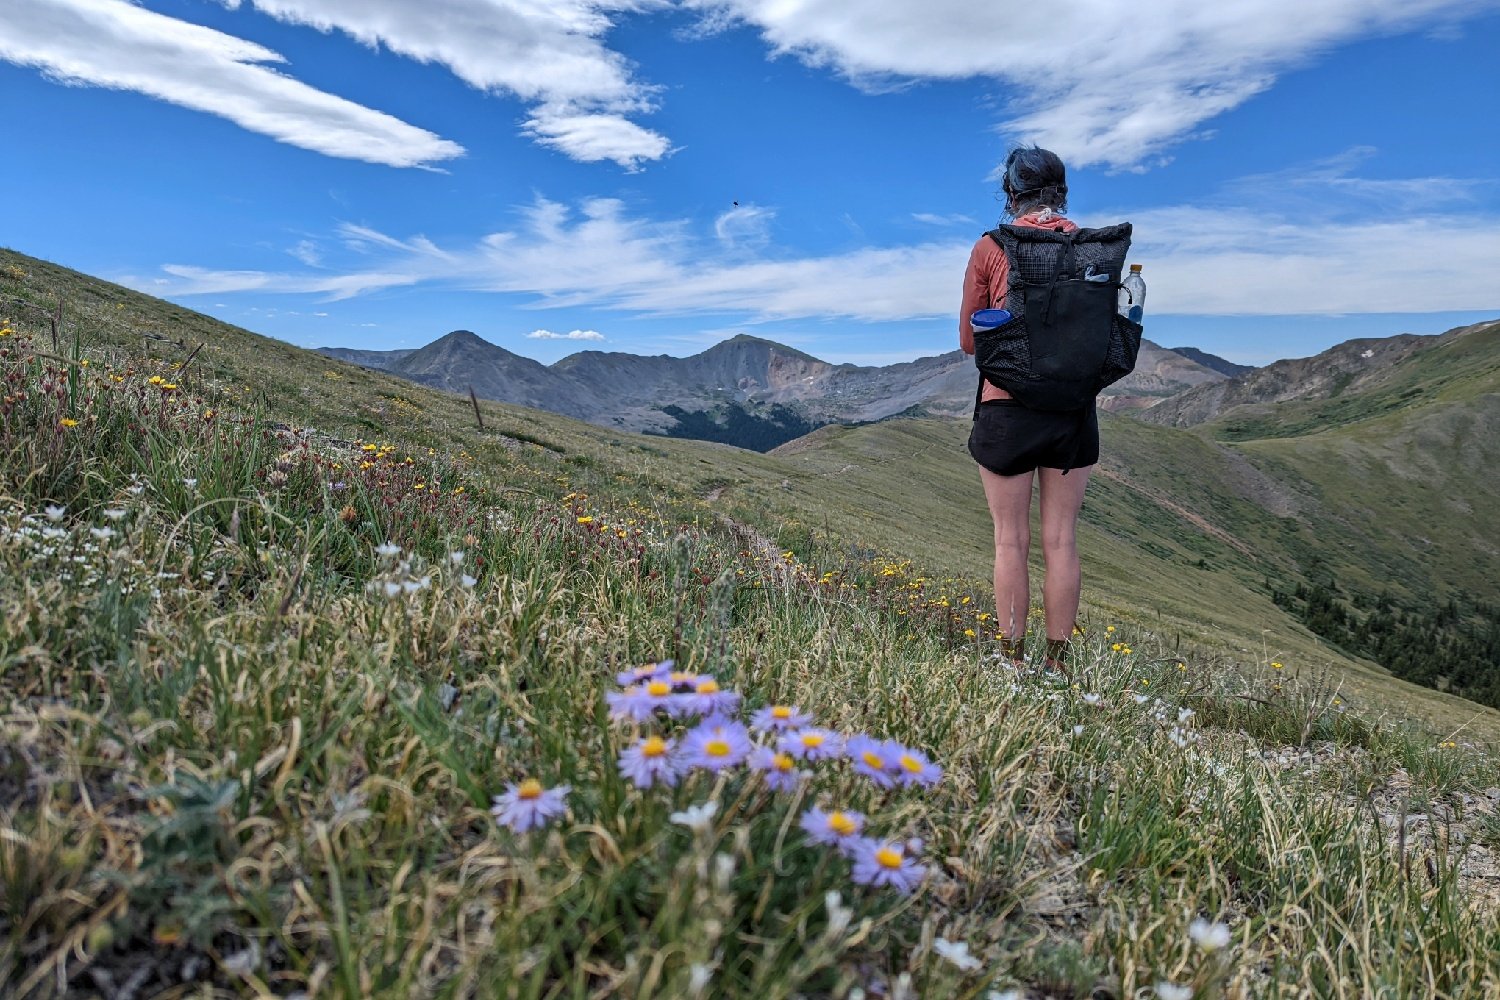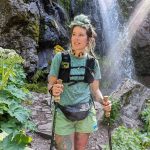
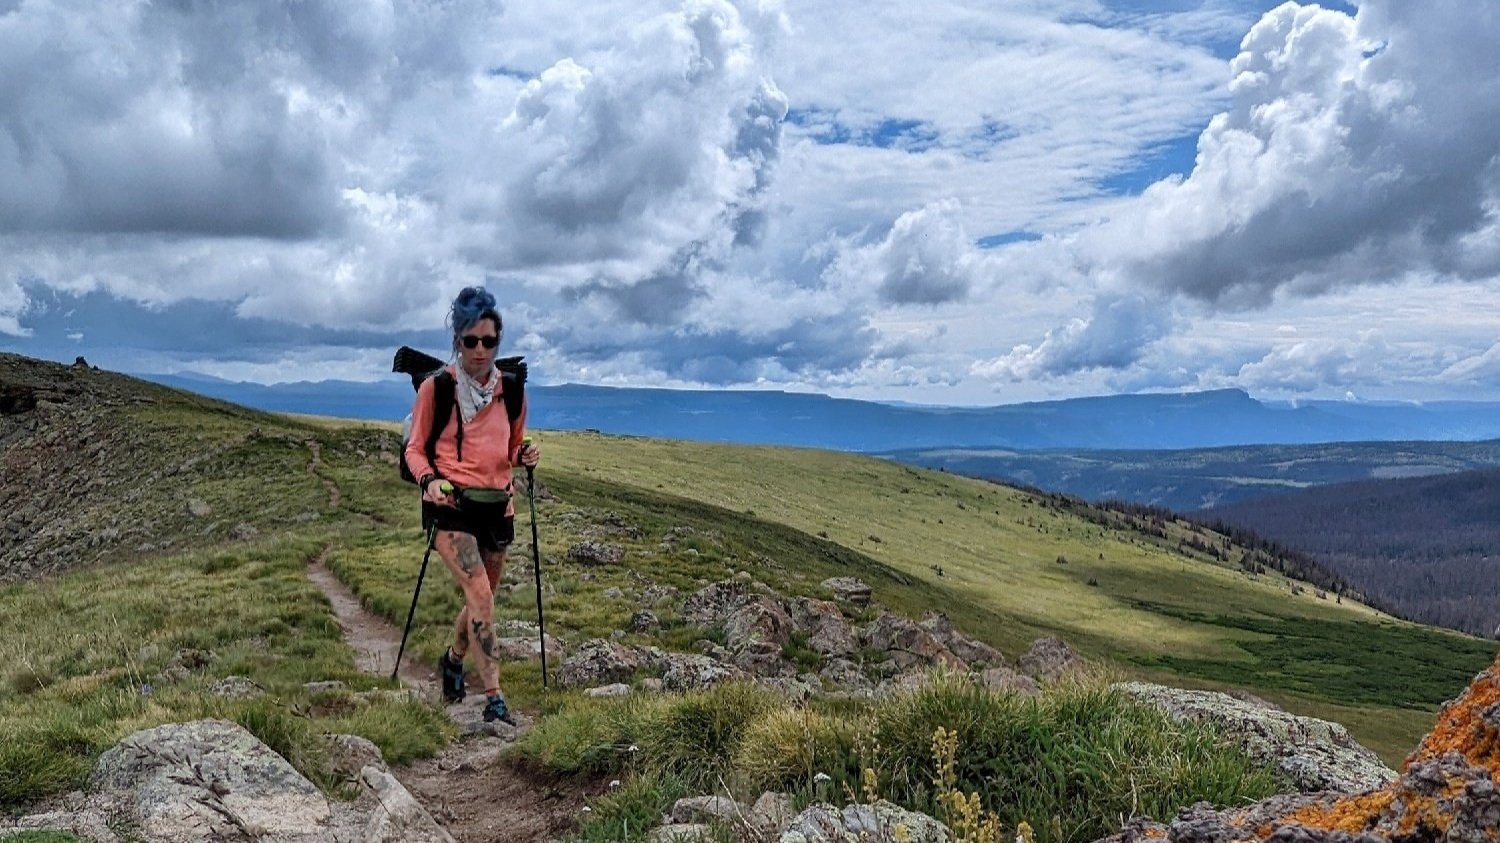
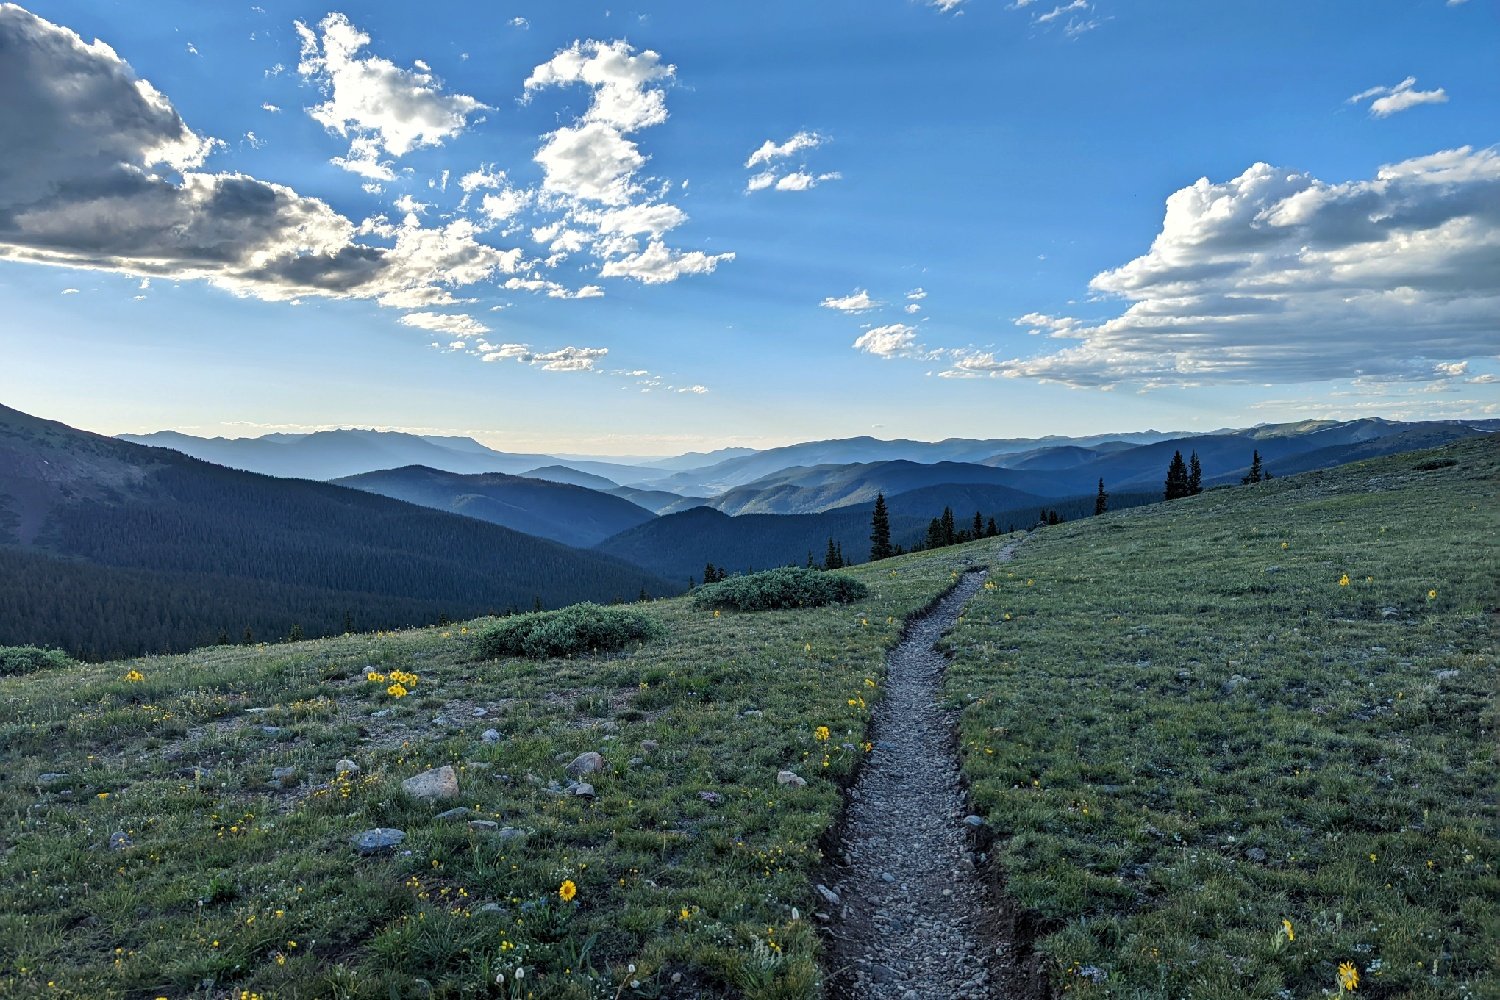
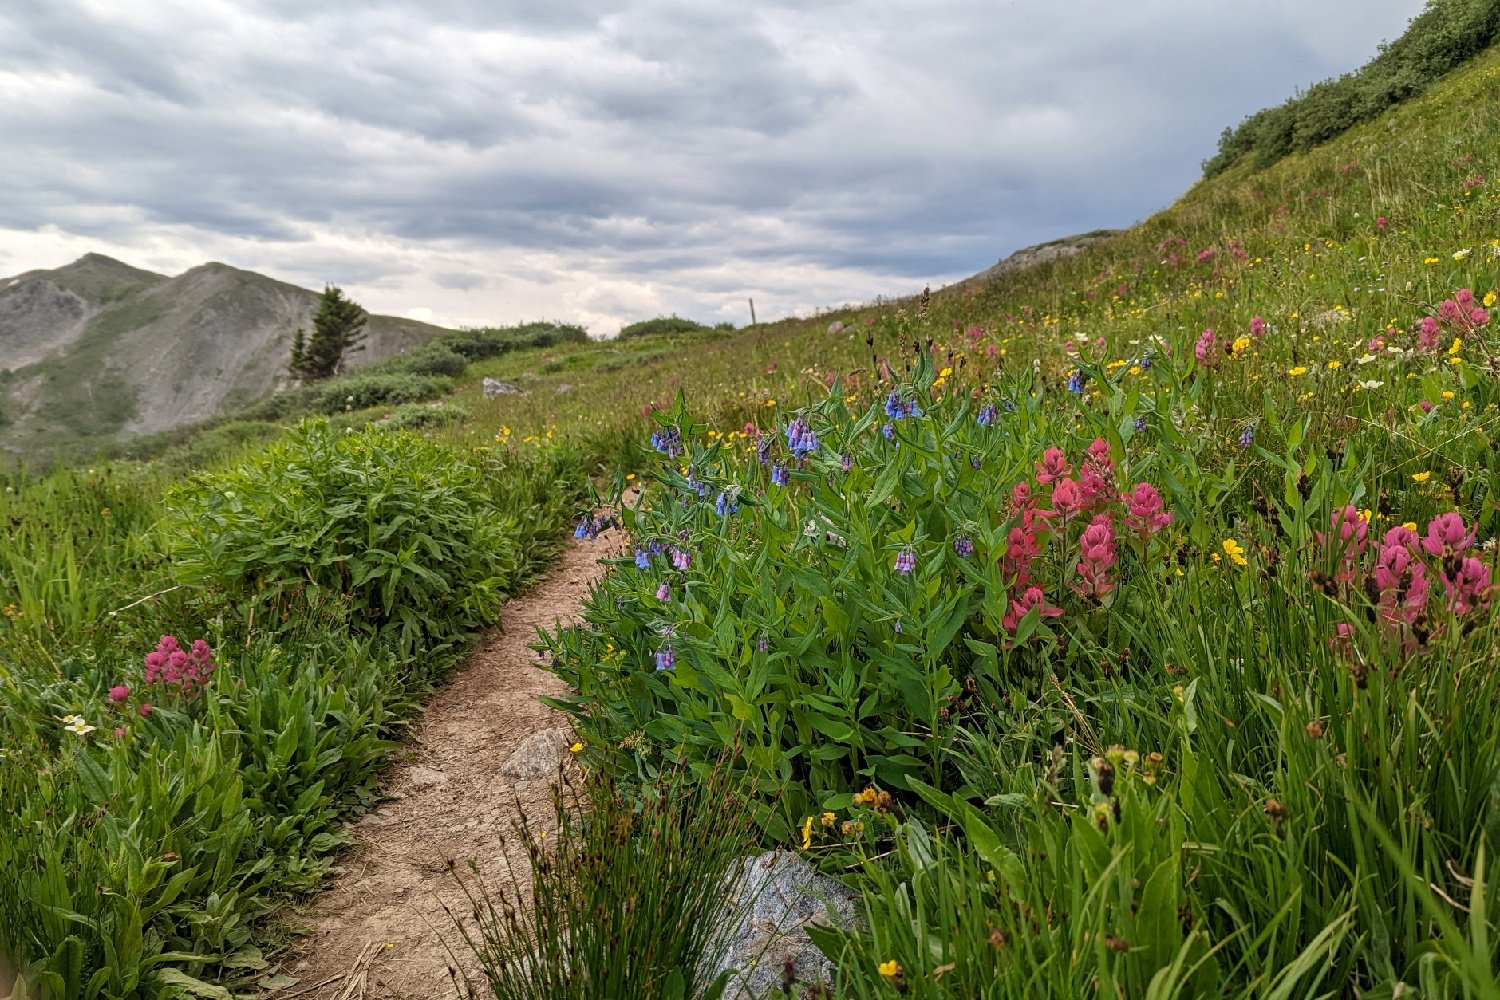
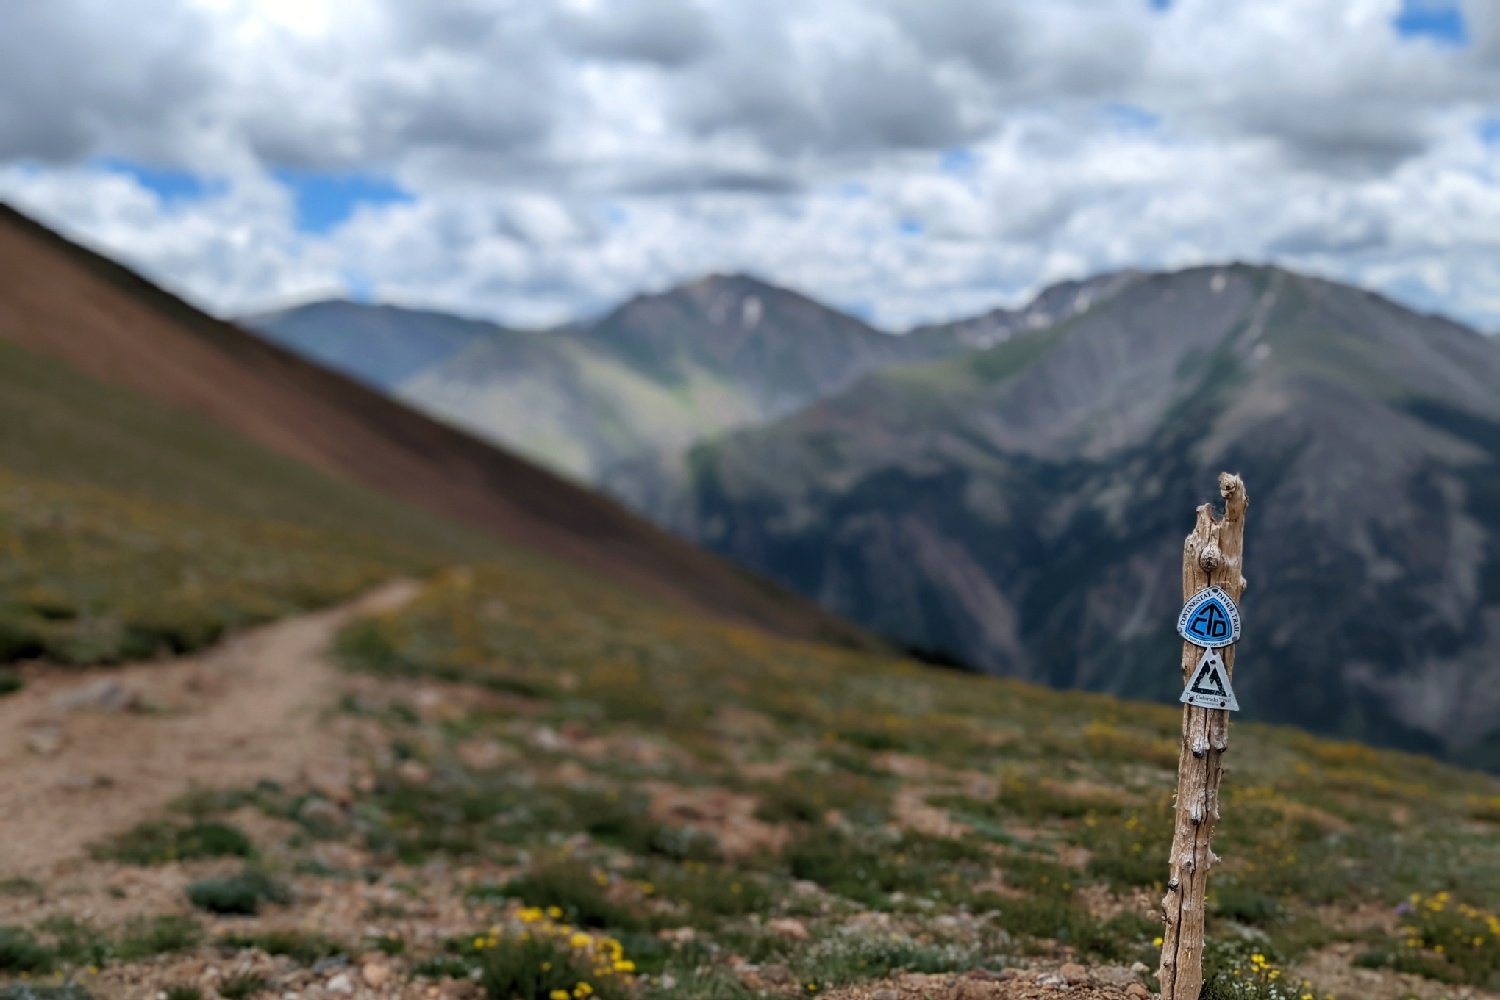
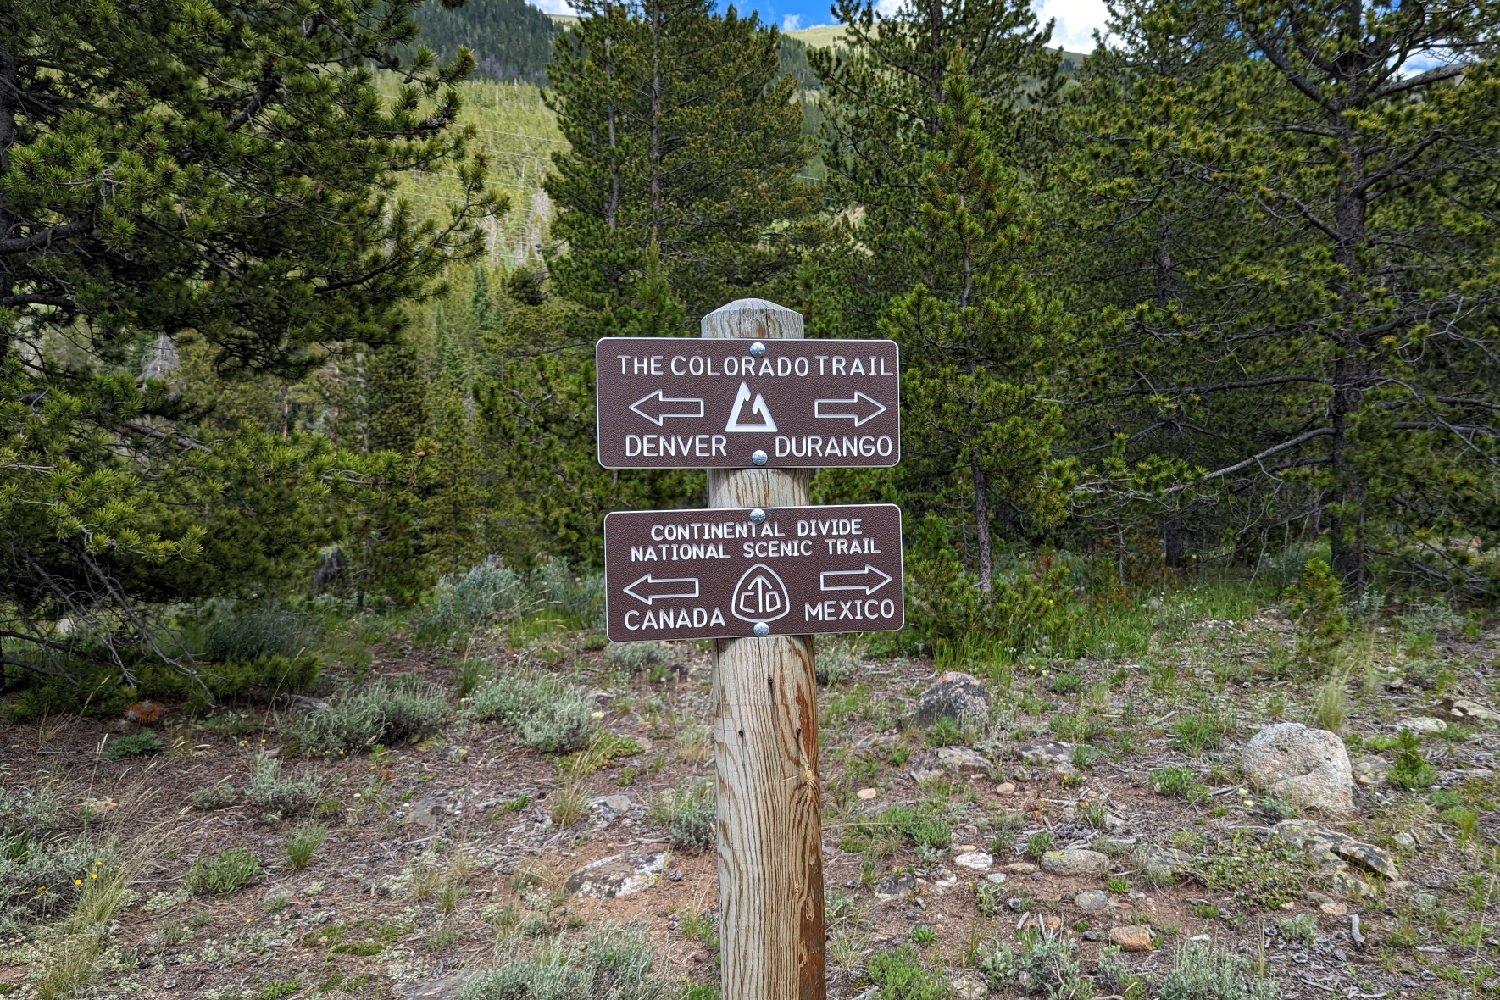
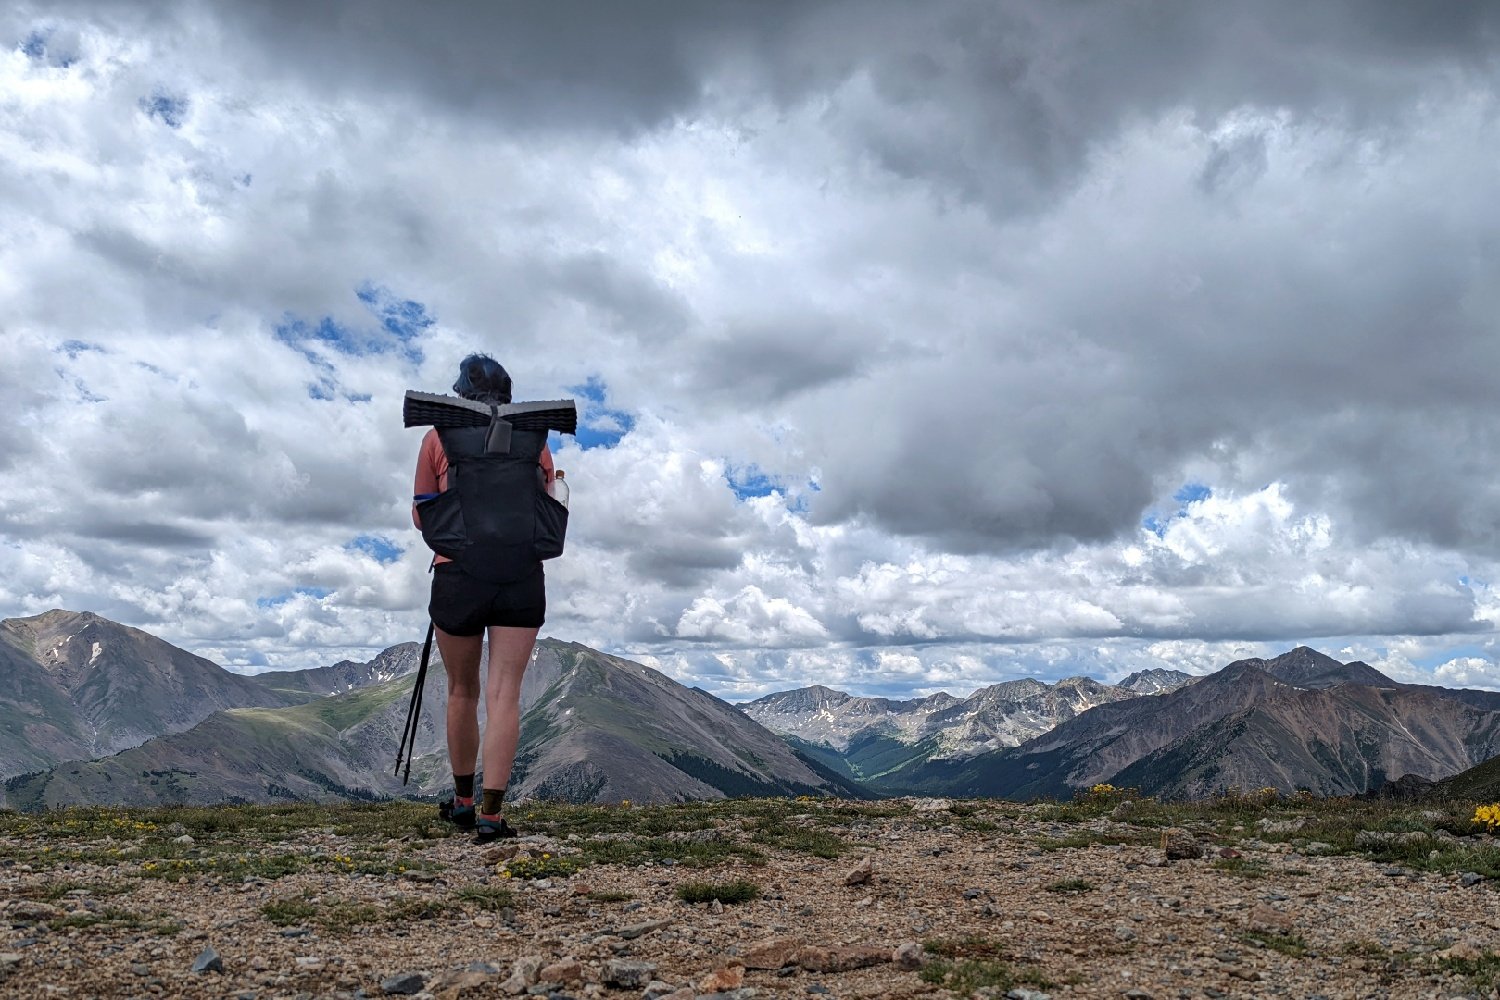
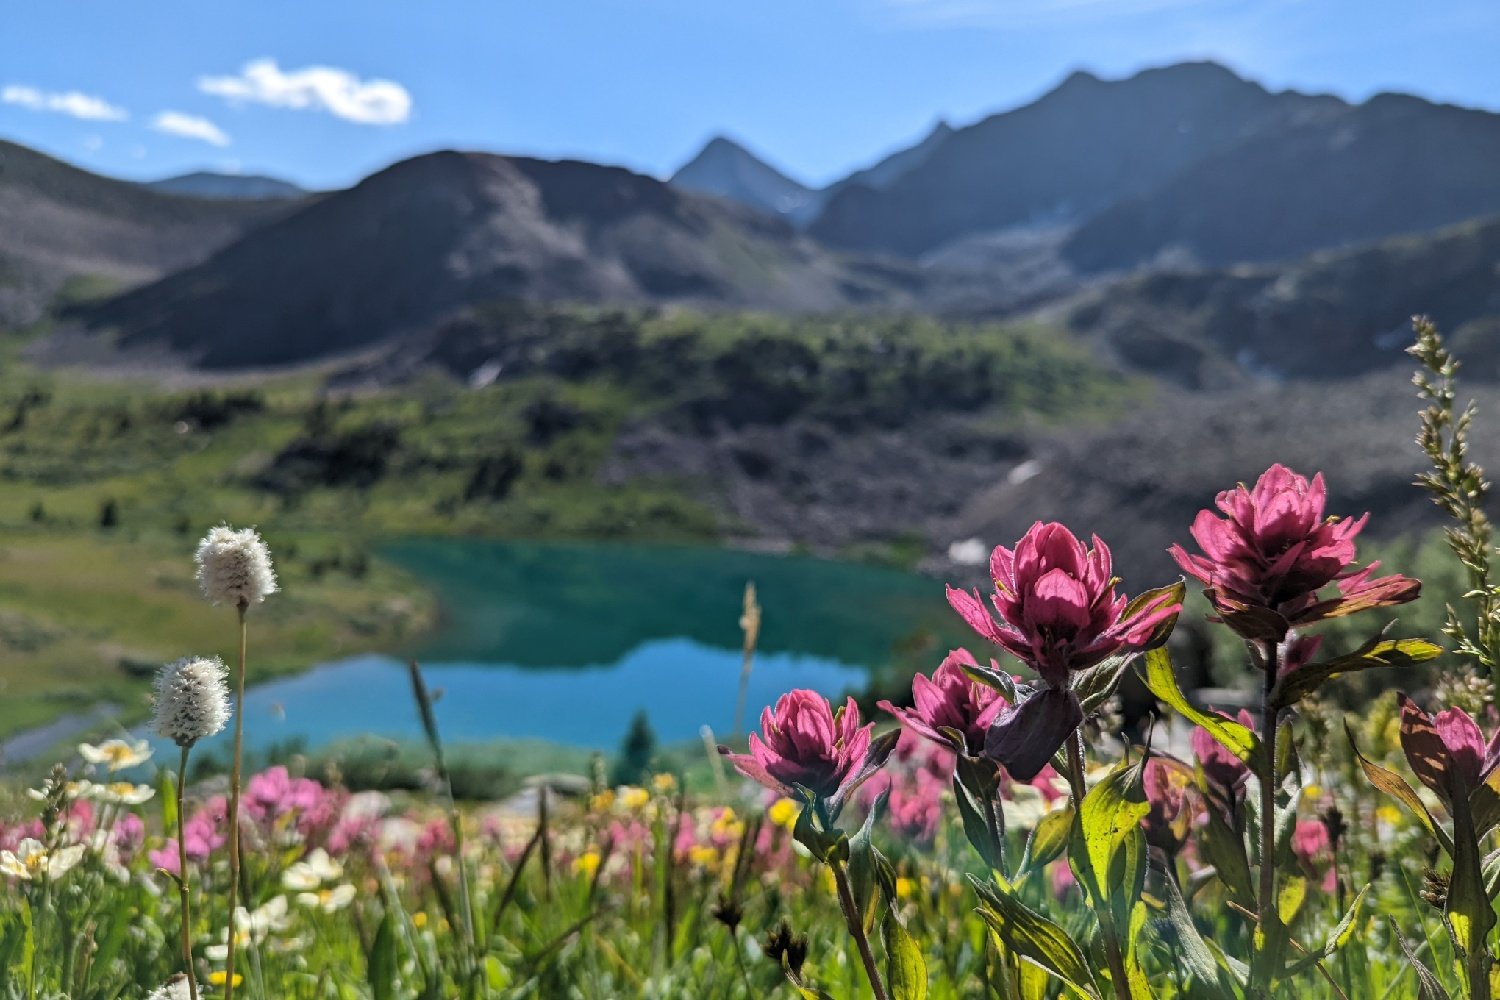
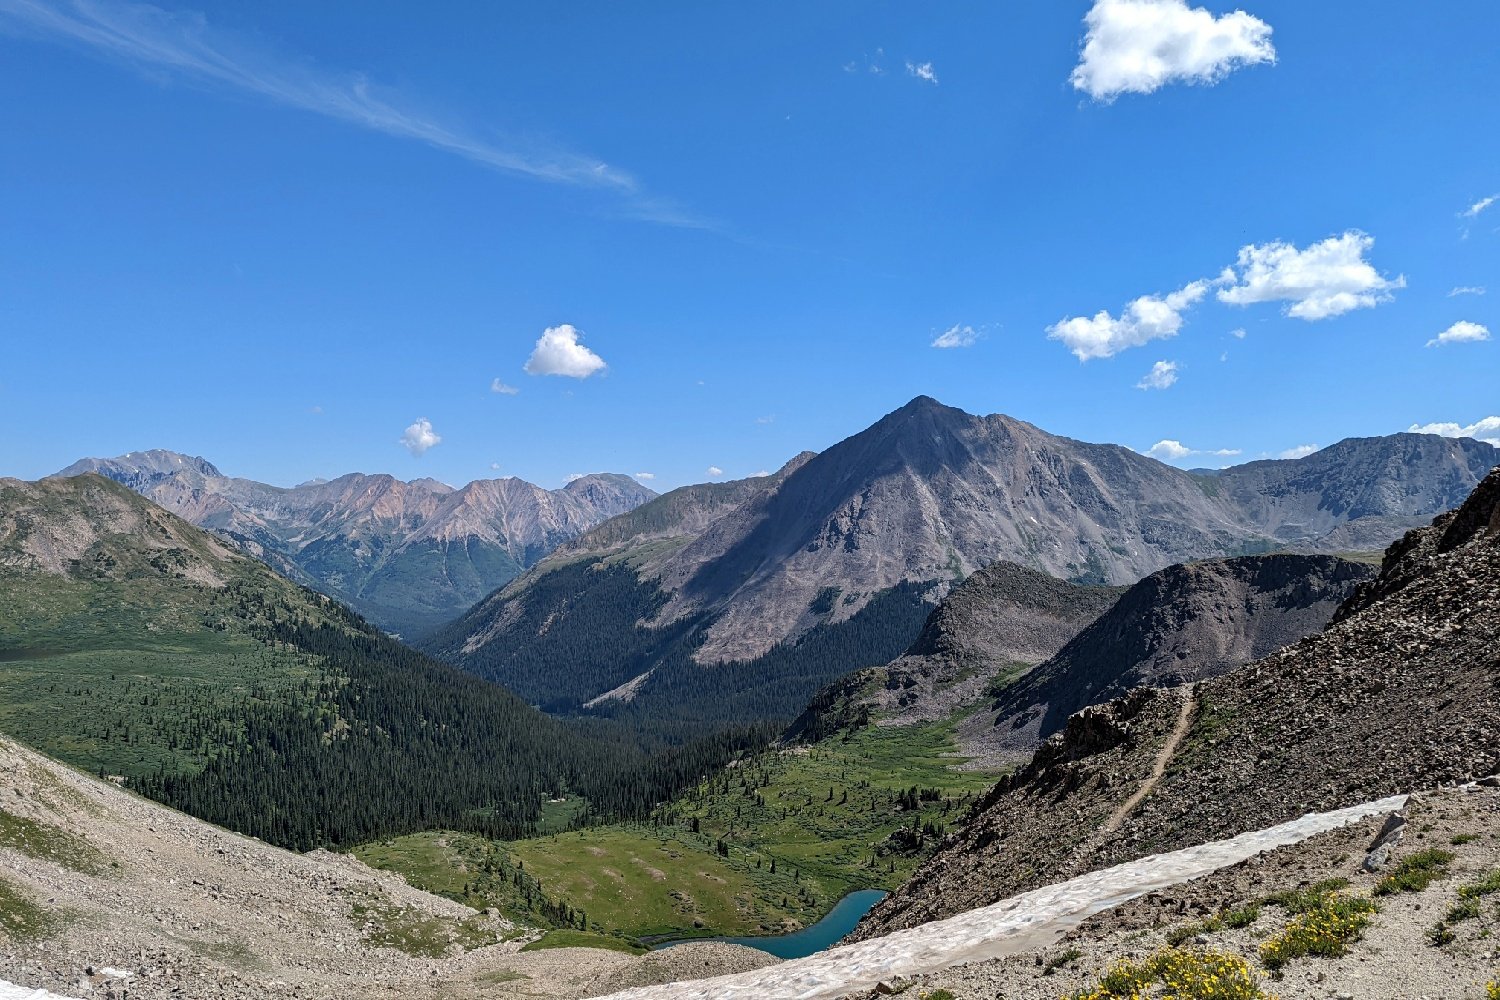
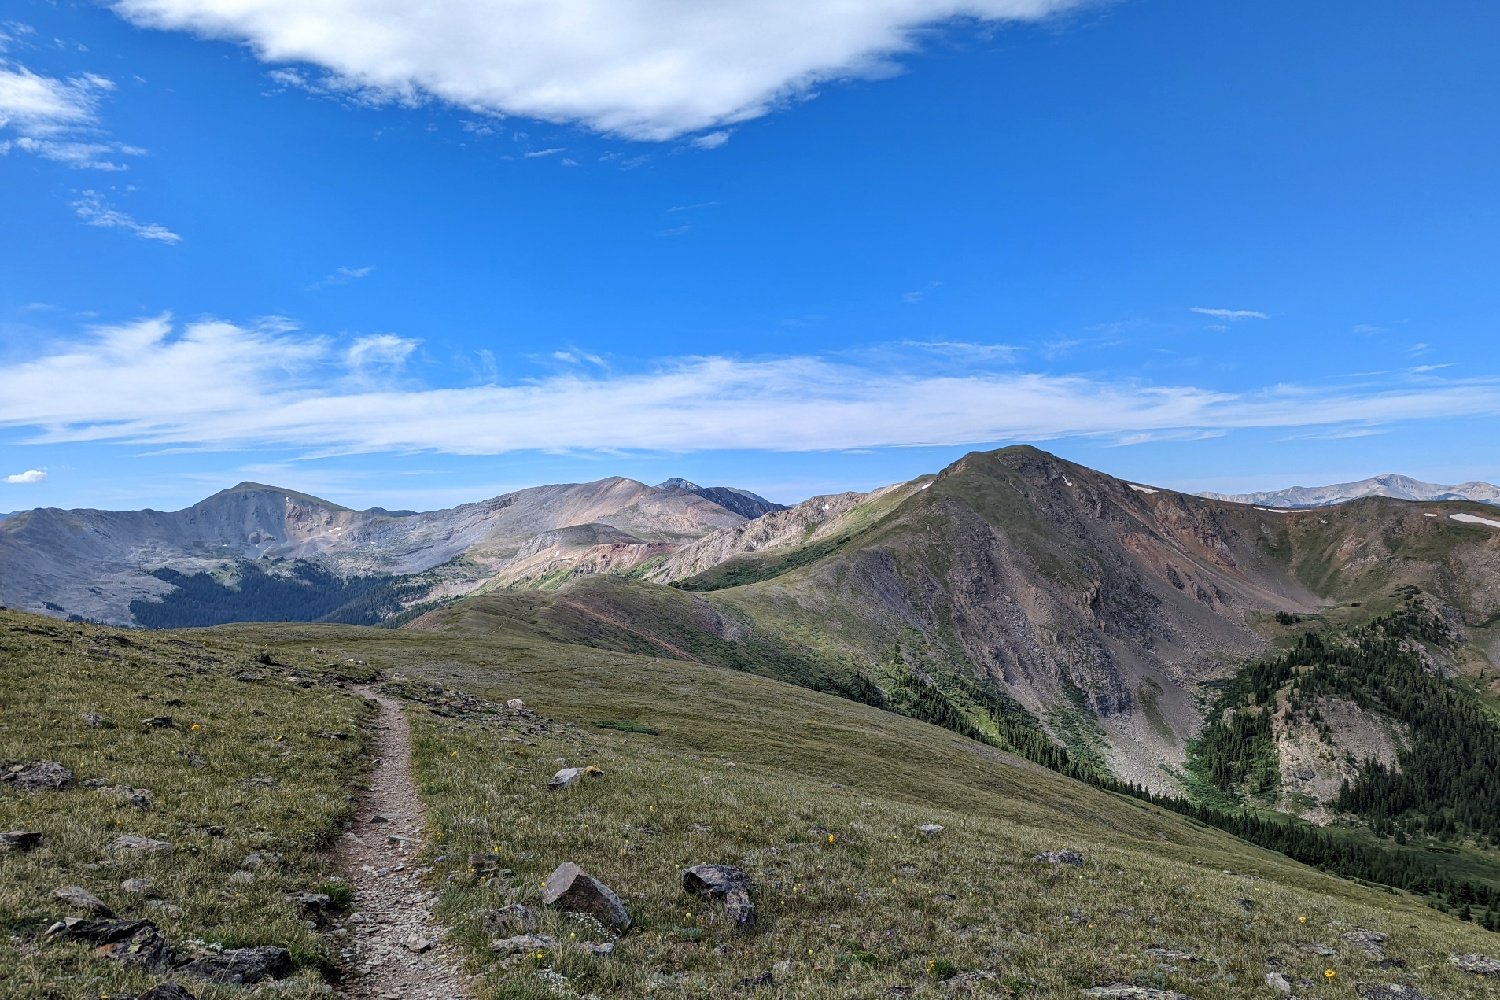
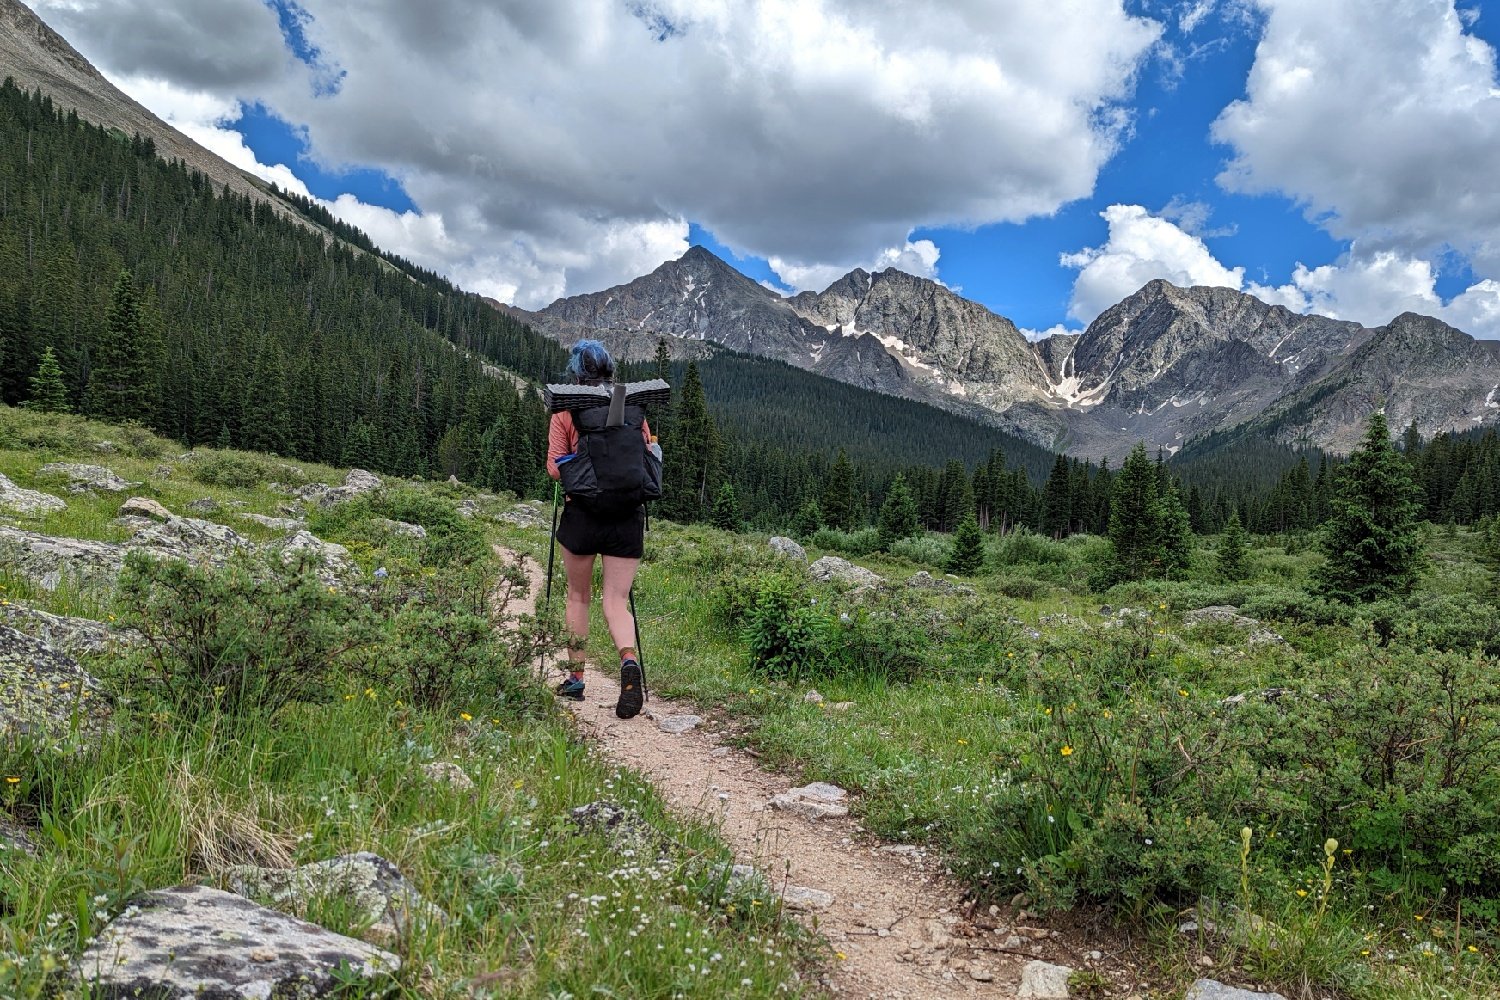
The Colorado Trail (CT) stretches across the Rocky Mountain Range from Denver to Durango. It takes you through some of the country’s highest elevations, the most stunning scenery, and some pretty temperamental weather. From the flower-filled alpine meadows of the Sawatch Mountains to the dramatic, craggy peaks of the San Juans, a hike on the Colorado Trail is sure to be a journey full of challenges and rewarding experiences.
Quick Facts
- Distance: 486 miles (give or take a few depending on whether you choose the Collegiate West or Collegiate East route)
- Time Needed: 4-6 weeks
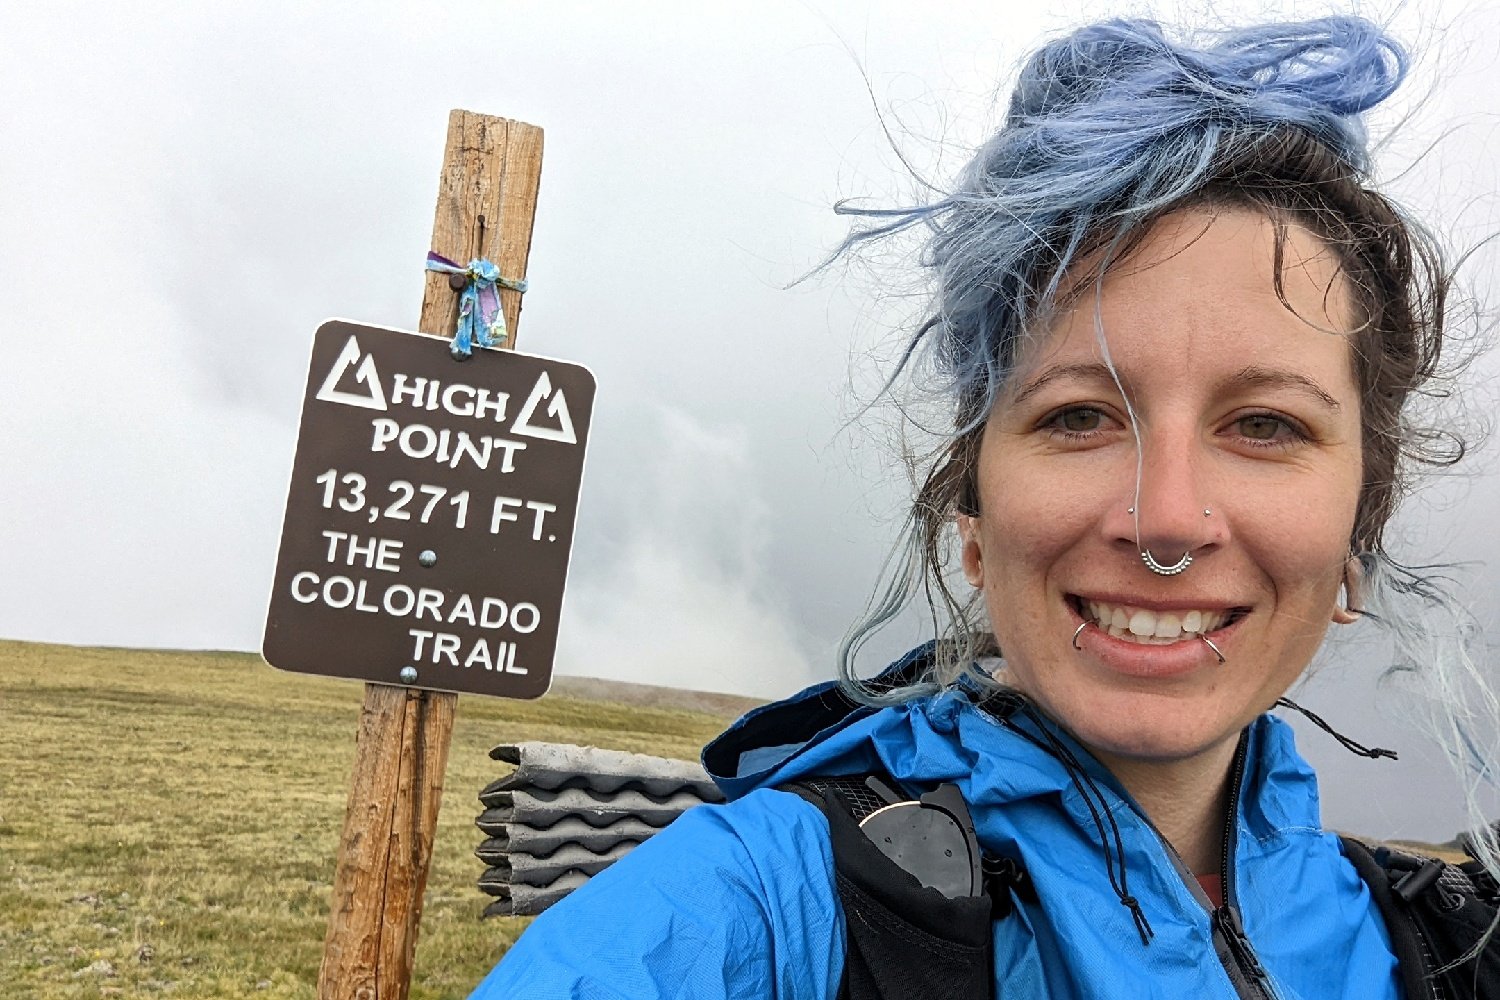
- Highest Elevation: 13,334 ft. – Coney Summit
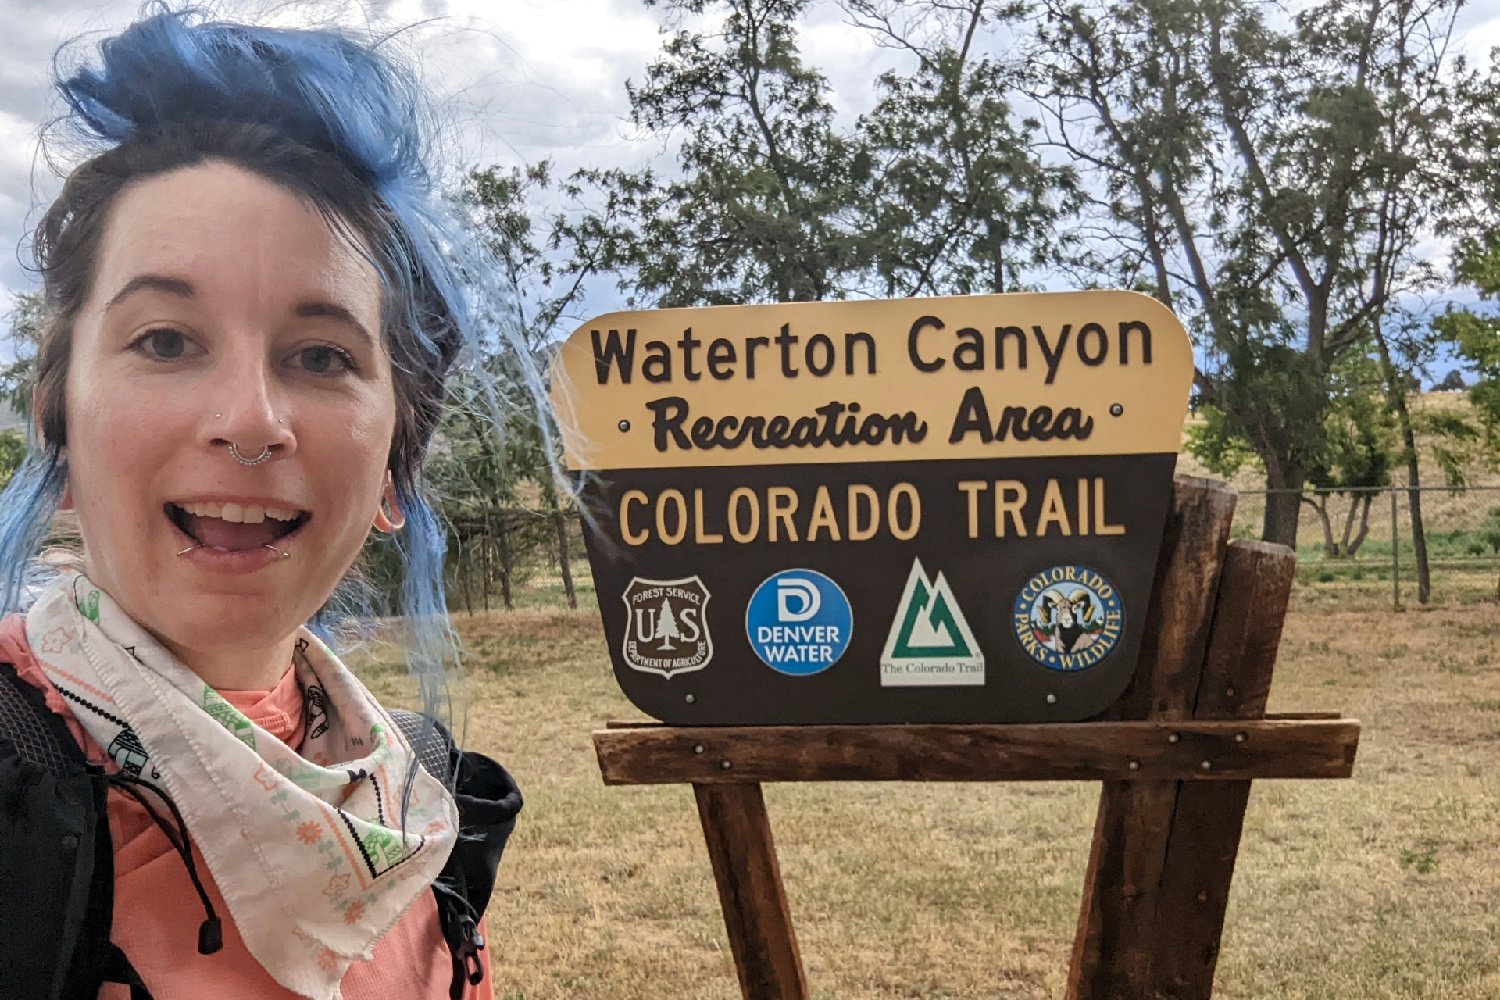
- Lowest Elevation: 5,520 ft. – Waterton Canyon
- Elevation Gain (approx.): 89,000 ft.
- Best Time to Hike: According to the Colorado Trail Foundation, July 1 to September 30 is the ideal window for hiking. Snow is typically still present along much of the trail before July. After September, you run the risk of dealing with early-season snow storms.
- Permits: None
- Difficulty: Strenuous
Highlights
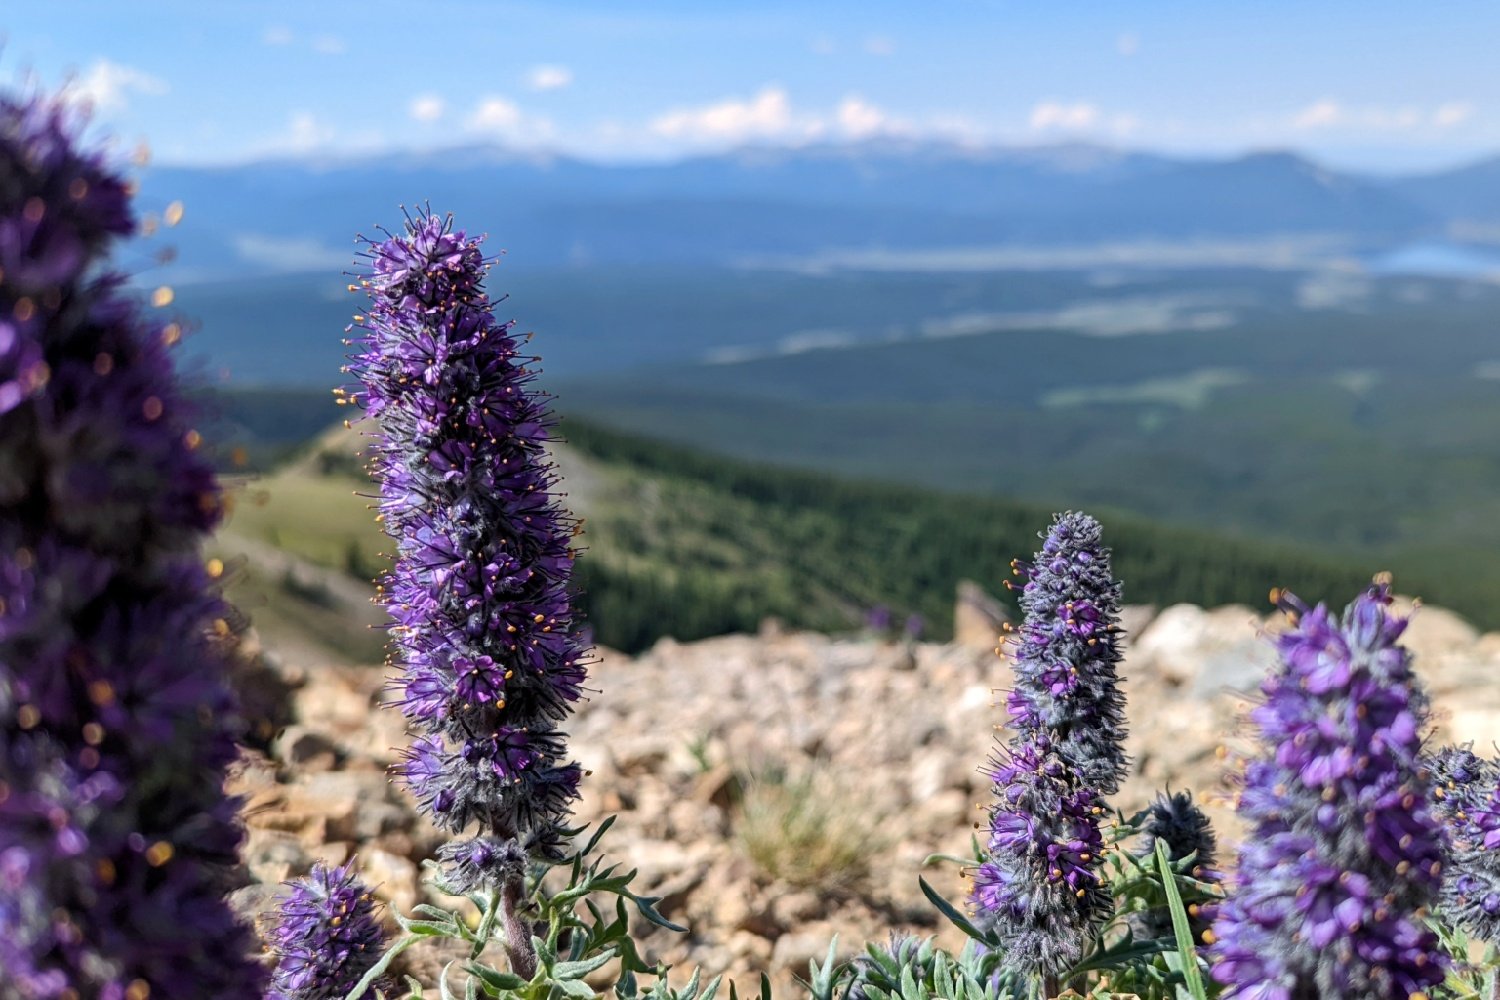
- Nearly unending views since much of the trail is above treeline
- Lots of great resupply towns
- Tons of wildlife & wildflowers
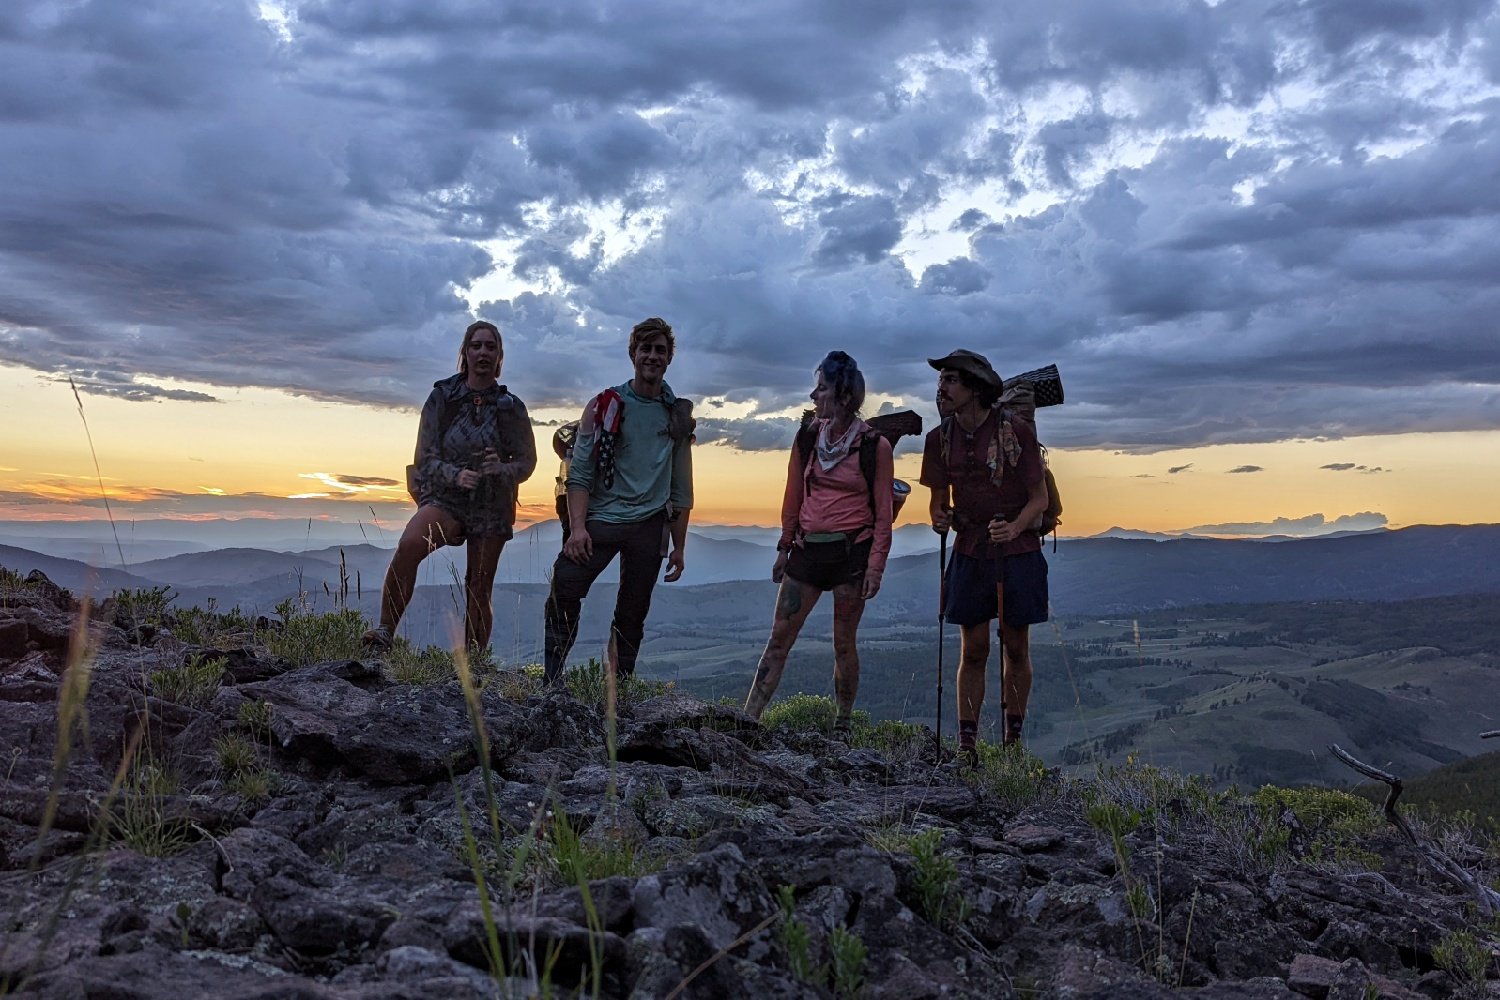
- Social & friendly trail community
- Feeling amazingly capable & confident at the end of the journey
- You can peak bag some awesome 14ers on short side trails
- Well-marked & maintained
Lowlights
- High elevations may take some getting used to
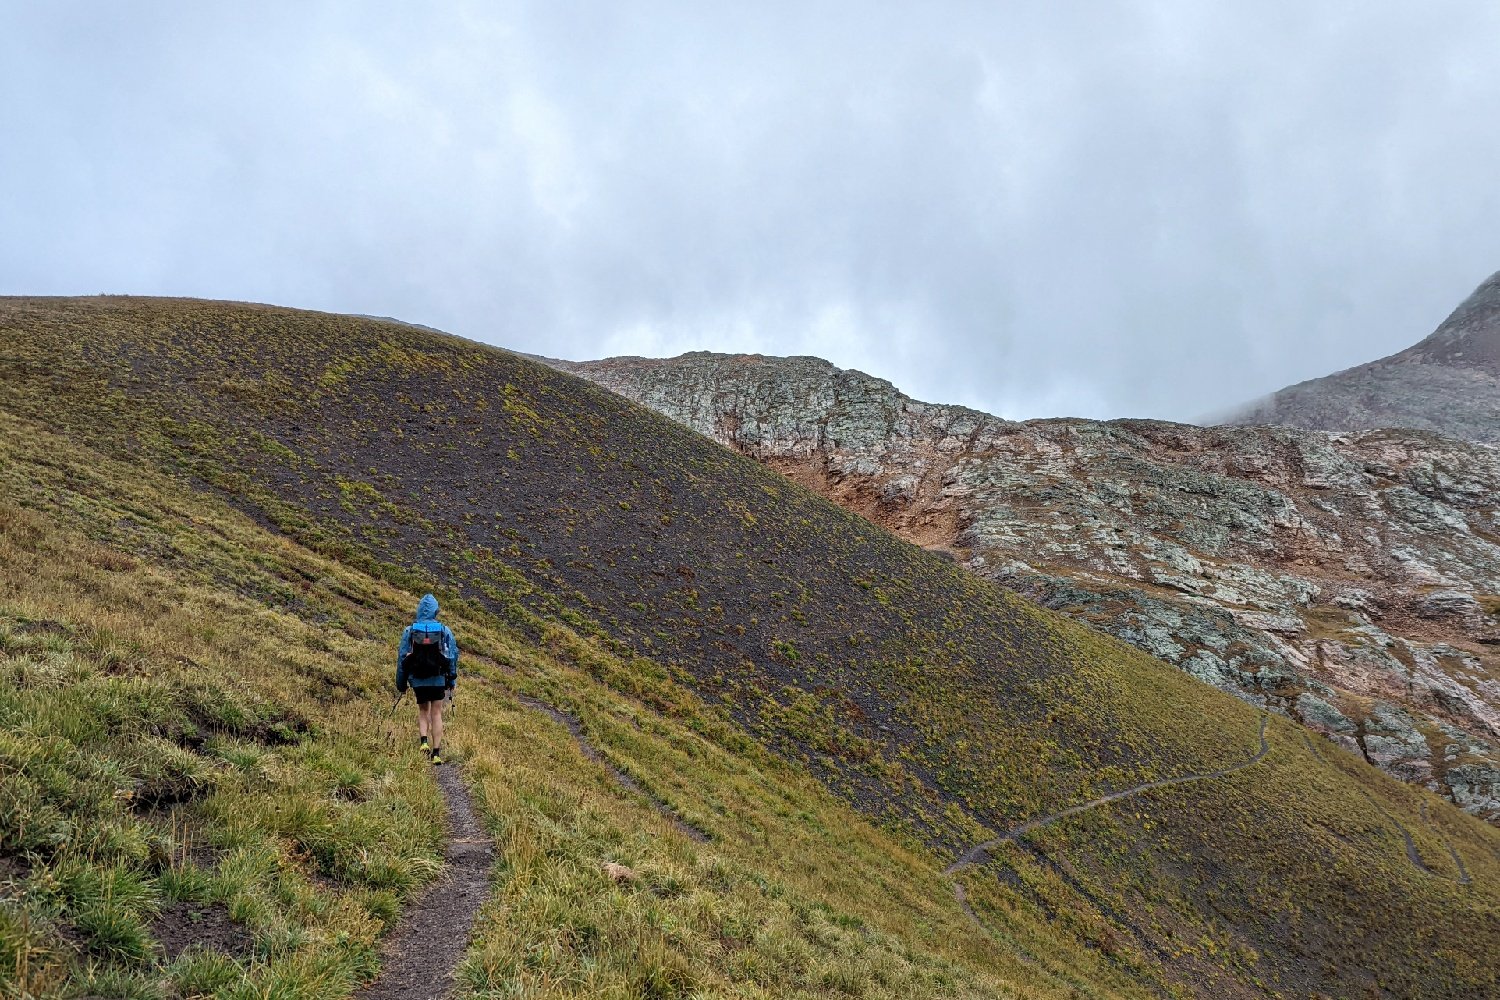
- Weather is unpredictable – but you can expect afternoon thunderstorms/hail/torrential rain, some really hot/cold days & lingering/early season snow
- Finding water can be a challenge in dry years
- Mosquitos & biting flies
- You share the trail with horses & cyclists
Best Time to Hike
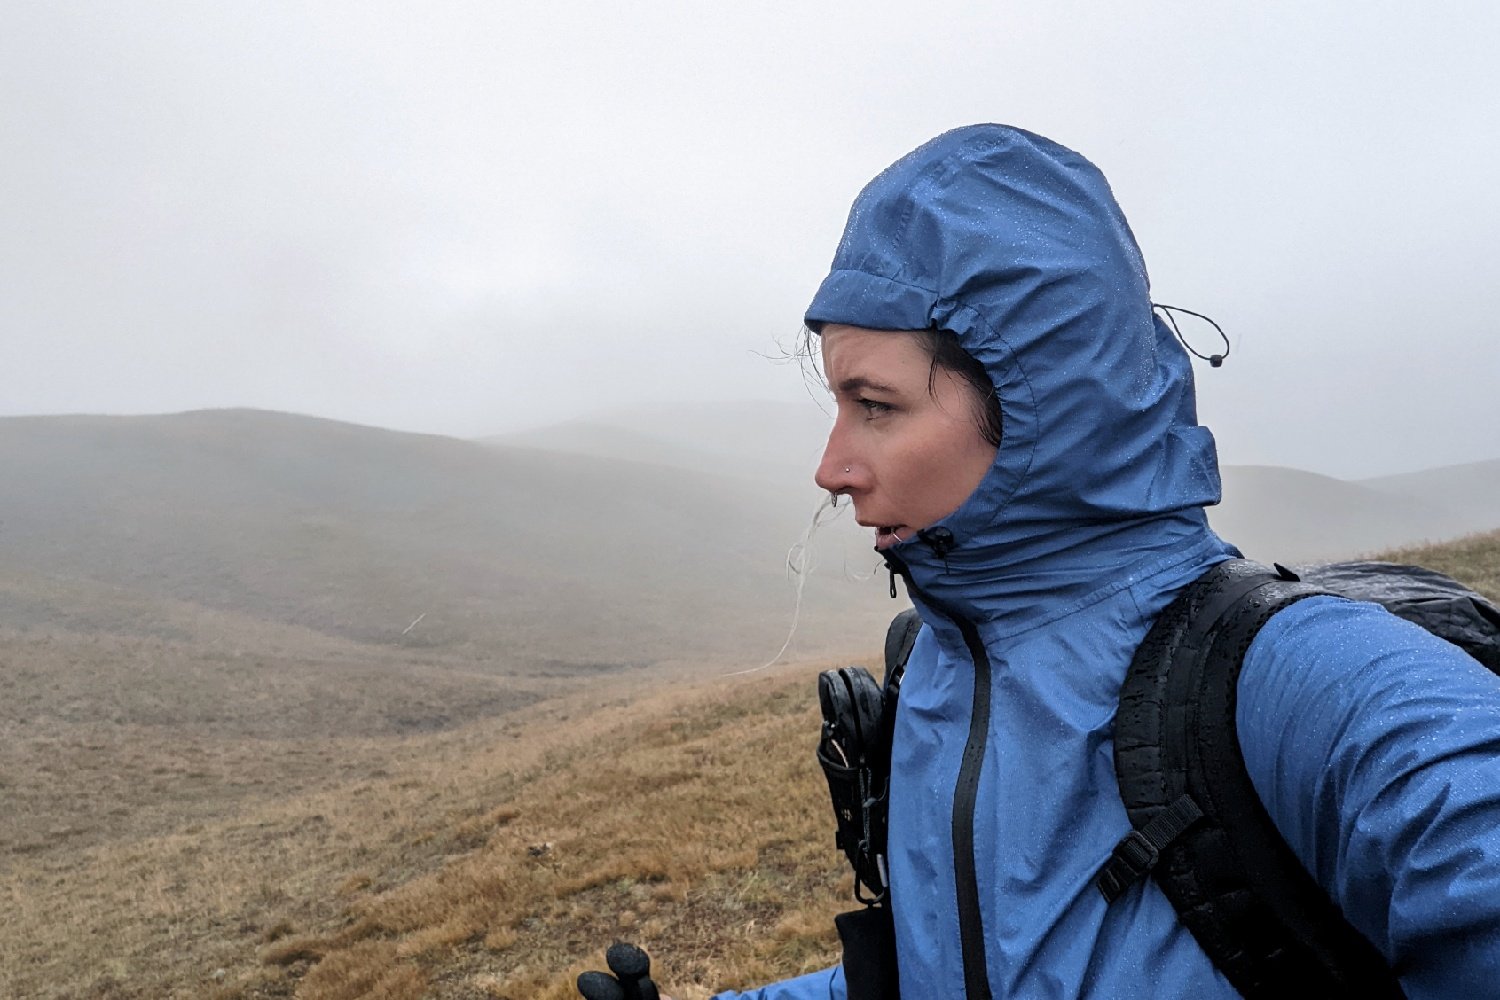
The Colorado Trail Foundation (CTF), which maintains the Colorado Trail, recommends hiking the CT between July 1 and September 30 to avoid the mud and snow seasons. We started in early July. Temperatures were nice, and the wildflowers were beautiful, but we would choose a start date in mid-August if we were to do it again. The monsoon season runs from July to early August and can produce some scary lightning and hail situations at high elevations. Weather in the Colorado Rockies can be generally unpredictable, but hazardous weather events are typical during this window of time.
How Long Does It Take?
It takes an average of about 4-6 weeks to complete a hike on the Colorado Trail. Some very experienced backpackers may be able to hike the trail in less time, but the terrain, elevation gain, and afternoon storms can make it difficult to clock big-mile days. Most people take the trail at an enjoyable pace and calculate in a few “nero” and “zero” days (rest days) to allow the body to recoup.
Difficulty
For those of you who don’t enjoy route-finding, you’ll like that the Colorado Trail is well-maintained, well-marked, and easy to follow. Navigation was rarely an issue unless we weren’t paying attention to an intersection or the weather put us in a fog machine. The main difficulties on this trail are the challenging climbs at high elevation, the weather, and the length of the trail.
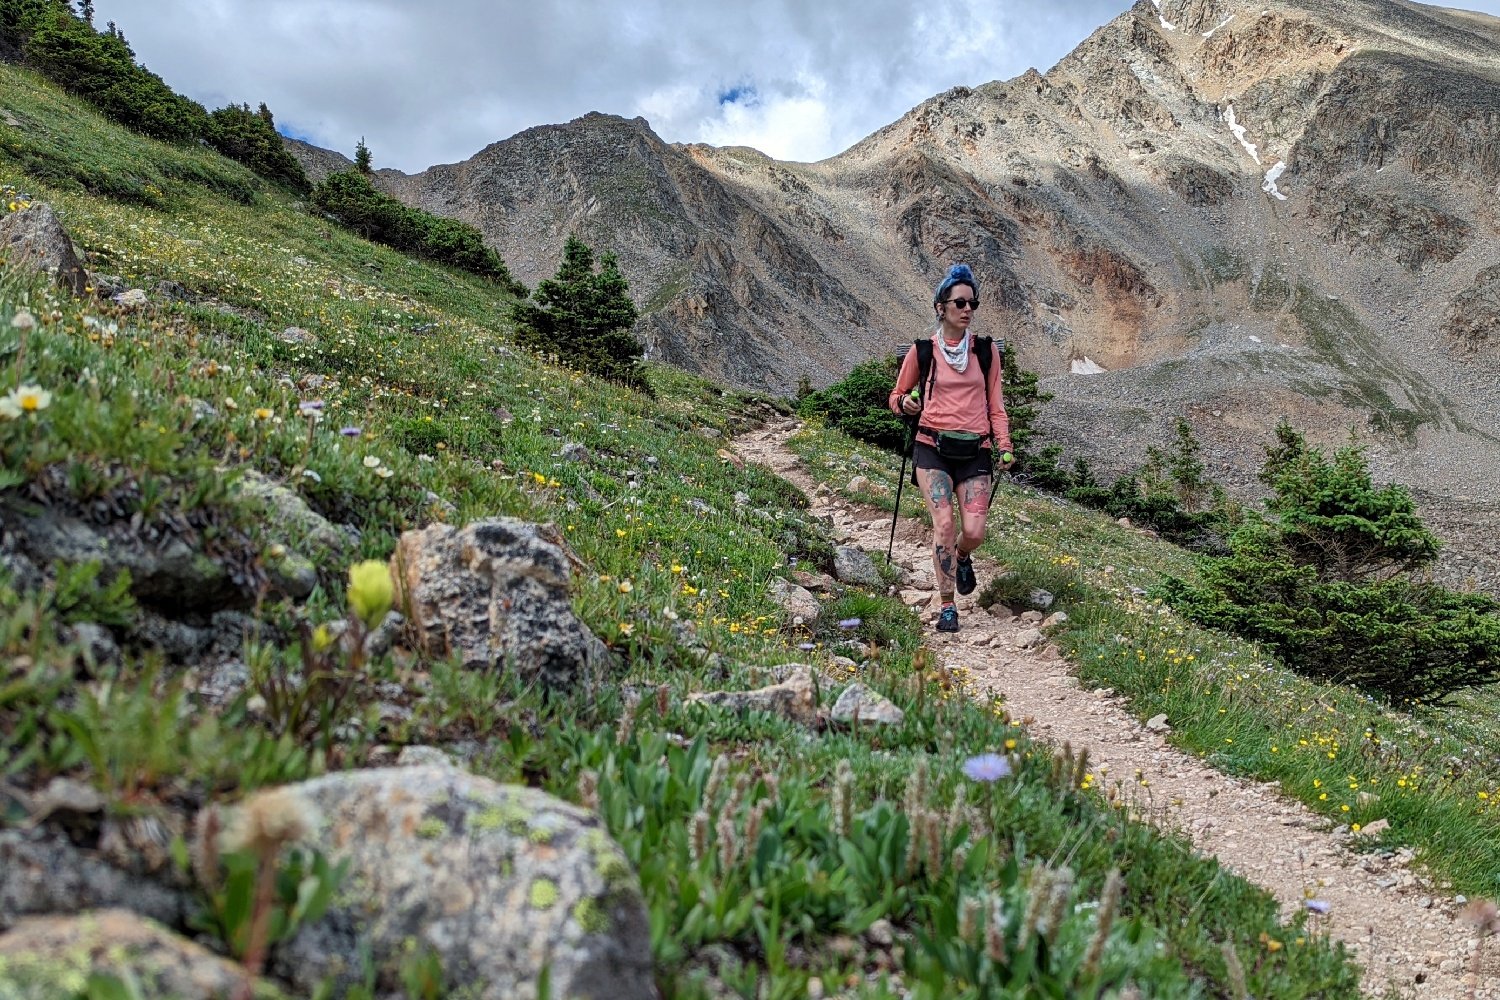
ELEVATION
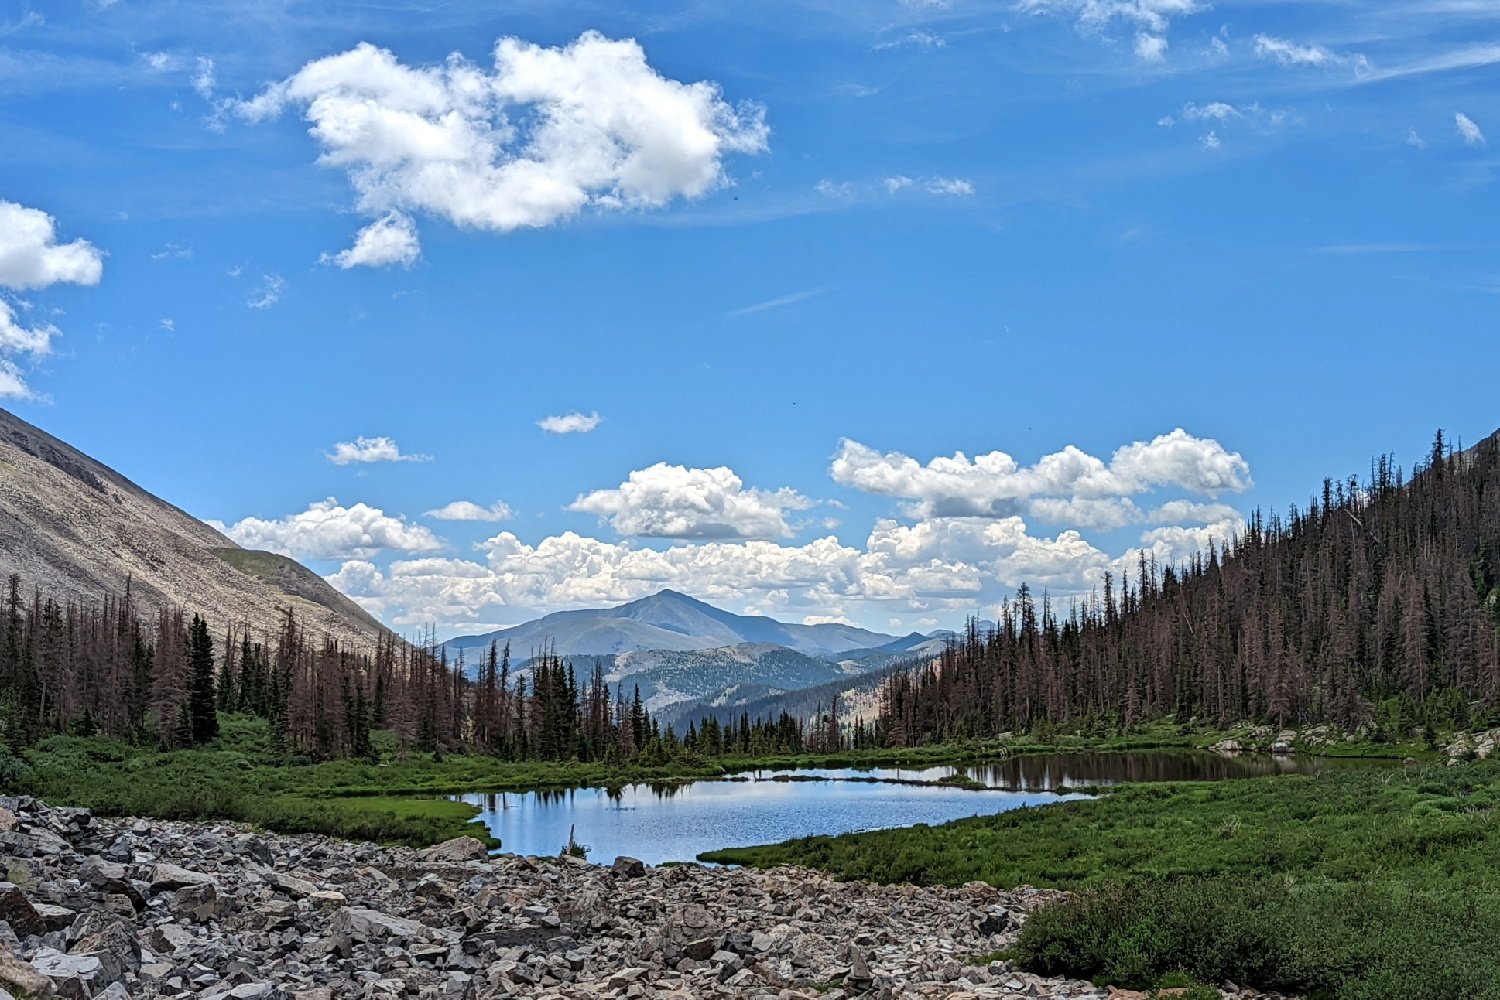
There are long stretches of the Colorado Trail that stay above 10,000 feet, which means you’ll have plenty of panoramic views. Unfortunately, the sustained high altitude also means altitude sickness can be an issue. It’s common to feel more tired than usual, have a mild headache, or feel like you need to breathe deeper to fill your lungs at these heights. See our How to Train for Hiking & Backpacking Trips Guide for more tips on high-altitude hiking success.
WEATHER
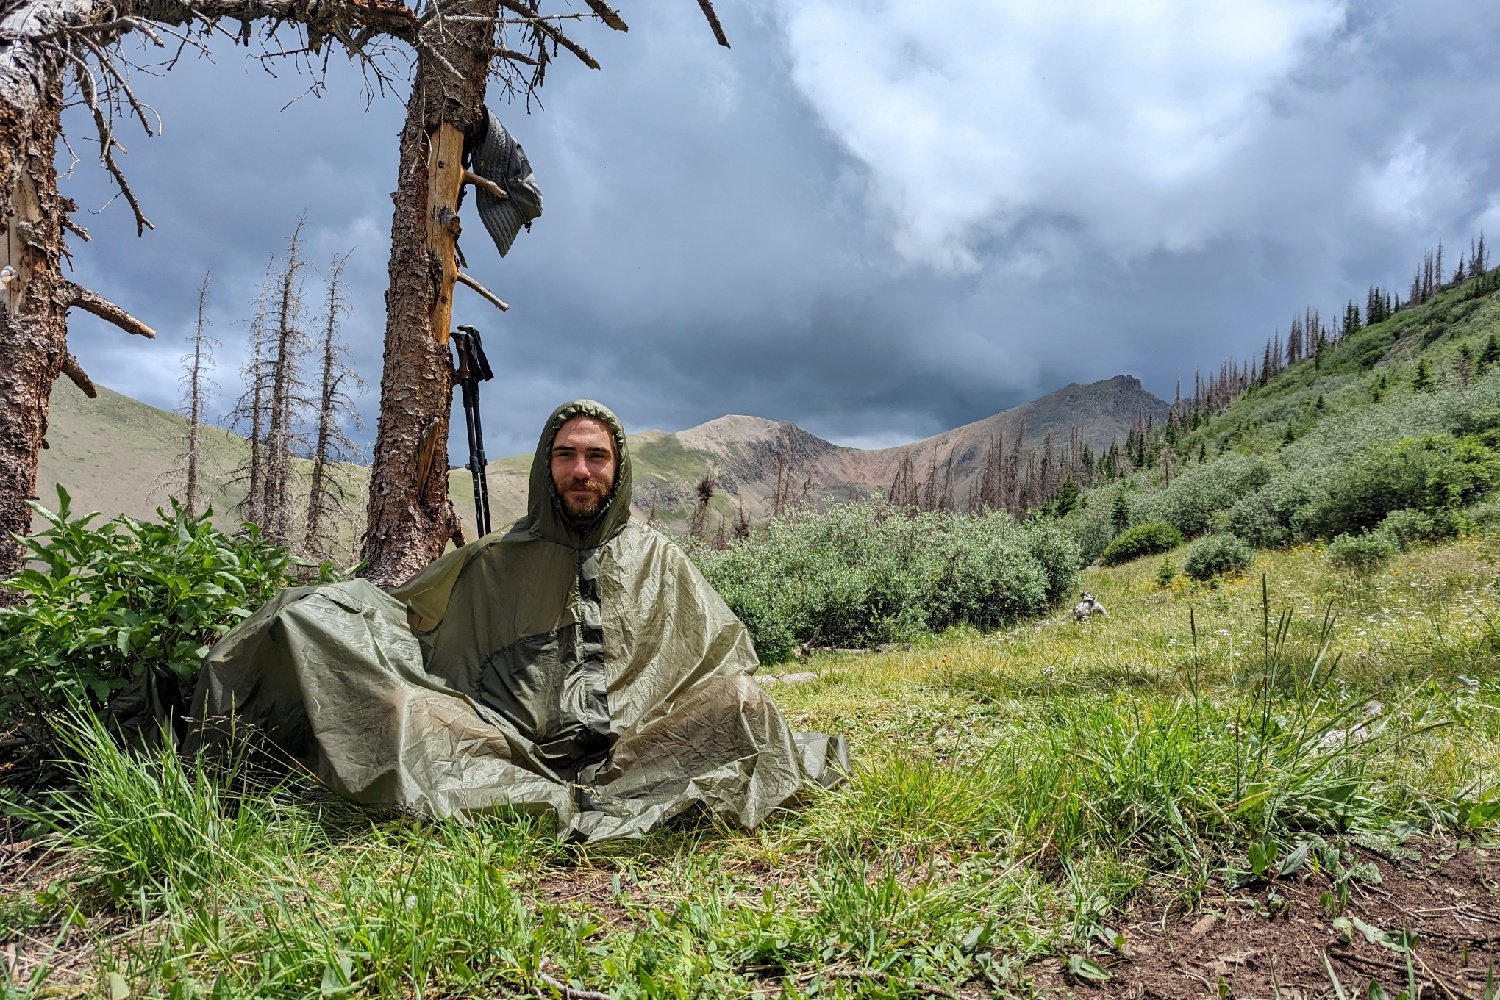
The weather changes quickly in the Rockies, and CT hikers should expect frequent storms. While lightning and foul weather can occur at elevation all year, monsoon season (July to early August) can have some particularly bad torrential rain, hail, and lightning. Check out our video on lightning safety and hiking at elevation for our tips on what to do if you’re caught in a storm. Temperatures can also swing dramatically at elevation, so you should be ready for anything – even if the forecast calls for good weather.
TRIP LENGTH
Hiking the Colorado Trail is a huge physical challenge, but it’s also a big commitment of time and money. We budgeted 3-$4 per mile for this hike and 5 weeks to complete the trail. It is best practice to let your family and workplace know about your plans as far in advance as possible to arrange for time away. If you don’t have the luxury to step away from work for so long, many hikers elect to complete the trail in 5-10 day sections.
Northbound VS Southbound
Southbound (SOBO) is the more common direction to go on the CT, but a northbound (NOBO) hike also has benefits. Below we’ll list the main pros and cons of going either direction to help you decide which is best for you.
SOBO
Pros
- The northern terminus is located just south of Denver, so getting there is easy
- The trail starts at a lower elevation and doesn’t get over 10,000 ft. until nearly 50 miles in, which gives you time to acclimate
- There are more people on the trail to interact with if you’re looking for a social experience
- In our opinion, the trail increases in beauty as you travel south
Cons
- Getting transportation back to Denver from the southern terminus can be a hassle – flights out of Durango are expensive, and bus rides back to the Denver airport are time-consuming
NOBO
Pros
- There are more transportation options to get back home from the northern terminus
- You get the challenging parts out of the way first, so the last half may feel more relaxing
Cons
- Fewer people to interact with if you’re looking for a social experience
- Transportation to the southern terminus can be a bit of a hassle
- You start with a huge, grueling climb & have less time to acclimate to the elevation of the trail
- Ending at Waterton Canyon is less spectacular than finishing with the San Juan Mountains
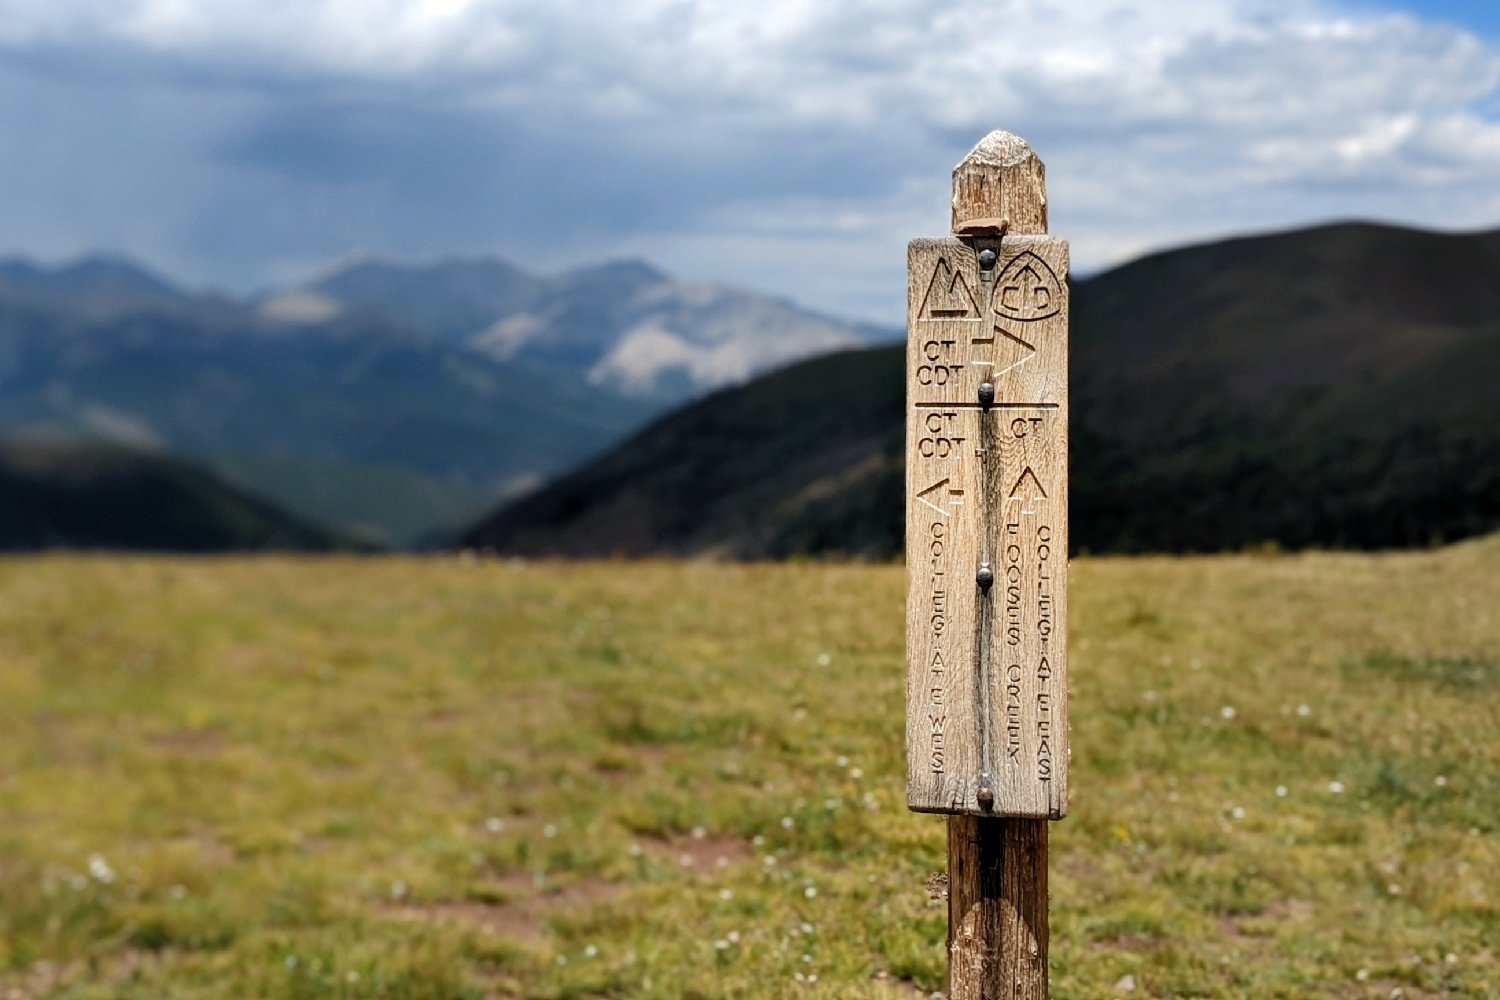
Collegiate East Vs. Collegiate West
About halfway through the route, you get to choose your own adventure through the Collegiate Peaks. This is one of the most well-loved parts of the Colorado Trail, and both sides are full of challenging climbs, epic views, and beautiful alpine lakes. We’ve hiked the whole Collegiate Peaks Loop, so you can check out our in-depth guide on both directions. But we’ll outline some of the major deciding factors for either side below.
WEST
- This is the side we recommend since it was quite a bit more scenic than the east side
- A little more wild and has fewer road crossings, so resupplying can be a bit more challenging
- Higher elevation, so it can feel a little more strenuous
EAST
- Probably the most compelling argument for taking the east side is that you can easily stop by Mt. Princeton Hot Springs for a soak
- There are more road crossings and options for resupply
- The climbs are a bit easier with well-graded switchbacks
Transportation to Trailheads
SOUTHBOUND
If you’re hiking SOBO on the CT, transportation options to the northern terminus are pretty abundant. We found that the most convenient way to get to the starting point was to fly into Denver and then take an Uber/Lyft to the trailhead. (The ride cost us about $75 from the airport to Waterton Canyon – about 49 miles).
You can also take public transportation to Littleton and then take a much cheaper rideshare or shuttle from there if you don’t mind taking more time to get to the trailhead. Some hikers opt to spend a night in Denver before heading out to get acclimated to the elevation.
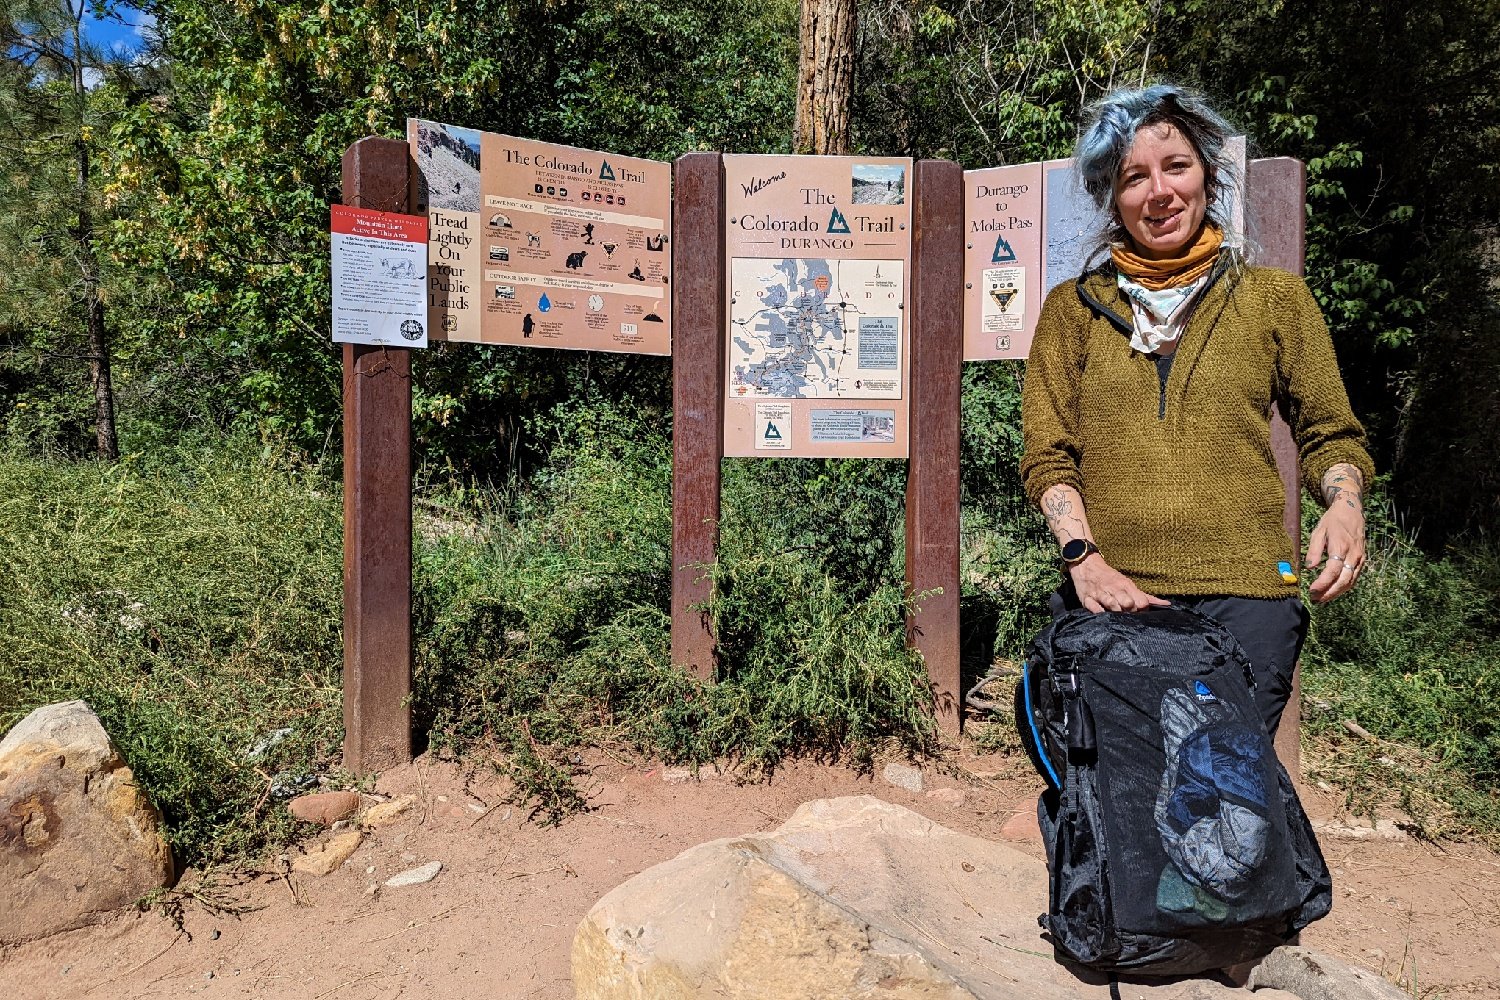
NORTHBOUND
If you’re hiking NOBO, the easiest option is to fly into Durango and take a shuttle or rideshare to the trailhead. Flights there can be expensive, though, so it may be worth it to spend some extra time on public transit if you want to save money.
Planning Your Itinerary
Planning a loose daily itinerary isn’t necessary, but we’ve learned from past thru-hikes that it’s very helpful. Most people take 4-6 weeks to complete the CT – an average of 10-14 miles a day. That said, very fit and experienced hikers may cover 20+ miles per day.
In general, we always recommend overestimating how long it will take to complete a trail. You can always get off early, but it’s not as easy to extend beyond your planned finish date if you have obligations to return to. Your itinerary should take into consideration your ability, hiking style, zero days, and a little leeway for unexpected hiccups.
The FarOut app is an excellent resource to use when planning your hike because you can see how many miles there are between each water source and potential campsite and what services nearby towns offer. You can even read comments other users left about places they enjoyed camping.
Although the trail is well marked, it’s a good idea to have a hard copy, like these National Geographic topo maps, in your pack. The Colorado Trail Foundation also has a great page on CT maps and guidebooks (there are a lot to choose from).
Resupply
Because you’ll be on trail for a few weeks, you won’t be able to carry all your food at once. You’ll need to stop and resupply periodically.
Most people resupply 4-6 times, but there are a decent amount of road crossings and opportunities to get into town along the trail. So resupplying often can be easy if you want to cut down on food weight in your pack. Just be aware that town stops can be expensive and tend to take a lot of time.
You’ll need to balance the weight savings of carrying less food against the time it takes to make stops. You can resupply by mailing boxes ahead of time to a post office or a place in town that offers to hold boxes for hikers (like a hostel). Or, you can have a friend or family member meet you at road crossings with fresh supplies. (This a popular option for hikers who travel with a dog.) You can also get a ride into a nearby town for the grocery store.
If your resupply plan involves mailing packages, you’ll want to ship them well in advance to make sure they arrive in time for you to pick them up. If you’re mailing your resupply boxes to a post office (make sure the PO in your target town accepts general delivery), this is how you’ll want to address your box: Your Name c/o General Delivery Town Name, CO 01234 Arriving By: ETA
It’s also a good idea to write your name or put a special marker (like colorful doodles or stickers) on all sides of the box to make it easier for postal workers to find it amongst the hoards of other boxes.
Our Favorite Resupply Towns
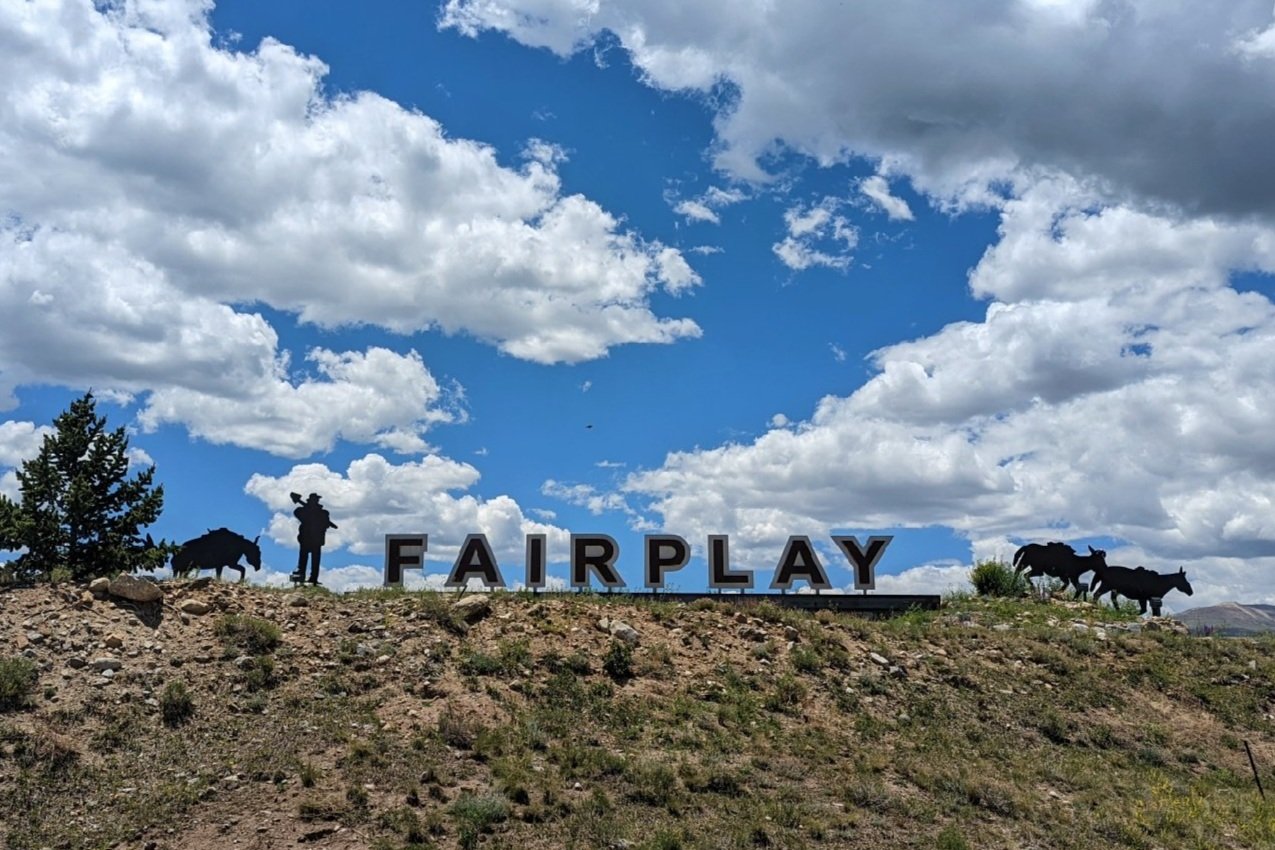
Fairplay (CT mile 71.7)
Stay here: Hand Hotel – this cute little B&B was all booked up when we got to Fairplay, so we didn’t get to stay here, unfortunately. But we heard from several other hikers that it was very charming and cozy.
Eat here: Otto’s
Resupply here: Prather’s Market
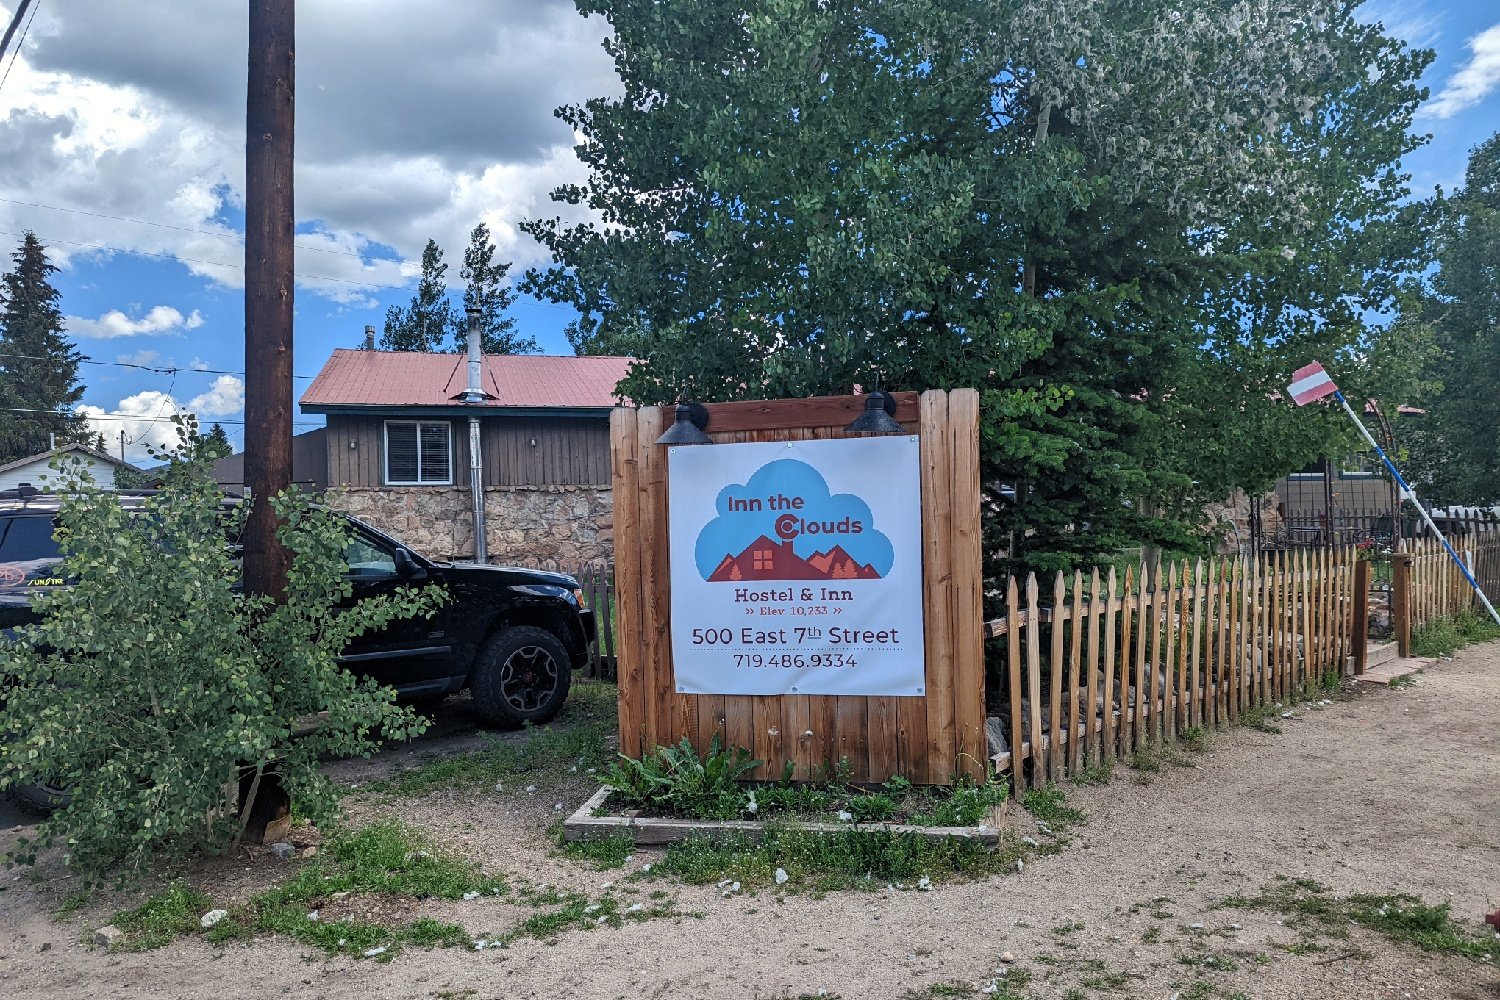
Leadville (CT mile 142.8)
Stay here: Inn the Clouds – this hostel is conveniently located about a half mile from the main strip in Leadville. It had thoughtful common areas, friendly staff, and one of the most comfortable hostel beds we’ve ever slept in!
Eat here: High Mountain Pies & Zero Day Coffee in the morning
Resupply here: Safeway, Leadville Outdoors & Mountain Market (for gear and snacks)
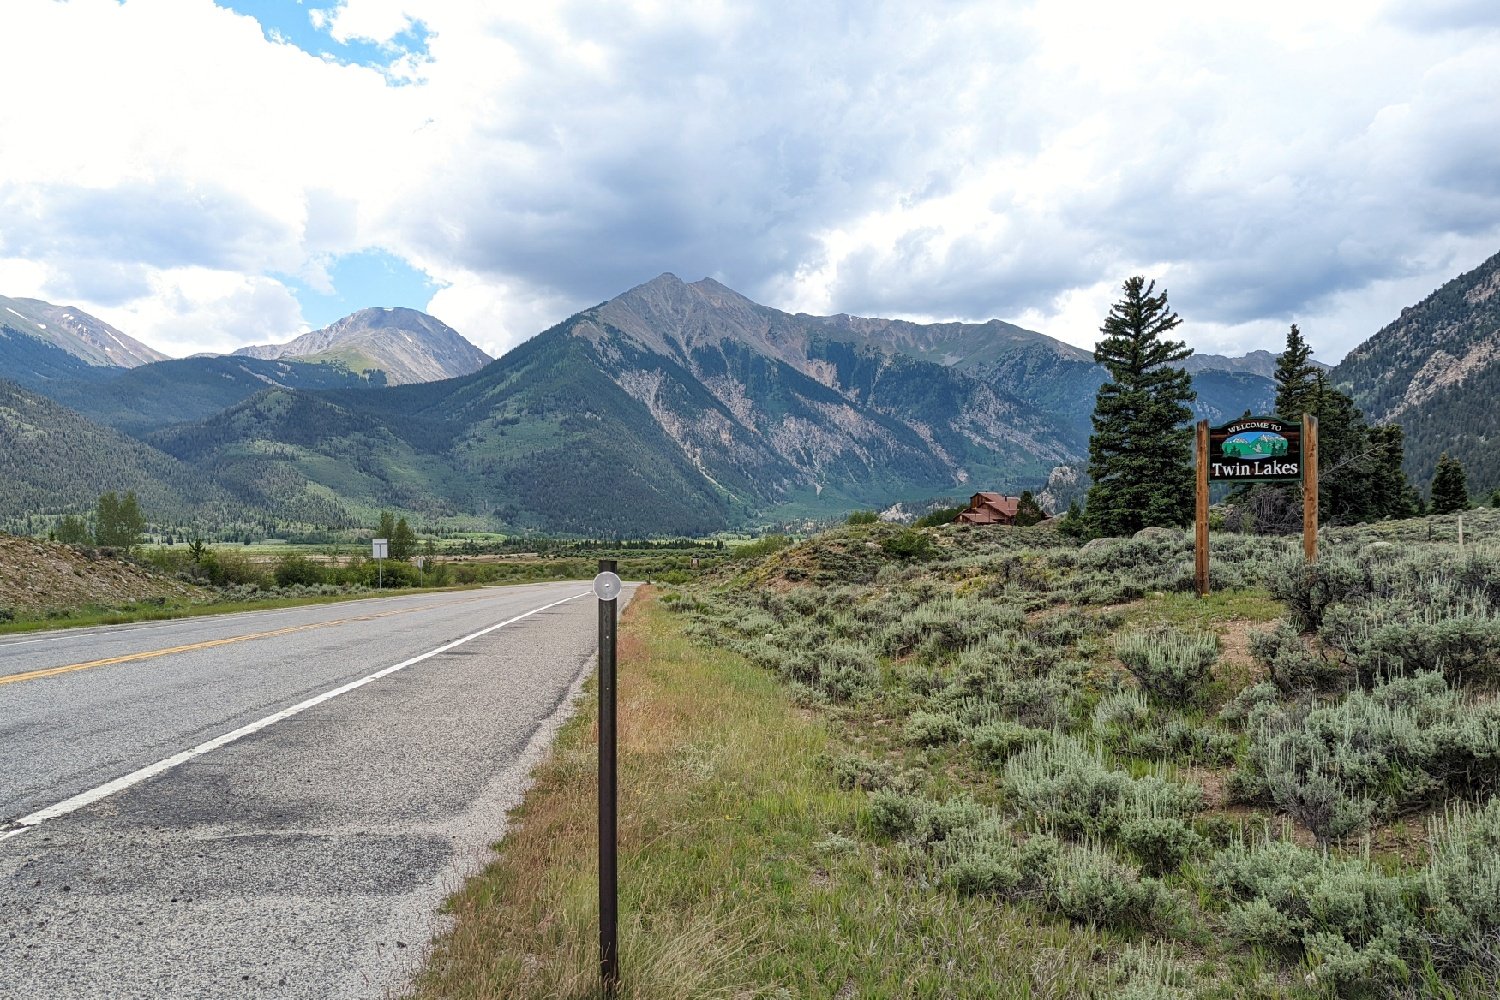
Twin Lakes (CT mile 177.5)
You’ll pass right through this town on the trail, so we recommend stopping in for lunch before heading back to the Colorado Trail.
Eat here: Punkys Mobile Food Trailer (burgers & such) or Perkolated Peaks (burritos)
Resupply here: Twin Lakes General Store
Salida (CT mile 253.2)
We consider this town a must-stop! Salida was one of our all-time favorite trail towns. It’s a cute, artsy community with a huge park and a river you can float right in town.
Stay here: Simple Lodge – simply put, this hostel felt like home. The staff was amazing, the rates were affordable, the location was perfect, the space was clean and comfortable, and sometimes they cook up a delicious family-style dinner for the guests!
Eat here: Boathouse, Moonlight Pizza & Bunny & Clyde’s (for breakfast)
Resupply here: Safeway, Natural Grocers & Salida Mountain Sports
Silverton (CT mile 412.1)
Stay here: The Avon – this quirky hotel/hostel has some really nice single rooms if you want to treat yourself before the final push into Durango. It’s located just off the main drag in town and has a bar on the ground level.
Eat here: Kendall Mountain Cafe
Resupply here: Silverton Grocery
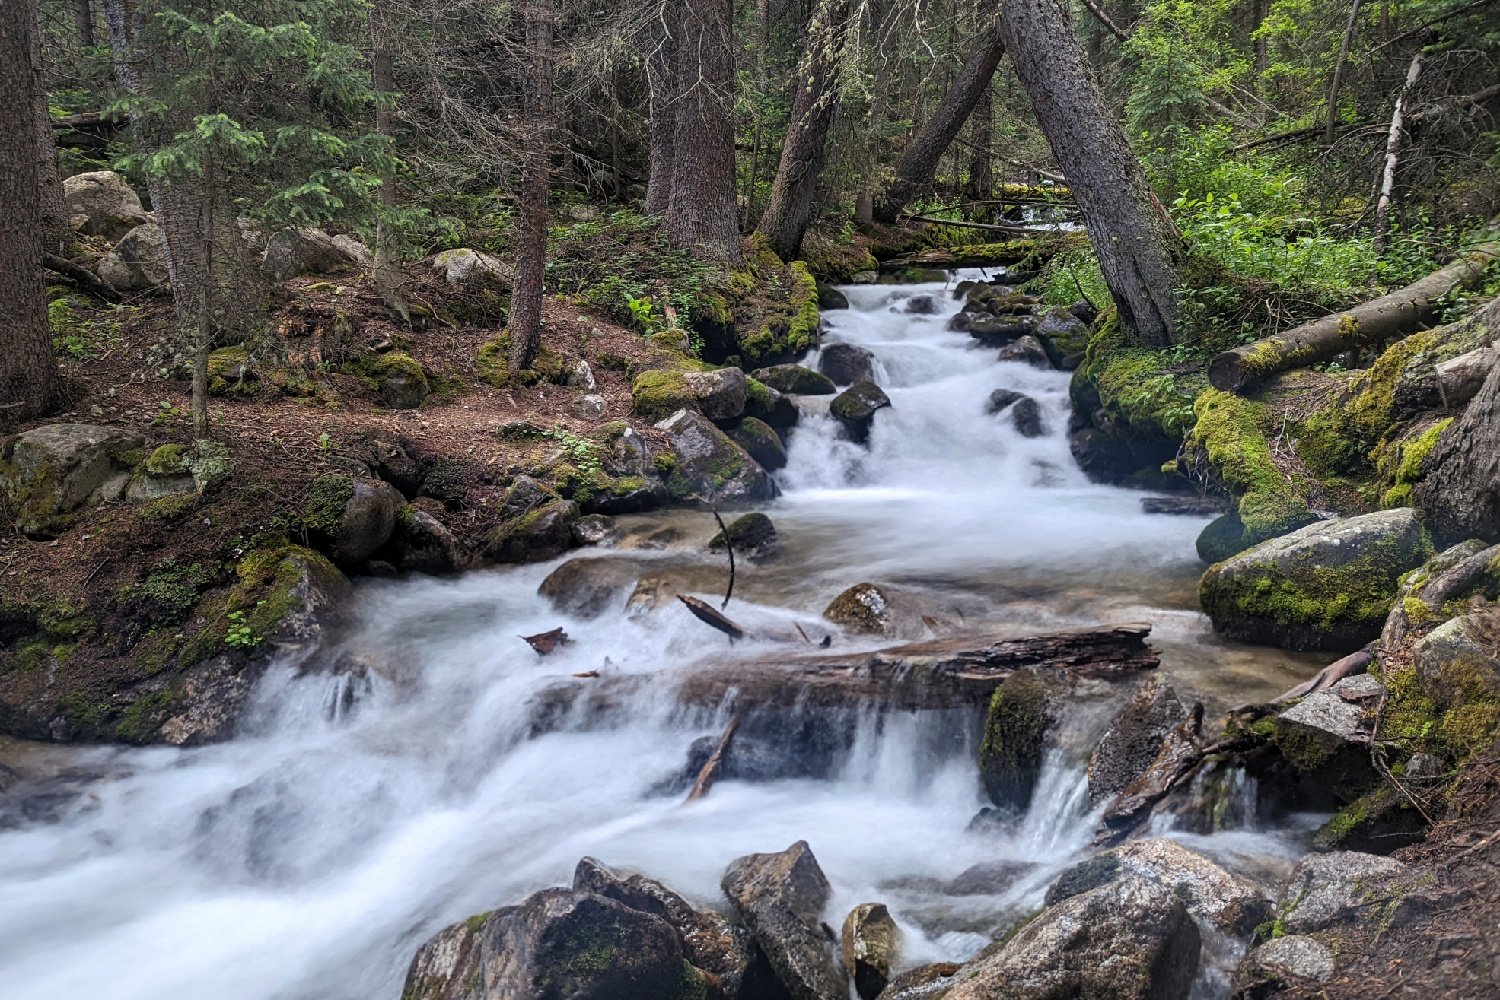
Water
Water availability on the Colorado Trail fluctuates drastically based on your start date, snowpack, and the weather. Sources are far apart and unreliable in some sections. We had to “camel up” and carry more water than usual in areas where the trail stayed above treeline for long stretches. Lightweight foldable bladders, like Platy Bottles, come in handy for big water carries.
The best advice is to stock up wherever you can, never leave a source thirsty, and carry more than you think you need. The FarOut app is great for planning your water carries because you can see other hikers’ reports about which water sources are flowing ahead. Still, there’s no guarantee you’ll find water in a source when you get there.
Although many of the water sources you’ll find along the CT run clear, you’ll still want to filter your water. We used a bandana and Katadyn Micropur Tablets to filter and purify on the trail because it’s a lightweight, reliable, and easy way to ensure your water is safe. Another very popular and affordable option that many hikers use on the CT is the Sawyer Squeeze.
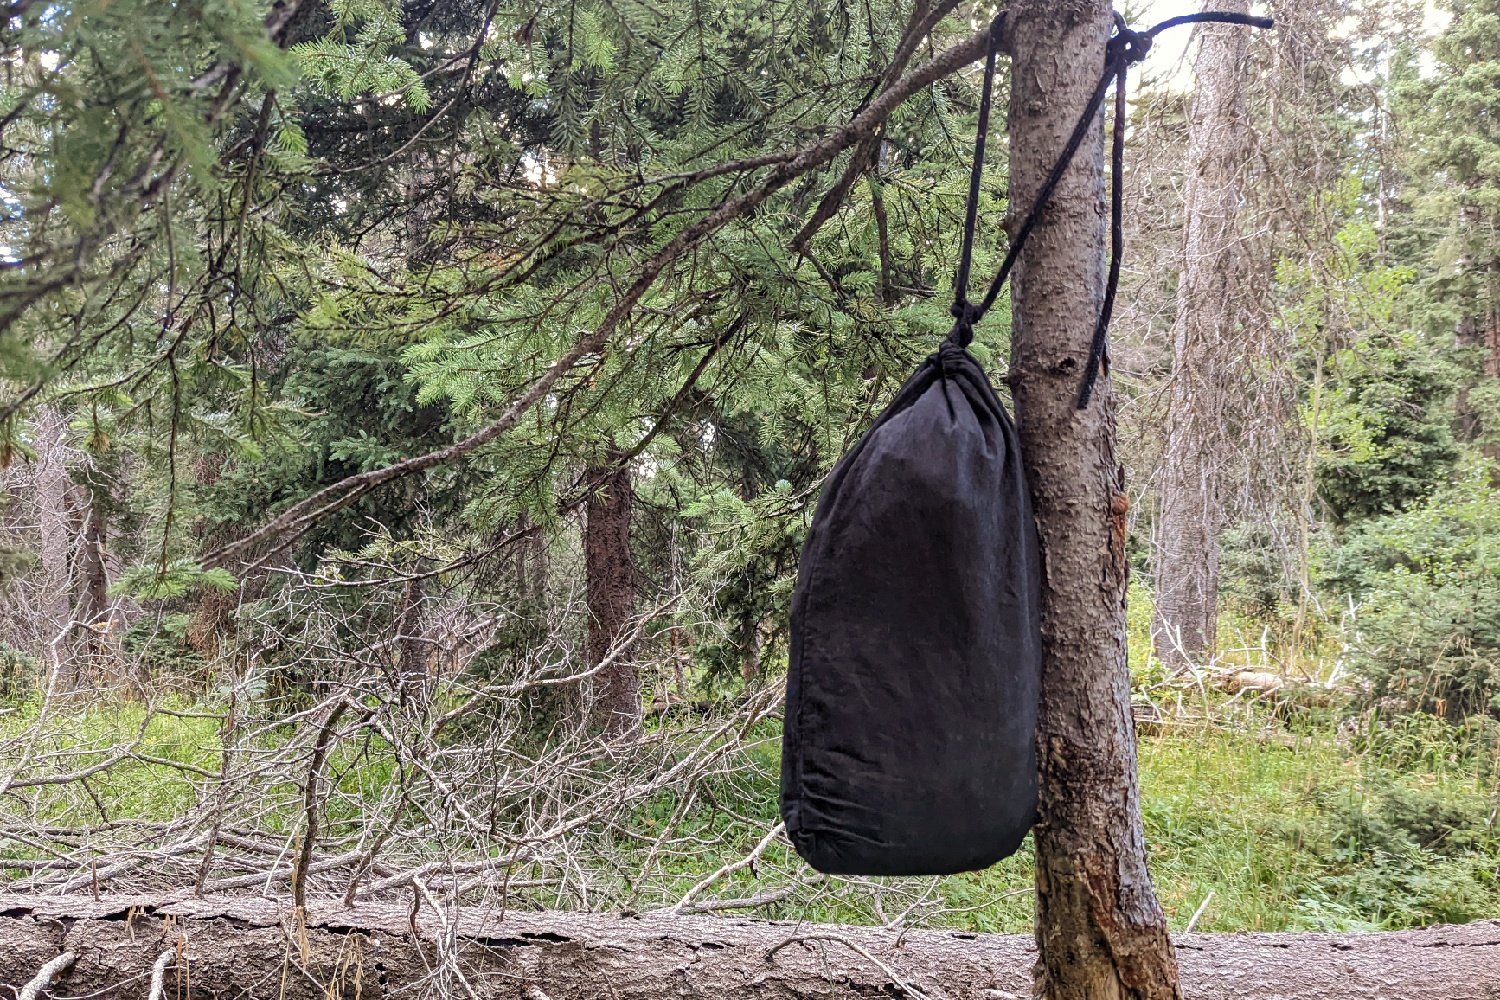
Bears & Food Storage
Black bears live in the forests along the entire Colorado Trail, so taking care of your food and your scented items is critical to keeping these animals alive and wild. While bear encounters are somewhat rare on the Colorado Trail, we recommend storing your food away from camp in a bear-safe container, like an Ursack.
Other critters, like marmots, squirrels, and raccoons, can also be a concern when it comes to keeping your food safe, so stay aware and be cautious when taking breaks or camping above treeline. (To protect your food from both bears and smaller critters like mice, we like the Ursack Allmitey.) It is a bad night’s sleep to hear critters rummaging through your precious rations. Maybe worse is starting your day by opening your food stuffs to see someone has already helped themselves.
Bugs
Ticks are less common on the Colorado Trail, but mosquitoes and biting flies can be a nuisance. June and July can be buggy months, but most swarms have dissipated by September, making the late summer a nice time to hike. We recommend using a combination of Permethrin on your clothing and Picaridin Lotion for exposed skin if you’re hiking during the peak of summer.
Gear List
Make sure to check out our Ultimate Backpacking Checklist, so you don’t forget something important.
Below you’ll find our current favorite backpacking gear. If you want to see additional options, our curated gear guides are the result of many years of extensive research and hands-on testing by our team of outdoor experts.
BACKPACK
- Best Backpacking Pack Overall: Gregory Paragon 58 – Men’s / Gregory Maven 58 – Women’s
- Best Ultralight Backpacking Backpack: Hyperlite Mountain Gear Unbound 40
- More: Check out our best backpacking backpacks guide for ultralight and trekking options
TENT
- Best Backpacking Tent Overall: Big Agnes Copper Spur HV UL2
- Best Ultralight Tent: Zpacks Duplex
- Best Budget Tent: REI Half Dome 2
- Best Tent Stakes Overall: All One Tech Aluminum Stakes
- More: Check out our best backpacking tents guide for more options
SLEEPING BAG/QUILT
- Best Sleeping Bag Overall: Men’s Feathered Friends Swallow YF 20 / Women’s Feathered Friends Egret YF 20
- Best Quilt Overall: Enlightened Equipment Revelation 20
- More: Check out our best backpacking sleeping bags guide and best backpacking quilts guide for more options
SLEEPING PAD
- Best Sleeping Pad Overall: NEMO Tensor All-Season
- Best Foam Sleeping Pad: NEMO Switchback
- More: Check out our best backpacking sleeping pads guide for ultralight and trekking options
CAMP KITCHEN
- Best Backpacking Stove Overall: MSR PocketRocket 2
- Best Backpacking Cookware Overall: TOAKS Titanium 750ml
- Best Backpacking Coffee Overall: Starbucks VIA
- More: Check out our best backpacking stoves guide and best backpacking cookware guide for ultralight and large group options
WATER & FILTRATION
- Best Water Filter Overall: Sawyer Squeeze
- Best Hydration Bladder Overall: Gregory 3D Hydro
- Best Backpacking Water Bottles: Smartwater Bottles
- More: Check out our best backpacking water filters guide and best backpacking water bottles guide for ultralight and large group options
CLOTHING
- Best Hiking Pants Overall: Men’s Outdoor Research Ferrosi / Women’s The North Face Aphrodite 2.0
- Best Hiking Shorts Overall: Men’s Patagonia Quandary / Women’s Outdoor Research Ferrosi
- Best Women’s Hiking Leggings: Fjallraven Abisko Trekking Tights HD
- Best Rain Jacket Overall: Men’s Patagonia Torrentshell 3L / Women’s Patagonia Torrentshell 3L
- Best Rain Pants: Men’s Patagonia Torrentshell 3L / Women’s Patagonia Torrentshell 3L
- Best Down Jacket Overall: Men’s Patagonia Down Sweater Hoodie / Women’s Patagonia Down Sweater Hoodie
- Best Fleece Jacket Overall: Men’s Patagonia Better Sweater / Women’s Patagonia Better Sweater
- Best Sunshirt Overall: Men’s Outdoor Research Echo / Women’s Outdoor Research Echo
- Best Socks Overall: Men’s Darn Tough Light Hiker Micro Crew / Women’s Darn Tough Light Hiker Micro Crew
- Beste Ultralight Liner Glove: Patagonia Capilene Midweight Liner
- More: Check out our best backpacking apparel lists for more options
FOOTWEAR & TRACTION
- Best Hiking Shoes Overall: Men’s HOKA Speedgoat 6 / Women’s HOKA Speedgoat 6
- Best Hiking Boots Overall: Men’s Salomon X Ultra 5 GTX / Women’s Lowa Renegade Evo GTX
- Best Hiking Sandals Overall: Men’s Chaco Z/1 Classic / Women’s Chaco Z/1 Classic
- Best Camp Shoes Overall: Crocs Classic Clogs
- Best Traction Device for Hiking Overall: Kahtoola MICROspikes
- More: Check out our best backpacking footwear lists for more options
NAVIGATION
- Best GPS Watch Overall: Garmin Instinct 2 Solar
- Best Personal Locator Beacon (PLB): Garmin inReach Mini 2
- More: Check out our article How to Use Your Phone as a GPS Device for Backpacking & Hiking to learn more
FOOD
FIRST-AID & TOOLS
- Best First-Aid Kit Overall: Adventure Medical Kits Ultralight/Watertight .7
- Best Pocket Knife Overall: Kershaw Leek
- Best Multitool Overall: Leatherman Wave+
- Best Headlamp Overall: Black Diamond Spot 400-R
- Best Power Bank Overall: Nitecore NB 10000 Gen 3
- More: Check out our best first-aid kit guide, best pocket knife guide, best multitool guide, best backpacking headlamps guide, and best power banks guide for more options
MISCELLANEOUS
- Best Trekking Poles Overall: Black Diamond Pursuit
- Best Backpacking Chair Overall: REI Flexlite Air
- Best Backpacking Stuff Sack Overall: Hyperlite Mountain Gear Drawstring
- More: Check out our best trekking poles guide, best backpacking chairs guide, and best stuff sacks guide for more options

Leave No Trace
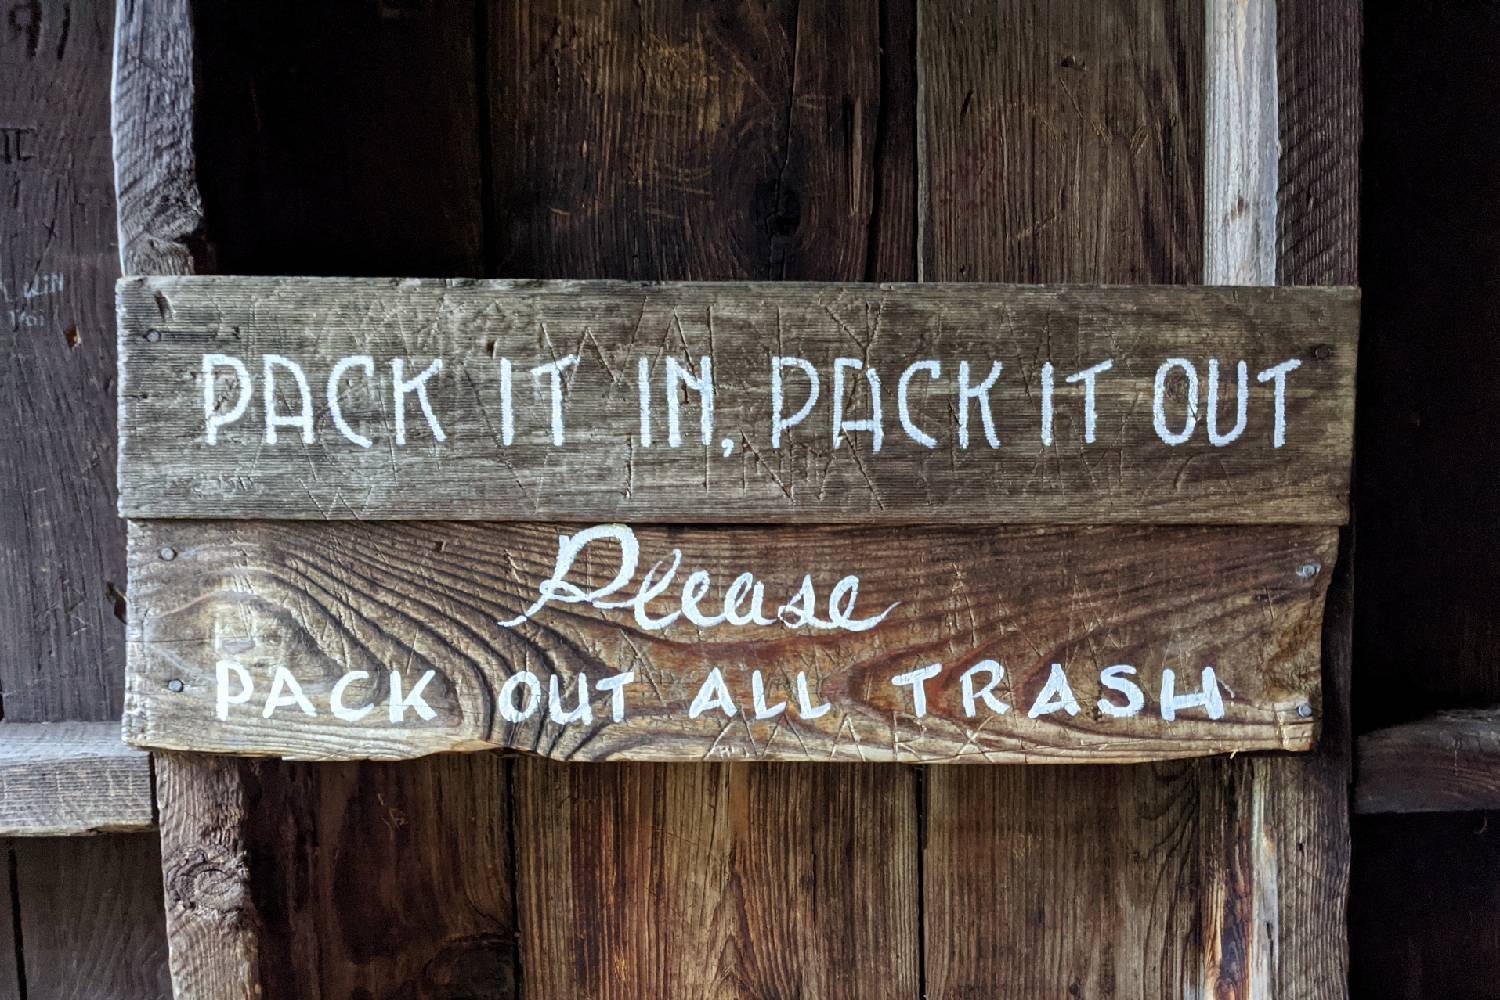
Maybe you’ve heard the term “leave no trace,” and you know the basics: pack out your trash, plan ahead, and be prepared. It does mean properly disposing of your waste (brush up on how to poop in the woods with this CleverHiker guide) and having a solid plan, but there’s a lot more to LNT than just that, and we think it’s important to learn the Leave No Trace’s seven principles or refresh your LNT practices should you plan to hike the Colorado Trail. That way, when you are out there, you will be confident that you are recreating in a way that protects the plants, wildlife, and outdoor experience for others. It only takes a few minutes to brush up on our leave no trace guidelines before you head out.
Become a Member of the Colorado Trail Foundation
The Colorado Trail Foundation (CTF) protects and maintains the CT. Without the hard work of their staff and volunteers, there would be no trail. We highly recommend becoming a donating member of this amazing organization to help ensure the CT stays around for future generations to enjoy. The CTF also commemorates successful end-to-end hikes with a certificate and a mention on its website.
More Information
We hope this guide helps you plan your unforgettable journey along the Colorado Trail. As always, leave a comment below if you have any recommendations, questions, or suggestions. For more popular CleverHiker content, check out the following links:
More Photos from the Colorado trail