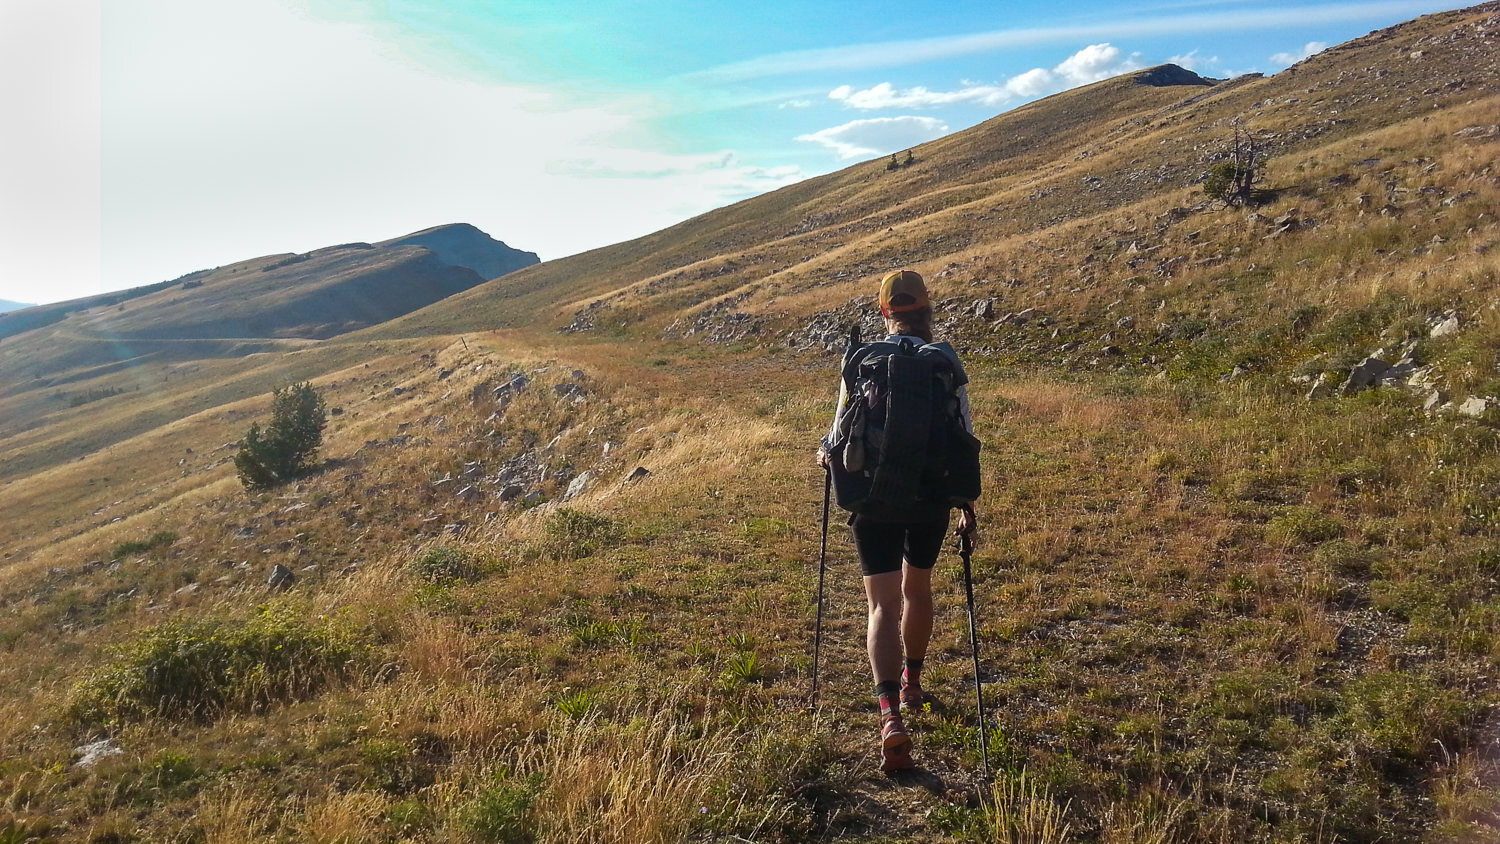
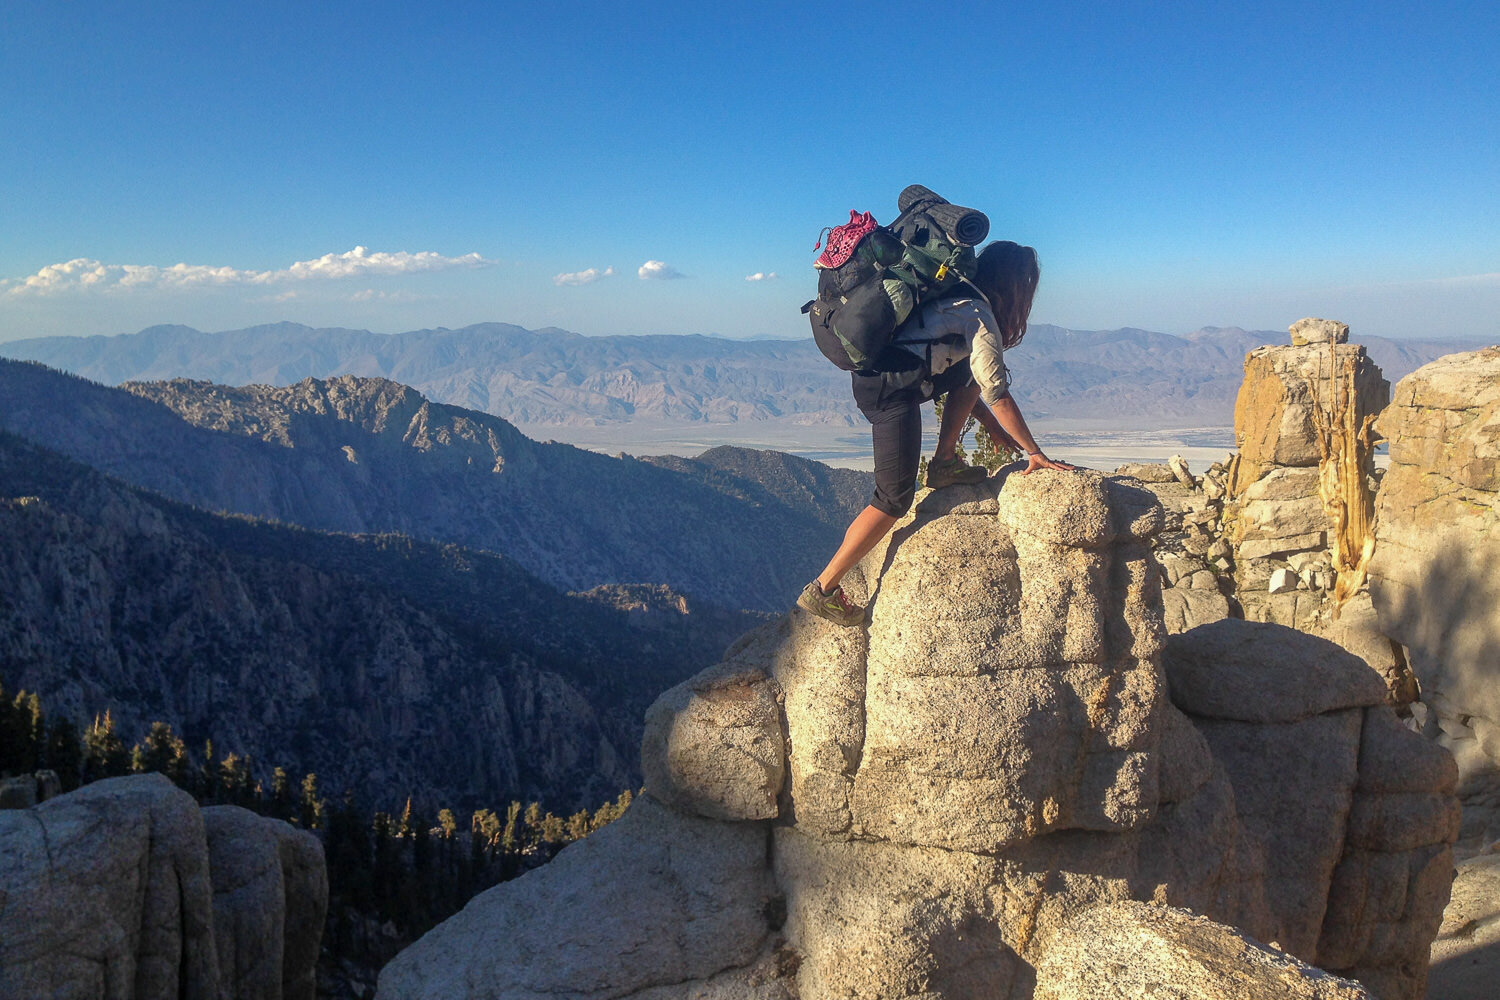
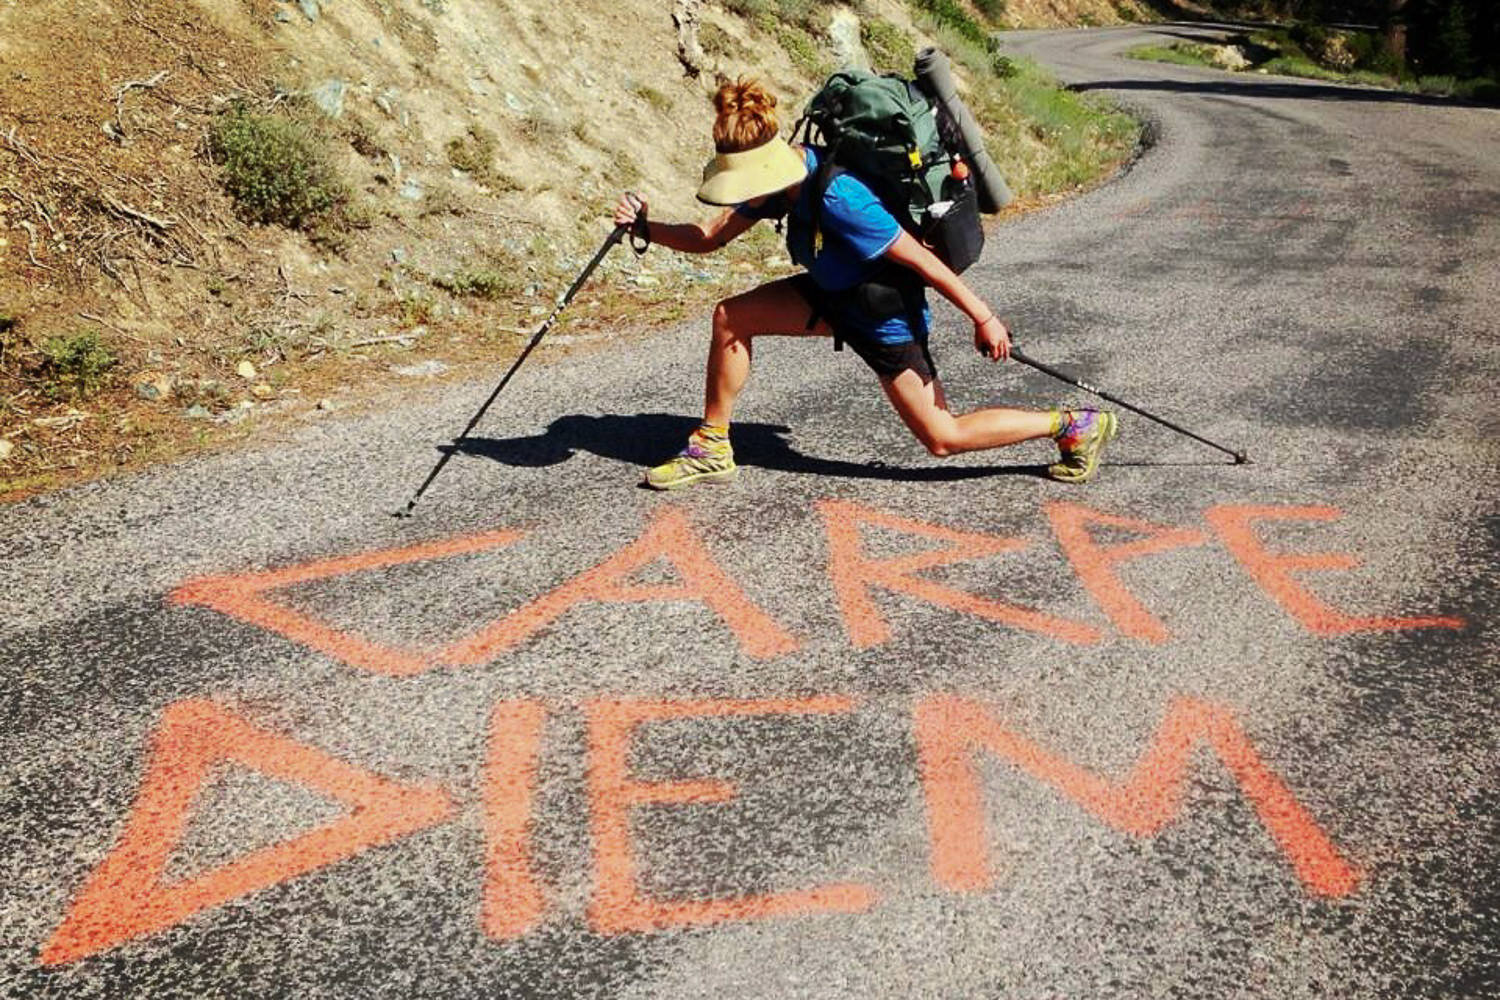
If you’ve got your sights set on a difficult hike or an epic backpacking trip, it’s smart to train for it in the weeks and months leading up to it. When you’re in tip-top shape, you can truly enjoy the experience instead of worrying about being sore and exhausted. Training can also be a lot of fun, and you can do it at home without spending a dime.
If you’re already active and feel like you’re in good shape, you may think you don’t need to condition for your trip. But be honest with yourself: When’s the last time you put on a backpack and slogged up flights of stairs for hours upon hours? Hiking and backpacking are more than just walking. They’re endurance sports. The more you train, the better you’ll feel when the big day comes. This guide shows you how to train for hiking and backpacking, based on our extensive experience.
The Benefits of Training
A BETTER EXPERIENCE
Training will allow you to enjoy your time on the trail more. Instead of feeling tired and miserable while hiking, you can focus on having fun and soaking in nature’s beauty. If you aren’t over-exerting yourself, you’ll have more energy left in the tank to explore side trails, take photos, savor your time in camp, or do whatever brings you joy. If you have quads of steel, you’ll also be able to carry more food or luxury items, like a Kindle, mini travel game, or a flask. The benefits don’t end when the trek is over either. A fit person doesn’t need as much time to recover after a trip, and their memories of the experience will be more positive.
AVOID BLISTERS & INJURIES
A little pre-trip training will help you avoid potential blisters and injuries. Developing strength and flexibility in the knees, ankles, and feet is especially critical for backpacking. Resistance training strengthens muscles and tendons while increasing the flexibility of the ligaments. This helps mitigate the risk of strains or tears. Training can also help prevent blisters by gradually toughening up the skin and by giving you time to break-in and become familiar with your footwear. Become a blister-fighting ninja by reading our How to Prevent and Treat Blisters While Hiking post.
MOTIVATION FOR LONG-TERM HEALTH & FITNESS
An upcoming adventure can motivate you to work on your fitness goals. Every time you think of those beautiful mountains you’re going to climb can reignite your drive to walk or do squats. It’s also a ton of fun to train since it gets you active and going outside regularly. You may even inspire your family or friends to train with you!
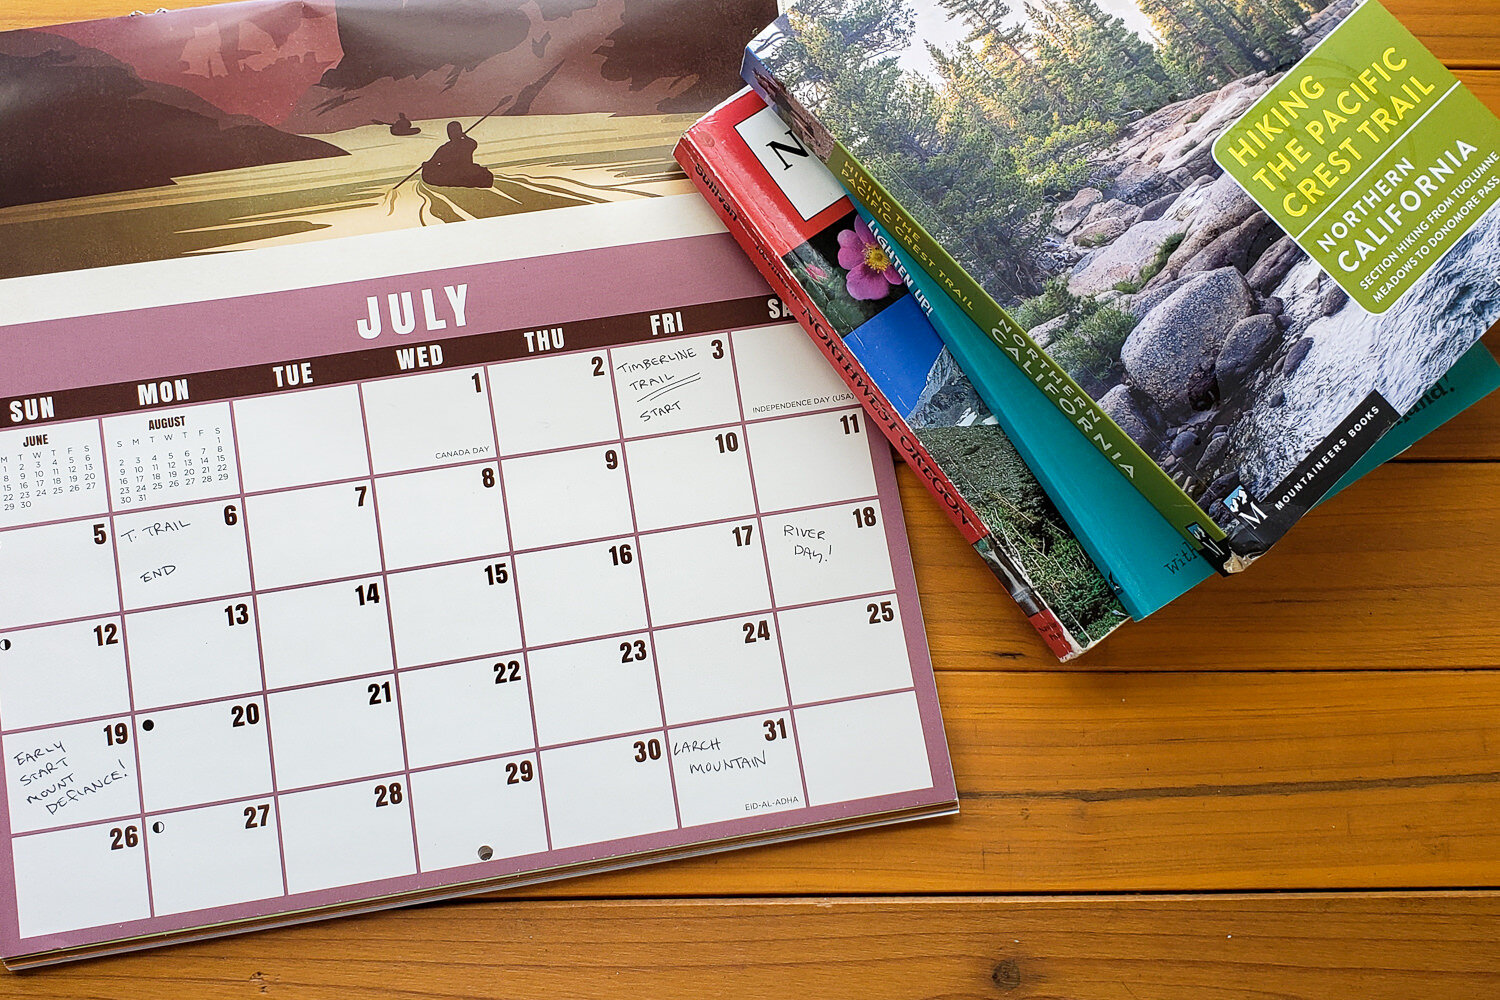
Conditioning doesn’t have to build up and end with a single trip either. You can use training to develop a bomber stress-relieving routine for your long-term mental and physical health. To galvanize training into your lifestyle, pencil in several challenging hikes or backpacking trips on your calendar throughout the year. For us, there’s nothing as powerful as an epic vista to incentivize ongoing exercise. Check out our Backpacking Trip Guides for inspiration.
Where to Start
ZERO IN ON YOUR GOALS
Training is most effective when you have specific goals you want to reach, so it pays to do your route research. Look closely at your backpacking itinerary and zero-in on logistics. Pay attention to how many miles you’d like to travel per day, how much elevation gain and loss there is on your route, and how much weight you’ll likely carry in your backpack. Remember to factor in food weight if you’ll have long carries between resupply points and water weight if you’ll traverse significant dry stretches. Once you have a good grasp on these facts, you can start practicing for these specific conditions. Check out our video on trip planning for more details.
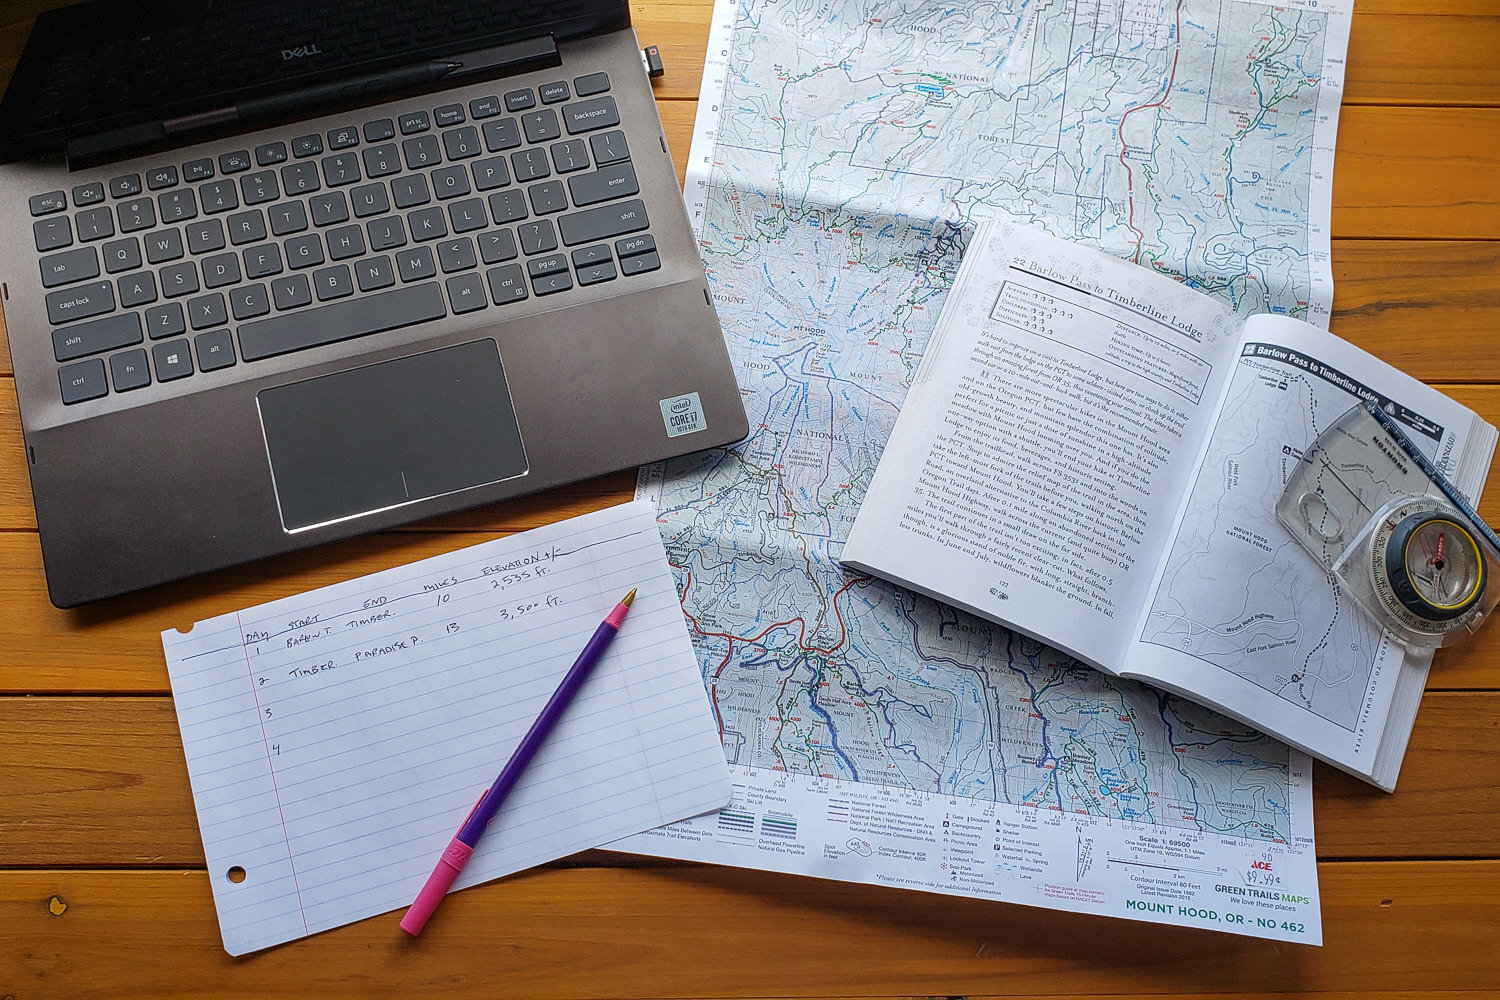
NAVIGATE THE NUMBERS
It’s really helpful to know about how long it takes you to hike a mile for both training and trip-planning purposes. Your speed will change depending on your fitness level, obstacles on the trail, weather, and the weight on your back. Once you’re in shape, a good hiking pace to strive for (with a backpack on and over variable terrain), is 2-3 miles per hour. That’s about 20-30 minutes per mile. Plan to take about 30 minutes longer for every 1,000 feet of elevation gain (uphill).
GET MOVING
The most important thing you can do to start training for a hike is to start moving regularly. It doesn’t really matter what you do, just get up and get your blood flowing for at least 20 minutes a day. Walk, dance, vigorously clean – whatever is the most accessible and enjoyable to you at the time. This will start exercising your heart and lungs – the real workhorses of hiking and backpacking. It’s best to start training about eight weeks before a big hike, but it can’t hurt to start earlier. If you’ve been sedentary for a while or your sights are set on a particularly long or challenging trip, we recommend training for at least a few months, so you can ease into it gradually.
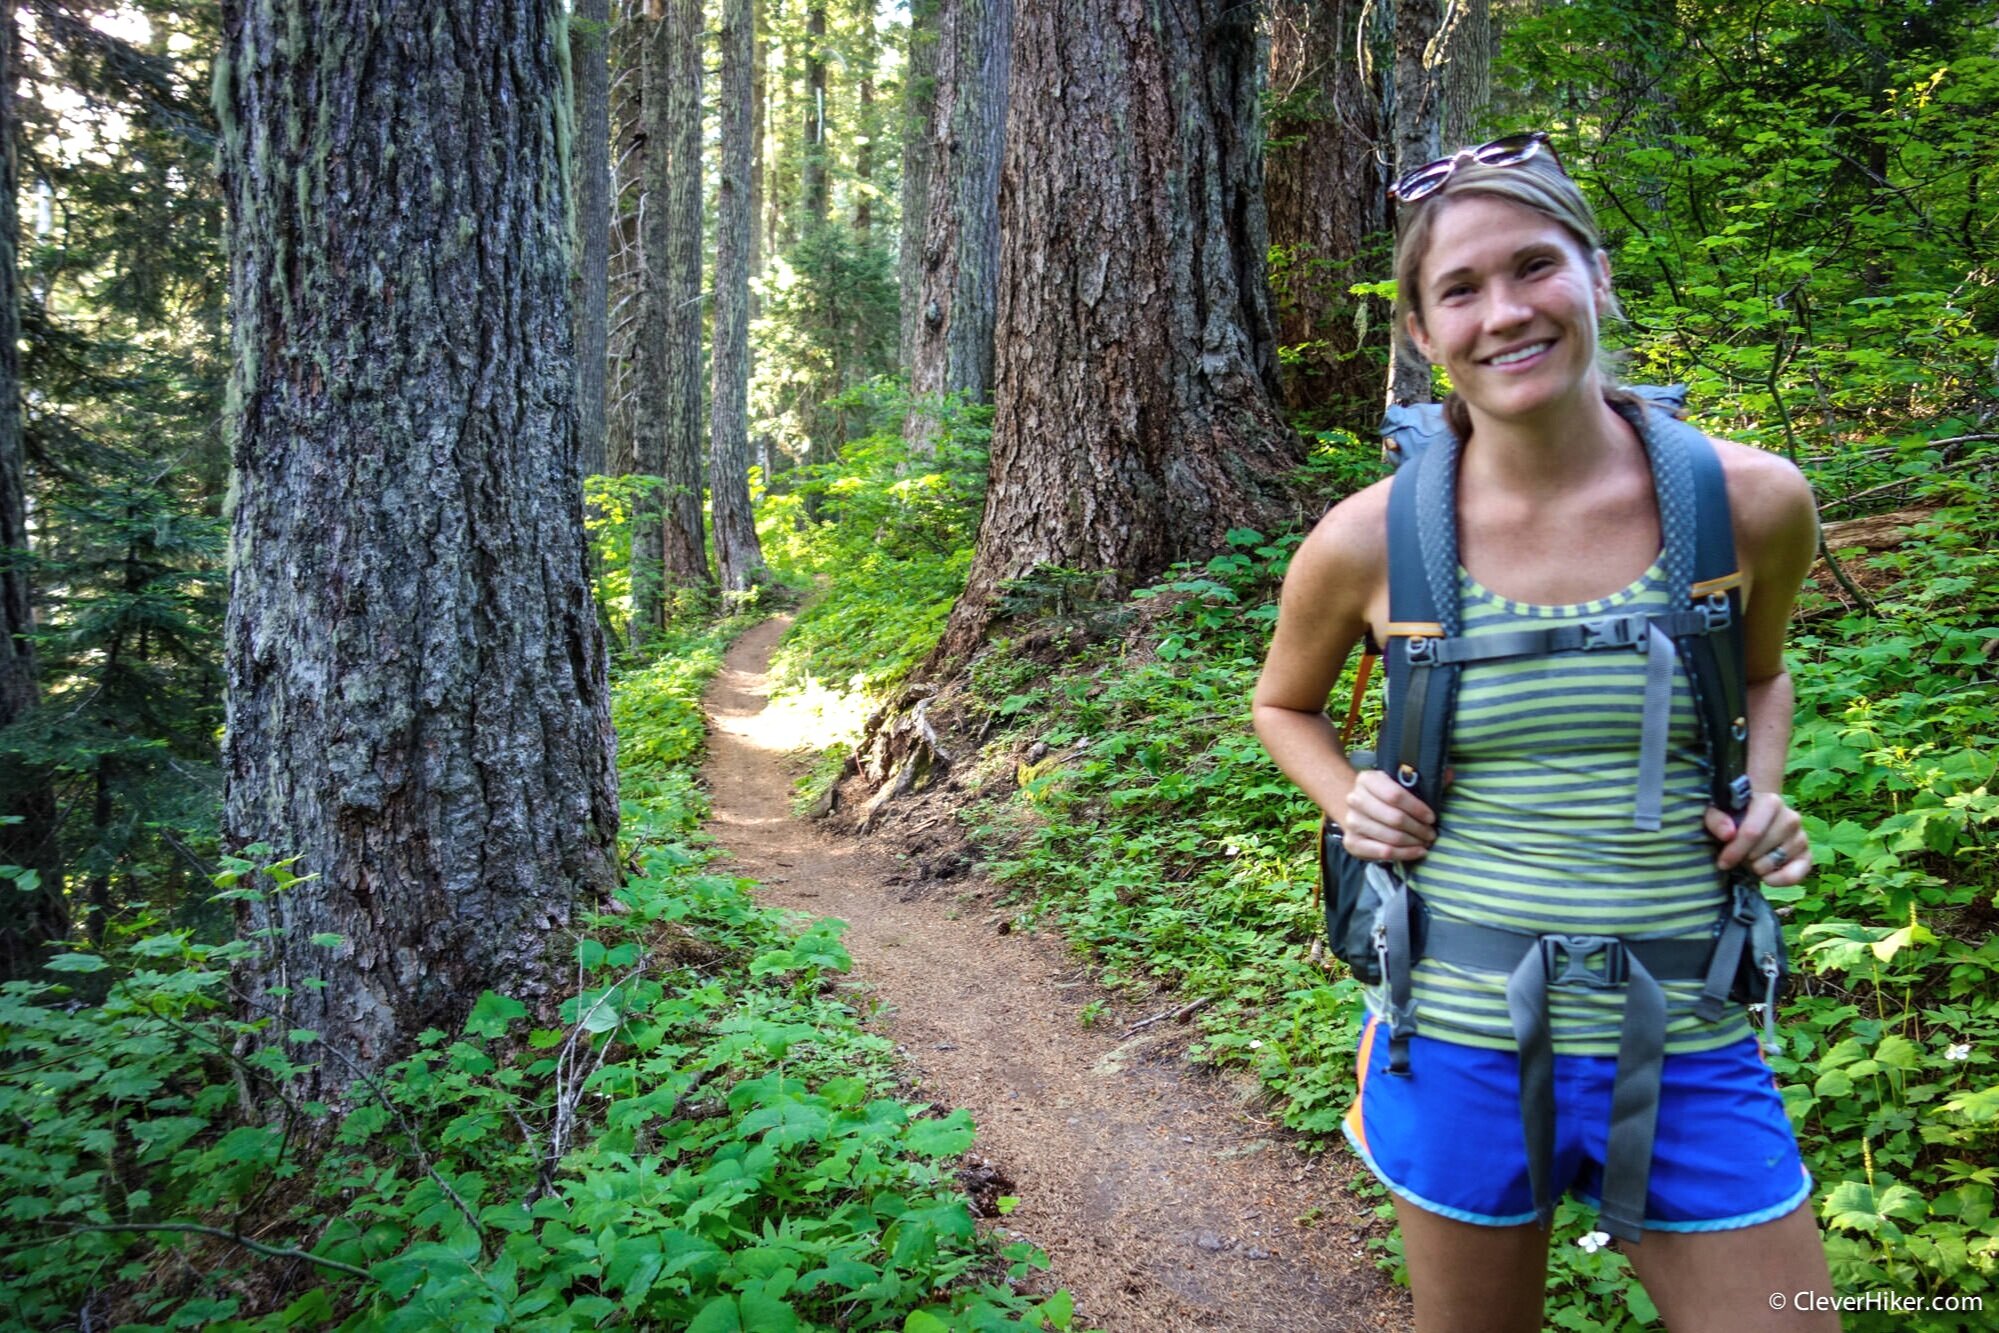
START A WALKING ROUTINE
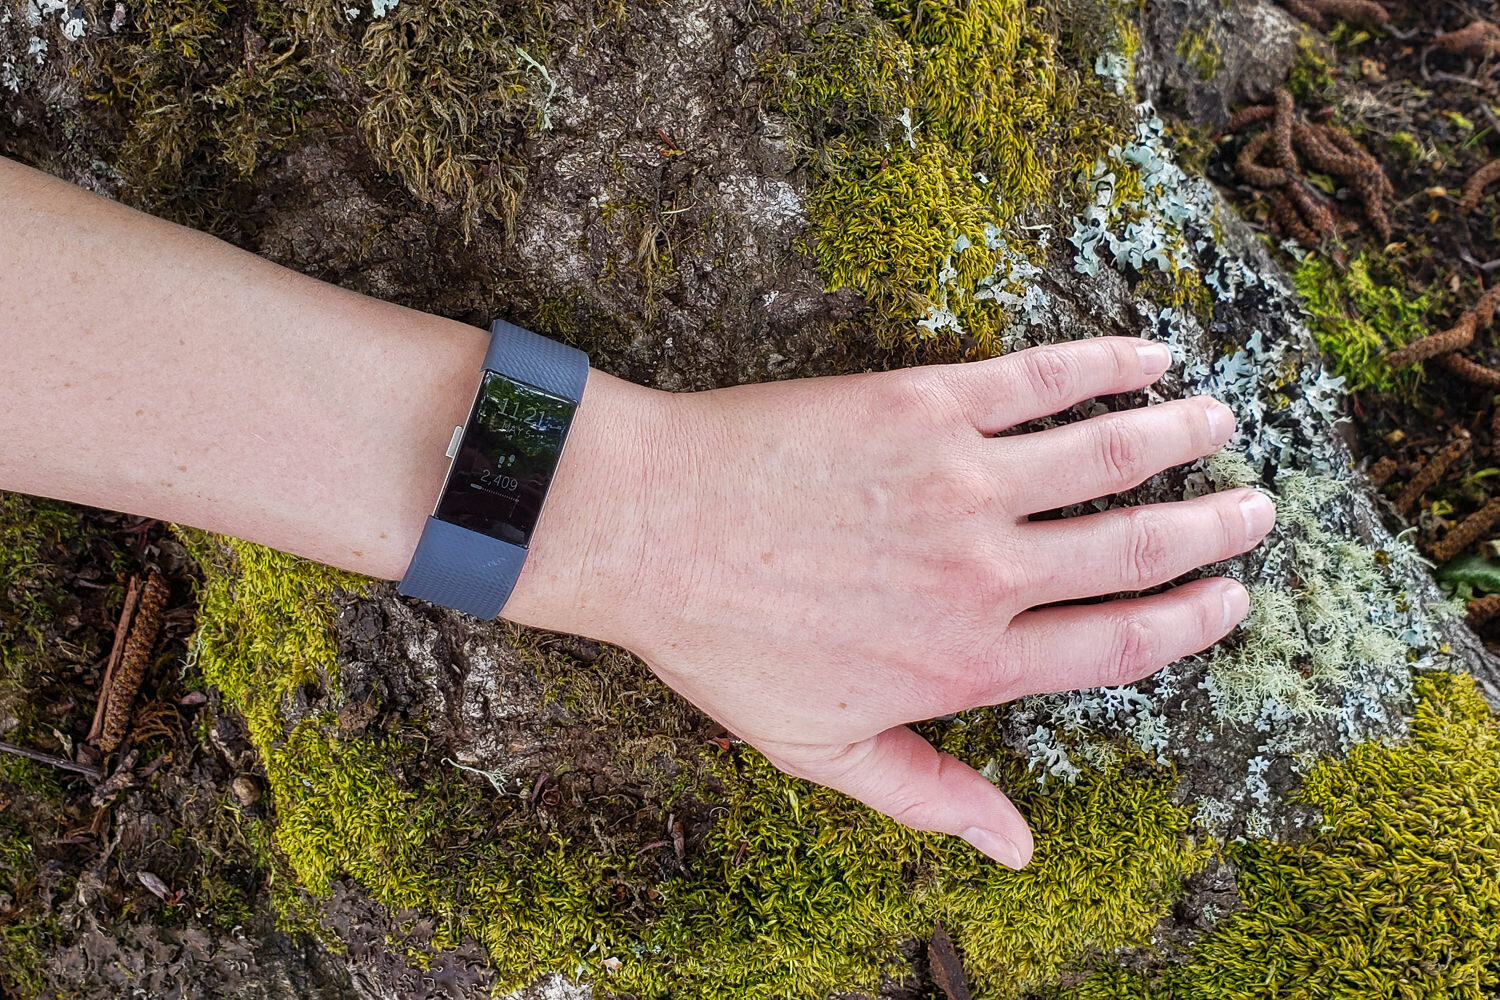
Start walking as often as possible. Begin with a couple of easy walks per week. Then work up to doing several more intense walks mid-week and a longer hike on the weekend. Keep track of how many miles you walk, how long it takes, and how you feel. Some people like to use a phone app or a fitness watch, such as a Fitbit, to track their activity. These indicators will give you an idea of what your current fitness level is and how much you need to push yourself to be ready for your trip. Increase the length and difficulty of your walks in baby steps. The last thing you want to do while training is strain something and have to put your plans on hold. Consistently work towards small, attainable goals and make sure you’re enjoying yourself along the way.
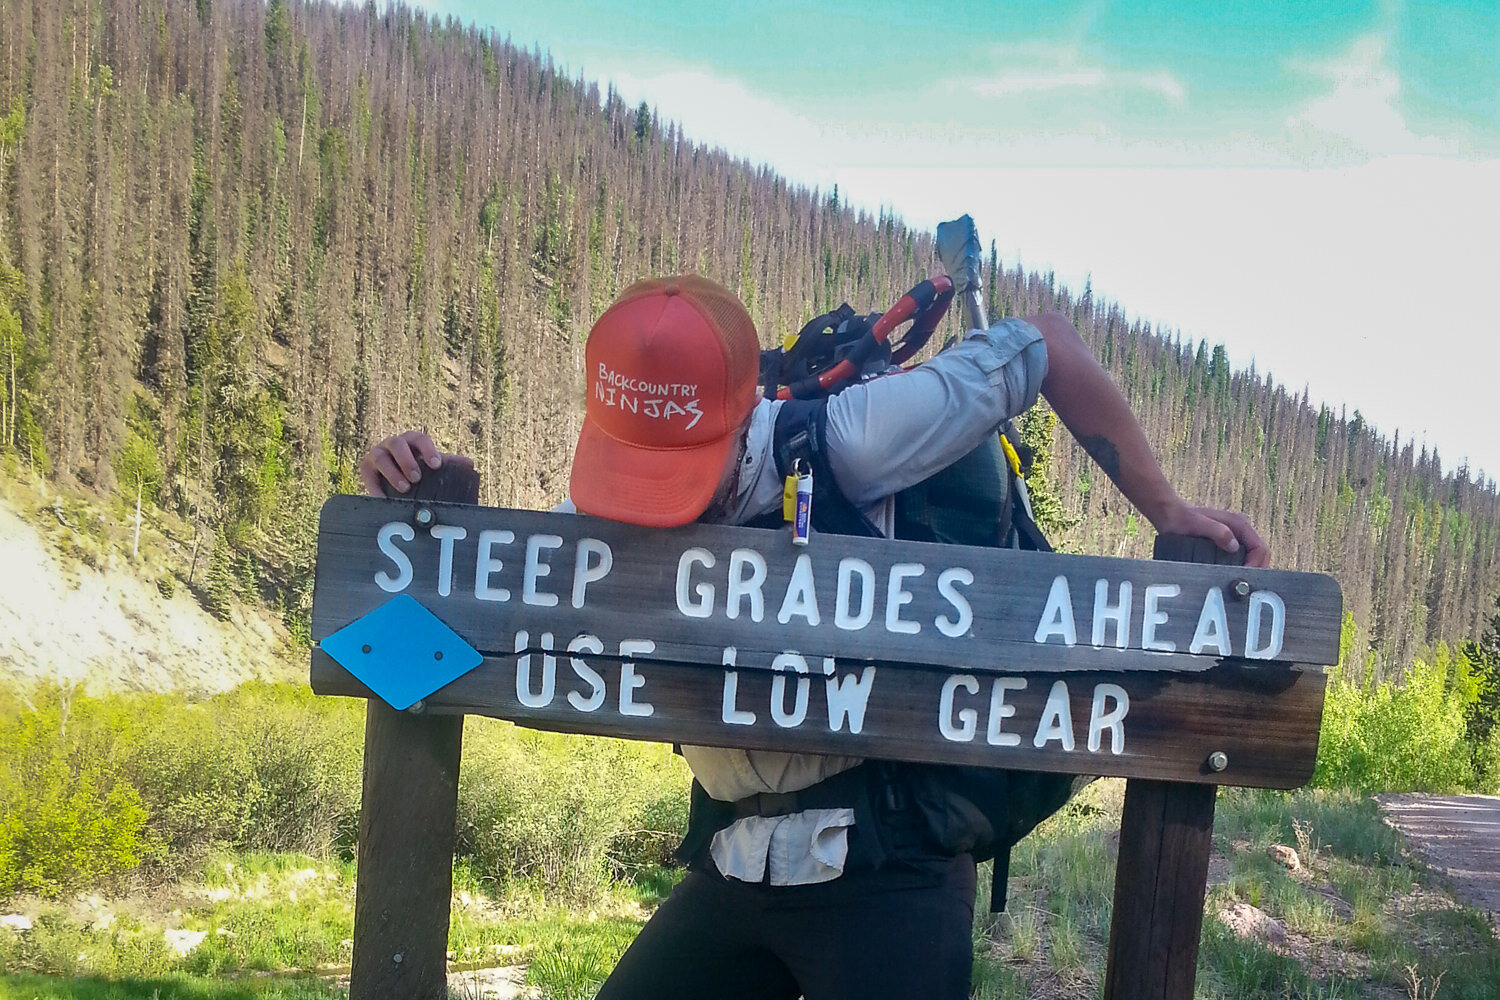
HEAD FOR THE HILLS
Hilly terrain creates an excellent opportunity for bursts of intensity followed by periods of recovery, which builds up your endurance for backpacking like nothing else can. Alternating between high-intensity uphill sections and lower-intensity flat or downhill sections keeps your heart rate fluctuating. This type of interval training gives you a great workout in less time. It also revs up your calorie-burning ability and keeps training more interesting. Most importantly, it boosts your aerobic capacity, so you can eventually hike longer and steeper routes.
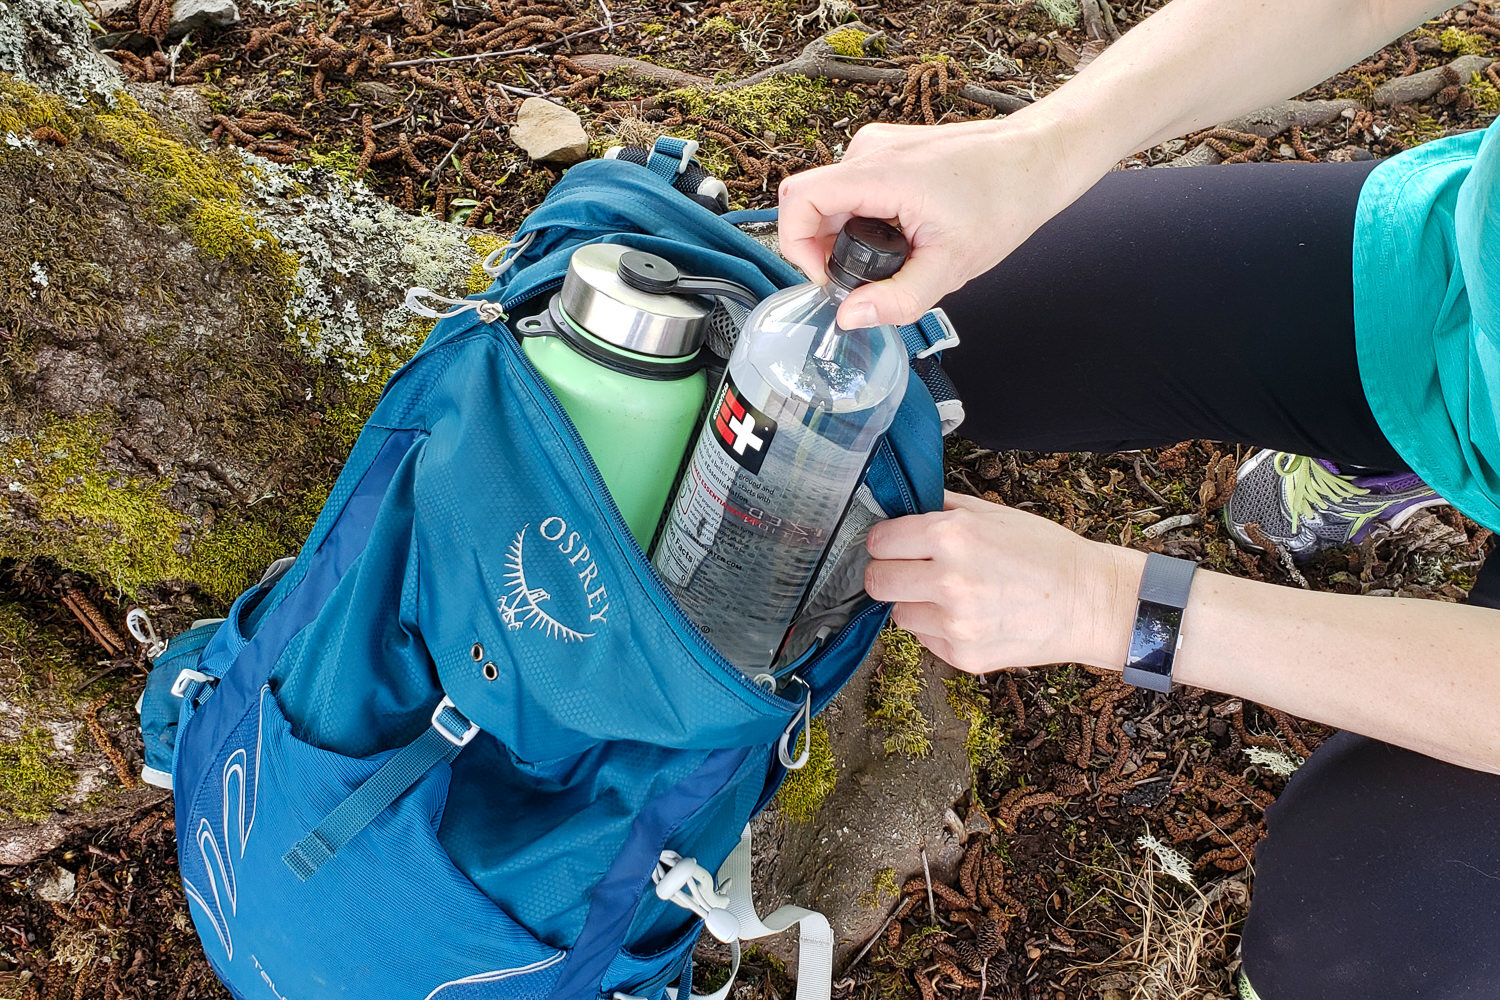
ADD WEIGHT
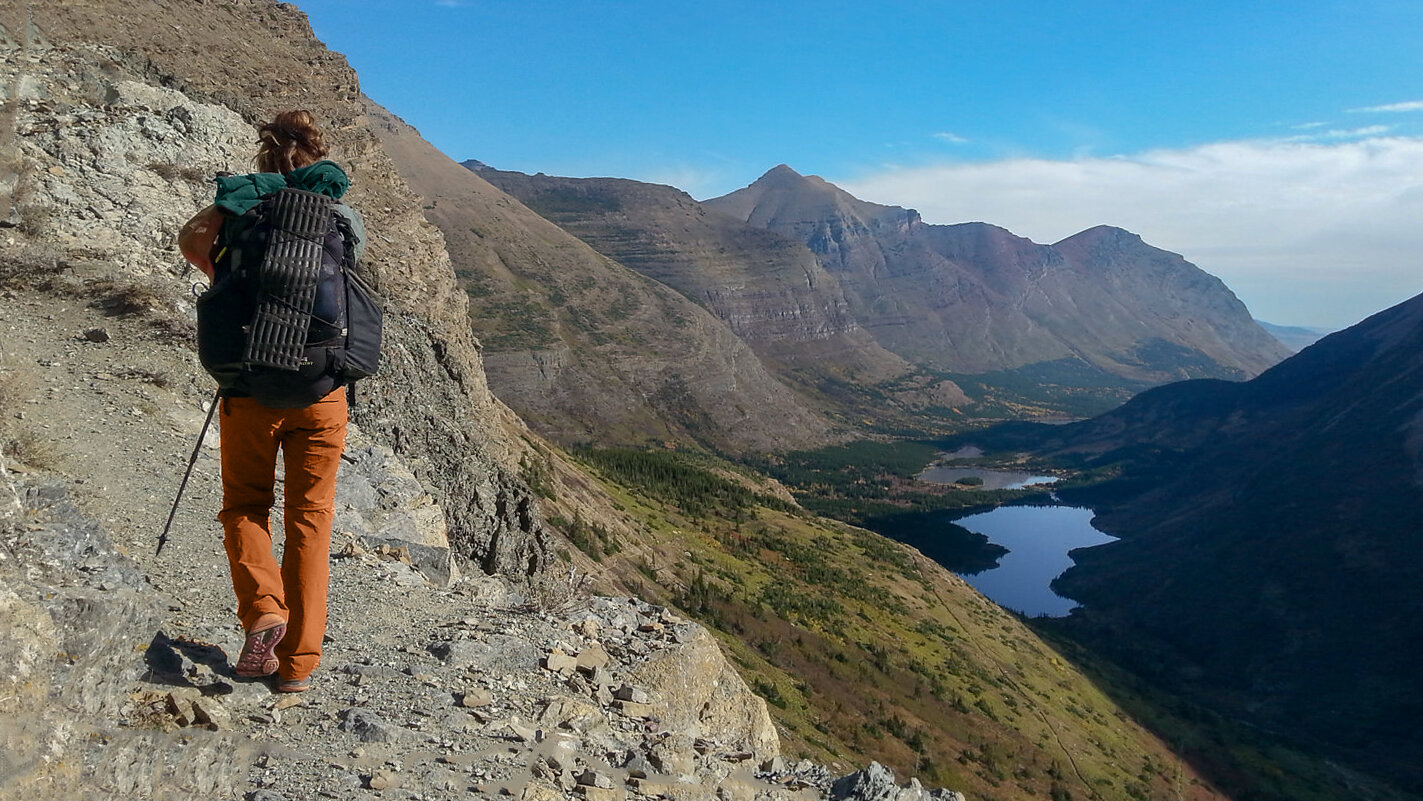
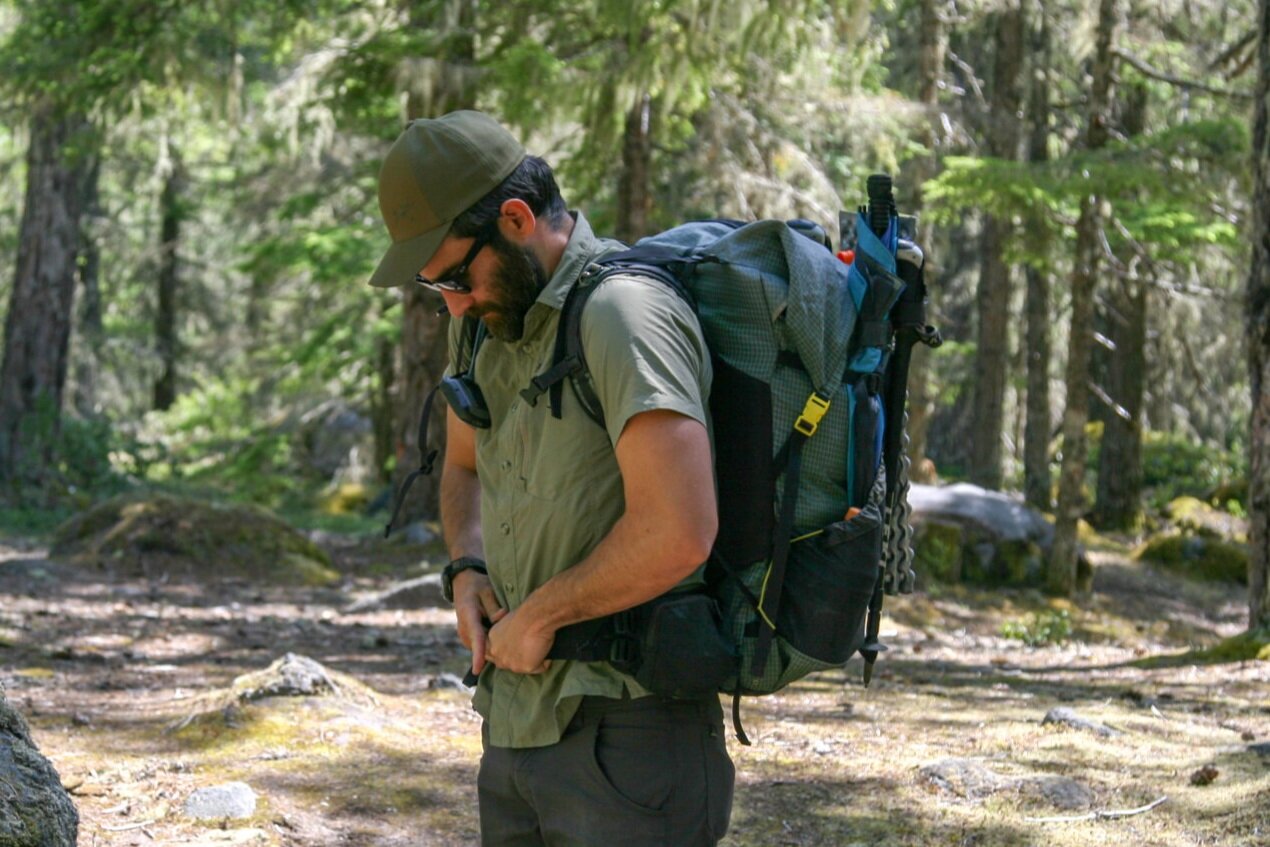
Once you’re feeling strong on your walks, start wearing a daypack to add to the challenge. Load your daypack with enough weight to account for about 25% of the total amount you plan to carry on your trek. Water bottles are heavy when full and make great weights. Gradually add more weight to the backpack until you can easily handle at least 75% of the total weight you intend to carry on your trip. Towards the end, you should transition to wearing the backpack you plan to use on your backpacking trip. That way, you can practice making adjustments and troubleshoot any issues with friction or fit. If you’re not sure how heavy your backpack will be yet, check out our Ultralight Backpacking Basics Guide and our Ultimate Backpacking Checklist to learn more.
Finding the Time to Train With a Busy Schedule
We understand that it can be tough to find the time to train when you have a busy schedule. If all you can manage is a walking routine, don’t beat yourself up. Logging miles is by far the most important part of training. Bonus points if you can also carve out 20 or 30 minutes two or three times a week to do some of the following exercises. Your body will thank you for it. To maximize your time, focus on exercises that improve overall fitness and target multiple muscle groups with each repetition.
Strengthening exercises
PARTS OF THE BODY WE USE MOST WHILE HIKING & BACKPACKING:
- Heart
- Lungs
- Core (abdominals, obliques, back)
- Legs (quadriceps, hamstrings, glutes, calves)
- Hips (hip flexors)
- Shoulders
- Ankles
- Feet

Top 5 Training Exercises
It’s ideal to do the following strength training exercises two or three times per week on the days you aren’t walking or doing cardio. Make sure to stretch and warm up for a few minutes before you start to protect your joints.
SQUATS
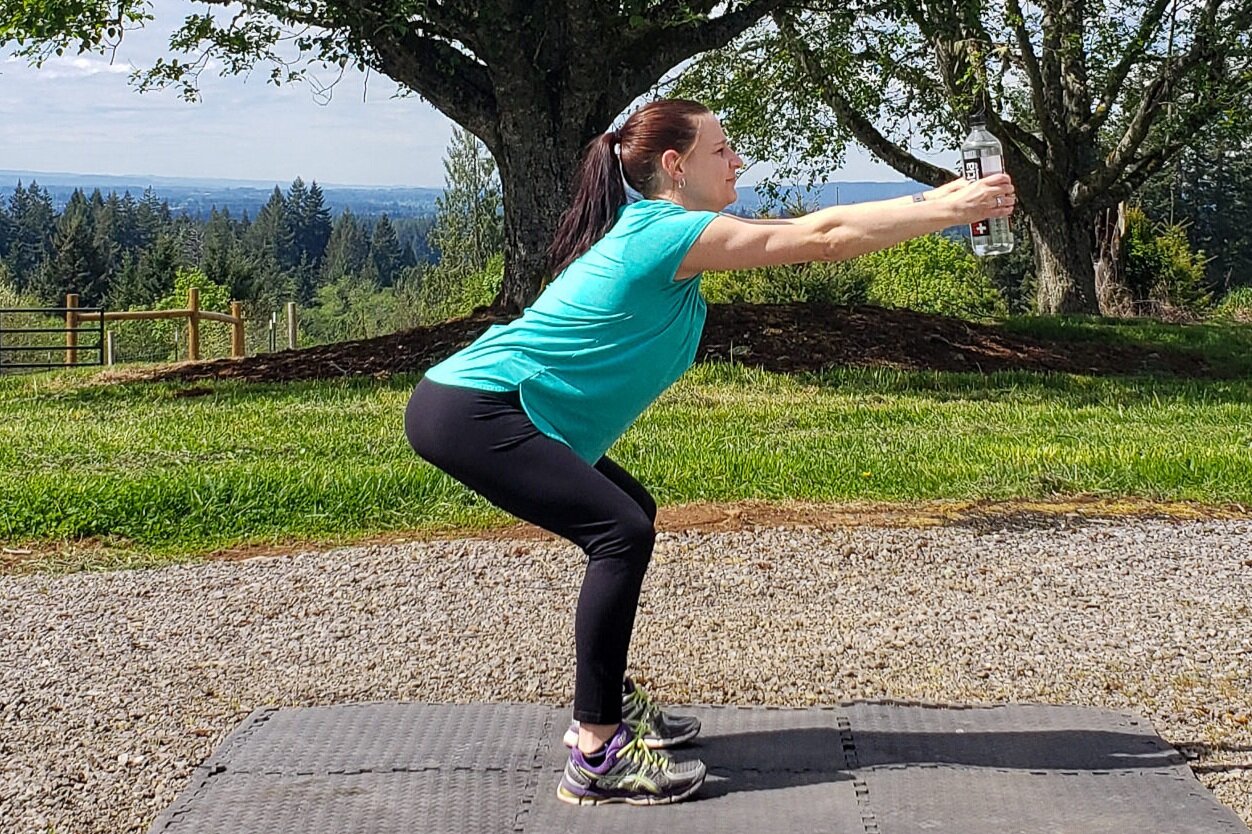
If you only have time for one exercise, do squats. They’re super effective at strengthening your glutes and legs, which are constantly challenged while backpacking. Stand with your feet shoulder-width apart. Keeping your knees in line with your ankles, bend at your knees and sit back as if you are sitting into a low chair behind you. Keep your chest open and upright. Then, driving your weight into your heels, stand back up, squeezing your glutes as you come up. Extra credit: Hold weight in hands while you do your squats to add resistance. Reps: 1-3 sets of 20+
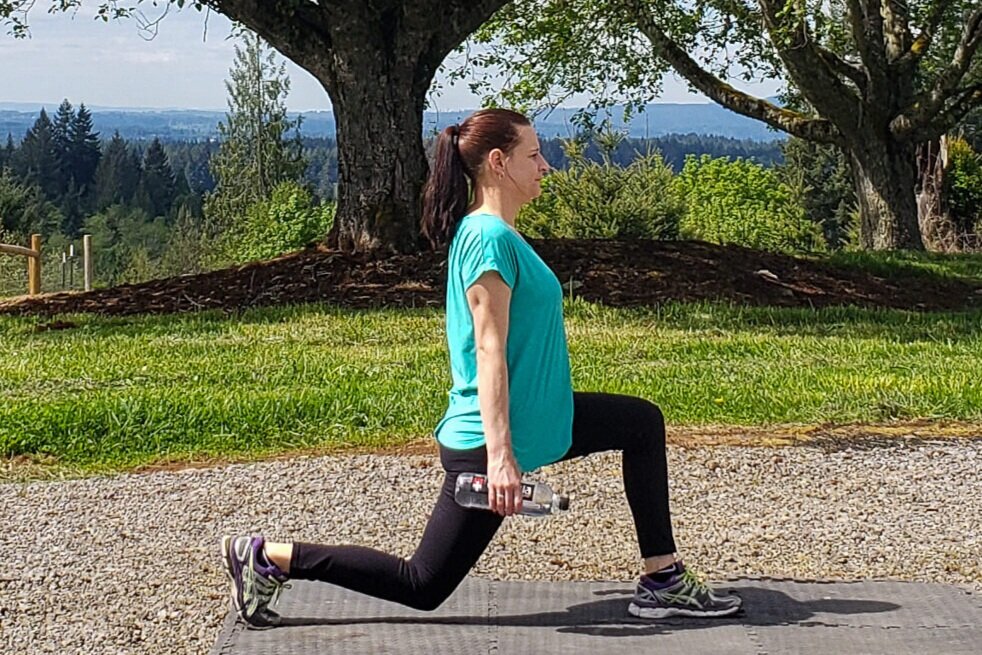
LUNGES
Lunges will help strengthen your quads, the largest muscles in your legs, so you’ll be ready to charge up those relentless uphill sections of trail.
To do this exercise, start by standing with your feet together. Step your right foot forward and lunge forward. Then step your right foot back to meet your left again. Next, step your right foot to the right and lunge to the side. Bring your right foot back to meet your left. Then, step your right foot back behind you and lunge back. Bring your right foot forward to meet your left. Repeat on your left side. That’s one rep. Extra credit: Hold a weight or water bottle in each hand if you want to up your game. Reps: 1-3 sets of 10+
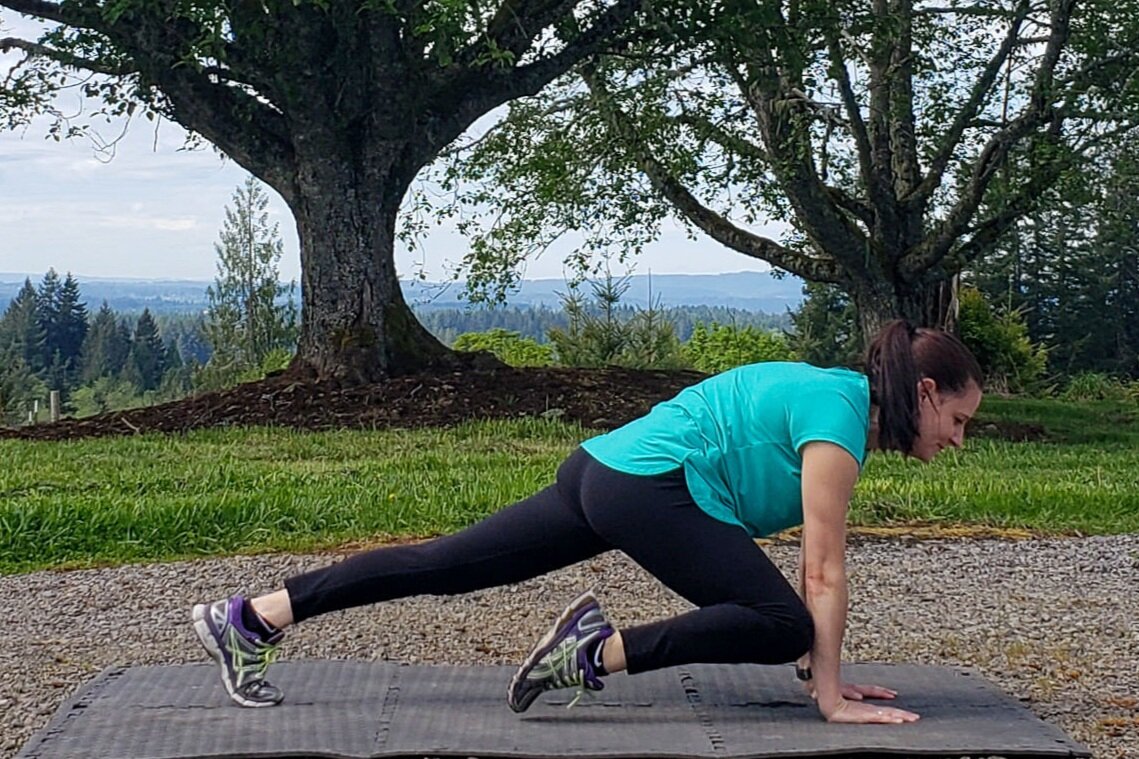
MOUNTAIN CLIMBERS
Mountain climbers give you a burst of cardio to help get your lungs and heart ready for backpacking. At the same time, they strengthen your core, which supports your load and provides stability on uneven terrain.
Start in a high plank position with your hands directly under your shoulders on the floor and your legs extended behind you. Keep your body in a straight line and float your right knee up to meet your chest or outer right elbow (try both). Hold for a second, then, return your foot to plank position. Repeat with your left knee, using your core to keep everything tight. Repeat, as fast as you can with control, alternating sides. Reps: 1-3 sets of 20+
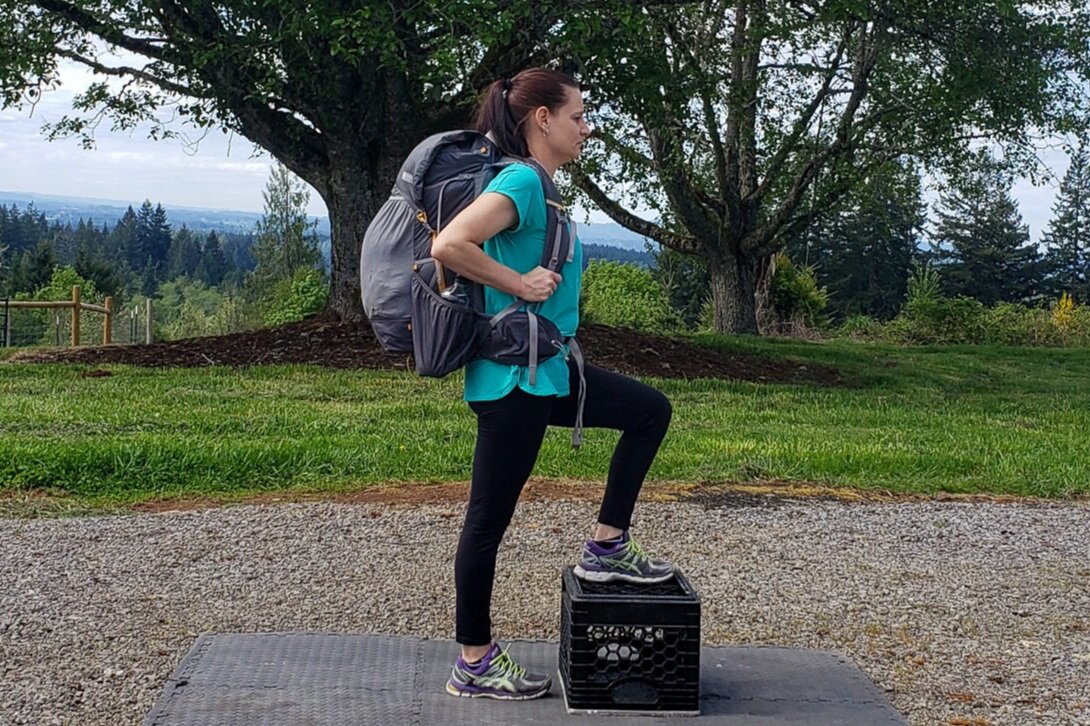
STEP UP
The step up exercise builds strength and endurance in your glutes and quad muscles, so you’ll be ready to step up and over any amount of downed logs or obstacles that stand in your way. You’ll need a stable surface, about 8 inches off the ground to step up onto. The bottom step on a flight of stairs works well.
Start with your left foot on the ground and your right foot on top of the step (your right knee will be bent). Step up until you are standing with your right leg nearly straight and you’re balanced on top of the step. Pause in a balanced position with your left foot a few inches above the step. Then step down, returning your left leg and right foot to the starting position. Do all your reps on one side, then repeat the exercise on the other side. Extra credit: wear a backpack with some weight or increase the step height to add to the challenge. Reps: 1-3 sets of 20+
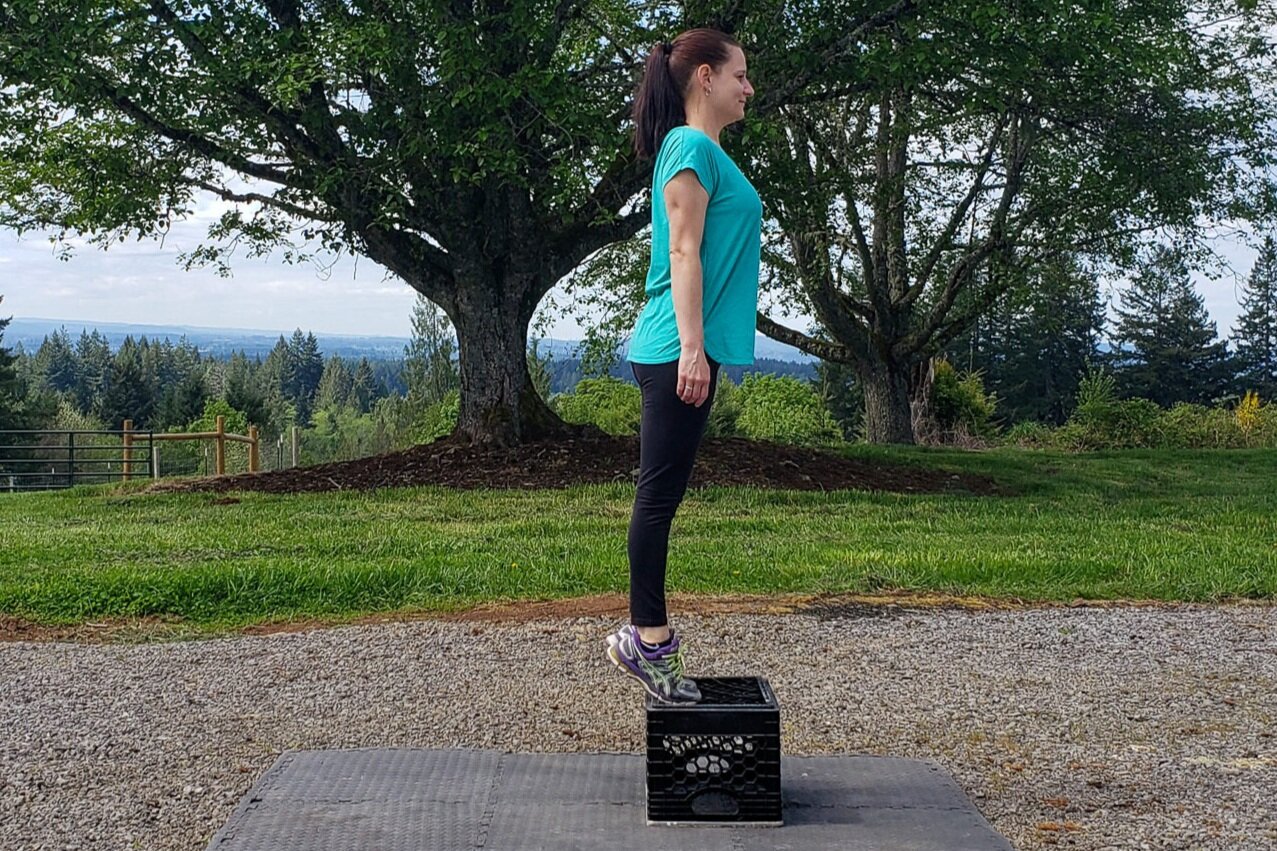
CALF RAISES/HEEL DIPS
Calf raises and heel dips will give you chiseled calves as well as strong ankles and feet, so you’ll be less fatigued and more stable on uneven terrain. You’ll need a stable step to do this exercise. The bottom step on a flight of stairs works well.
Start with both feet on top of the step, positioned so that your weight is on your toes/balls of the feet and your heels are floating over the edge. First, stand up high on your toes, squeezing your calves and pausing at the top. Then, lower your heels, dipping them lower than the edge of the step. Come back to a neutral position, then repeat. Reps: 1-3 sets of 20+
Mental Aspects of Training
Hiking and backpacking can be intense – both mentally and physically. Training will not only tone your body, but it will also help you develop mental stamina.
Your brain plays a critical role in training for a hike or big undertaking of any kind. The more you practice, the more confident you’ll become in your body and your abilities. After you reach a big goal for the first time, you’ll know what it feels like, and you’ll be certain you can do it again. You’ll likely find that you’re much tougher that you ever imagined and that you can breathe to get through challenges instead of giving up when things get hard.
If you’re having a bad day and you’re dragging, listen to music to get pumped up or push a little less if you need to. The toughest part is getting going. The hardest and most worthwhile hikes take perseverance, grit, and a positive attitude. Being present and having gratitude for the beauty around you will go a long way.
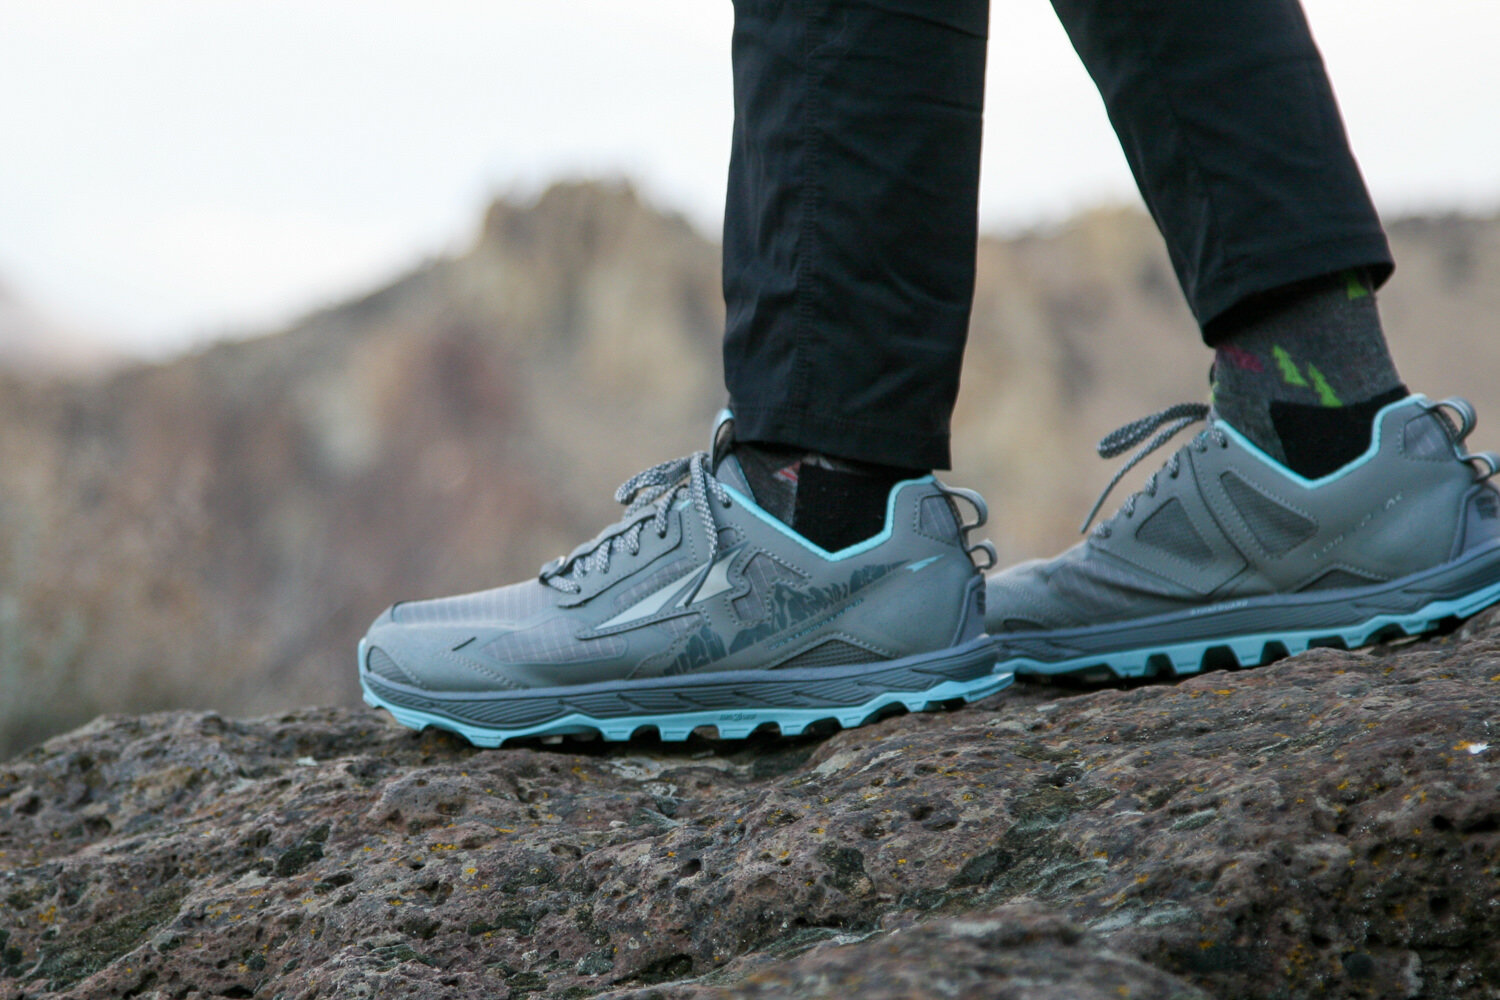
Shoes & Boots
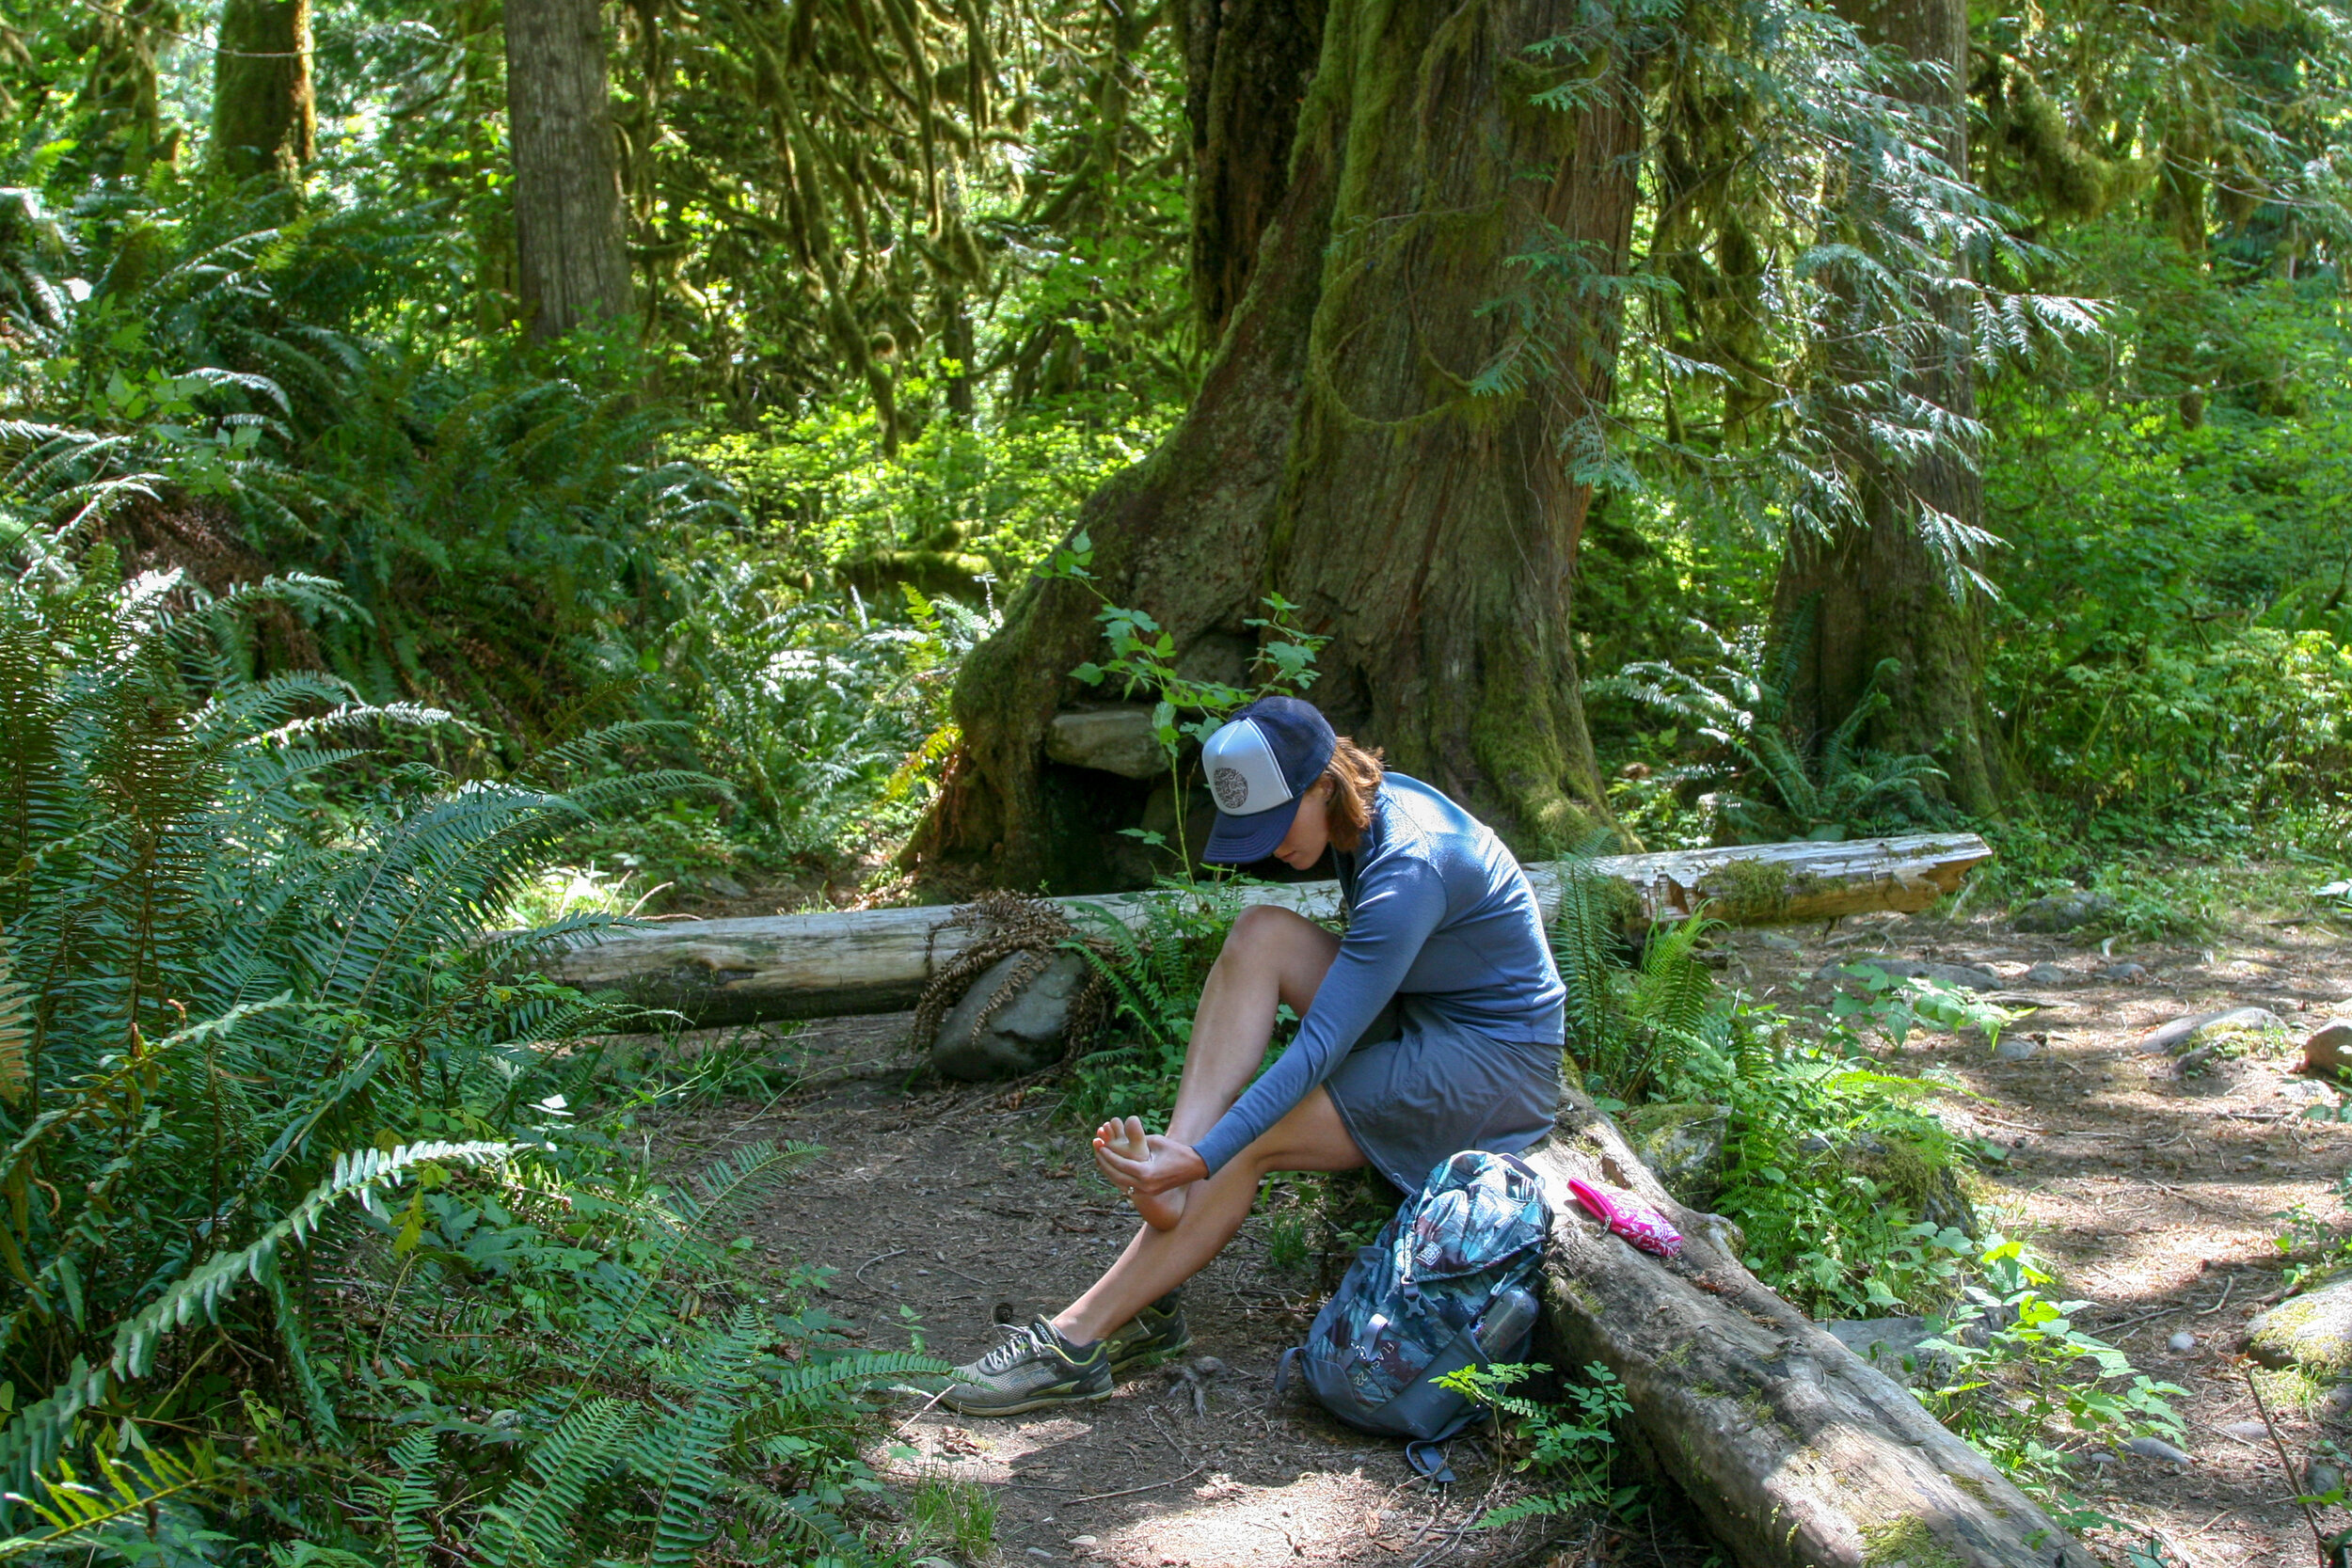
It’s really important to wear the same footwear you’ll be wearing for your hike while you train. The more experience you have with your shoes or boots, the less likely you are to develop blisters or have problems on your trip. Wear your shoes for several weeks to get to know them and use the opportunity to nip troubles in the bud while resources are still close at hand.
We prefer to hike in trail running shoes most of the time because they’re lightweight, breathable, and they sap less energy with every step. Learn more about why we prefer trail running shoes for backpacking trips by reading or 5 Reasons to Ditch Your Boots article. We have experience with a ton of footwear and we’re happy to share it.
Check out our footwear lists for our top recommendations:
- Best Trail Running Shoes (Men’s / Women’s)
- Best Hiking Shoes (Men’s / Women’s)
- Best Hiking Boots (Men’s / Women’s)
- Best Winter Boots (Men’s / Women’s)
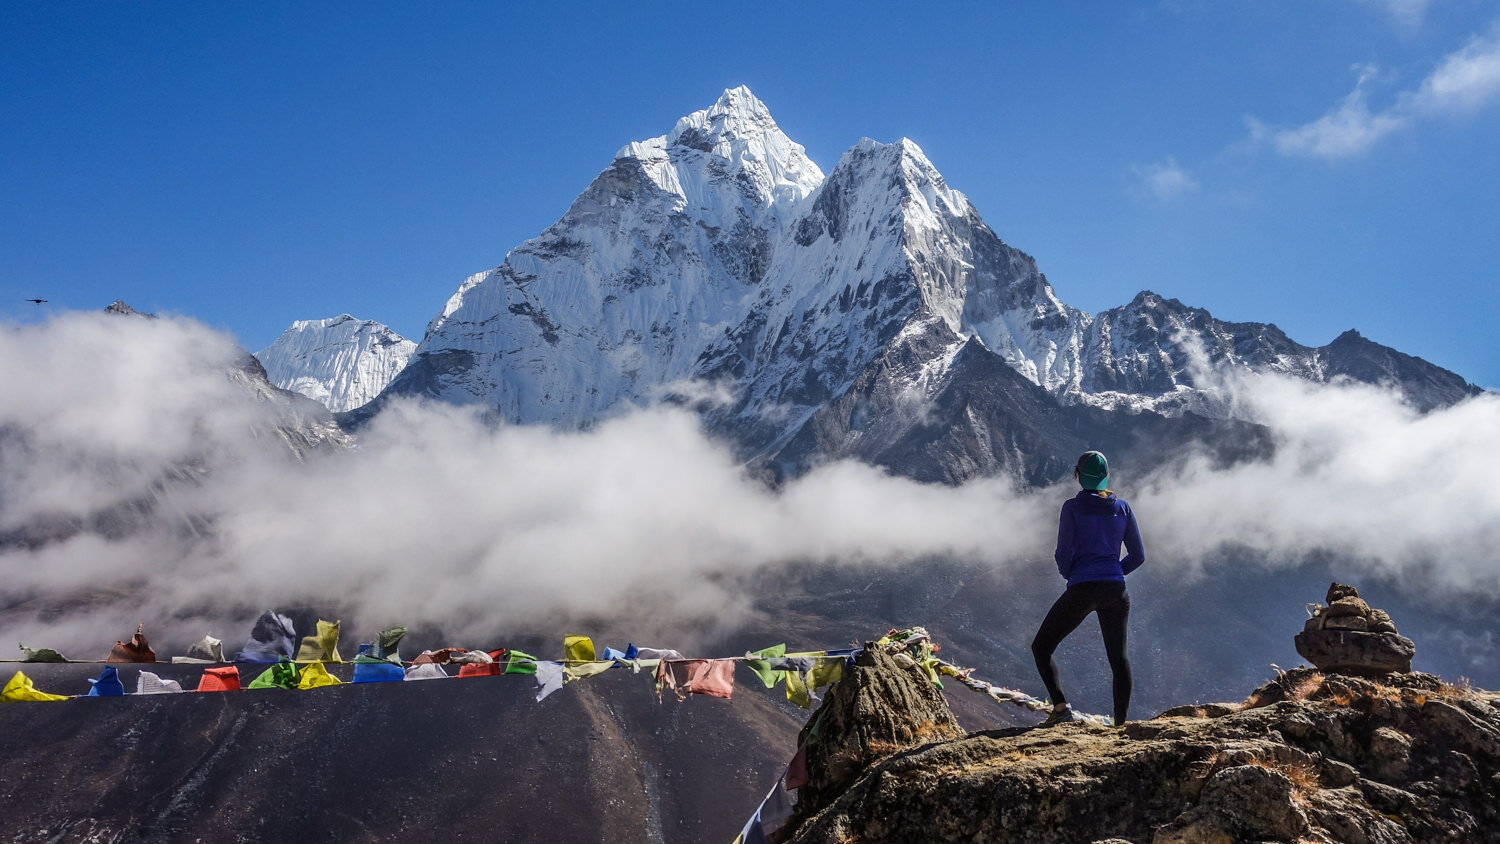
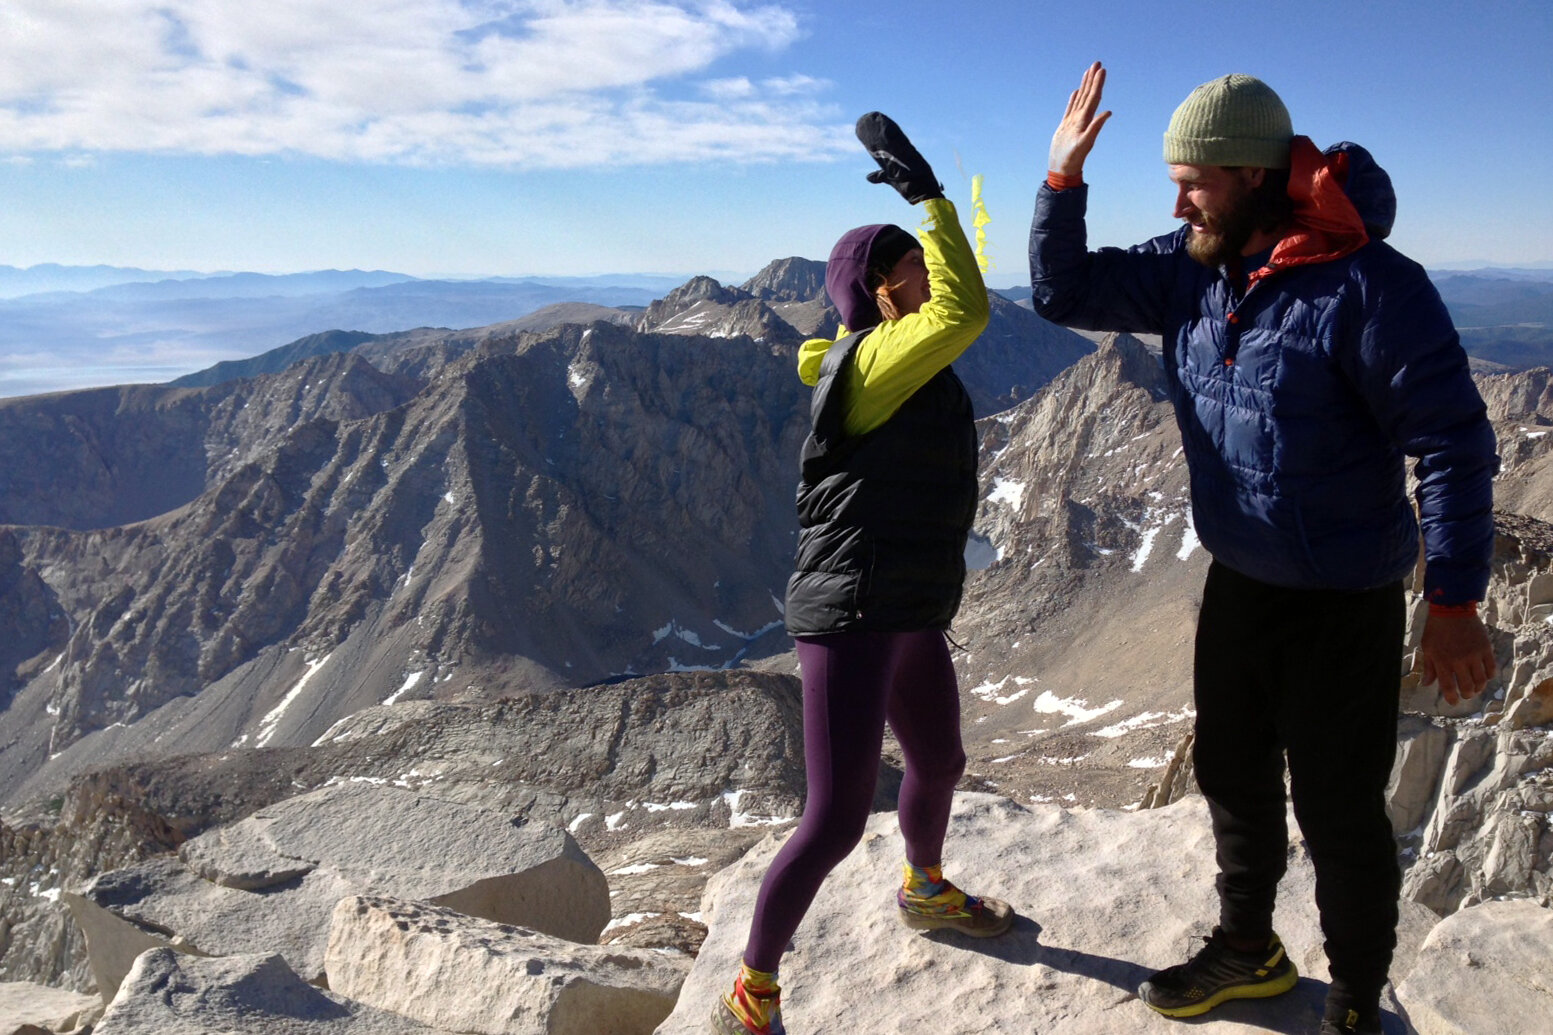
Training for High Altitude Hikes
It’s especially important to train before hiking and backpacking at high elevations. When we go higher than 8,000 feet (or 2,400 meters) above sea level, our bodies can start to be affected by the lower air pressure. Lower air pressure means there’s less oxygen for us to breathe, and we run less efficiently because of it. It’s not uncommon to be more tired than usual, have a mild headache, or to feel like you need to breathe deeper to fill your lungs.
ALTITUDE SICKNESS
Altitude sickness, or acute mountain sickness (AMS), is a lot like a hangover. Some people are affected more than others, and it can be a really miserable experience. Fortunately, there are precautions you can take to avoid it. That said, it’s important to know the signs and symptoms of AMS, so you can keep it from escalating into a major issue (see HACE and HAPE below).
The first symptoms of altitude sickness are headache, loss of appetite, and trouble sleeping. If these symptoms don’t go away in a day – or if they get worse – you should consider descending to rest. More serious symptoms include vomiting, feeling dizzy, confusion or spaciness, feeling unable to walk, and having bluish lips or fingernails.
HACE & HAPE
High altitude cerebral oedema (HACE) or pulmonary oedema (HAPE), are fatal conditions to look out for while hiking and backpacking at high altitude. Excess fluid in the lungs or fluid around the brain can kill you quickly. The good news is, these conditions rarely occur unless you spend a significant amount of time above 10,000 feet. Patients usually don’t present symptoms unless they spend more than 48 hours above 13,000 feet. Know the signs before you embark on an adventure in extremely high places. Shortness of breath at rest, confusion, or extreme drowsiness are signs of a life-threatening emergency.
TIPS FOR HIGH ALTITUDE SUCCESS
- Acclimate – If you’ll be traveling to a location with a much higher altitude than the place where you live, try to give yourself an extra day or two to get used to the lower air pressure before you start. If you plan to tackle a high mountain summit, build up to it by climbing lower mountains in the area in the weeks before if you can.
- Ascend gradually – Climb high during the day, but try not to camp more than 1,000 feet higher than you did the night before to give your body a chance to acclimate slowly. (Remember the phrase: climb high, sleep low).
- Adjust your pace – You may have to hike a bit slower than usual or take breaks more often. That’s okay. It’s critical to listen to your body and not push too hard.
- Drink plenty of water and eat well – Lots of water and a diet rich in carbohydrates will help stave off symptoms of altitude sickness. Snack often to fuel your body consistently.
- Avoid alcohol – Since hydration is so important at high altitude, it’s best to save the booze for celebration after your trip.
- Bring warm clothes – Temperatures fluctuate drastically during the course of a day at high elevations and conditions can change rapidly. Be prepared with a hat, gloves, and extra layers to regulate your temperature and keep you well-insulated, even in the summer.
- Wear sunscreen – The sun is extra intense at high elevations and the health of your skin plays a huge role in your ability to thermoregulate and stay well at high altitude.

Final Tips For Training
TRIP PLANNING
After you’ve had some time to train and you have an idea of what your body can handle, be honest with yourself about your fitness level and the amount of time you have left to make more progress before your trip. Revisit your trip plans and dial them in with realistic expectations. If you realize you’ve overestimated your abilities, you’ll still have time to adjust your plans. If you’re not going for a speed record, you’ll probably have a better time if you’re a bit conservative with your estimates. If you’re new to backpacking, check out our 12 Tips for Planning Great Backpacking Adventures Tutorial.
REST BEFORE THE BIG DAY – As your trip date approaches, plan to rest for a few days, or even a whole week before your trip. This will give your body a chance to fully recover so you can be at your best on the day of your trip. Light exercise is a good thing. Just keep in mind that last-minute planning, packing, and travel can sap energy, so it’s best to take a break from rigorous training just before your big day. Eat well, sleep well, and get pumped!
Once you get into the habit of walking, moving, and getting outdoors, you probably won’t want to stop. We make continuous training for adventures part of our lifestyle. It helps relieve stress, gives us something to look forward to, and keeps us in shape so we’re not scrambling when the next opportunity for adventure comes up. We hope this helps you reach your goals and inspires you to plan a trip if you haven’t already.