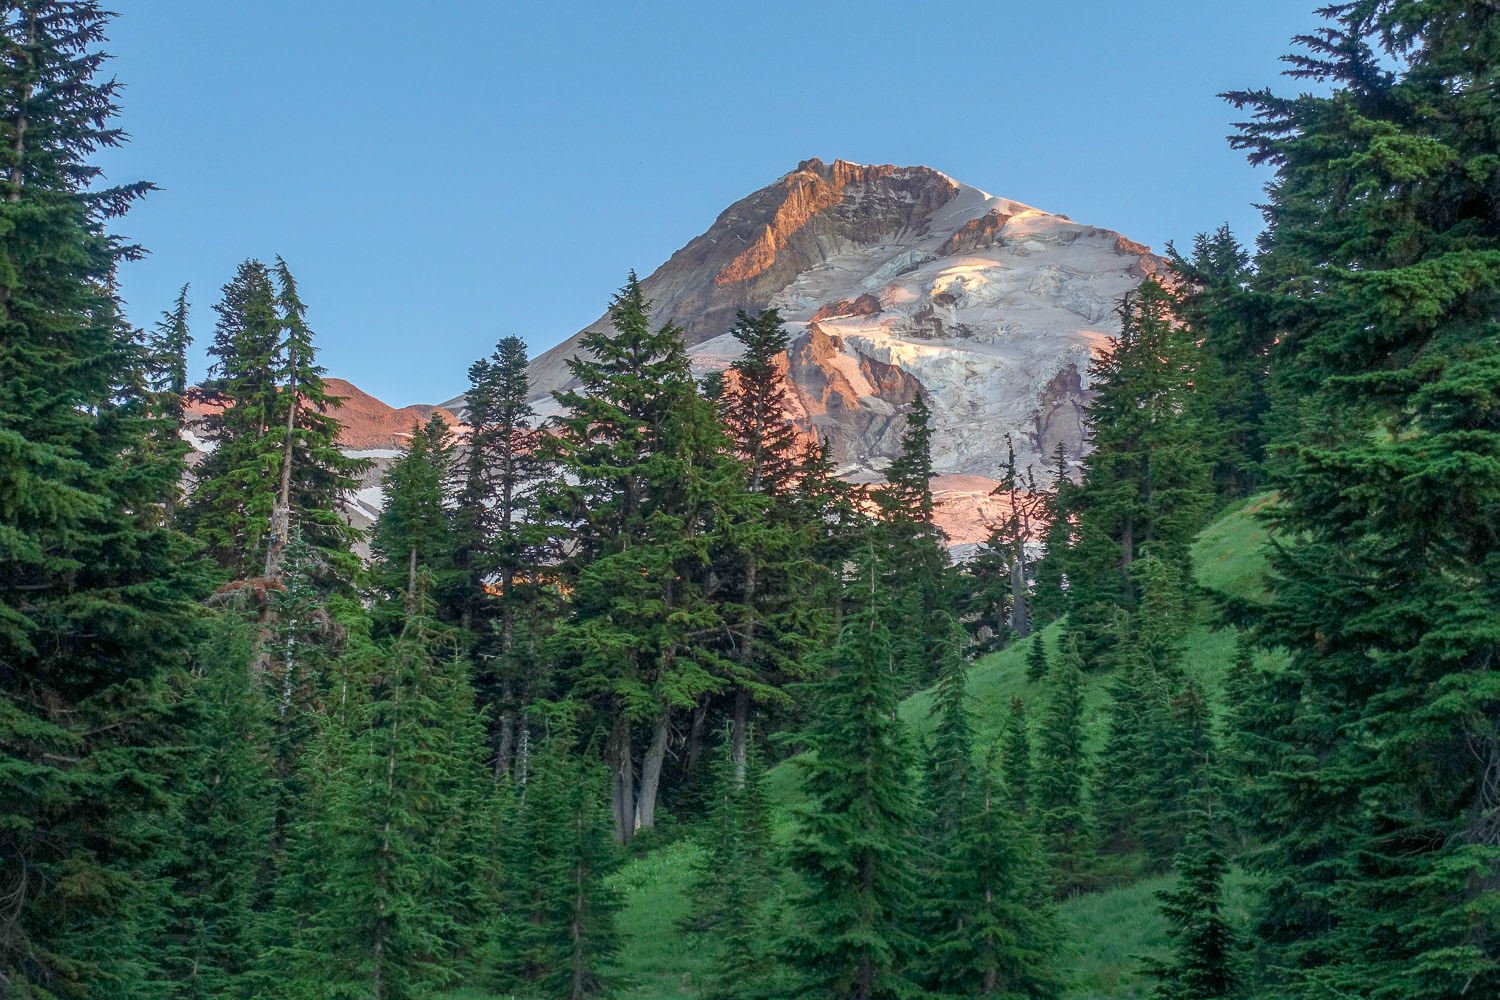


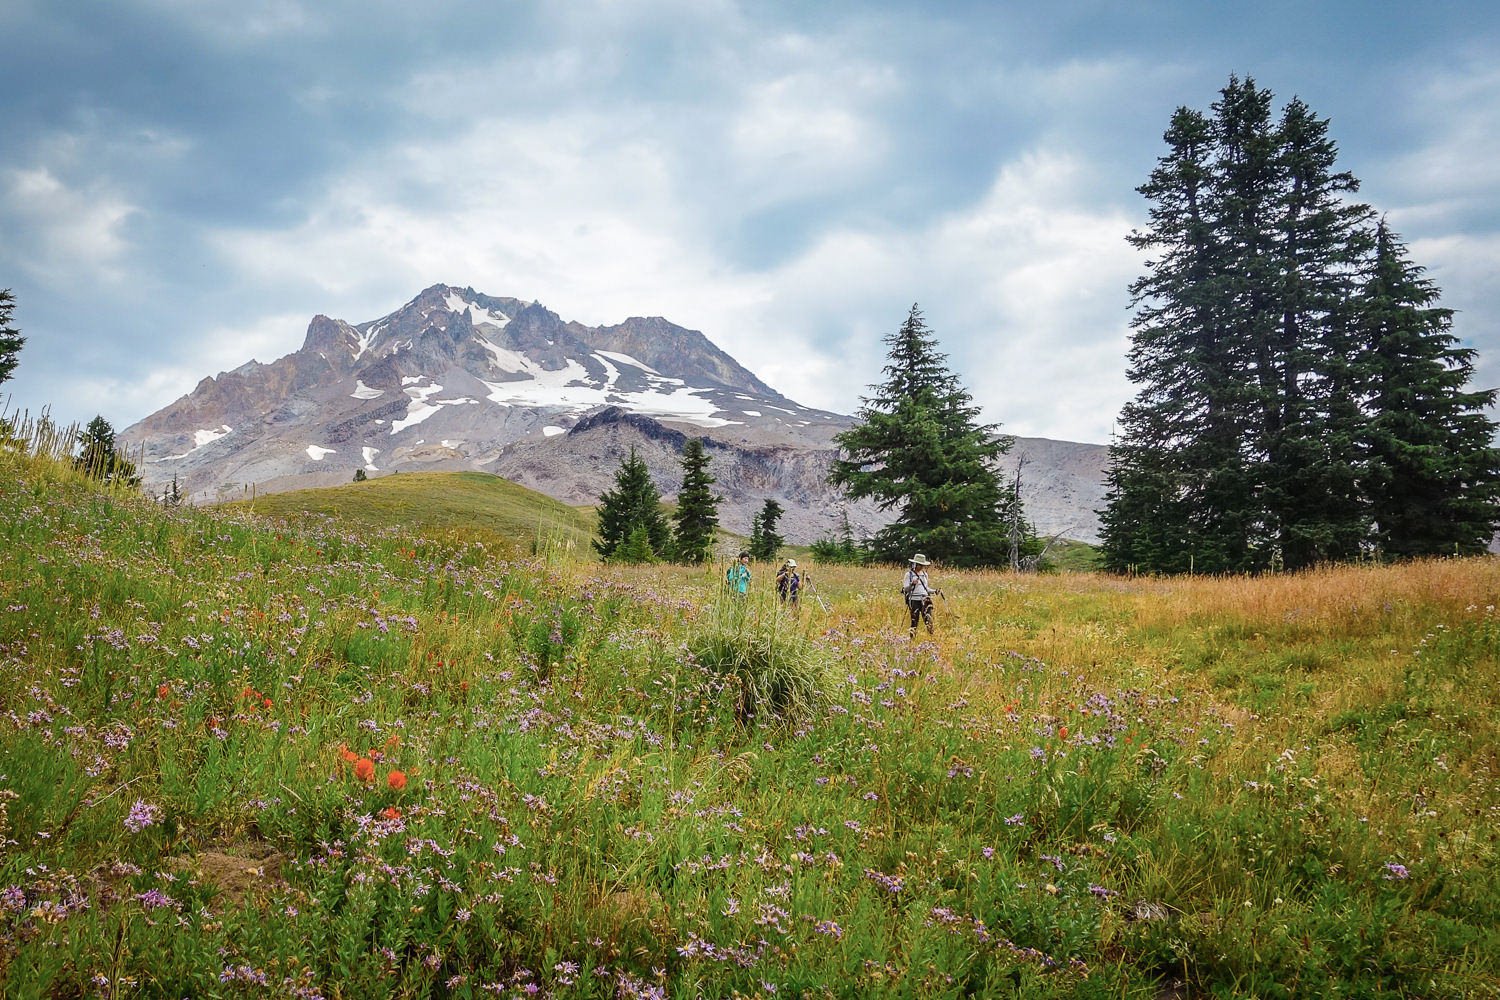
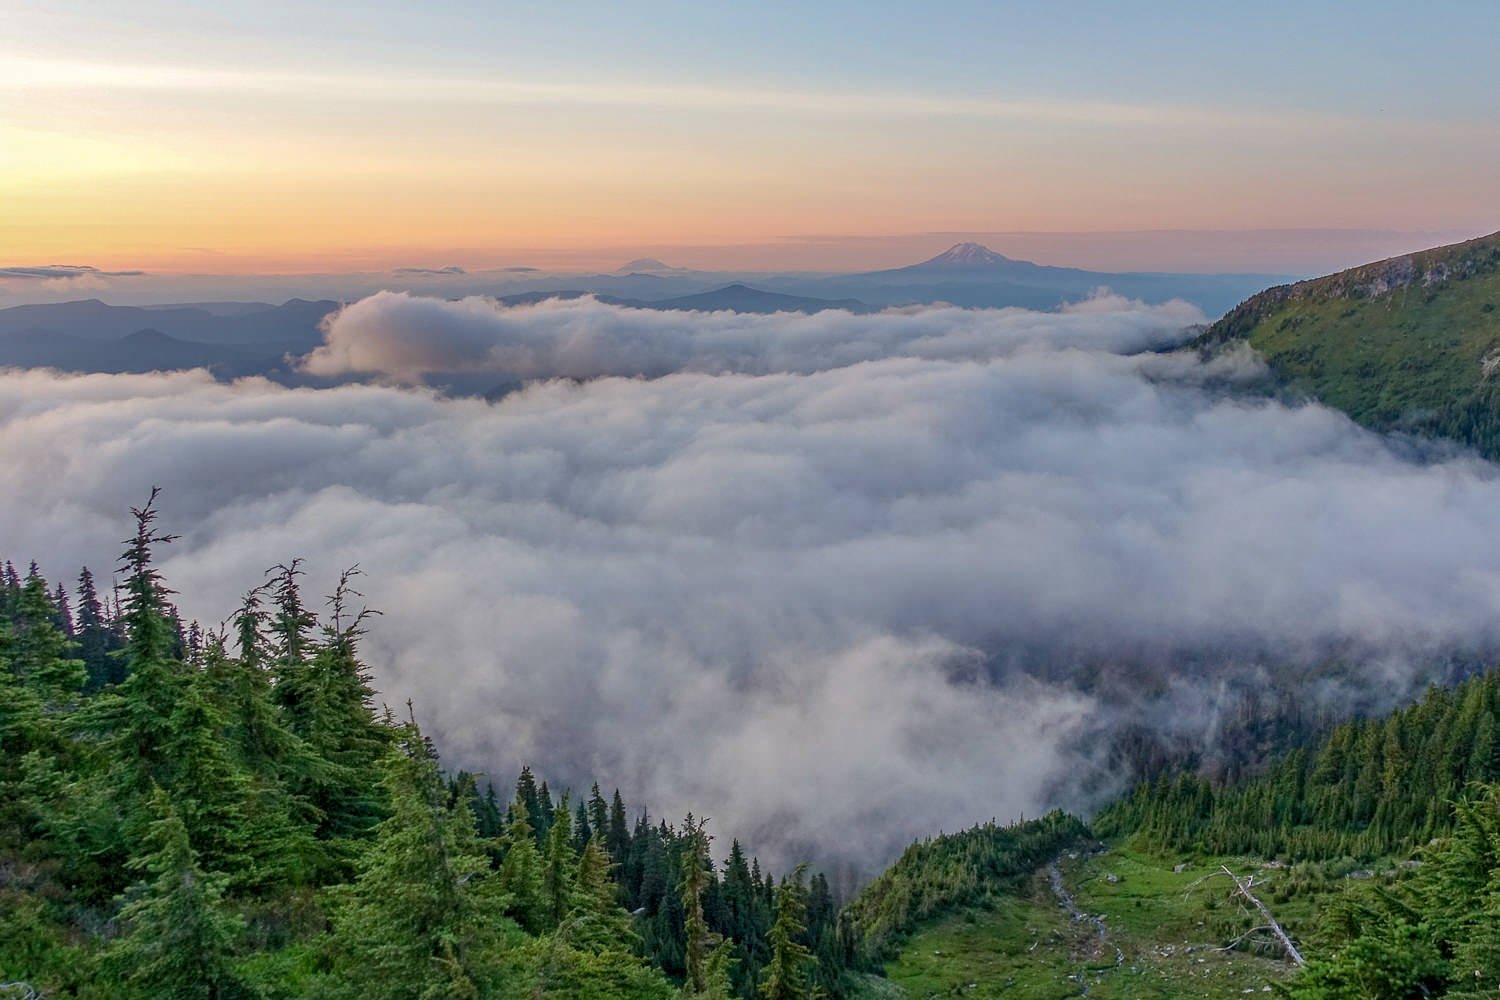
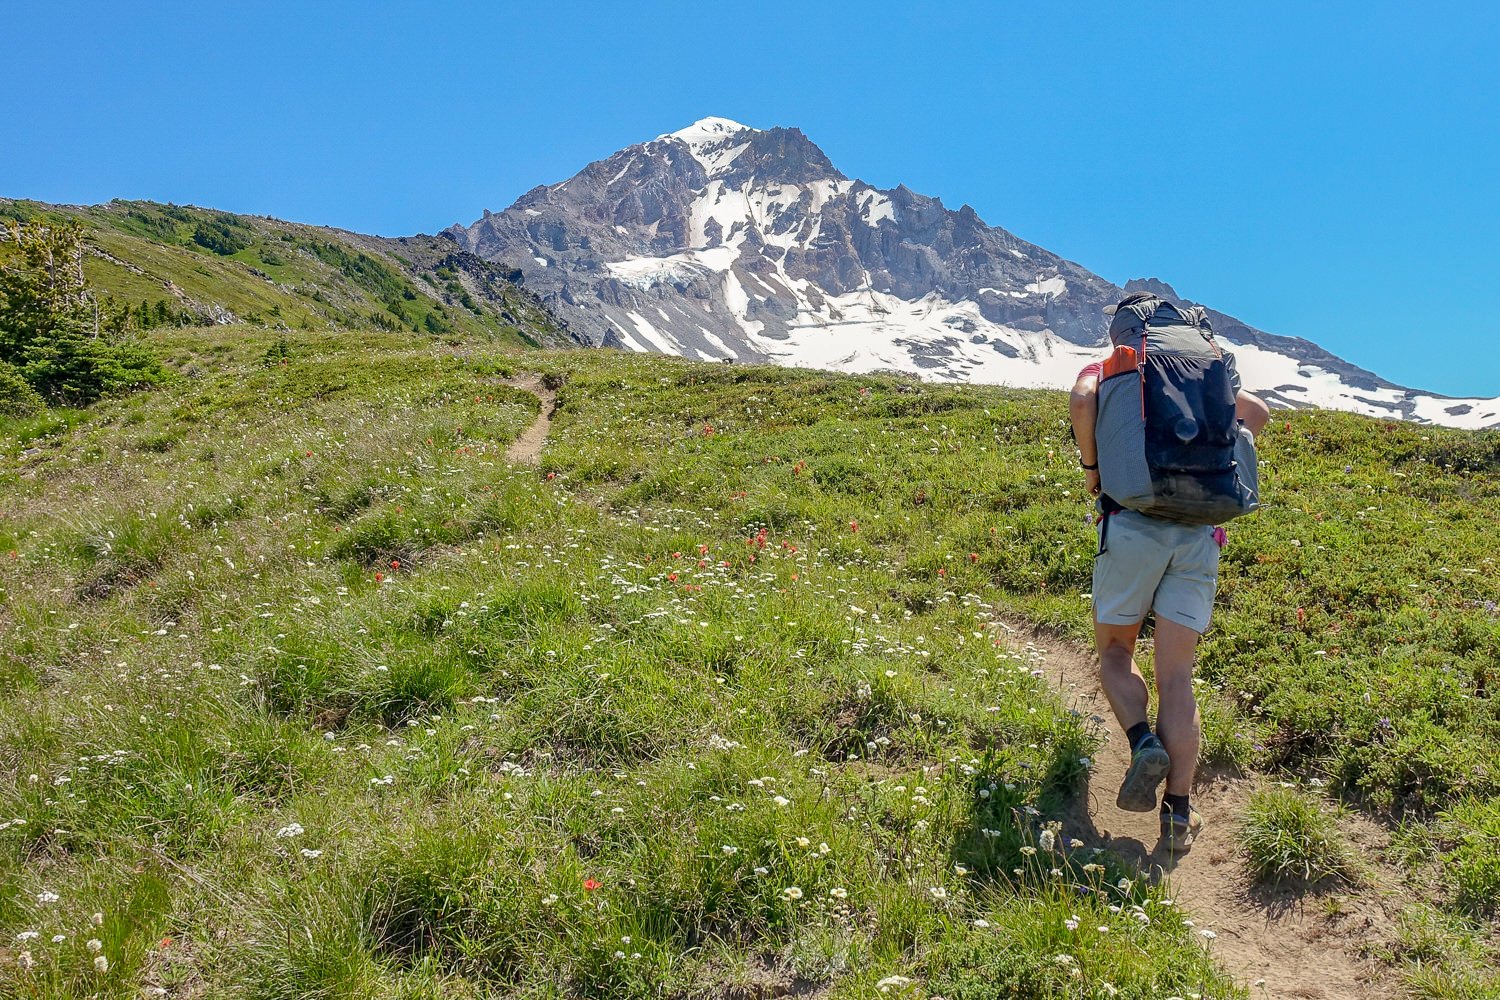
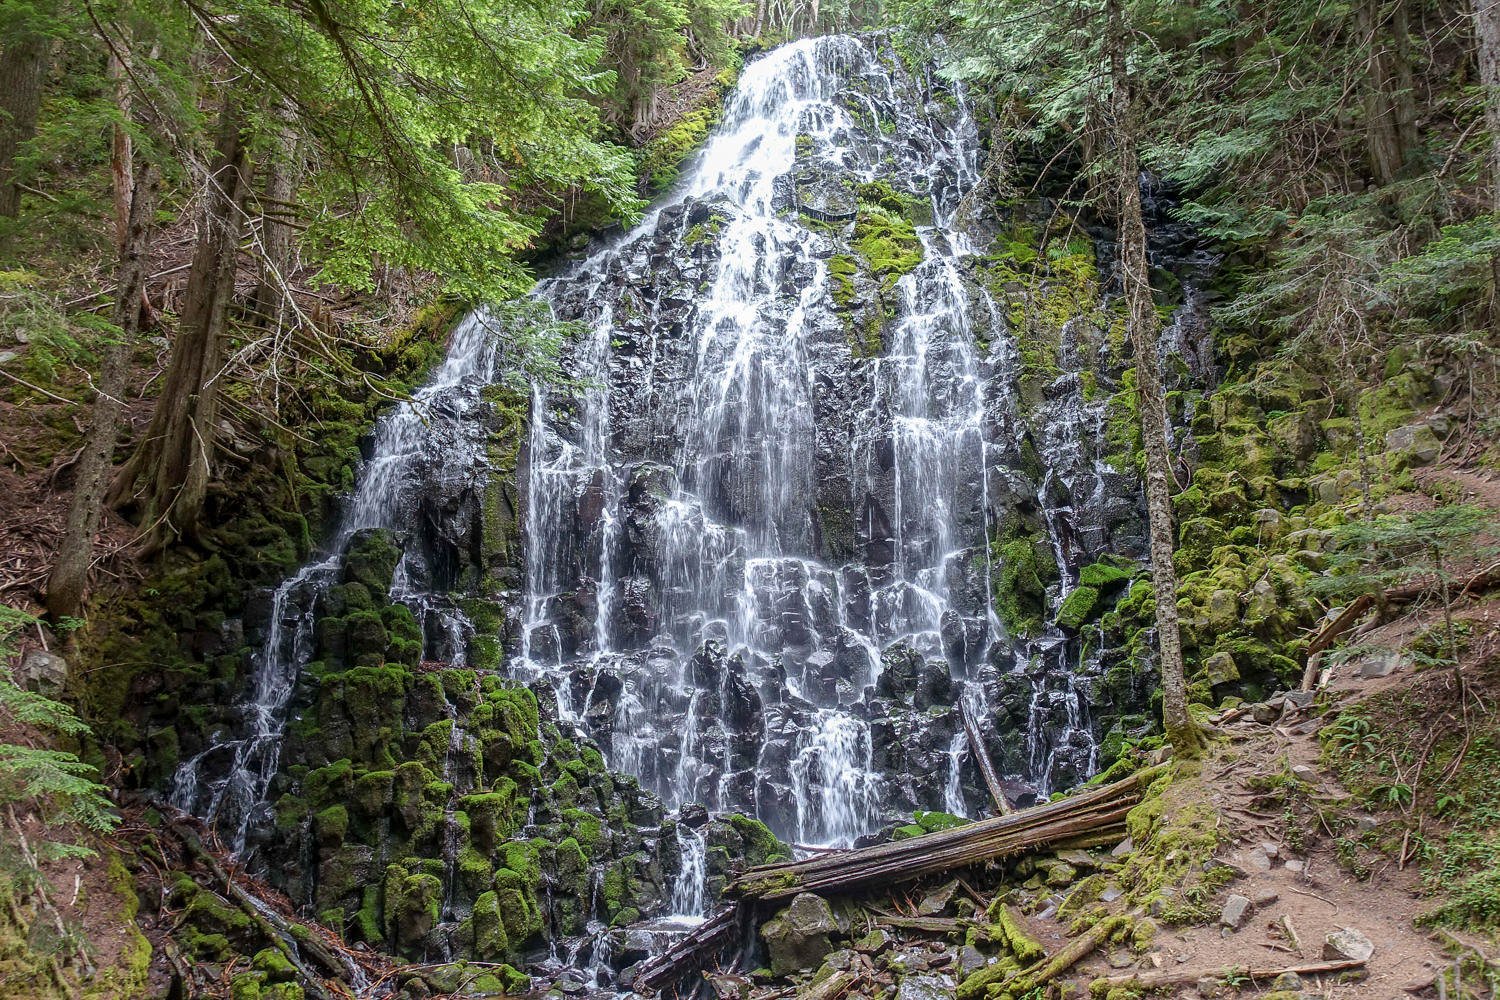
The Timberline Trail around Mt. Hood is one of Oregon’s most iconic and scenic trails. This 40-mile backpacking loop is a fantastic way to experience the immense size and beauty of Mount Hood. On the Timberline, you’ll encounter lush old-growth forests, pristine alpine waterfalls, wildflower-filled meadows, towering craggy glaciers, rough volcanic landscapes, and some of the finest cascade views around. The hike certainly isn’t easy with plenty of ups and downs along the way, but the reward for your effort is well worth it.
Quick Facts
- Distance: 38.3 miles (loop)
- Time Needed: 3 to 4 days
- Highest Elevation: 7,350 feet (Timberline High Point)
- Lowest Elevation: 3,300 feet (near Ramona Falls )
- Elevation Gain (approx.): 9,000 feet
- Best Time to Hike: July through September
- Permits: Yes (May 15 to October 15)
- Difficulty: Challenging
Highlights
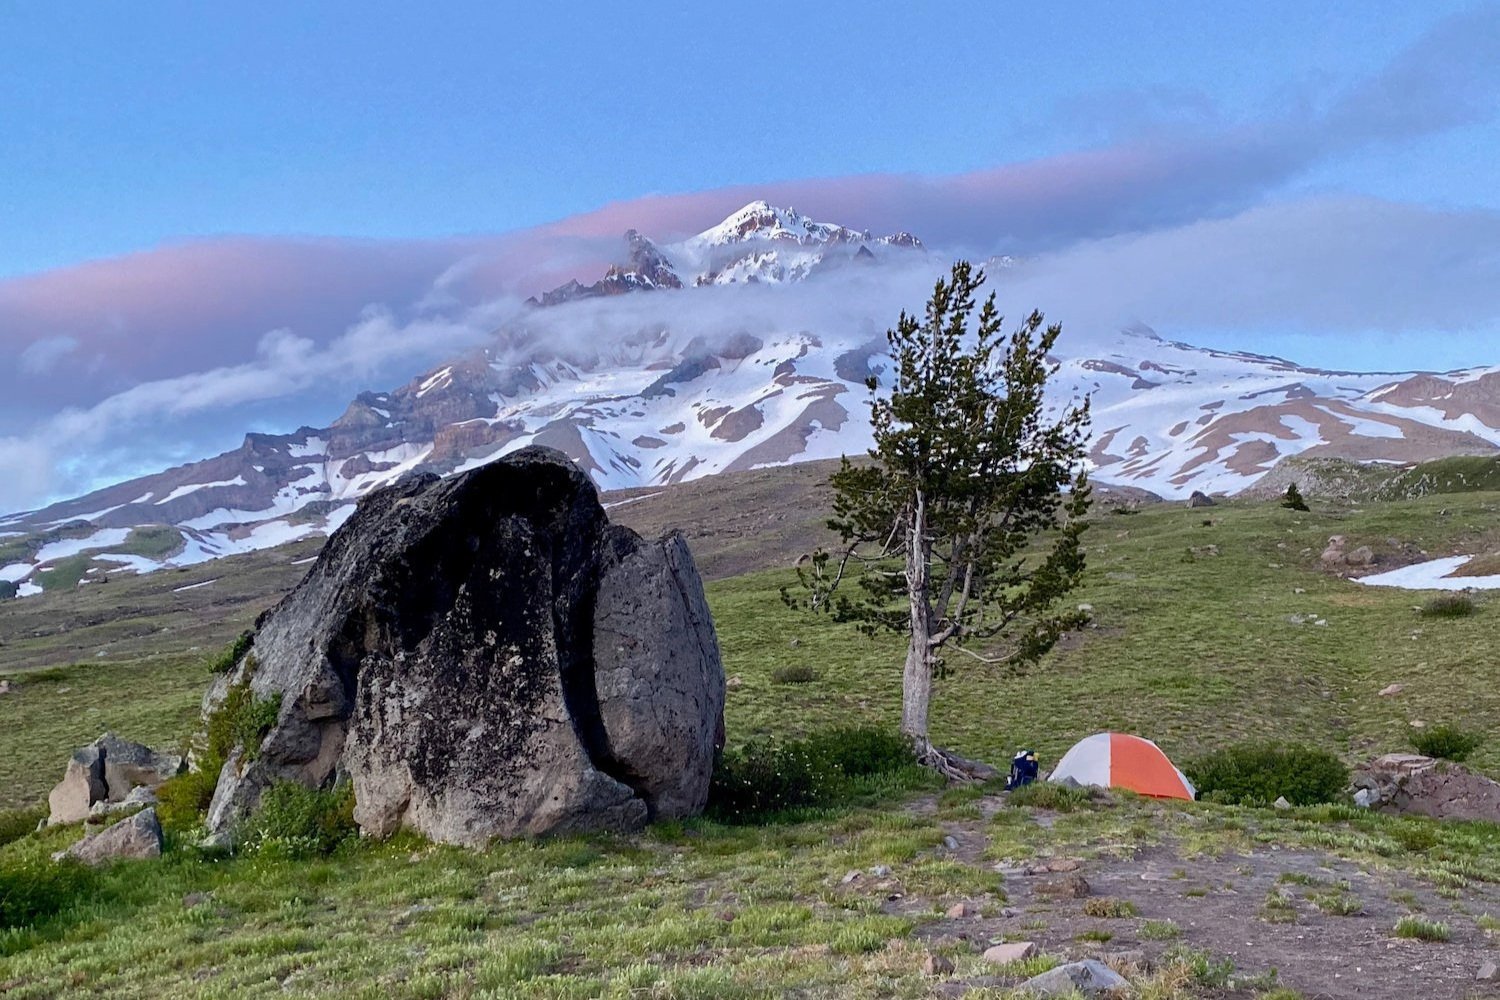
- Majestic views of Mount Hood
- Cascade Range vistas
- Massive waterfalls
- Wildflower meadows
- Immense glaciers
- Easily accessible
- Mostly well marked and maintained
Lowlights
- Little solitude
- Steep climbs and descents
- Seasonal bugs and snow
- River fording required
When Is the Best Time to Hike the Timerbline Trail?
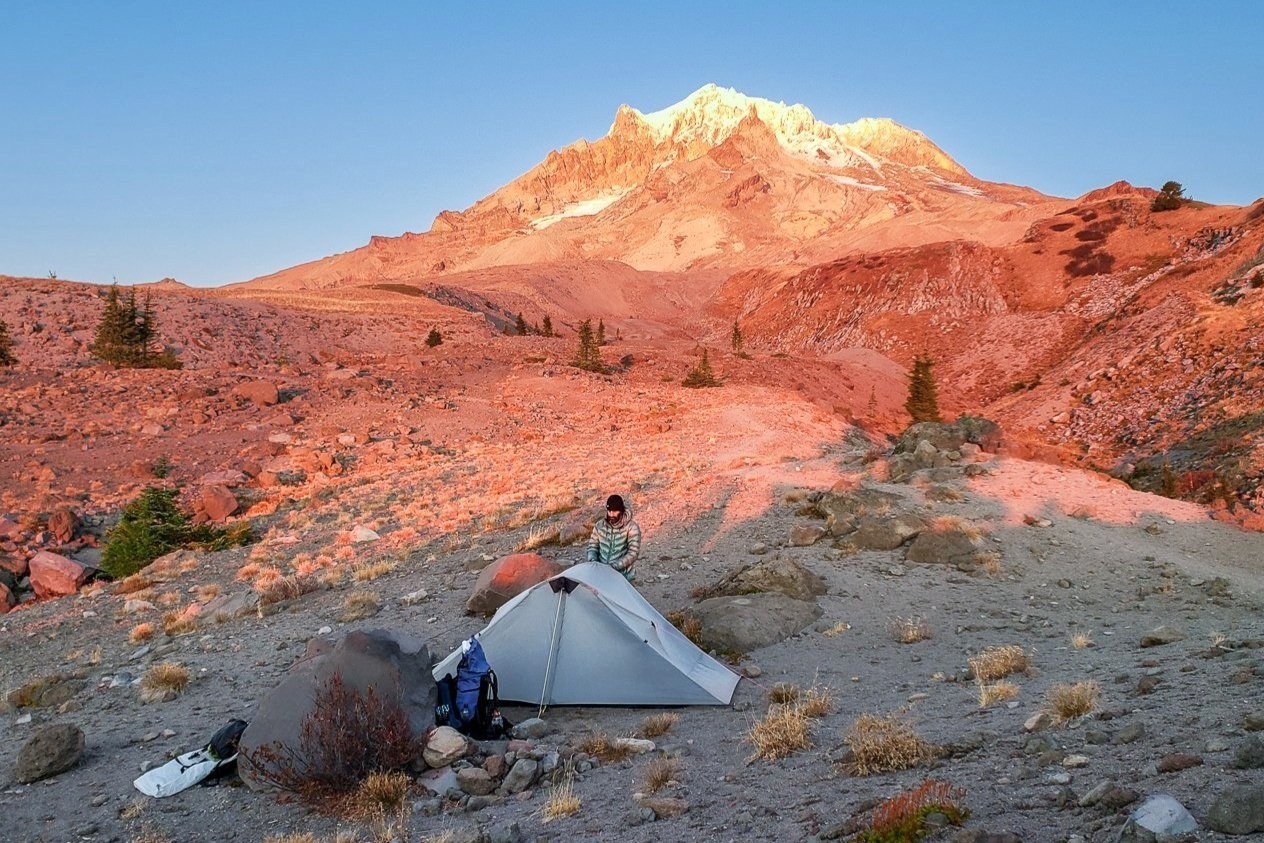
In general, July through September is the best time to travel to this area. As with many mountain adventures in the Pacific Northwest, snowpack is a key factor in trip planning around Mount Hood. The shoulder seasons (late spring and early fall) vary year to year, so make sure to keep an eye on the forecast if you’re planning a trip on either end of the core hiking season.
July and August are usually great for wildflowers. However, this is also when mosquitoes will be the worst. Use a combination of permethrin on your clothing and a small amount of picaridin on exposed skin for full protection. Mid-August through September can be a sweet spot for hiking the Timberline because crowds and bugs will be minimal.
There is a year-round possibility of snow, rain, and stormy weather around Mount Hood. Pay close attention to the weather forecast before your trip, check the Forest Service website, and be prepared for changing conditions.
What Permits Do I Need?
Permits are required for overnight trips on the Timberline Trail from May 15 to October 15, but they are free and can be found at trailheads around Mount Hood. Simply fill one out before you hit the trail. Some trailheads also require a Northwest Forest Pass or America the Beautiful Interagency Pass for parking.
What Regulations & Restrictions Are in Place?
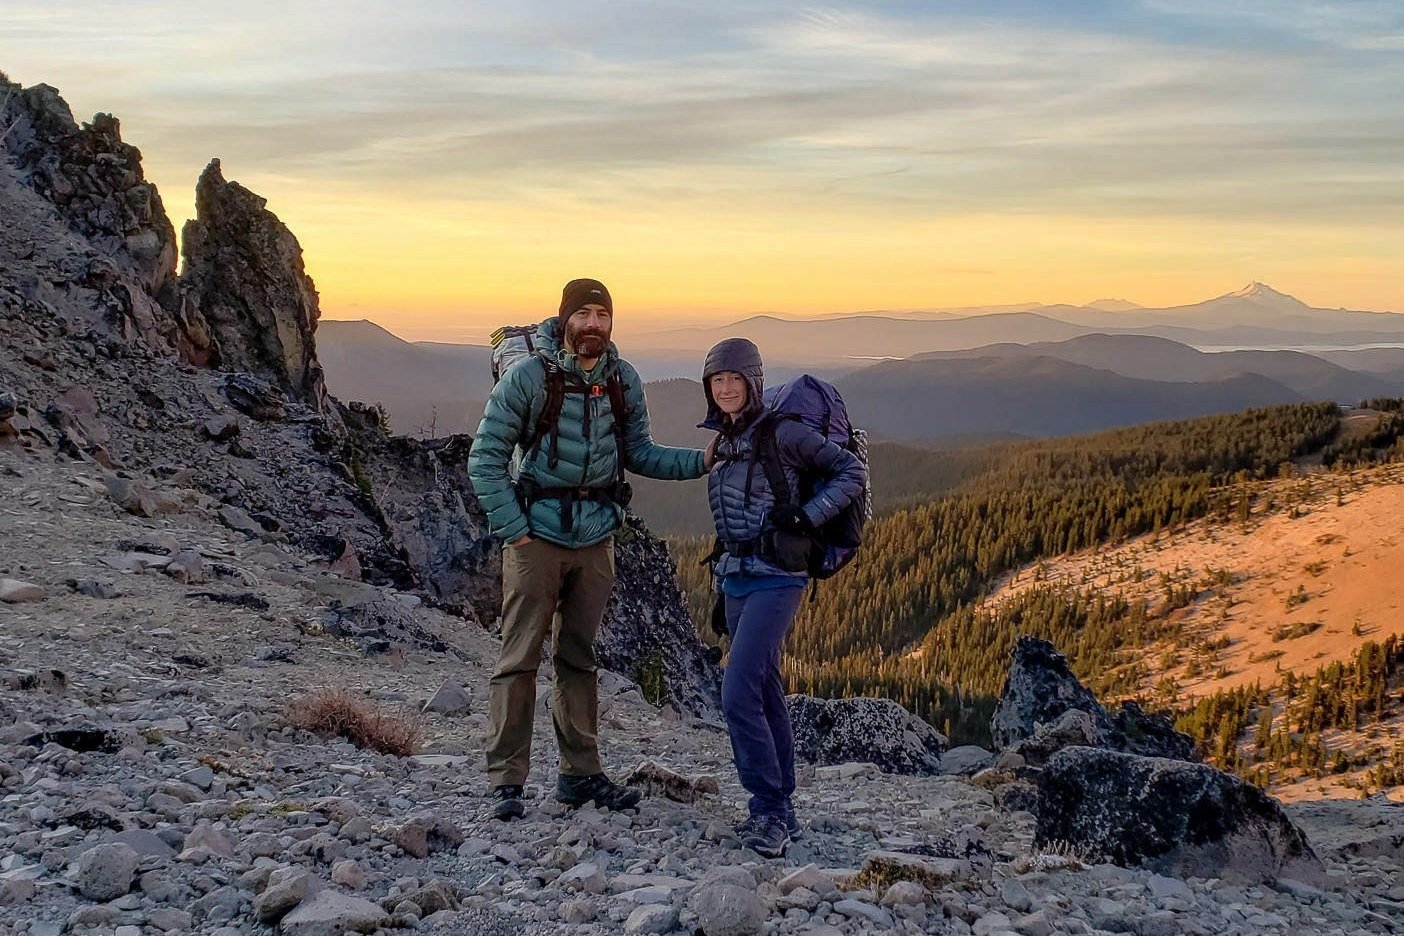
Below is our summary of some key Mount Hood Wilderness backpacking regulations. This is not an official or complete list, so please visit the Forest Service website and Wilderness Connect Rules & Regulations page for the most comprehensive and up-to-date info.
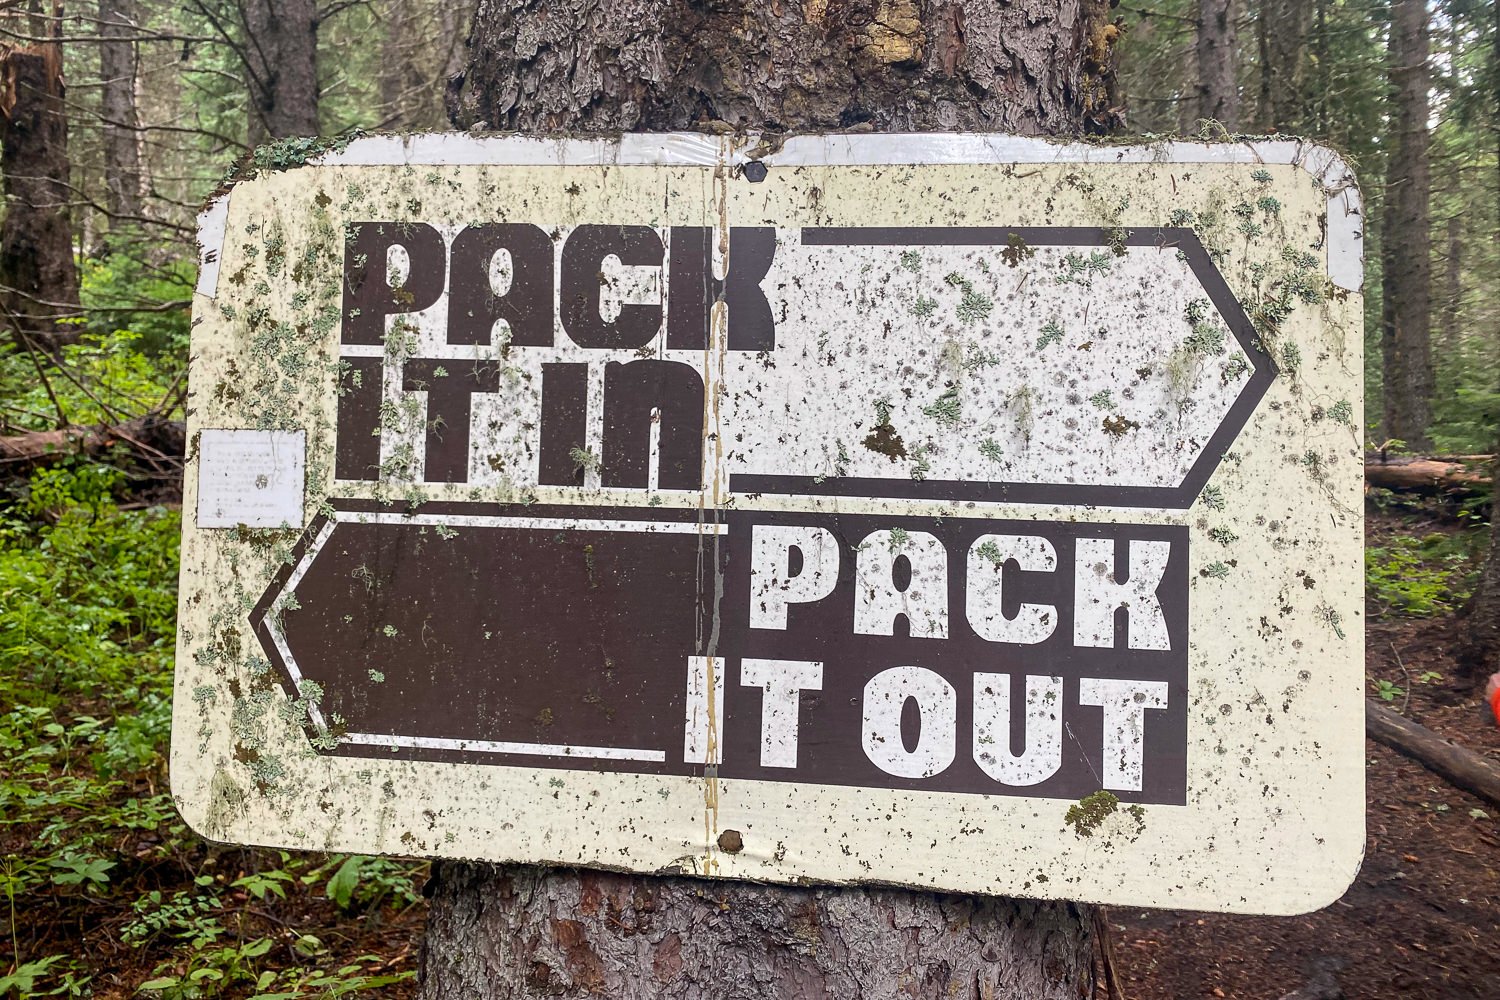
- Leave no trace – if you pack it in, pack it out.
- No motorized equipment or bicycles.
- Maximum group size is 12 (including both people and livestock).
- No shortcutting trails or switchbacks, entering restoration areas, or damaging live vegetation.
- No camping in meadows, in Elk Cove or Elk Meadows, within 500 feet of Ramona Falls, or within 100 feet of the Pacific Crest Trail #2000.
- Seasonal fire restrictions are in place. If fires are allowed in the national forest at the time of your trip, the following two exceptions still apply.
- Campfires are prohibited in meadows, within 500 feet of McNeil Point Shelter and Ramona Falls, within the tree-covered islands of Elk Cove and Elk Meadows, within 1/2 mile of Burnt Lake, and around the Pacific Crest Trail/Paradise Park Loop trail junctions.
- No campfires within 100 feet of lakes, streams, ponds, springs, or trails.
What Are the Best Maps & Guidebooks for the Area?
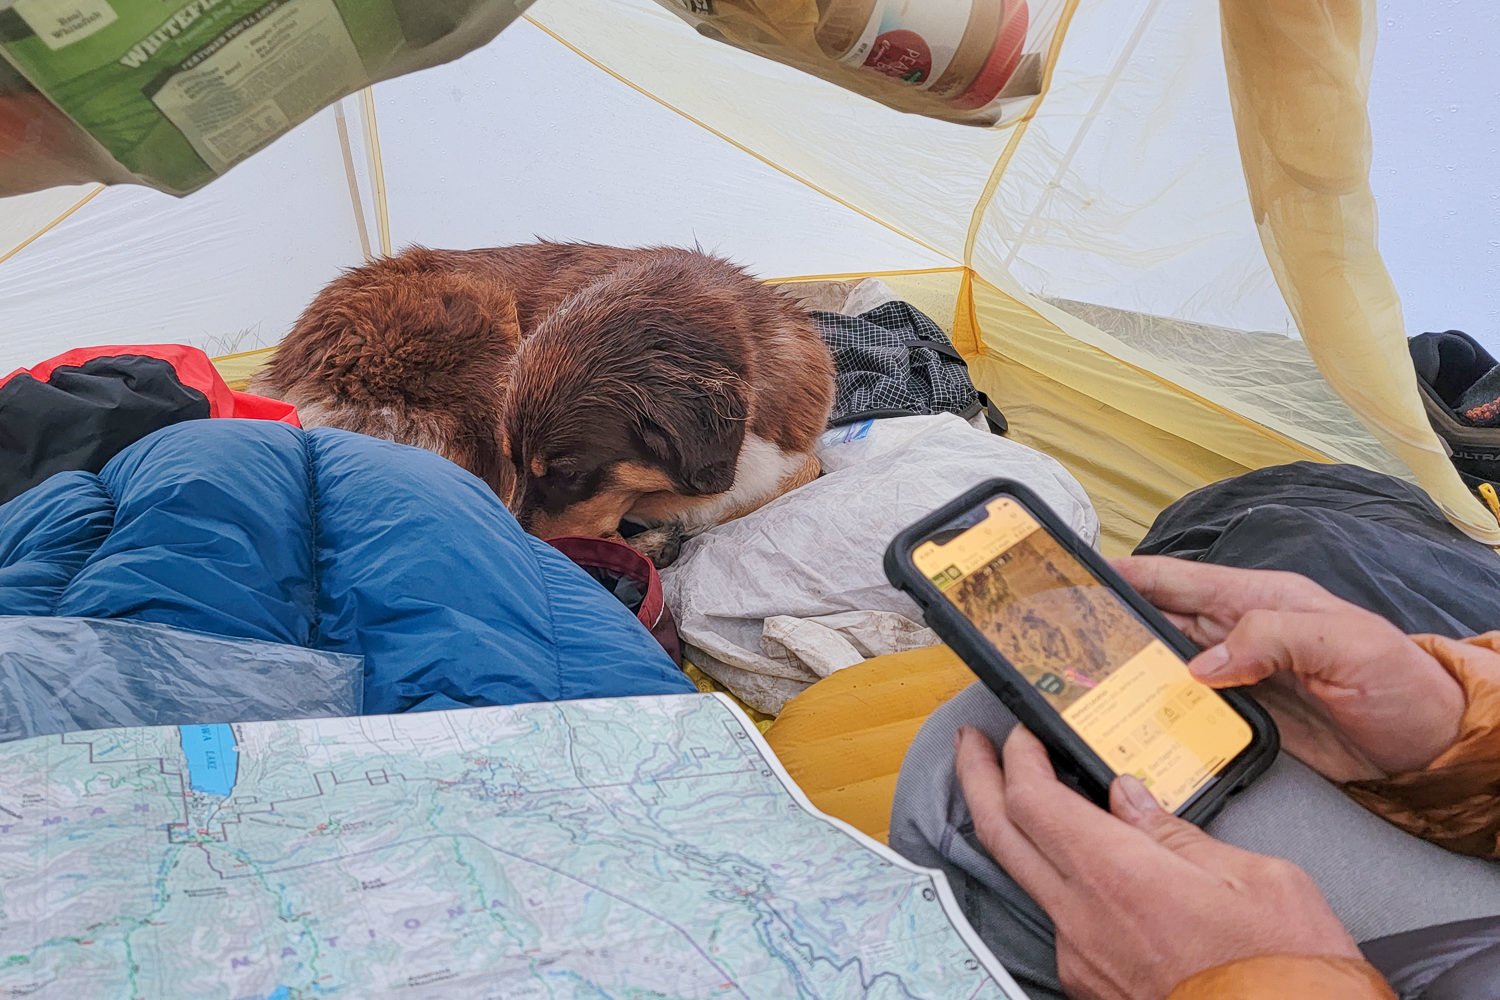
- National Geographic Trails Illustrated Map #820 – This is a fantastic map for backpacking the Timberline Trail. We highly recommend picking it up, even if you plan to primarily rely on a phone app for navigation.
- Backpacking Oregon – This book is an excellent resource for the Timberline Trail and many other backpacking trips around Oregon. It’s got great play-by-play descriptions of the hike that are useful when planning out camping locations and side trips.
How Difficult Is the Timberline Trail?
- Total Distance: ~40 miles
- Total Elevation Gain: ~9,000 feet
- Average Trip Duration: 4 days
- Trail Conditions: Well maintained with sections of loose/sandy trail
- River Crossings: Some fording required (more info below)
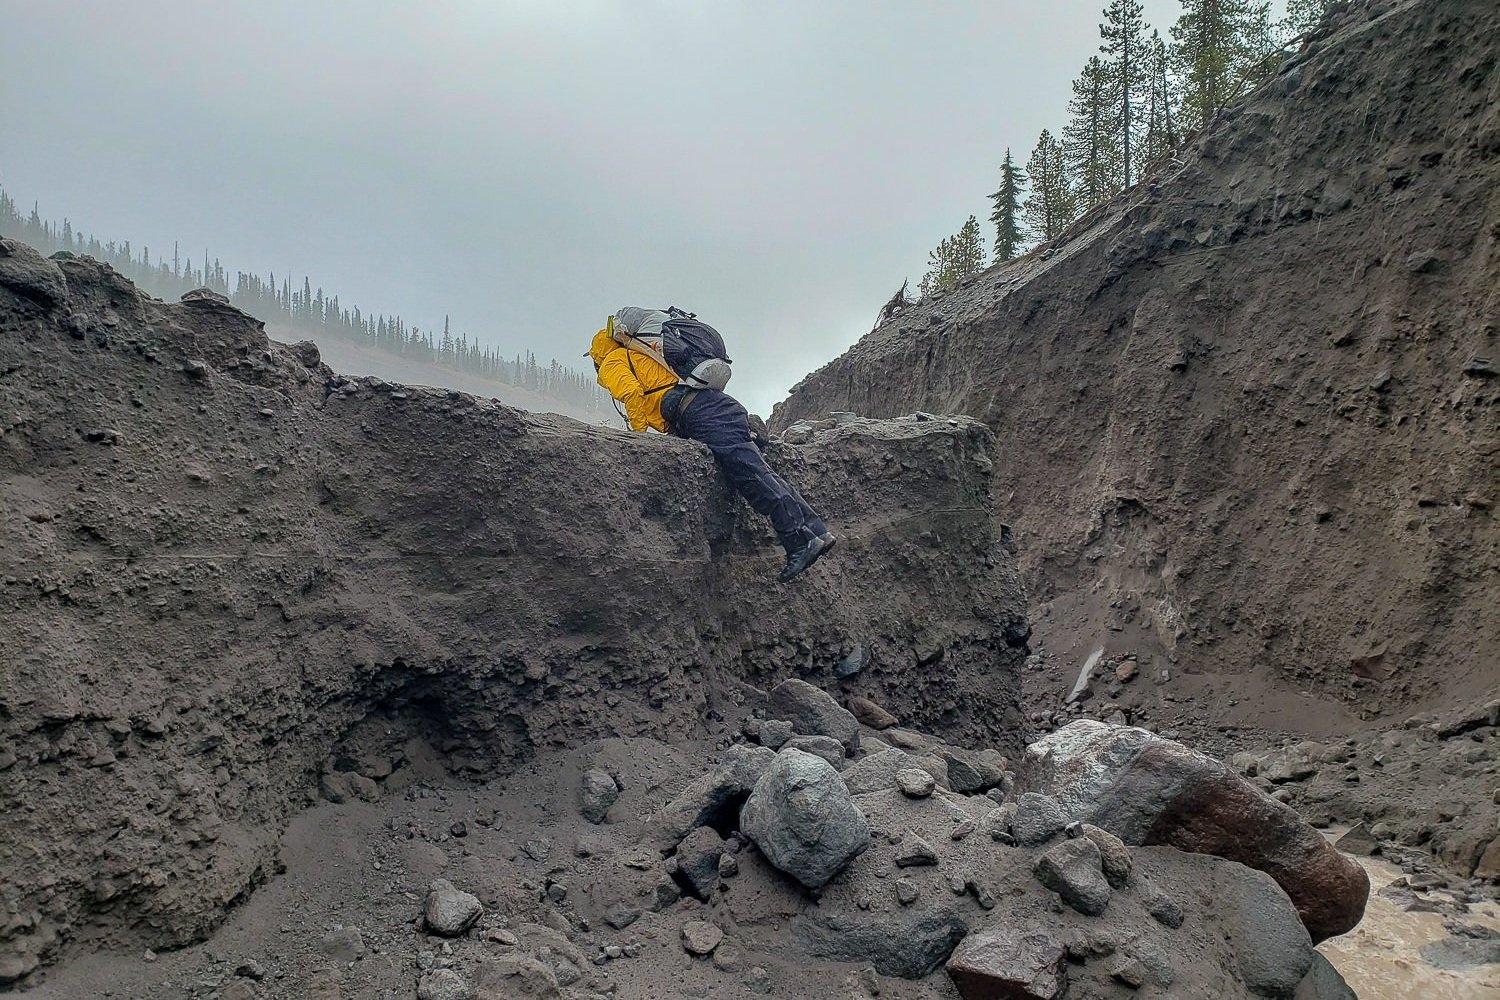
Difficulty depends on your experience, physical fitness, pack weight, and weather conditions. This is not a technically demanding hike, but there are a few big climbs and descents along the way. There are also some sections of loose, sandy trail, which can be tiring. Lastly, there are several rivers to ford along this hike (more info in our subsection on River Fording below).
As a result, we would categorize this loop as a difficult hike. It’s not a great fit for beginners or families, but it’s an excellent hike for intermediate to experienced backpackers.
As always, the heavier your backpack, the harder your hike will be. So do yourself a favor and pack light. For lightweight hiking tips and gear recommendations, check out our tutorials page and gear guides.
Elevation
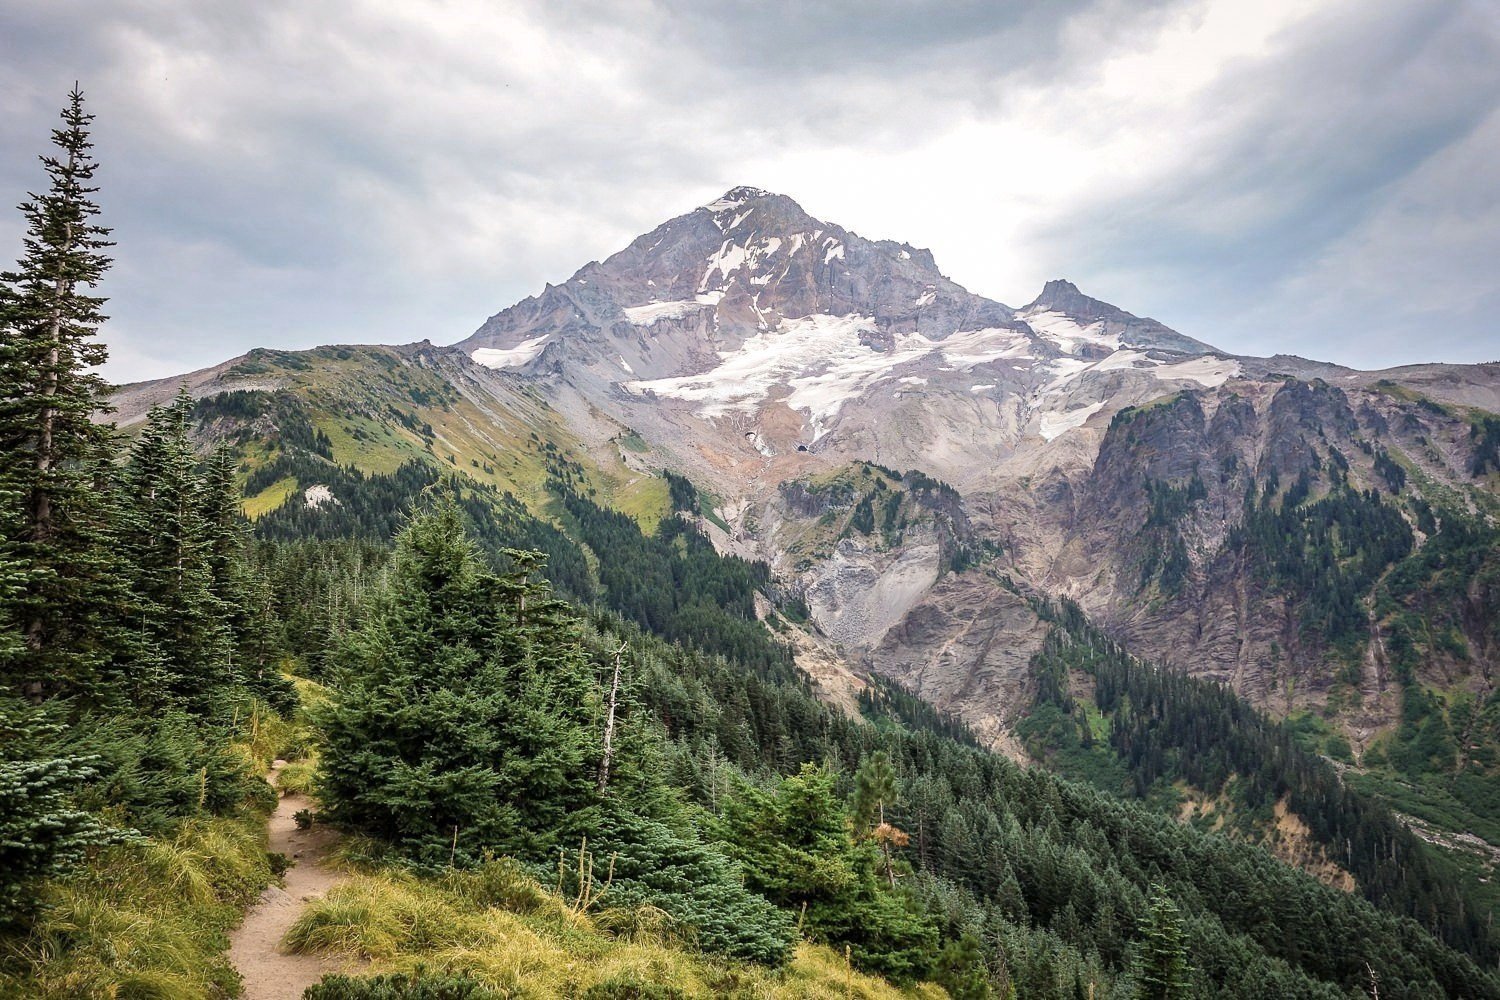
When people hear that the Timberline Trail goes around Mount Hood, they assume it’s mostly flat. After all, you’re going around the mountain, not up it, right? Well, not quite. Deep valleys and high ridges surround Mount Hood on all sides, resulting in a series of climbs and descents. In total, you will gain and lose roughly 9,000 feet on this loop.
Solitude
Mount Hood is a very popular hiking destination, and the Timberline Trail is probably the most popular trail on the mountain. Don’t expect to be alone on this hike. That said, we’ve hiked this trail many times and rarely felt overwhelmed by other travelers. To avoid the crowds, try to hike this trail mid-week and outside the summer rush from mid-July to mid-August.
Water
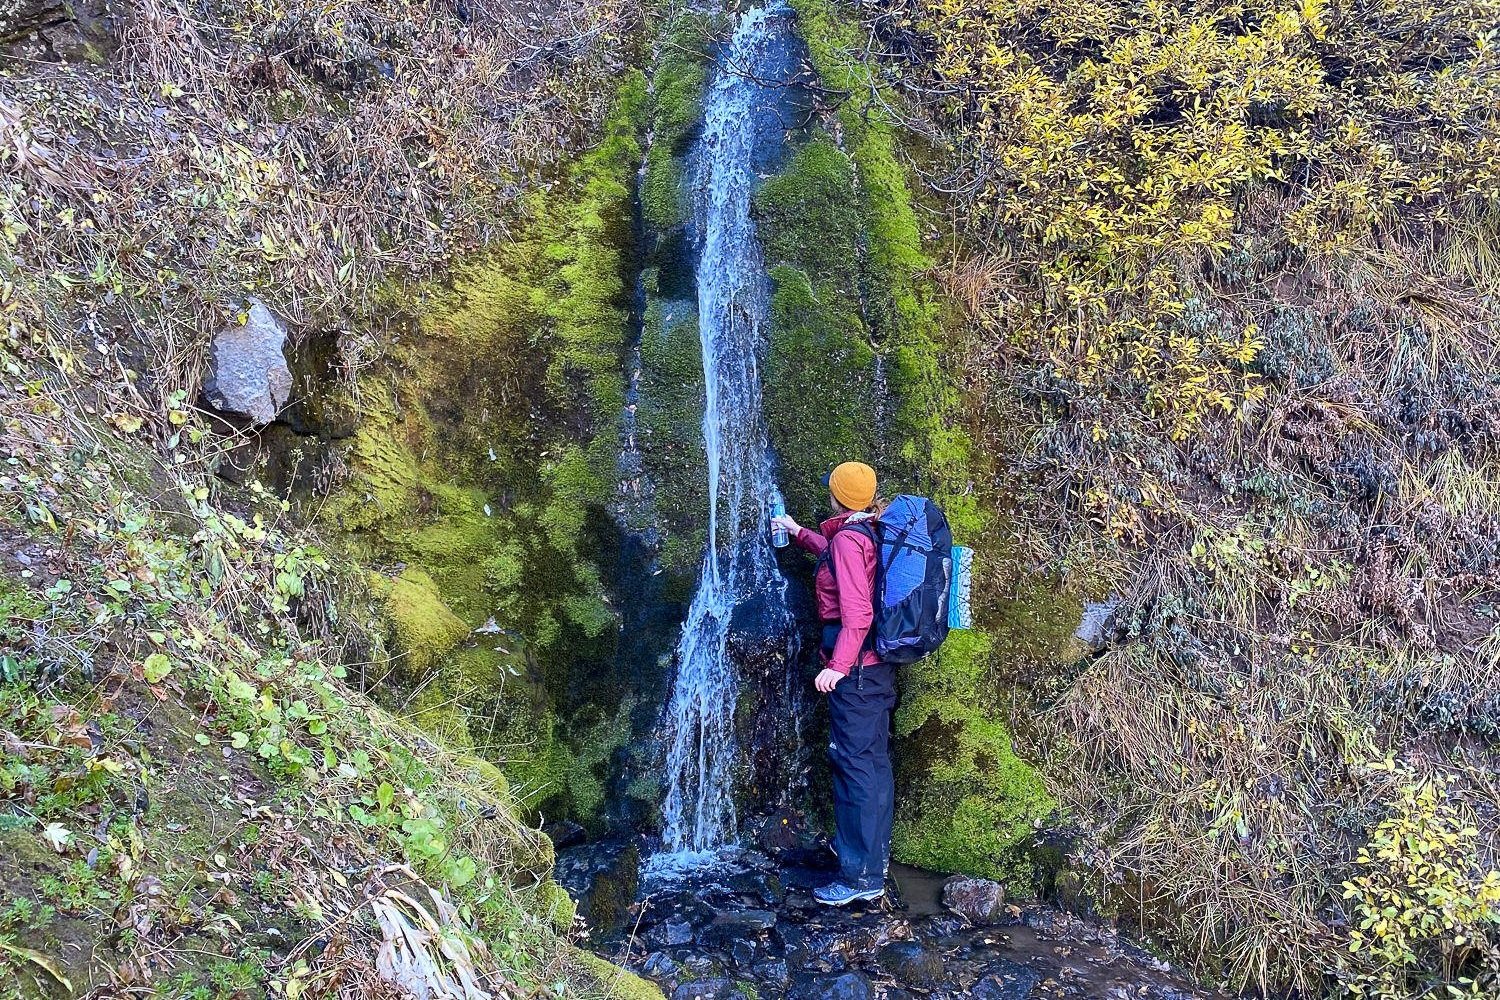
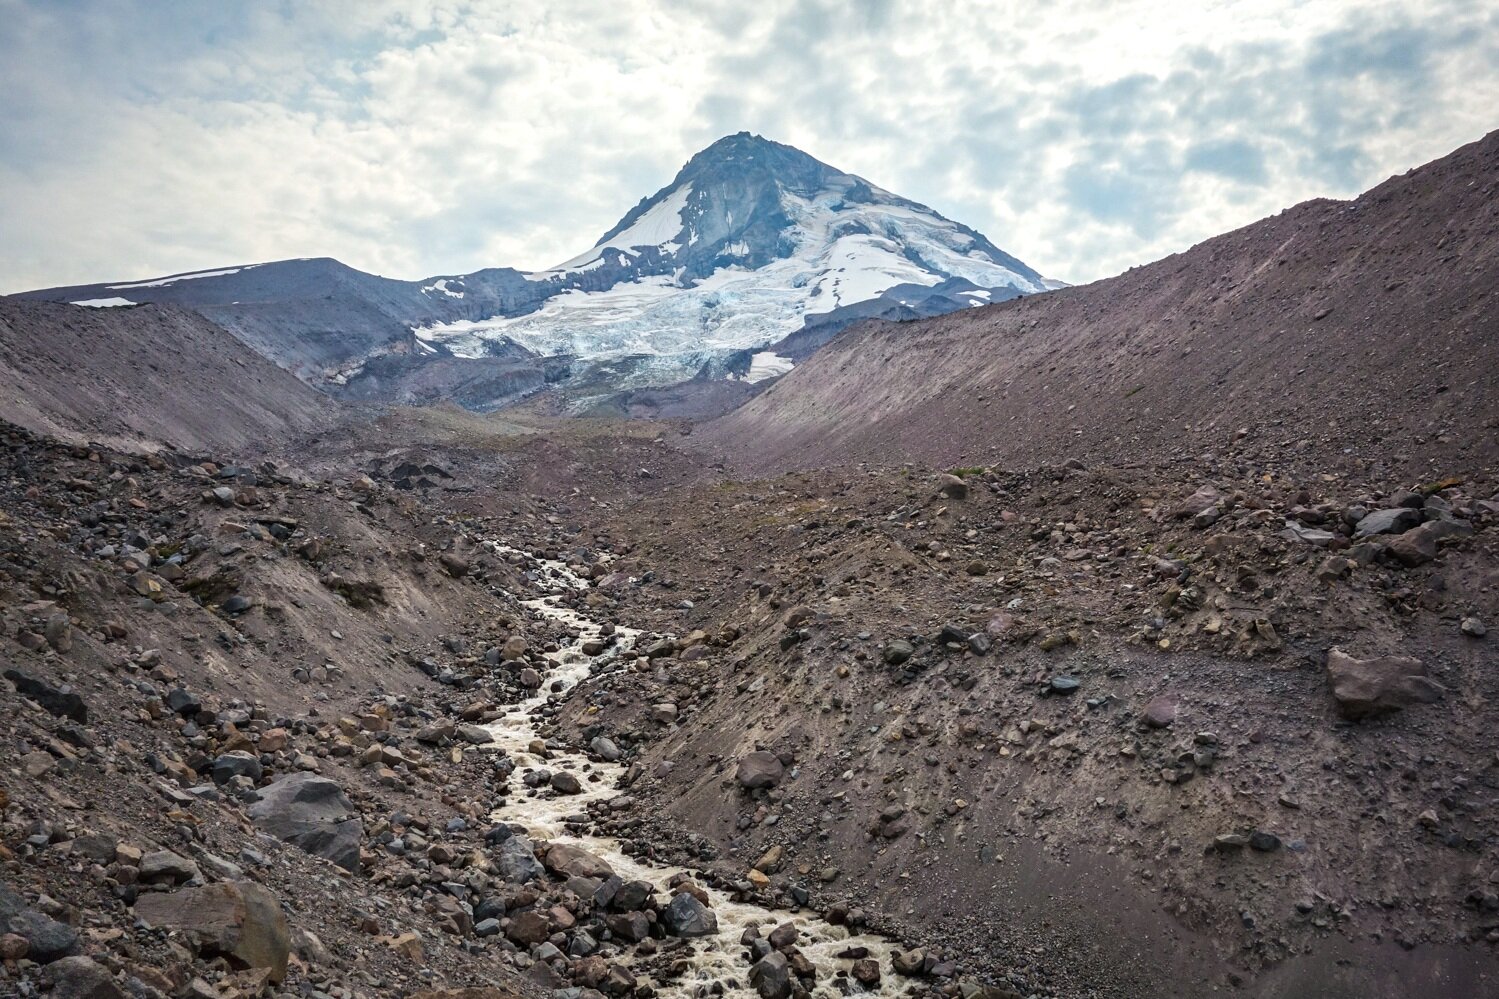
Water is plentiful along this trail and easily accessible from lakes and streams. However, some large glacial drainage water sources will be too silty to filter, so plan accordingly. The Oregon Hikers Timberline Trail page has a good hike description that talks about some of the silty sources.
Carry plenty of water to get from one source to the next and a lightweight water filter. Our current favorite is the lightweight and compact Sawyer Squeeze, but there are plenty of other quality options in our best backpacking water filters guide.
River Fording
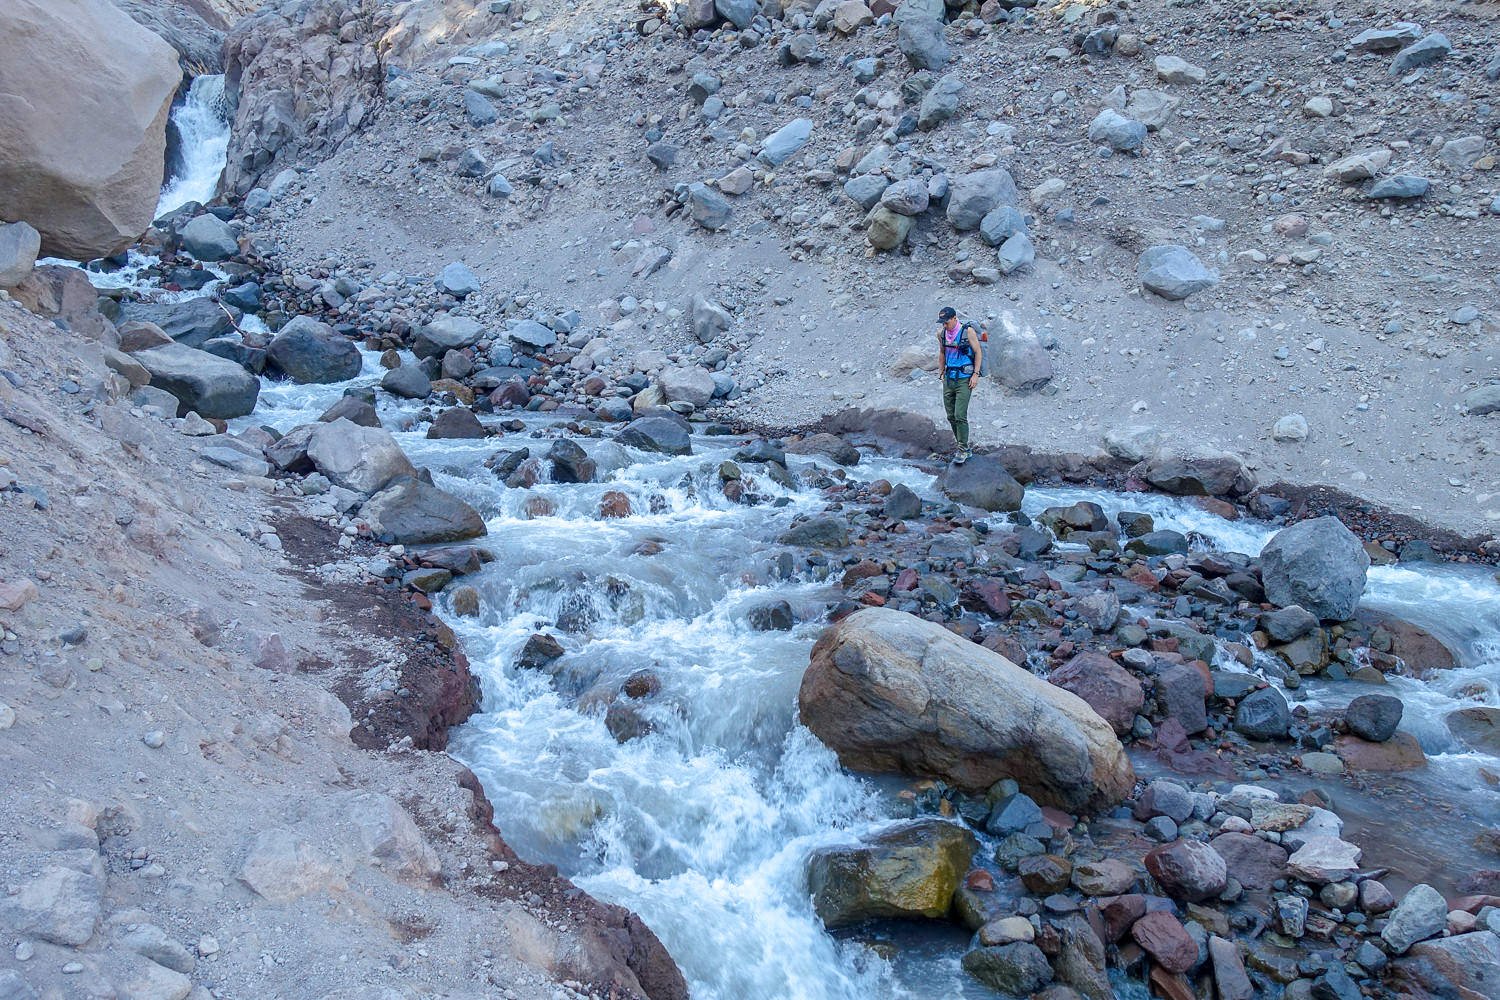
Any time you’re walking around a mountain, there are bound to be big rivers to cross. Some of the river crossings on this trail have bridges, some are small and easy to rock-hop across, and some require a more challenging ford. Watch our river fording tutorial for more info on safely crossing backcountry rivers.
The difficulty of river crossings will greatly depend on the weather and the season. Also, glacier runoff rivers tend to flow weaker in the mornings because lower nighttime temperatures slow melting. Sometimes, the river crossings on the Timberline are very tame, and other times, they’re dangerously challenging. So take your time, plan a safe crossing route and timeline, and use good judgment.
When we most recently hiked this route in late August, we could cross most of the large rivers listed below without getting our feet wet. Even the most challenging crossings were never deeper than mid-calf height. However, that’s not always the case, and spring river crossings will often be much more challenging. It depends on the season, the snowpack, and water volume.
The following rivers generally require a ford. The rivers with asterisks are usually more challenging. Rivers are listed in clockwise order, starting from the Timberline Lodge.
- Zigzag River
- Sandy River*
- Muddy Fork
- Coe Creek*
- Eliot Creek*
- Newton Creek
- Clark Creek
- White River*
Navigation
The Timberline trail is well marked and well maintained. However, trail closures from substantial blowdowns or washouts occur yearly around parts of this rugged volcano. You will likely use a bypass trail at some point on this loop. It is best practice to hike this trail with a topographical map and a GPS app downloaded on your phone (like Topo Maps+ or Gaia GPS). Even if the trail is 100% clear, it is very important to have a topo map for all the trail junctions you will intersect or if you happen to get lost.
How Should I Store My Food?
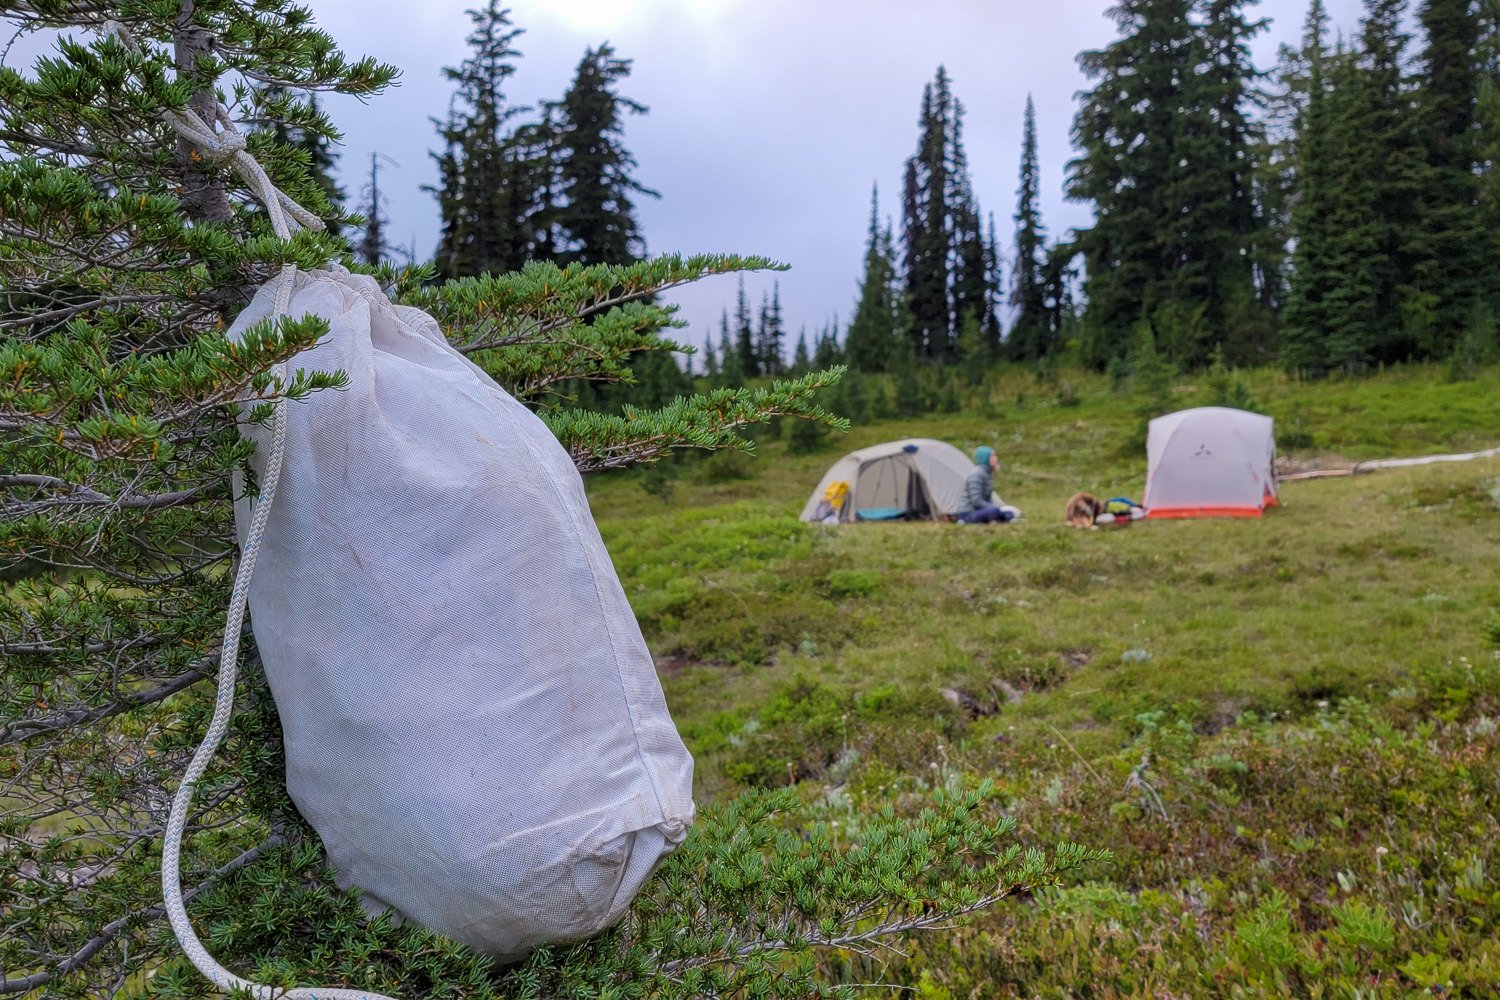
Black bears do inhabit the Mount Hood National Forest, but sightings along this route are rare. That said, even if you don’t encounter any bears, plenty of smaller animals will be eager to access your food supply and may chew through your costly backpacking gear to reach it.
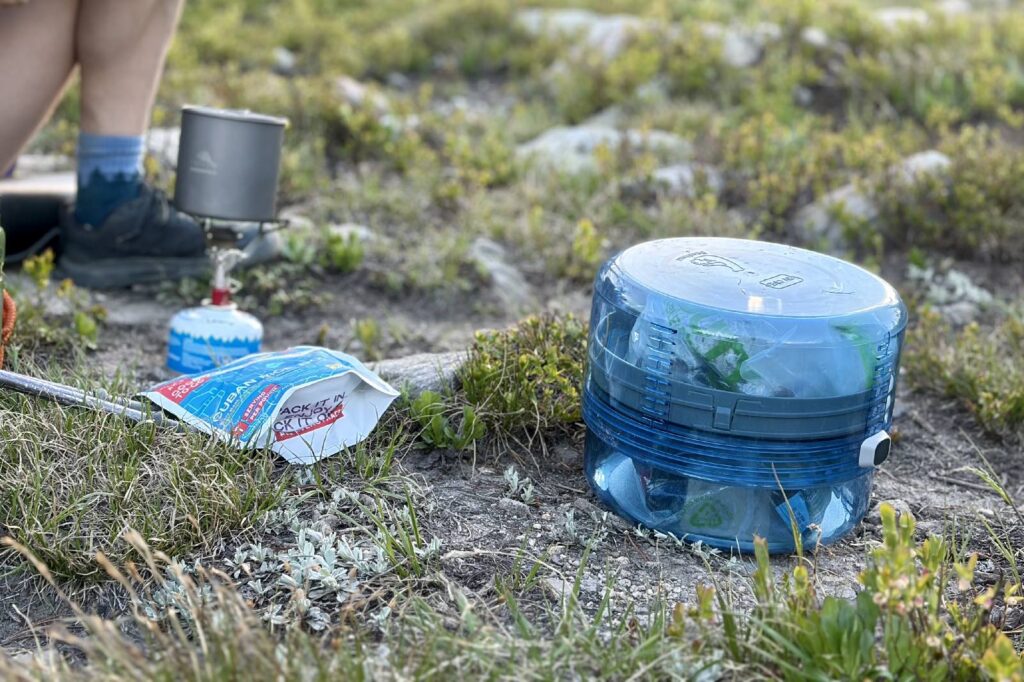
There are no food storage requirements for this area, but it’s always a good idea to protect your food properly. If you don’t feel like hanging a bear bag every night (we get it), you can use a food storage container. Check out our list of the best bear canisters for top hard-sided and soft-sided options.
Where Should I Start & End My Trek?
Most people start and end this loop at the Timberline Lodge. The most common hiking direction is clockwise from the lodge. That said, this is a true loop, so you can start and finish from any trailhead.
It’s a good idea to visit the Mt. Hood National Forest’s Timberline Trail page for current conditions. Checking in with the region’s ranger stations is also good practice when planning a backpack trip. Call or visit the Hood River Ranger District (541-352-6002) or the Zigzag Ranger District (503-622-3191).
Some of the most common trailheads with easy access to the Timberline Trail are:
One nice benefit of starting at the Timberline Lodge is its incredible breakfast buffet. If you time it right, you can aim to finish your hike with an all-you-can-eat gourmet brunch feast, which is truly a treat.
What Gear Should I Pack?
Make sure to check out our Ultimate Backpacking Checklist, so you don’t forget something important.
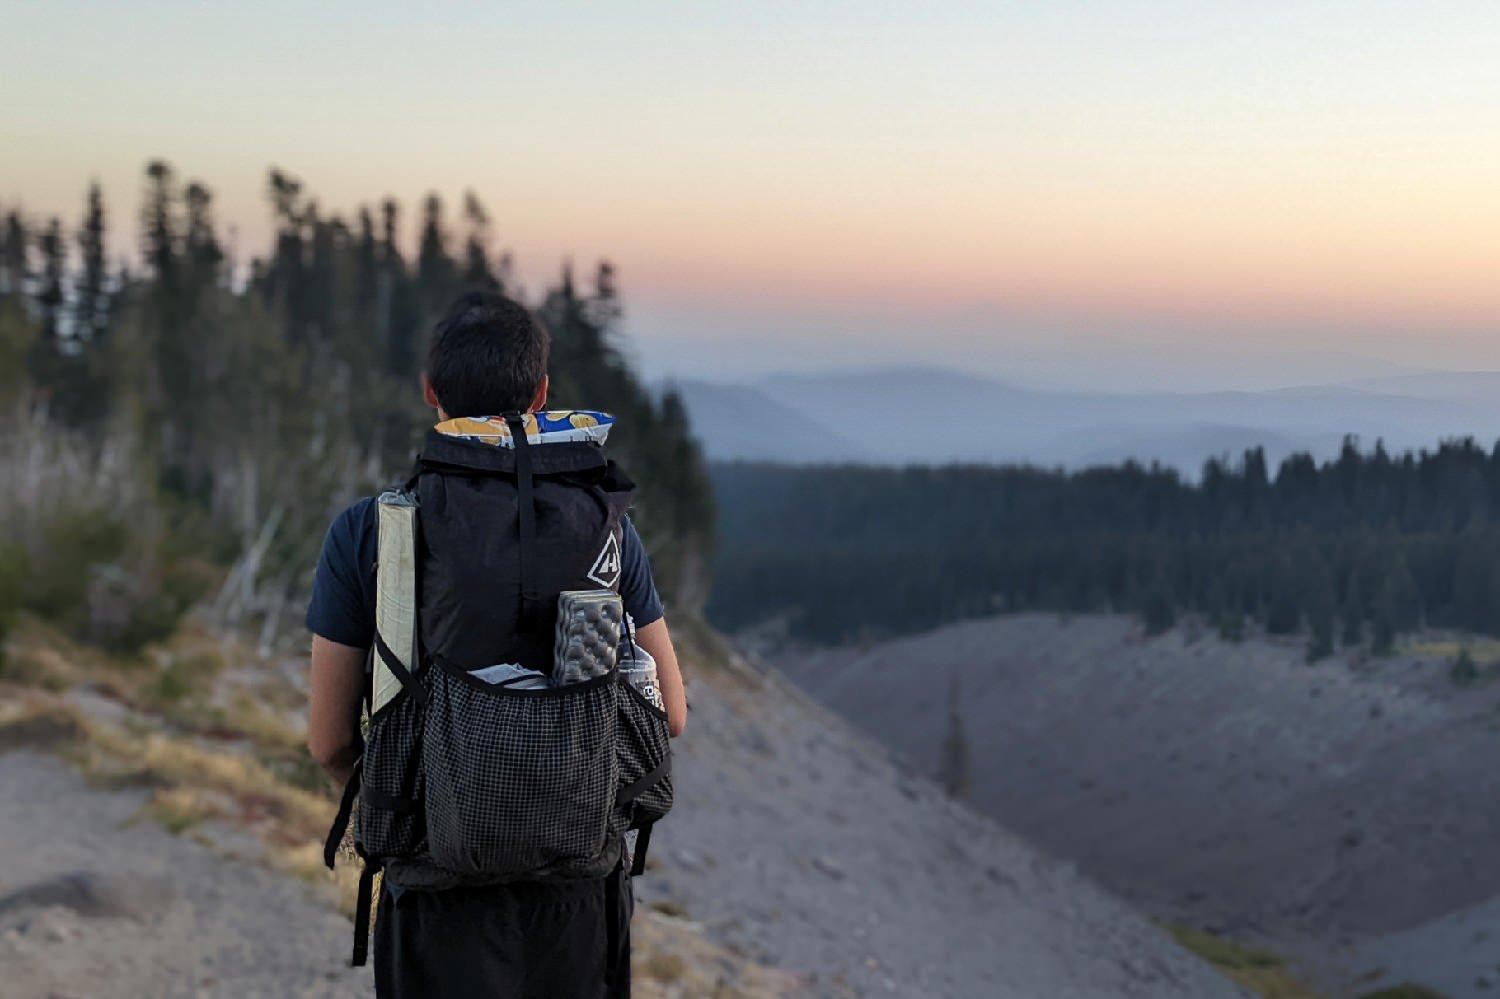
Below you’ll find our current favorite backpacking gear. If you want to see additional options, our curated gear guides are the result of many years of extensive research and hands-on testing by our team of outdoor experts.
BACKPACK
- Best Backpacking Pack Overall: Gregory Paragon 58 – Men’s / Gregory Maven 58 – Women’s
- Best Ultralight Backpacking Backpack: Hyperlite Mountain Gear Unbound 40
- More: Check out our best backpacking backpacks guide for ultralight and trekking options
TENT
- Best Backpacking Tent Overall: Big Agnes Copper Spur HV UL2
- Best Ultralight Tent: Zpacks Duplex
- Best Budget Tent: REI Half Dome 2
- Best Tent Stakes Overall: All One Tech Aluminum Stakes
- More: Check out our best backpacking tents guide for more options
SLEEPING BAG/QUILT
- Best Sleeping Bag Overall: Men’s Feathered Friends Swallow YF 20 / Women’s Feathered Friends Egret YF 20
- Best Quilt Overall: Enlightened Equipment Revelation 20
- More: Check out our best backpacking sleeping bags guide and best backpacking quilts guide for more options
SLEEPING PAD
- Best Sleeping Pad Overall: NEMO Tensor All-Season
- Best Foam Sleeping Pad: NEMO Switchback
- More: Check out our best backpacking sleeping pads guide for ultralight and trekking options
CAMP KITCHEN
- Best Backpacking Stove Overall: MSR PocketRocket 2
- Best Backpacking Cookware Overall: TOAKS Titanium 750ml
- Best Backpacking Coffee Overall: Starbucks VIA
- More: Check out our best backpacking stoves guide and best backpacking cookware guide for ultralight and large group options
WATER & FILTRATION
- Best Water Filter Overall: Sawyer Squeeze
- Best Hydration Bladder Overall: Gregory 3D Hydro
- Best Backpacking Water Bottles: Smartwater Bottles
- More: Check out our best backpacking water filters guide and best backpacking water bottles guide for ultralight and large group options
CLOTHING
- Best Hiking Pants Overall: Men’s Outdoor Research Ferrosi / Women’s The North Face Aphrodite 2.0
- Best Hiking Shorts Overall: Men’s Patagonia Quandary / Women’s Outdoor Research Ferrosi
- Best Women’s Hiking Leggings: Fjallraven Abisko Trekking Tights HD
- Best Rain Jacket Overall: Men’s Patagonia Torrentshell 3L / Women’s Patagonia Torrentshell 3L
- Best Rain Pants: Men’s Patagonia Torrentshell 3L / Women’s Patagonia Torrentshell 3L
- Best Down Jacket Overall: Men’s Patagonia Down Sweater Hoodie / Women’s Patagonia Down Sweater Hoodie
- Best Fleece Jacket Overall: Men’s Patagonia Better Sweater / Women’s Patagonia Better Sweater
- Best Sunshirt Overall: Men’s Outdoor Research Echo / Women’s Outdoor Research Echo
- Best Socks Overall: Men’s Darn Tough Light Hiker Micro Crew / Women’s Darn Tough Light Hiker Micro Crew
- Beste Ultralight Liner Glove: Patagonia Capilene Midweight Liner
- More: Check out our best backpacking apparel lists for more options
FOOTWEAR & TRACTION
- Best Hiking Shoes Overall: Men’s HOKA Speedgoat 6 / Women’s HOKA Speedgoat 6
- Best Hiking Boots Overall: Men’s Salomon X Ultra 5 GTX / Women’s Lowa Renegade Evo GTX
- Best Hiking Sandals Overall: Men’s Chaco Z/1 Classic / Women’s Chaco Z/1 Classic
- Best Camp Shoes Overall: Crocs Classic Clogs
- Best Traction Device for Hiking Overall: Kahtoola MICROspikes
- More: Check out our best backpacking footwear lists for more options
NAVIGATION
- Best GPS Watch Overall: Garmin Instinct 2 Solar
- Best Personal Locator Beacon (PLB): Garmin inReach Mini 2
- More: Check out our article How to Use Your Phone as a GPS Device for Backpacking & Hiking to learn more
FOOD
FIRST-AID & TOOLS
- Best First-Aid Kit Overall: Adventure Medical Kits Ultralight/Watertight .7
- Best Pocket Knife Overall: Kershaw Leek
- Best Multitool Overall: Leatherman Wave+
- Best Headlamp Overall: Black Diamond Spot 400-R
- Best Power Bank Overall: Nitecore NB 10000 Gen 3
- More: Check out our best first-aid kit guide, best pocket knife guide, best multitool guide, best backpacking headlamps guide, and best power banks guide for more options
MISCELLANEOUS
- Best Trekking Poles Overall: Black Diamond Pursuit
- Best Backpacking Chair Overall: REI Flexlite Air
- Best Backpacking Stuff Sack Overall: Hyperlite Mountain Gear Drawstring
- More: Check out our best trekking poles guide, best backpacking chairs guide, and best stuff sacks guide for more options