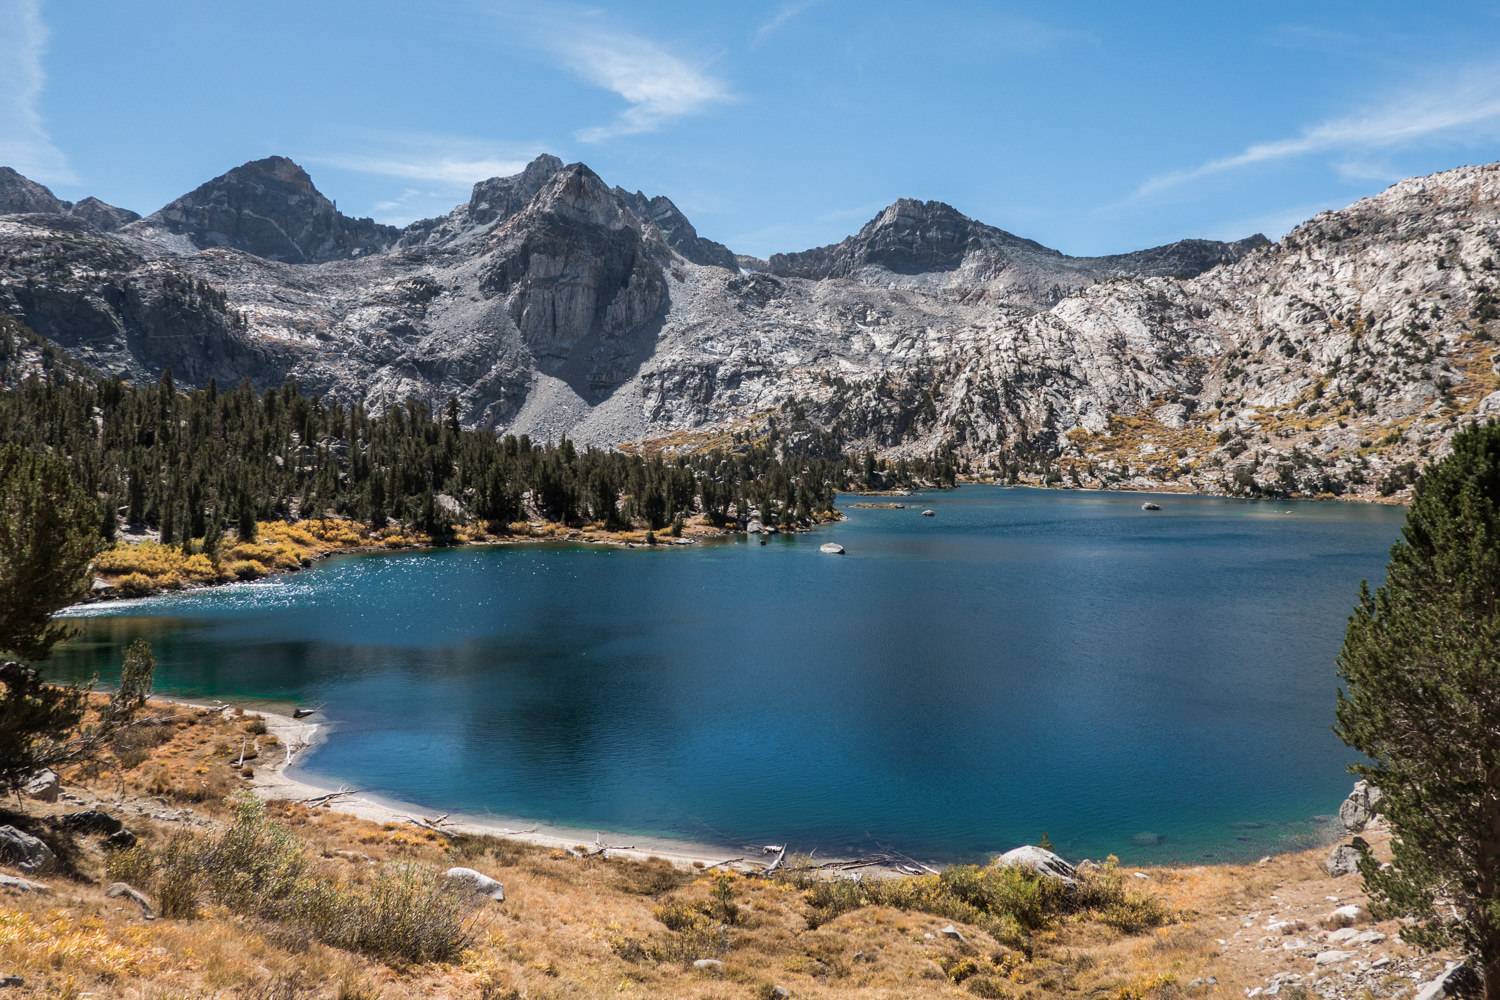
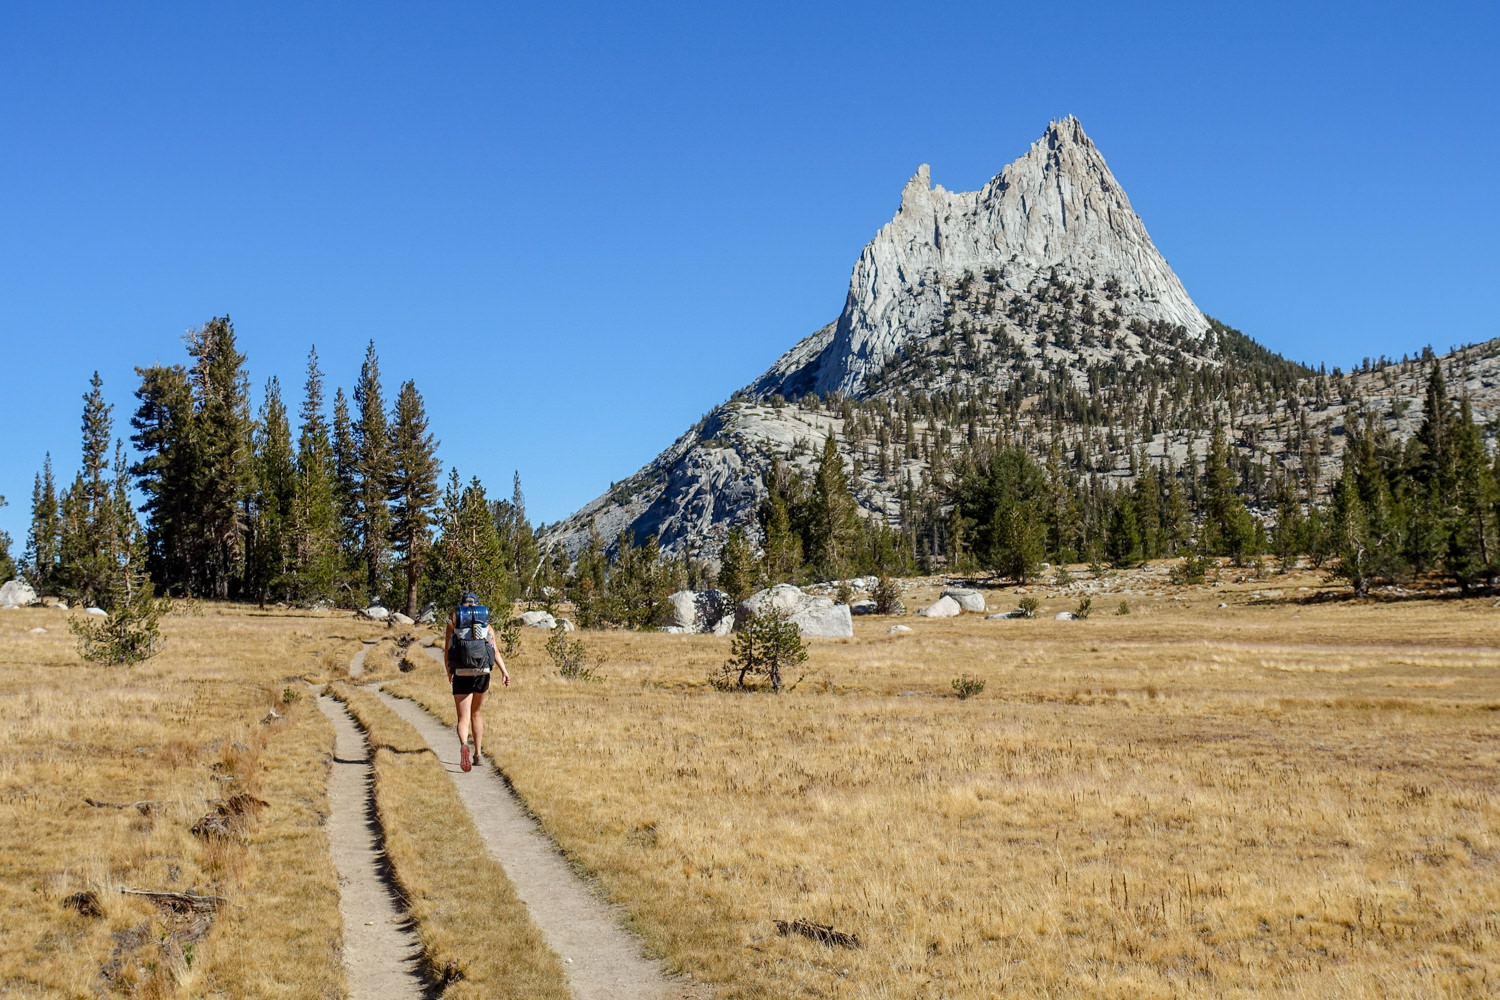
“Of all the mountain ranges I have climbed, I like the Sierra Nevada the best,” wrote John Muir, naturalist and founder of the Sierra Club. The fact that the John Muir Trail – which offers some of the most scenic vistas in the nation – bears his name is reason enough to follow his footsteps on this magnificent and challenging route.
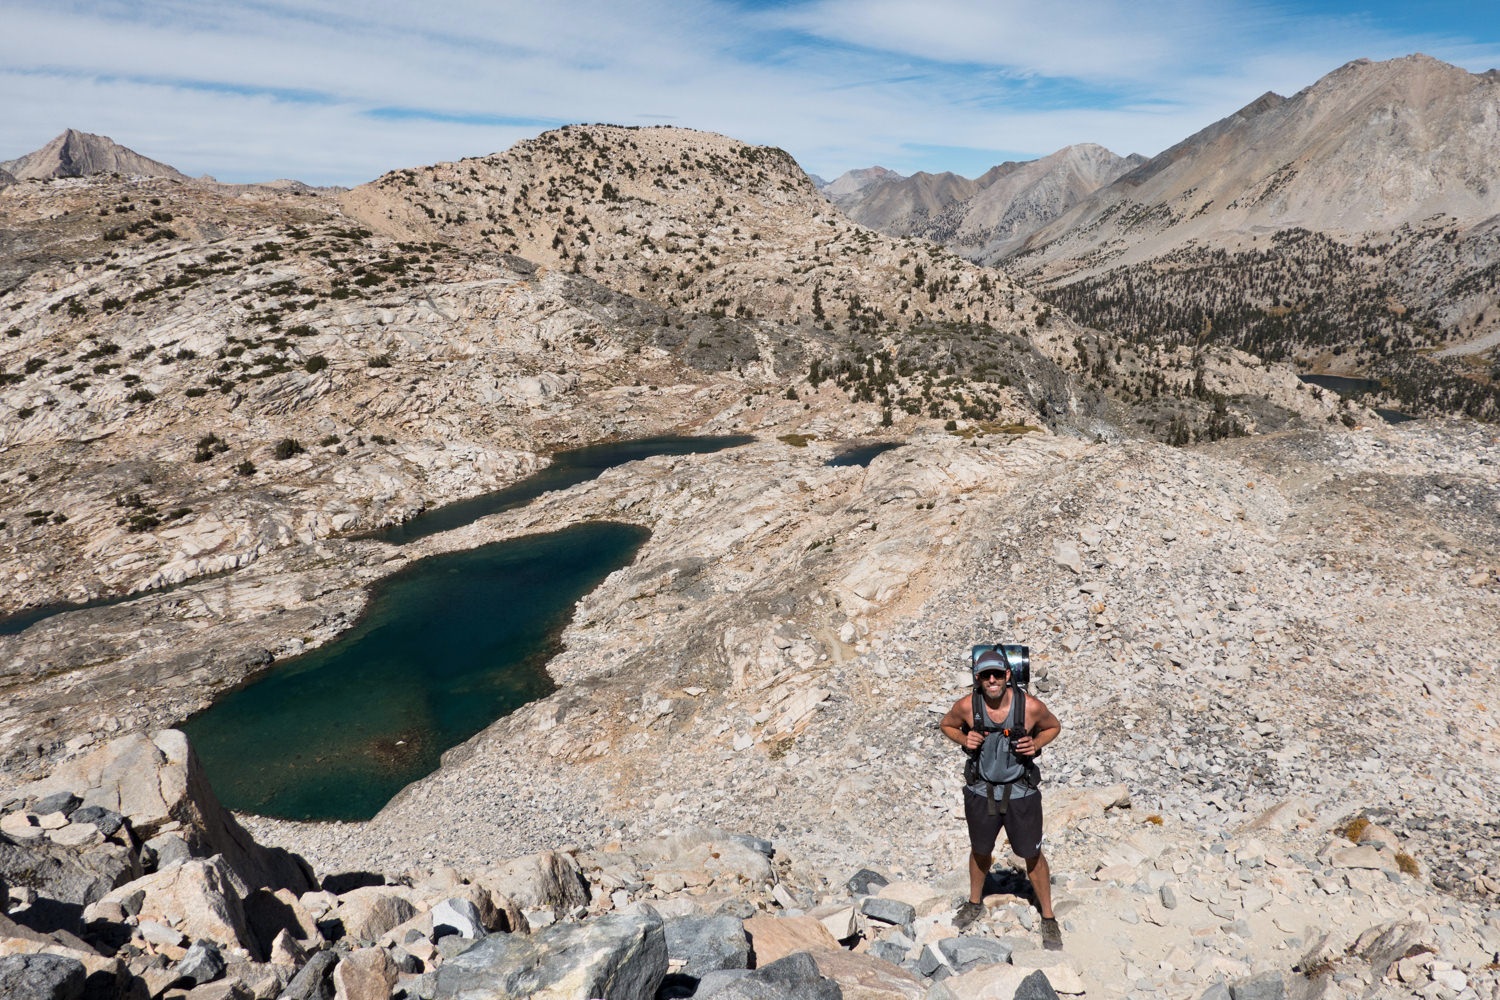
The John Muir Trail begins in Yosemite National Park and travels 210 miles along the High Sierra mountain range through the Ansel Adams Wilderness, John Muir Wilderness, Sequoia National Park, and King’s Canyon National Park, culminating at the highest peak in the continental United States – Mount Whitney. The route climbs nearly 46,000 feet of elevation and crosses six high-elevation mountain passes, with most people taking around three weeks to complete.
Planning your thru-hike on the JMT can be daunting – on top of the difficulty of procuring one of the coveted permits. In this guide, we break down every detail you’ll need to begin preparing for what will surely be the adventure of a lifetime. We’ve got you covered – from gear to resupplies and transportation logistics to maps and itineraries.
Quick Facts
- Distance: 210.4 (official length ending at Whitney summit) / 221 total miles (end-to-end length with the summit of Whitney and descent to Whitney Portal)
- Days Needed: 18-21 days (seriously fit and experienced hikers may take less time, but you really need to know your limits – this is a very tough trail)
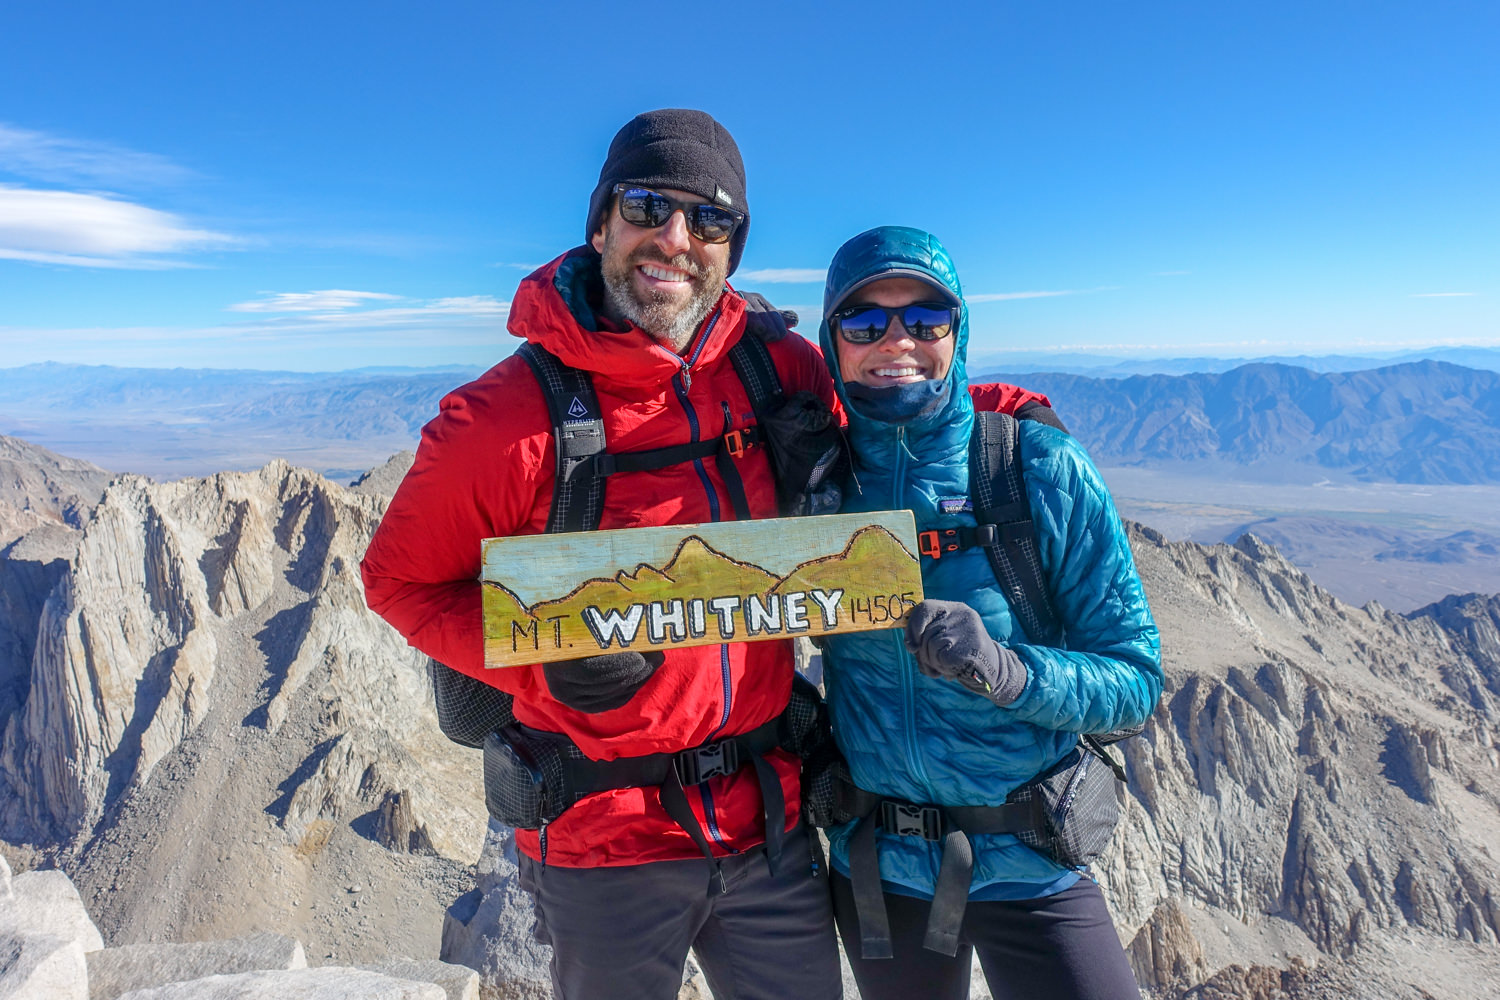
- Peak Elevation: 14,505 ft. – summit of Mount Whitney, the highest point in the contiguous U.S.
- Low Elevation: 4,000 ft. – the northern terminus at Happy Isles in Yosemite Valley
- Elevation Gain/Loss: 46,000 ft./38,000 ft. (north to south)
- Best Time: July-early October (varies year to year, depending on snowpack and winter storms)
- Permits: Required and competitive (see below)
- Difficulty: Difficult-strenuous
Highlights
- Summiting the highest point in the United States
- Unparalleled views of endless peaks and lakes
- Some of the best backcountry campsites in the country
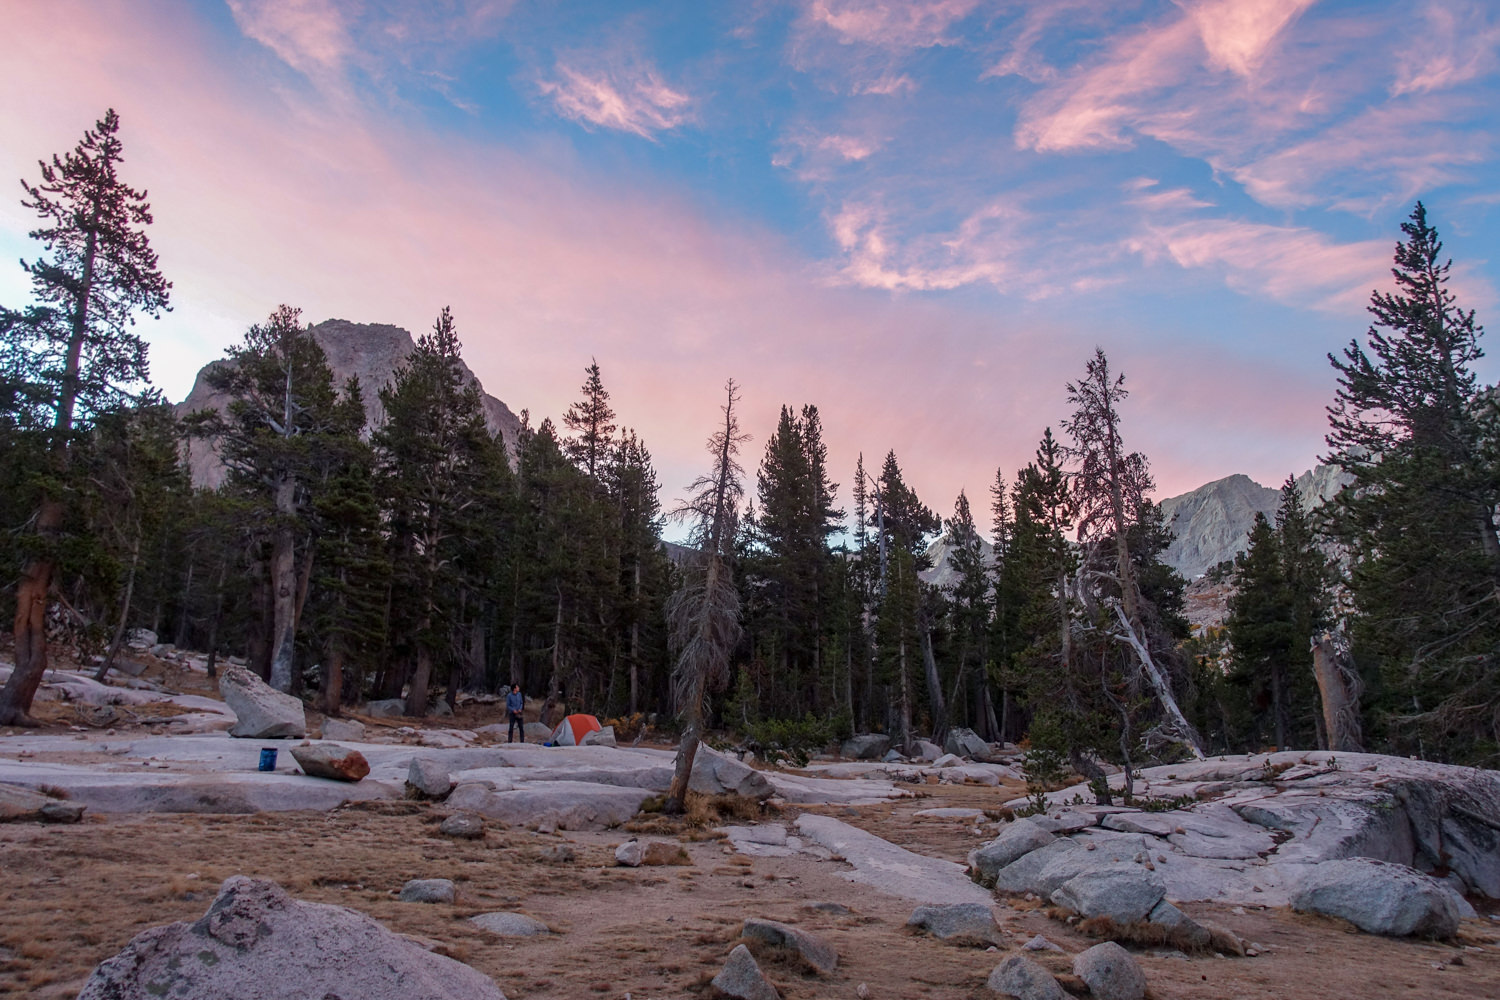
- Gorgeous sunrises and sunsets
- Mind-blowing stargazing
- If hiking southbound, elevation progressively increases, providing good altitude training for the increasing difficulty of passes
- Social and friendly trail community
- Generally mild, sunny climate
- Feeling amazingly capable and confident at the end of the journey
- Great, yet frigidly cold, swimming opportunities (always follow LNT guidelines)
Lowlights
- Competitive Permits – 97% of all JMT thru-hike permit applications are denied
- Strenuous ascents and descents over many mountain passes
- Mosquitos and black flies can be vicious at times
- Altitude sickness until you acclimate for some (more common with northbounders)
- Early season rushing rivers can mean sketchy, sometimes dangerous fording
- Early season snow travel can be dangerous and exhausting
- Fires are prohibited in most places along the JMT
- The descent from Mt. Whitney to Whitney Portal is brutal
Best Time to Hike
Although it’s possible for those equipped for snow travel to hike the John Muir Trail as early as mid-June, the best time is generally late July through early October. This is highly variable year-to-year and really depends on the season’s snowfall.
There are pros and cons to hiking in each month. July can offer very pleasant weather, but raging rivers can be potentially dangerous to ford. August often has near-perfect weather, but mosquitos and flies can be at their worst. By mid-September, the days are shorter, the nights get progressively colder, and you’ll have to navigate the possibility of early snowfall in the High Sierra. Also, planning late-season resupply can be complicated due to closed resupply depots along the route (they usually start closing in late September to mid-October).
How Long Does It Take?
Most people complete the John Muir Trail in about three weeks. Although the official trail ending at Mt. Whitney is 210 miles, you’ll still need to hike down to Whitney Portal after you summit, resulting in an end-to-end total of 221 miles.
While experienced backpackers may hike the trail in around two weeks, the miles in the High Sierra are hard and have a lot of elevation gain. Most people calculate in a couple of “zero” days (rest days) and take the trail at an enjoyable pace. It is easy to focus on making it up and over passes, but this trail is so beautiful. Be sure to take long breaks and enjoy the breathtaking view. It will be over before you know it.
When you apply for your permit, you’ll have to estimate how many days you’ll be on the trail, including any zero days. You are not allowed to be on the trail after your exit date, but it’s perfectly fine to finish early. Because of this, we recommend building in a couple of extra days when you apply for your permit.
Difficulty
The John Muir Trail is well-maintained, well-signed, and easy to follow, so navigation is rarely an issue. That said, we always hike with a good topographical map and compass. The main difficulty of the JMT is the terrain and length of the trail. Over the course of your trip you’ll ascend and descend 11 mountain passes, many of them over 12,000 feet.

Altitude sickness can bother some hikers along the JMT, but it’s not a common complaint. The best way to minimize altitude issues is to hike the trail from north to south (from the Yosemite Valley to Mt. Whitney). You’ll naturally acclimatize and get stronger as you climb progressively higher passes on your way to Mt. Whitney. One of the disadvantages of going south to north (Mt. Whitney to Yosemite Valley) is the significant and quick altitude gain from the Whitney Portal. You’ll still have a big climb if you start from the Yosemite Valley (hiking north to south), but you won’t go nearly as high in elevation.
Depending on the season, fording rivers can be challenging, if not dangerous. We recommend brushing up on how to safely ford backcountry rivers before setting off on your trip, regardless of when you begin your hike.
Finally, snowfields can persist long into the summer months on the JMT, depending on the winter season’s snowpack. Sadly, backpacking across snowfields and snow bridges on the JMT has resulted in fatal falls, even for experienced hikers. If you are hiking while snow is still underfoot, try to time your snow travel for when the snowpack is not hard ice and not so warm that you are post-holing (best is usually mid to late morning, later if winds keep the surface temperature down).
We have a great list of traction devices for more sure-footed snow travel.
Permits
You must secure a permit to start your JMT thru-hike in Yosemite National Park.
Permits have a strict quota. A lottery system is in place to reduce environmental impact and give non-JMT hikers a fair shot at accessing these trails. As a result, the NPS is doing an advance lottery to limit the number of hikers who can exit the Yosemite Wilderness over Donohue Pass to just 45 people a day. More than 97% of permit applications are denied, so you’ll need flexibility, patience, and persistence if you’re hoping to score a permit.
Securing permits to recreate in national parks can be a logistical jungle gym. We’ve spent hours navigating Yosemite National Park Service’s permit systems. While it may seem clunky, they are doing their best to make access to the outdoors fair for everyone without degrading the environment.
Permitting systems change every year, so keep checking back on recreation.gov to stay up-to-date on the upcoming season’s system. See Yosemite’s wilderness permit reservation page for a great run-down of the current system.
When To Apply
Pre-Season Advance Weekly Lottery: If you’re applying for a permit that begins in Yosemite and ends at Whitney Portal, you can enter a lottery to win one of Yosemite National Park’s wilderness permit reservations available 24 weeks to three days in advance of your entry date(November 12- May 6). For example, if you wanted to start hiking on Thursday, August 7, 2025, then your window to apply would be between Sunday, February 16, at 12:01 AM PDT through Saturday, February 22, at 11:59 PM PDT. You can apply once a week if you are flexible on your start date and can select up to 8 preferred itineraries to up your chances of securing a permit.
The National Parks Service has a helpful chart that provides entry dates and the associated times to apply. It also tells you when you will be notified and the deadline to accept your reservation if you win. Any unclaimed reservations for each week will be released. (This is a mad dash, first-come, first-serve the following Friday at 9:00 AM PDT).
Week-Ahead Reservations: So that is how it works for 60% of the reservations available. The remaining 40% of reservations become available online seven days in advance (up to three days in advance) at 7 AM PDT. These entry points fill insanely fast, so be signed in and keep refreshing the page until they become available promptly at 7 AM PDT, 7 days in advance of your desired start date.
We recommend setting alarms, having several alternative dates, marking your calendars, and practicing navigating recreation.gov before it is time to apply. This will increase your chances of landing a permit.
How to Apply
To apply for a JMT permit, you will need an account on recreation.gov. You’ll also need to know your preferred start dates, beginning trailhead, where you’ll camp your first night, your trip leader, group size, end date, ending trailhead, and whether you want to hike Half Dome. Below, we’ll walk through the different components of the online application.
- Beginning Trailhead – The two trailheads that can be used to access the JMT from Yosemite are Happy Isles and Lyell Canyon (see below for more detailed descriptions of trailheads). On your application, you’ll list each trailhead in order of priority, along with the location of your first night’s camp. Make sure to select the trail entry that says “Donohue Pass-eligible” so you can exit the park and continue south on the JMT.
- Exit Trailhead – If you are completing the classic JMT route from Yosemite, you’ll choose Whitney Portal as your exit trailhead.
- Dates – You’ll be required to list your first and last desired start date (21-day range maximum). Having a flexible start date can greatly increase your chance of getting a permit. You’ll also have to list your trip length – we recommend overestimating the length of time it will take by a day or two. You can finish the trail early, but you can’t be on the trail past your exit date.
- Group Size – You will identify the number of people in your group. The maximum group size is 15, though your chances of getting a permit decrease drastically the larger your group size.
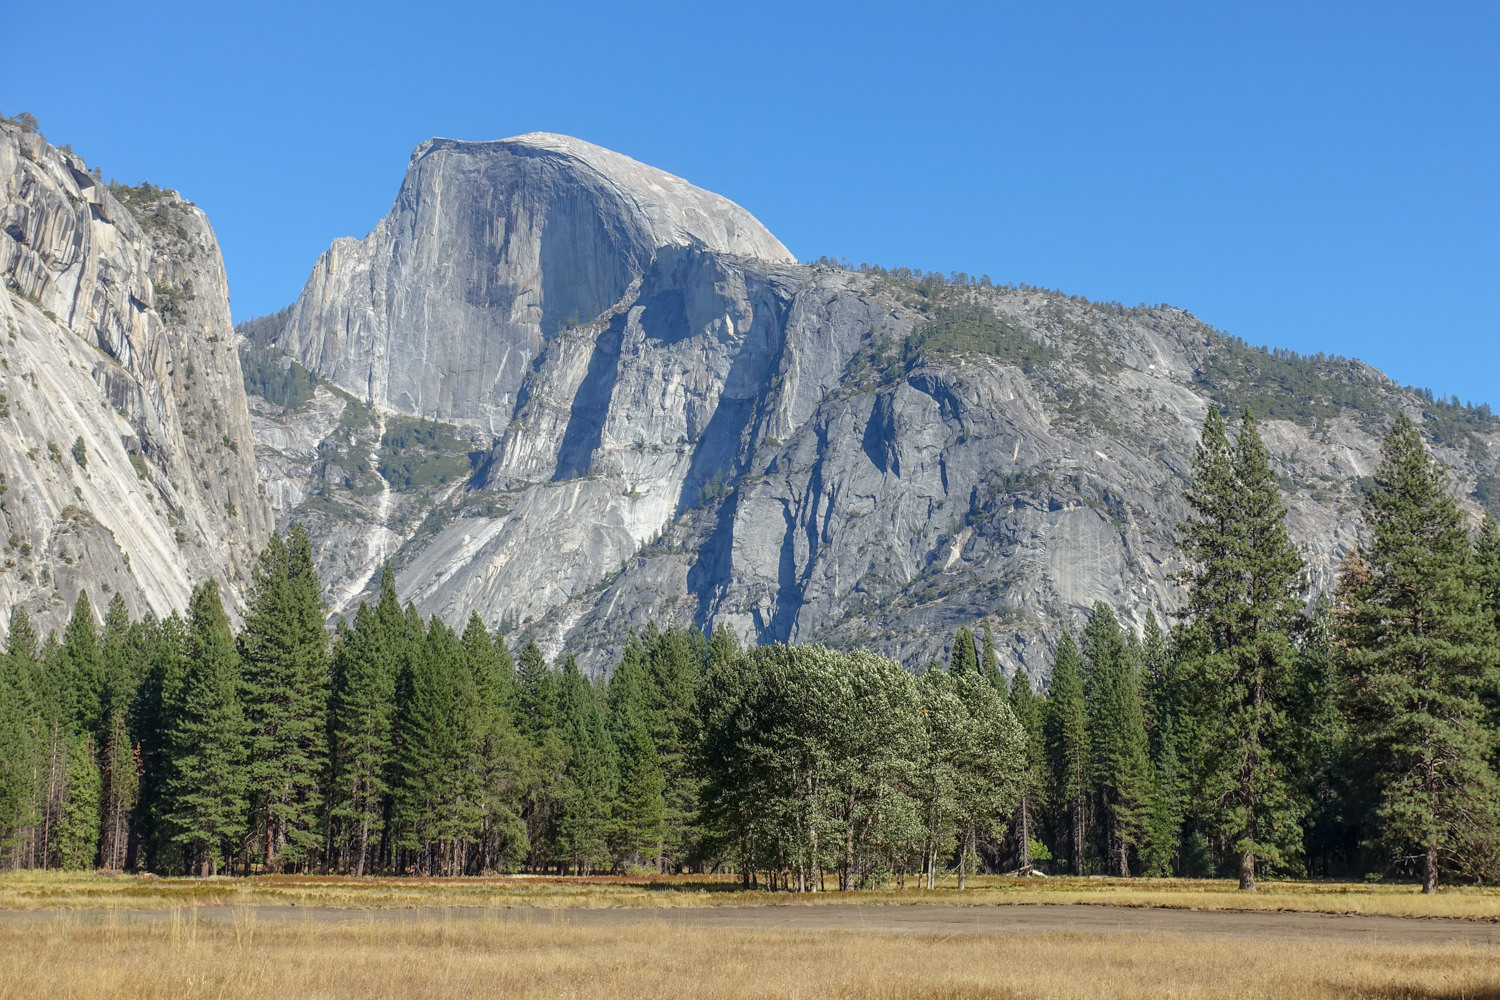
- Half Dome Permits – As part of their JMT hike, many people choose to take a side trip to the summit of Half Dome in Yosemite. If you haven’t done this, it is absolutely worth it and a bucket-lister itself. The vistas are some of the best in the valley. As part of your JMT application, you’ll be asked if you want to apply for Half Dome permits as well. For more information on this hike, check out our article, Complete Guide to Hiking Half Dome.
- Trip Leader – The last part of the application concerns trip leader information, which is pretty straightforward. The trip leader must pick up your permit the day before your entry date or between 8-11 AM on the start day.
Walk-Up Permits
If you can’t secure a permit through the different routes above, there’s the slightest chance of a walk-up permit for any unreserved permit or no-show JMT thru-hikers. Success is far from guaranteed, but any permits not picked up by 11 AM on their entry date will be available for walk-ups.
You will have to secure an entrance reservation or arrive after peak hours to get into the park in order to get in line at a permit station. We recommend getting there early (like bringing a sleeping bag to the line early), being friendly, and talking to the rangers to have the best chance. If it works out, you’ll have to start hiking that day because backpacker campground availability is limited.
Alternative Entry points
If you have time to add a few days to your itinerary, accessing the John Muir Trail through an alternative entry point might be an agreeable option for you. You will still need to secure a permit – and alternate entrances have quotas as well – but this method avoids the most competitive permits. Alternative Whitney Portal entry options are Horseshoe Meadow, Cottonwood Pass, or Cottonwood Lakes.
For south-bounders, entering through the Inyo National Forest (Rush Creek Trail, for example) is an option, but it would skip some memorable sections like Yosemite Valley, Tuolumne Meadows, and Donohue Pass.
Beginning Trailhead Options
Southbound Hikers
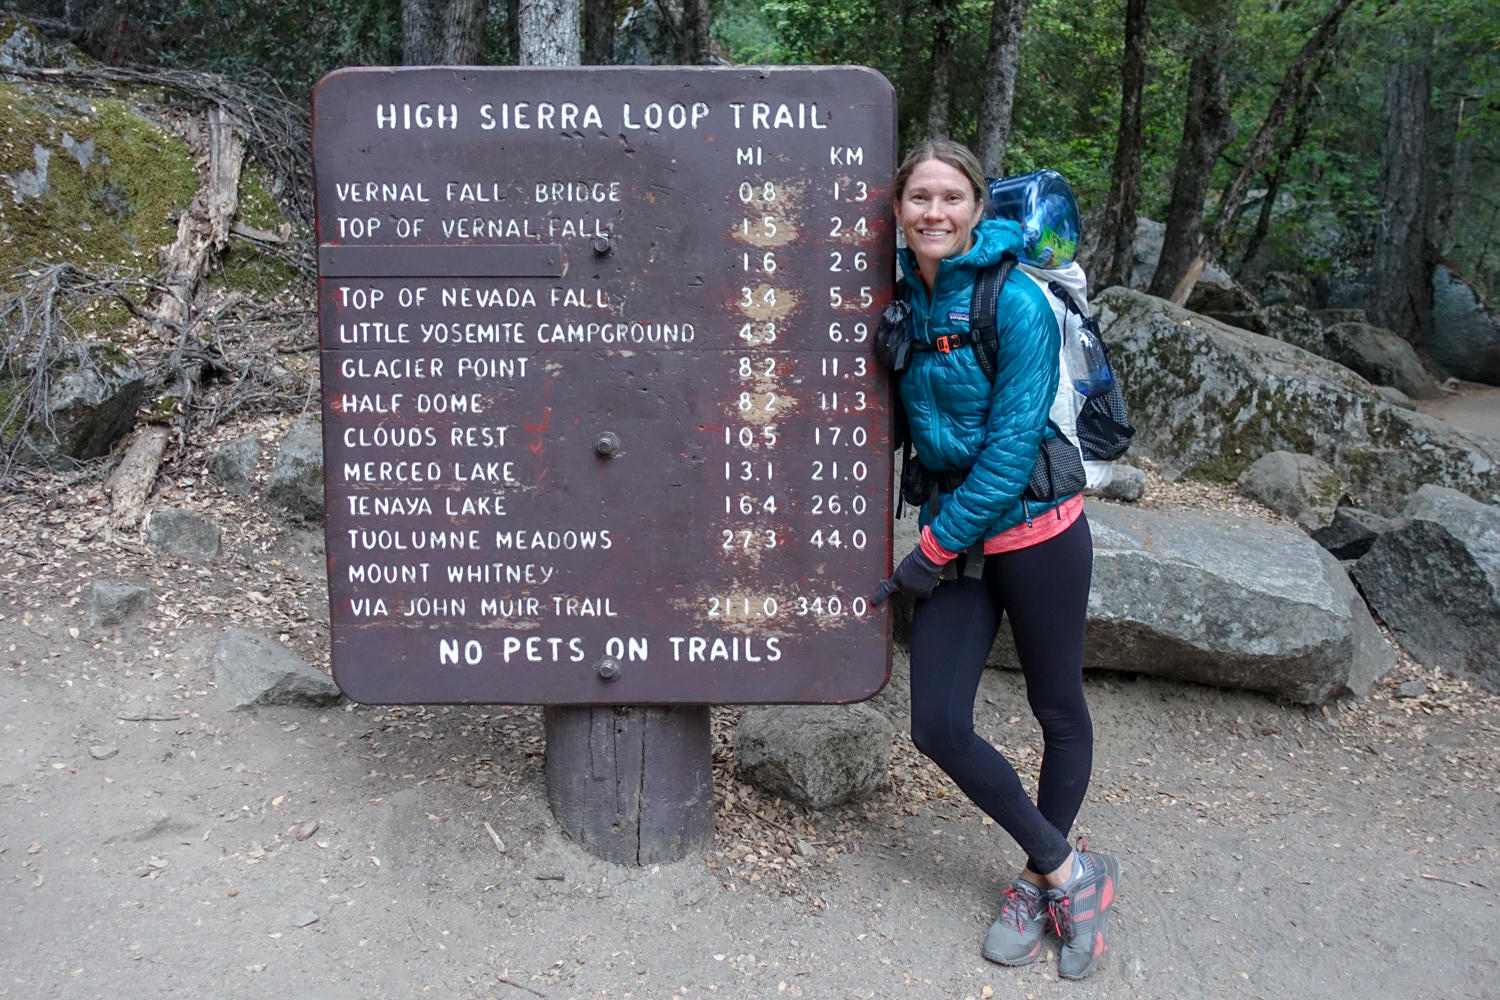
The classic John Muir Trail route begins in Yosemite at the Happy Isles trailhead and travels to the summit of Mt. Whitney near the Whitney Portal trailhead in Inyo National Forest. This is the most in-demand and subsequently congested starting point. When filling out your permit application, you’ll have to determine your desired beginning trailhead. The JMT can only be directly accessed from the following trailheads out of Yosemite:
- Happy Isles -This is the official start and most sought-after beginning trailhead. The first couple of days, you’ll have a big climb out of Yosemite Valley, but you’ll also get to see some classic Yosemite landmarks (Nevada and Vernal Falls) and have the opportunity to summit Half Dome (remember to check the box on your application for separate Half Dome permits). Of the 45 wilderness permits issued a day for exiting the Yosemite National Park via Donohue Pass, 15 are available for the Happy Isles to Past LYV trailhead. Make sure you select: Happy Isles->Past LYV (Donohue Pass Eligible) on your permit applications
- Lyell Canyon (Tuolumne Meadows) – Maybe you have already visited Yosemite and all the sights in the valley. If so, this may be a good option for you as the trailhead begins in Tuolumne Meadows, which is a little quieter than Yosemite Valley. Your first day of hiking will be relatively flat as you make your way to Upper Lyell Canyon. There are camping restrictions for the first 4 miles after Tuolumne Meadows, so you’ll need to plan for this on your first day. Yosemite National Park only issues wilderness permits valid for exiting Yosemite via the John Muir Trail over Donohue Pass for up to 45 people per day. Of the 45 permits issued a day for JMT hikers exiting the park via Donohue Pass, 30 are available for using the Lyell Canyon trailhead. Make sure you select: Lyell Canyon (Donohue Pass Eligible) on your permit application.
Ending Trailhead – For southbound trekkers, the classic end of the trail is Whitney Portal, which is 10.6 miles from the summit of Mt. Whitney. Don’t forget to grab a burger and beer at Whitney Portal to celebrate!
Hiking the JMT Northbound?
Though most people choose to hike the John Muir Trail from north to south, some thru-hikers opt for a northbound hike. Hiking north means you’ll begin with an intense climb to Whitney and then gradually decrease in altitude as you hike toward Yosemite. Contrary to popular belief, it is just as competitive to get northbound JMT permits as southbound.
To hike northbound, you’ll access the trail from Whitney Portal. Be prepared—your first couple of days will be intense. The total climb from Whitney Portal (8,374 feet) to the Whitney Summit (14,505 feet) involves an unrelenting set of switchbacks that climbs 6,131 feet in just 11 miles. Because of this, many choose to break up the climb over two days.
First Night Camp Options – To break up the climb of the Mount Whitney Trail, you can spend your first night at Outpost Camp, 3.8 miles in, or Trail Camp at 6.3 miles. Many northbound trekkers prefer Trail Camp for its incredible views, though temperatures can dip below freezing, and it can be windy. Outpost Camp offers better weather protection and a chance to start acclimating to the high elevation you’ll encounter along the JMT. The tree canopy here also provides wind relief, plenty of campsites, and water. Around mile 8.8, you have the choice to either do the out-and-back side trip to summit Whitney (you definitely should) or continue on the JMT as it descends west towards Guitar Lake, which is a great (yet busy) place to camp as well.
How to Apply for Northbound Permits
Just like southbound permits, permits originating from Whitney Portal are issued via lottery on recreation.gov. All permit applications are submitted in the same timeframe, and all applications are processed through the same lottery after that timeframe.
For northbound trips, submit your application to the lottery from February 1 to March 1. Around March 15, the lottery results will be announced online at recreation.gov via your profile. If there are any remaining permits (for any dates), they become available online on April 22 at 7 AM PDT. You must accept or confirm your approved permit by April 21, or you lose it.
If you have any questions, call the Inyo National Forest Wilderness Permit office at (760) 873-2483.
Transportation to Trailheads
If you’re hiking the JMT in the peak months of July, August, and early September, getting to and from trailheads is relatively easy. Outside of the peak summer season, transportation options can be more limited and costly. Below we’ll outline everything you need to know to get to and from your trailheads.
Airports
If you’re arriving by plane for your JMT hike, there’s a good system of transportation in place to get you from the airport to your starting trailhead. Below are the most common airports people fly into.
- Mammoth Lakes Airport – The closest and most convenient airport to the John Muir Trail. If you’re flying into Mammoth, it’s easy and affordable to use YARTS to get to Yosemite Valley to begin your hike
- Fresno or Merced Airports – Both of these airports are convenient as they’re connected to the Yosemite Valley via YARTS
- Reno Nevada Airport – Flying into the Reno Airport is often the cheapest route, though your transportation options after that are a bit more involved. After you land, you can catch the Eastern Sierra Transit to Lee Vining, Mammoth Lakes, or Lone Pine, CA. From Lee Vining or Mammoth Lakes, transfer to YARTS to make a connection to Yosemite Valley
By Car
Long-term parking is available at both ends of the John Muir Trail at either Whitney Portal or the overnight lots near Curry Village and Tuolumne Meadows in Yosemite. In our opinion, the easiest option is to drive yourself to where you plan to exit the trail and take public transportation to your beginning trailhead. For example, you can park a car at the Whitney Portal trailhead and take public transportation or a shuttle to Yosemite Valley (more on that below).
The concept of “hiking back to your car” rather than parking where you start is generally the most convenient option because your beginning date is set, and you can arrange transportation accordingly. Parking your car where you start can be logistically more complicated because it’s difficult to estimate your exact exit date and public transportation reservations can fill up quickly in peak season. It’s not impossible – it’ll just require more flexibility and patience.
If you want to enter Yosemite National Park before your entry date, you will need to secure an entrance reservation. Booking a campground, a different wilderness permit, or a vehicle reservation will grant you entry to the park.
Public Transport Options
For those needing transportation, there’s a remarkably effective public transit system in place to make it convenient and affordable for JMT hikers to get to and from trailheads. The two services you’ll likely use are the Eastern Sierra Transit (EST) and Yosemite Area Regional Transit (YARTS). You do not need to make a vehicle reservation if entering Yosemite via public transportation.
The Eastern Sierra Transit (map above) offers transportation between Reno, Mammoth Lakes, Lone Pine, and other JMT trailhead communities. If you parked a car at Whitney Portal, you’ll still need to get to Lone Pine (about a 20-minute drive) to catch the EST bus. You can either press your luck and hitchhike (not the best idea if you’re short on time) or arrange a ride. A reliable option is East Side Sierra Shuttle, which offers rides from Whitney Portal to Lone Pine for $65 for the 1st person and $20 for each additional person.
After you get to Lone Pine, your best option is to take the YARTS from Lone Pine to Mammoth Lakes. Reservations are recommended, especially during peak season.
Once you arrive in Mammoth Lakes, you’ll transfer to the YARTS green line (see map below), which will take you right into Yosemite Valley. Additionally, if you arrive by air, the YARTS system is a great option because it connects to airports in Mammoth Lakes, Fresno, and Merced. Reservations are recommended, especially during peak season.
By Train
If you’re looking for a relaxing, traffic-free, and beautiful way to get to Yosemite, you can travel by Amtrak from the San Francisco, Oakland, or Sacramento area. You’ll take the train to Merced, CA where you’ll transfer to YARTS, which takes you directly into Yosemite Valley.
Private Shuttle Options
A variety of private shuttle companies, like East Side Sierra Shuttle, can be reserved and arranged for pickups and drop-offs for common JMT access points on the east side. Shuttles like this are generally the most costly options, but they’re also the most direct and expedient way to get around. If you’re hiking very early or very late in the season, a private shuttle may be your only option.
Planning Your Itinerary
So you scored your JMT permit, congrats! Let the real planning begin.
Your next step will be to determine your itinerary. Most people take about three weeks to complete the JMT, with many averaging around 10-12 miles a day. That said, very fit and experienced hikers may cover 15-17 miles a day. Hiking in the Sierras is no joke, so we recommend overestimating your time on the trail. You can always get off the trail early, but you cannot be on the trail after your exit date. Your plan should take into consideration your ability, personal preferences, hiking style, and pre-trip training.
We also recommend building a few zero days (no hiking) into your itinerary. Your body will thank you later. It’s often rumbled on the trail that the person who takes the longest is the winner. You were able to snag a permit, so why rush through it?
A Sample JMT Itinerary
Below is a sample itinerary for those looking to complete the trail in 22 days. Many people begin the hike with lower mileage while they gain their “trail legs”, increasing strength and stamina along the way. Desired daily mileage, physical fitness, and personal preference will dictate your actual itinerary, but you can use this as a point of reference.
- Day 1 – Happy Isles to Sunrise Creek 7.8 miles
- Day 2 – Lower Cathedral Lake 9.7 miles
- Day 3 – Tuolumne Meadow 7.1 miles
- Day 4 – Tarn Below Donahue Pass 10.9 miles
- Day 5 – Garnet Lake 11.1 miles
- Day 6 – Red’s Meadow 12.4 miles
- Day 7 – Red’s Meadow 0 (overnight)
- Day 8 – Lake Virginia 16.3 miles
- Day 9 – Just Past Bridge 12.6 miles
- Day 10 – Marie Lake 11.5 miles
- Day 11 – Muir Trail Ranch 7.5 miles
- Day 12 – Muir Trail Ranch 0 (camp for the night)
- Day 13 – Near Ranger Station in McClure Meadow 11.8
- Day 14 – Medium Lake 13.1 miles
- Day 15 – Deer Meadow 12.2 miles
- Day 16 – Taboose Pass Junction 15.3 miles
- Day 17 – Middle Rae Lake 16 miles
- Day 18 – Near Glenn Pass (Center Basin Creek) 10 miles
- Day 19 – Near Forester Pass (Wright Creek) 12.8 miles
- Day 20 – Guitar Lake 7.3 Miles
- Day 21 – Whitney Zone (Outpost Camp) 9.8 miles
- Day 22 – Whitney Portal 3.8 miles
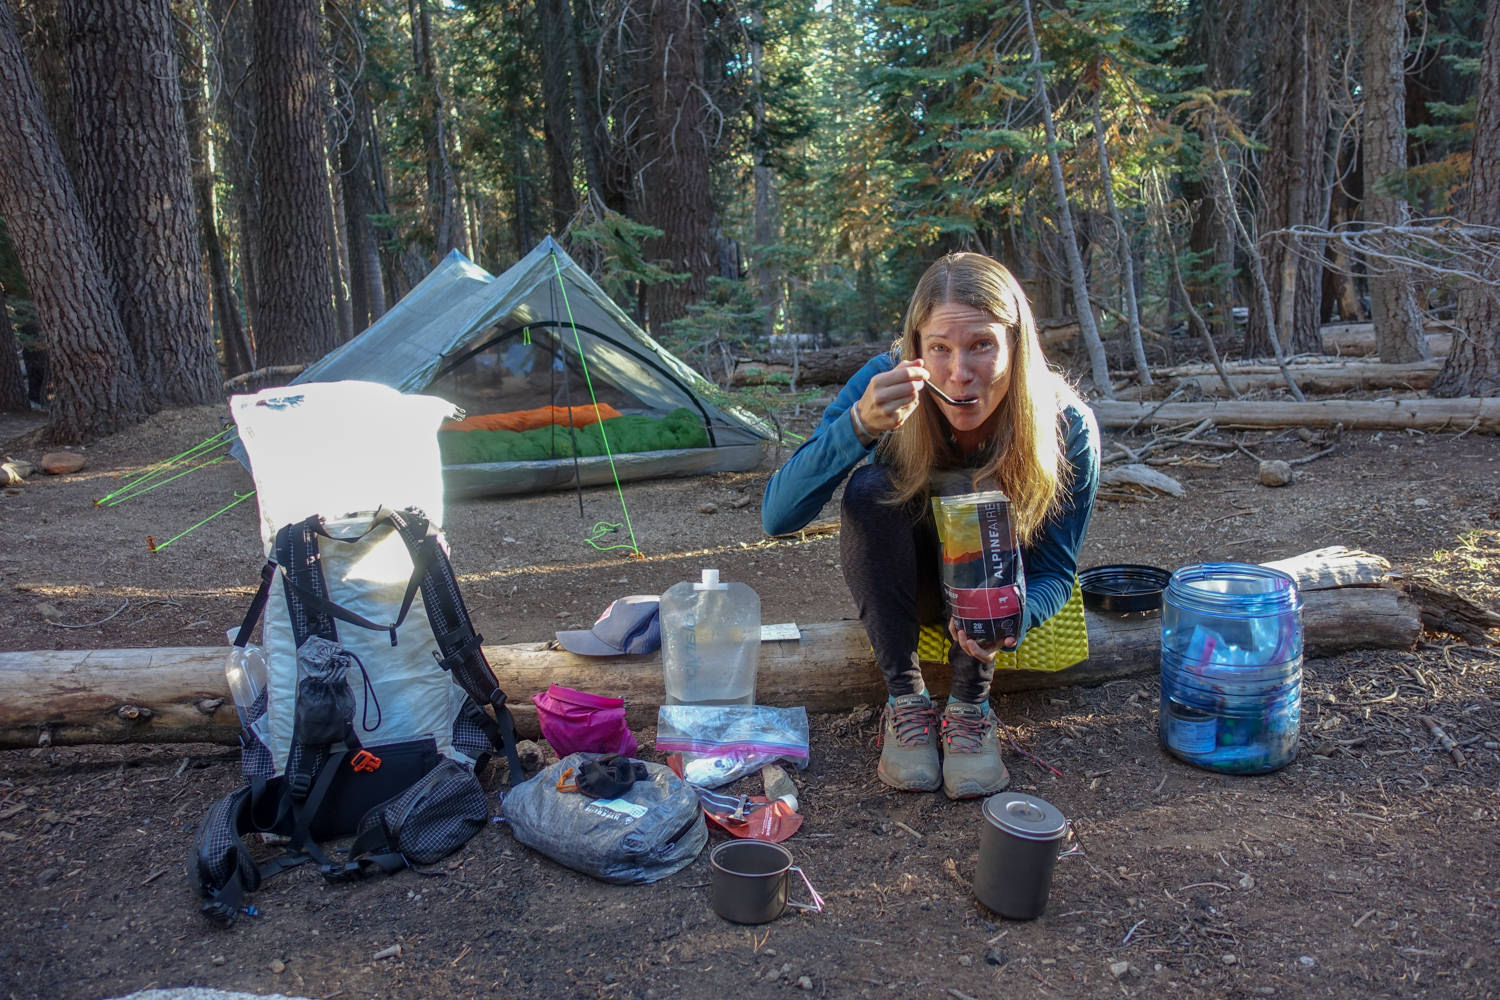
What Food Should I Pack?
Hiking the JMT is hard, calorie-gobbling work. You’ll need a ton of calories to sustain your energy and health.
That said, food is also an area where people tend to overpack and weigh themselves down. It’s critically important that each item you pack be calorically dense and lightweight. You’ll be resupplying several times along the route (more on that below), but you’ll still be carrying up to five or six days of food in each stretch, so create your food plan thoughtfully.
It’s important to consider not only weight but also the bulk of your food on your JMT hike. You’ll have to fit all of your food into a bear canister, so you’ll want to avoid food that’s too voluminous, like bagels or bags of chips. We recommend repackaging your food into lightweight zip-loc bags to cut down on bulk.
You’ll need to plan for one breakfast, one lunch, one dinner, and snacks for each day on the trail. The best way to get organized with your food is to take over a room and make a pile for each day’s food. You can then easily see if you have enough calories in each day and begin packing your resupply buckets/boxes.
We suggest checking out our Lightweight Backpacking Food Guide as you prepare your backpacking food. Lightweight meal options such as freeze-dried meals, mashed potatoes, couscous, and other easily rehydrated foods are common on the trail. We recommend packing calorically dense foods such as chocolate, olive oil, peanut butter, and nuts to supplement your meals. Remember, variety is key in your food plan – you don’t want to be four days into your hike and regret your resupply choices.
Resupply Points
Because you’ll be on the John Muir Trail for 2-3 weeks, you won’t be able to carry all your food in your pack. You’ll need to stop and resupply several times along the trail; most people resupply 3-4 times.
Generally speaking, you resupply by mailing boxes or 5-gallon buckets ahead of time to either a post office or a predetermined store/hotel. Hiring a resupply service, buying products at small stores (such as Red’s Meadows), or getting a ride into a nearby town are also common options. If your resupply plan involves mailing packages, you need to ship them at least three weeks ahead of your intended pickup date. Some of these resupply points are horse-packing your buckets, so please read their information pages thoroughly. Some of these locations will have “hiker boxes,” places where thru-hikers donate their unopened extra food supplies that they don’t want to carry. It isn’t something to depend on, but we met someone who didn’t send their resupply early enough and arrived before their resupply was delivered, and this was a lifesaver.
We’ve outlined the most common resupply points for southbound hikers beginning their hike from Happy Isles in Yosemite Valley. If you’re a northbound hiker, these points still apply, just in reverse order.
Tuolumne Meadows Store (mile 24)
The first resupply point for many southbounders who begin their hike in Yosemite Valley is at the well-stocked Tuolumne Meadows Store. It’s set up to serve JMT travelers and is open once the first hikers hit the trail. While many people pick up a pre-sent package here, grab a meal, or buy resupply food from the store, there is another option as well. If your transportation logistics allow and you’re parking a car at the terminus and traveling northbound to begin your hike, you can drop a sealed and labeled resupply box off in the hiker’s box near the Ranger’s Station or at the TM Store (recommended).
Though a resupply at mile 24 may seem silly, the climb out of the Yosemite Valley is intense, especially if you opt to climb Half Dome. Every pound off your back matters. You’ll be passing through Tuolumne Meadows anyway, so if you can logistically swing it, why not?
If you’re hiking early or late in the season, we recommend calling the store (209-372-8428) to check hours and options. The Tuolumne Meadows Post Office is located in the same building as the store and grill. It can be reached at 209-372-8236. They’ll hold your package for no charge. If you’re sending a resupply package, mail packages to:
- Your Name c/o General Delivery/Tuolumne Meadows/Yosemite National Park, CA 95389/Arriving By: ETA
Red’s Meadow Resort (mile 60)
Only 1/4 mile off the JMT, the Red’s Meadow Resort is a logical place to stop for your second resupply. You have the option of mailing a package here for a small fee, or there’s also a small store with limited food options, paid showers, lodging, a backpacker’s campground, and the Mule House Cafe, which serves up breakfast, lunch, and dinner. If you’re hiking early or late in the season, we recommend calling them (760-934-2345) to check availability. If you’re sending a resupply, mail packages to:
- Your Name c/o Red’s Meadow Resort/PO Box 365/Mammoth Lakes, CA 93546/Arriving By: ETA

Mammoth Lakes (mile 60)
Another option at Red’s Meadow is to take a short bus ride into the city of Mammoth Lakes to resupply. Most people choose to do this if they’ve planned to take a zero day (a day off hiking) at this point in their trip. A bus runs regularly from Red’s Meadow Resort to Mammoth Lakes during peak season, where you can shop at full-blown supermarkets, dine at a variety of restaurants, take a night off in a hotel, or replenish gear at the shops. There’s also a post office in town that will hold your shipped package for free, though most people choose to resupply at a supermarket in town. If you plan on sending a resupply package to the Mammoth Lakes Post Office, mail the package here:
- Your Name c/o General Delivery/Mammoth Lakes, CA 93546
Vermillion Valley Resort (mile 88)
Though a slight detour off the trail, Vermillion Valley Resort (affectionately known as VVR on the trail) was one of our favorite resupply spots along the way. They’re incredibly hiker-friendly and offer thru-hikers a free beer upon arrival. Many people who are planning on resupplying at Muir Trail Ranch forgo this stop because of the off-trail mileage and inconvenience.
VVR is located at the west end of Lake Edison. To get to VVR, you’ll first need to hike the 1.5 mile detour from the JMT to get to the boat launch area on the east side of the lake. Here you have a choice to either take a boat shuttle for a small fee (recommended) or hike the 4.5 miles to VVR. A variety of lodging options, showers, restrooms, and laundry are available. They have a full-service restaurant with great food. The resort holds boxes for a fee and allows thru-hikers to camp free in a small campground outside the restaurant. You can reach VVR at 559-259-4000 or visit their website for full resupply directions. If you’re planning on mailing a resupply package to VVR, don’t use the United States Postal Service (USPS) – it will be returned. VVR is serious when it says to use UPS only. Ship UPS package to:
- Your Name/Vermillion Valley Resort c/o Rancheria Garage/62311 Huntington Lake, CA 93634
*According to VVR, this address IS correct; however, the UPS will say that it is not. Please have the UPS clerk override the system with this address. It WILL get delivered to this address.
Muir Trail Ranch (mile 110)
Located near the halfway point – 110 miles from Happy Isles – and only two miles off the trail, Muir Trail Ranch will hold mailed resupply packages for a fee. The Ranch also has a small sundry shop (matches, lighters, batteries, postcards), a restaurant, rooms for rent, and hot springs to soak in.
We recommend visiting their resupply page for instructions on sending a resupply package(it is specific). Contact the ranch by email at [email protected]. There is no phone at the ranch, and their business office phone is only connected from October through May. They do close down earlier than most resupply spots along the trail, so it’s important to contact them for hard and fast closing dates prior to your hike. If you plan on sending a resupply package to Muir Trail Ranch, mail package here:
- Your Name/Muir Trail Ranch/PO Box 176/Lakeshore CA, 93634/Arriving By: ETA
Kearsarge Pass to Onion Valley (mile 180)
While resupply points along the first half of the JMT are plentiful and convenient, things change a bit after Muir Trail Ranch. You have to make the decision before you begin your hike to either carry all your food from Muir Trail Ranch to Whitney Portal (mile 110 to 220) or to break up this stretch and resupply in Onion Valley. We only recommend the first option for fast and light hikers who are able to complete the final stretch in 6-7 days max.
Though resupplying in Onion Valley comes with some inconveniences and extra mileage, for many, it’s the only option. For those hiking late in the year when resupply points such as Muir Trail Ranch are closed, this may be your only option unless you carry all your food from VVR to the end, which would be a very long haul.
Resupplying at Onion Valley adds an additional 14 miles roundtrip and will require you to climb over a small mountain pass on the way. Though additional mileage is a drag, the trail is quite beautiful as you pass Bullfrog Lake, Kearsarge Lakes, and Kearsarge Pass. If you haven’t prearranged a ride from Onion Valley trailhead, you’ll most likely have to hitchhike into Independence, which is a very small town (a couple gas stations and a few small shops).
Many people using Onion Valley as a resupply, either plan to pick up a resupply package at the post office or have arranged some sort of resupply with Mt. Williamson Motel and Base Camp, which will hold boxes or buckets for a $75 fee for those without a reservation. They also offer a complete and super convenient resupply package ($290 for one hiker, $390 for two) which includes a ride to and from the Onion Valley Campground, one night lodging, breakfast, laundry, receiving and holding your resupply package, and some other fun perks. Contact the friendly and super helpful woman named Strider at 760-878-2121 to arrange your resupply.
If you plan to ship a resupply package to the Independence Post Office, send your bucket/box to the address below. If you have any questions, you can contact them at 760-878-2210.
- Your Name c/o General Delivery/Independence Post Office/Independence, CA 935
Resources, Maps, & Guidebooks
As you begin planning your thru-hike, you’ll find there is no shortage of resources and guides on how to hike the John Muir Trail. The list below contains some of the resources we feel are most helpful in pre-trip planning as well as on-trail maps and guides.
- FarOut App – Almost everyone you run into on the JMT will have the FarOut App downloaded to their phone. It’s a great GPS resource that’s user-updated to give on-trail information regarding water sources, campsites, and other helpful trail info. It also tells you information such as mileage until the next campsite or location. Be careful – there are some campsites listed on the app that violate wilderness regulations and LNT guidelines.
- National Geographic John Muir Trail Topographic Map – This 48-page pamphlet-style map is an excellent on-trail resource. It’s waterproof, tear-resistant, and provides important information on mileage, water sources, resupply locations, campsites, and much more. We used it every single day and thought it was an incredible resource.
- John Muir Trail: The Essential Guide to Hiking America’s Most Famous Trail – (Wilderness Press) – Some people love this book, while others aren’t so smitten (too much detail, too heavy to hike with, and too small font). But it’s very complete and up-to-date on everything but permitting.
- John Muir Trail Data Book (Wilderness Press) – This edition is designed for weight-conscious trekkers. On-the-trail information, including custom-made topo maps, elevation profiles, data tables, and labeled panoramas from prominent passes. Also includes trail junctions, nearly 300 campsites, ranger stations, food-storage lockers, and lateral trails accessing the JMT.
- South-to-North Edition of The John Muir Trail: The Essential Guide to Hiking America’s Most Famous Trail (Wilderness Press) – If you’re determined to hike the trail from south to north, this is your book.
- John Muir Trail Pocket Hiking Atlas by Erik the Black – This packable resource shows detailed daily navigation topo maps, side trail info, resupply info, transit and permit guidance, GPS waypoints and distances between points, and cumulative mileage and elevation.
- PCTA Resource– Part of the JMT runs along the Pacific Crest Trail. There are some good tips on this page.
Water
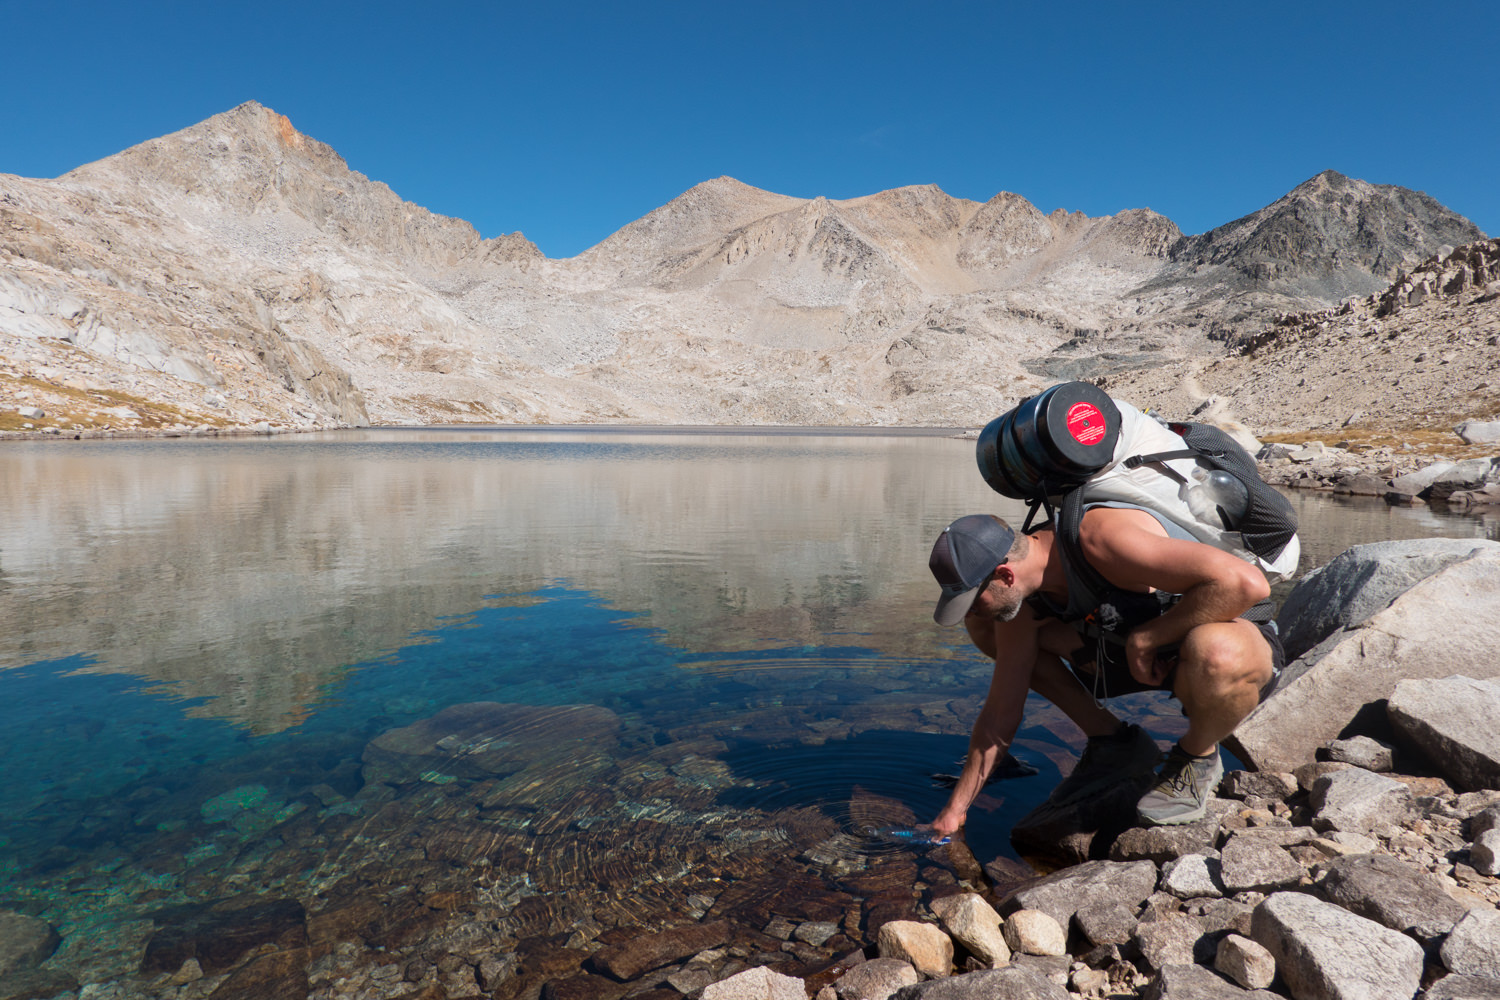
In general, water sources along the JMT are plentiful – it’s rare you’ll hike more than a couple hours without hitting one. That said, late fall can be one of the drier times to hike due to lack of precipitation and dwindling snowfields. Always check your map for water sources, consult with fellow hikers, or use the FarOut app for updates on current conditions. If you’re using the National Geographic JMT Map, it labels known waterless stretches, such as the section from Guitar Lake to Whitney Trail Camp, and will indicate where you need to fill up. As a rule of thumb, it’s pretty common to hike with no more than two liters at any given time along the JMT.
Though many of the water sources you’ll find on the route run clear and appear free of sediment, you’ll still want to filter your water. We used the SteriPEN Ultra as our main purification method on the JMT. It’s lightweight, works fast, and doesn’t require any pumping, squeezing, or chemicals. If using a Steripen, it’s a good idea to bring a small and lightweight power bank such as the Miady Mini power bank to make sure you always have a backup charge. Another very popular and affordable option is the Sawyer Squeeze Micro.
In addition to our main filtering method, we typically backpack with chlorine dioxide pills as a backup if our main filtration system malfunctions, clogs, breaks, or loses battery. Check out our list of best water filters for our other top recommendations.
Bears & Food Storage
Since Yosemite, Sequoia, and Kings Canyon National Parks require the use of approved bear-proof food storage systems, bears are no longer the problem they were back in the 80s and 90s. In fact, the USFS says human-bear interactions are increasingly few and far between. Bears have learned that backpackers no longer mean easy access to food. That said, it’s critically important you use proper food storage to ensure human-bear interactions remain minimal. Unfortunately, if a bear becomes accustomed to human waste/food, they will be put down; be vigilant so that they may live!
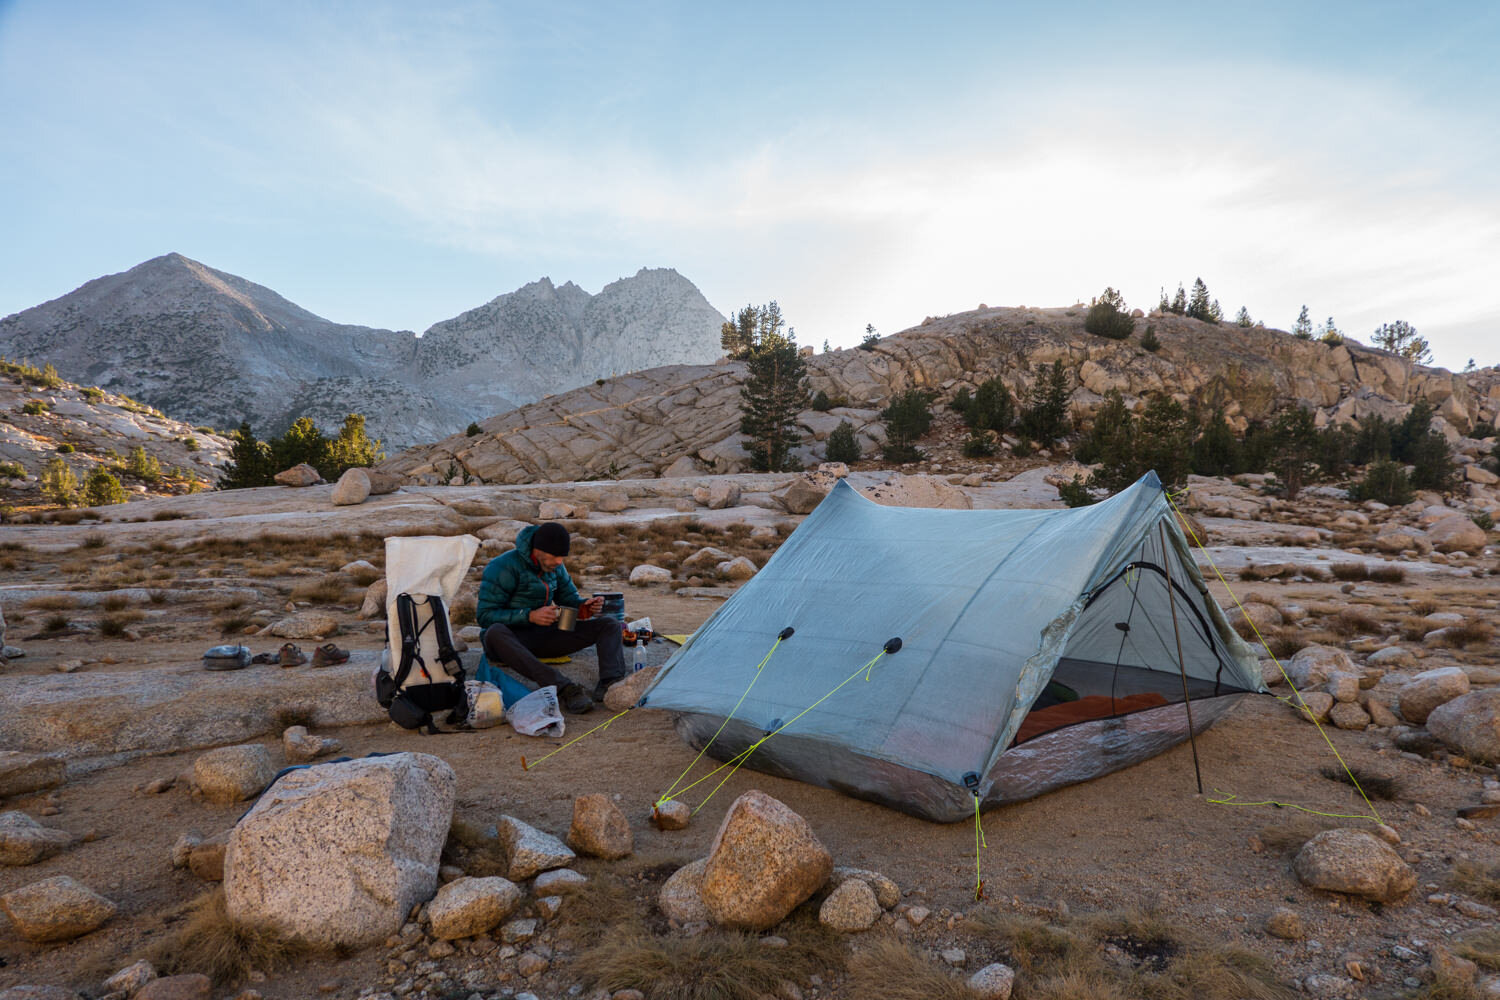
All JMT hikers must carry and store their food and scented items (toiletries, trash, etc) in an approved bear canister for the entire route. We used the Bear Vault BV500 and it was a great size for our resupplies. At night, simply place your locked bear canister 100 feet away from your campsite. Avoid placing it near rivers, lakes, or cliffs. Though most people store bear canisters inside their backpacks while hiking, we found it convenient and comfortable to strap them to the top of our backpacks (just be careful with any food you don’t want to melt. Like chocolate. Mmm.).
Bugs
Mosquitoes and black flies love the John Muir Trail just as much as we do. They can be pretty vicious, especially in July and August. By September, most bugs have dissipated, making it a nice time to hike. The parts of the trail that can be hit the hardest are typically Tuolumne Meadows to Edison Lake, and the Rush Creek drainage.
We recommend using a combination of permethrin on your clothing and bringing a small bottle of DEET or Picardin Lotion (our choice) for exposed skin to provide full protection.
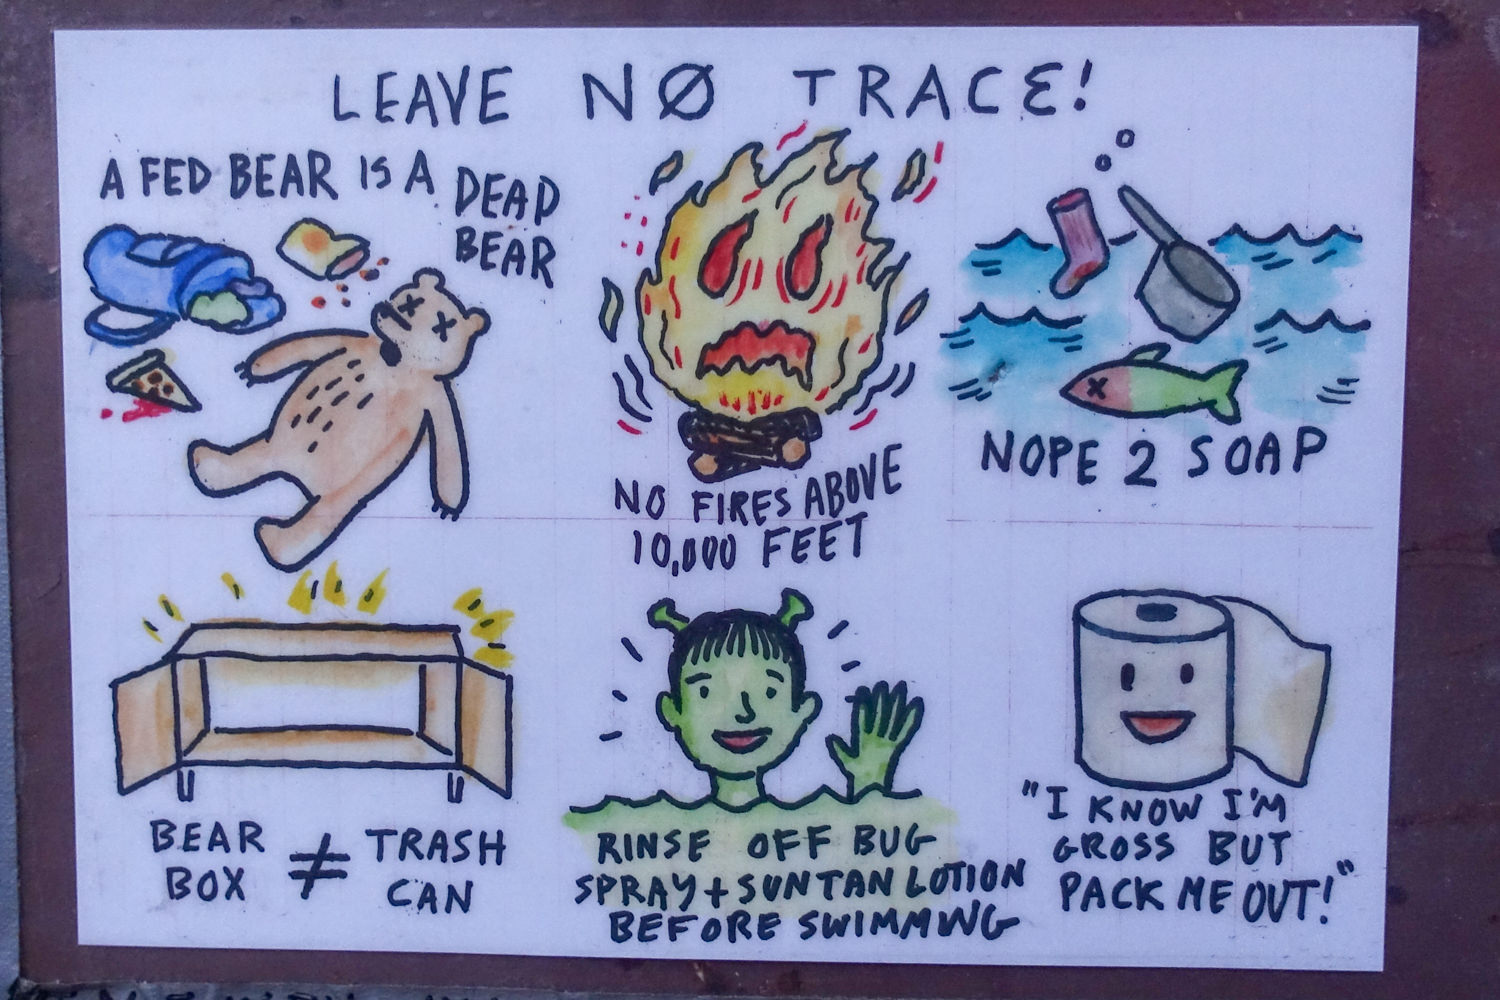
Leave No Trace
As with any outdoor space, preventing and minimizing human impact is crucial to the health of our wilderness. Individually, you may think that your fire, shallow cathole, or food scraps in the river aren’t going to harm an ecosystem, but there’s a large cumulative impact.
We share this space with tens of thousands of people hiking along the JMT corridor every year, and we all need to do our part to protect this spectacular trail. We recommend brushing up on Leave No Trace guidelines before you head out on the trail.
Gear List
Make sure to check out our Ultimate Backpacking Checklist, so you don’t forget something important.
Below you’ll find our current favorite backpacking gear. If you want to see additional options, our curated gear guides are the result of many years of extensive research and hands-on testing by our team of outdoor experts.
BACKPACK
- Best Backpacking Pack Overall: Gregory Paragon 58 – Men’s / Gregory Maven 58 – Women’s
- Best Ultralight Backpacking Backpack: Hyperlite Mountain Gear Unbound 40
- More: Check out our best backpacking backpacks guide for ultralight and trekking options
TENT
- Best Backpacking Tent Overall: Big Agnes Copper Spur HV UL2
- Best Ultralight Tent: Zpacks Duplex
- Best Budget Tent: REI Half Dome 2
- Best Tent Stakes Overall: All One Tech Aluminum Stakes
- More: Check out our best backpacking tents guide for more options
SLEEPING BAG/QUILT
- Best Sleeping Bag Overall: Men’s Feathered Friends Swallow YF 20 / Women’s Feathered Friends Egret YF 20
- Best Quilt Overall: Enlightened Equipment Revelation 20
- More: Check out our best backpacking sleeping bags guide and best backpacking quilts guide for more options
SLEEPING PAD
- Best Sleeping Pad Overall: NEMO Tensor All-Season
- Best Foam Sleeping Pad: NEMO Switchback
- More: Check out our best backpacking sleeping pads guide for ultralight and trekking options
CAMP KITCHEN
- Best Backpacking Stove Overall: MSR PocketRocket 2
- Best Backpacking Cookware Overall: TOAKS Titanium 750ml
- Best Backpacking Coffee Overall: Starbucks VIA
- More: Check out our best backpacking stoves guide and best backpacking cookware guide for ultralight and large group options
WATER & FILTRATION
- Best Water Filter Overall: Sawyer Squeeze
- Best Hydration Bladder Overall: Gregory 3D Hydro
- Best Backpacking Water Bottles: Smartwater Bottles
- More: Check out our best backpacking water filters guide and best backpacking water bottles guide for ultralight and large group options
CLOTHING
- Best Hiking Pants Overall: Men’s Outdoor Research Ferrosi / Women’s The North Face Aphrodite 2.0
- Best Hiking Shorts Overall: Men’s Patagonia Quandary / Women’s Outdoor Research Ferrosi
- Best Women’s Hiking Leggings: Fjallraven Abisko Trekking Tights HD
- Best Rain Jacket Overall: Men’s Patagonia Torrentshell 3L / Women’s Patagonia Torrentshell 3L
- Best Rain Pants: Men’s Patagonia Torrentshell 3L / Women’s Patagonia Torrentshell 3L
- Best Down Jacket Overall: Men’s Patagonia Down Sweater Hoodie / Women’s Patagonia Down Sweater Hoodie
- Best Fleece Jacket Overall: Men’s Patagonia Better Sweater / Women’s Patagonia Better Sweater
- Best Sunshirt Overall: Men’s Outdoor Research Echo / Women’s Outdoor Research Echo
- Best Socks Overall: Men’s Darn Tough Light Hiker Micro Crew / Women’s Darn Tough Light Hiker Micro Crew
- Beste Ultralight Liner Glove: Patagonia Capilene Midweight Liner
- More: Check out our best backpacking apparel lists for more options
FOOTWEAR & TRACTION
- Best Hiking Shoes Overall: Men’s HOKA Speedgoat 6 / Women’s HOKA Speedgoat 6
- Best Hiking Boots Overall: Men’s Salomon X Ultra 5 GTX / Women’s Lowa Renegade Evo GTX
- Best Hiking Sandals Overall: Men’s Chaco Z/1 Classic / Women’s Chaco Z/1 Classic
- Best Camp Shoes Overall: Crocs Classic Clogs
- Best Traction Device for Hiking Overall: Kahtoola MICROspikes
- More: Check out our best backpacking footwear lists for more options
NAVIGATION
- Best GPS Watch Overall: Garmin Instinct 2 Solar
- Best Personal Locator Beacon (PLB): Garmin inReach Mini 2
- More: Check out our article How to Use Your Phone as a GPS Device for Backpacking & Hiking to learn more
FOOD
FIRST-AID & TOOLS
- Best First-Aid Kit Overall: Adventure Medical Kits Ultralight/Watertight .7
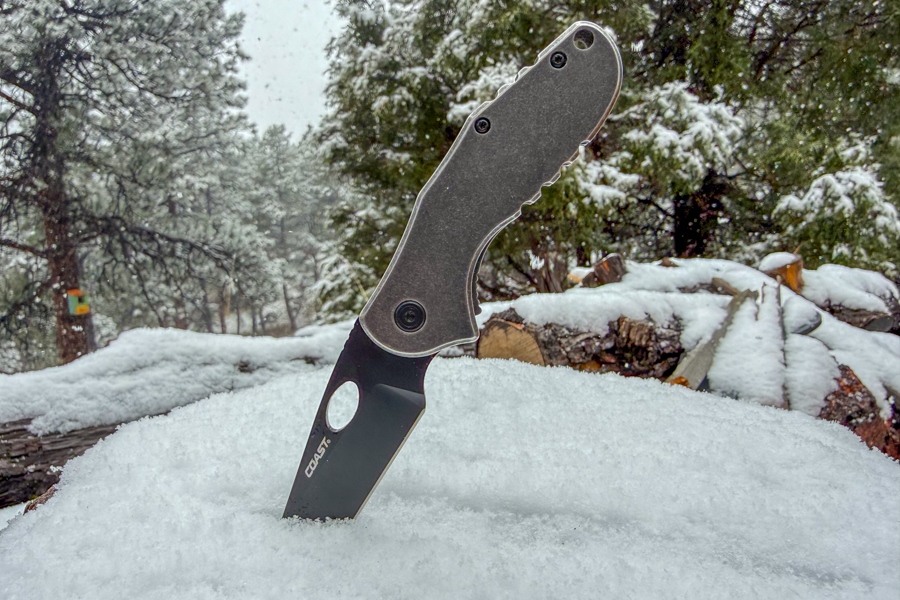
- Best Pocket Knife Overall: Kershaw Leek
- Best Multitool Overall: Leatherman Wave+
- Best Headlamp Overall: Black Diamond Spot 400-R
- Best Power Bank Overall: Nitecore NB 10000 Gen 3
- More: Check out our best first-aid kit guide, best pocket knife guide, best multitool guide, best backpacking headlamps guide, and best power banks guide for more options
MISCELLANEOUS
- Best Trekking Poles Overall: Black Diamond Pursuit
- Best Backpacking Chair Overall: REI Flexlite Air
- Best Backpacking Stuff Sack Overall: Hyperlite Mountain Gear Drawstring
- More: Check out our best trekking poles guide, best backpacking chairs guide, and best stuff sacks guide for more options
The JMT is incredibly beautiful but also incredibly challenging. For this reason, it’s critically important to keep your backpack weight to an absolute minimum. For even more recommendations, check out our guide on lightweight backpacking gear.
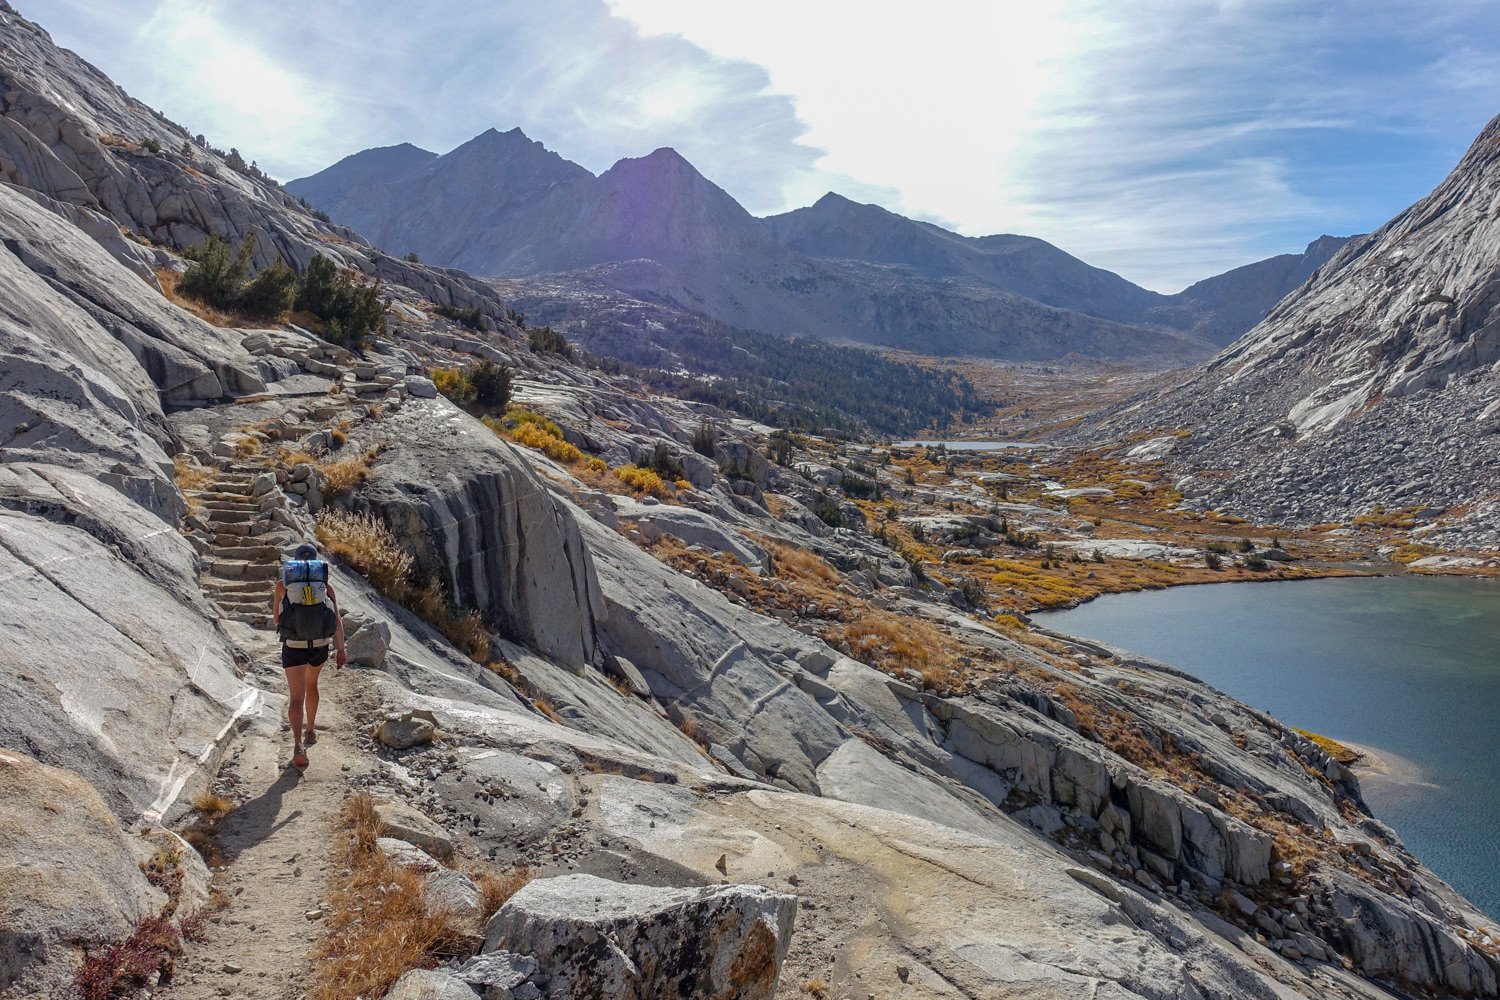
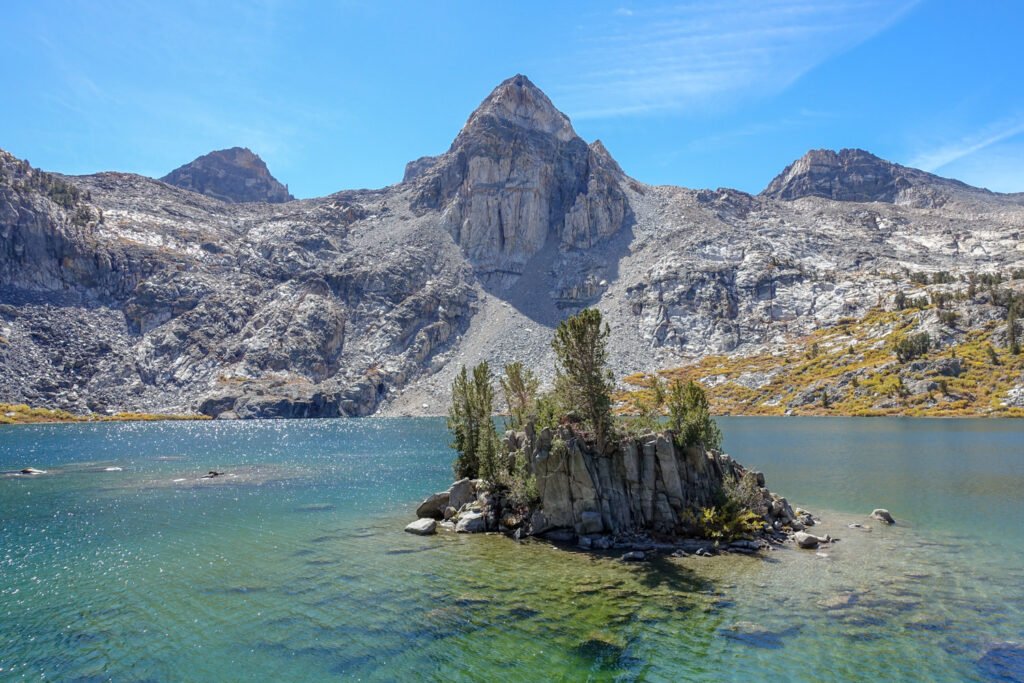
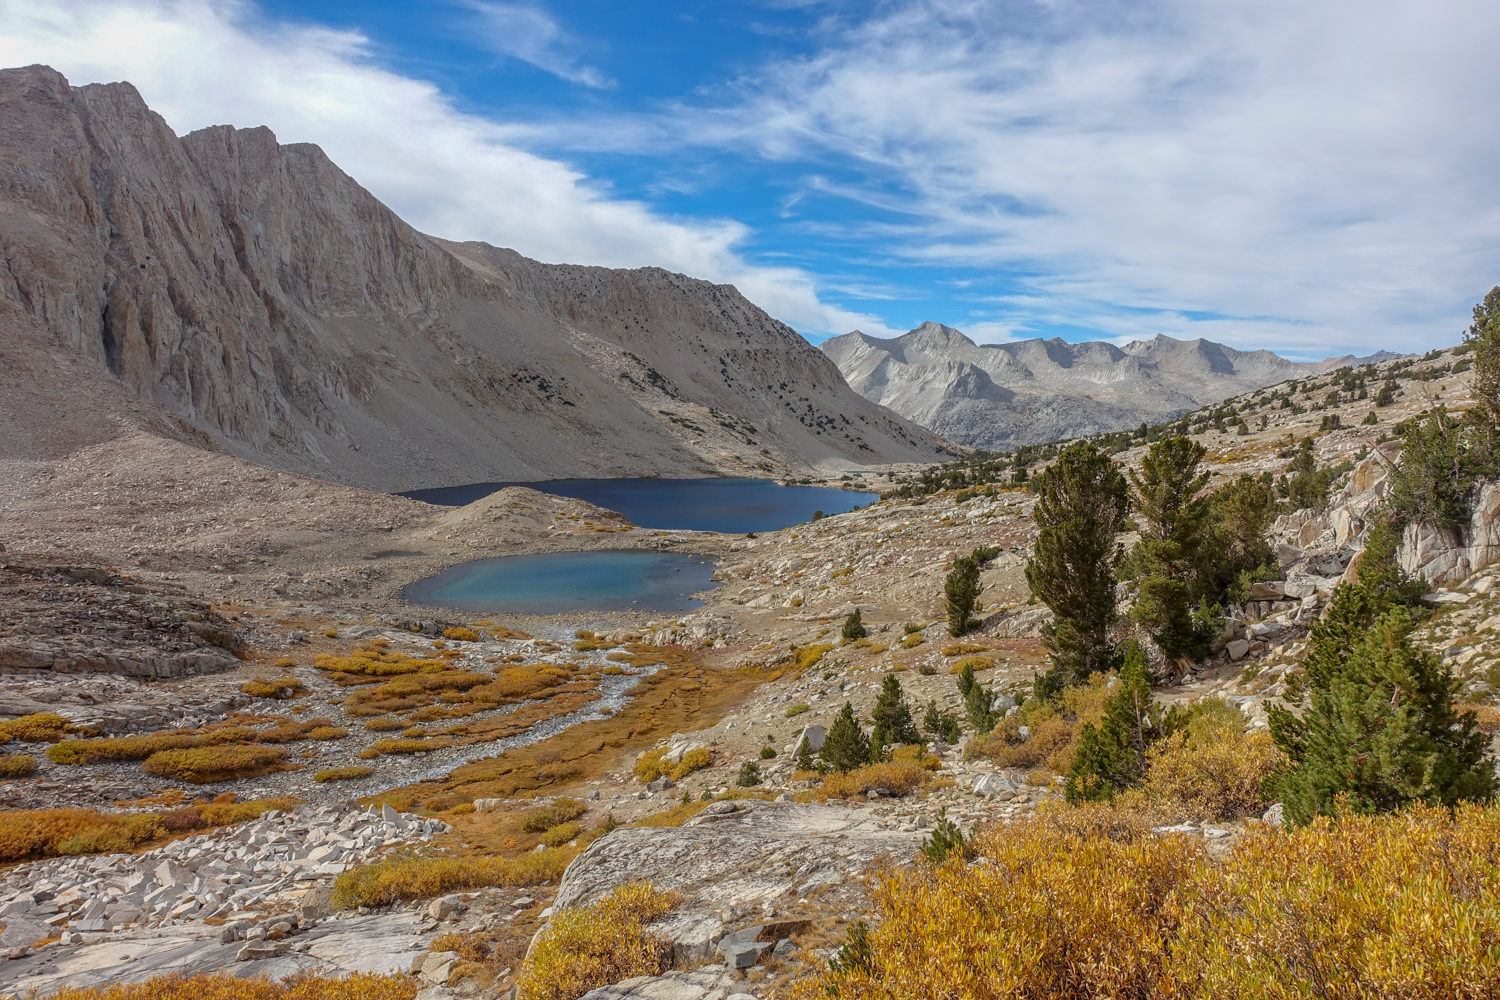
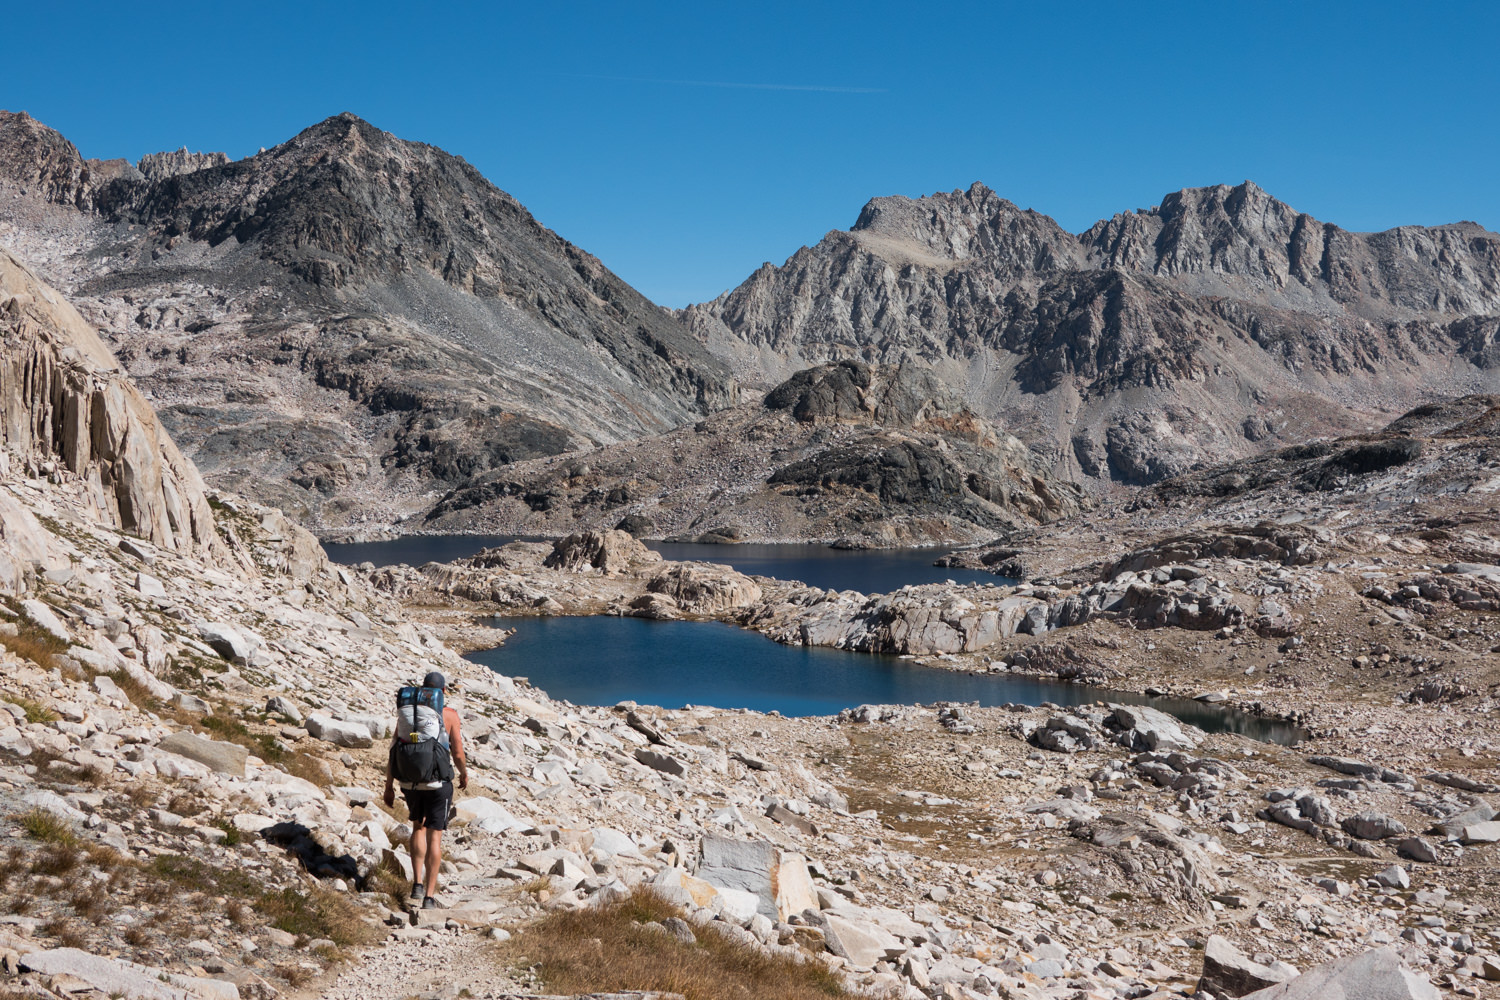
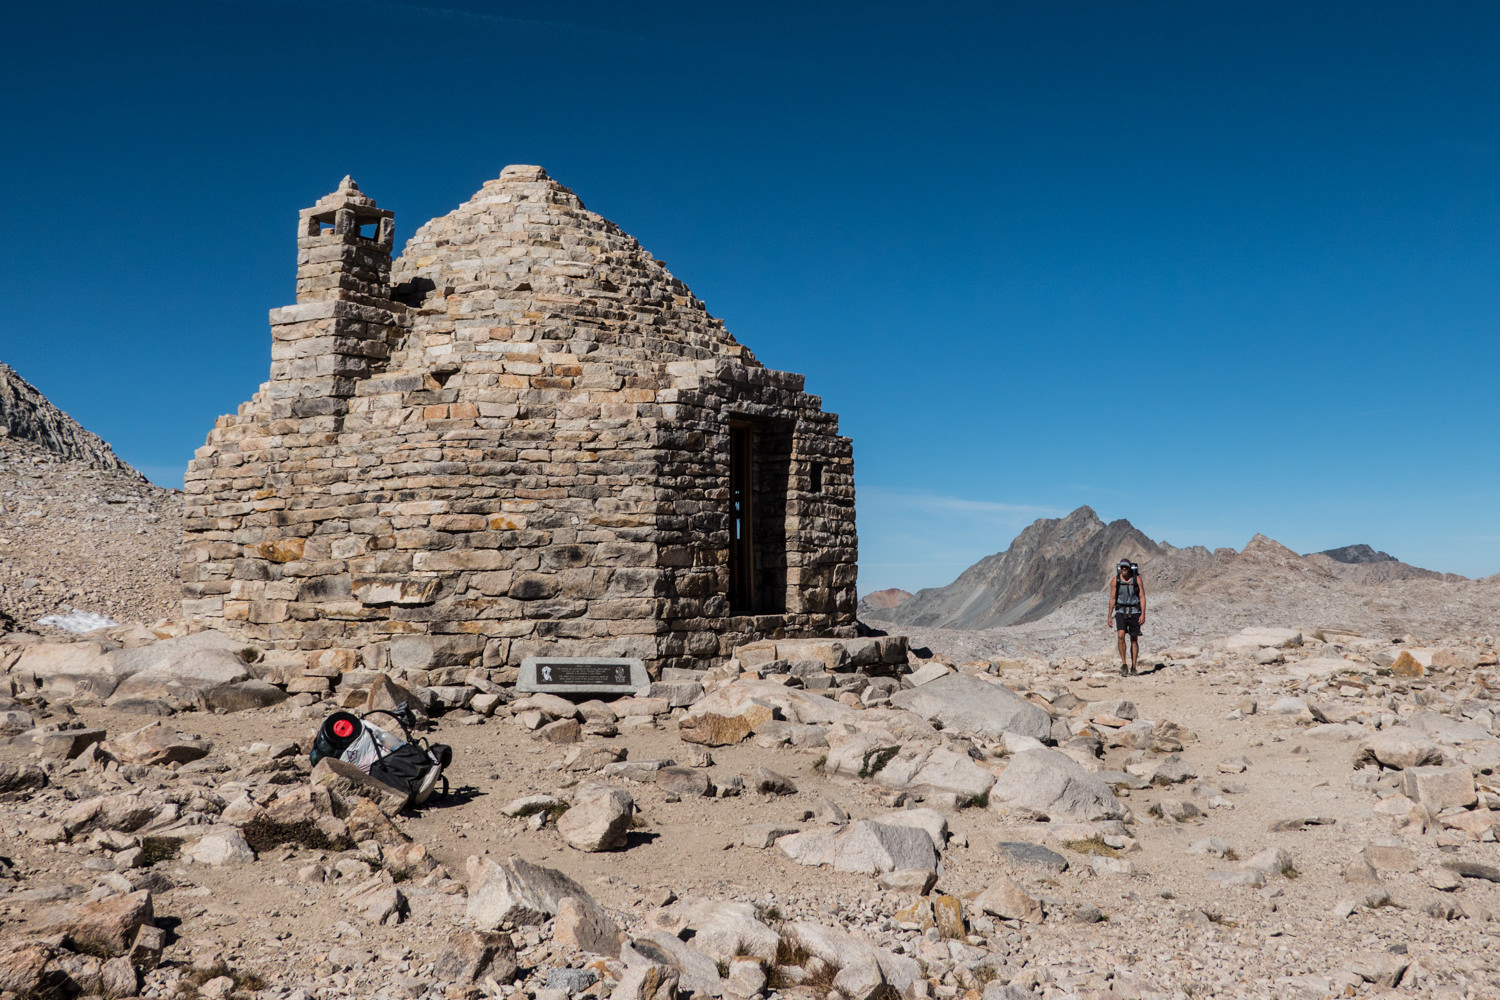
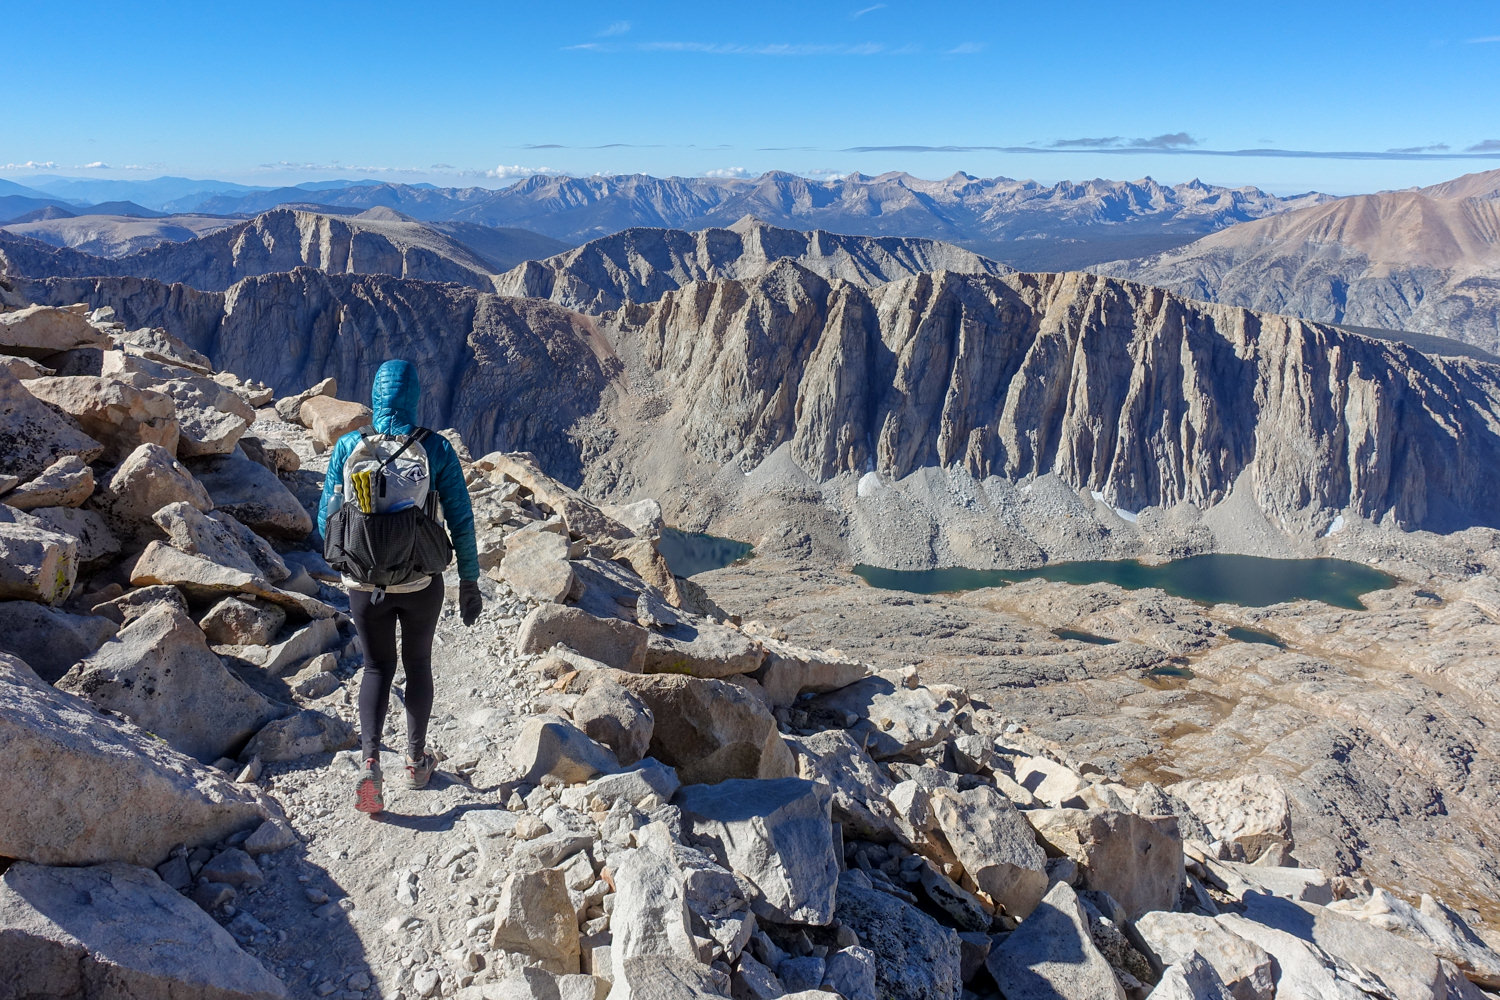
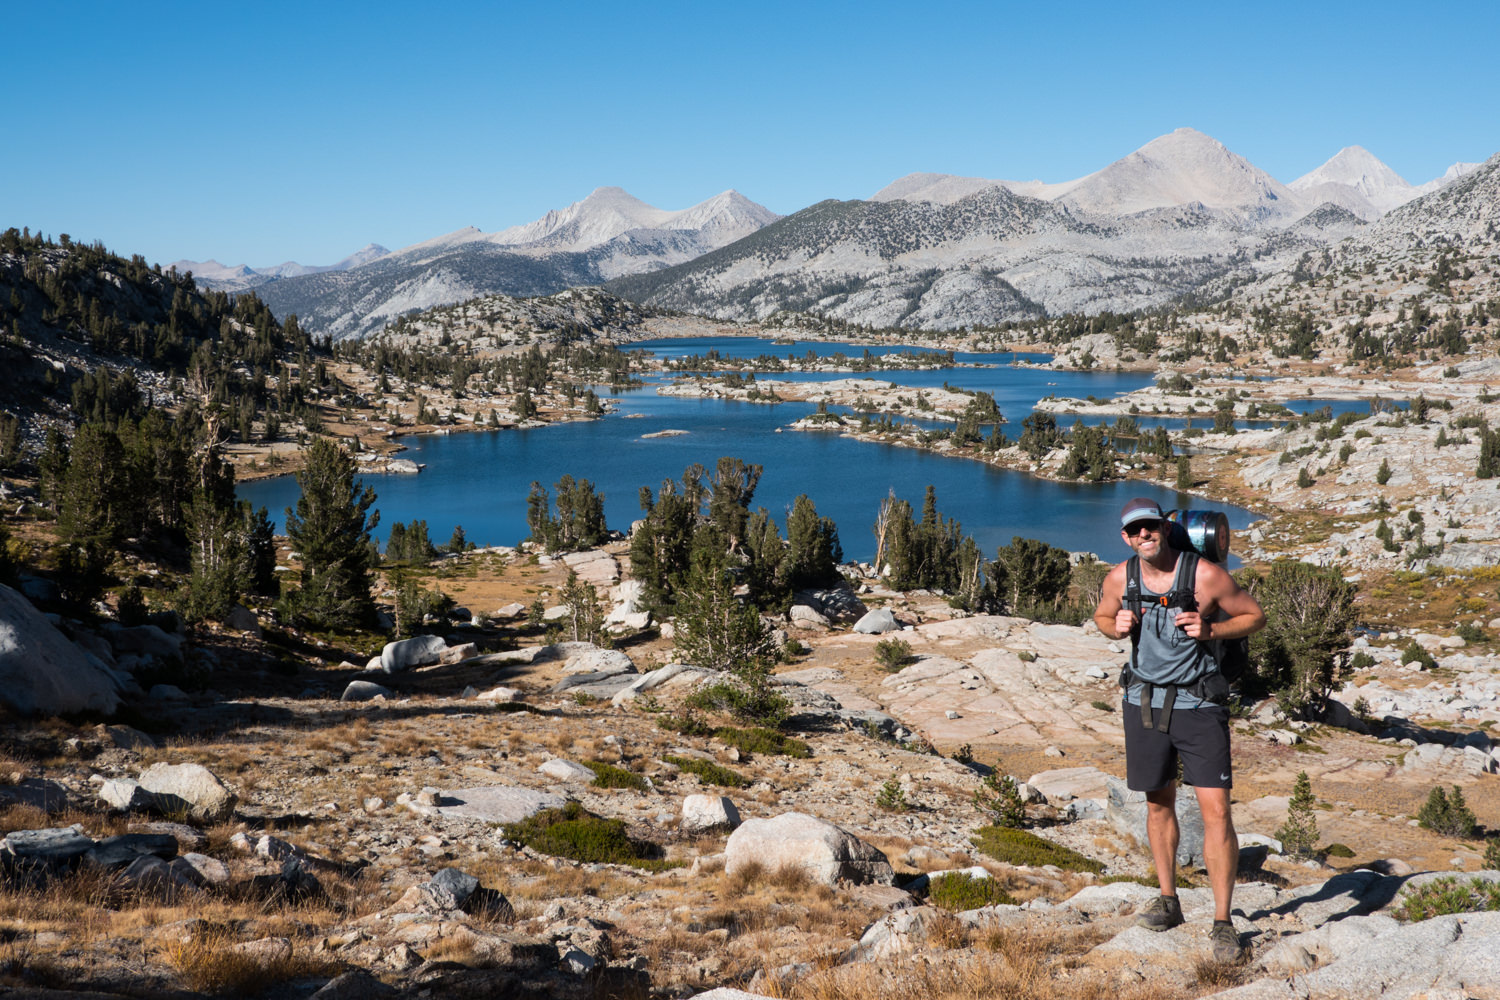
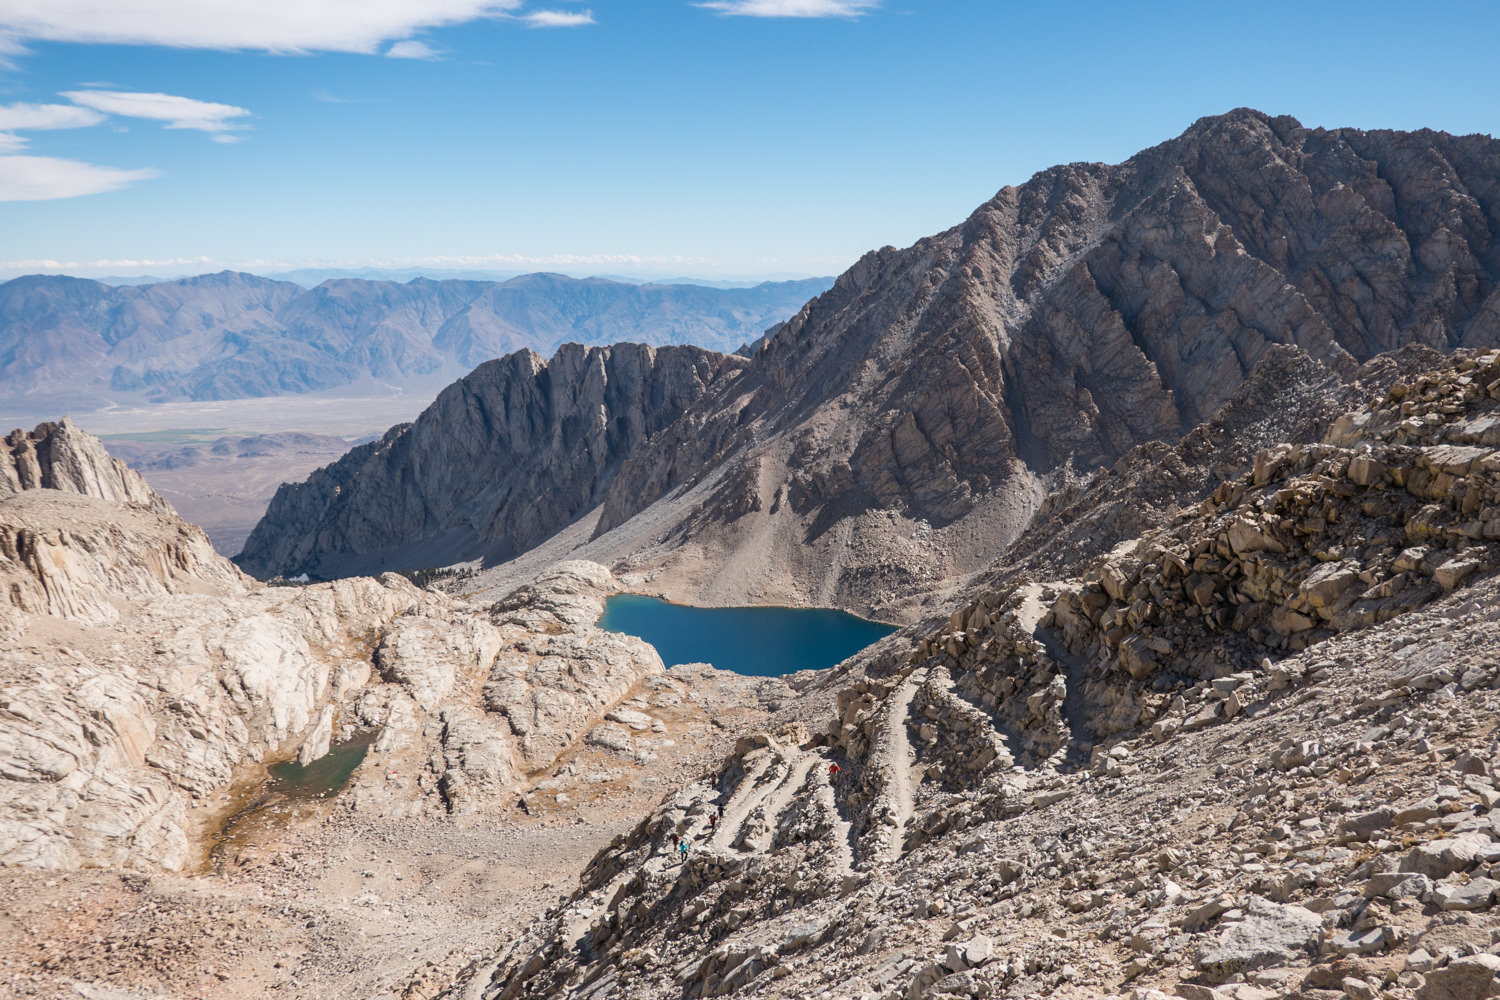
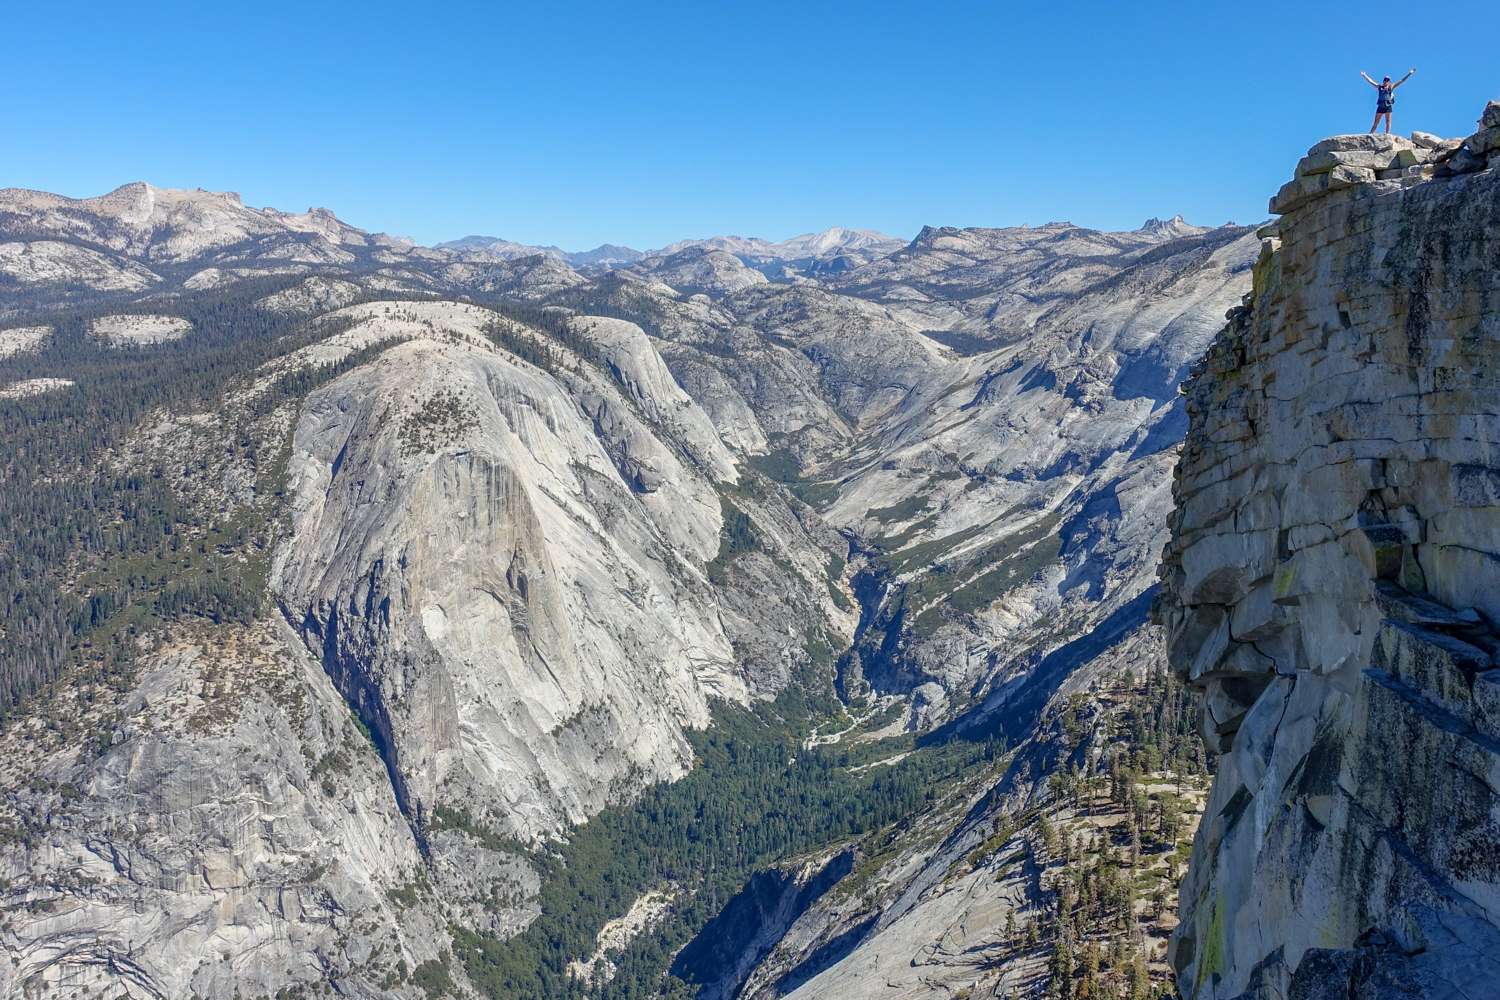
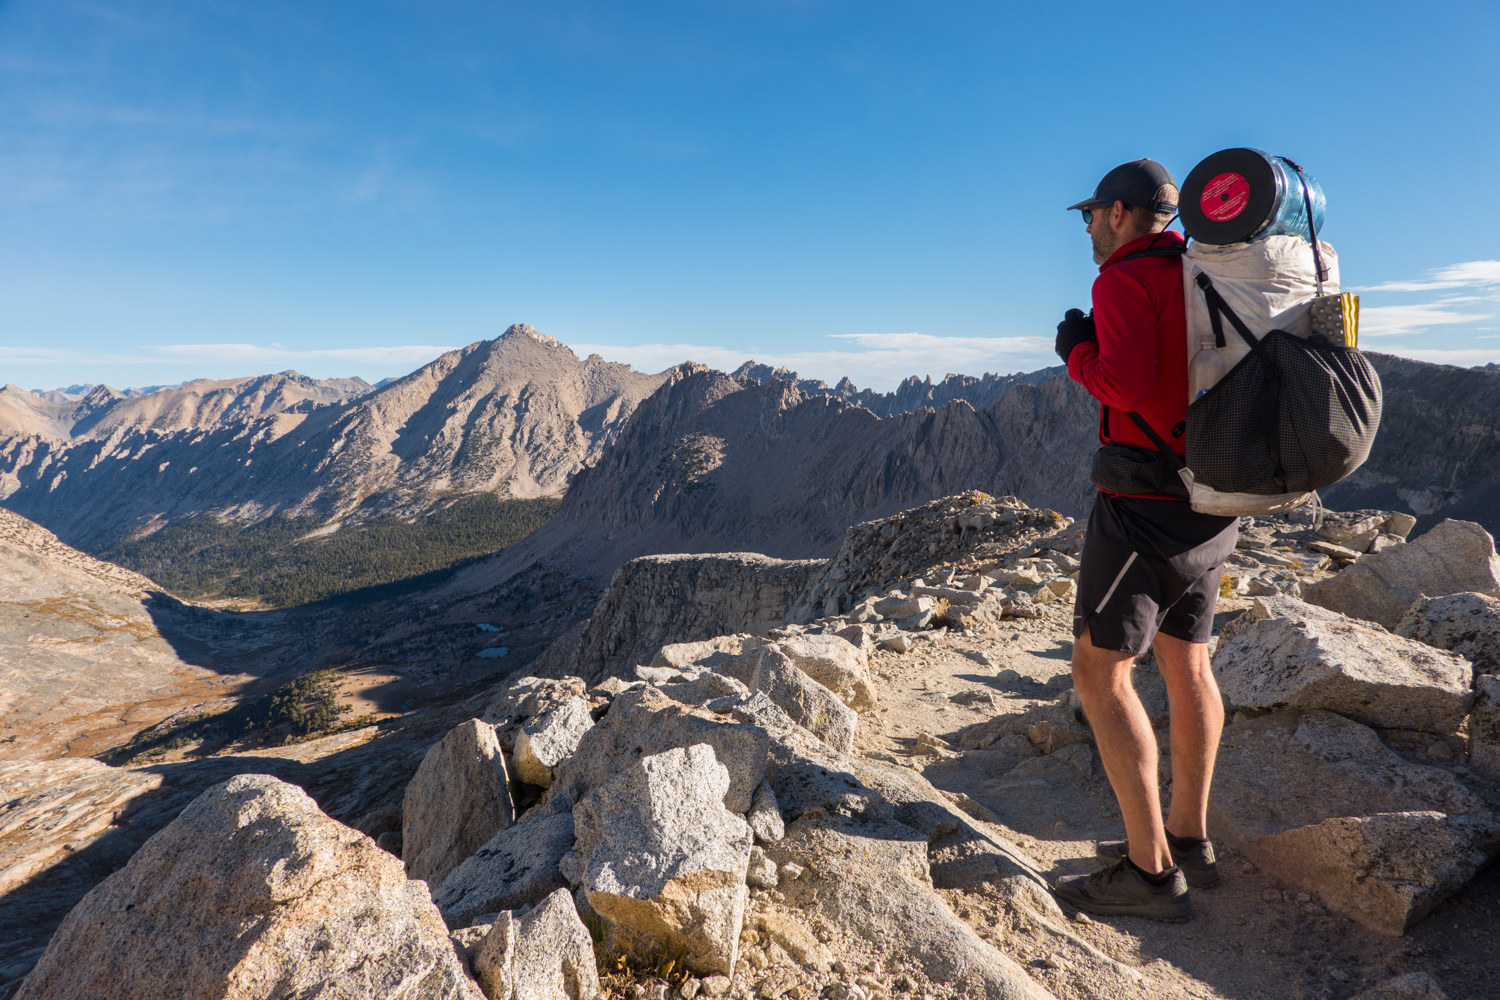
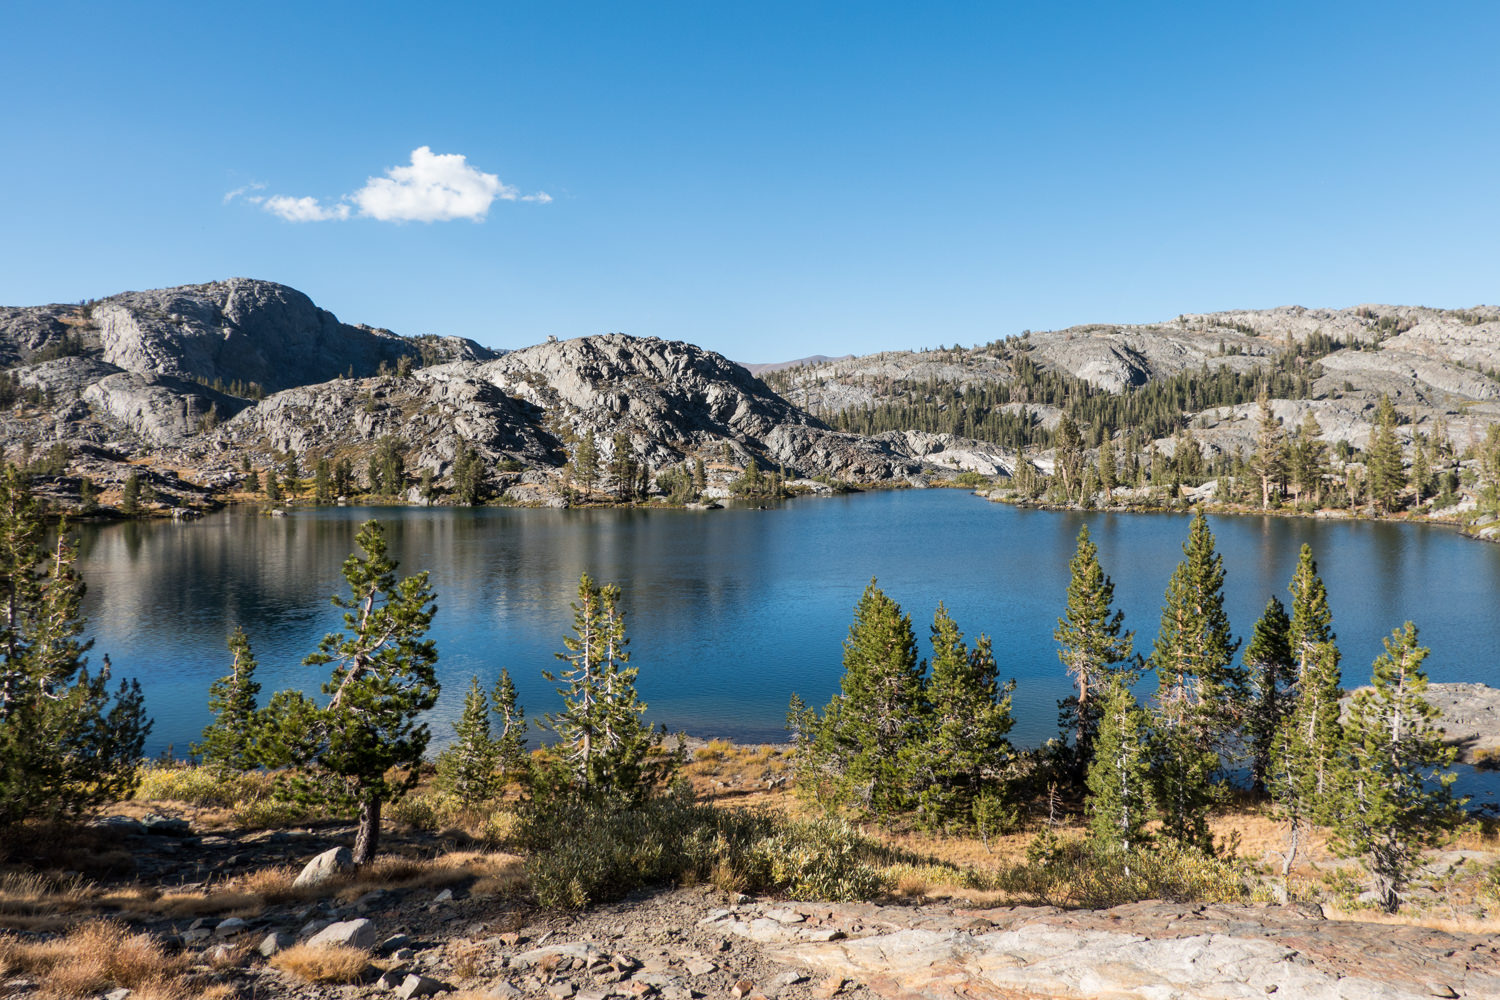
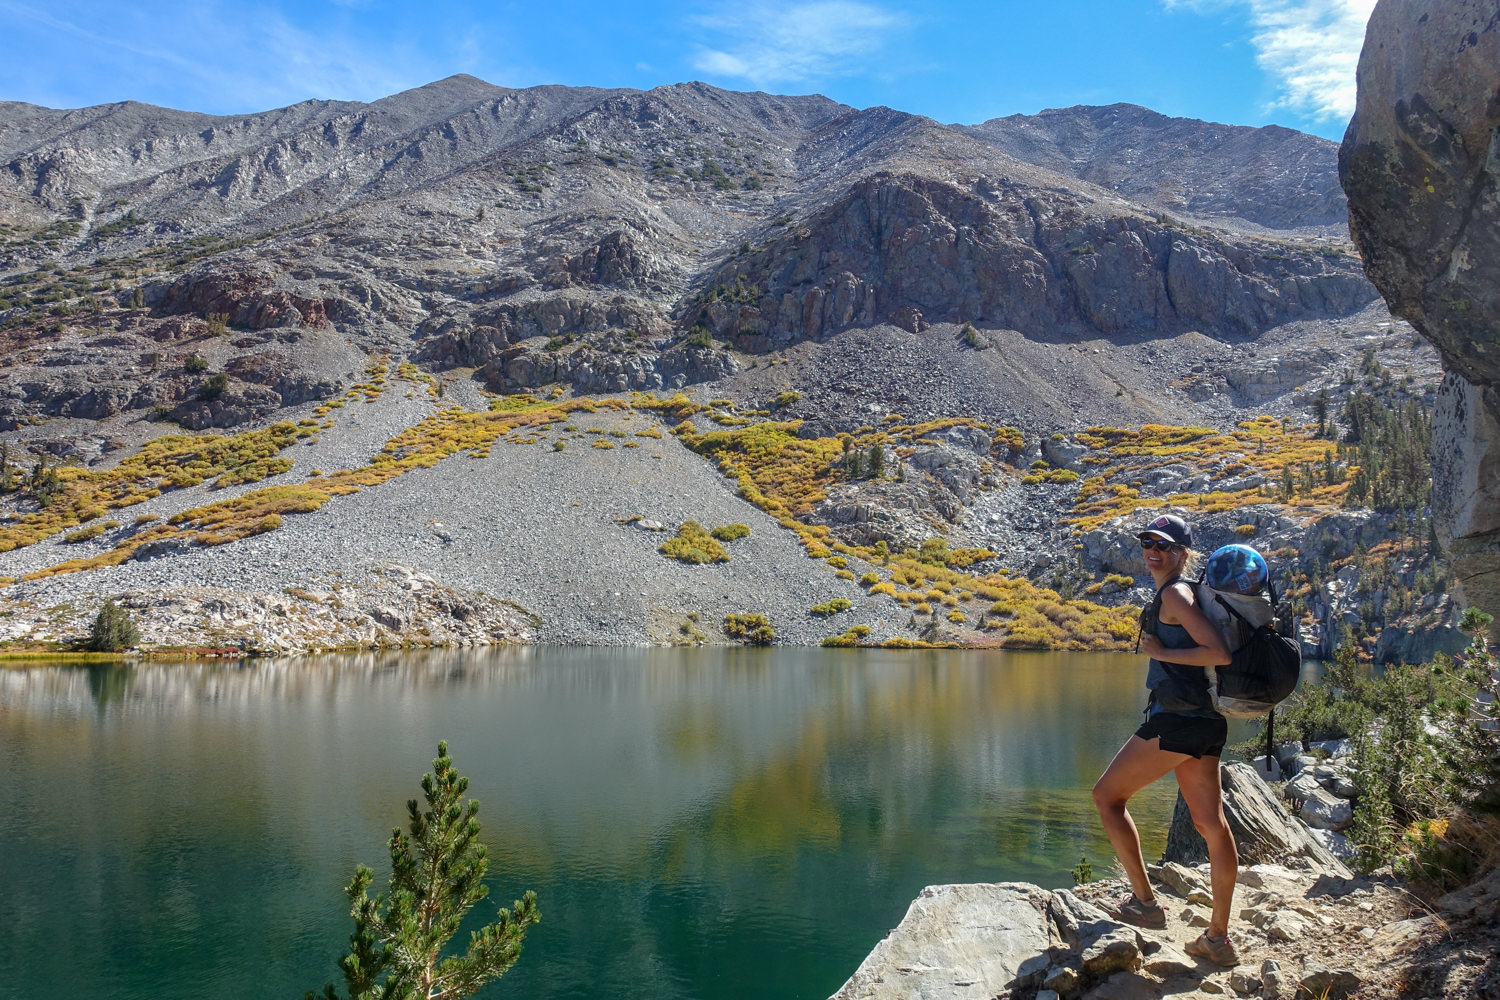
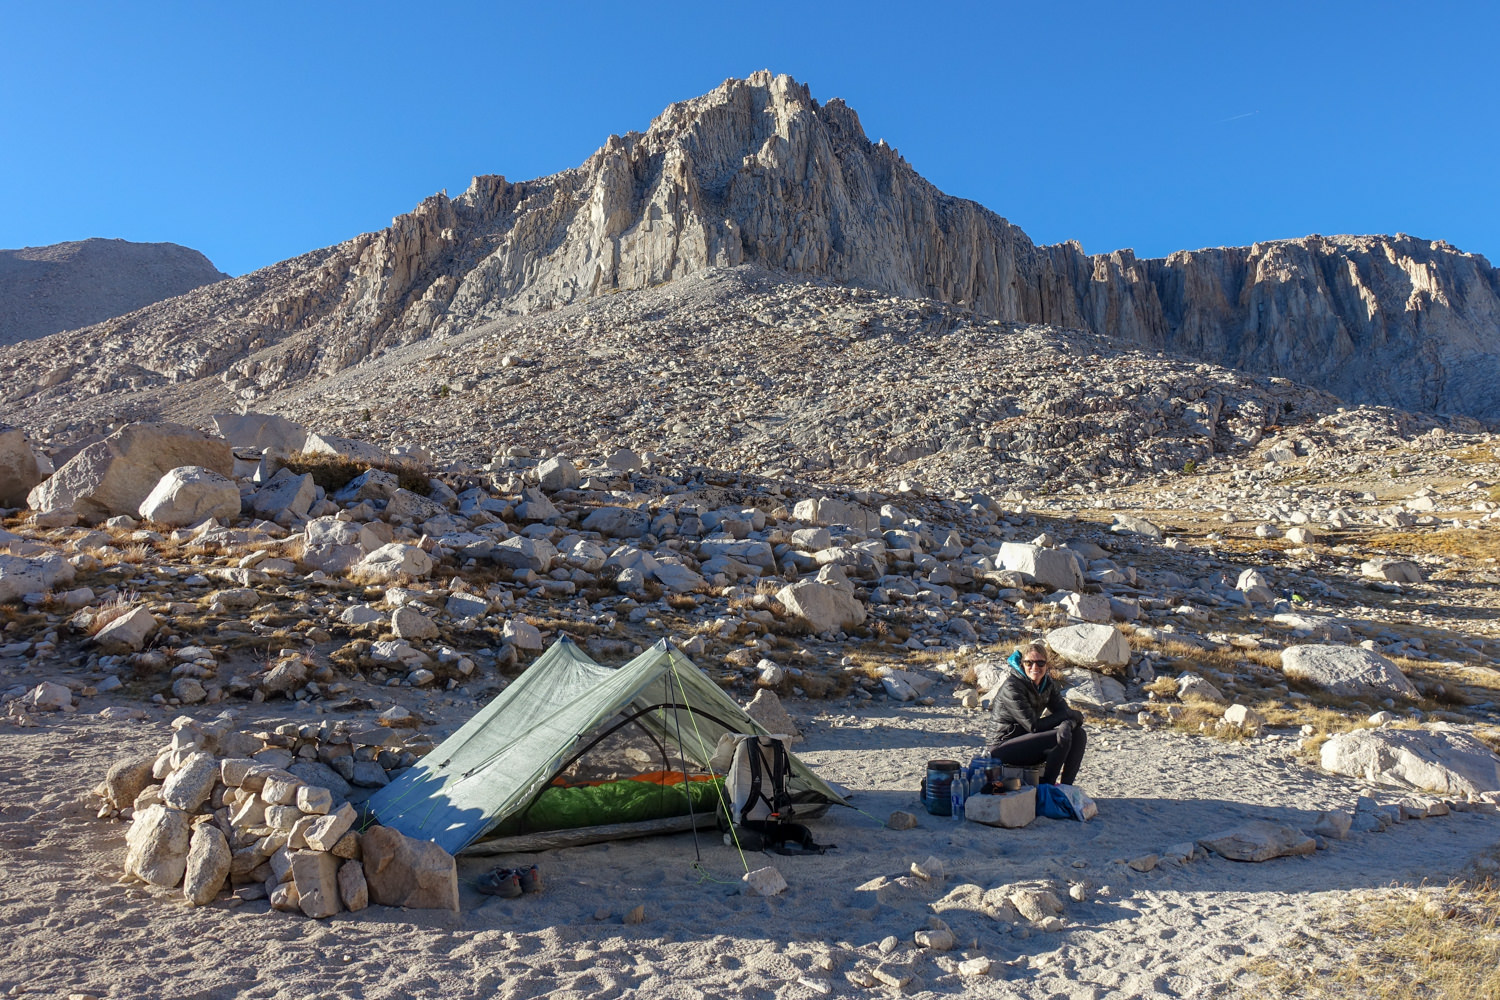
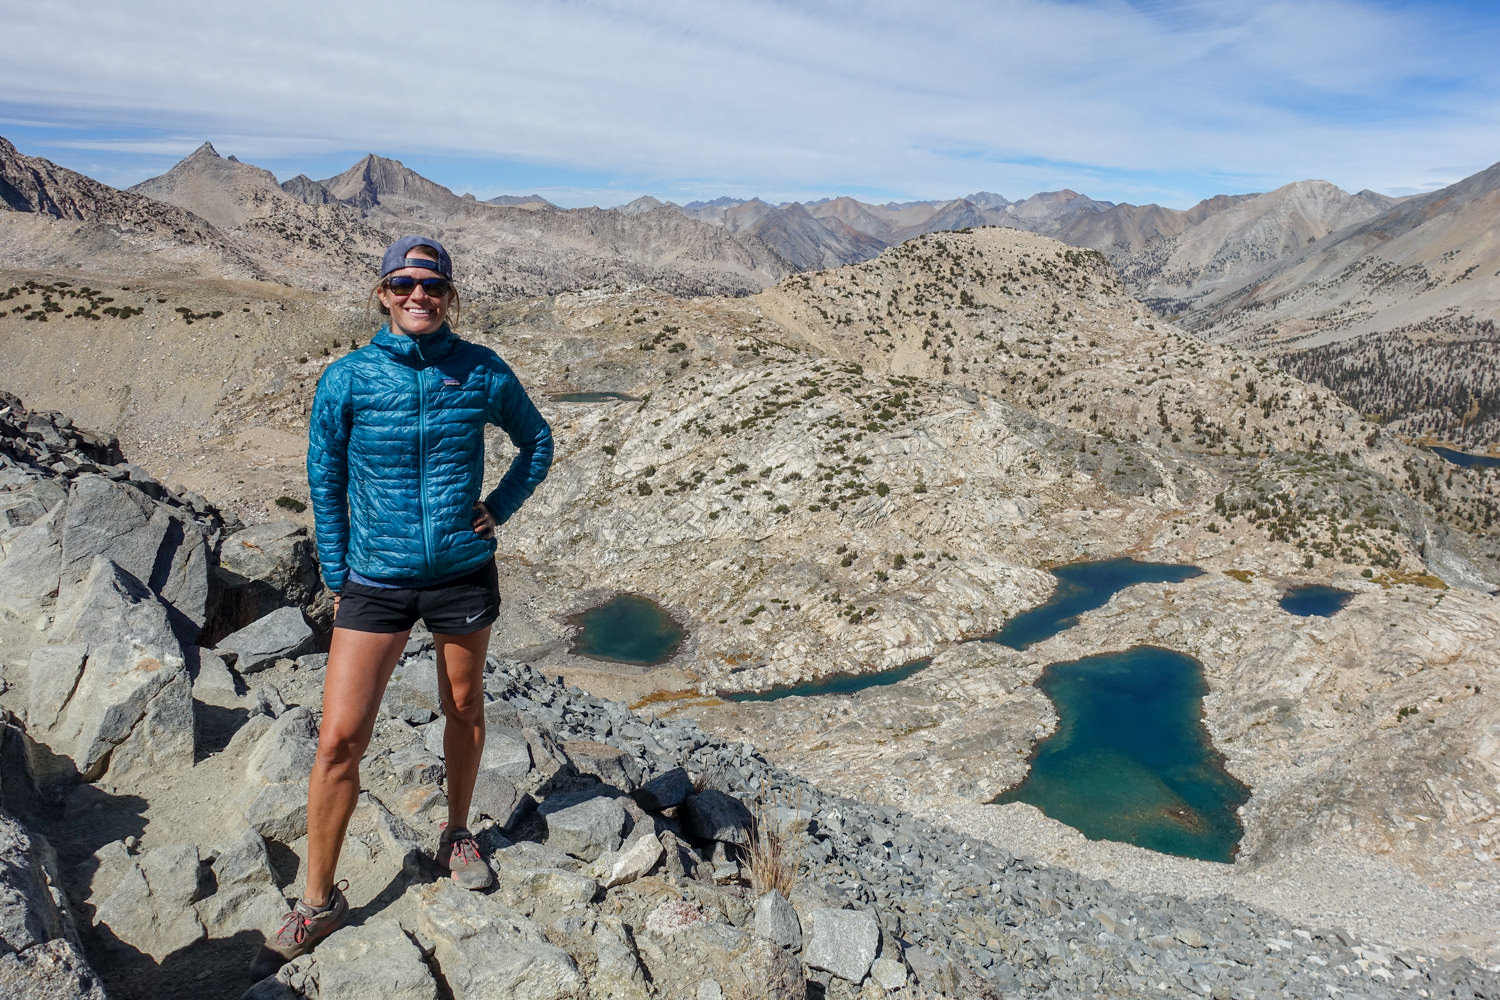
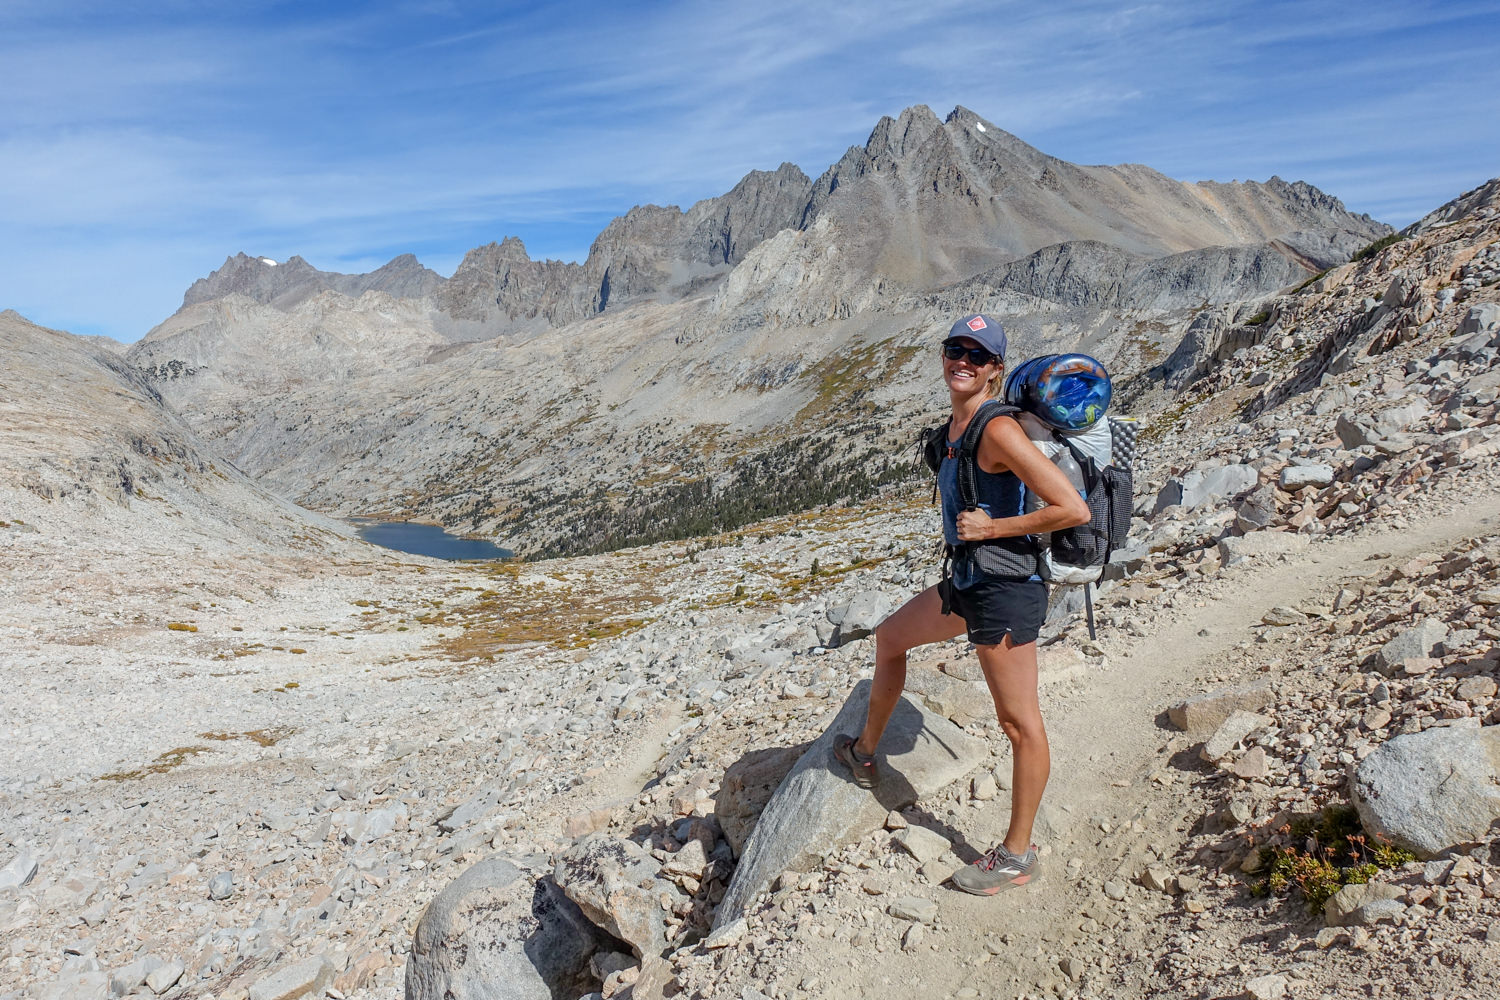
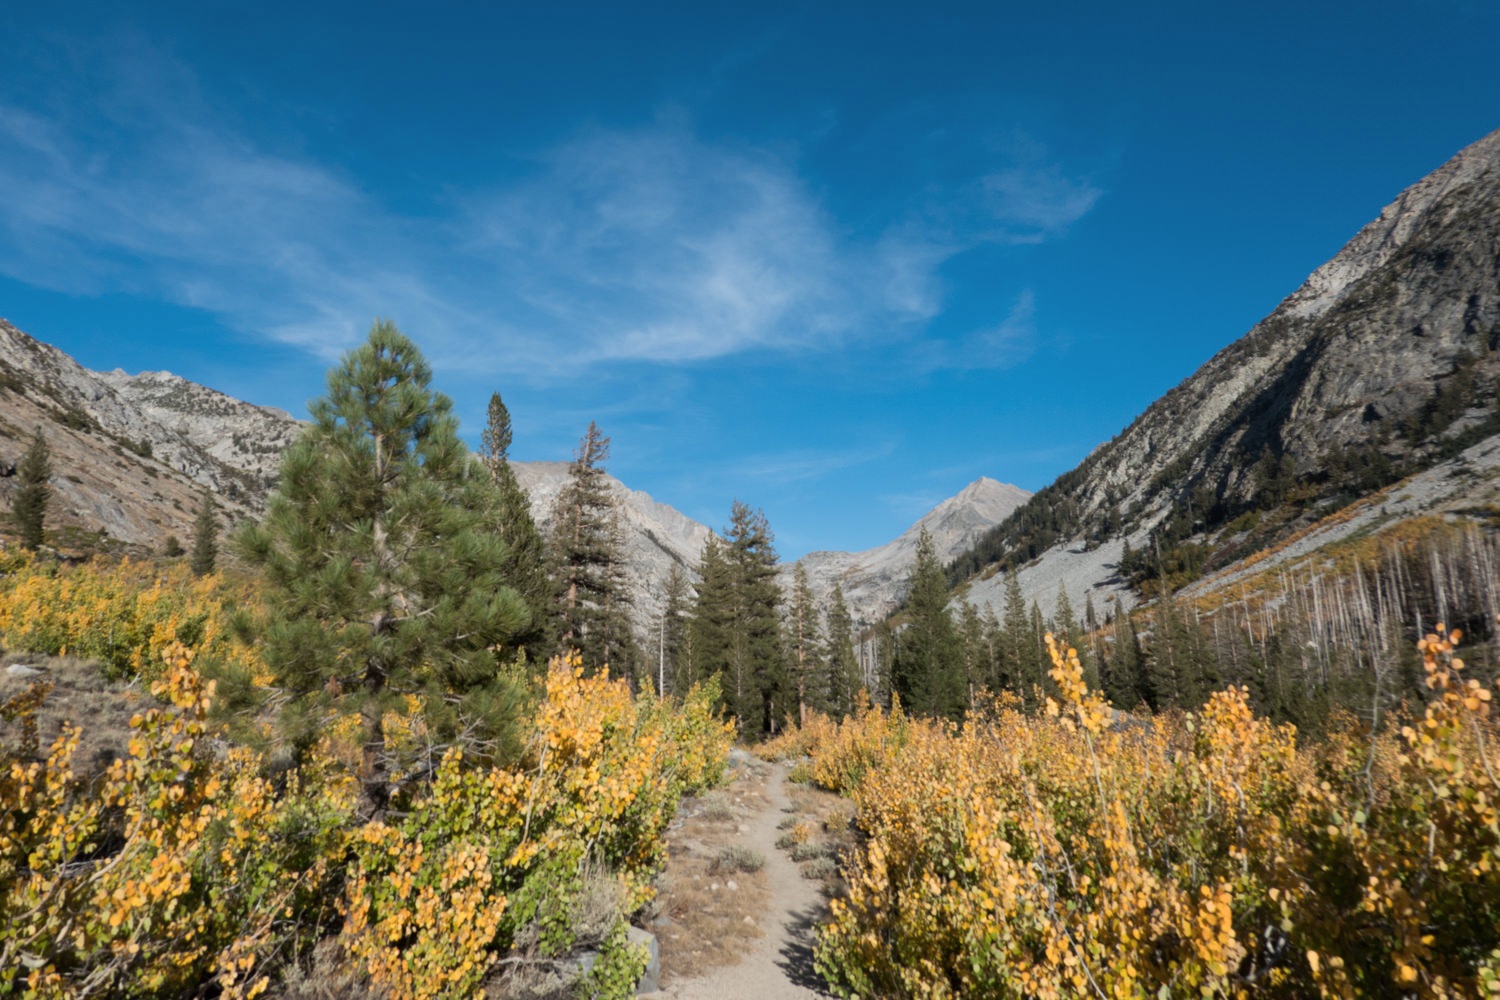
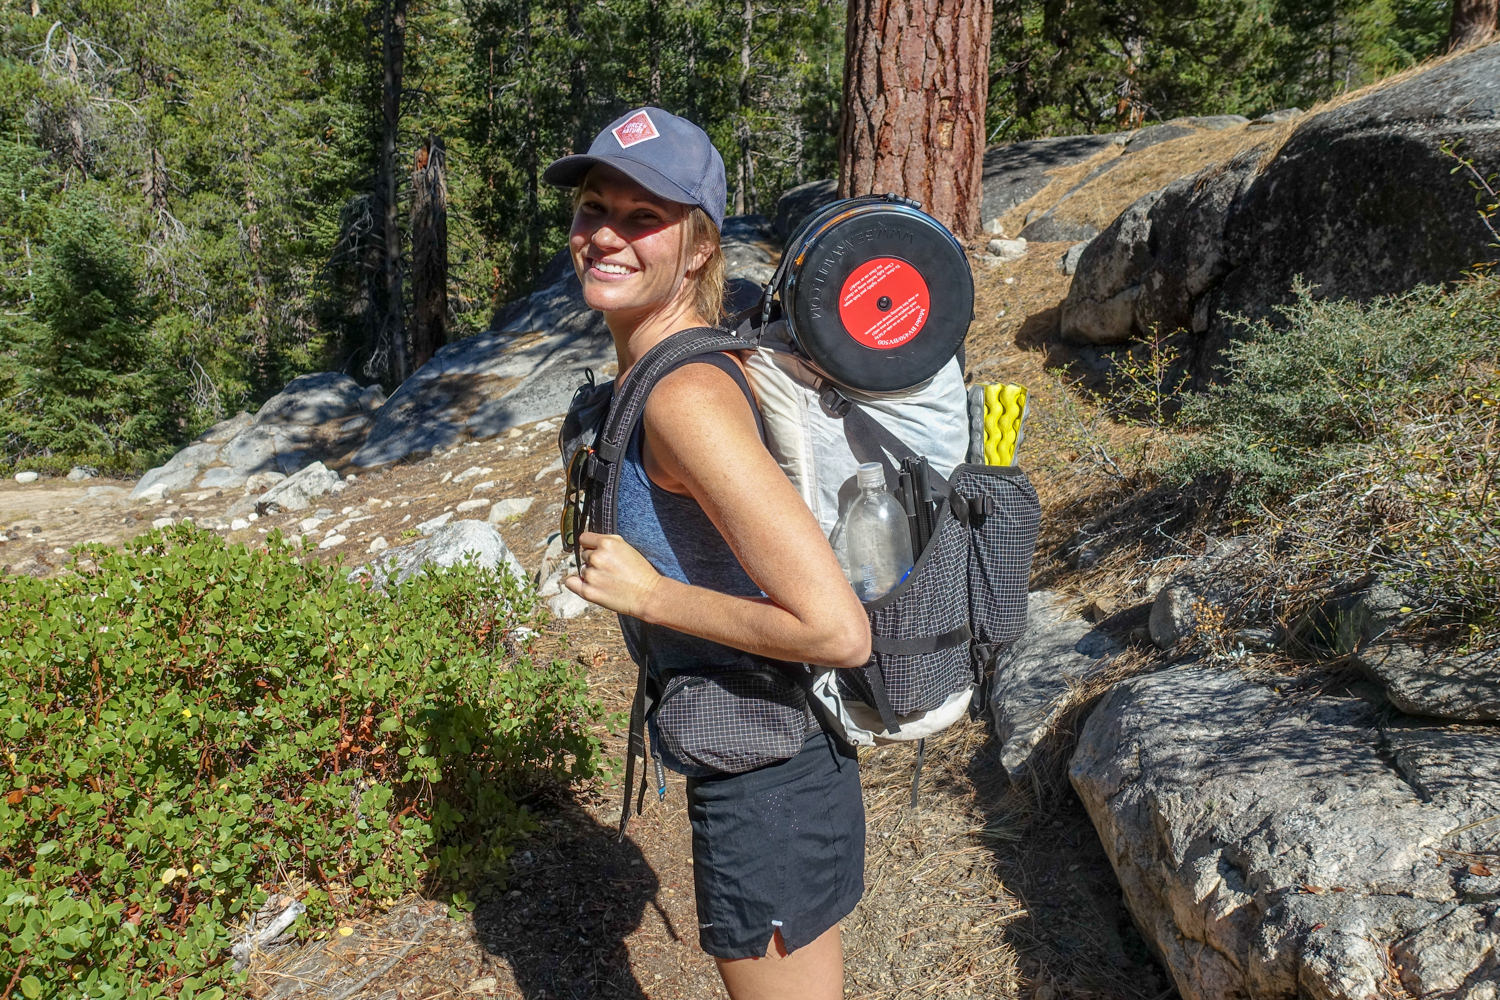
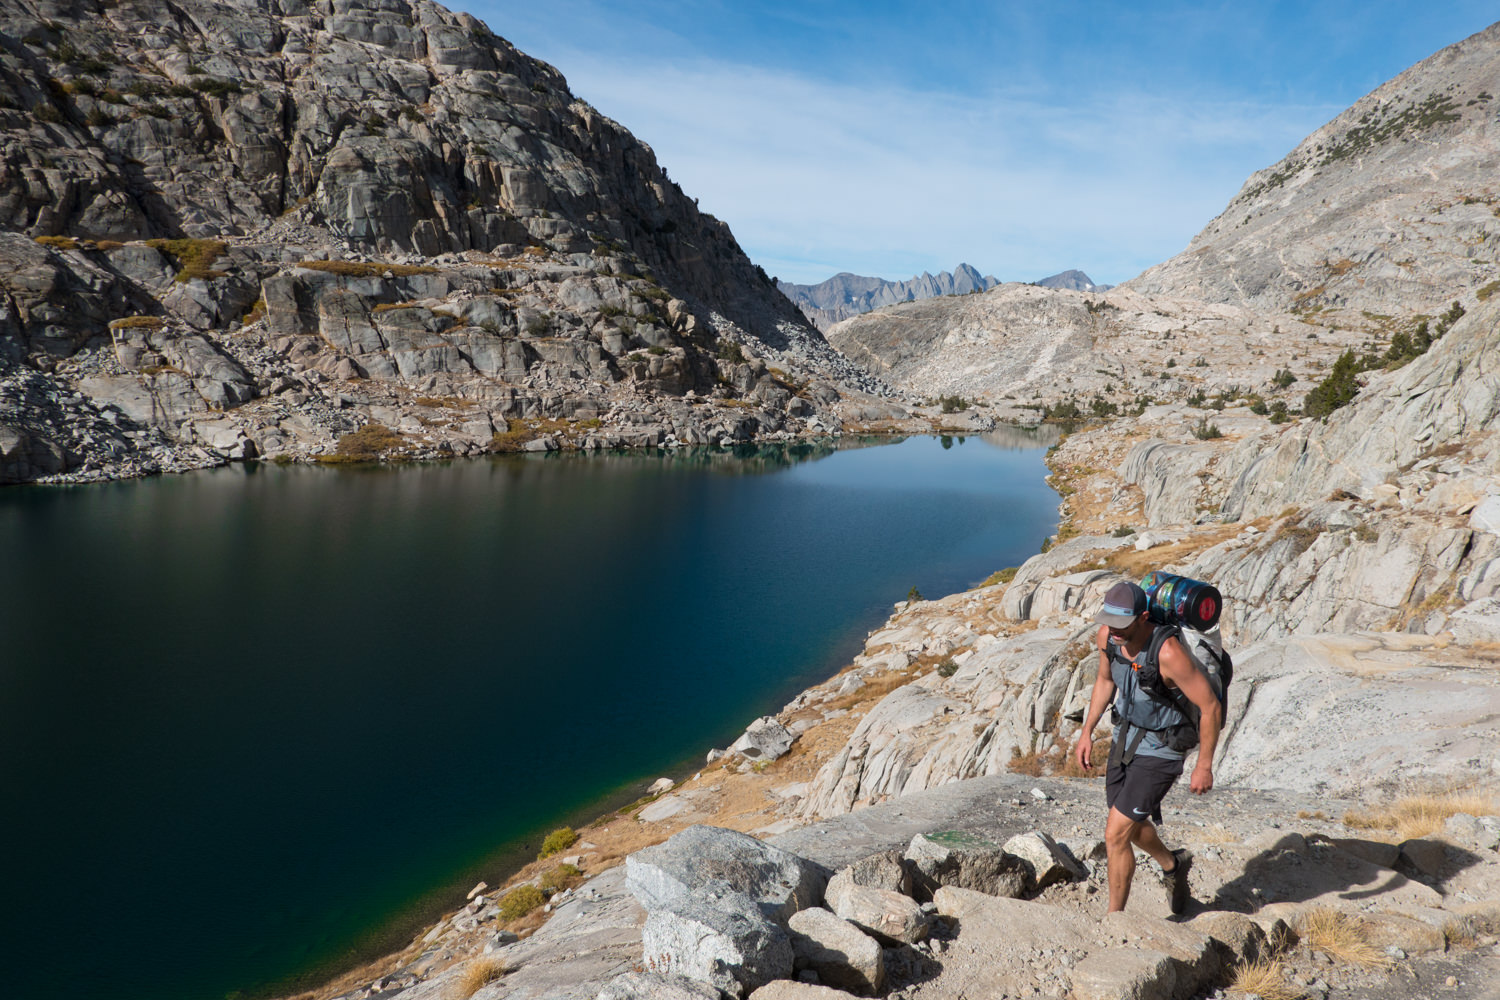
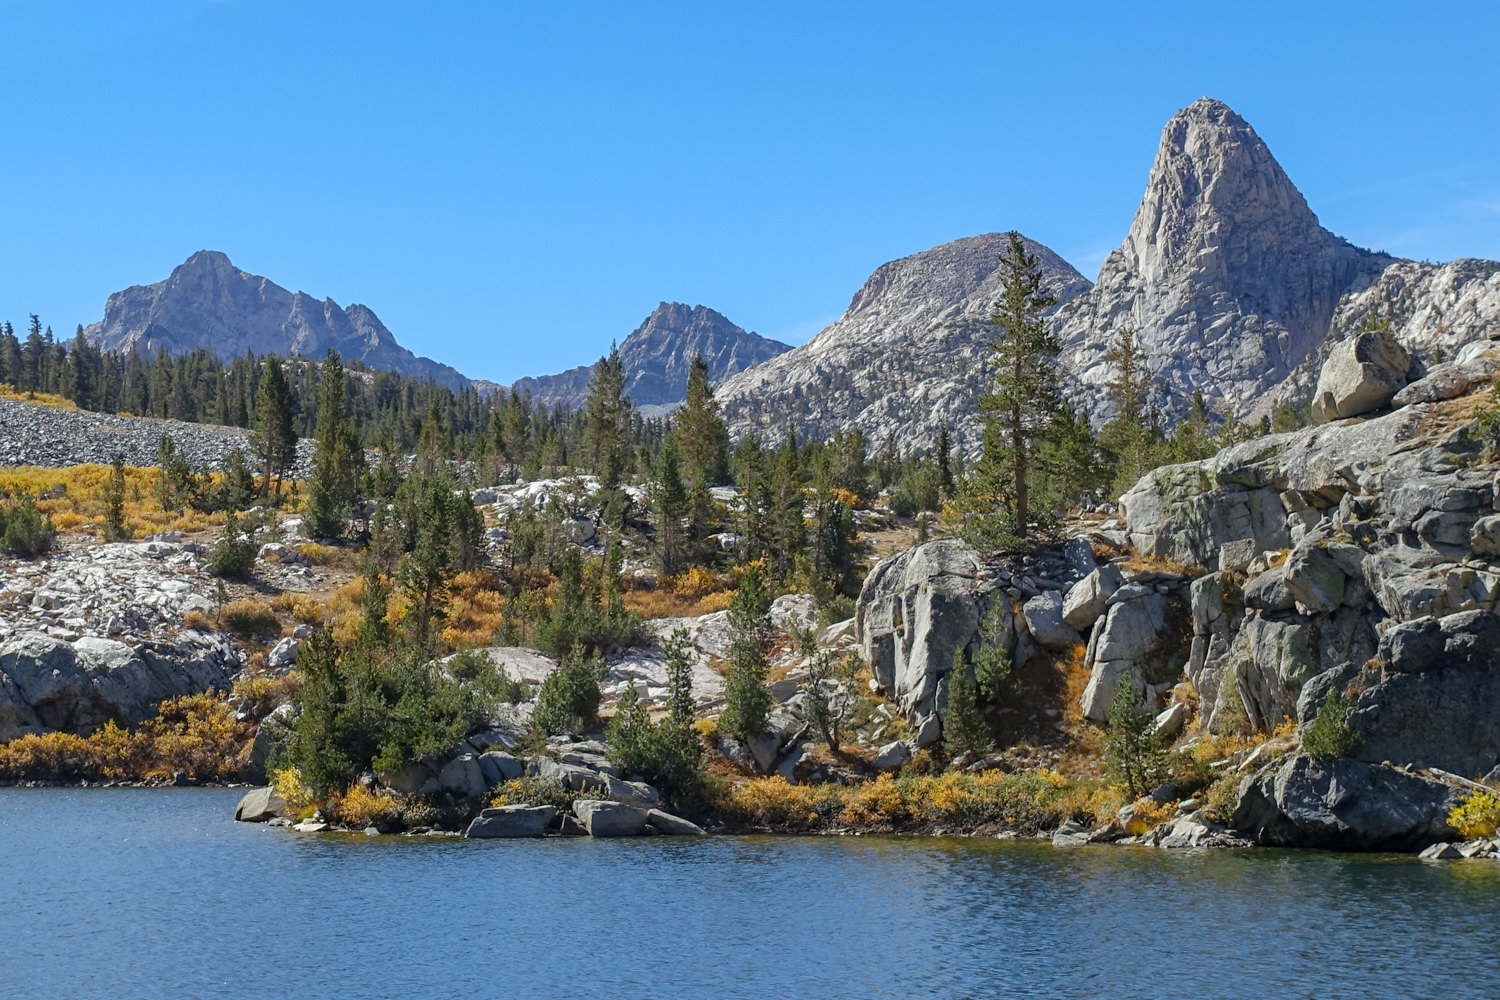
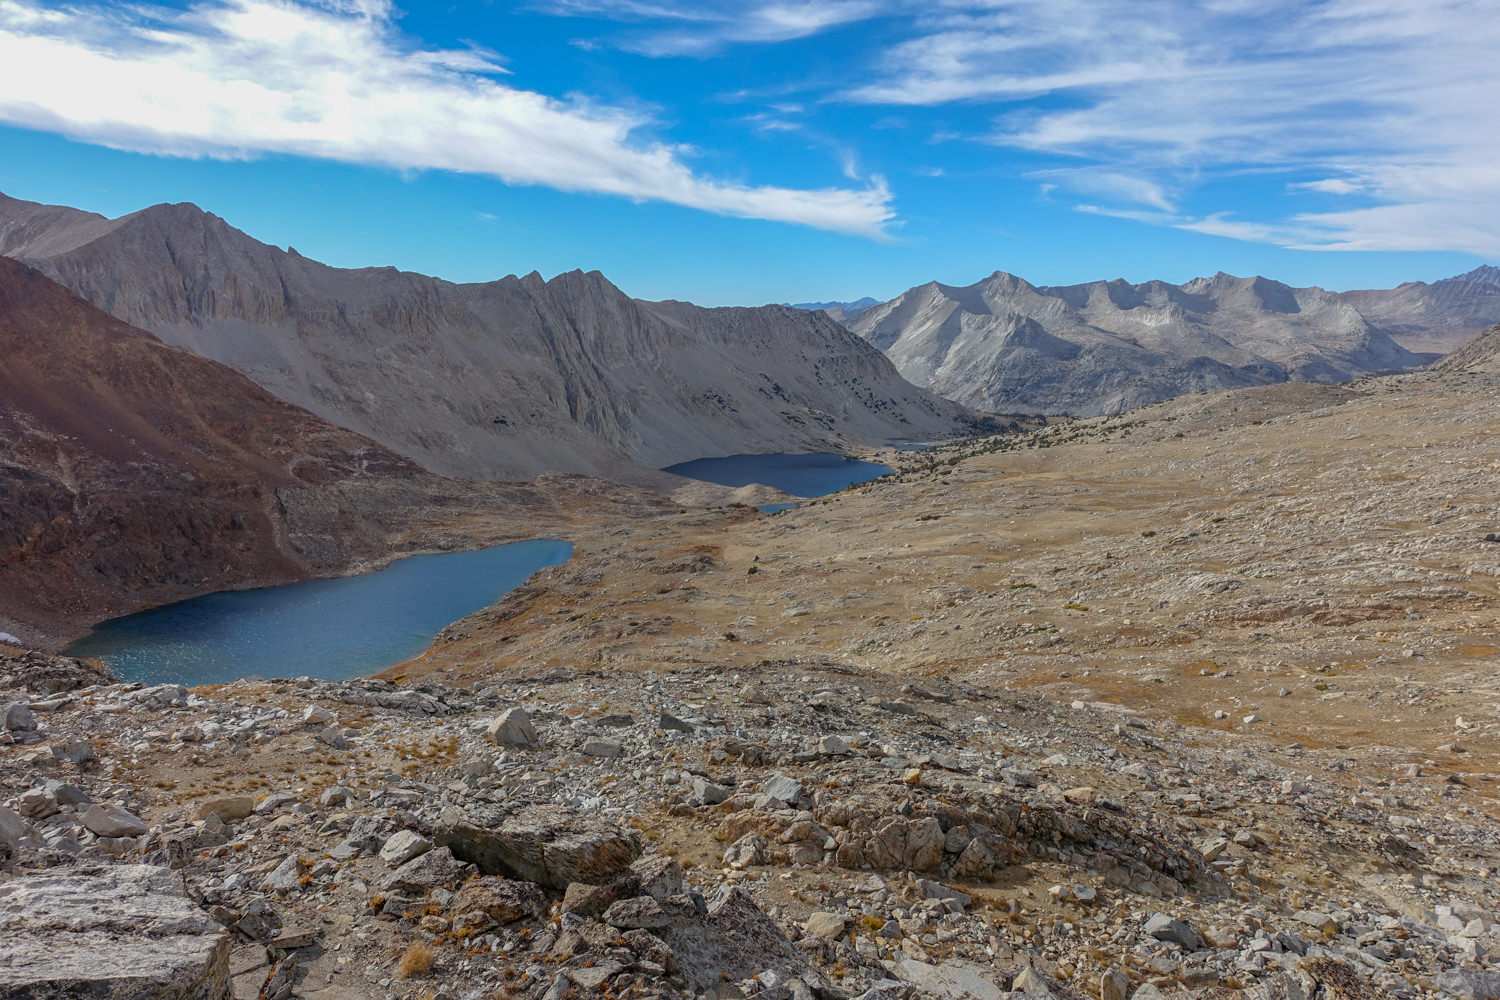
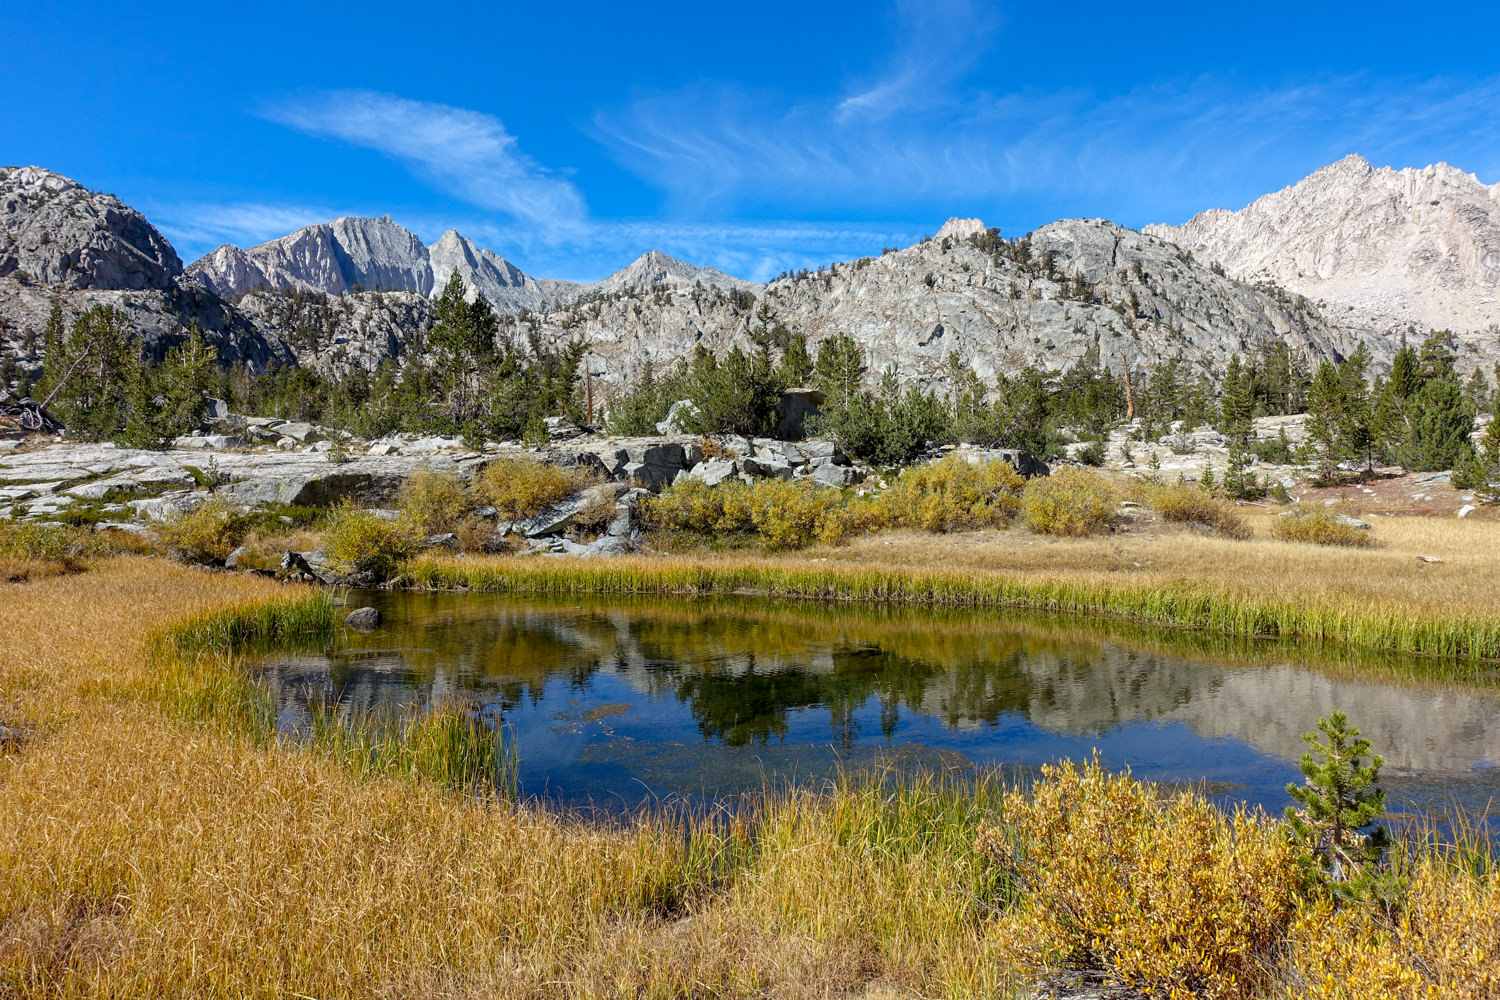
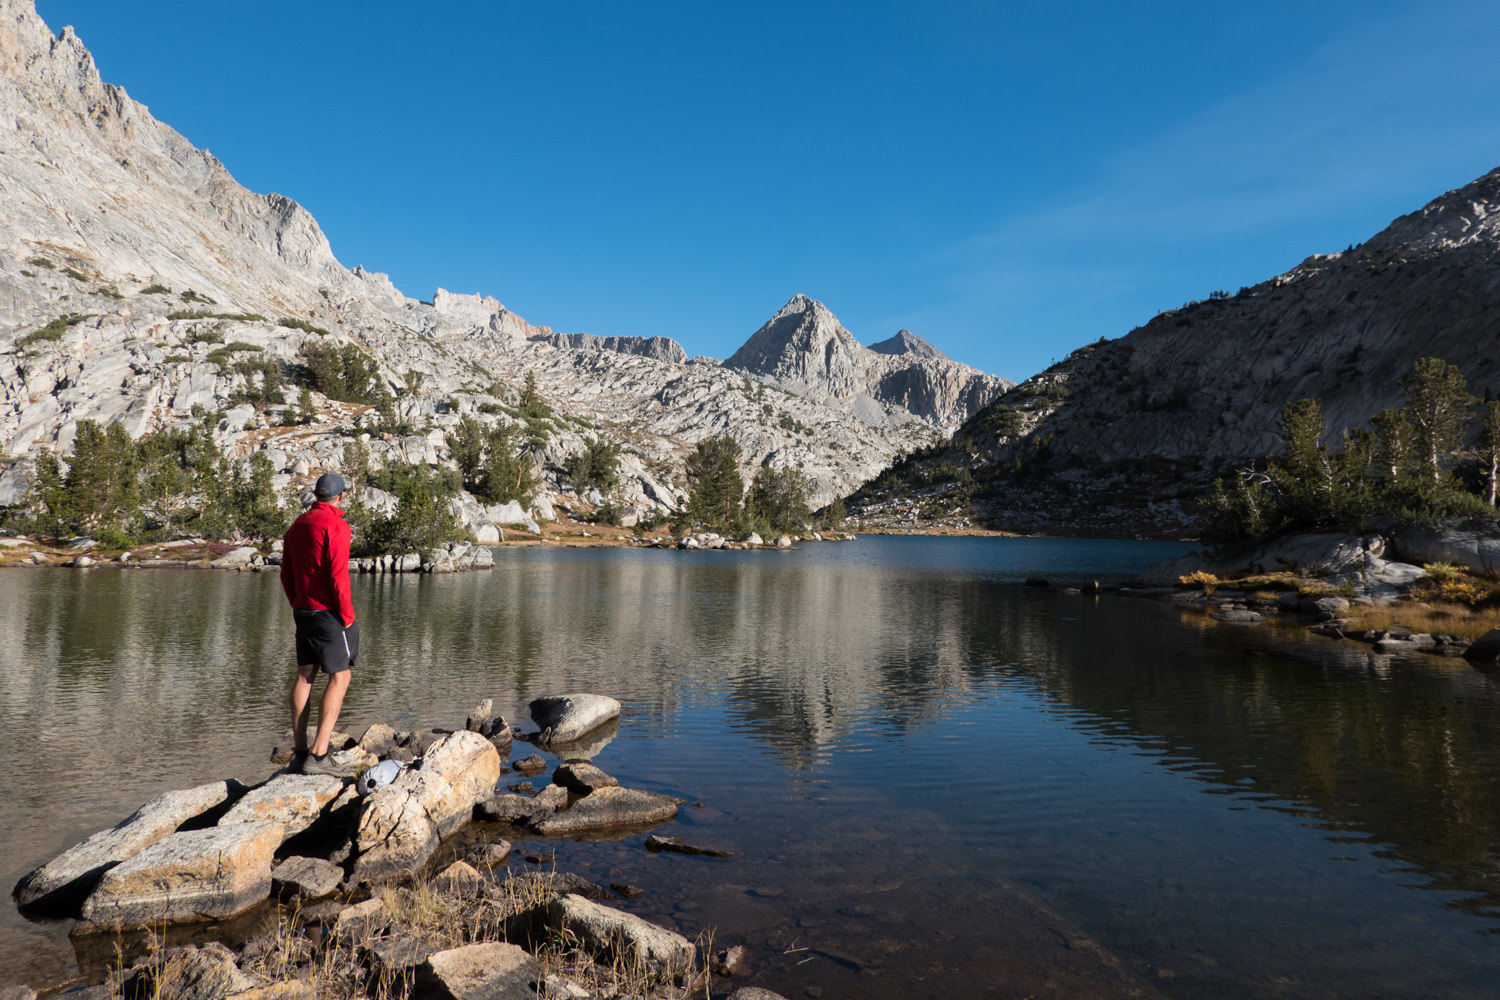
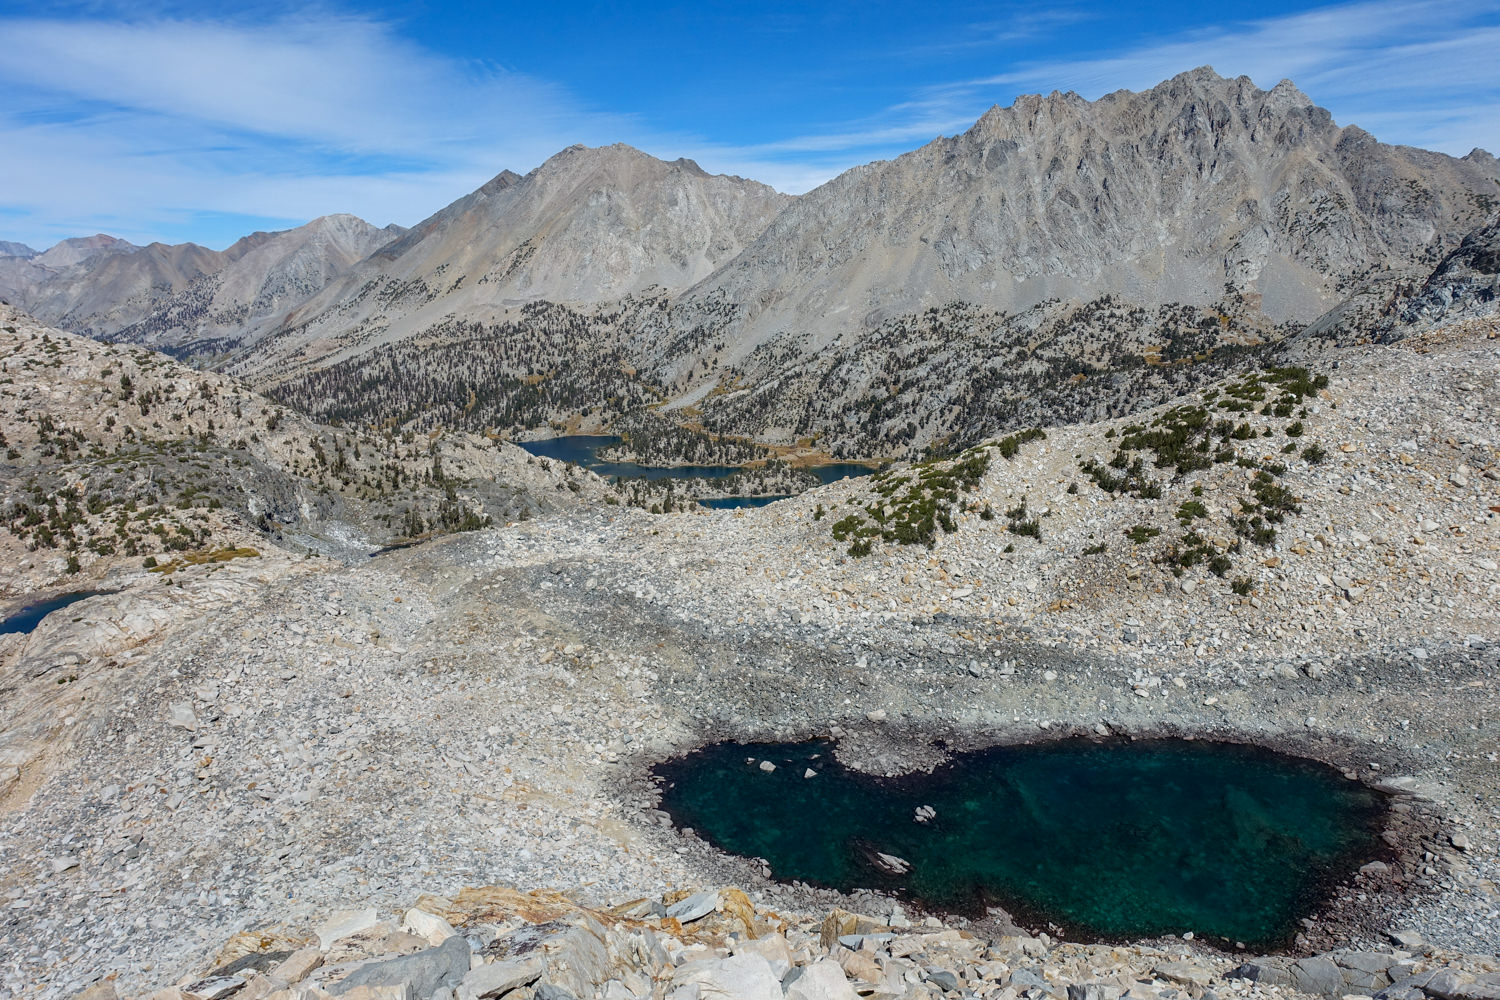
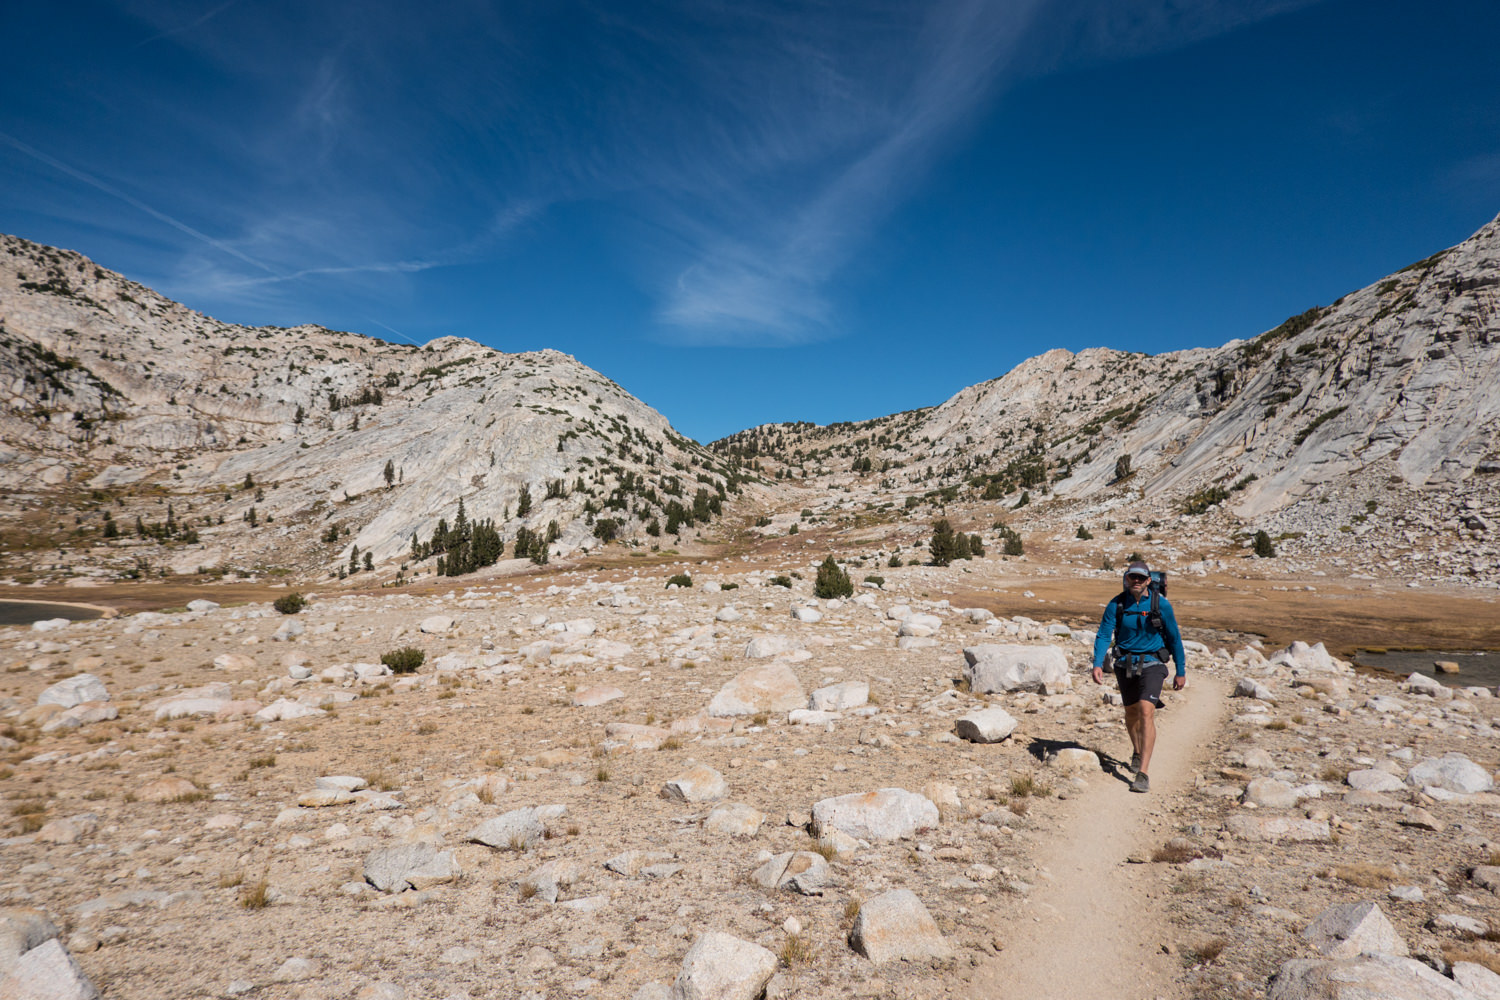
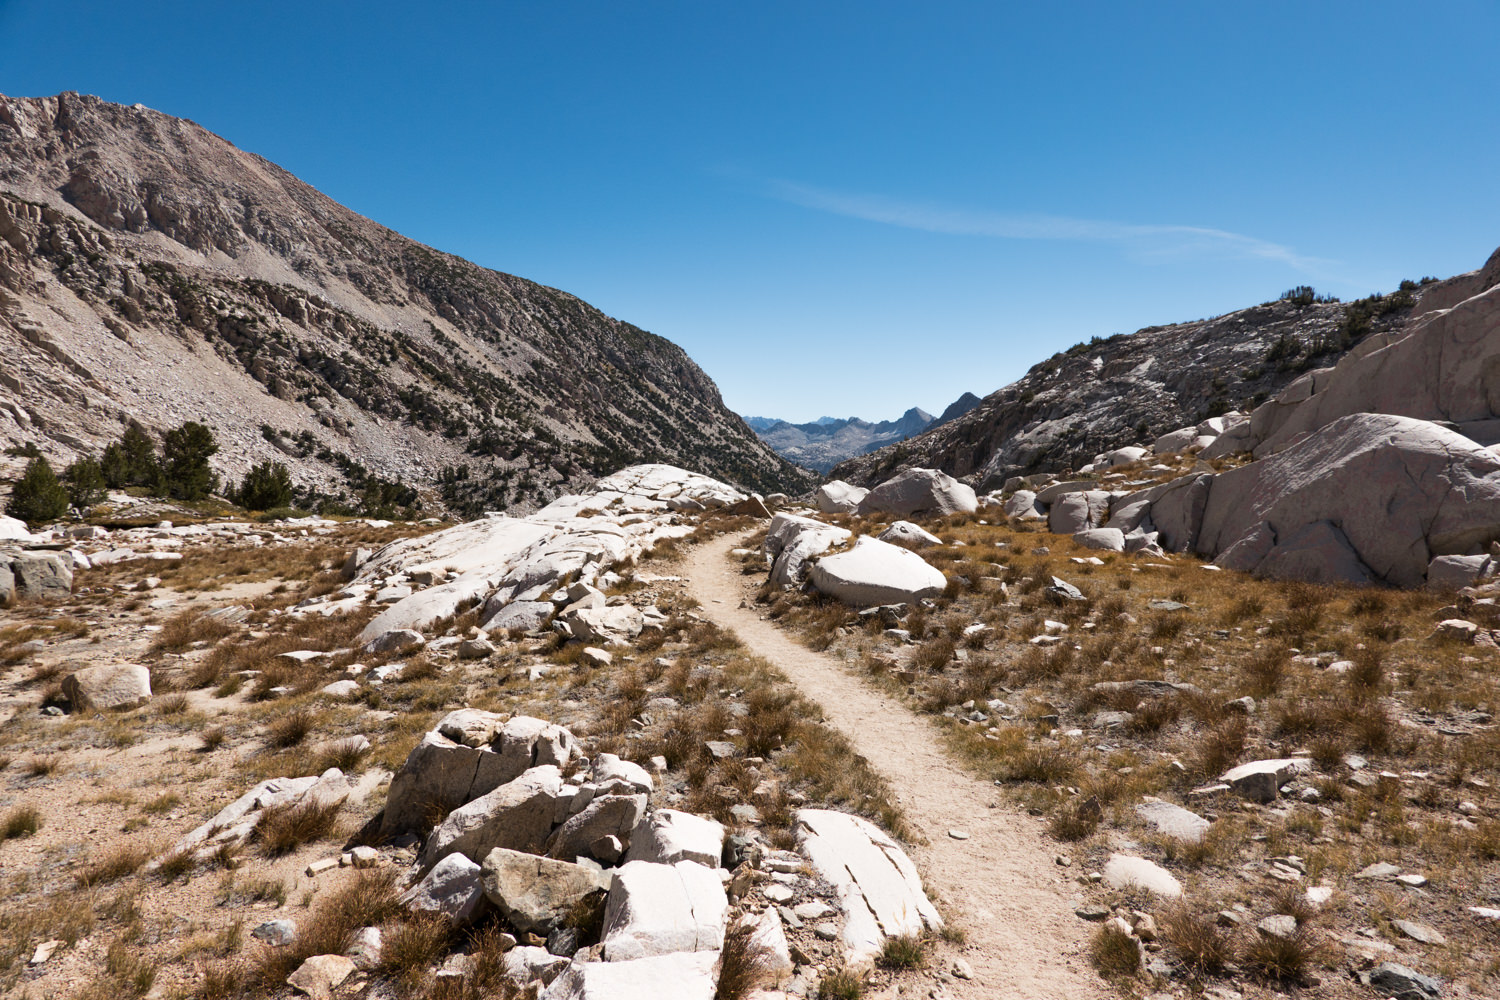
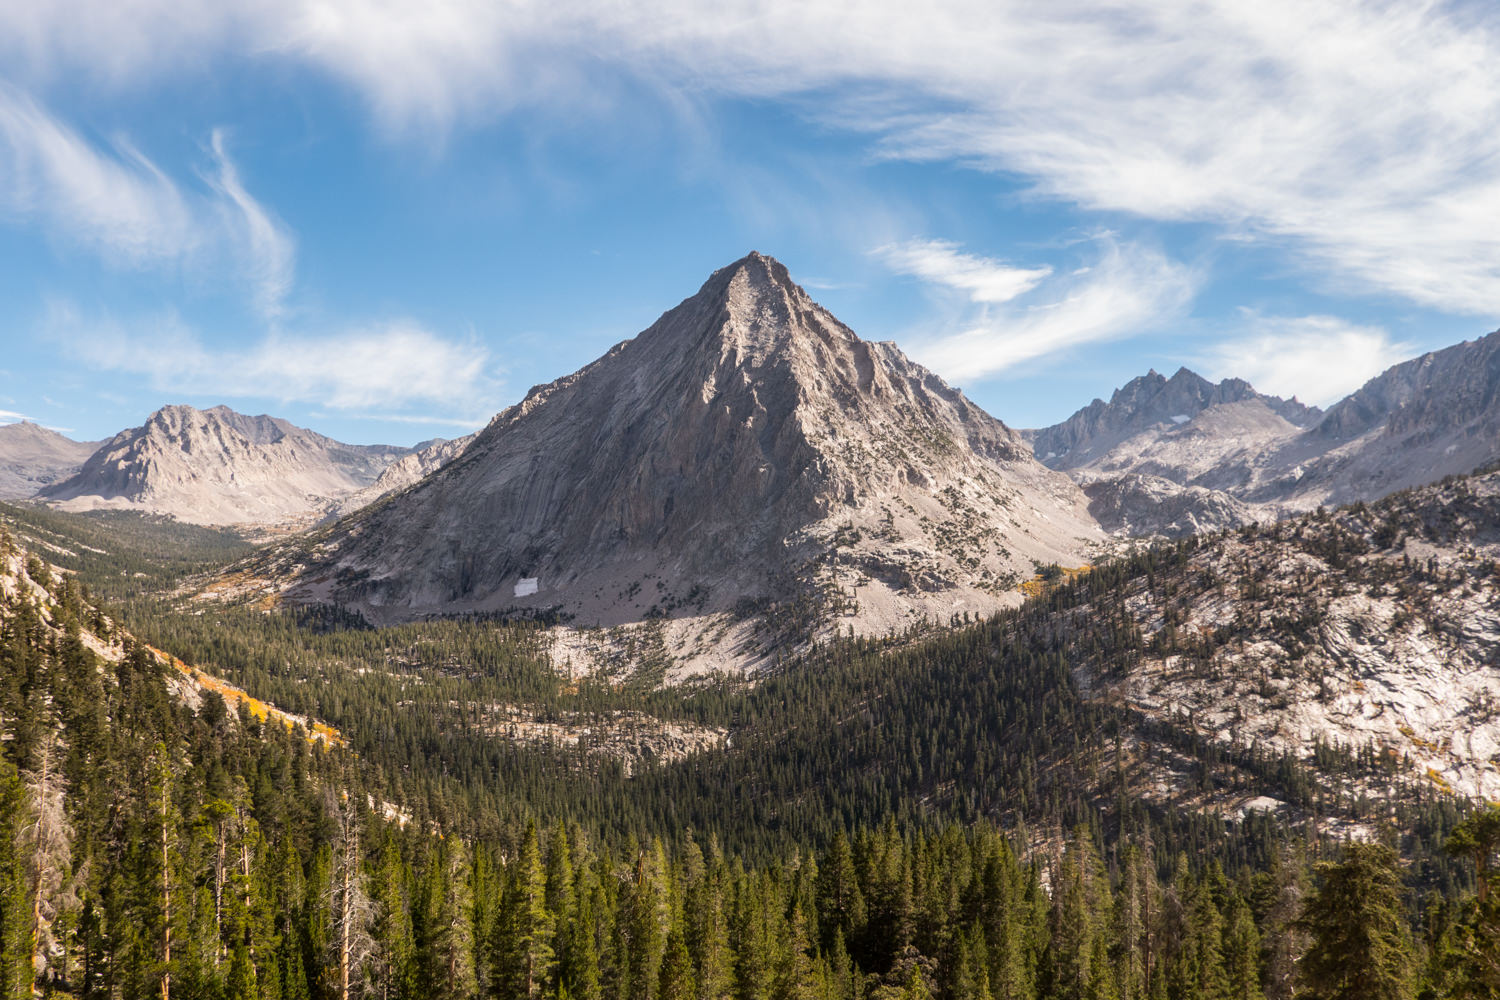
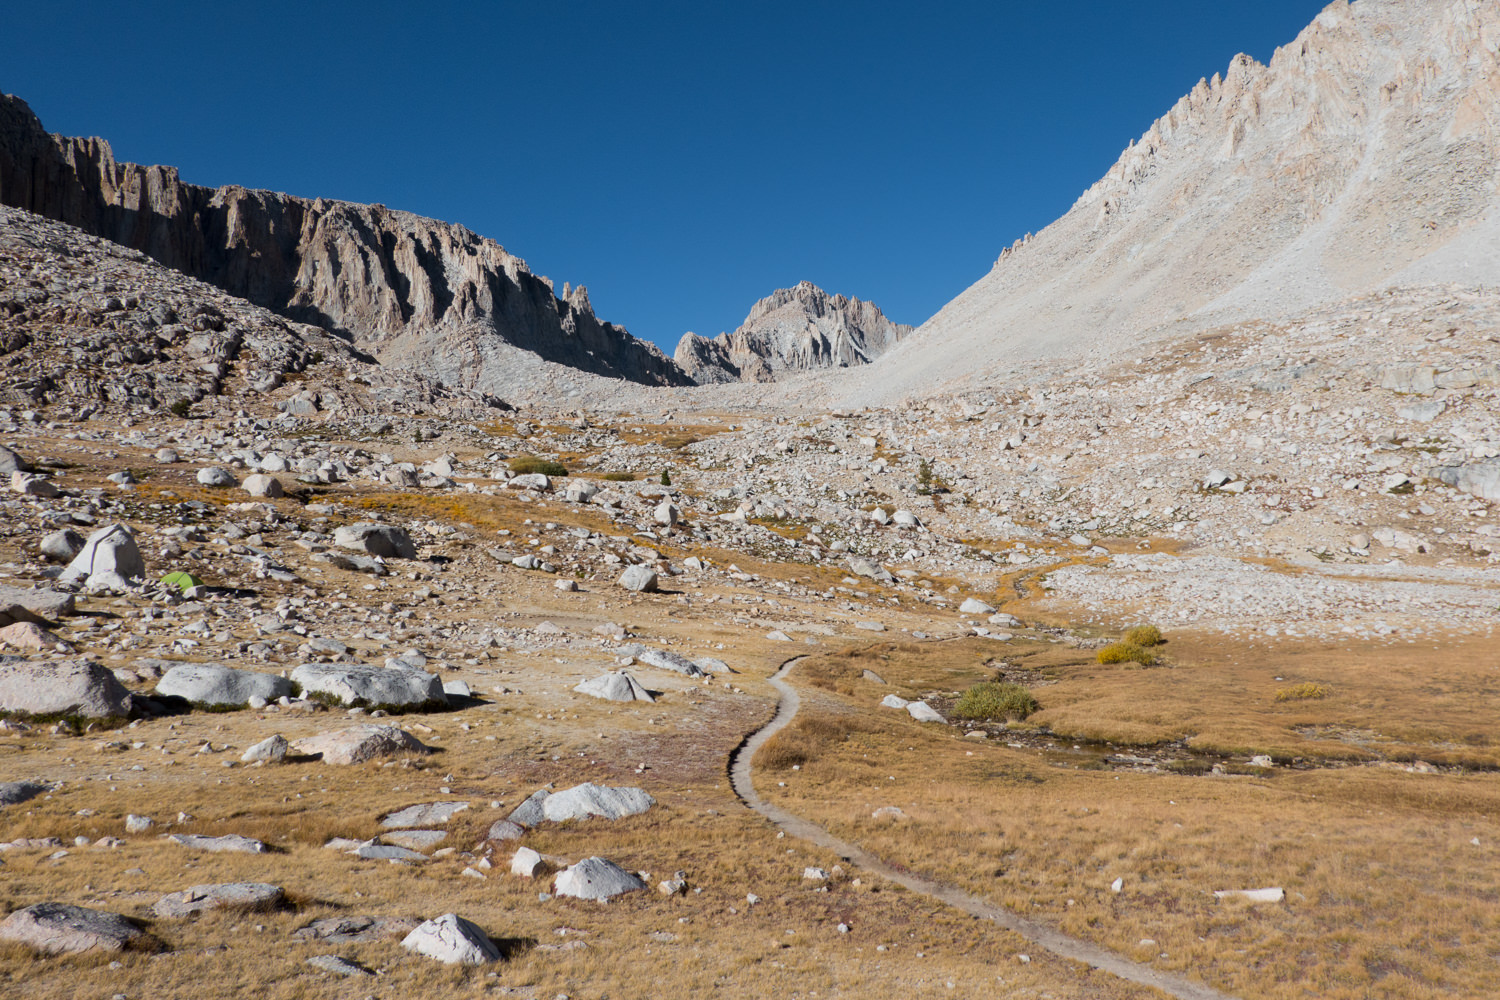
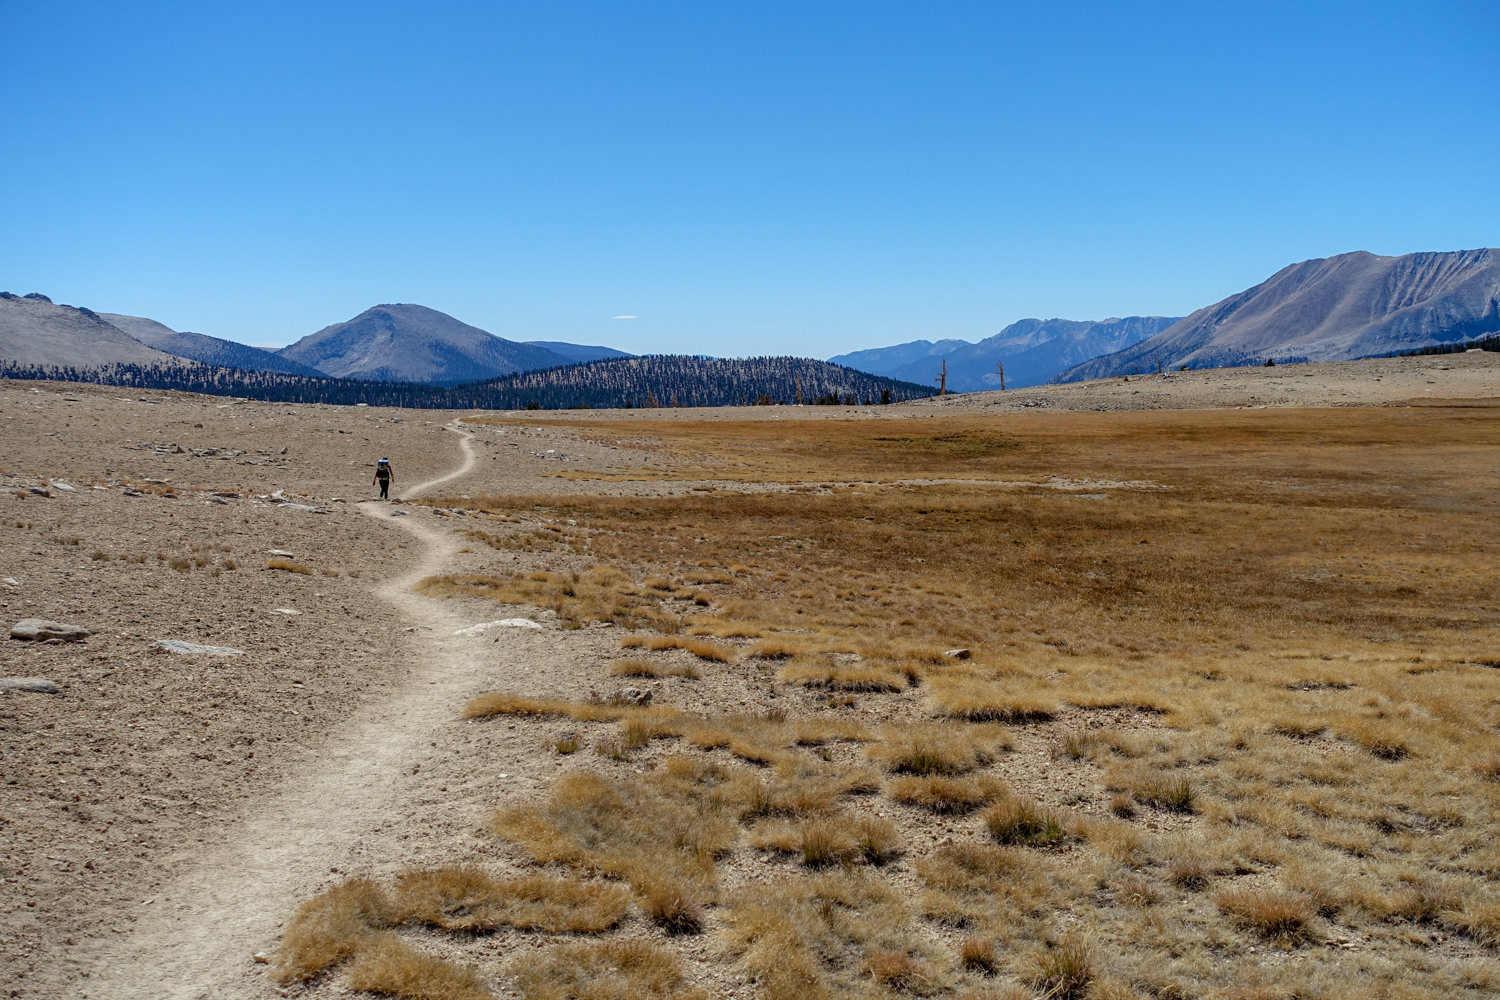
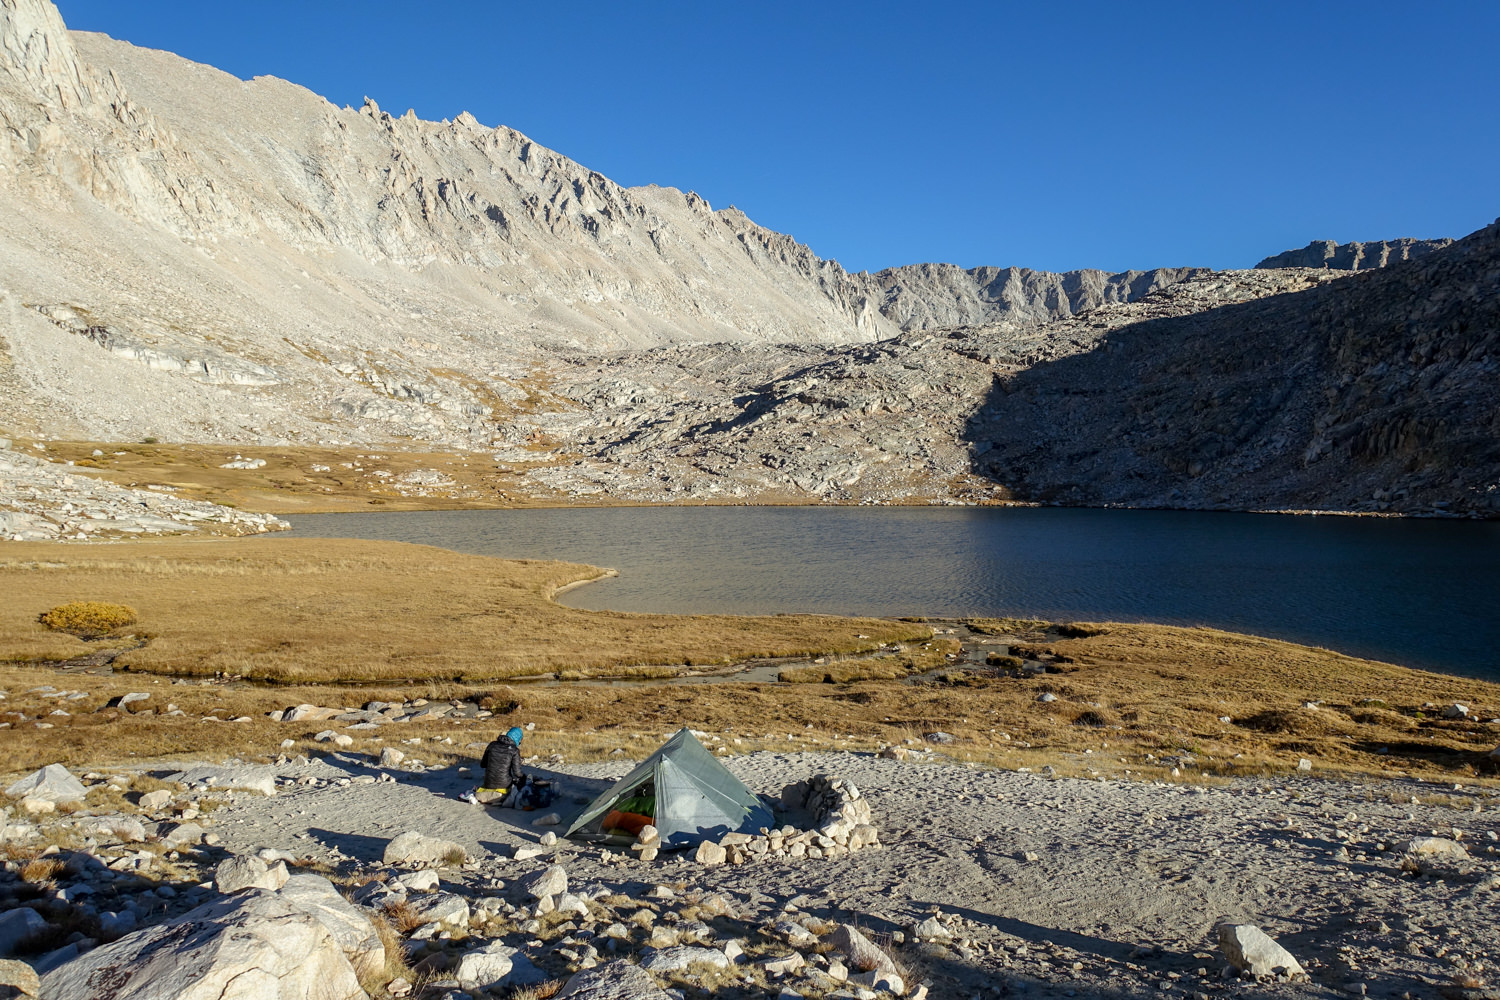
More JMT Photos

Conclusion
We hope this guide helps you plan your unforgettable journey along the John Muir Trail. As always, leave a comment below if you have any recommendations, questions, or suggestions.