Caring for your camping and backpacking tents is well worth the time. Proper cleaning, repairing, and storage ensure your investment lasts for years of adventures. A little extra care goes a long way to prolong the lifespan of a shelter.
Here are a few tricks we’ve learned over the decades about properly maintaining, repairing, and storing tents to keep them in peak condition.
For our favorite tents, check out these gear guides:
Protecting Your Tent On Trail
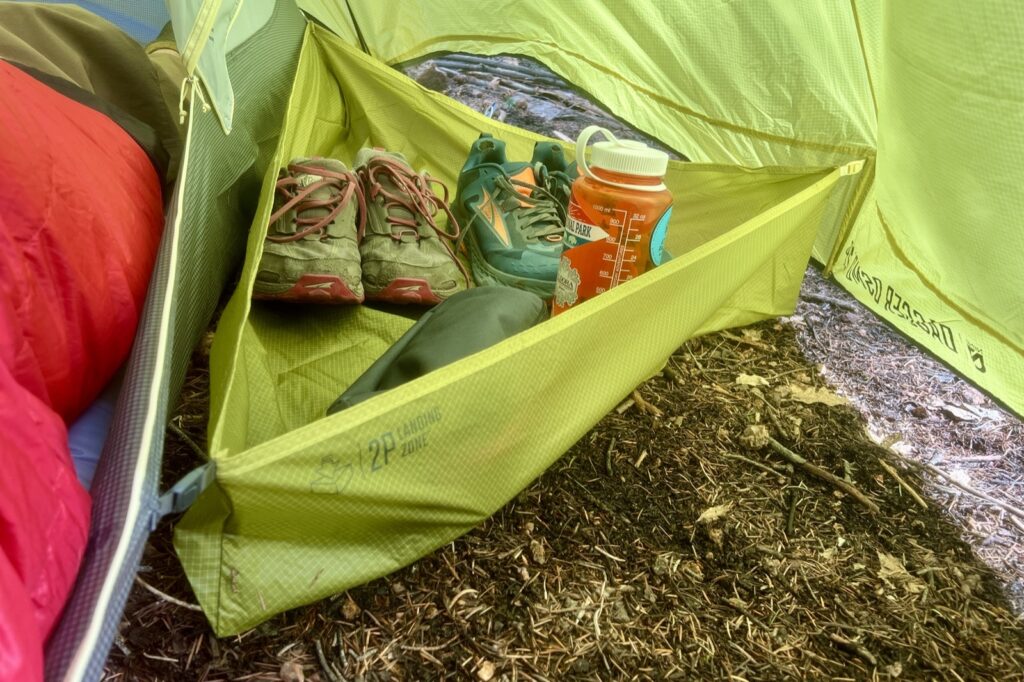
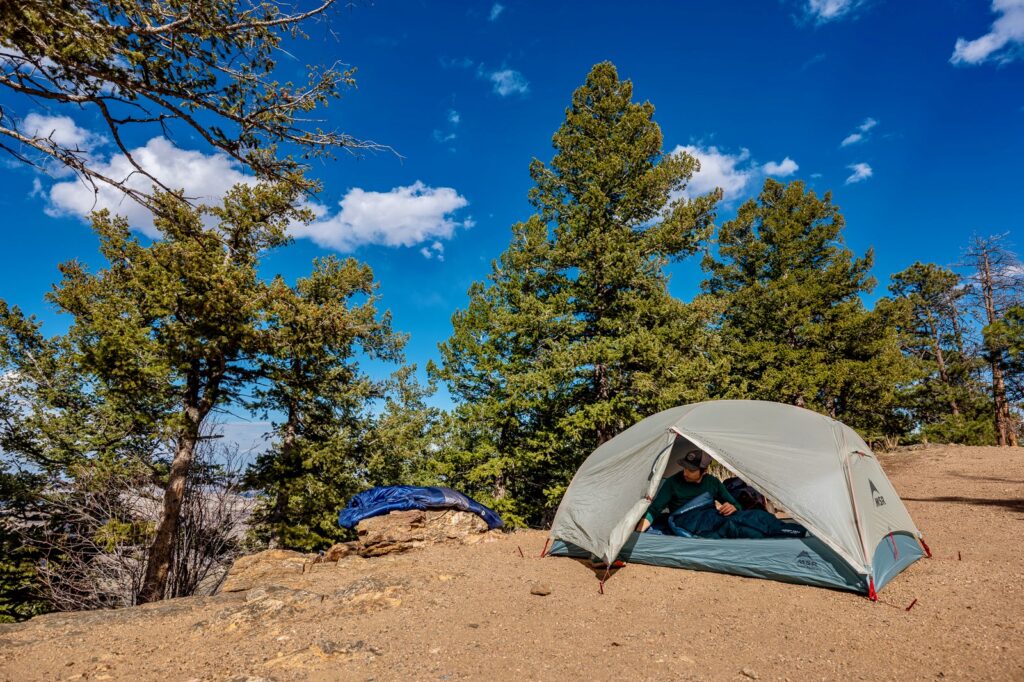
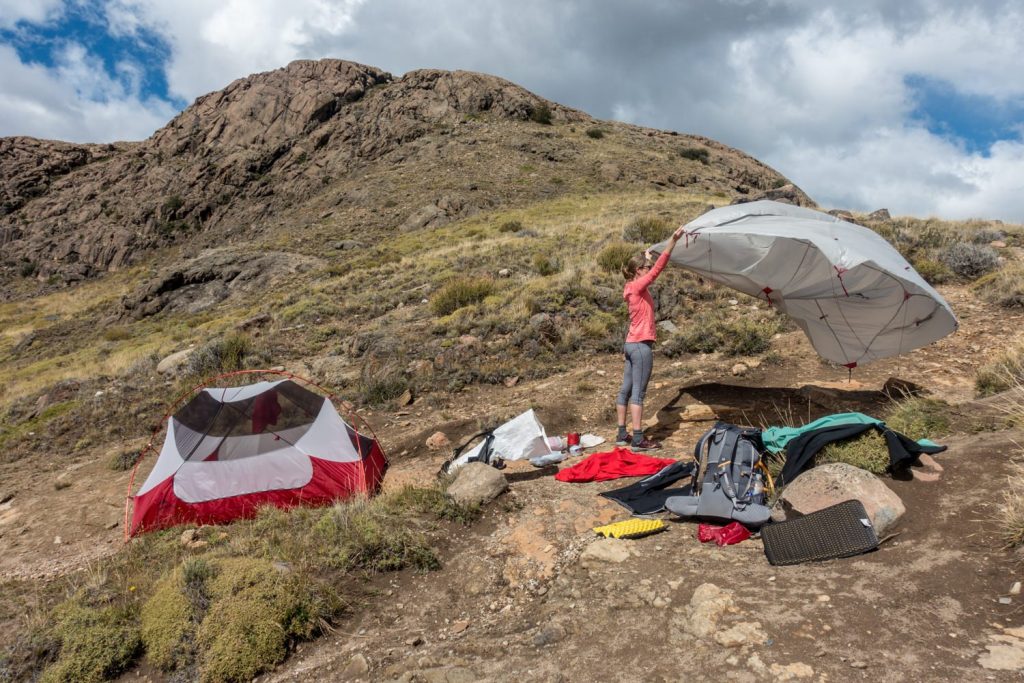
CHOOSE CAMPSITES CAREFULLY
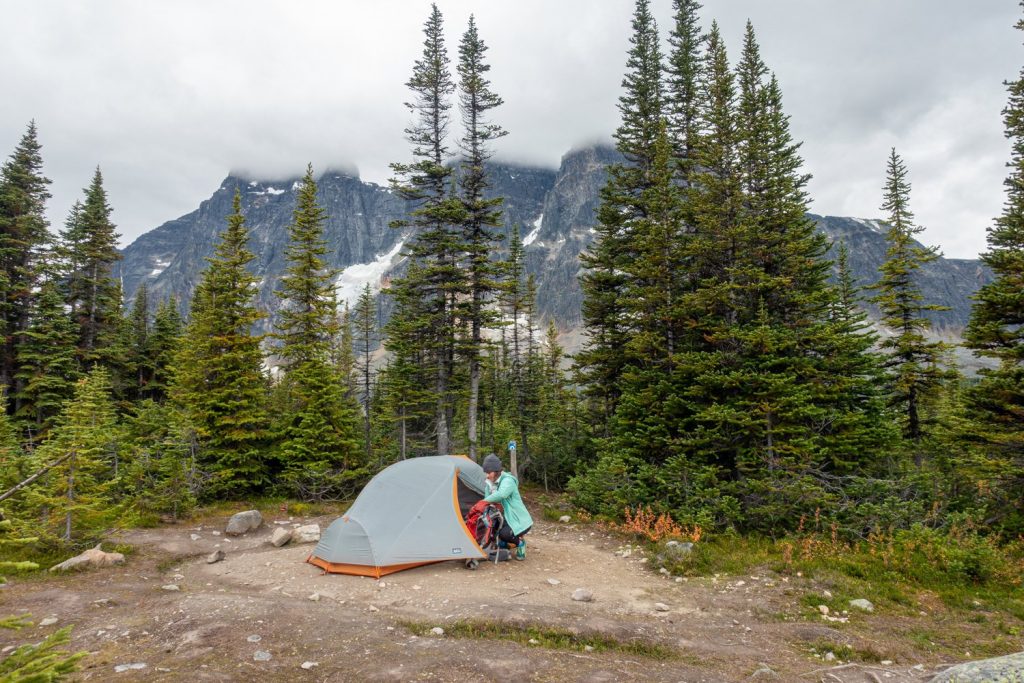
One of the simplest things you can do to protect your tent is to choose your tentsite wisely. Established campsites with smooth, packed dirt are the least abrasive on your tent floor. Even better, adding a footprint will prolong the life of your tent floor.
Before you set up your tent, do a quick sweep of the site and clear any poky bits, loose rocks, sticks, and debris that could puncture your tent floor.
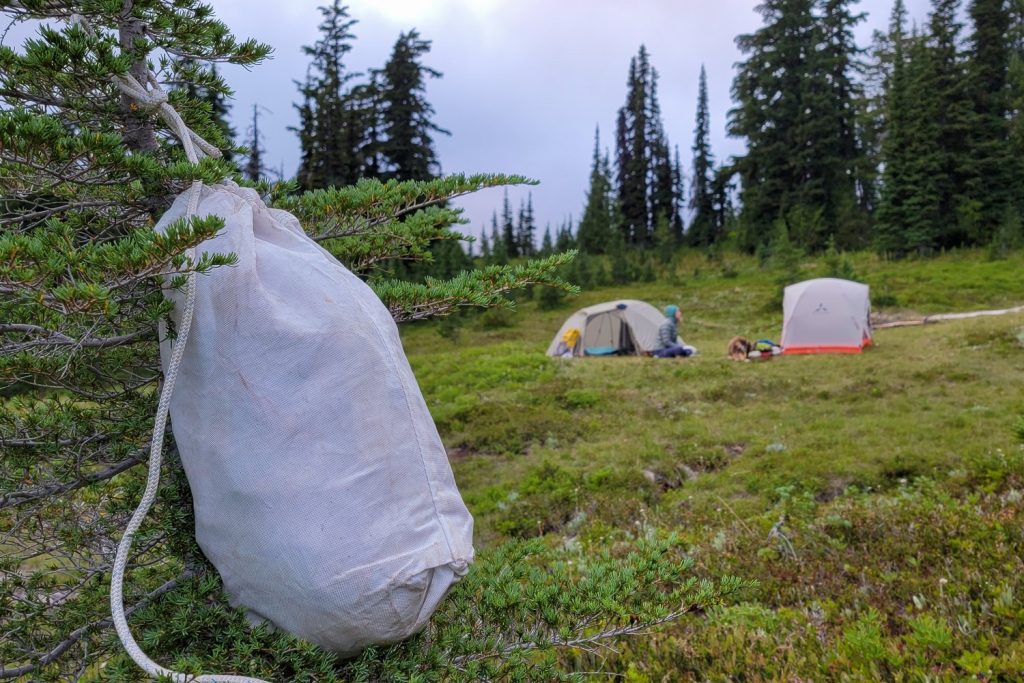
AVOID STORING FOOD IN YOUR TENT
Animals (mostly rodents) have happily chewed through our tent to get to our food before. It’s really frustrating and it gives everyone the heebie jeebies.
To avoid a mouse near your head at 2 am and a hole in your tent, it’s best to store your food in your car, an animal-proof container (see our guide to the best food storage containers and bear canisters) away from your campsite. If you are in established campsites where mice have become quite bold, even food in your car should be in sealed plastic bins.
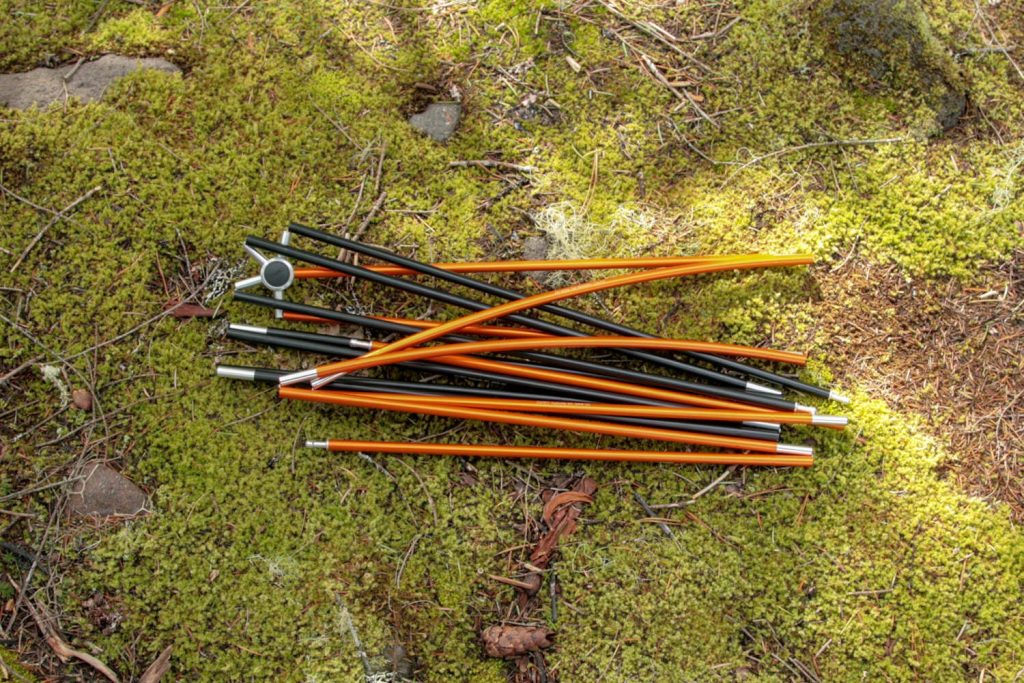
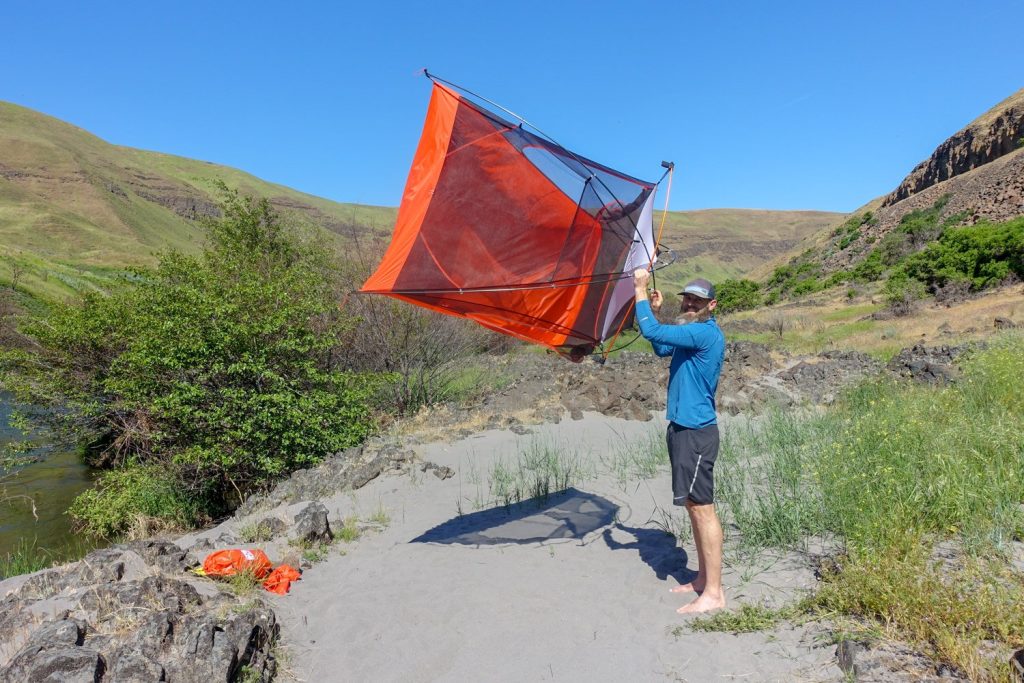
PROTECT YOUR POLES
During setup, it’s easy to shake your poles and let the shock cord sections whip into place. However, this puts stress on your poles and cords. Your tent will last longer if you take your time and connect the segments one at a time by hand, so there’s less torque and force on the fittings, which is where they tend to snap first.
This similarly ensures that each segment is fully inserted into the previous one, maximizing its strength under flexion. We’ve split a few pole segments at the tip because we were a little too hasty with our setup.
When taking your tent down, set your poles out of the way until you’re ready to break them down so you don’t accidentally step on them. And be careful not to overstretch the inner cords that hold them together when you fold them up.
Dirt, snow, and debris can wear out the pole joints, so try to keep them off the ground and dust off anything that sneaks in.
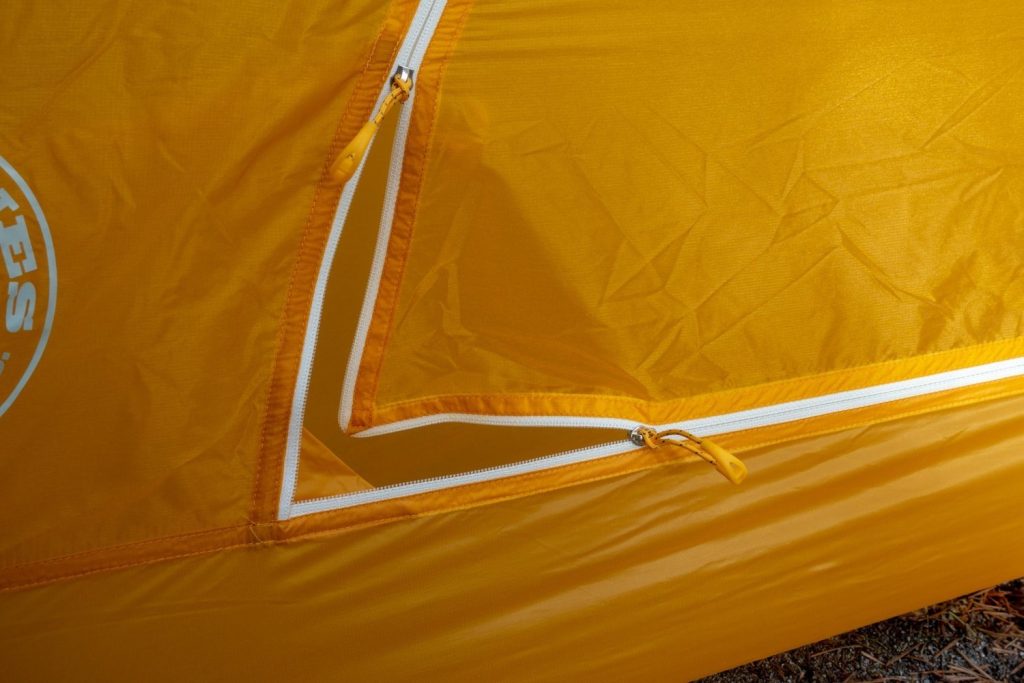
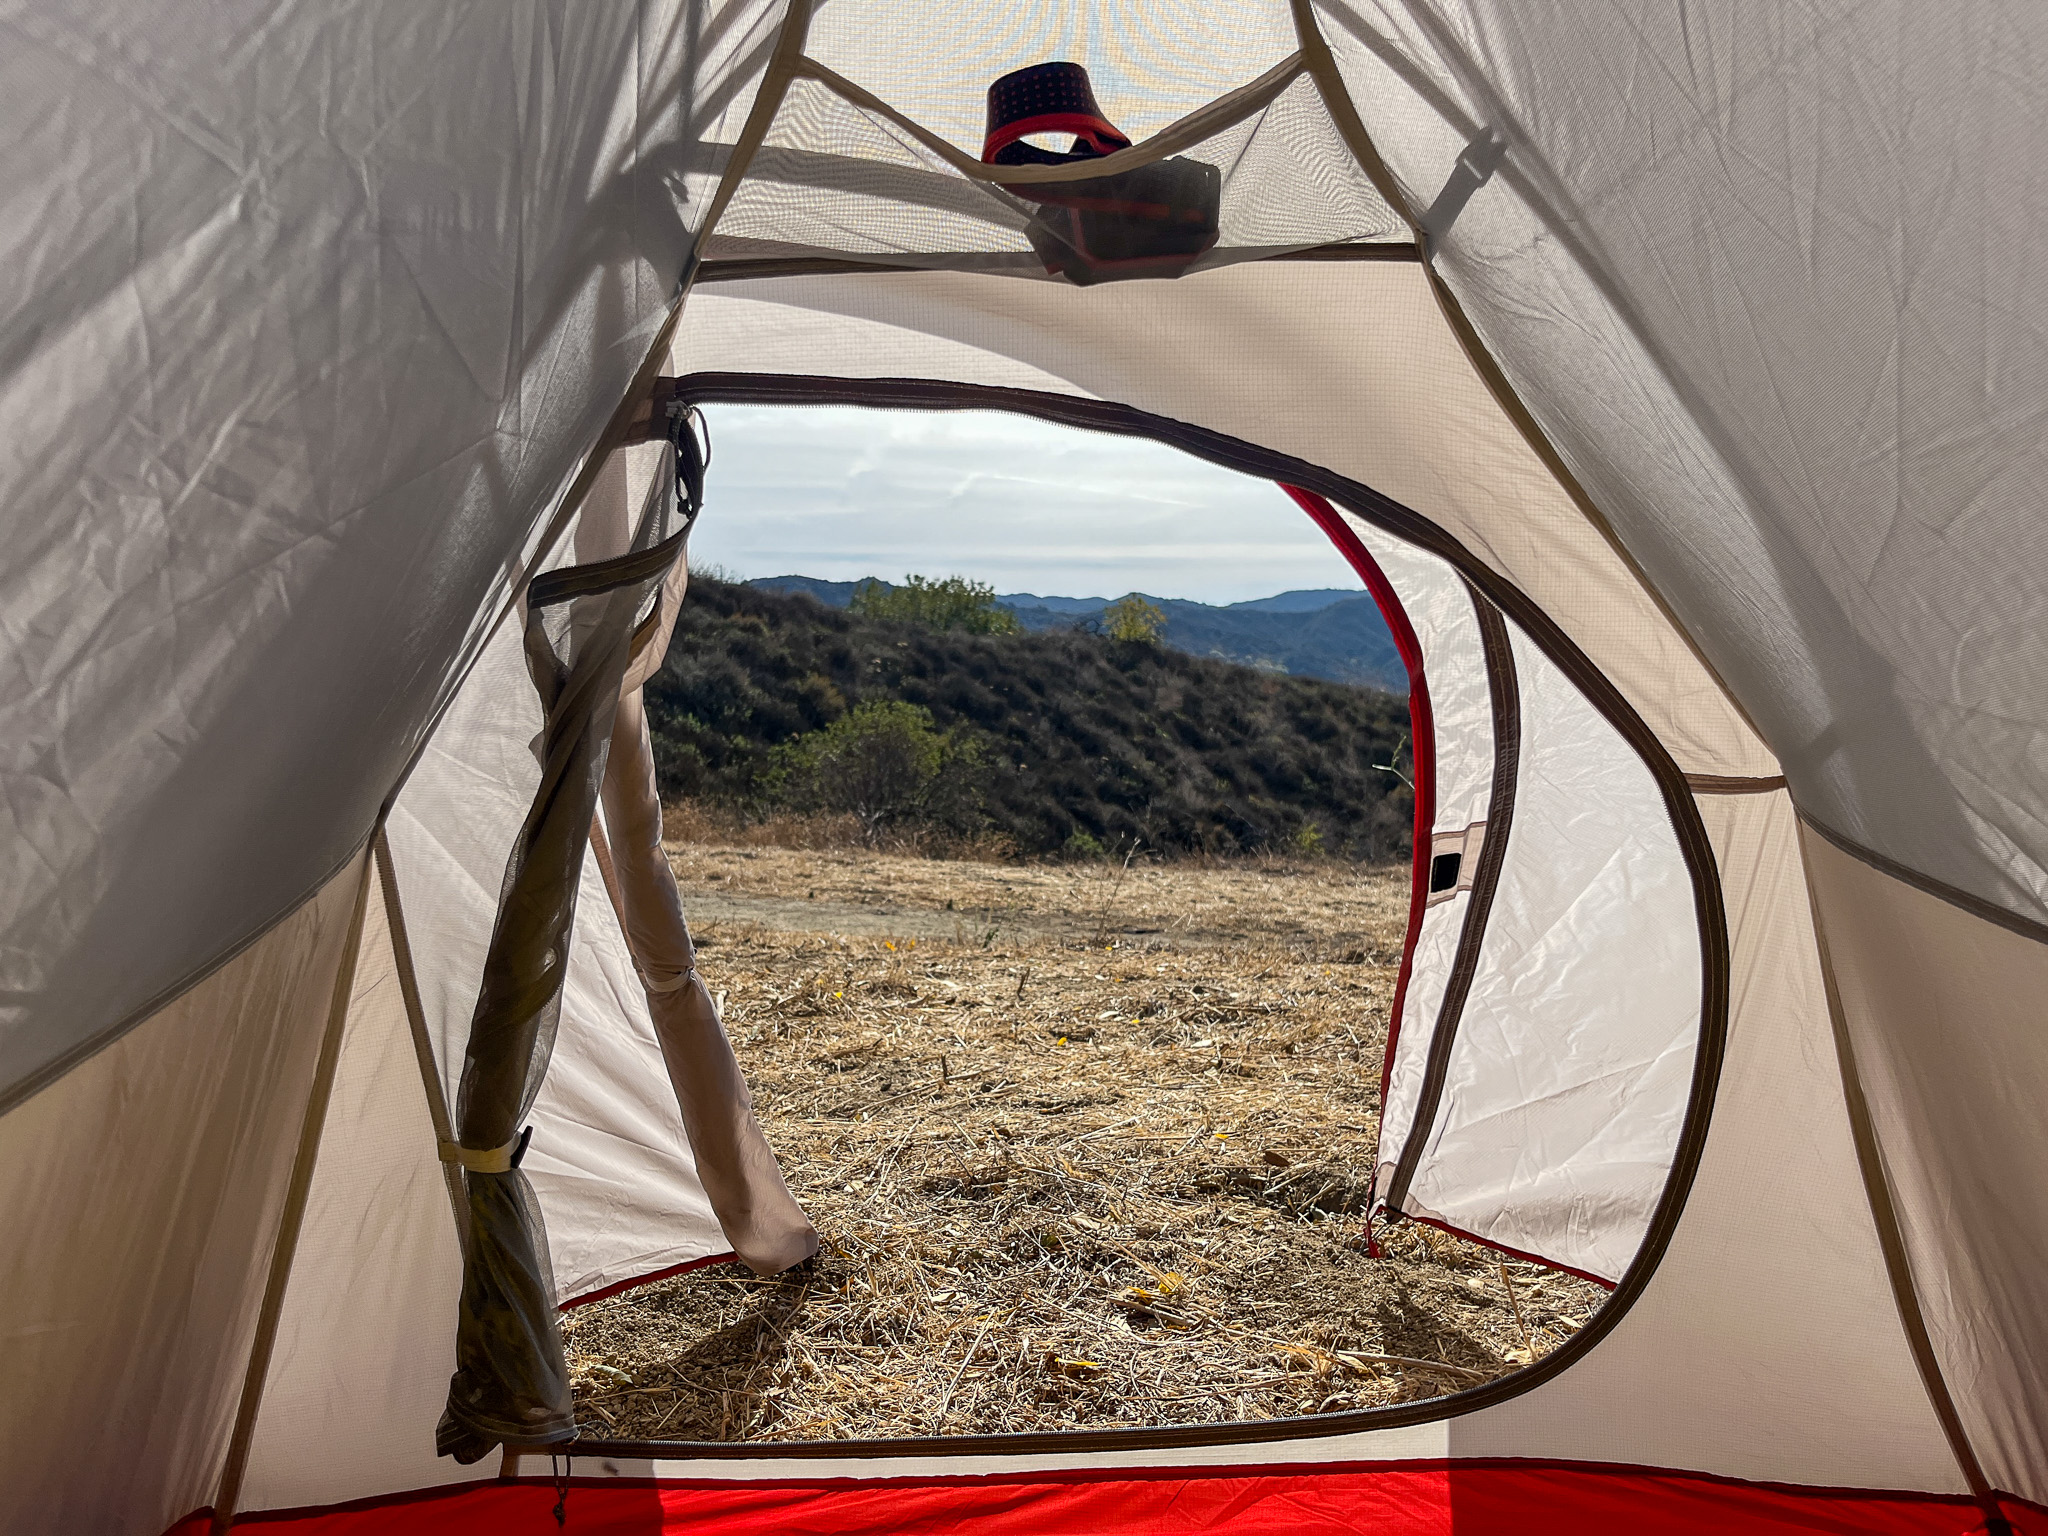
BE GENTLE WITH YOUR ZIPPERS
It’s the first point of injury on just about every tent we’ve owned, especially if it’s shared with children or aggressive zipperers. Snagging the tent’s zipper on the wall fabric is very common. If this happens, don’t force it. Instead, slowly and gently pull the zipper back while wiggling the fabric free. To avoid snagging or applying too much tension to zipper seams, use both hands to guide the zipper and pull in some slack as it zips.
It can be helpful to have a small multitool with pliers to realign zipper teeth if they get bent out of place (though notably, this works best on old-school metal zippers and less well on most newer plastic zippers). Periodically wiping down your zippers with a damp cloth and applying a wax-based zipper lubricant (or Chapstick in a pinch) will help keep them working smoothly.
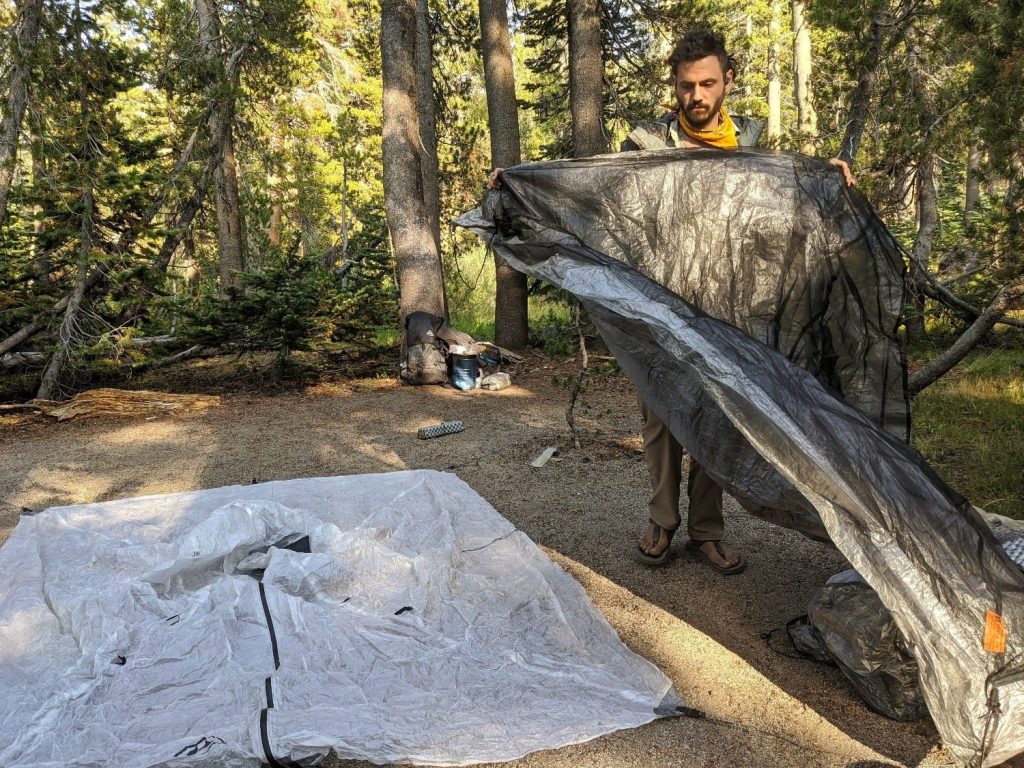
SHAKE IT OUT
Shaking out your tent during takedown ensures that there is no debris or dirt left inside when you pack it in its stuff sack. Holding the tent with two hands out in front of you, we like to tilt it slightly to settle all the dirt in one corner, then give it a few gentle bounces to get the debris out through the door
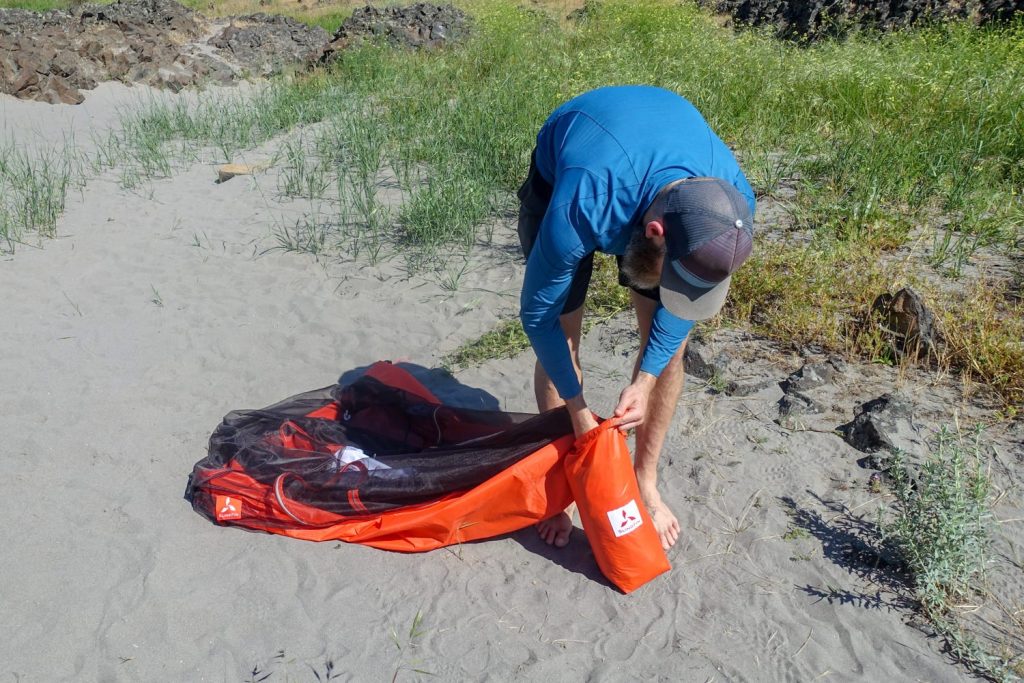
ROLLING VS. STUFFING
This comes down to neatness versus speed. Folding your tent into thirds and rolling it with the poles in the center protects the poles and is gentler on the tent fabric. As you start to roll, use your hand to sweep away dirt, sand, pine needles, or any debris as you work your way up. We prefer rolling for long-term storage after or between trips at home.
For on-trail carrying, we stuff our tent either directly into our pack or into a stuff sack (especially if the tent is wet). If going directly into a pack, avoid placing it next to hard items like cookware or anything snag-worthy or sharp.
The stuff method is undoubtedly faster and easier – it just requires a little attention, so you don’t catch a bunch of twigs in the mesh as you go.
PROTECT YOUR TENT FROM DIRECT UV EXPOSURE
When possible, set up your tent out of direct sunlight, maybe under a tree canopy or in the shadow of a rock wall. Sun exposure degrades the polyester or nylon fibers that make up the main tent fabric and will delaminate some waterproof coatings. Over time, the material becomes less waterproof and more brittle.
Tent Cleaning At Home
Before you hit the trail, carefully inspect your tent. If a tent is stored damp or in a damp space, it will harbor mold and mildew. This is an instance where the nose knows – you’ll almost certainly be able to smell the funk. Below are some general tips for spot-cleaning, deodorizing, and resealing its seams.
Tempting as it may be, avoid using washing machines (especially older models with an agitator) and dryers as they stress the seams, zippers, and mesh of your tent.
Sap and SPOT TREATMENTS
Pre-treat any stains with an organic citrus-based solvent or mild dish soap and a non-abrasive sponge. If you’re dealing with stubborn tree sap, try rubbing it with an ice cube to harden it before scraping it off.
You can also sandwich a sap spot with paper and very cautiously run a warm iron over it (it’s effective and also very risky – synthetic tent fibers will melt if they get too hot).
After you spot-clean the problem areas, give the tent a good all-over wash by following the steps below.
DEODORIZE & CLEAN
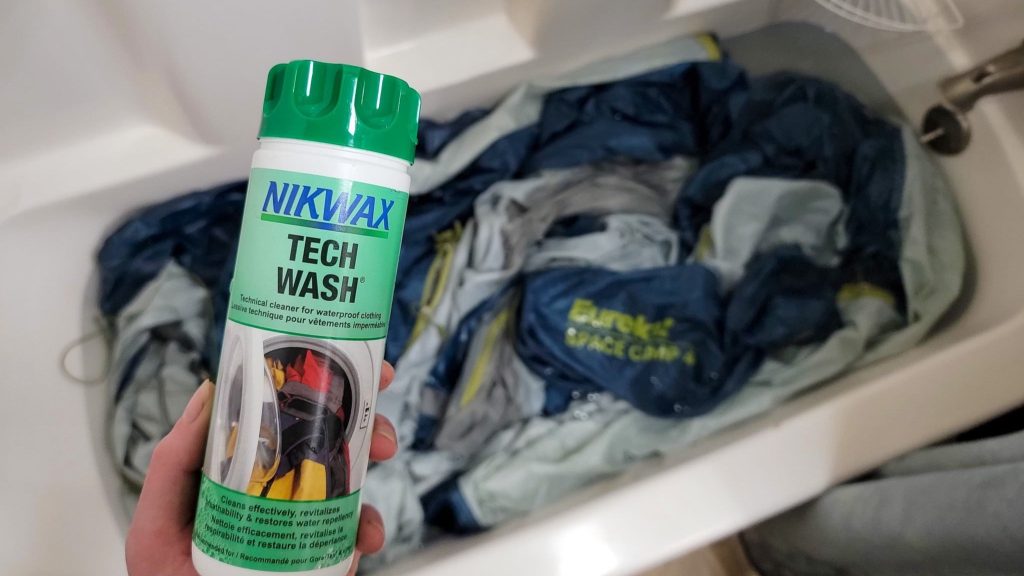
If the tent needs a deep cleaning or needs to be recoated because the waterproofing has worn away, use a cleaner specifically formulated for outdoor gear.
Our go-to tech cleaner, Nikwax Tech Wash, can be used to remove dirt and residue that otherwise prevents waterproof coatings from bonding to the tent fabric.
If your tent has a really strong odor similar to vomit (an odor caused by a specific strain of mold), fill a utility sink or a bathtub with warm water and 4 cups of baking soda or a cup of enzyme cleaner. Soak for about two hours.
Rinse, dry, and check for lingering odors. If the funk still isn’t gone, repeat as necessary. Make sure it’s 100% dry before storing your tent and avoid keeping it in an already-damp space like a basement.

Waterproofing Your Tent
RECOAT SEAMS
Check the seams on the rainfly, tent body, and floor to ensure the tape remains smooth and flat. It can start to lift up around areas of stress – especially the seam between the floor and canopy, on corners, pole sleeves, and zippers. Untaped seams that were previously sealed will show peeling when they need to be retreated. To reseal your tent:
- Determine where the seam sealer should be applied – on the inside or outside of the seam. Most are sealed on the inside, but check to see which side the original tape or sealant was applied to. One way to do this is to dribble some water on the seam. If the droplets pool or puddle up, the seal is on the opposite side. If the droplets bead up or roll away, you are probably on the side of the original seal.
- Using a ¼-inch foam or bristle paintbrush, recoat seams in the floor and interior walls of the tent body and fly. Look for any pinholes in the tent, and hit them with a little dab of the same sealant.
- Allow sealed seams to dry for 24 hours before packing the tent or recoating the tent body, floor, and fly.
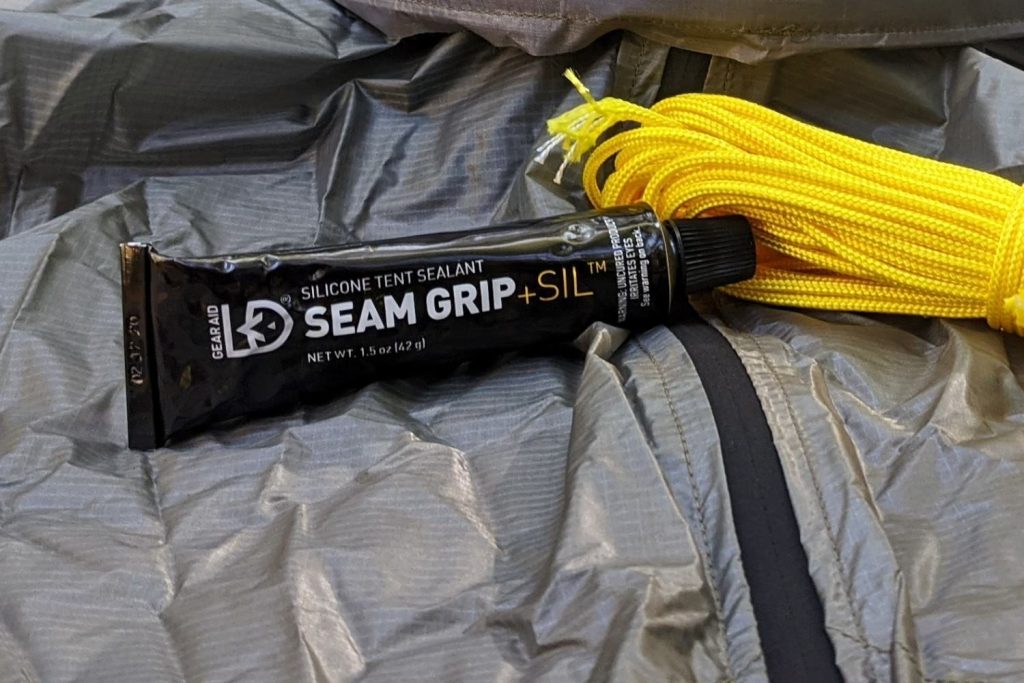
WATERPROOFING THE TENT BODY, FLOOR & FLY
This should only be necessary on tents where the waterproofing has significantly degraded. One sign of this is when the fly or tent walls start to stick together. A good product is Gear Aid’s Tent Fabric Sealant.
To apply a new waterproofing:
- Lay the tent on a hard surface and scrub off as much of the flaky coating as you can using a bristle brush. Wash and dry per the above instructions.
- Set the tent body up on a clean, hard surface and apply two coats of sealant (let the first coat dry for 24 hours). A wide 2- to 3-inch foam brush makes application easy and produces a clear and flexible finish. Spray PU is also an effective option, albeit more expensive. We like NikWax Tent & Gear SolarProof which includes solar-proofing and waterproofing in one.
- Allow to dry at least 24 hours before packing up.
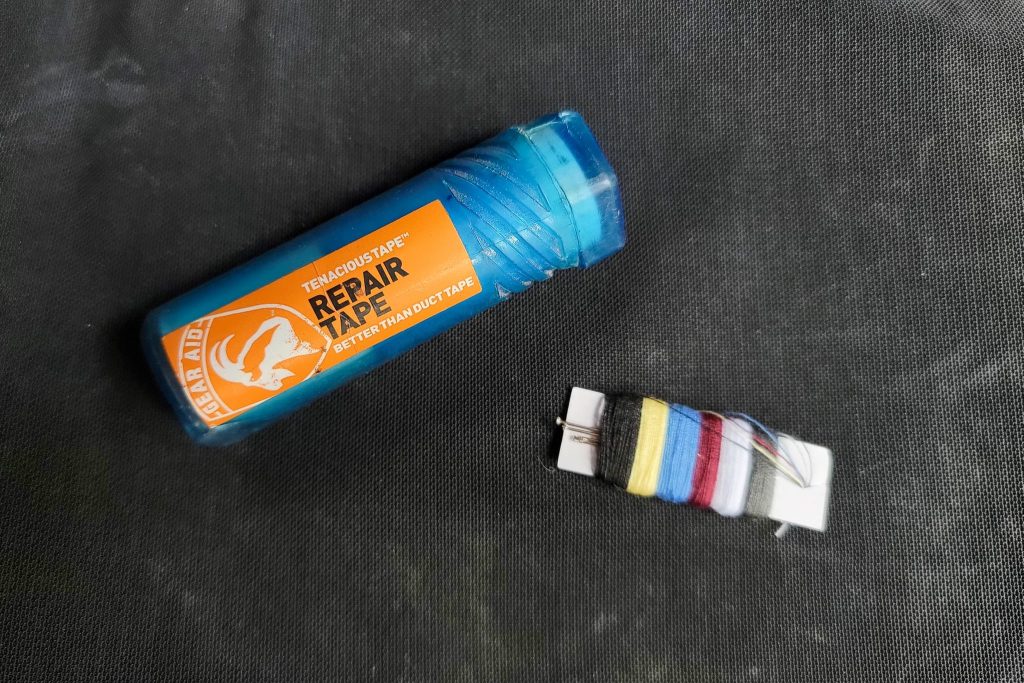
ZIPPERS
If a zipper gets stuck, don’t yank on it. Hold the fabric tight and try to work out the jam with small movements. If you have a graphite pencil, it may help to rub the tip against the teeth.
An emergency fix for a door with broken zippers that will (sort of) spare you aggravation in buggy environments is to keep some small safety pins in your repair kit for pinning the door closed.
To actually fix a broken zipper, you’ll need to use a zipper repair kit at home.

TENT POLES
Duct tape is a solid repair option for poles that break in the field. For our trips, we cut a 2-3-foot section of duct tape and wrap it around a trekking pole or a lighter. Most new tents come with a small 4-6 inch section of pole material to use as a splint, or you can use a tent stake to make one.
Place the splint across the broken or bent sections, then wrap duct tape around it to secure it.
When you get home, check with the retailer, manufacturer, or Tent Pole Technologies for a replacement pole. You may still be under warranty.
How to Re-Tension Slack in Poles
If your tent poles are too slack, they may not provide a taut, stable structure when you set up the tent. This is a common way poles fail. Once home, you can either replace the shock cords entirely or simply shorten the existing cords.
To shorten existing shock cords, remove the aluminum end cap from each pole (carefully, using a strong-grip plier). Holding onto the slack cord, pull it until it is taut (on the open end), keeping all the pole segments together.
Cut the cord and tie a small knot. The cord should be about 65 to 75% of the length of the pole. Slip the little knot inside the end pole segment and replace the end cap.

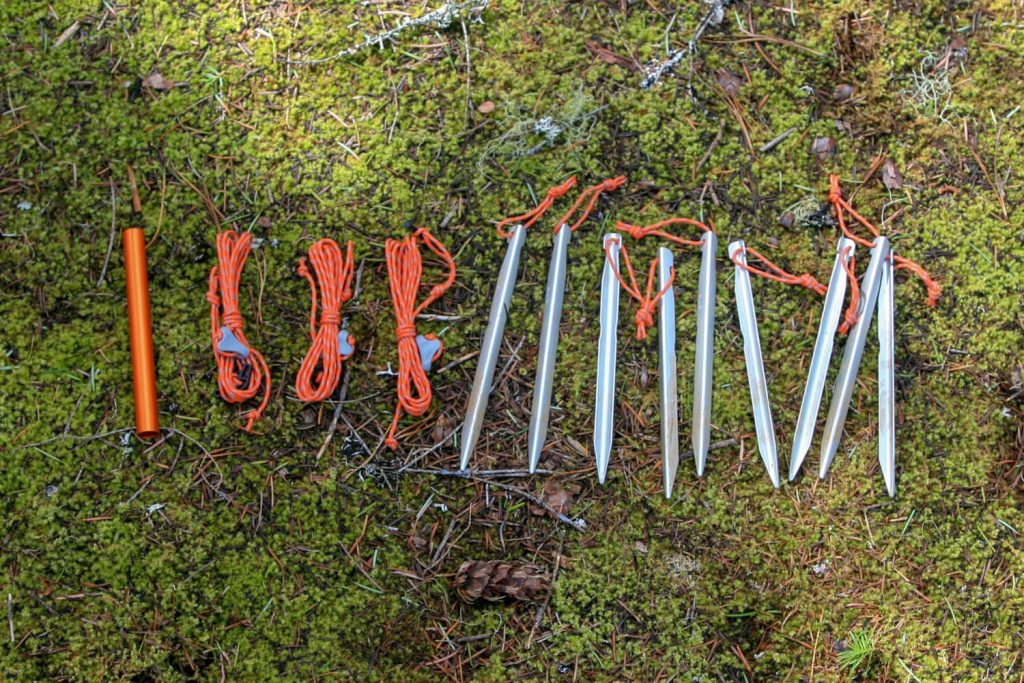
STAKES
If you lose or damage a tent stake, you can improvise in the field with a combination of sticks and rocks. Drive a stick into the ground as you would a stake, then find heavy rocks to place in front of the stick (between the stick and the tent) to stabilize.
See our guide to the best tent stakes for an upgrade.

Tent Storage Tips
After you return home from your trip, it’s easy to just throw your gear in the garage and let it sit until your next trip. However, how you store your tent significantly affects its lifespan.
SHAKE YOUR TENT OUT & HANG IT TO DRY COMPLETELY
Allowing your tent to dry 100% before storage is arguably the most important step in tent care. It’s easy to forget getting in late after a big weekend, but don’t delay!
Storing a damp tent will cause the tent fabric to mildew, which is not only smelly but also degrades the waterproof coating on the fabric.
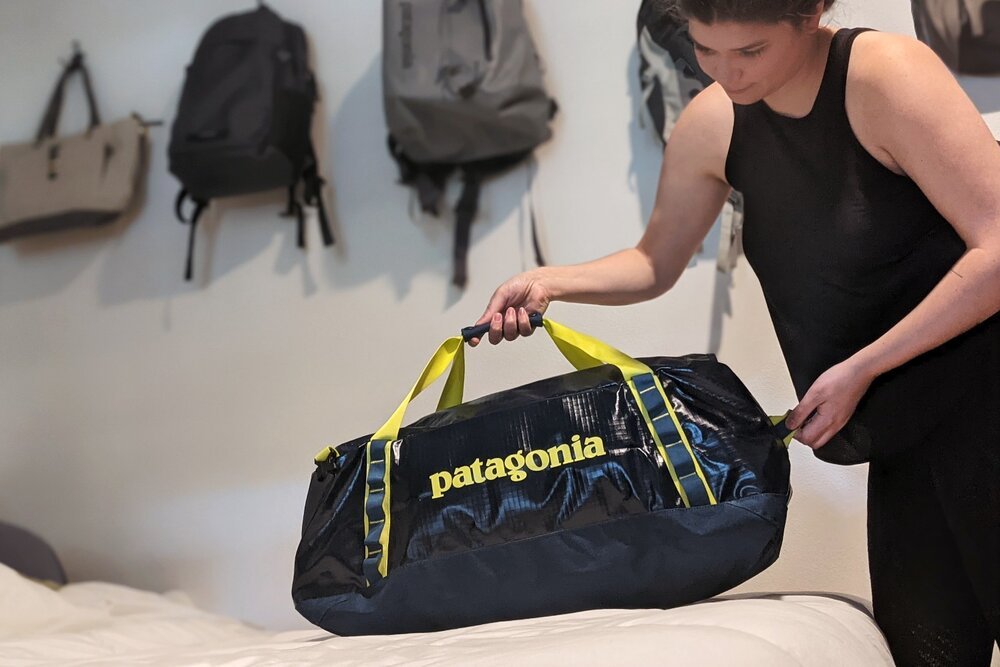
PACK YOUR TENT LOOSELY
Instead of storing your tent in a stuff sack long-term, pack it loosely in a large mesh bag or a duffel bag. This will help prevent moisture from becoming trapped, reducing the risk of mold and mildew.
STORE YOUR TENT IN A CONDITIONED AREA
Though unheated basements, attics, garages, or storage units seem like the best place to get gear out of the way, most lack insulation and can get super hot, musty, or damp.
Instead, store your tent in a heated area of your home, like a spare bedroom, hall closet, or under your bed.
More Information
We hope this guide helps you care for your tent properly so you can use it for years of outdoor adventures. As always, please leave a comment below with any recommendations, questions, or suggestions, or visit our Facebook page and Instagram to join the community conversation.
For more info, check out some of our other most popular gear guides: