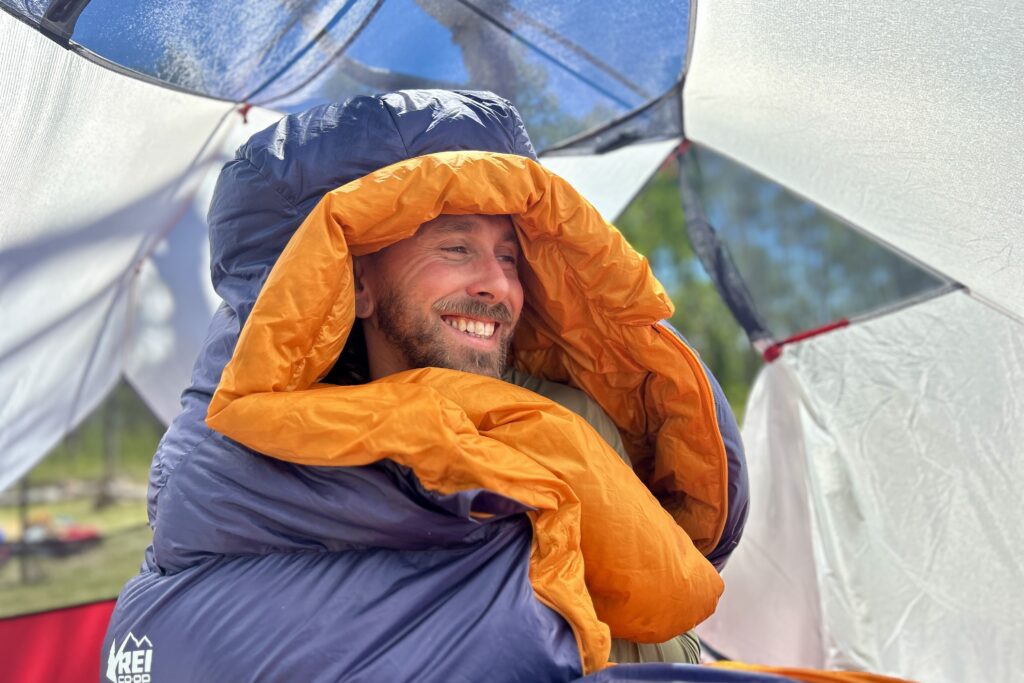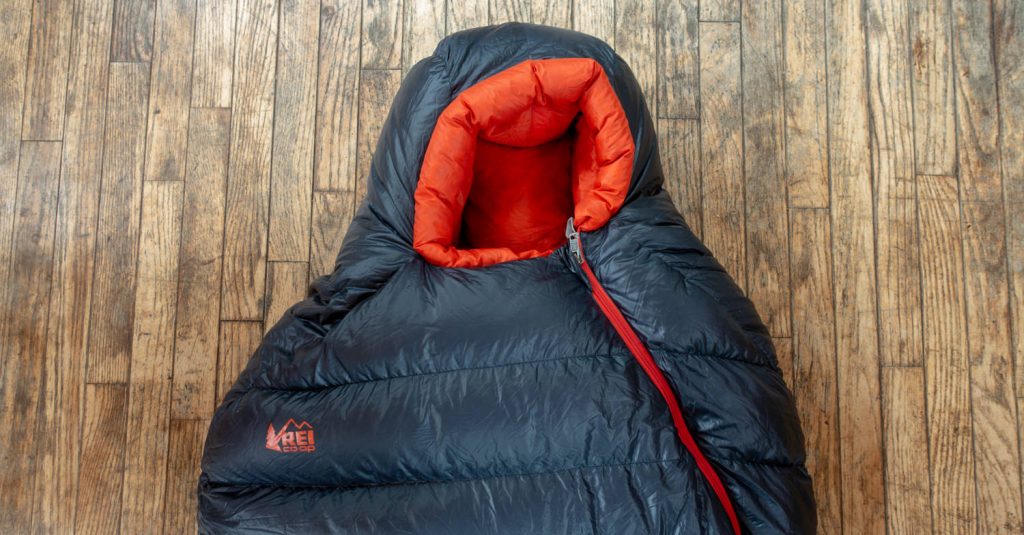
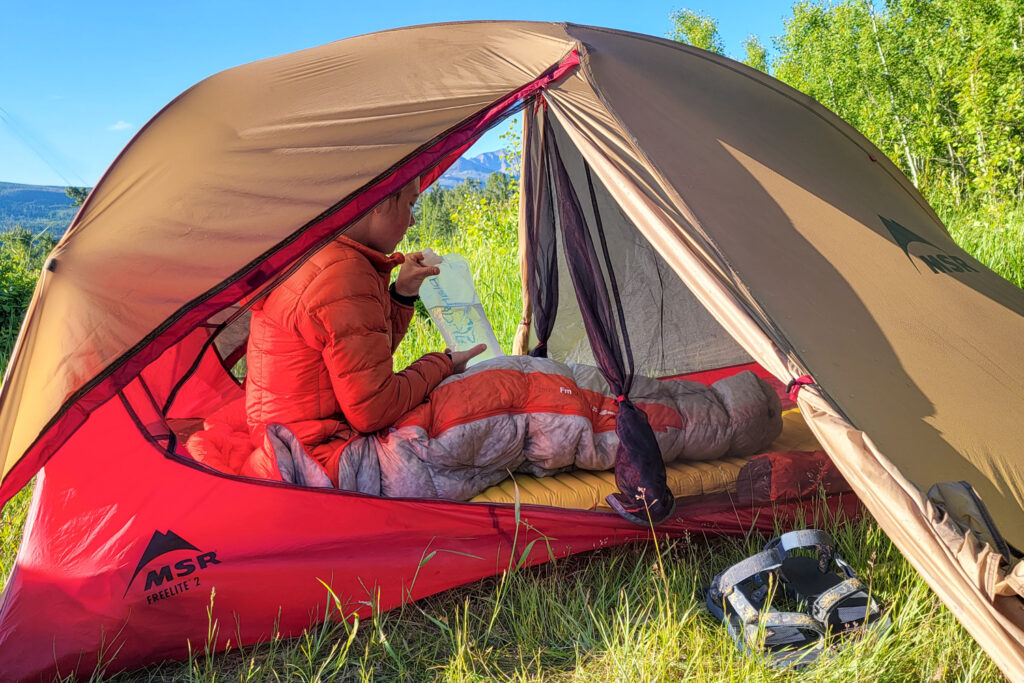
A down sleeping bag can be a backpacker’s greatest ally in the wilderness. If treated with care, a quality down sleeping bag can last for decades. However, many backpackers let grit and grime accumulate for years without ever washing their backcountry beds. Avoiding the laundry room not only guarantees a stinky bag but also a less effective one. Over time, dirt can deteriorate the fabric, ruin seams, and decrease a bag’s loft – which gives down its insulating power.
Fortunately, cleaning and maintaining your down sleeping bag just takes some time. The total process averages between 4 to 6 hours. Down feathers are delicate, so it’s important to be patient and wash your bag with care. There are two ways to go about it: machine washing or hand washing.
Does my Sleeping Bag Need a Full Wash?
If you’re reading this, it probably does. However, there are instances where a full wash isn’t necessary. Here are ways to tell if it’s time to wash your bag:
- Seasonal washing – We recommend washing your down sleeping bag at least once a year for moderate use, and 2-3 times a year if it is in very heavy rotation. If you used your sleeping bag multiple times per week through a season, it’s been more than 6 months since it’s been washed, or you simply can’t remember when it was cleaned, time is up.
- Clumping – Naturally, down condenses within the layers and baffles of your sleeping bag. You can tell if this is happening by feeling the feathers piled within the baffles in high-use areas around the zipper, hips, and shoulders of the bag. If you hold your bag up to bright light, you might even be able to see the down in bunches through the material. Or, you might have noticed your bag has a “flat” look.
- Smell – Down harbors bacteria when stored wet or improperly, making the material reek. If you can smell your sleeping bag, laundry day has already passed.
- Spot clean – Sometimes, all your down sleeping bag needs is a spot clean. Check highly soiled areas like around the collar, zippers, velcro, and foot box. For effective small-area cleaning, use a small dollop of down soap (or a teaspoon of vinegar for tough stains) on an area and gently scrub with a toothbrush. Then, finish with a sponge and warm water, making sure all the cleaner is removed. Open the sleeping bag, and lay it in a warm, dry place to air out completely before storing it.
Sometimes, all your down sleeping bag needs is a spot clean. Check highly soiled areas: around the collar, zippers, Velcro, and foot box. For effective small-area cleaning, use a small dollop of down soap (or a teaspoon of vinegar for tough stains) on an area and gently scrub with a toothbrush. Then, finish with a sponge and warm water, making sure all the cleaner is removed. Open the sleeping bag, and lay it in a warm, dry place to air out completely before storing it.
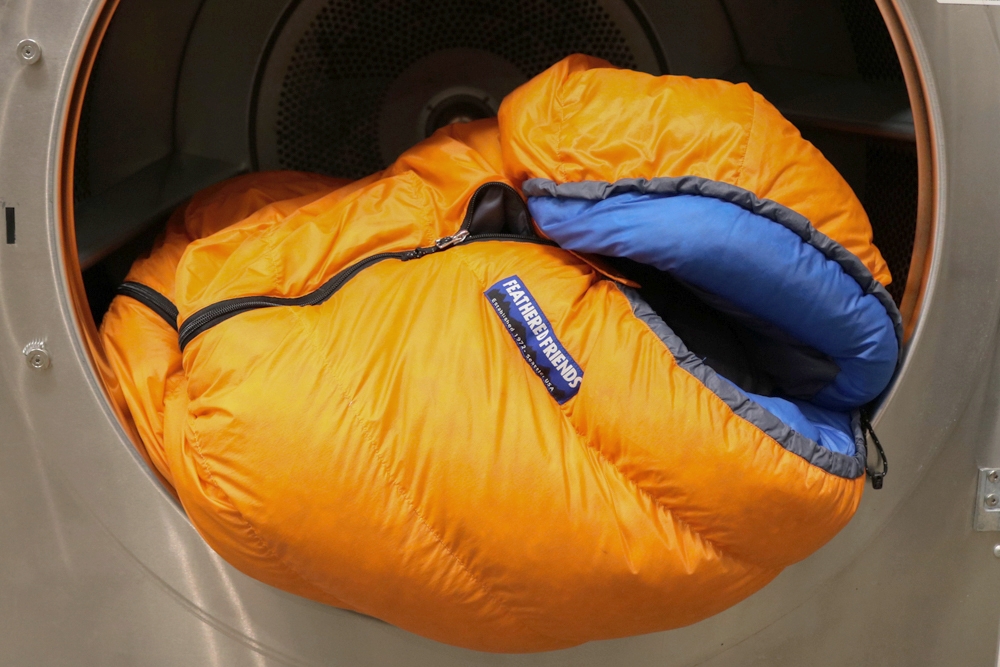
Machine Washing Your Sleeping Bag
Machine washing your down sleeping bag is easy. In only a few steps, you can have a fluffy, healthy sleeping bag ready to go for your next adventure.
Materials Needed
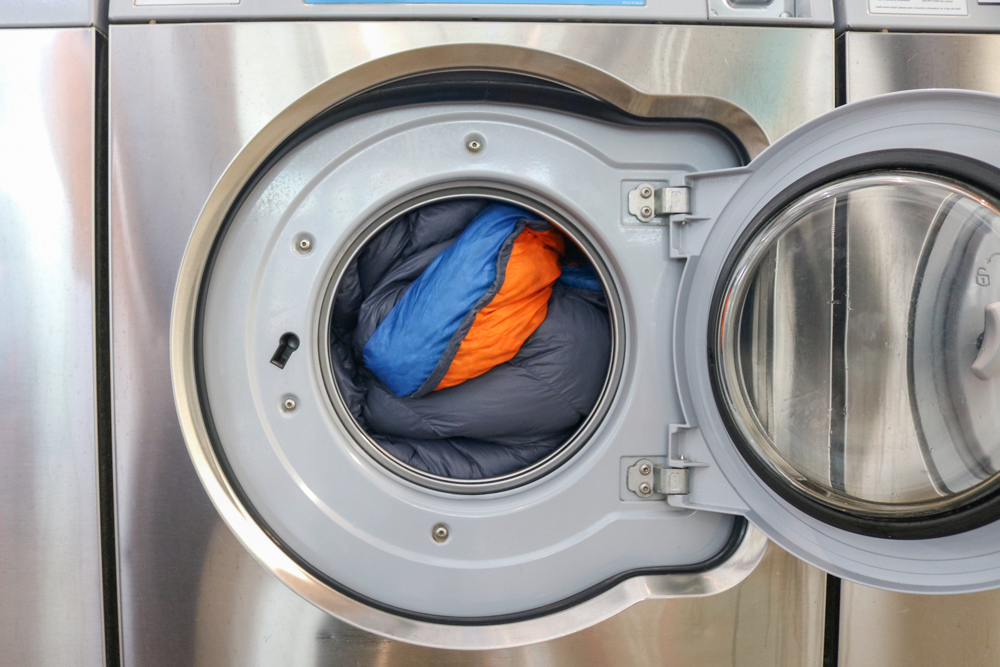
- Large front-loading washing machine – In general, front-loading washers are gentler on your bag. Top-loading washers are not only smaller-capacity, but they often feature a center agitator with grooves and ribs that can snag, rip, and damage your bag. If you don’t own a front-loading washer, we recommend planning a trip to a laundromat to wash all your down items properly in a large, front-loading washer.
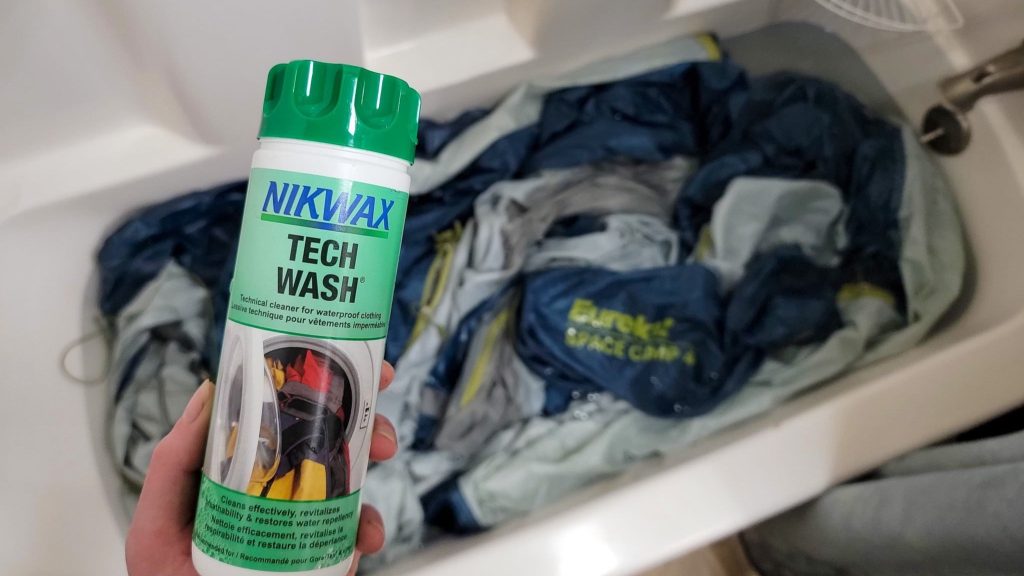
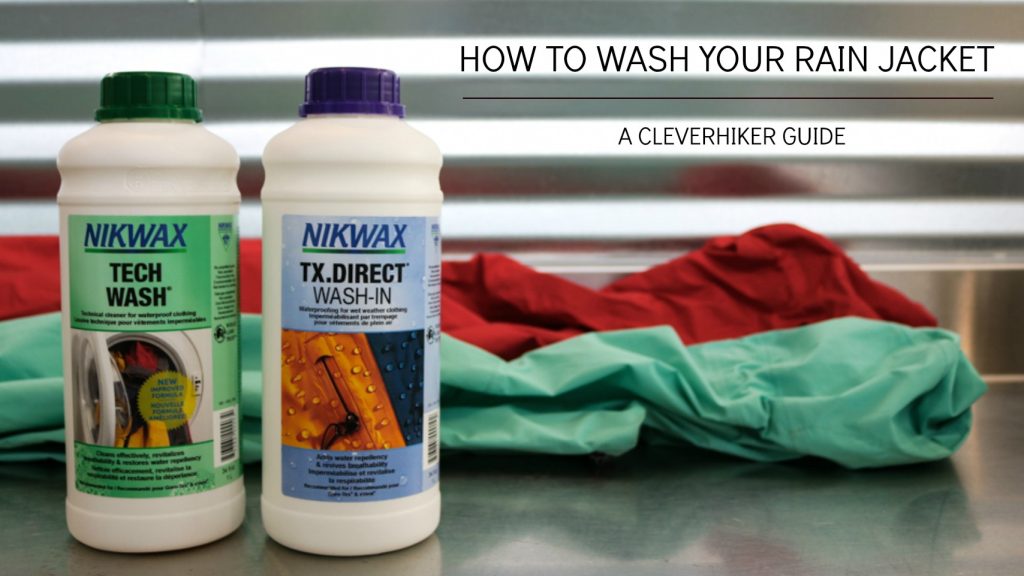
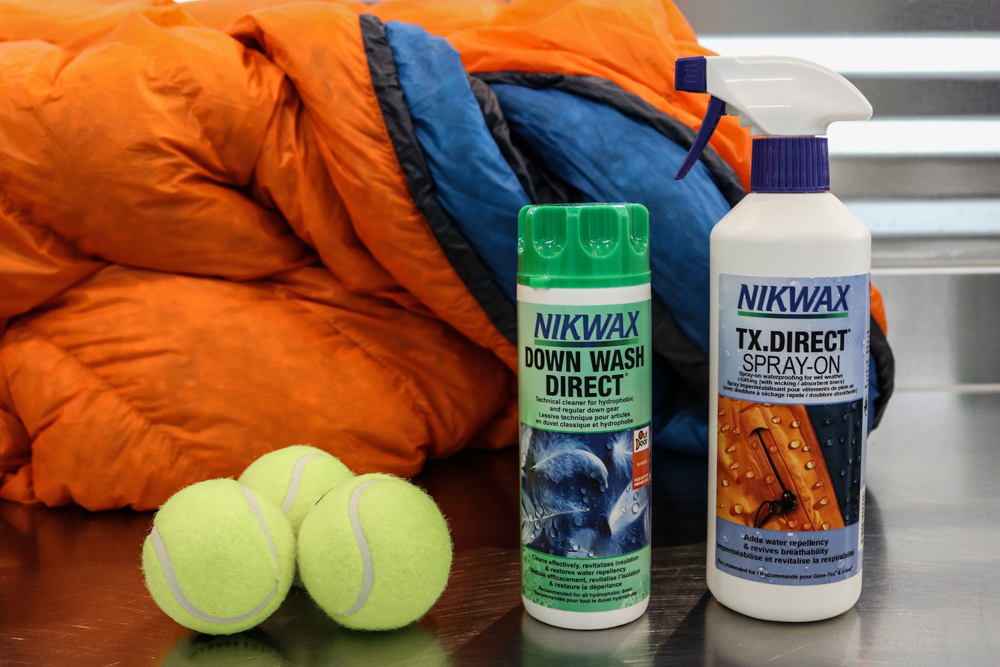
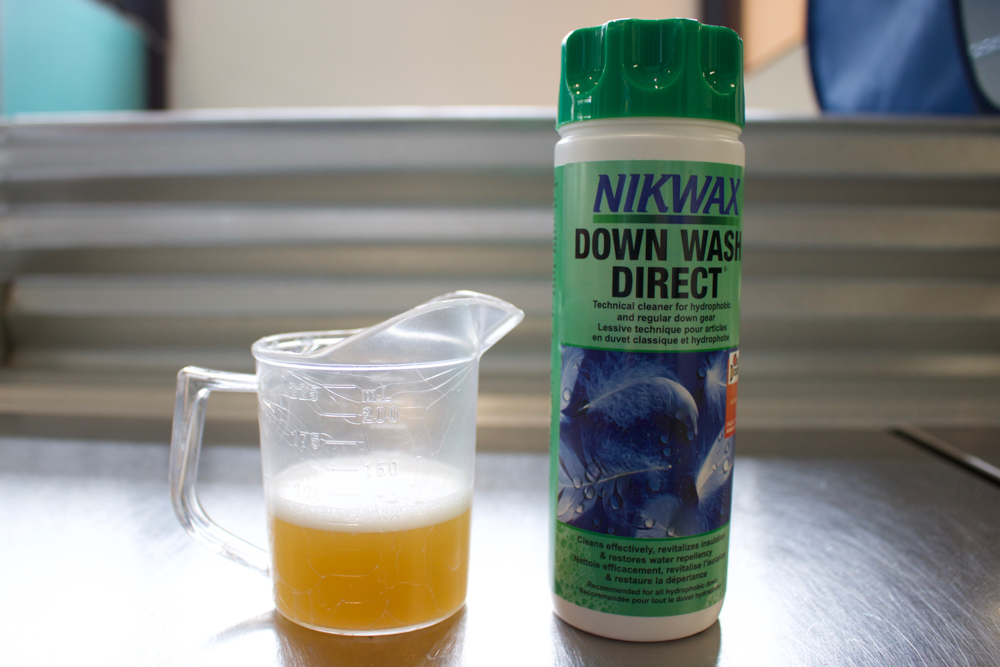
- Special down soap – We recommend Grangers Down Wash, Gear Aid ReviveX Down Wash, or Nikwax Down Wash. Avoid using regular detergents that can leave fragrances and residues. These commercial soaps often have ingredients that strip natural oils from the down and ruin synthetic fabrics. If you’re desperate, consider using a brand like Woolite, which is not as harsh as other detergents. Never use bleach, bleach alternatives, or fabric softener.
- DWR restore – After your completed wash cycle with Down Wash, consider using Down Proof to add moisture and stain protection to your bag. Down Proof is a durable water repellent (DWR) made specifically for down products. Most sleeping bags come with a water repellent finish, but DWR wears off with use, letting water soak into the bag instead of beading off the surface. This compromises down sleeping bags because down doesn’t insulate when wet. Re-applying DWR with Down Proof restores the face fabric’s water resistant finish – and also coats the down, giving it some moisture resistance, too.
- To maintain your bag’s water-resistant finish, we recommend a seasonal reapplication of a product like Nikwax TX Direct Spray-On or ReviveX Spray-On Water Repellant.
- Large front-loading dryer with low heat – Dry your sleeping bag on low heat. A machine with a low or no-heat setting is critical. High heat can cause damage to the material of your sleeping bag and can even melt synthetic shells.
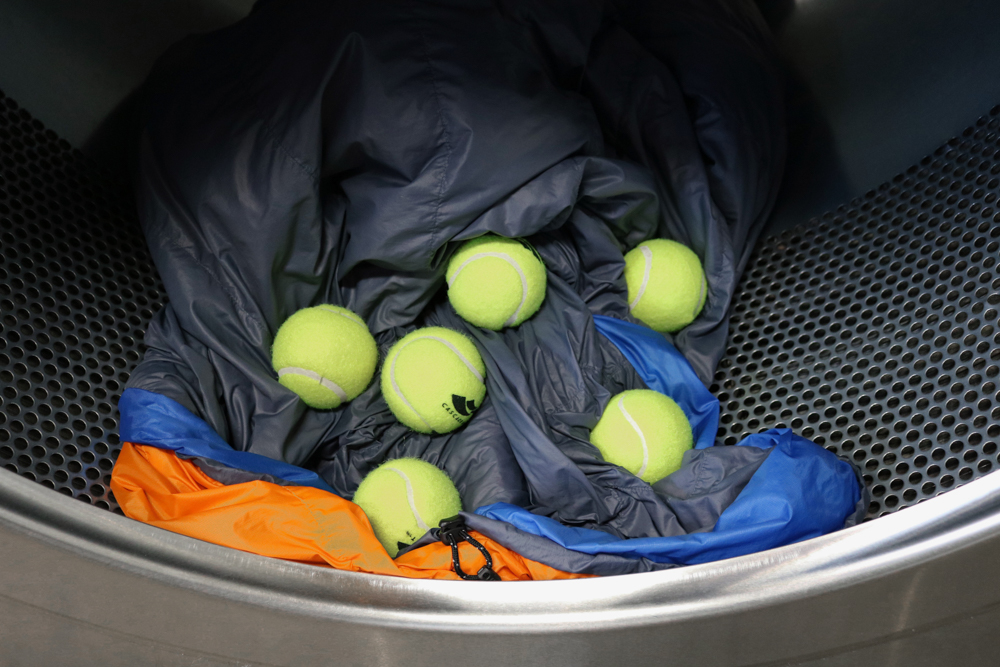
- Tennis balls, wool dryer balls, or clean sneakers – Drop some tennis balls or dedicated dryer balls into your dryer with your down sleeping bag. These help break up the down clumps when drying. In a pinch, you can use heavy socks balled up to achieve the same effect – or even a pair of shoes. Just be sure to wrap shoes in socks, so the tread doesn’t tear your sleeping bag.
Steps
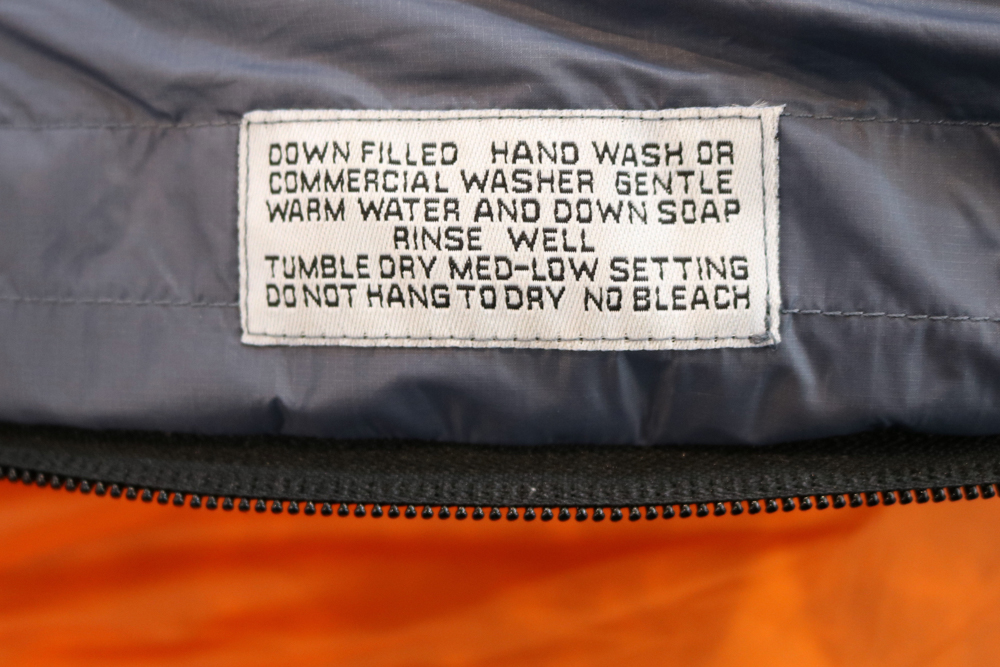
- Check the label – Prior to the washing process, carefully read the cleaning instructions on your sleeping bag label. These will dictate the water temperature and settings of your washing machine.
- Prepare the machine – Check the washing machine to remove any foreign objects left behind that could damage your bag. Also, ensure that there is no visible detergent residue remaining inside the dispenser to avoid stripping the feathers.
- Load the bag in the washer – Turn your sleeping bag inside out, zip it all the way up, and load it into the washing machine.
- Add soap – Put in your down soap according to the instructions on the bottle. For NikWax down soap, they recommend 100 ml of soap per wash.
- Delicate cycle – Set the temperature of the water to the settings on your sleeping bag label. Typically, this is the gentle (or delicate) cycle. When the cycle is complete, make sure the soap suds are out by pressing into your bag and looking for bubbles. If there is still soap, you will need to run your sleeping bag through another wash cycle without soap. We’ve found that an additional wash is rarely necessary.
- Add DWR – If you’re using a DWR restore product, this is when you’ll spray the sleeping bag. Do not dry it first. Follow the instructions on the spray bottle, making sure to turn the sleeping bag back to outside-in, then dousing the shell uniformly with the DWR spray. If you aren’t using DWR, move on to the next step.
- Load your bag in the dryer – Put your bag into the dryer on a tumble dry low setting. Triple-check that the heat is set to low. The time it takes to dry a down sleeping bag can vary slightly, but generally budget 3 to 5 hours to dry completely. Check in every 30 to 40 minutes to see how far along it is in the drying process.
- Add dryer balls – When your sleeping bag is nearly dry, open the lid and toss in 3-6 dryer balls, tennis balls, or a clean pair of sneakers (in socks). Run the cycle until it’s completely dry and the loft is restored.
Hand Washing Your Sleeping Bag
If you don’t have access to a front-loading washing machine, you can always hand wash your sleeping bag at home. This process is more involved, but many folks find it gentler and equally effective at refreshing their beloved bag. If you don’t have a large front-loading dryer, you will need a flat, wide surface area for your sleeping bag to dry. Below are the steps to hand washing your sleeping bag.
Materials Needed
- Bathtub
- Special down soap – Grangers Down Wash, Gear Aid ReviveX Down Wash, or Nikwax Down Wash
Steps
- Fill bathtub – Fill up a bathtub with 4-5 inches of lukewarm water. Turn your sleeping bag inside out and close all zippers.
- Add soap – Mix in your down soap according to the instructions on the bottle. With NikiWax down soap, it’s 100 ml of soap. Never use bleach, bleach alternatives, or fabric softener. Also, avoid using regular detergent as this will strip the natural oils from your down.
- Submerge bag – Immerse your entire down sleeping bag into the bath water. Then knead and massage all seams, surfaces, and parts of the bag for 3-5 minutes until it’s completely saturated. Make sure the down soap and water soak the fabric to reach all the feathers.
- Soak bag – Leave your bag in the tub to soak for one hour. This gives the soap time to extract all the grime and fully clean the bag material. At 30 minutes, flip the bag over and knead it again, then wait out the remaining time.
- Drain and fill – Drain the tub and refill it with clean, lukewarm water again. Gently knead and massage the bag, this time with the goal of getting the soap completely out of the bag. Move from the foot box to the top. Do NOT wring or squeeze the bag.
- Rinse and repeat – Repeat step 5 as much as necessary. You will likely have to drain and fill the tub multiple times before you get all the soap out of your bag.
- Add DWR – This is when you’ll spray the sleeping bag with DWR. Do not dry it first. Once all the soap is out of the bag, drain the tub, turn the sleeping bag back to outside-in, and spread it out as best as possible. Follow the instructions on the spray bottle, dousing the shell uniformly with the DWR spray. If you aren’t using DWR, move on to the next step.
- Dry your bag with a dryer – If you have a large front-loading dryer at home, put your bag into the dryer on a Tumble Dry Low setting. To do this, follow Steps 7 and 8 from the Machine Washing section (above).
- Dry your bag by hand – Lay your bag outside, on a surface clear of debris like on a patio, towel, or lawn. If your only option is to dry it indoors, lay the bag out on a towel ideally on a hard floor to avoid getting any carpet wet. For best results, dry your bag in partial shade. Air drying will take several hours. Occasionally return to check for remaining wet spots and flip the sleeping bag for maximum ventilation.
- Fluff the down – Once your bag is somewhat dry, you’ll need to manually unclump the down feathers. This may seem tedious, but it becomes easier and faster as the bag dries. Delicately pull apart the clumps of feathers by hand through the material of the bag, working from the foot box to the head opening. As it dries, you can also gently fluff or shake your bag like you would a feather pillow.
Sleeping Bag Storage Tips
Storing your down sleeping bag properly is as important to its longevity and efficacy as keeping it clean.
- Mesh bag – Keep your sleeping bags stored in a large, breathable mesh sack – which is often included when you purchase it. This method preserves the natural shape of the loft and the integrity of the shell. Storing your bag properly reduces the chance of its down clumping up while not in use.
- Keep it loose – You can also stash your sleeping bag loosely in a bin or storage bag. Be sure to store it in a different way each time. Folding or compressing the sleeping bag repeatedly along the same seams or lines will eventually wear down the shell material and mangle the down. For the same reasons, never vacuum seal your down gear.
- Cool, dark, and dry – Avoid moisture, heat, pests, and direct sunlight as they will ruin your bag over time. By keeping that cherished down sleeping bag in a safe, temperature-controlled, and dry place, you’ll be able to enjoy it for many adventures to come.