We’ve spent decades honing our backpacking gear to (our) perfect balance of weight and creature comforts. After 20,000 miles and 1,000 nights on trail, we’re pretty dialed in to what we want and need for any adventure, and we love helping people find their perfect kit as well.
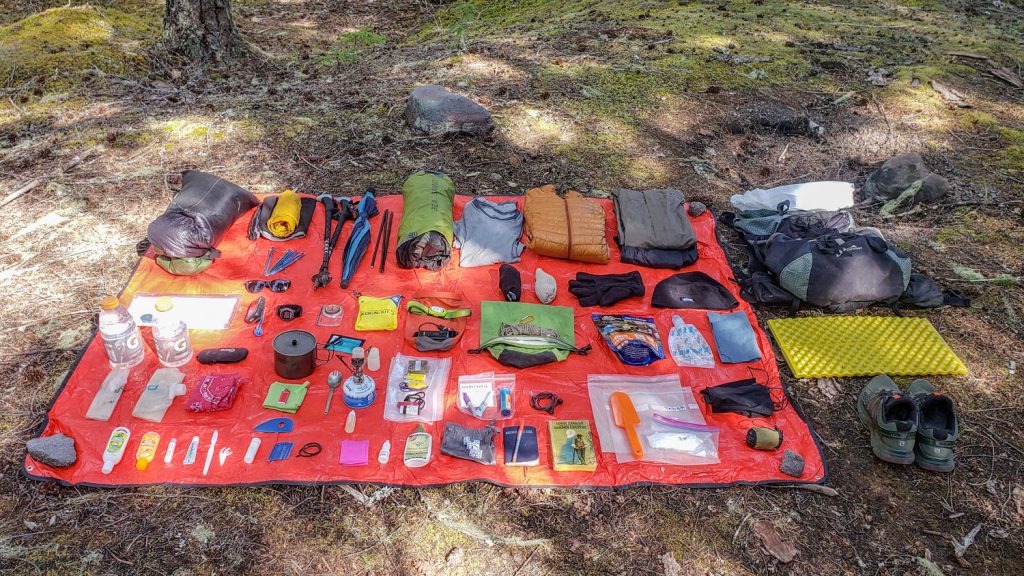
We’ve organized the Ultimate Backpacking Checklist into categories to make it easier for you to gather your backpacking gear for your next trip. We also have adownloadable checklist. Print it out and have a hard copy with you as you organize your gear.
Ultimate Backpacking Checklist
DOWNLOAD OUR PRINTABLE CHECKLIST
*We consider items in italics to be optional
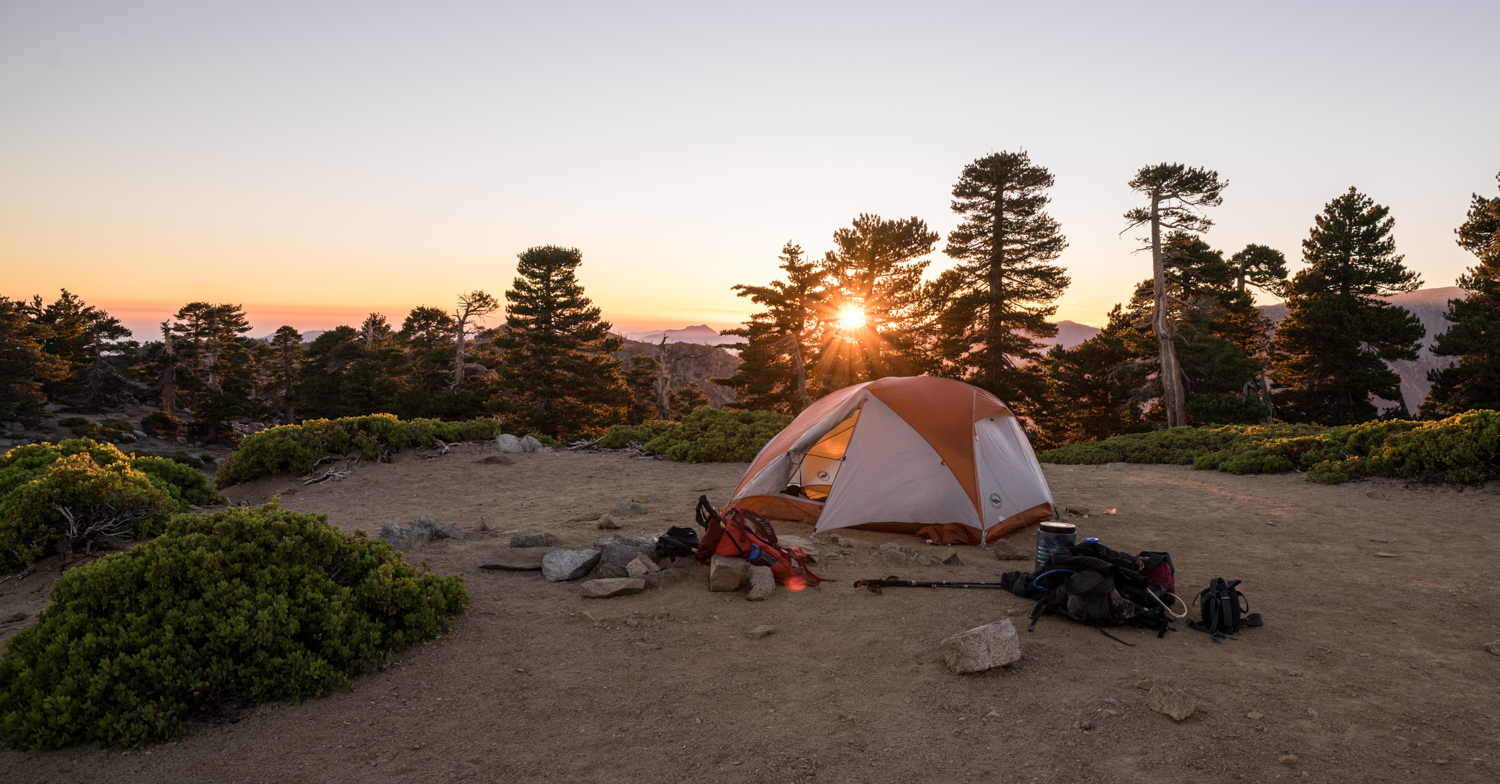
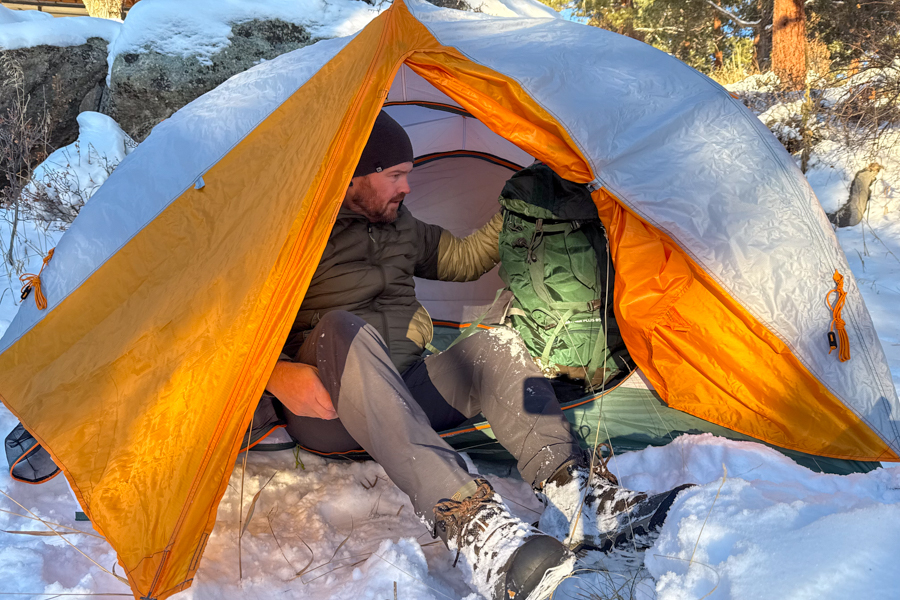
SHELTER
- Tent
- Rainfly
- Tent poles or trekking poles
- Stakes
- Guylines
- Groundsheet for tent floor durability
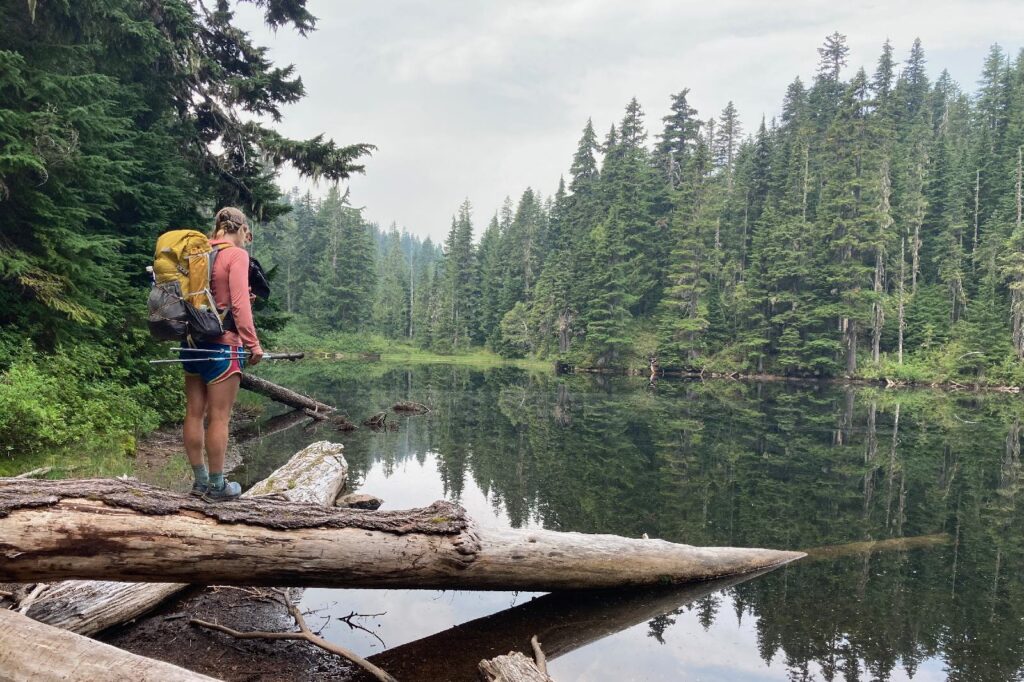
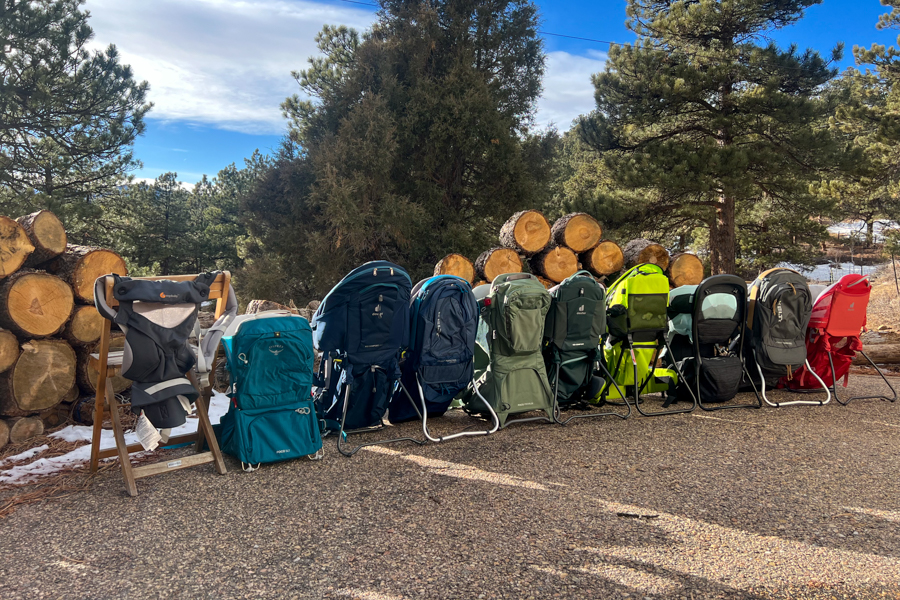
BACKPACK & STORAGE
- Backpack
- Trash compactor bag or waterproof stuff sacks for interior rain protection
- Large Ziploc for garbage
- Shoulder strap camera pocket
- Summit pack
ENTERTAINMENT
- Book or Kindle
- Crossword puzzles
- Cribbage or dice
- Notebook + pen
- Headphones
NAVIGATION EQUIPMENT
Always be prepared and know how to use your map and compass, even if you plan to use a GPS or GPS app.
- Topo map(s)
- Waterproof map bag / Ziploc
- Compass
- Watch
- GPS or GPS phone app with maps downloaded for offline use
- Satellite Messenger/PLB for remote locations
- Download driving directions for offline use
- Photos of guidebook pages
- Check current weather before trip
- Call ranger station pre-trip for trail conditions + regulations
- 2 copies of itinerary: 1 left with friend + 1 under car seat
- Backpacking permits
FIRST AID
- Band-aids of various sizes
- Antibiotic ointment
- Gauze pads
- Medical tape
- Latex gloves
- Tweezers
- Safety pins
- Moleskin
- Antihistamines
- Antidiarrheal
- Check out our Best First Aid Kits list for more suggestions
PERSONAL TOILETRIES
- Sunscreen + lip balm
- Bug repellant
- Toiletries (biodegradable shampoo, etc.)
- Prescription Rx
- OTC meds + vitamins
- Contact lenses + supplies/glasses
- Toilet paper/wipes + sealable bag to pack it out
- Digging trowel
- Menstrual products
- Hand sanitizer
- Toothbrush, paste + floss
- Comb/brush
- Earplugs + eye mask
- Eye drops
- Hair ties
- Nail clipper
- Pre-trip: Clip nails, cut hair, shave, etc.
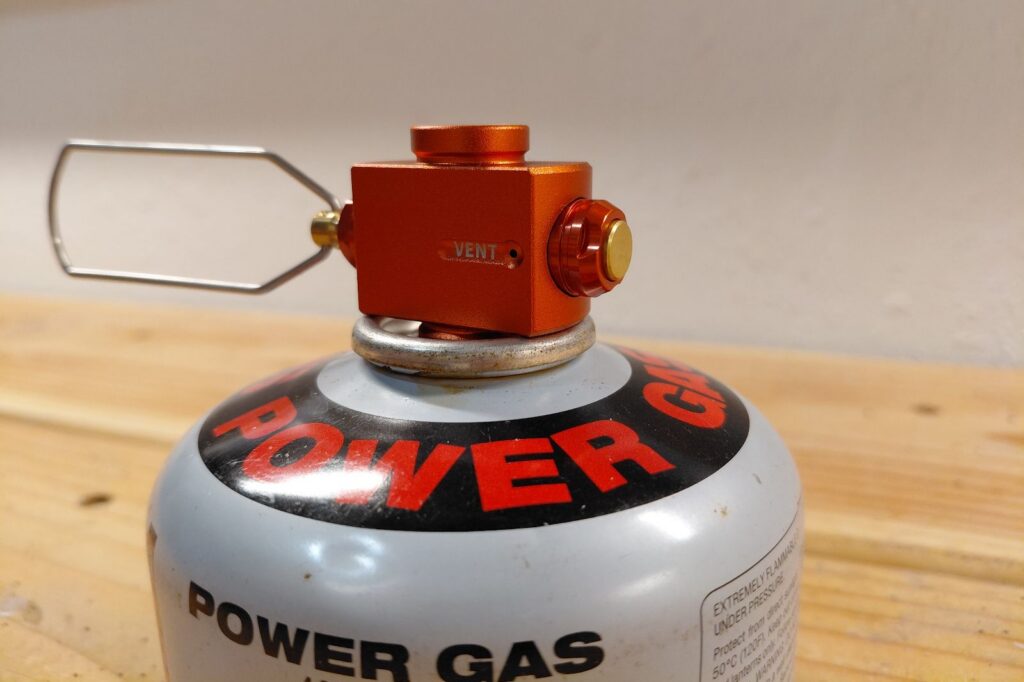
COOKING & KITCHEN
FOOD
- Provisions – commonly between 2,500-3,500 calories per day
- Extra day’s supply of food for emergencies
- Food bag / Ursack
- 50’ nylon cord + small carabiner for bear bag hanging or bear canister where required
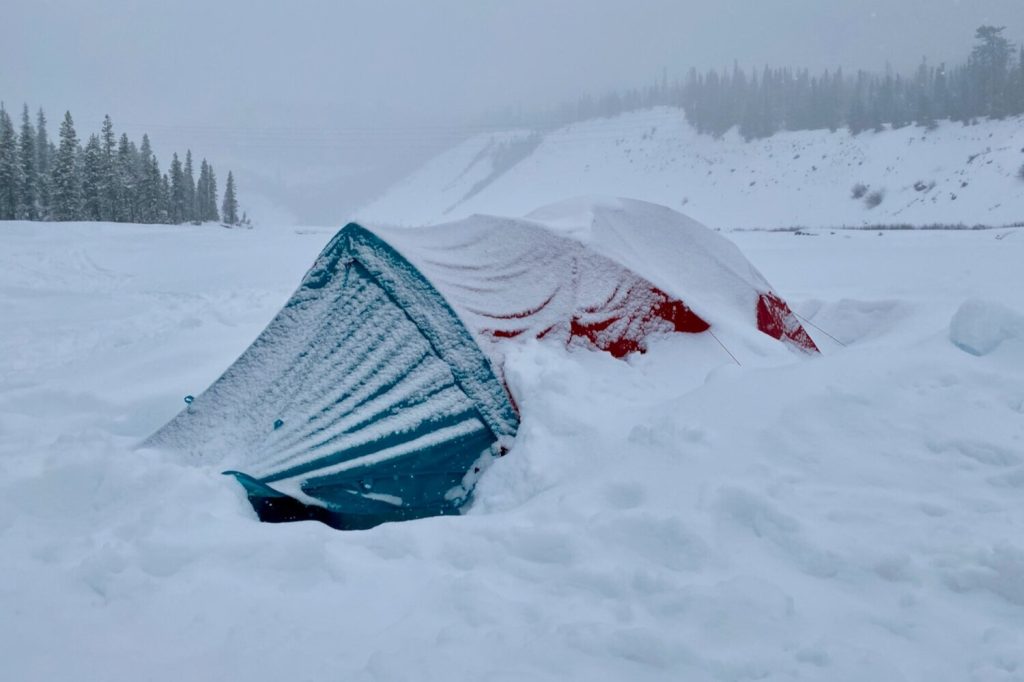
OPTIONAL EQUIPMENT FOR SNOWY & ICY TRIPS
- Ice axe – learn + practice proper self-arrest technique
- Traction devices
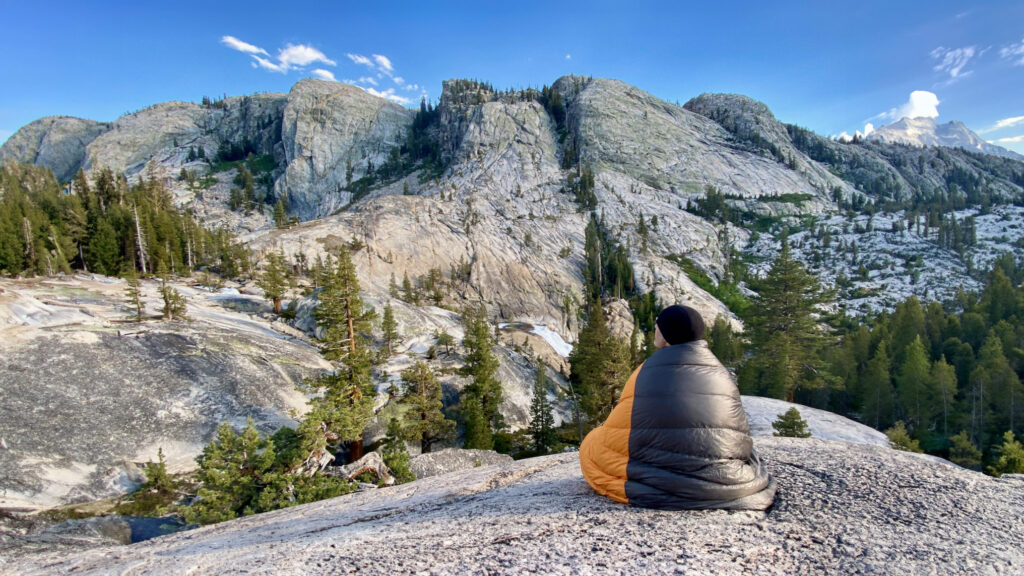
SLEEP SYSTEM
- Sleeping bag / backpacking quilt
- Pad attachment straps (optional)
- Sleeping pad
- Pump sack (optional)
- Pillow
TOOLS & ACCESSORIES
- Trekking poles
- Lightweight hammock
- Backpacking chair / sit pad
- Light pocket knife or multitool
- Phone (turn on low power/airplane mode)
- Waterproof phone case
- Umbrella
- Bear spray for grizzly country
- Camera + waterproof case/Ziploc
- Extra camera battery
- Headlamp (check batteries pre-trip)
- Extra batteries for long trips
- Power bank + charging cords
- Wall plug for thru-hikes
- Assorted Ziploc bags
- Cash, ID, credit card, insurance card
EMERGENCY KIT
- Whistle
- Duct / Tenacious Tape for repairs
- Sleeping pad patch kit
- Super glue
- Needle + thread
- Small Sharpie
- Stormproof matches + small fire starters
- Small backup lighter
- Backup water treatment pills (Chlorine Dioxide)
HYDRATION
- 2-4 water bottles (ability to carry 2-6 liters depending on climate) or a hydration pack & bladder
- Collapsible water containers for carrying lots of water in dry locations
- Water treatment
- Pre-filter for water treatment, ex: pantyhose
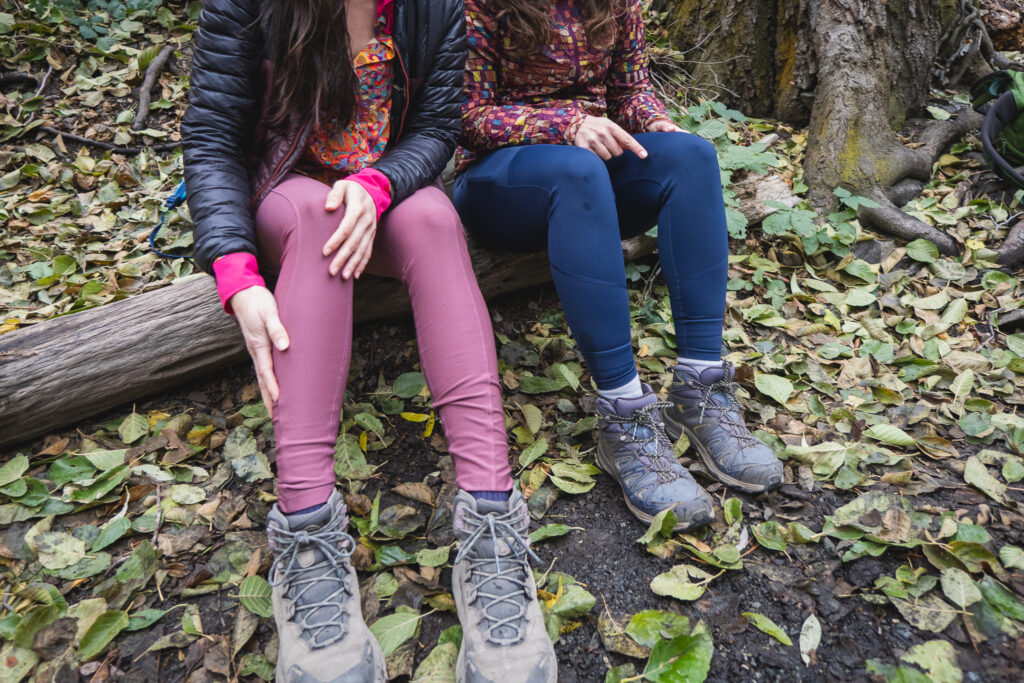
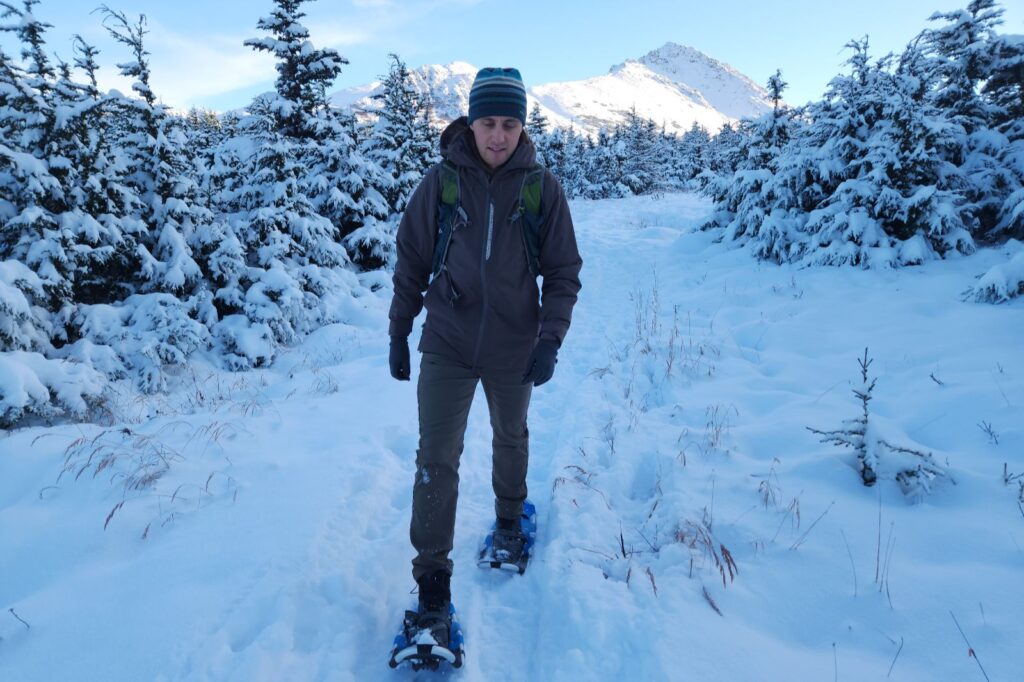
CLOTHING
All clothing items should be lightweight, moisture-wicking and quick-drying (synthetic or wool, no cotton).
- Hiking pants (Men’s / Women’s) & shorts (Men’s / Women’s)
- Wicking shirt/tank & long-sleeve sun shirt (Men’s / Women’s)
- 1-2 pairs quick-dry underwear
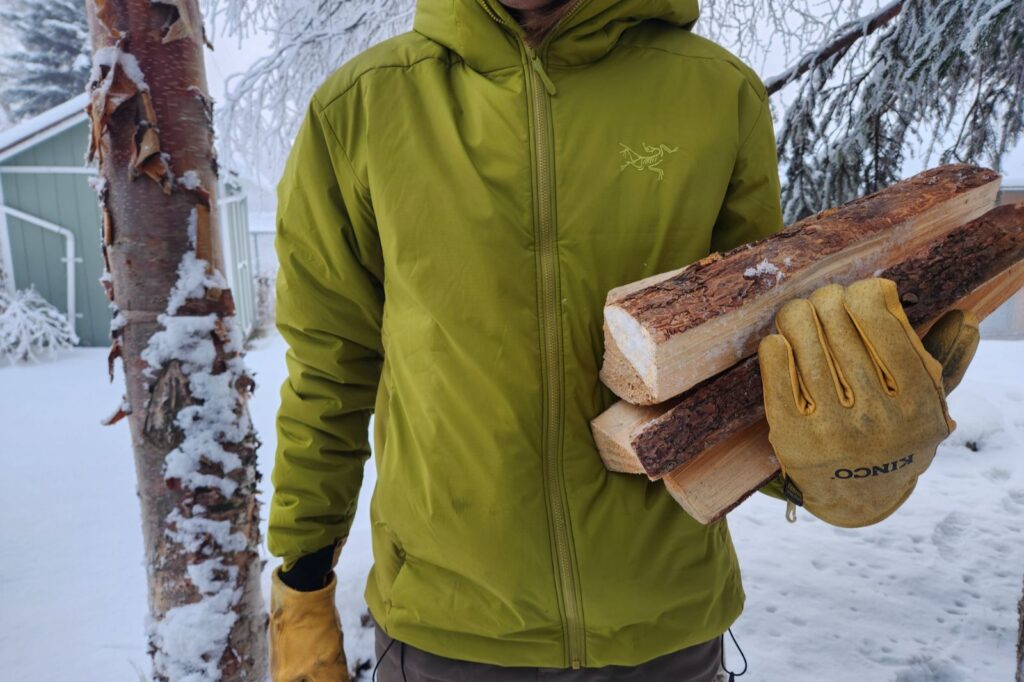
- Down jacket and/or fleece jacket
- Rain jacket
- Rain pants for wet trips
- Windbreaker depending on forecast
- Base layers
- Shoes
- 2-4 Pair socks
PACK IN CAR
- Parking pass for car
- Clean clothes + shoes to change into
- Gallon of water for trailhead shower
- Camp towel to dry off
- Water + snacks
Backpacking Tips
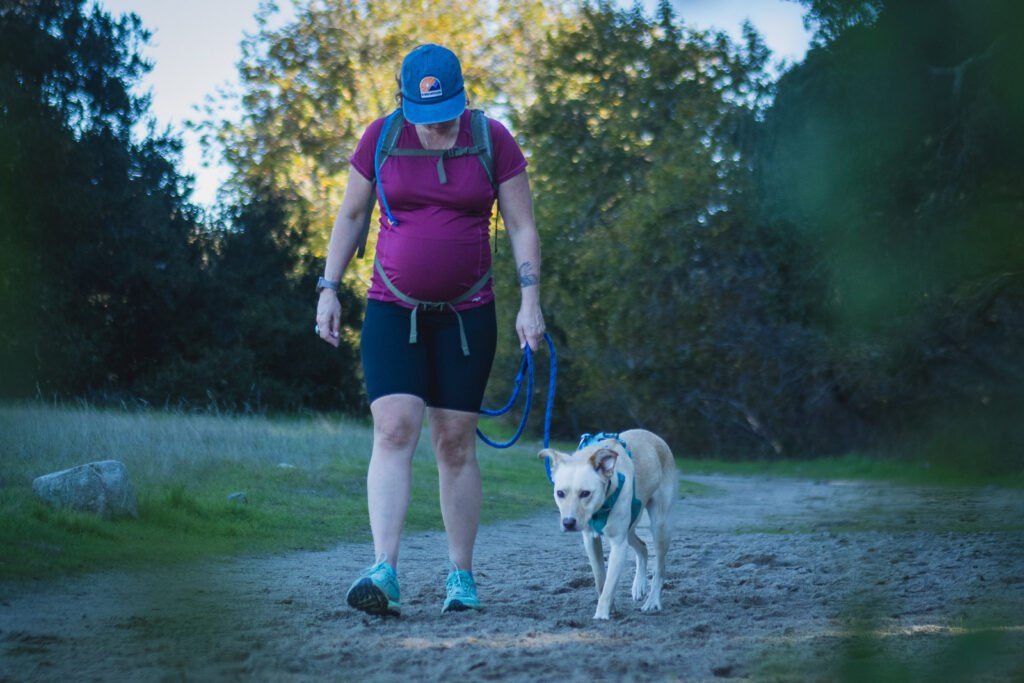
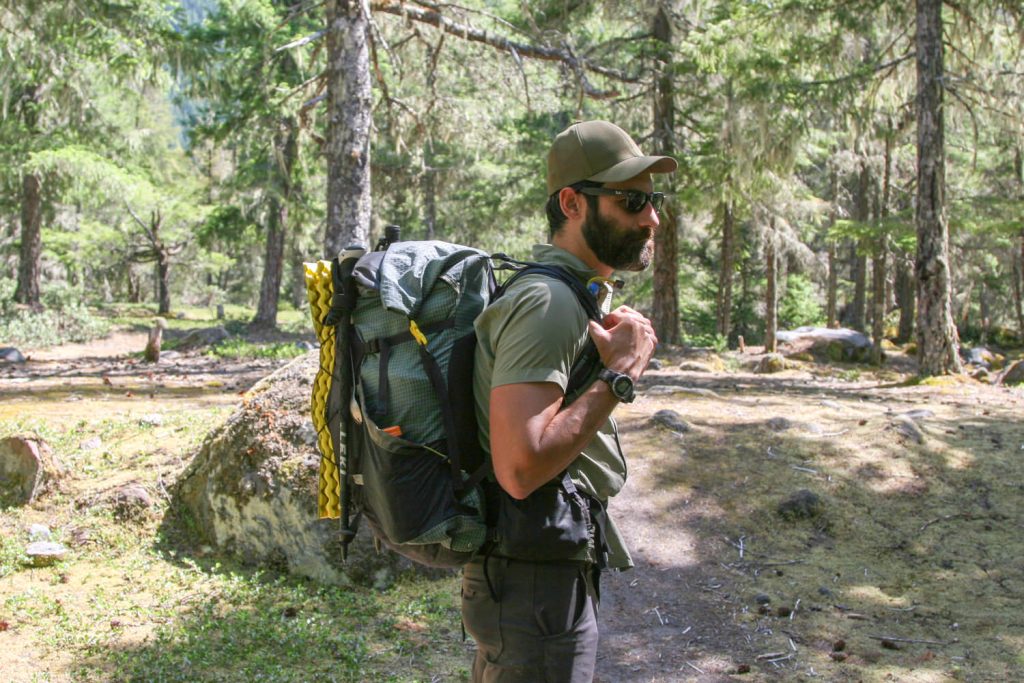
LIGHTEN YOUR LOAD – Start by weeding out things you don’t need. Be careful with every choice you make, a few ounces here and there can add a lot of weight in the end. A lightweight backpacking checklist, like the one here, will help you to focus on essential items. Next, focus on lightening your heaviest gear: shelter, backpack, and sleeping bag. Switching your traditional big three out for lightweight options is the best opportunity for weight savings, especially when you’re starting out. If you invest in a lightweight shelter, backpack, and sleeping bag, you can easily cut 10 or more pounds and be well on your way to having an ultralight backpacking setup.
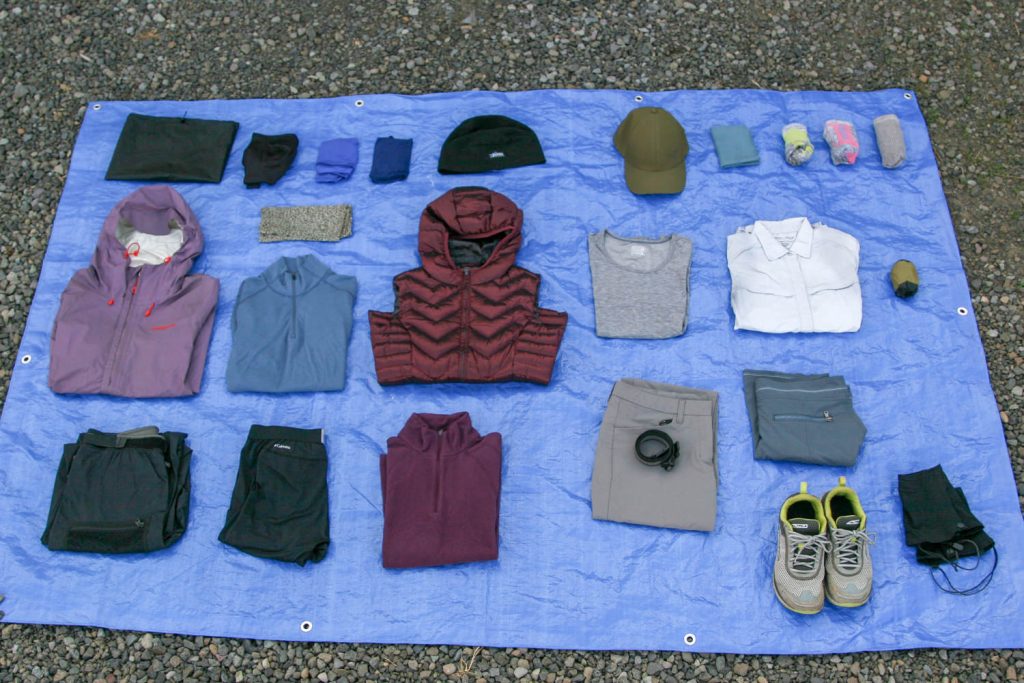
CLOTHING FOR BACKPACKING – The clothing you pack will change slightly depending on the conditions you expect to encounter on specific trips, but the fundamentals remain the same. Clothing made with quick-drying fabrics that wick moisture away from your skin are best to help your body thermoregulate and stay comfortable in both hot and cold environments. Nylon, polyester, wool, bamboo, silk, and synthetic blends are all good options. Avoid cotton – it absorbs moisture and takes a long time to dry, which can cause a variety of problems including blisters and chafing. Choose items that can be worn together in layers. Fleece and goose-down have the best warmth-to-weight ratio and make the best insulation materials for backpackers. Rain gear should be lightweight, breathable, and waterproof.
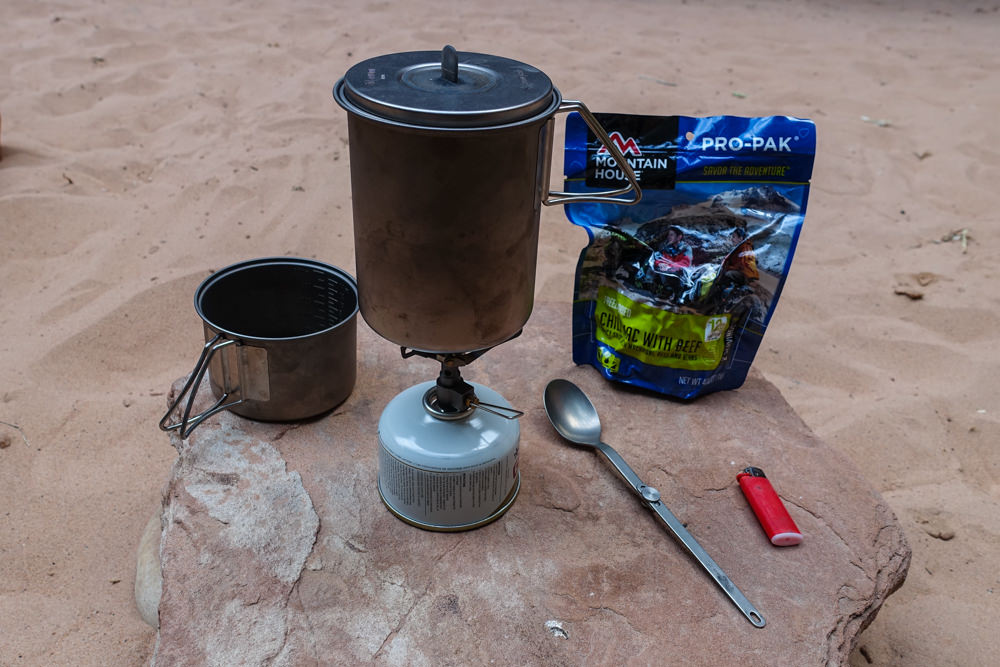
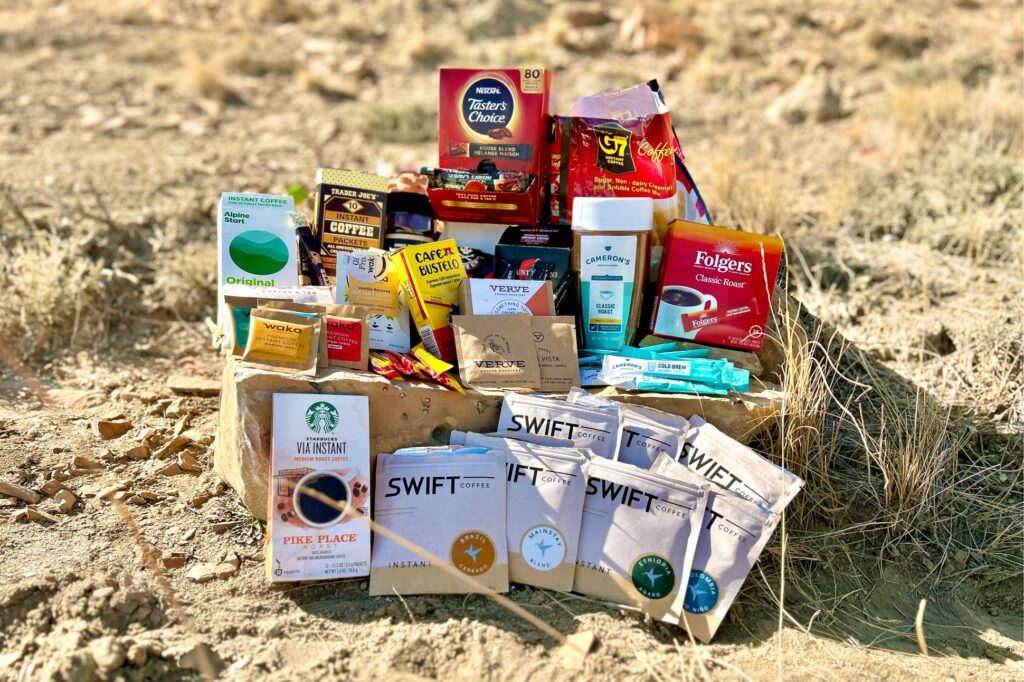
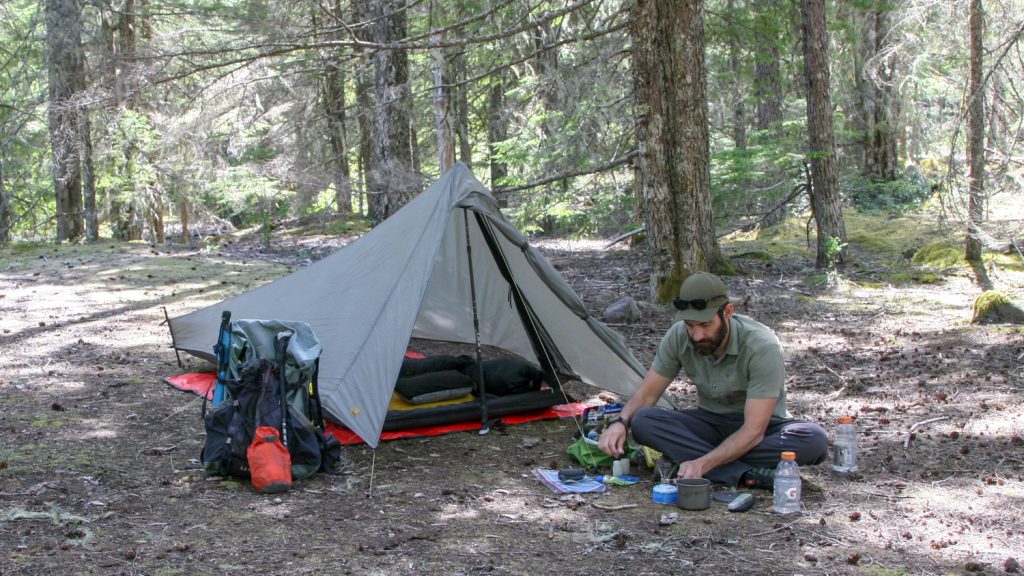
BACKPACKING FOOD – Good food is really important for any backpacking trip, so it’s well worth the effort to put together a simple meal plan before your trip. Keeping food weight down is a critical backpacking skill that usually takes experience to master. A good place to start is our Guide to Lightweight Backpacking Food. Most seasoned backpackers opt for lightweight, calorically-dense foods that are very easy to prepare. Packaged freeze-dried meals and snack foods can be great, but keep in mind, they tend to be very high in sodium/sugar, which can take their toll, if eaten in excess.
Another approach is to prepare your own backpacking meals, using a food dehydrator to dry meats, fruits, veggies, and sauces. Combining them with spices and quick-cooking or easily rehydrated dried goods such as pasta, couscous, instant potatoes, instant refried beans, and minute rice is a great way to customize your own highly-nutritious meals. This method takes more time and effort, and you must be more willing to carry more weight, but making your meals can be more cost-effective and healthier for long trips. Our approach is usually a mix of both methods. For more specifics about food, check out our Best Lightweight Backpacking Food guide, where we outline our general backpacking food strategy and suggest some of our favorite meals.
CleverHiker Backpacking Video Series
If you’re new to backpacking, or have been hiking with outdated equipment, we highly recommend watching our two professionally-filmed video series (below), where we’ll teach you everything you need to know to start backpacking -the skills and the gear.
- Essential Trail Skills – 20 HD tutorial videos to teach the most critical skills for backpackers of all levels, such as: Leave No Trace, Backpacking Trip Planning, How to Find and Fit the Right Backpack, How to Pack a Lightweight Backpack, and much more.
- Lightweight Backpacking Basics – One of the main reasons to minimize your pack weight is to maximum your freedom on the trail. Backpacking with a lighter pack will reduce stress on your body, give you more free time on the trail, and allow you to hike farther with less effort. In this 10-episode series, you’ll learn all about the gear that will allow you to hike lighter to make the hiking the most enjoyable part of your trip.