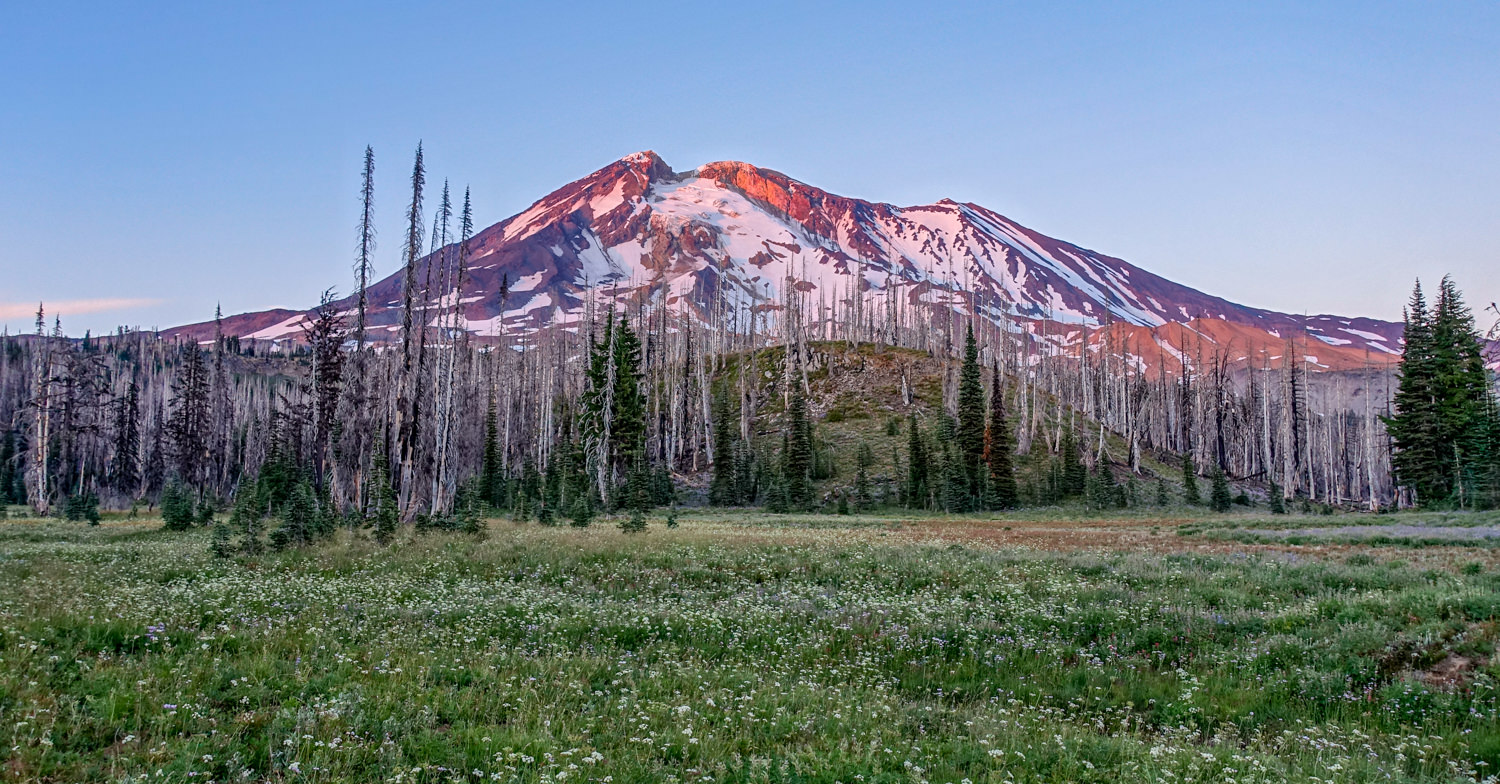
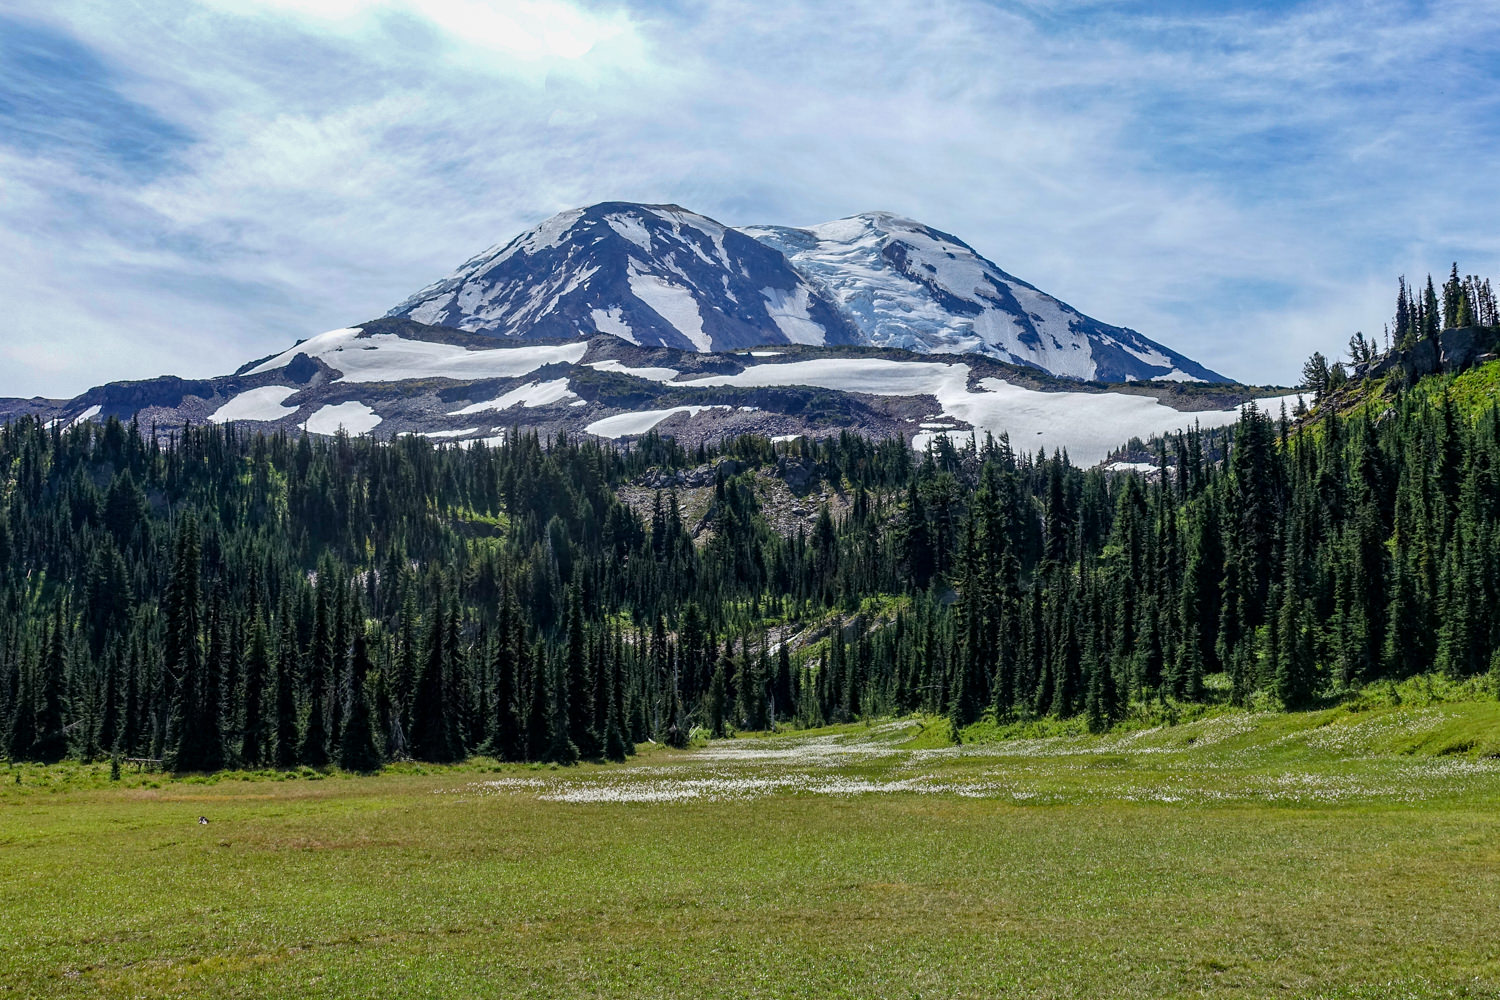
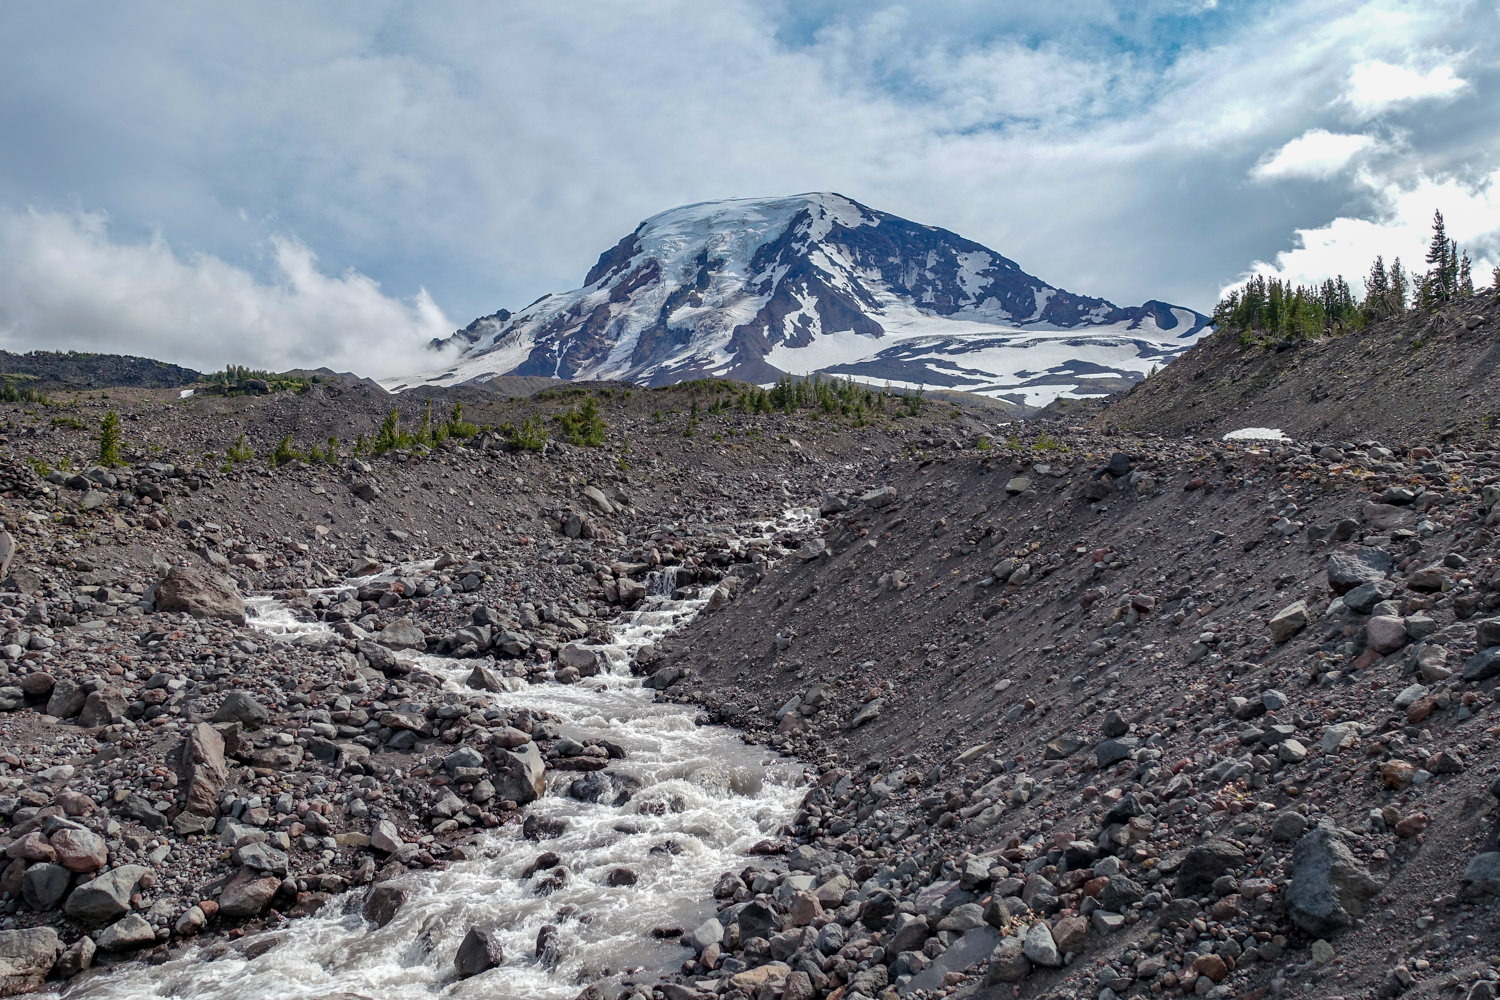
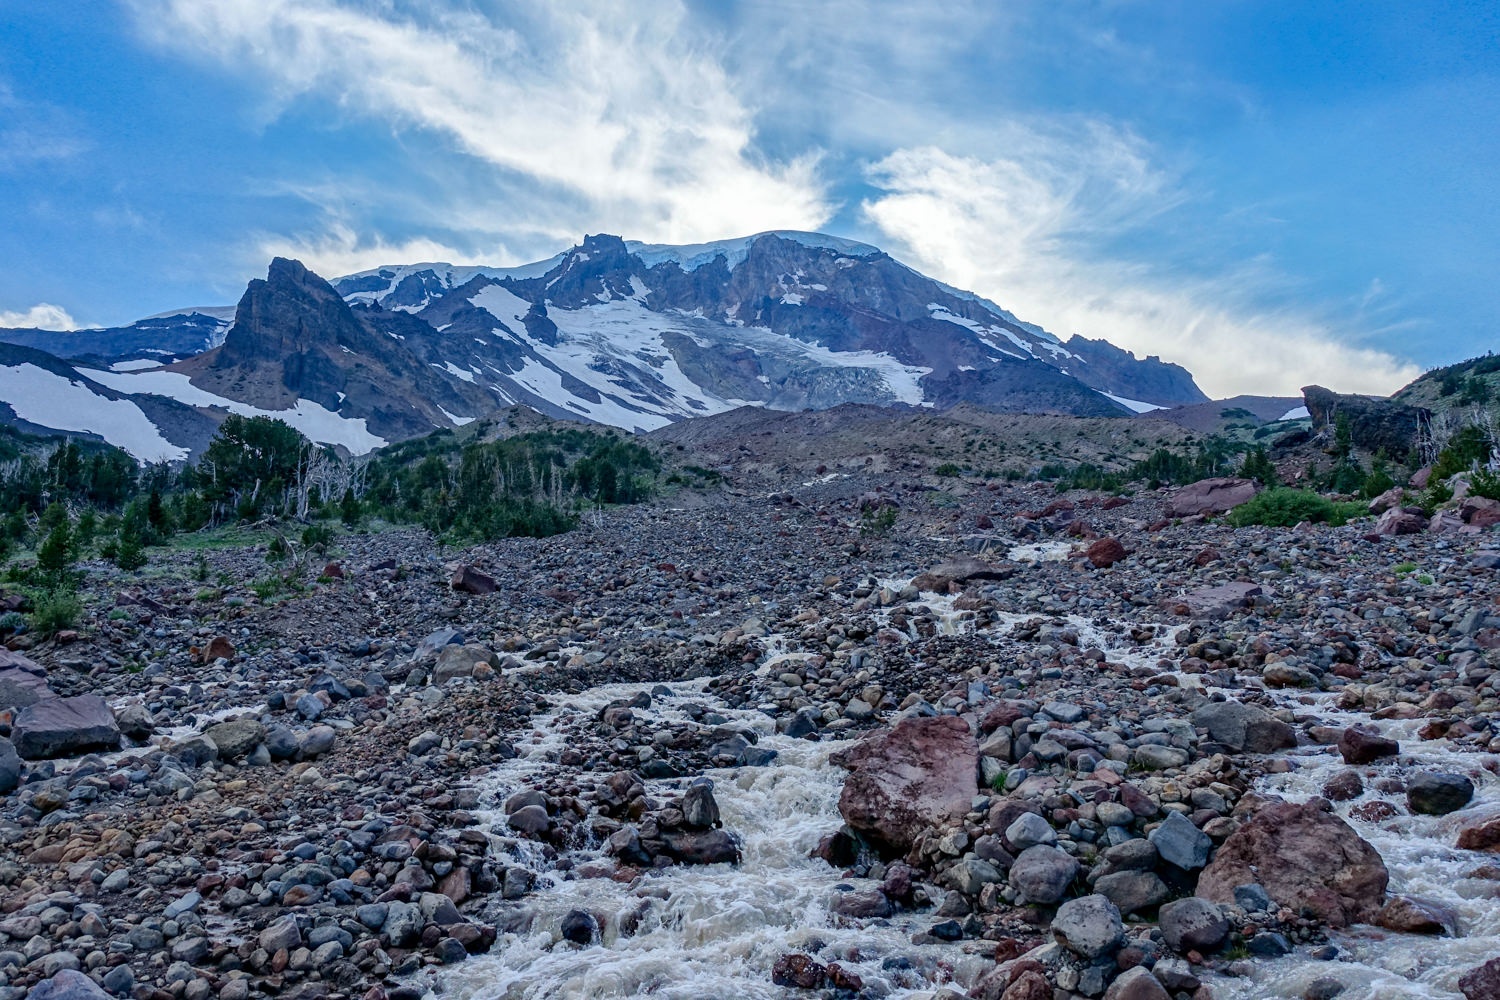
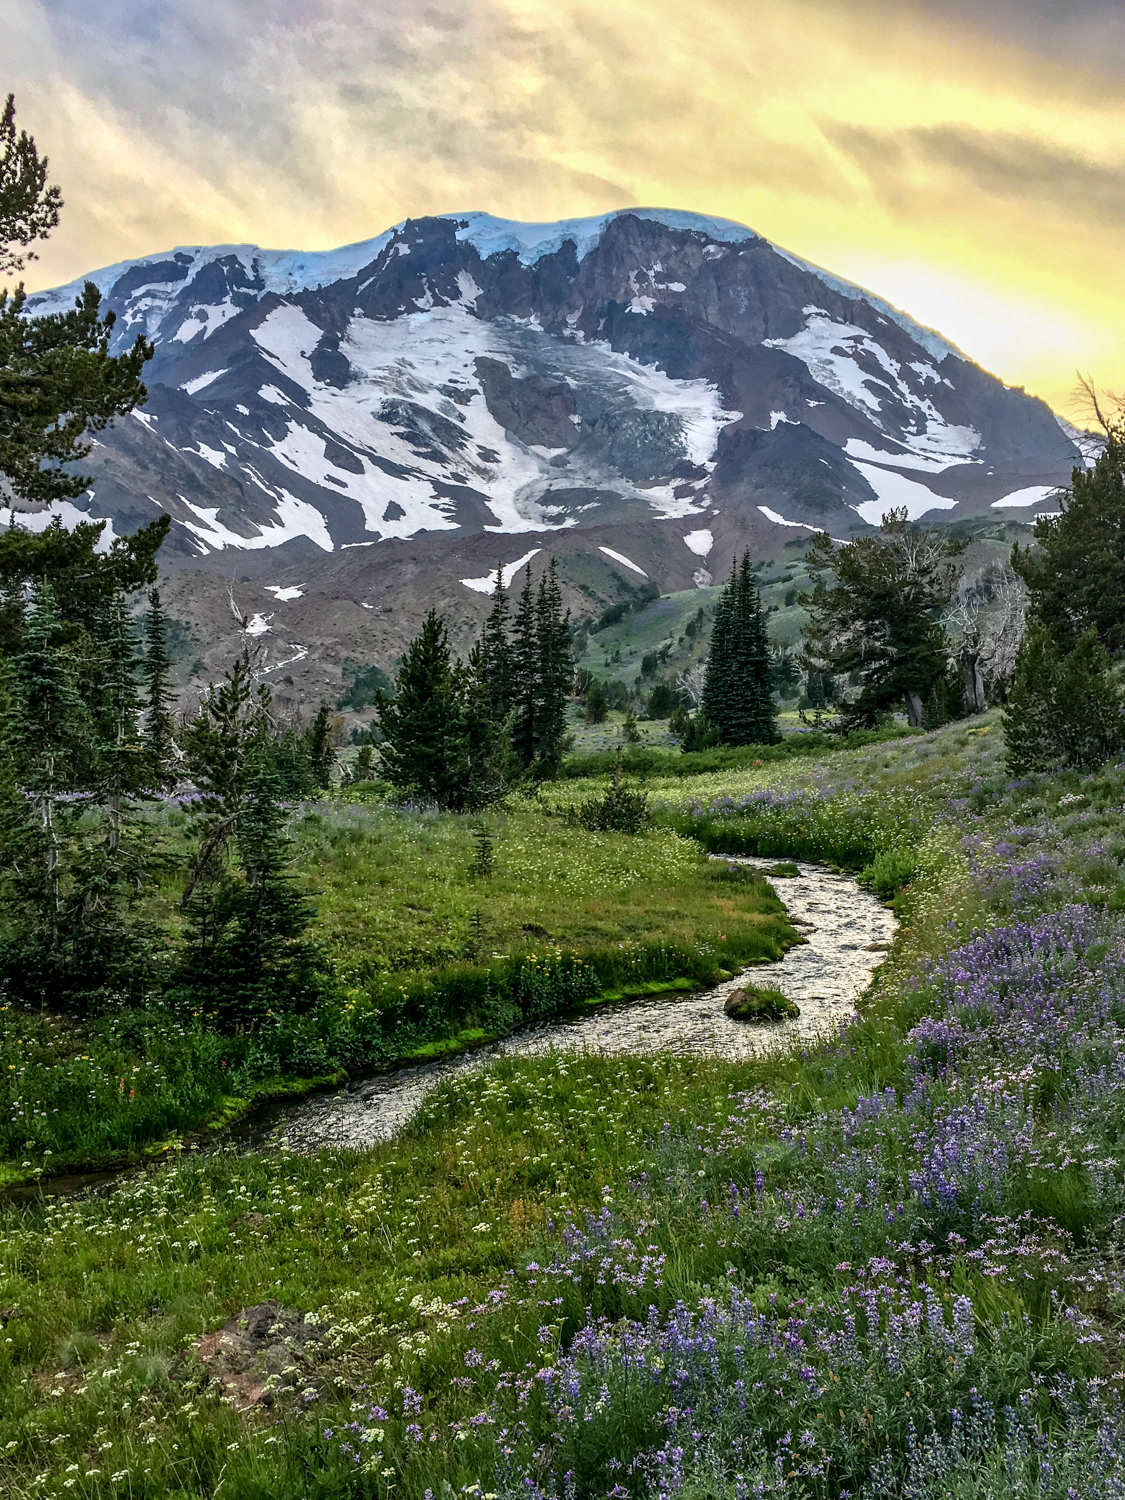
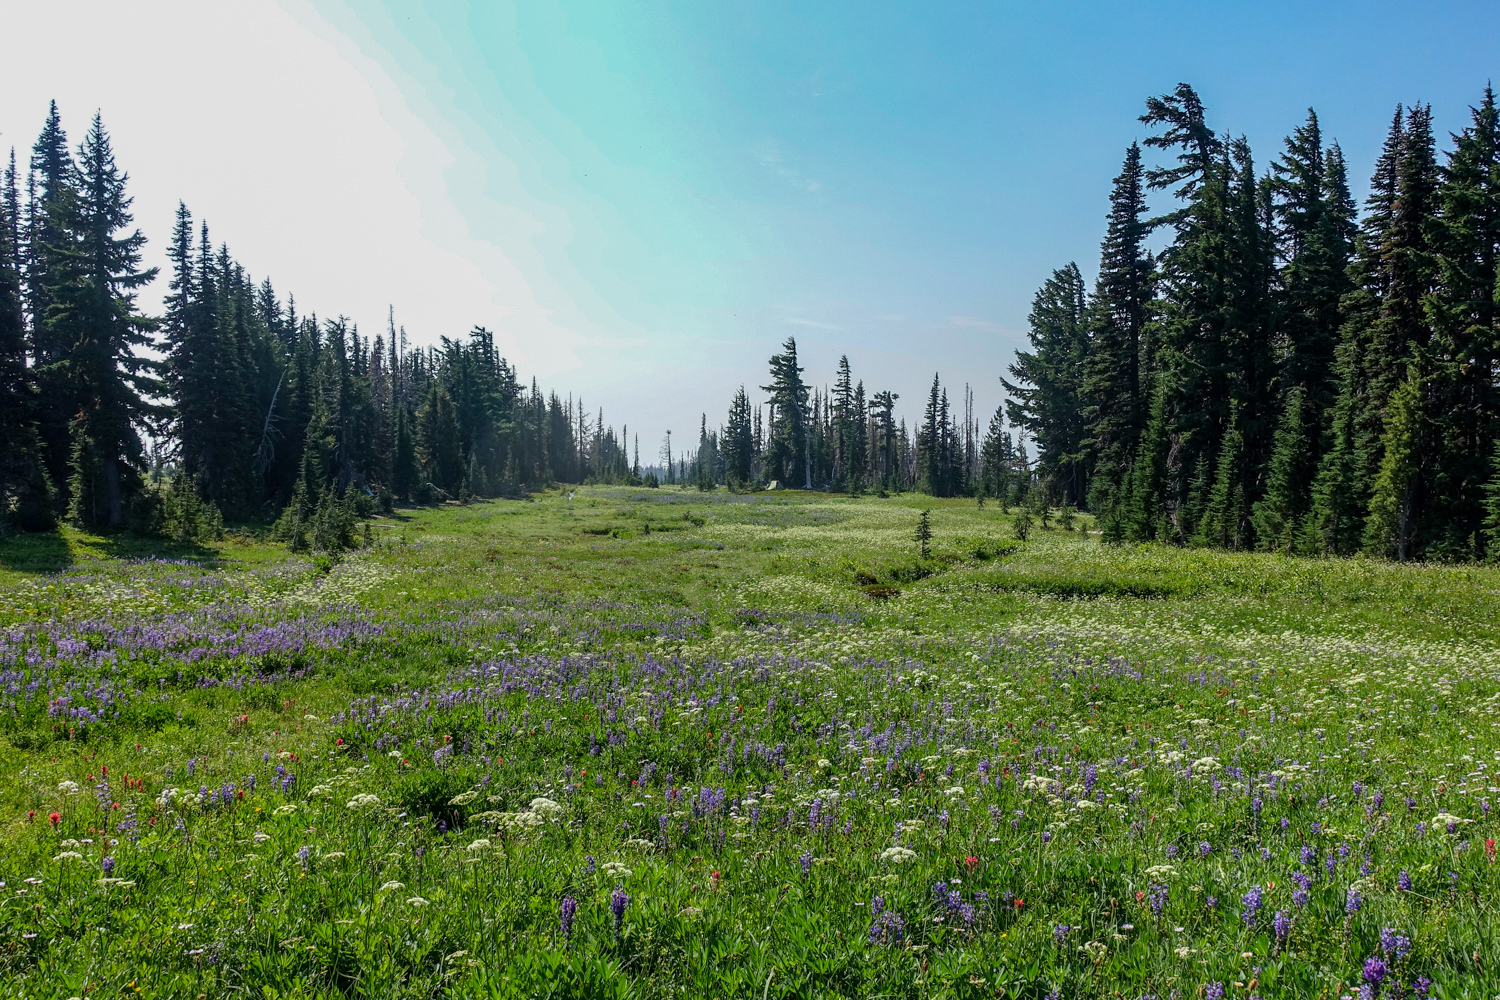
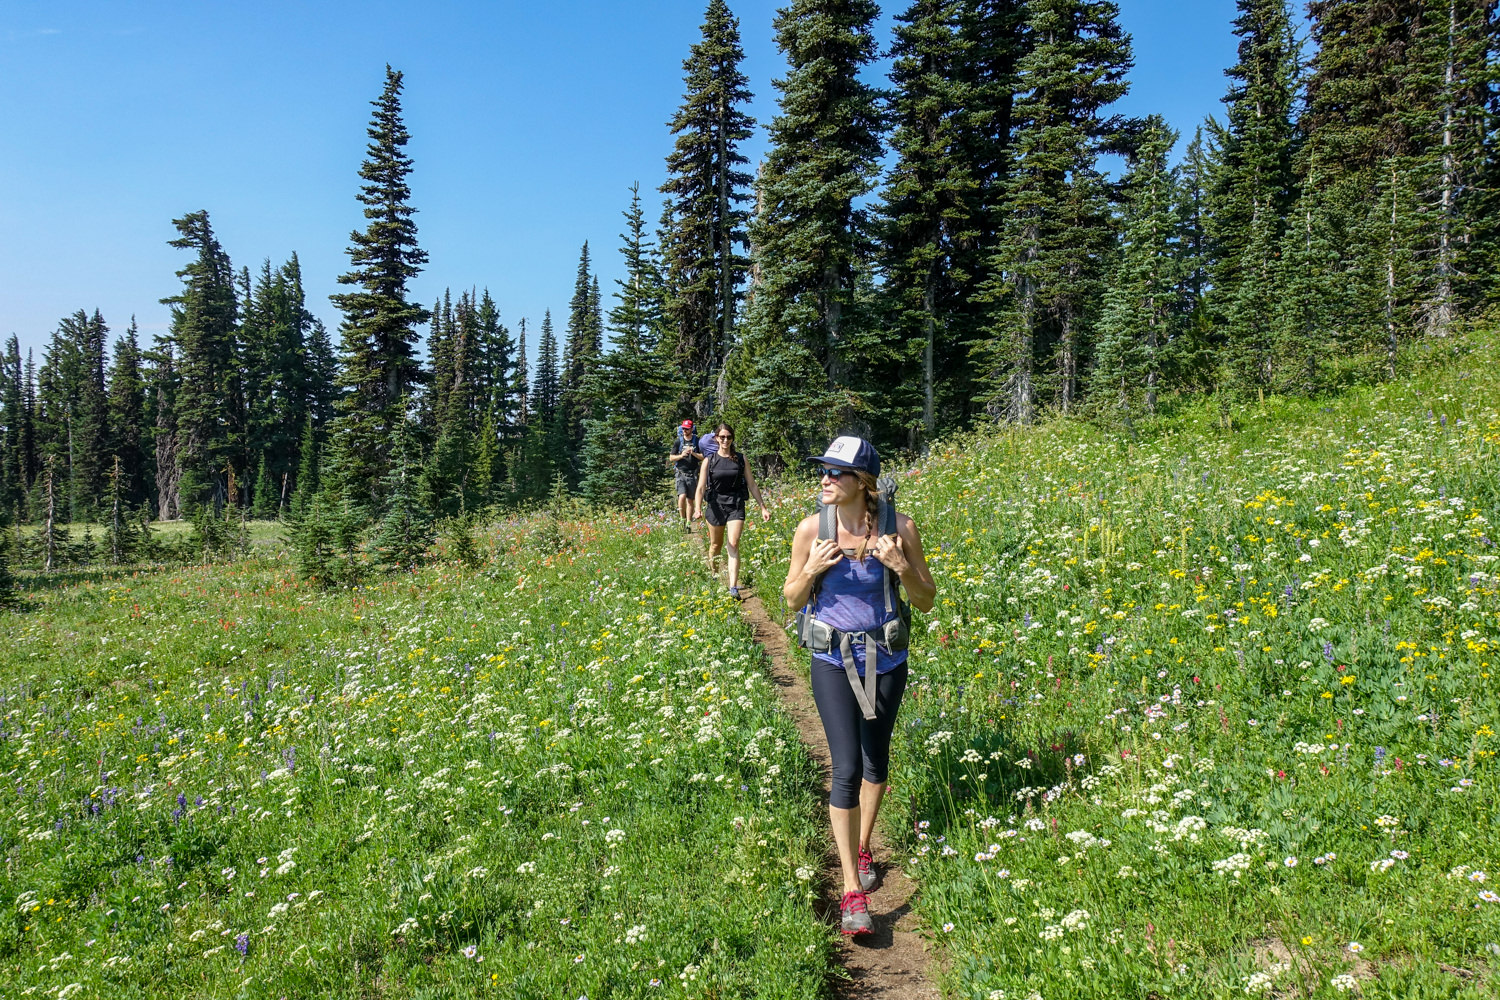
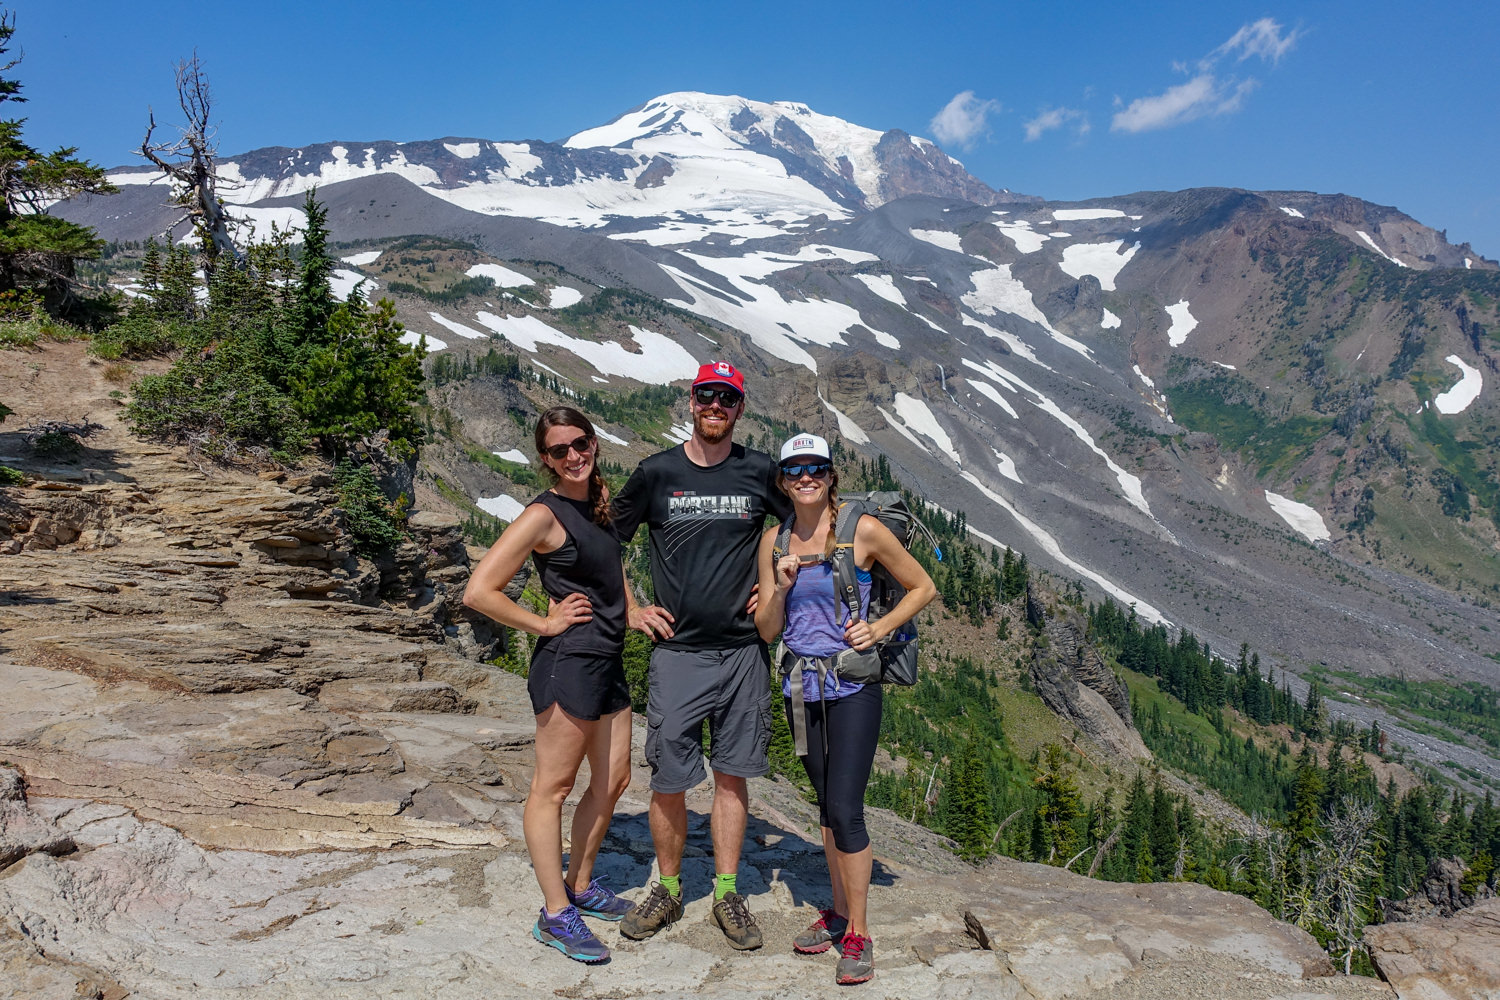
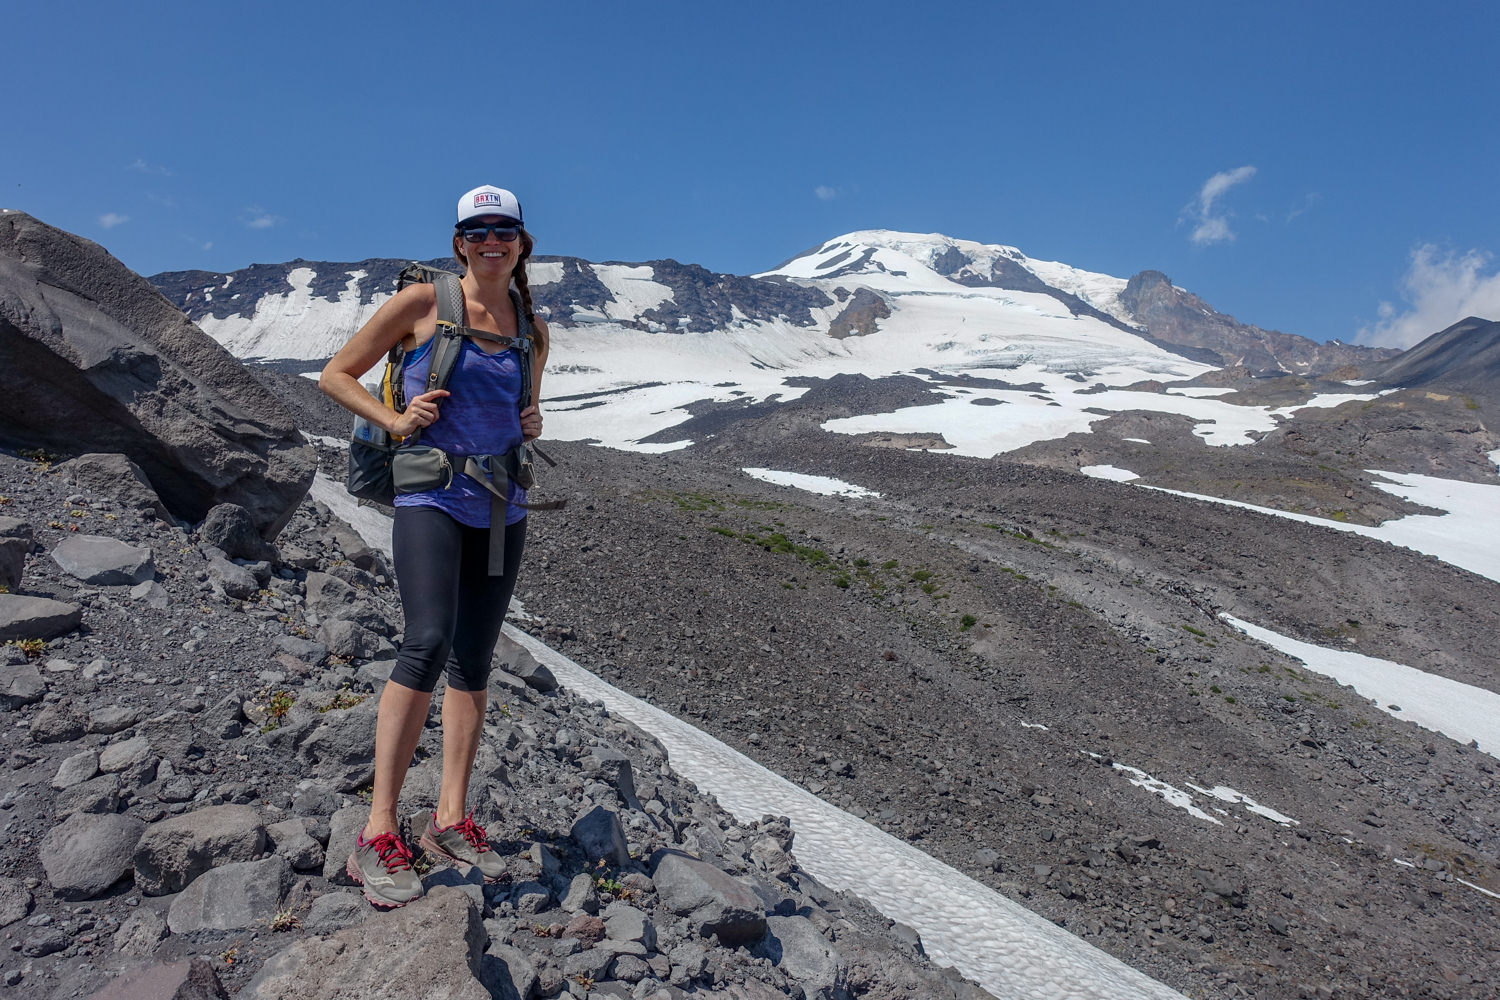
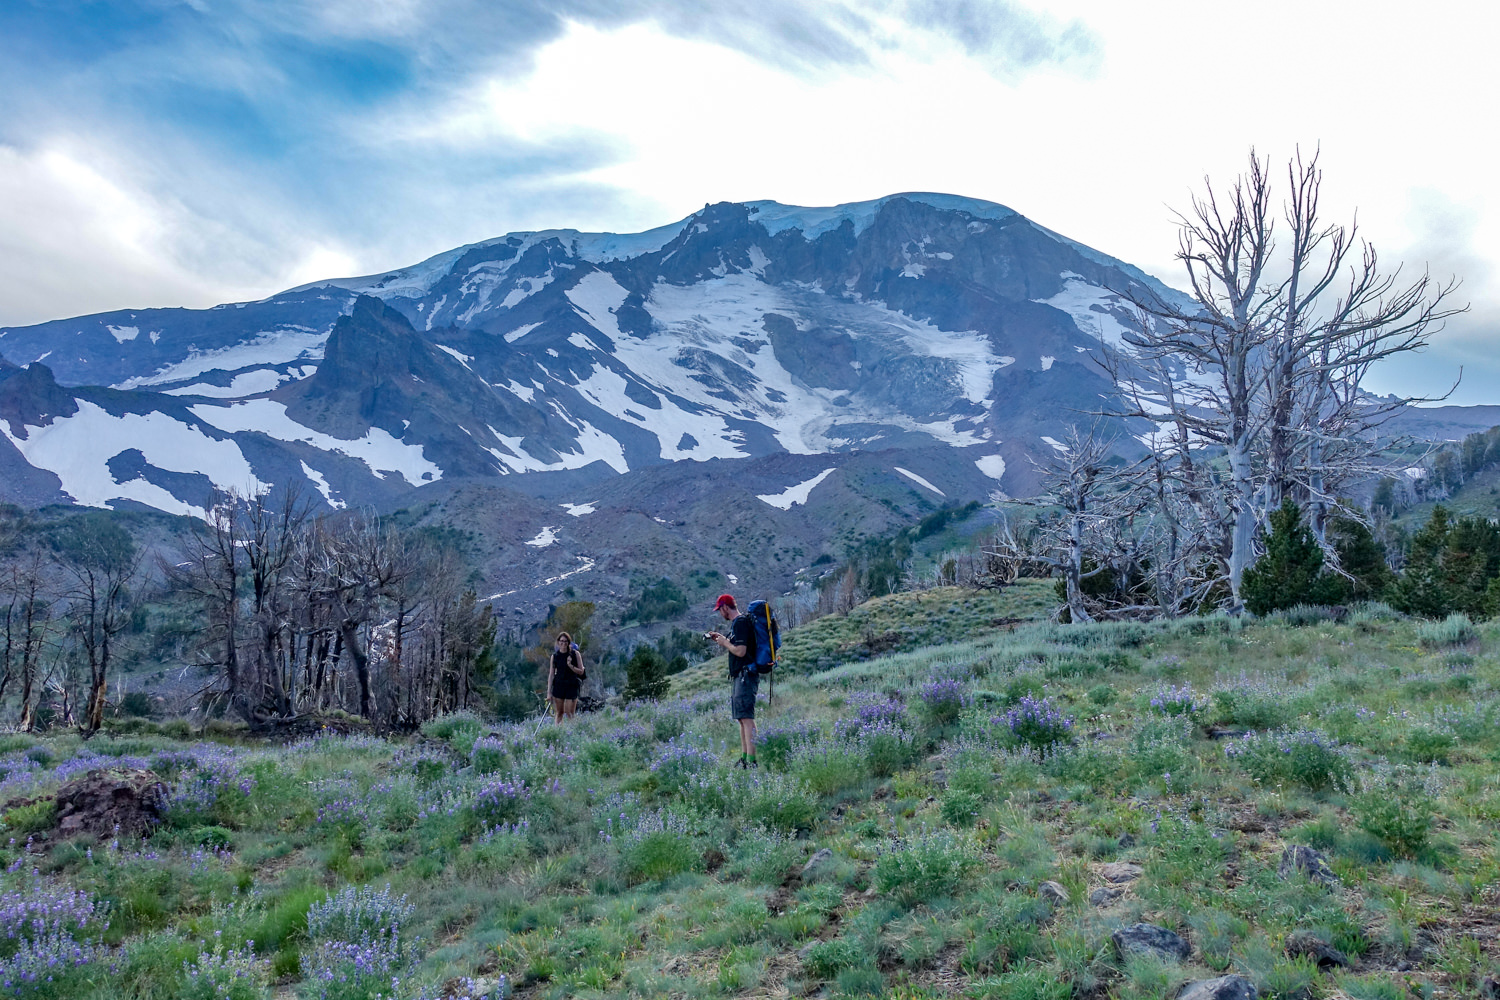
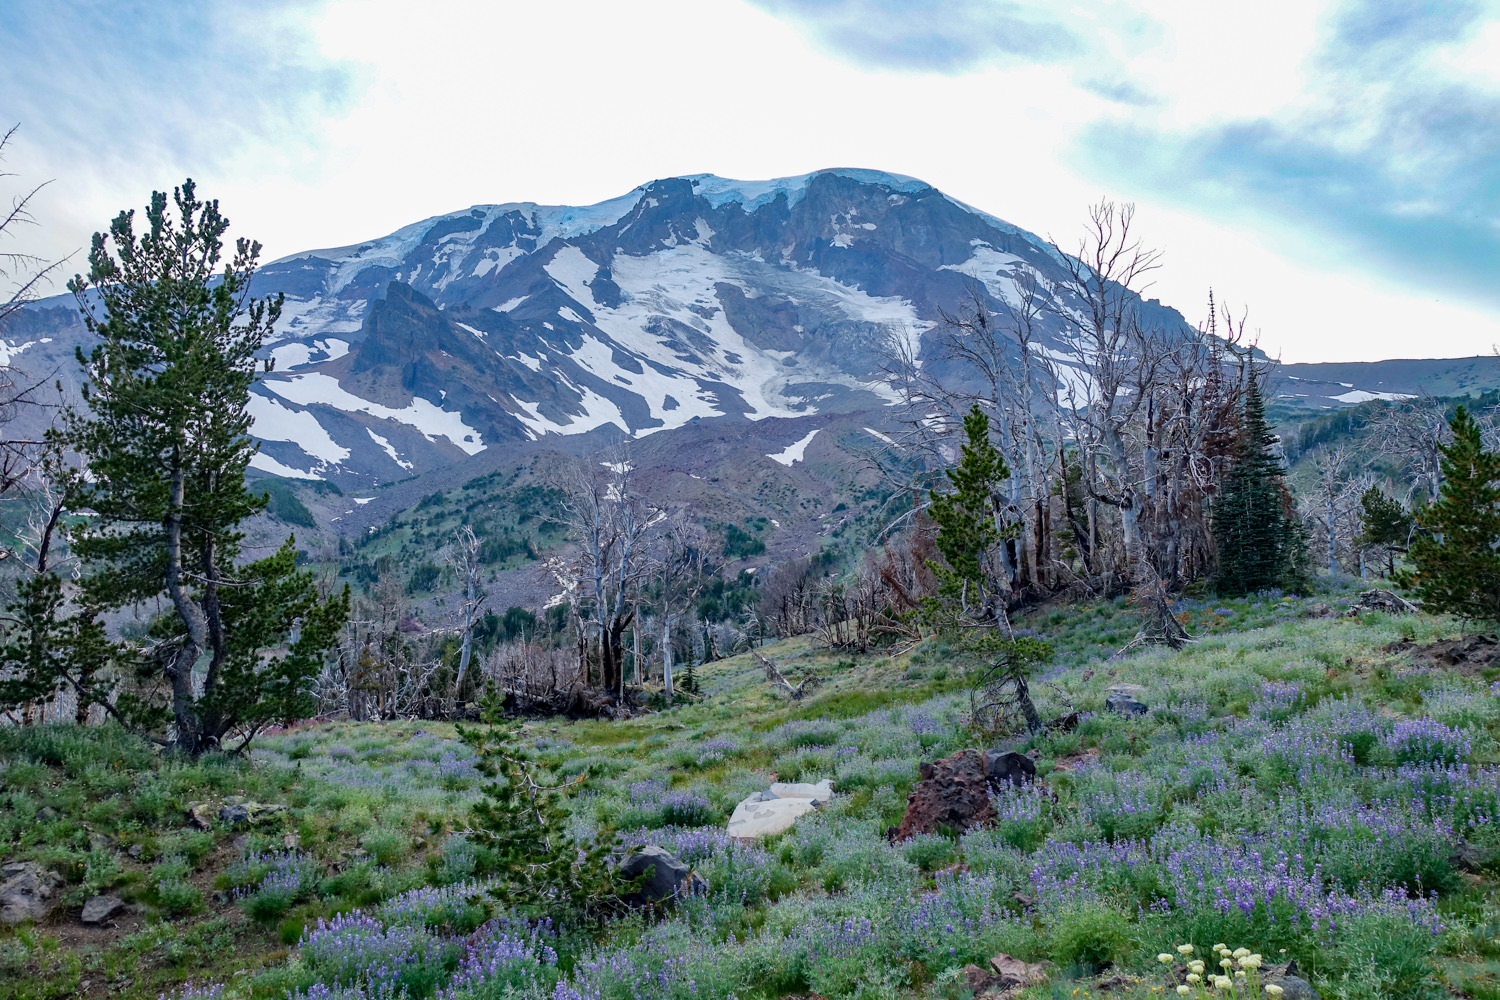
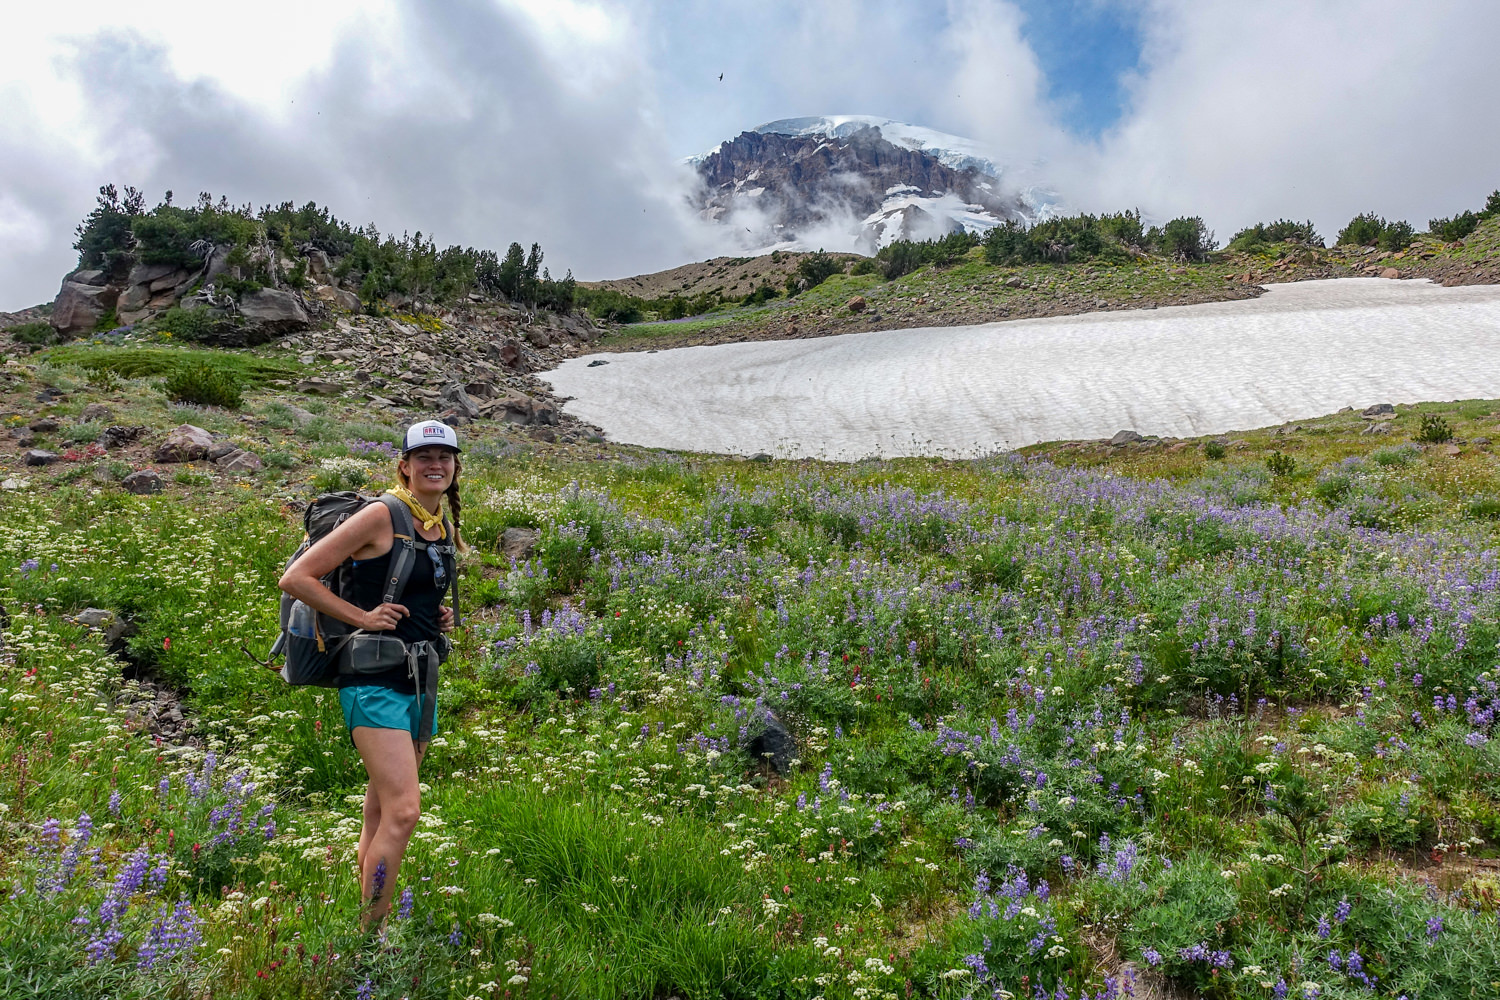
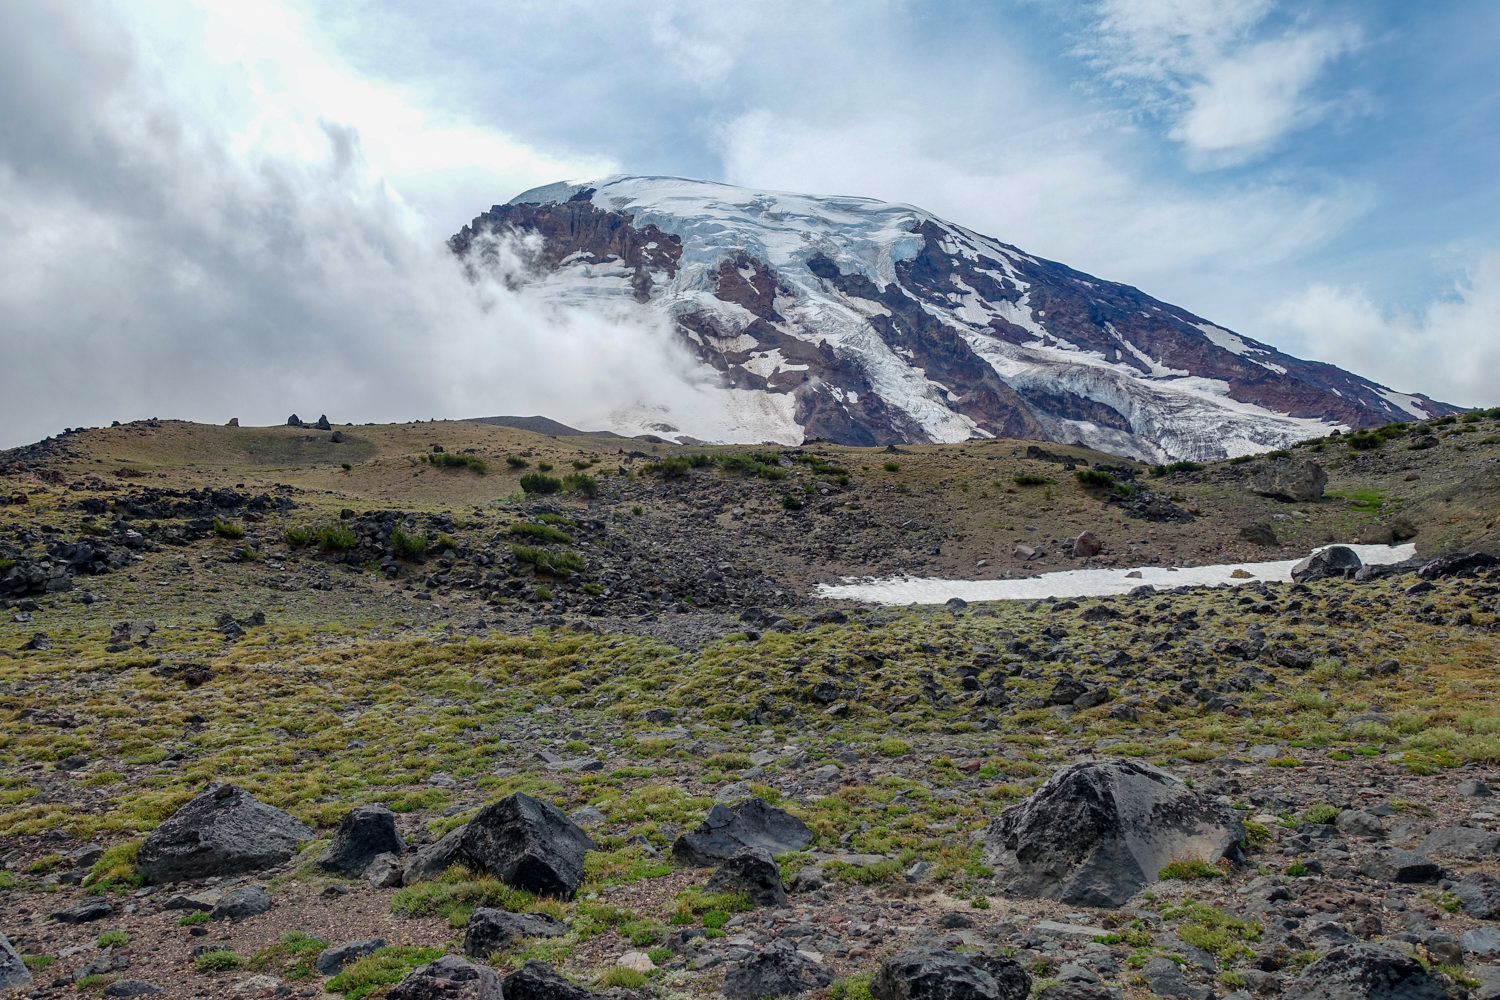
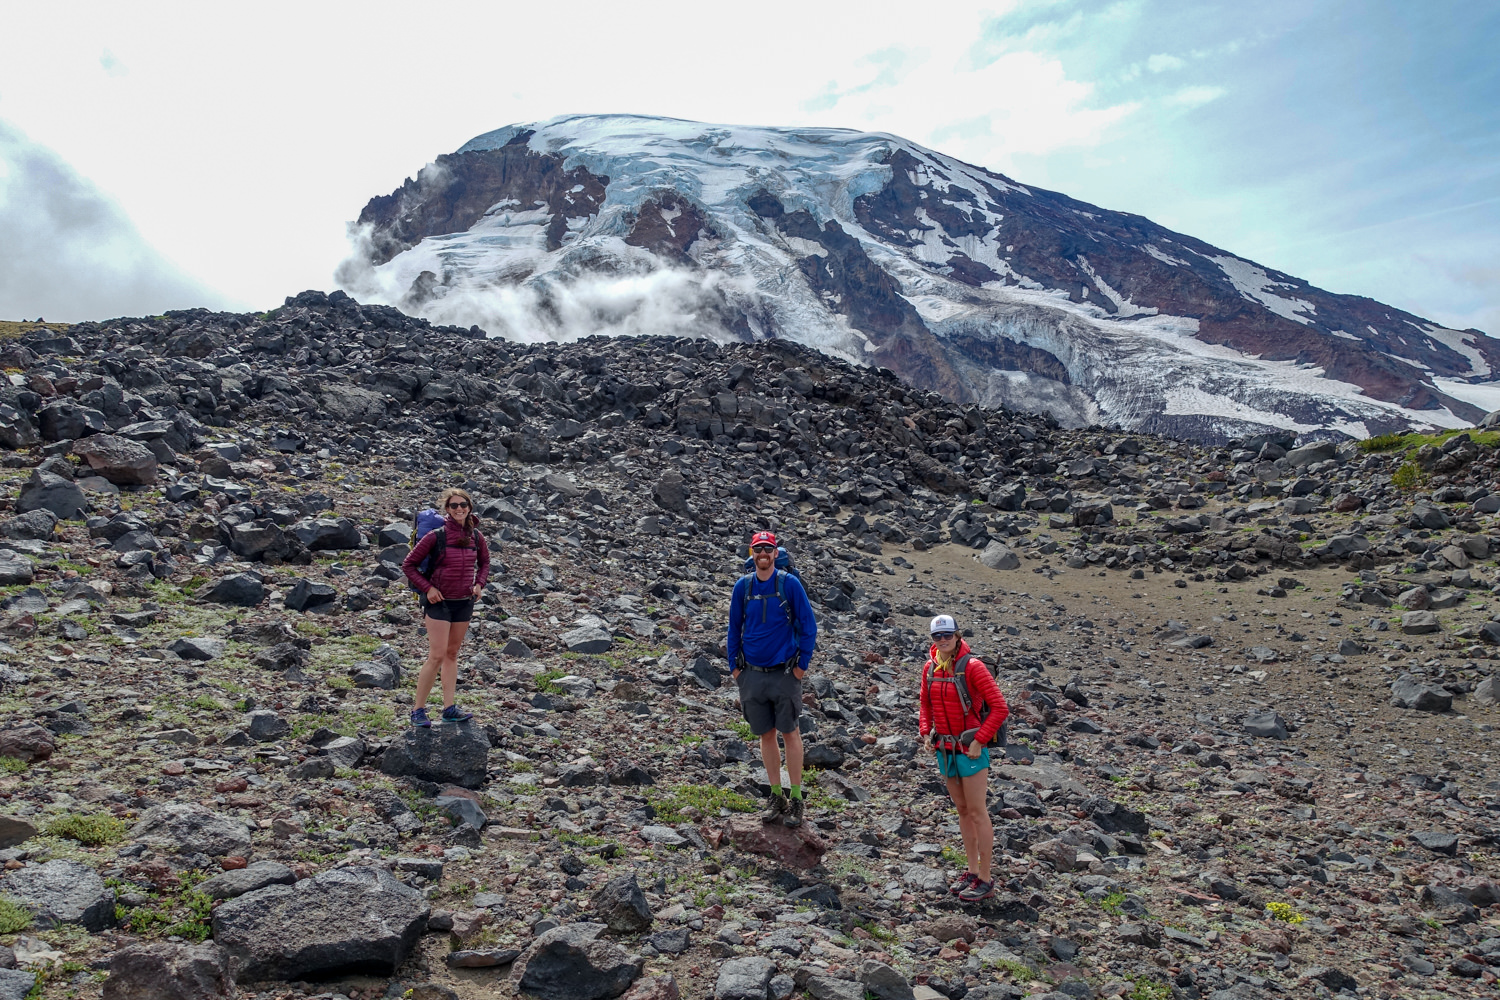
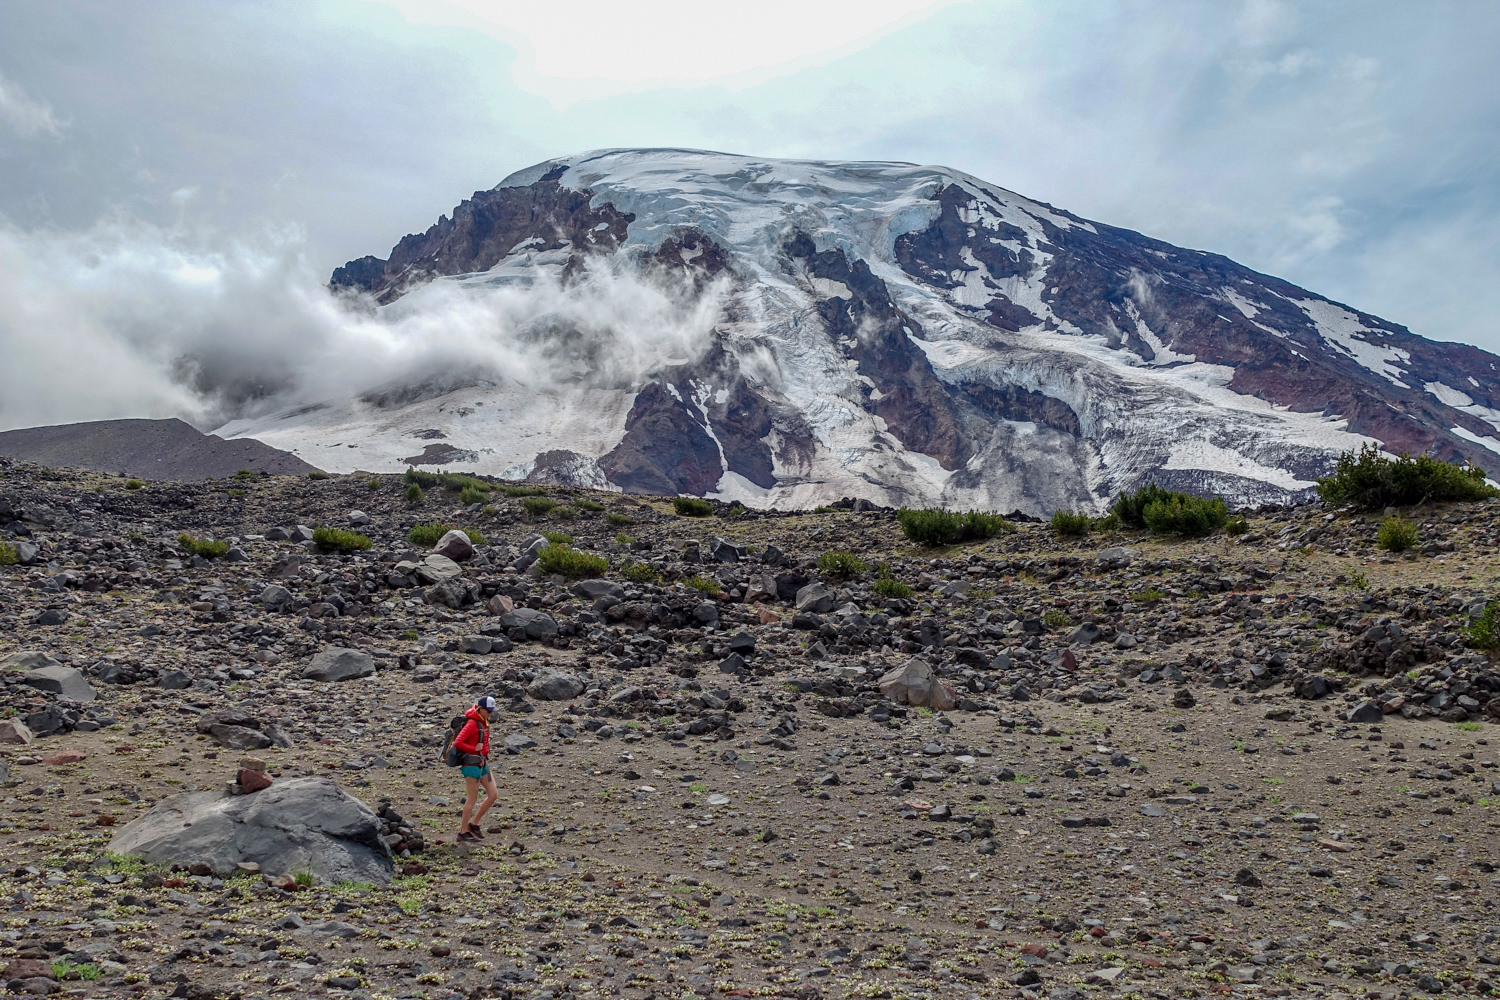
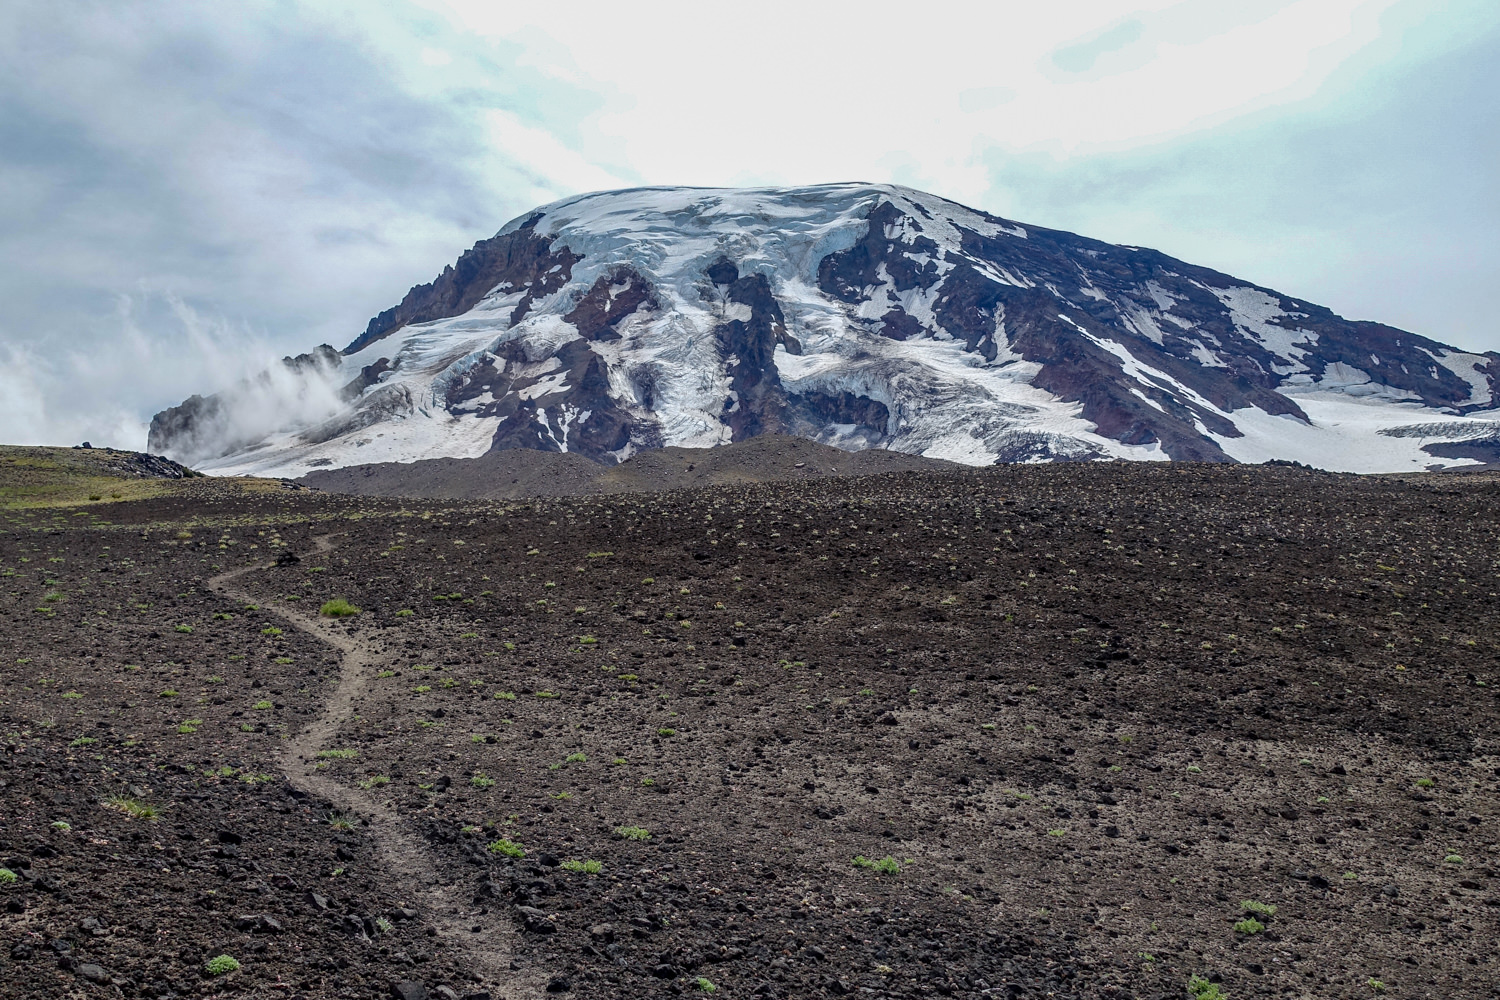
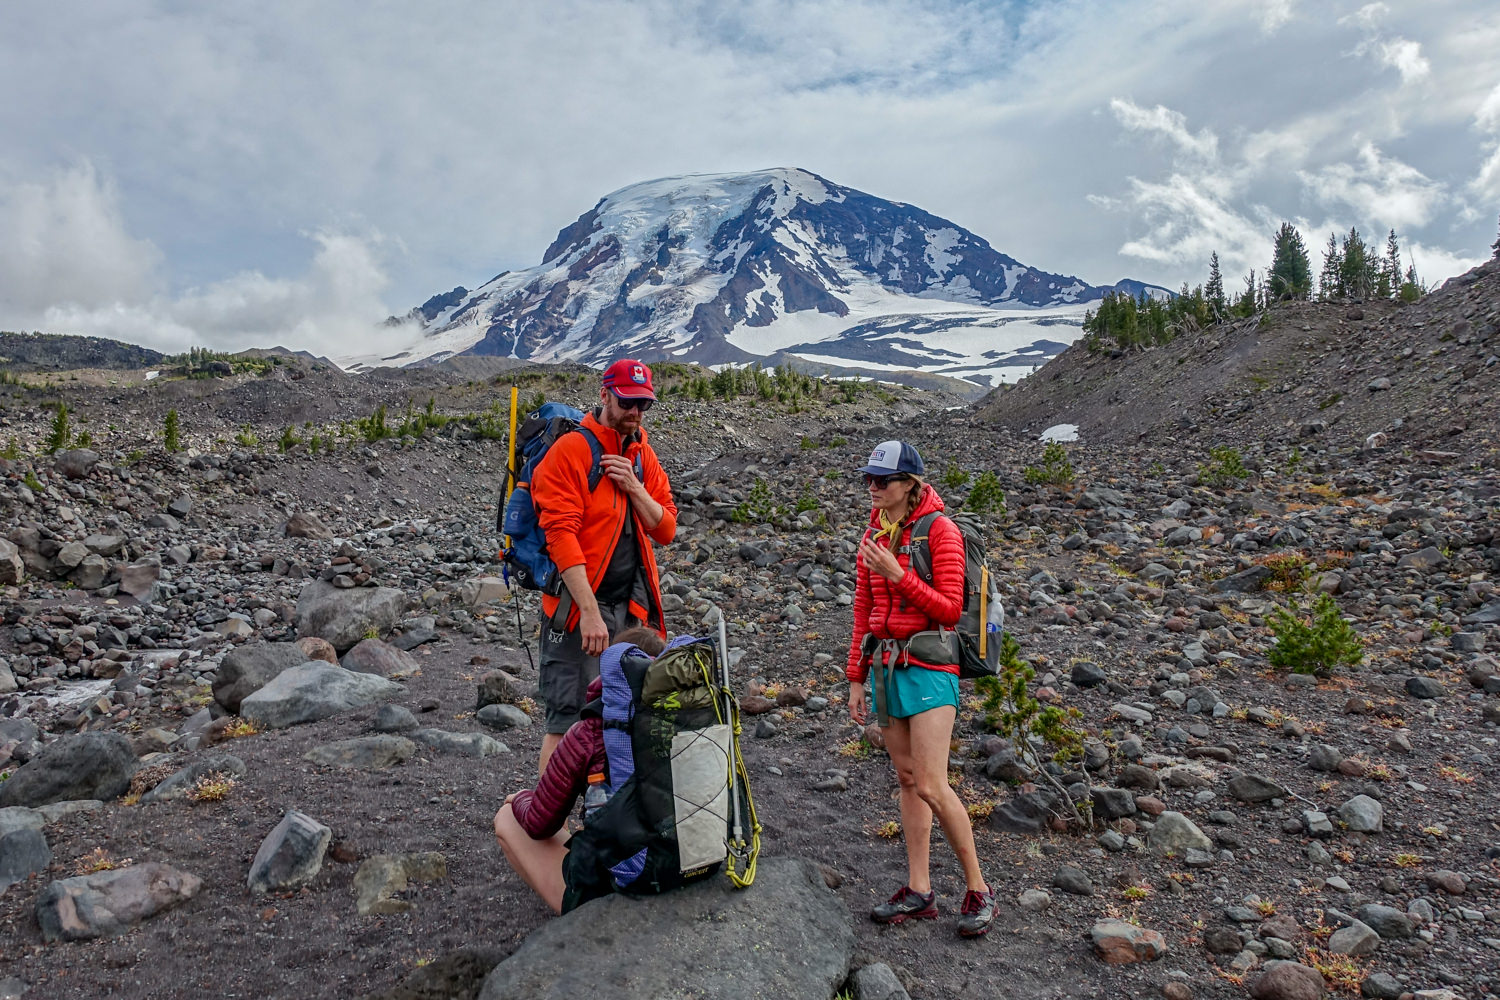
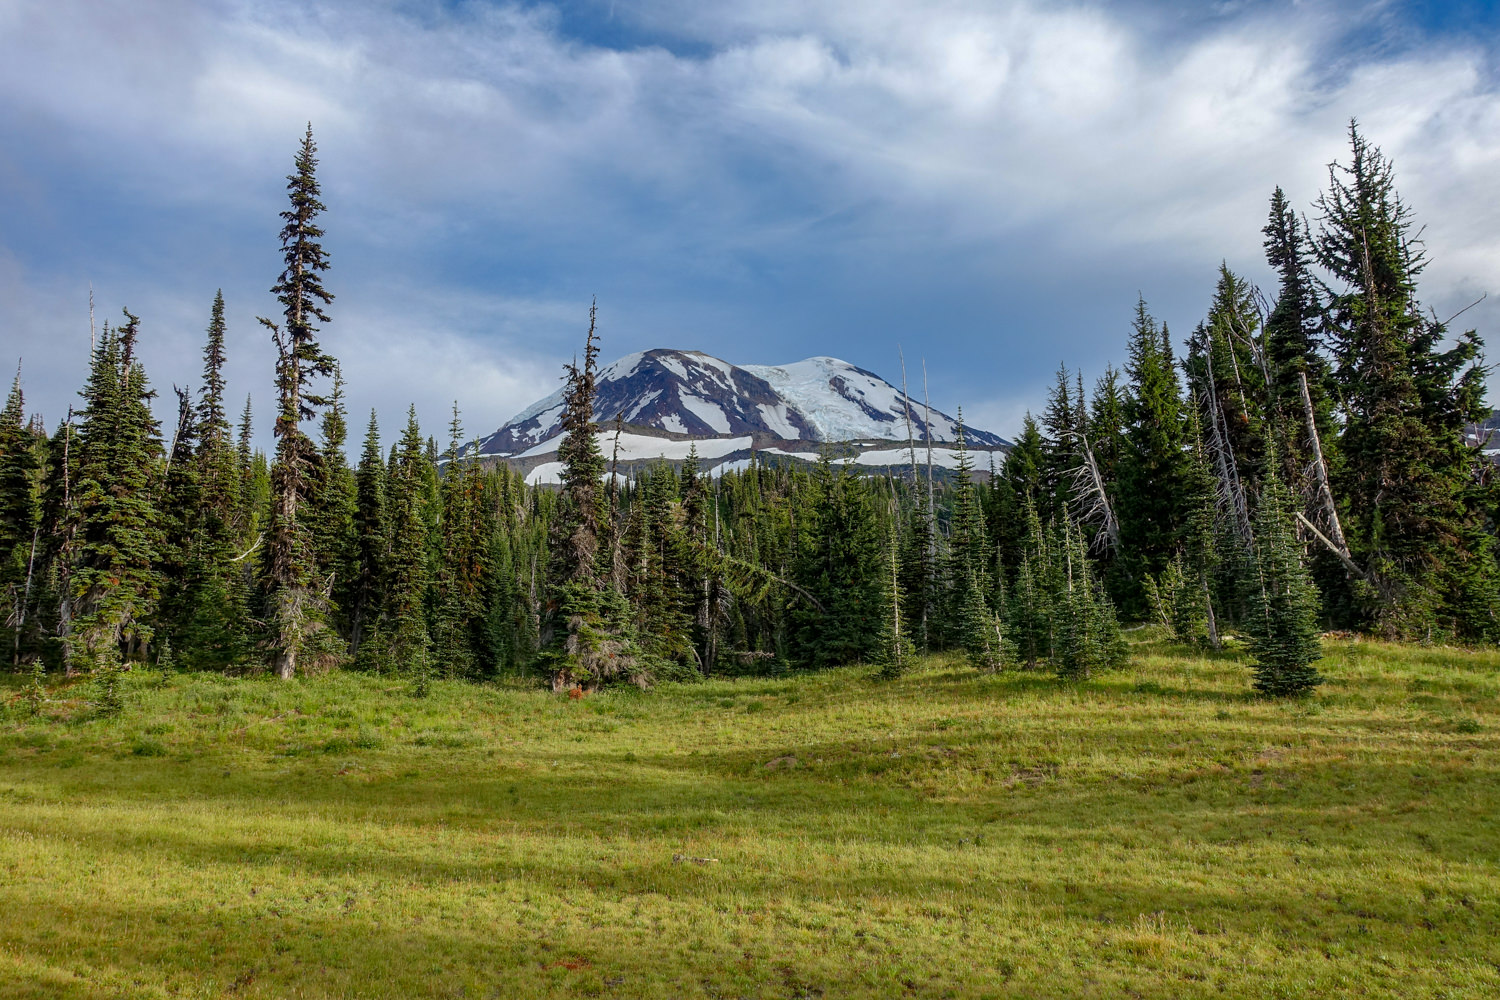
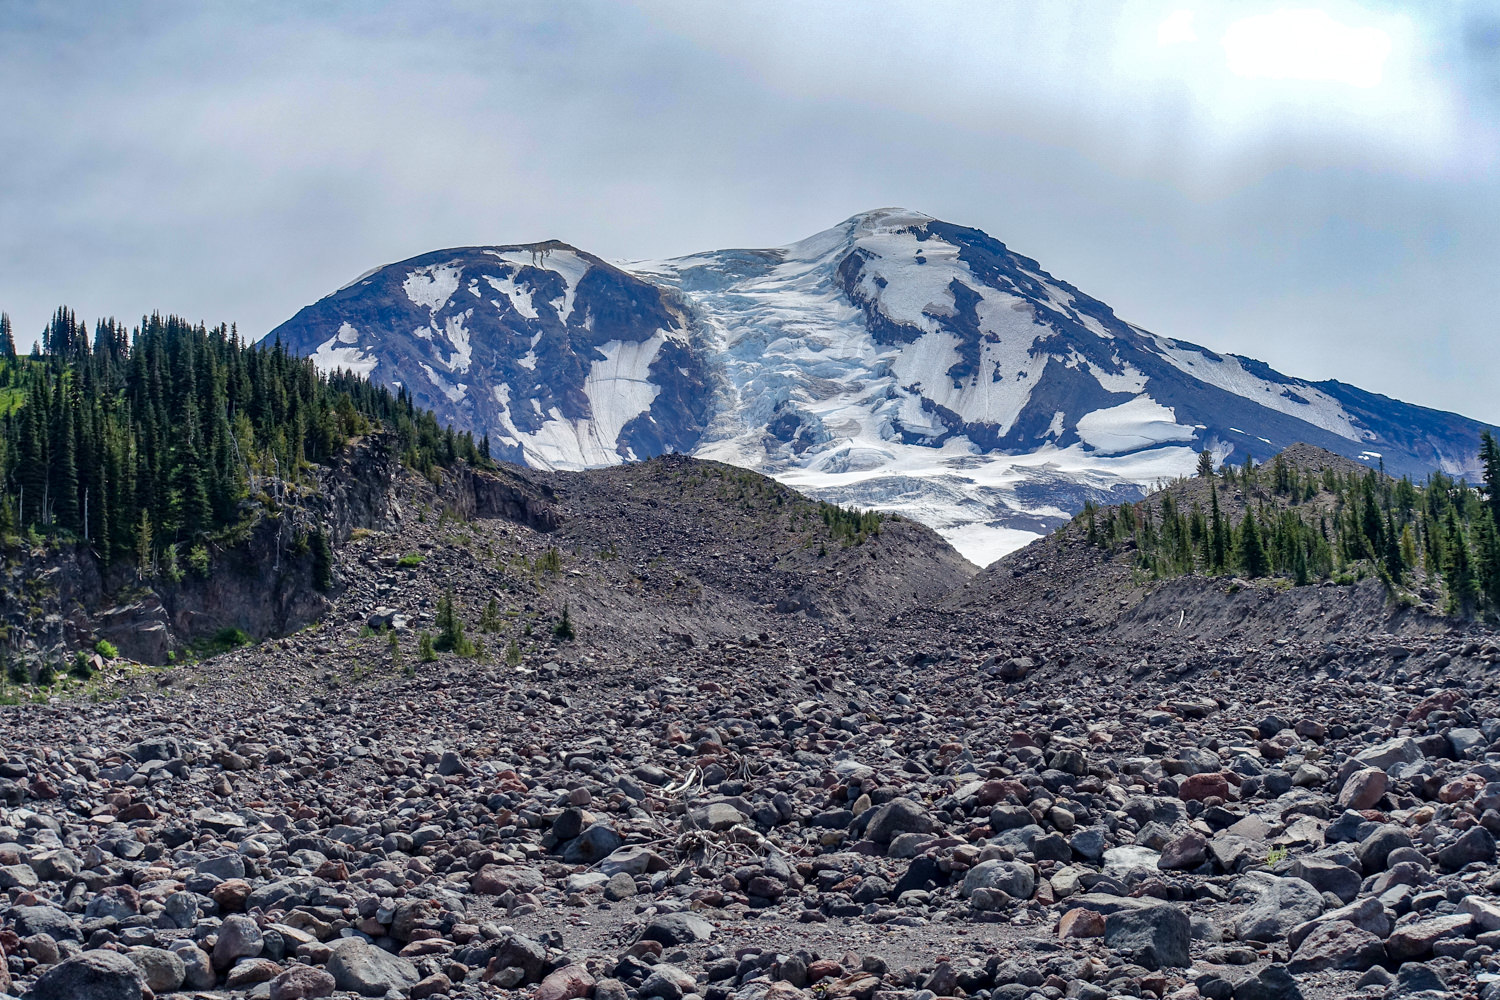
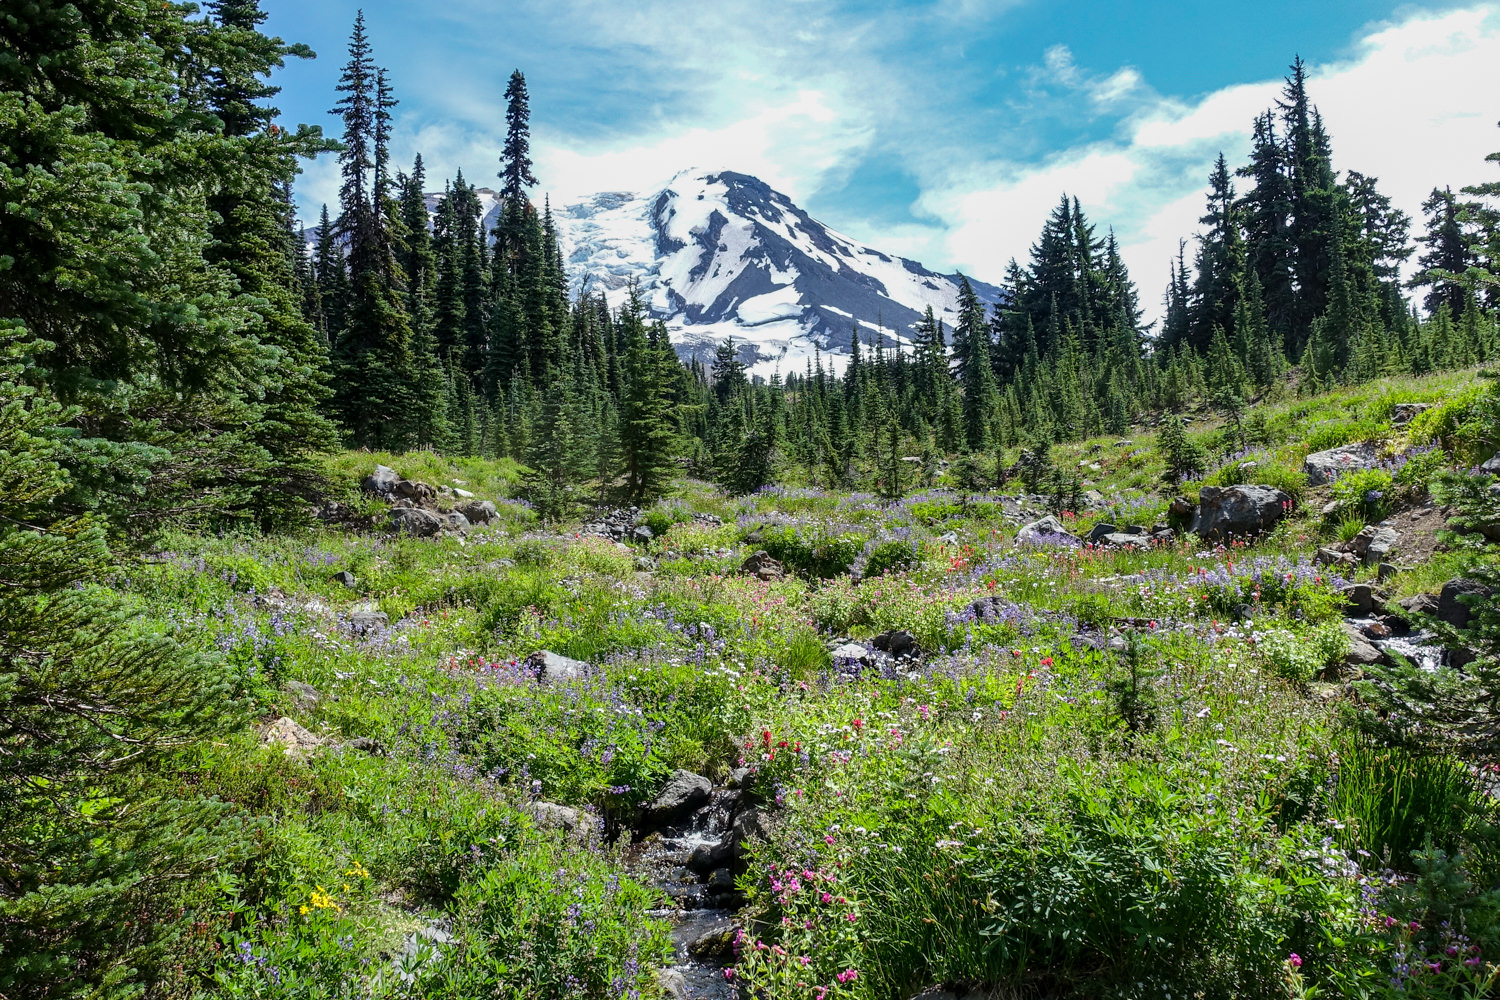
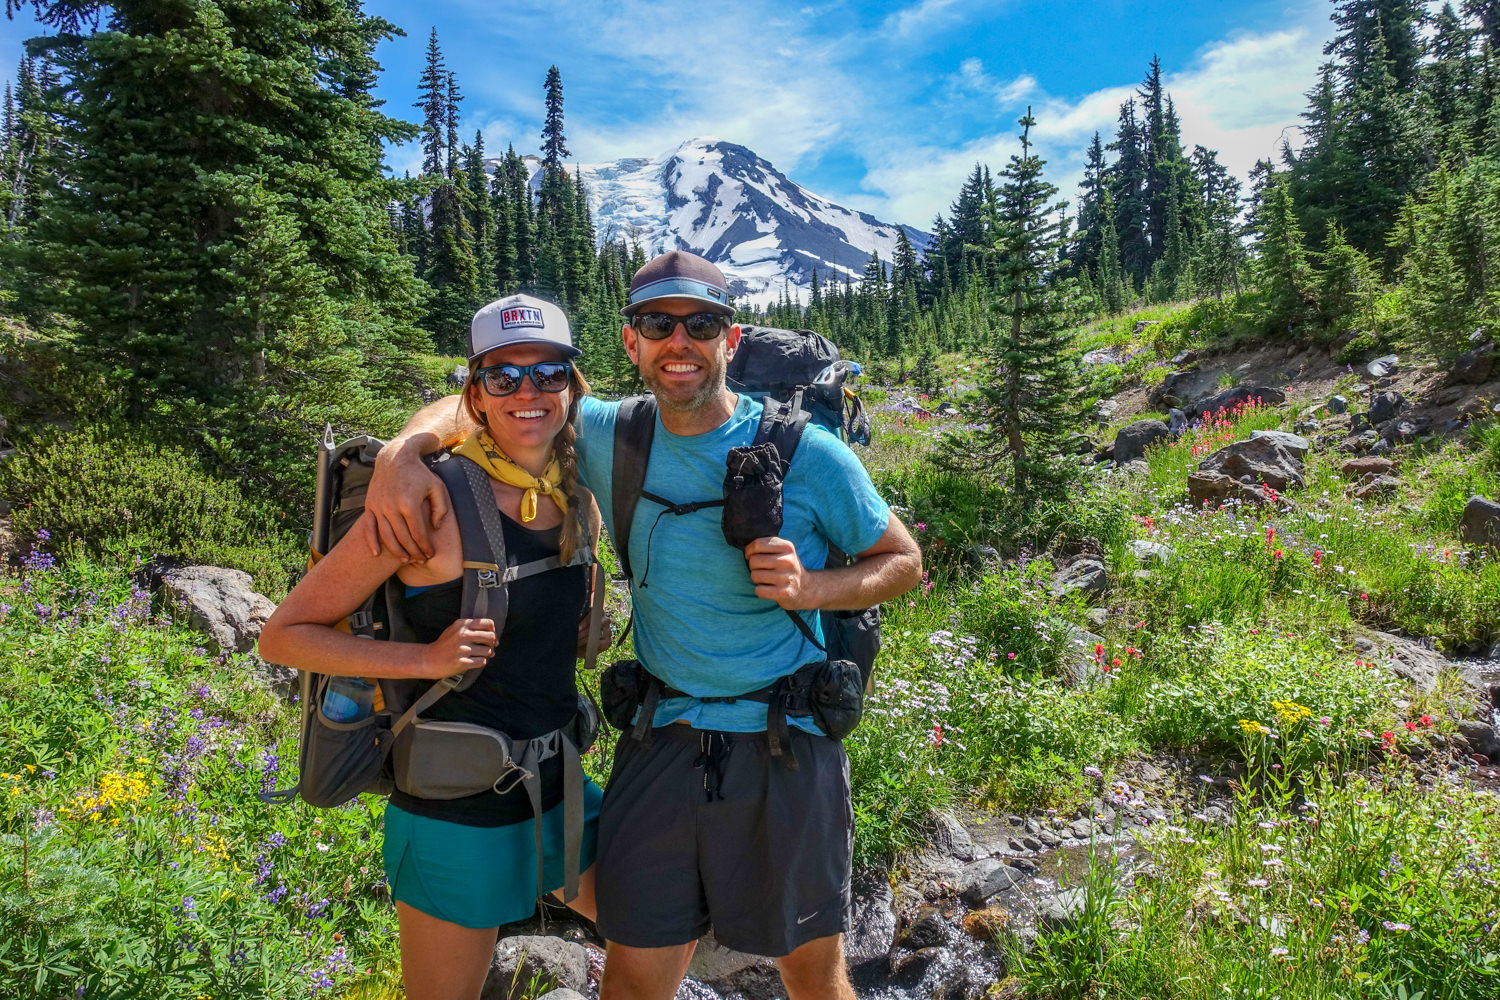
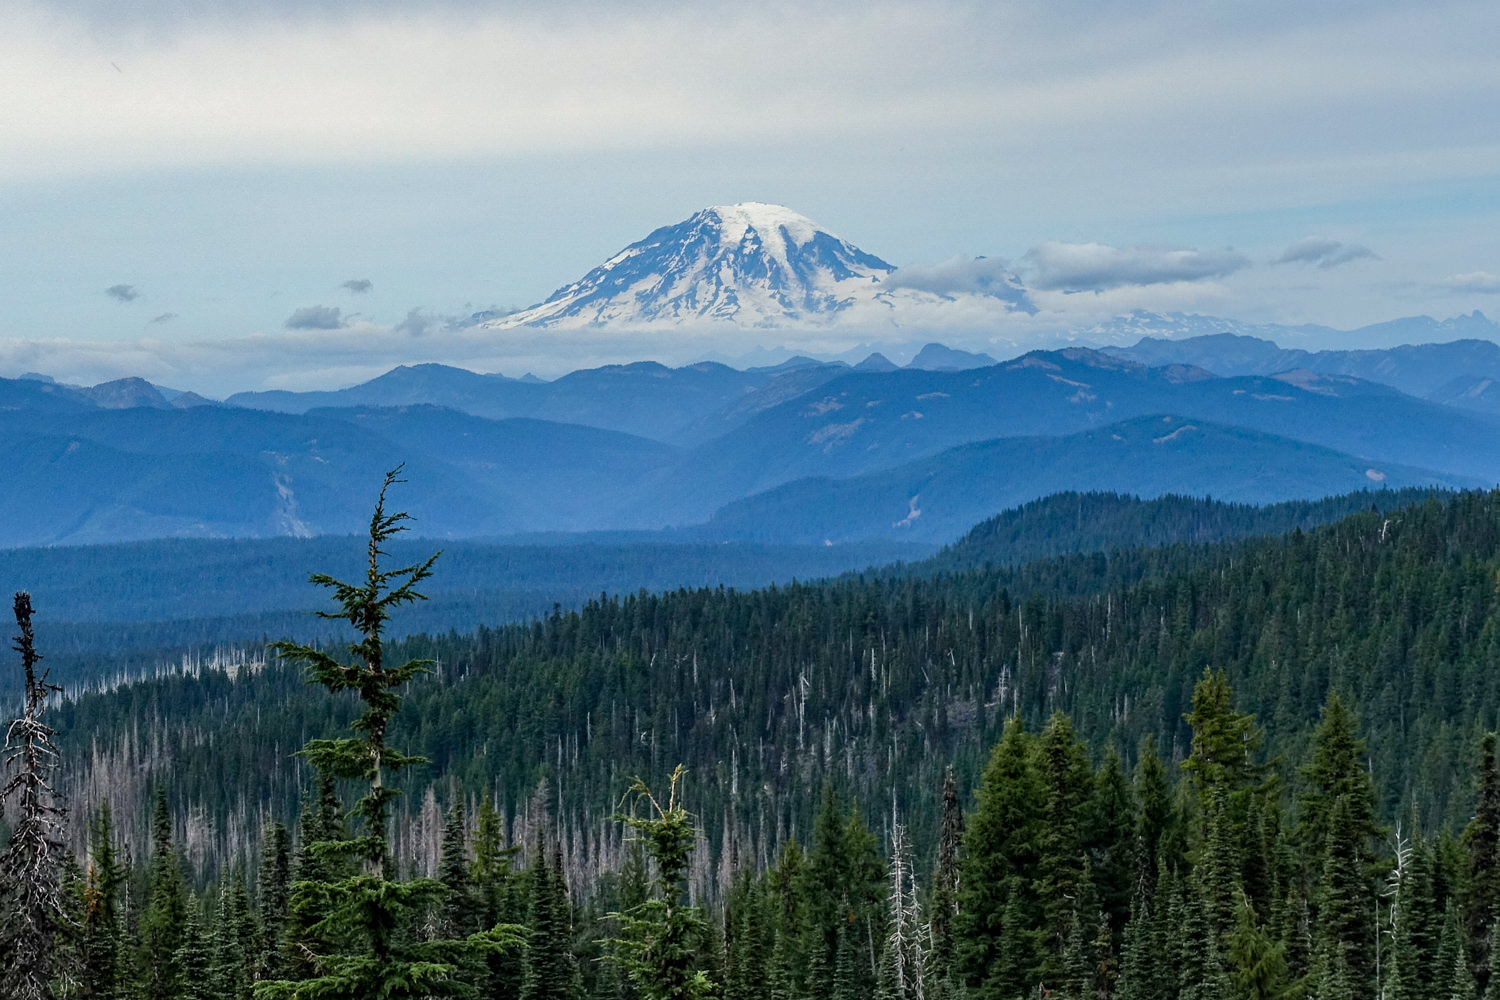
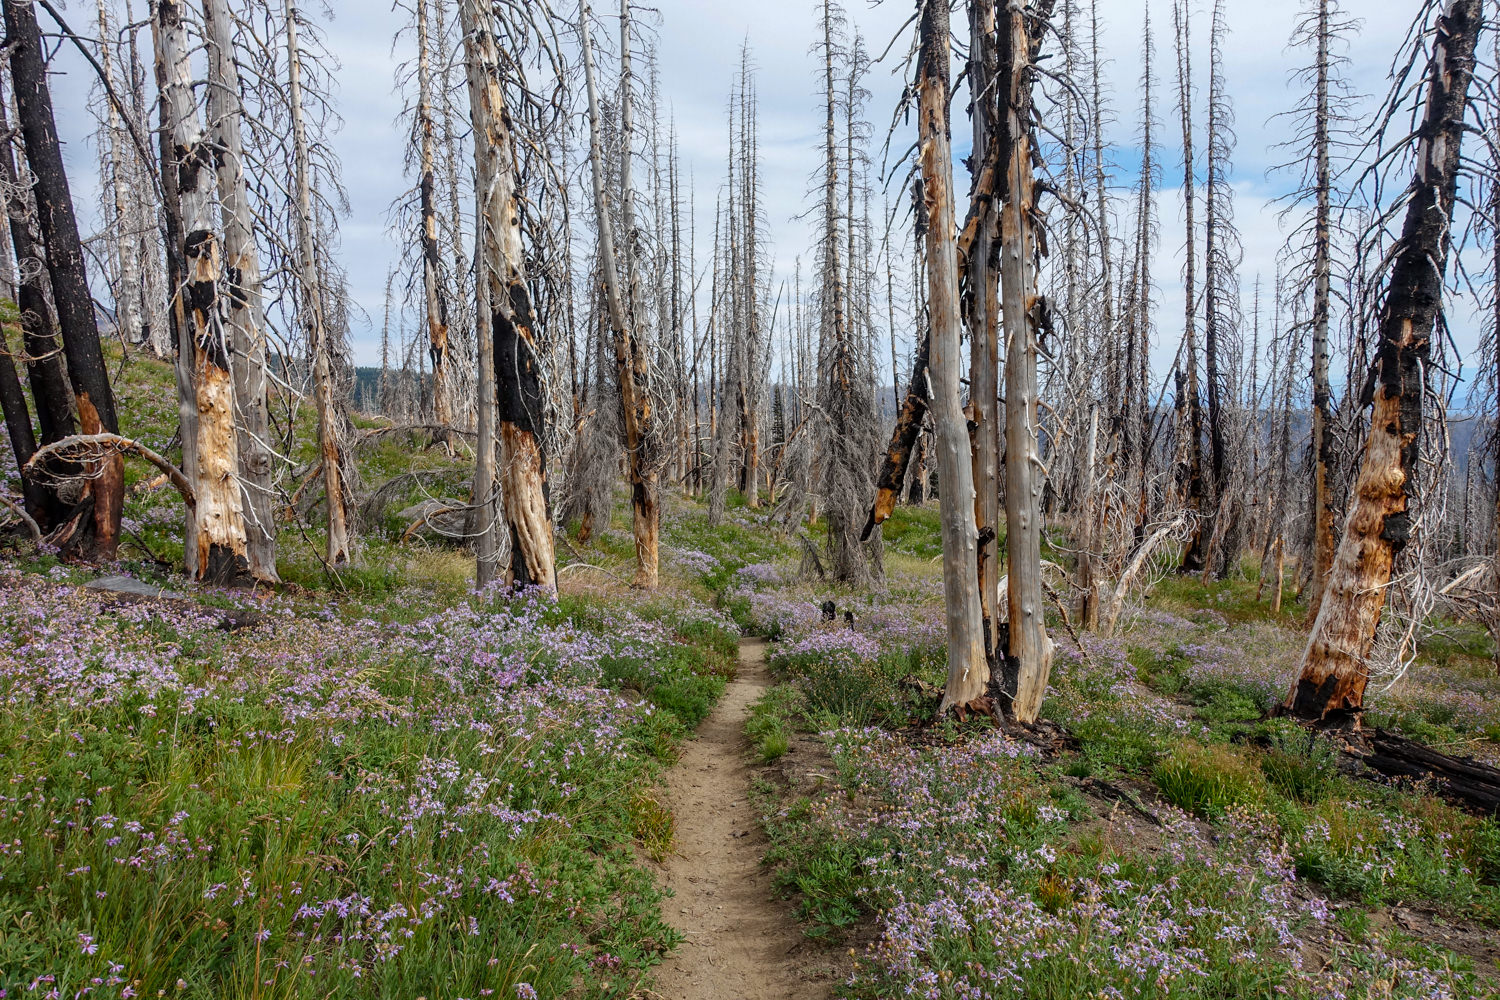
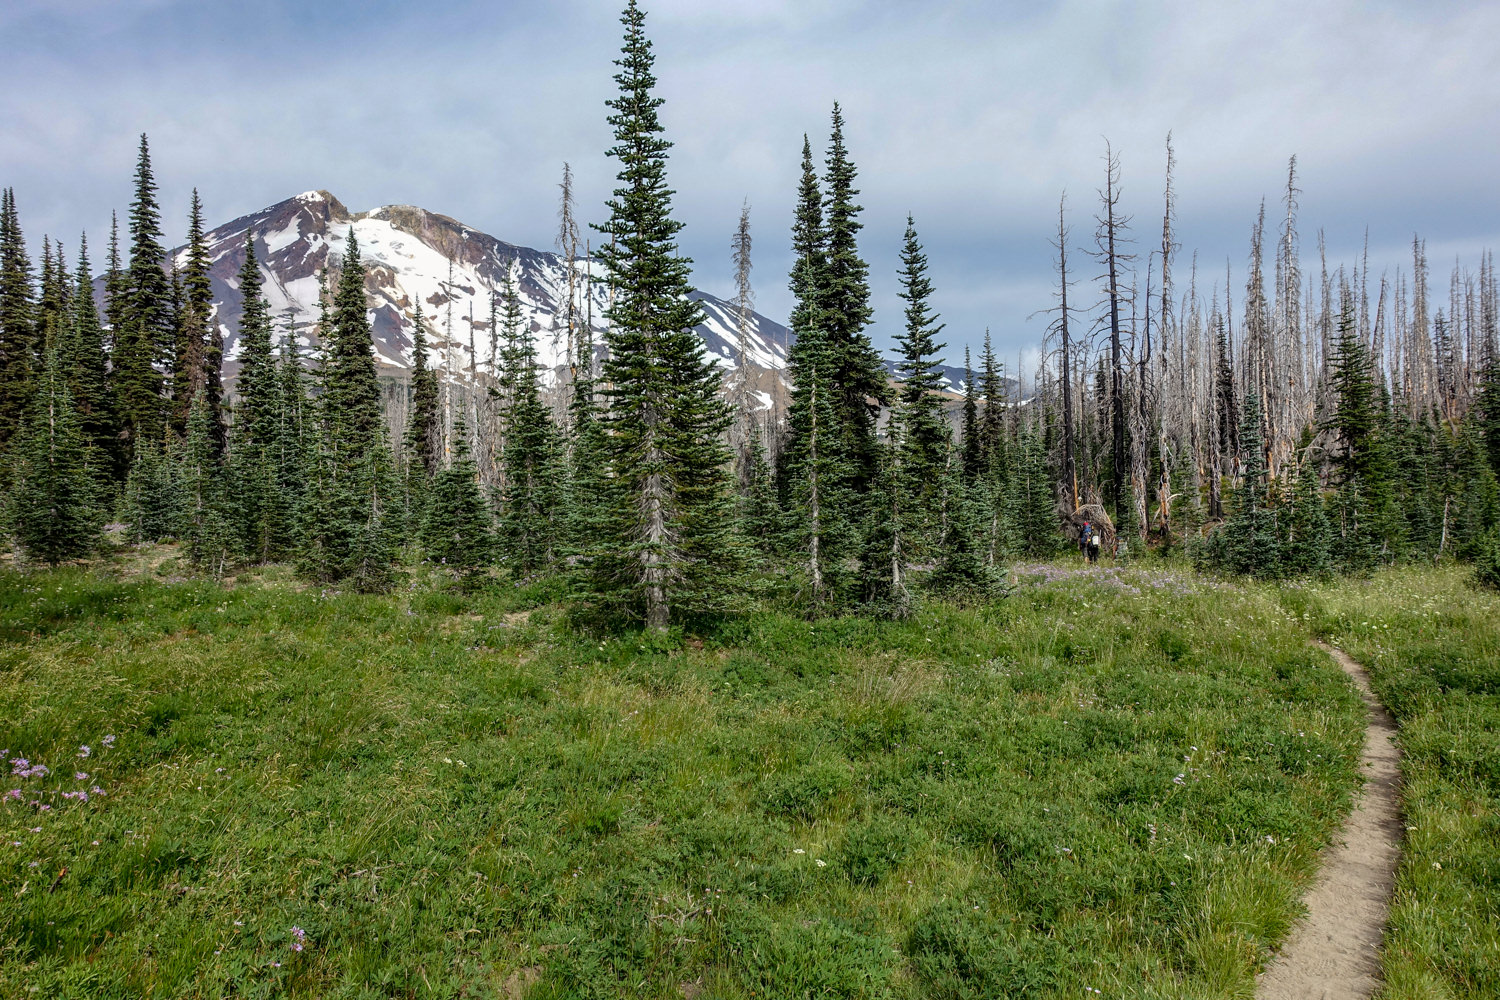
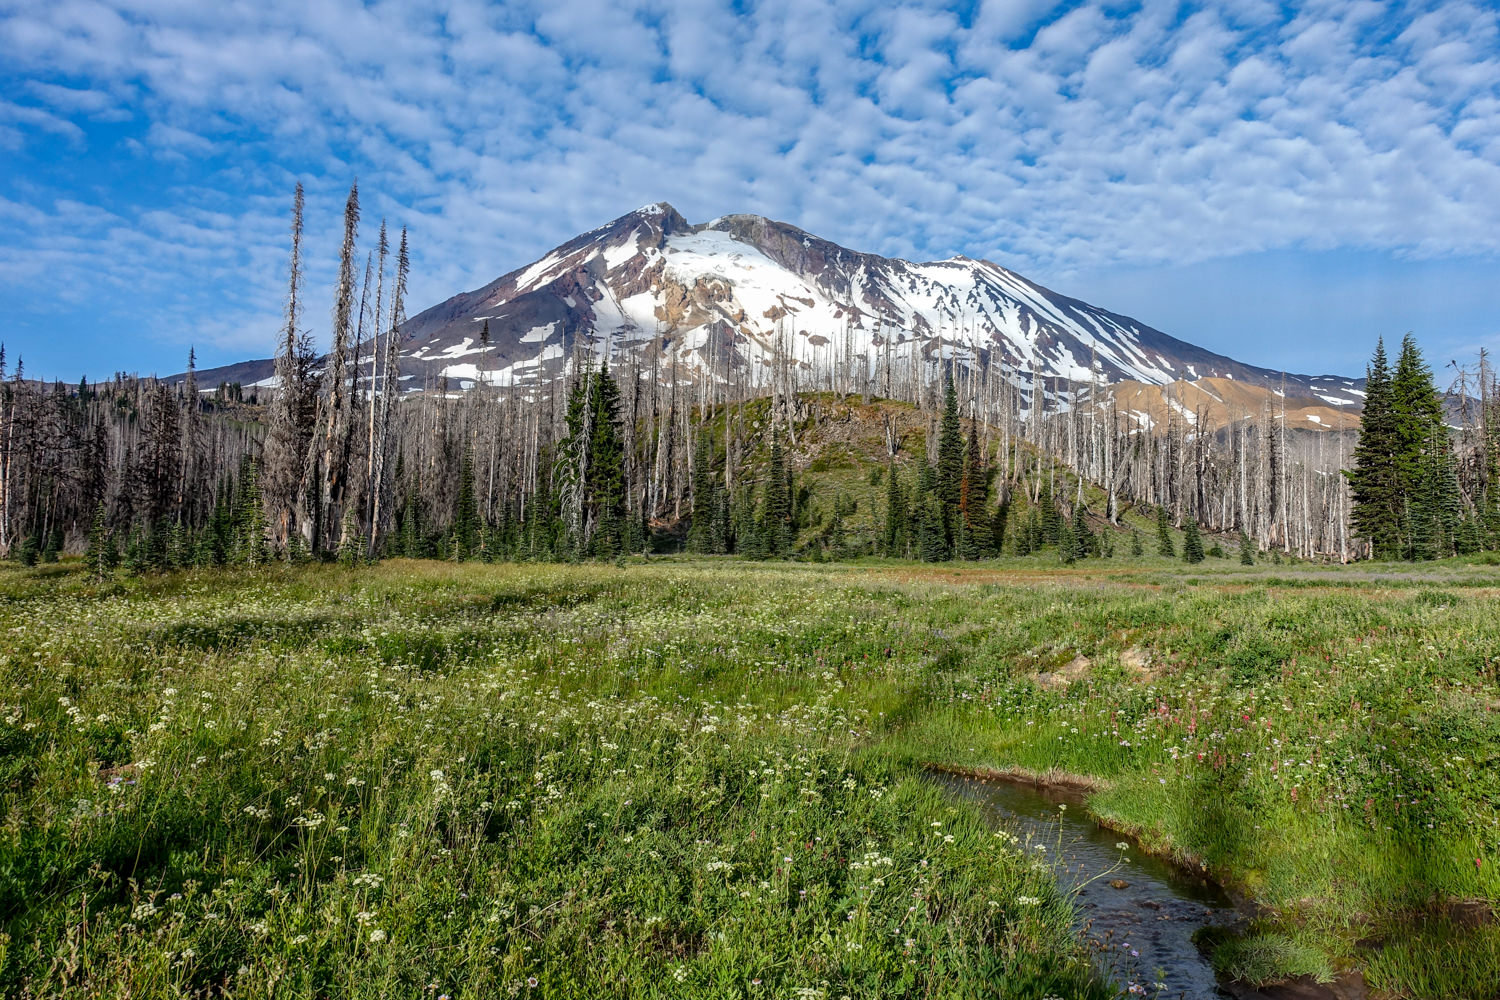
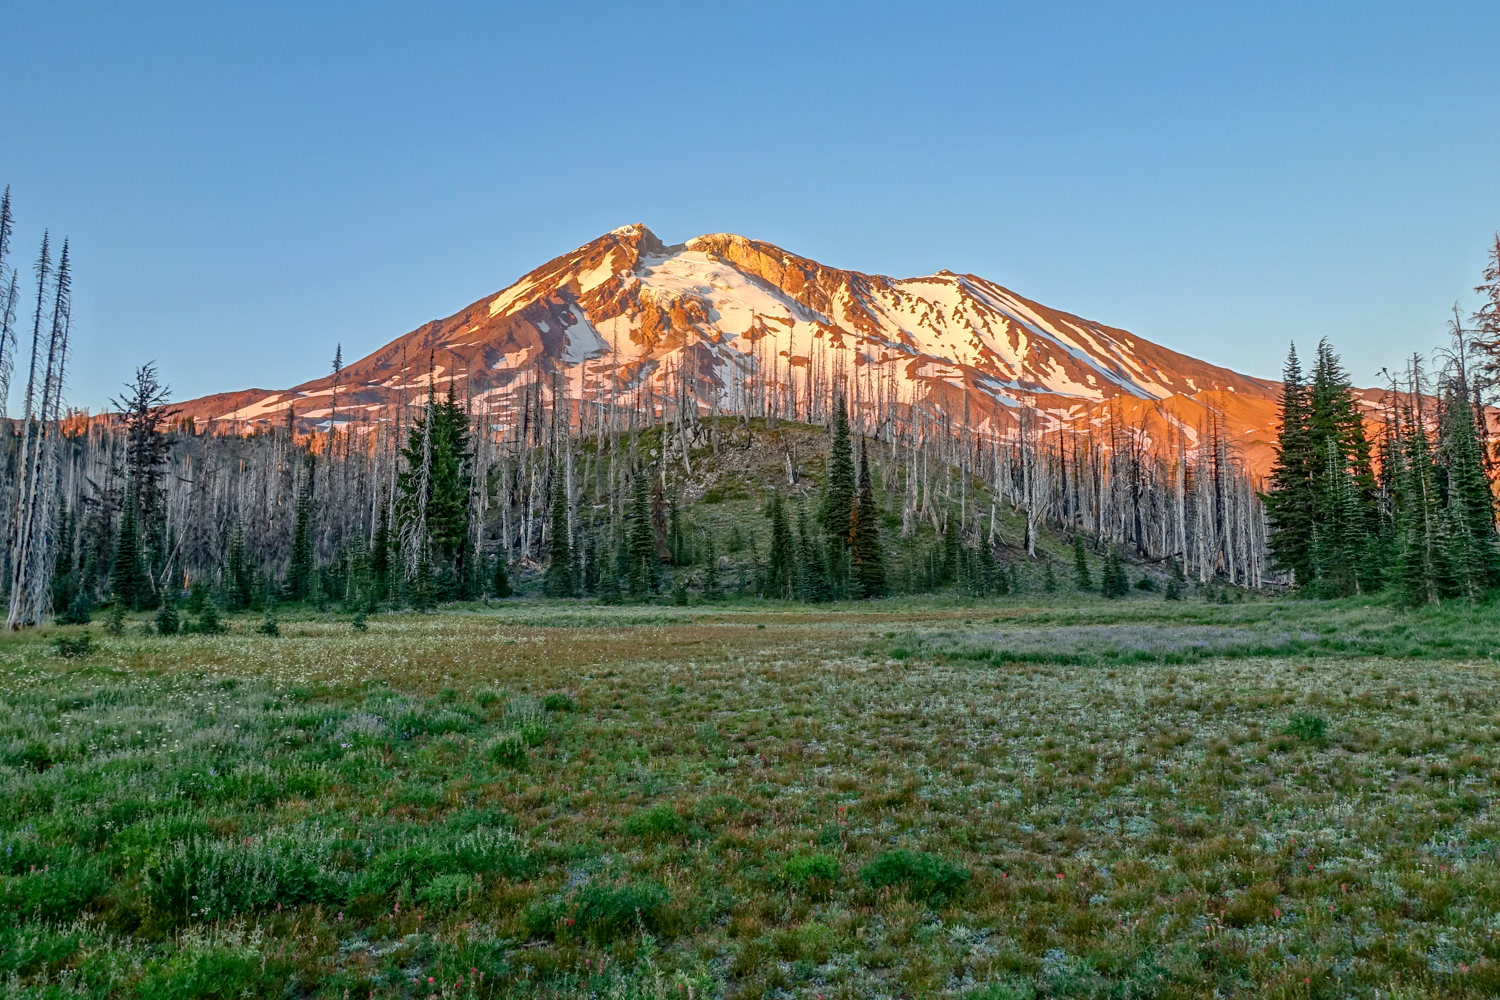
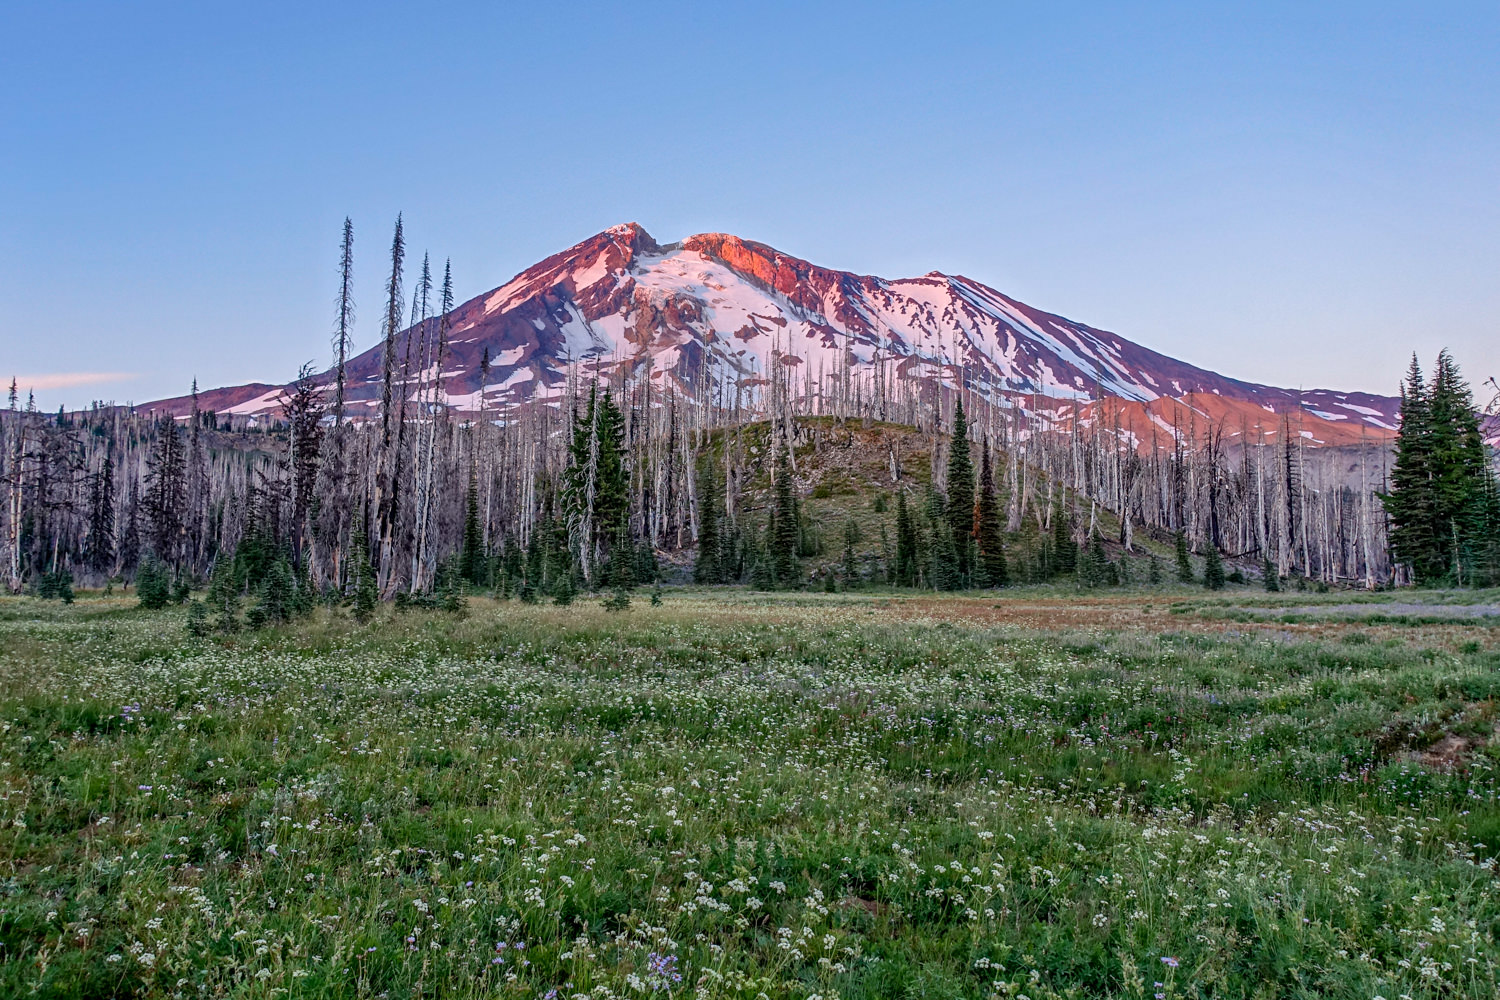
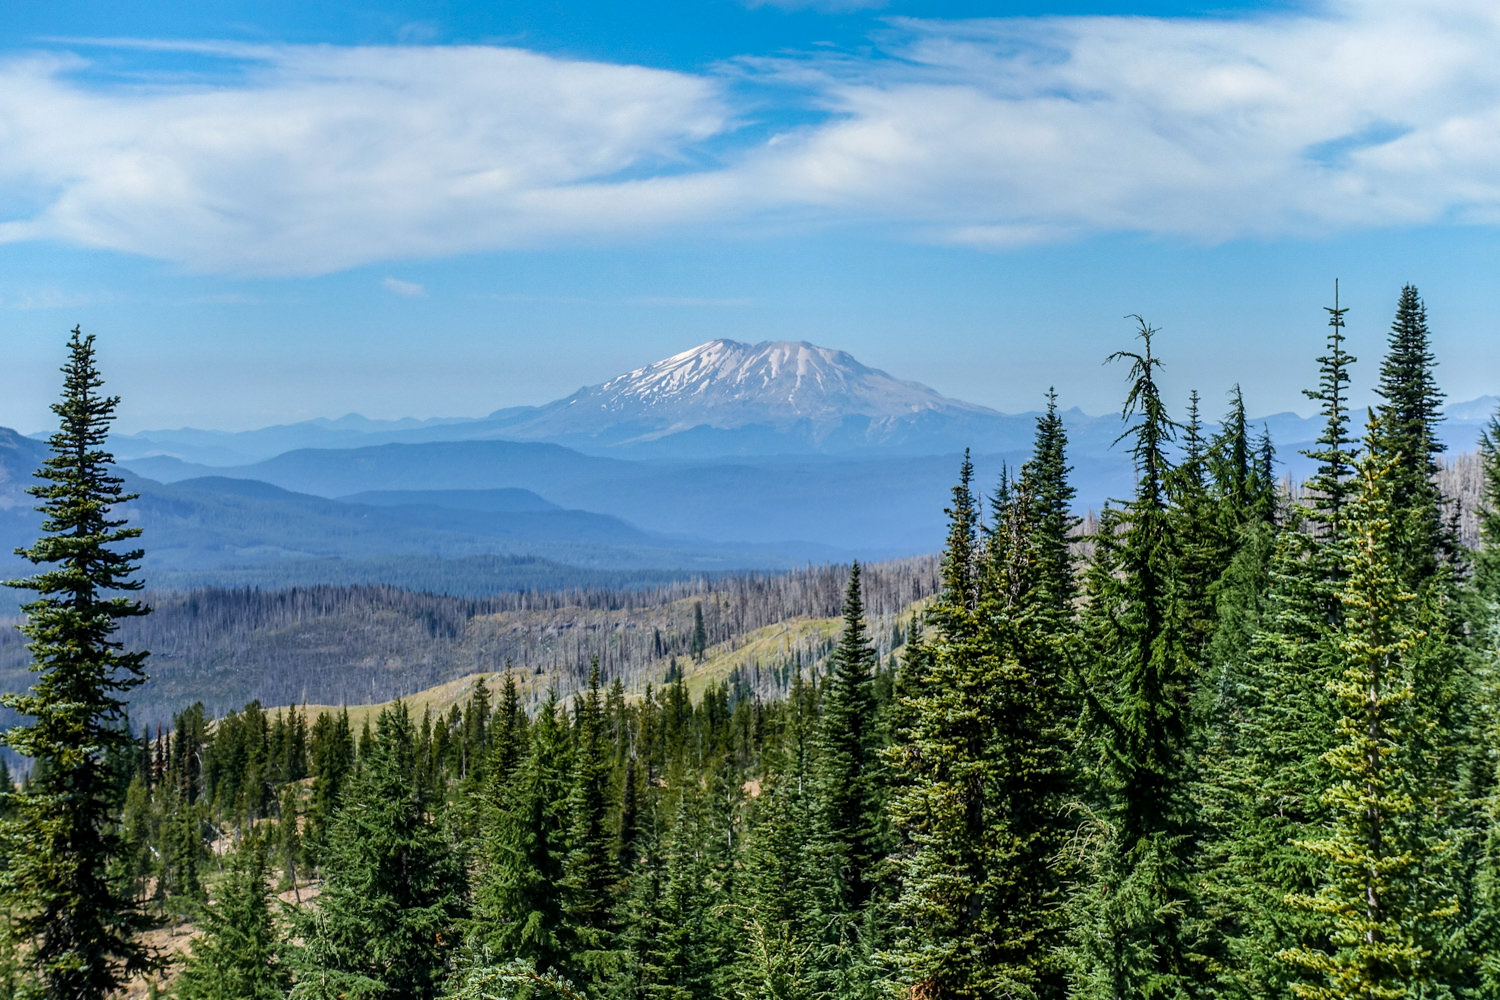
With spectacular fields of wildflowers well into summer, incredible mountain scenery, and cozy campsites nestled in beautiful meadows, backpacking in the Mount Adams Wilderness should definitely be on your radar. At 12,281 feet, Mount Adams is the second tallest peak in Washington, but with a location in South Central Washington far from large cities, the crowds remain relatively low, for PNW hiking standards.
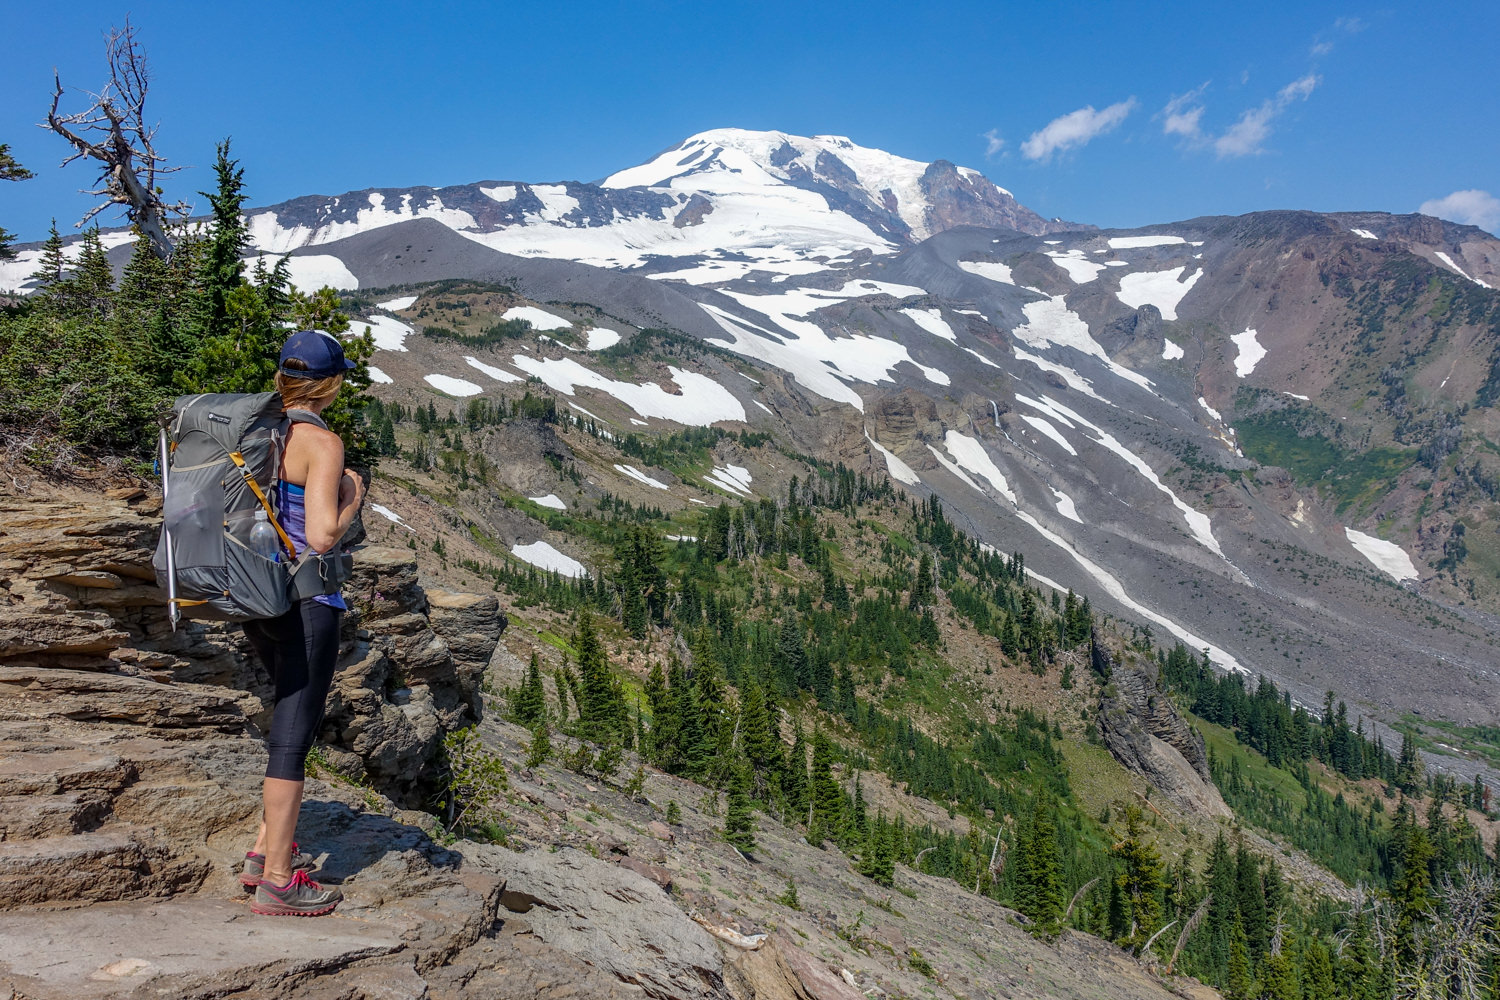
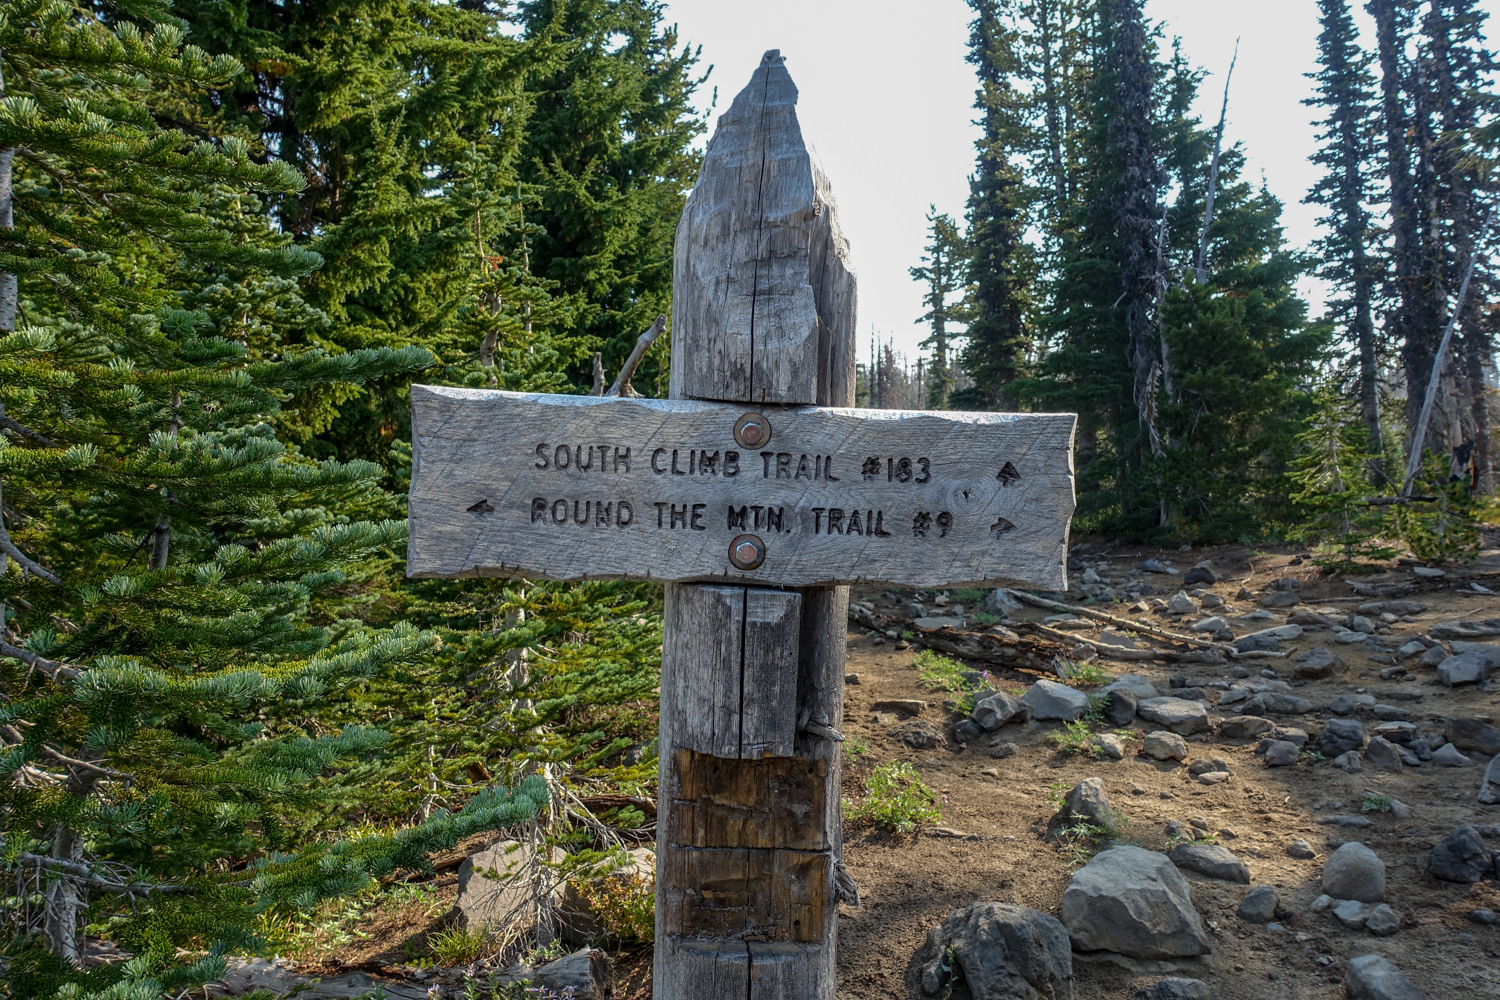
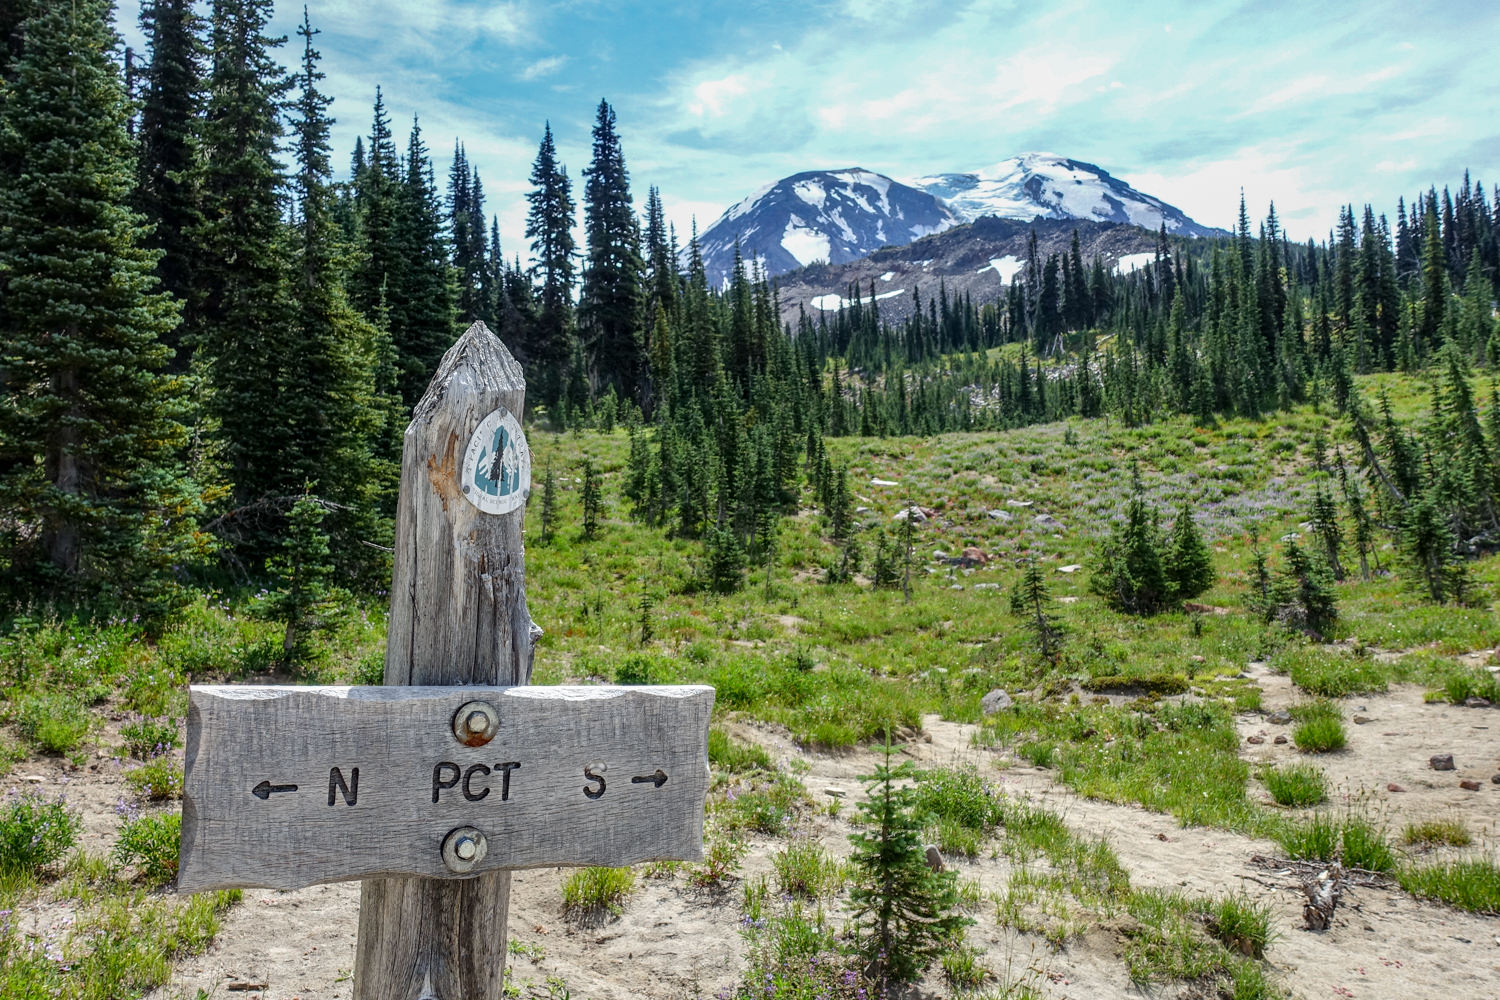
Unlike some neighboring peaks, Mount Adams does not have a completedtrail around the mountain. Instead, you have the option of combining three trails – Round the Mountain Trail, the Pacific Crest Trail, and the Highline Trail – to hike 3/4 of the way around the mountain on beautiful, straightforward, and safe trails.
There is an extremely difficult option to complete a full loop around the mountain by traversing the strenuous/dangerous 4.5 mile off-trail section on the east side referred to as “The Gap,” however we don’t recommend that option. The Gap is an experts-only, off-trail route that requires excellent navigation skills, steep glacier traverses, unstable scree field scrambles with large shifting boulders, and treacherous river crossings. Be brutally honest about your skills and experience before attempting The Gap, because it will be very intense and dangerous for the unprepared.
For the sake of this guide, we’ll outline backpacking itineraries in the Mount Adams area that vary in length and difficulty, from quick one-night trips to the full circumnavigation of Mount Adams (again, only recommended for true experts).
Quick Facts
-
Distance: Varies, depending on itinerary.
-
Days Needed: 2-5 days, depending on itinerary
-
Elevation Gain/Loss: 7,300 feet (2,225 meters), depending on itinerary
-
Best Travel Time: Late July – September
-
Permits: Required, more info below
-
Difficulty: Moderate – Difficult, more info below
Highlights
-
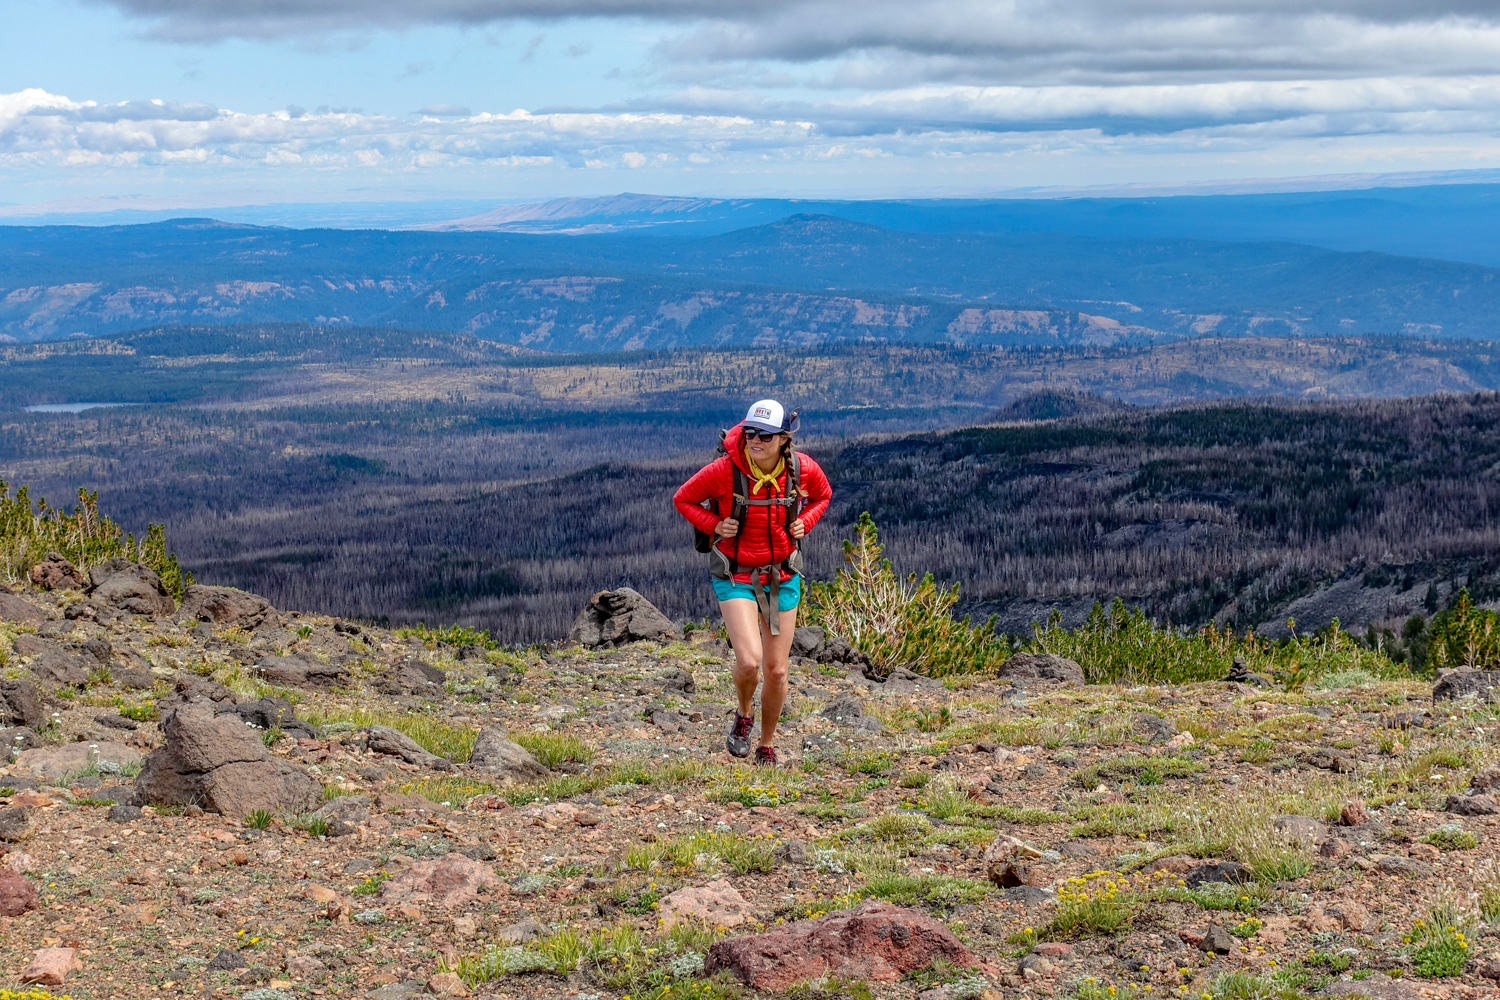
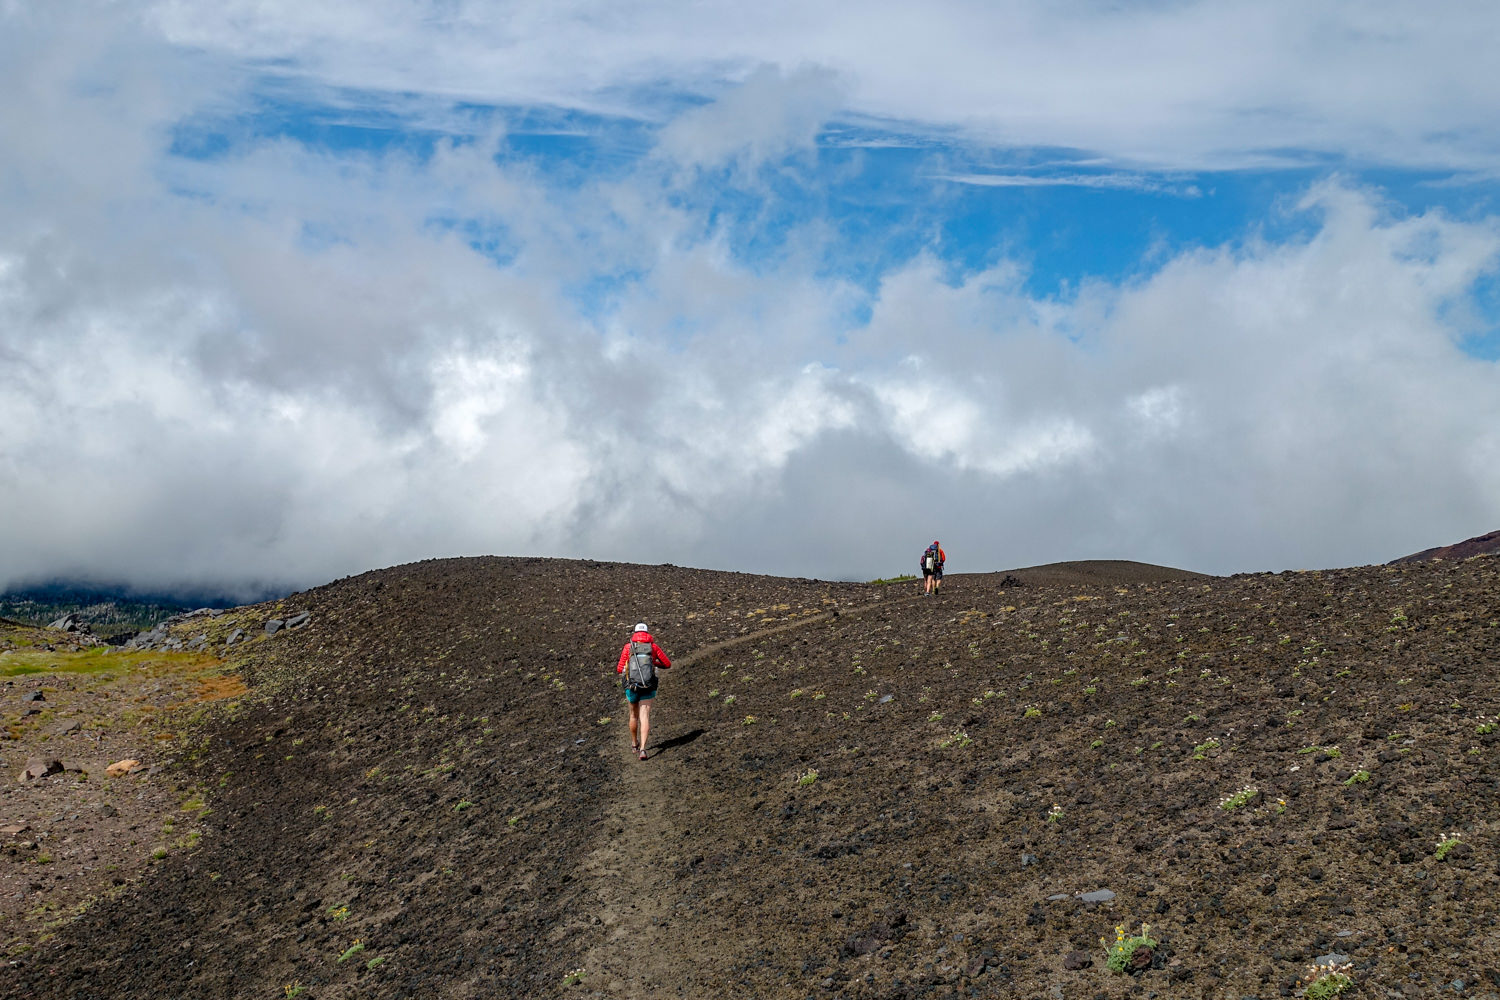
Good portion of hike above tree line
-
Sweeping mountain views in all directions
-
Beautiful wildflowers throughout summer
-
Relative solitude for PNW hikes
-
Bird Creek Meadows and Avalanche Valley areas
Lowlights
-
Can require long car shuttles
-
Can be windy along ridges above tree line
-
Multiple permits required in some areas
-
Susceptible to quickly changing weather
-
Campfires not permitted above 6,000 feet (almost all camping locations)
-
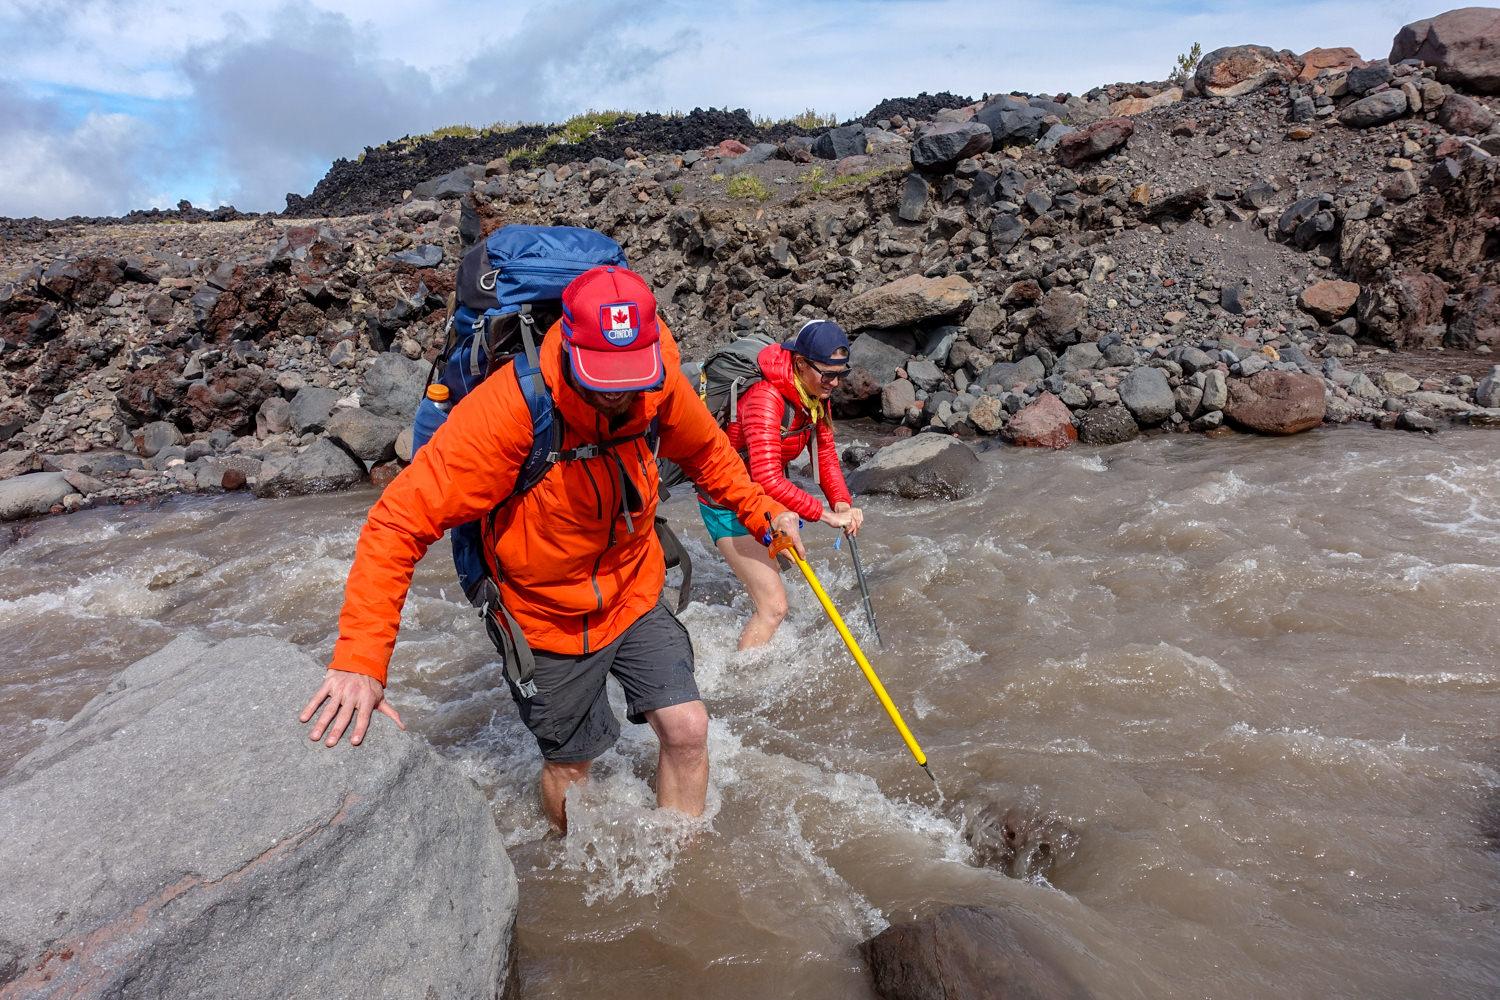
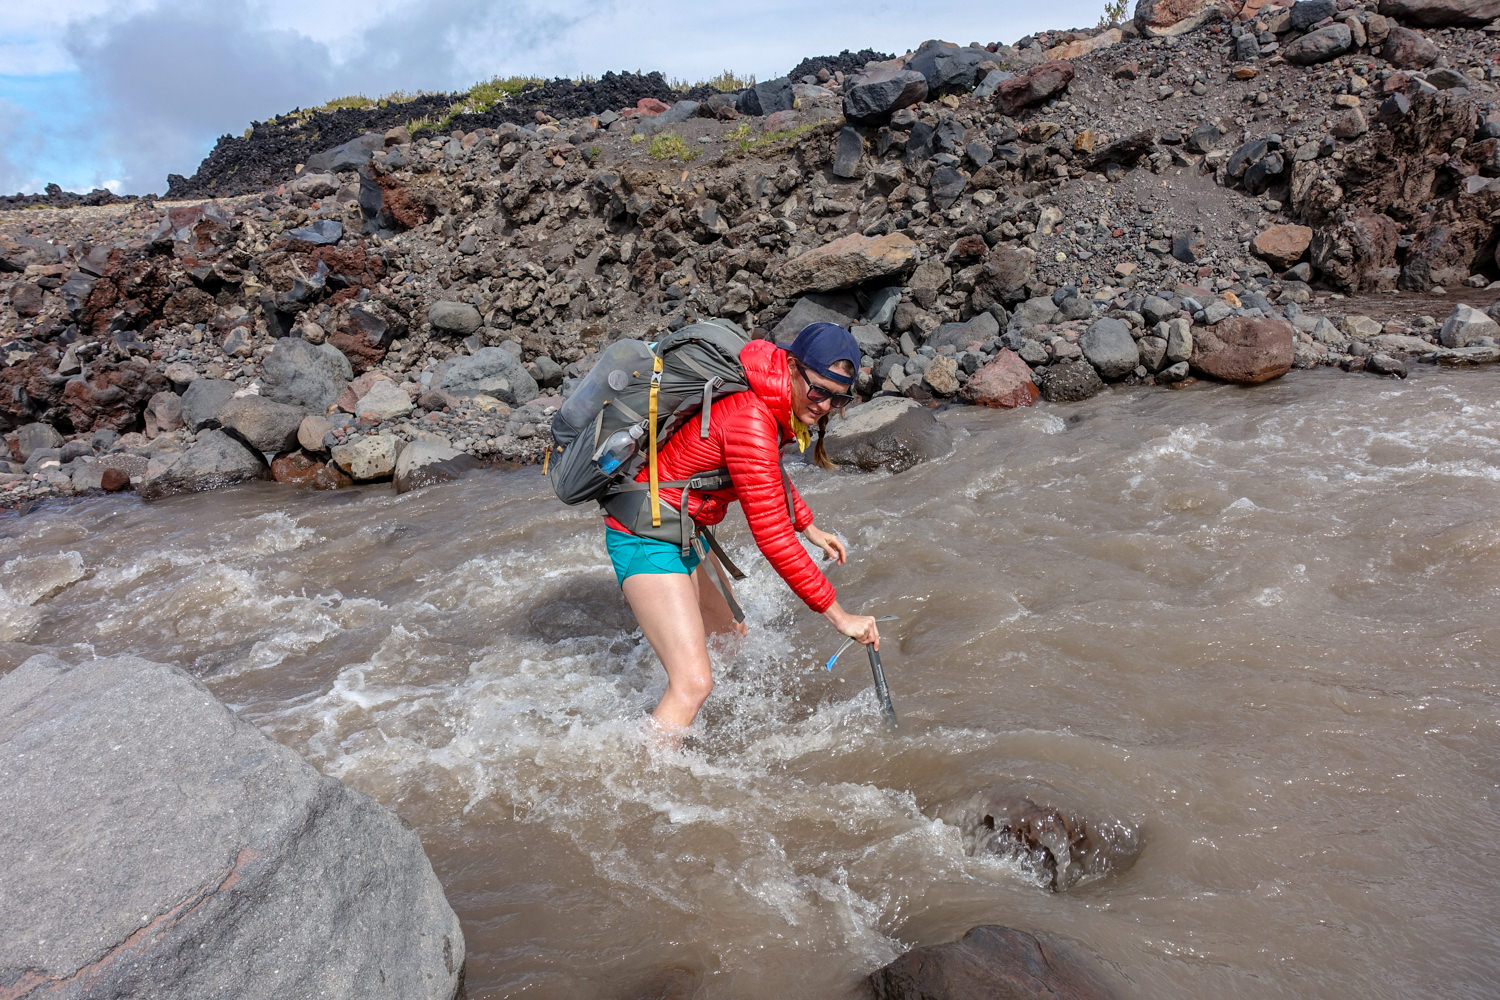
Some unbridged stream crossings
-
Dusty trails
Best Time to Travel
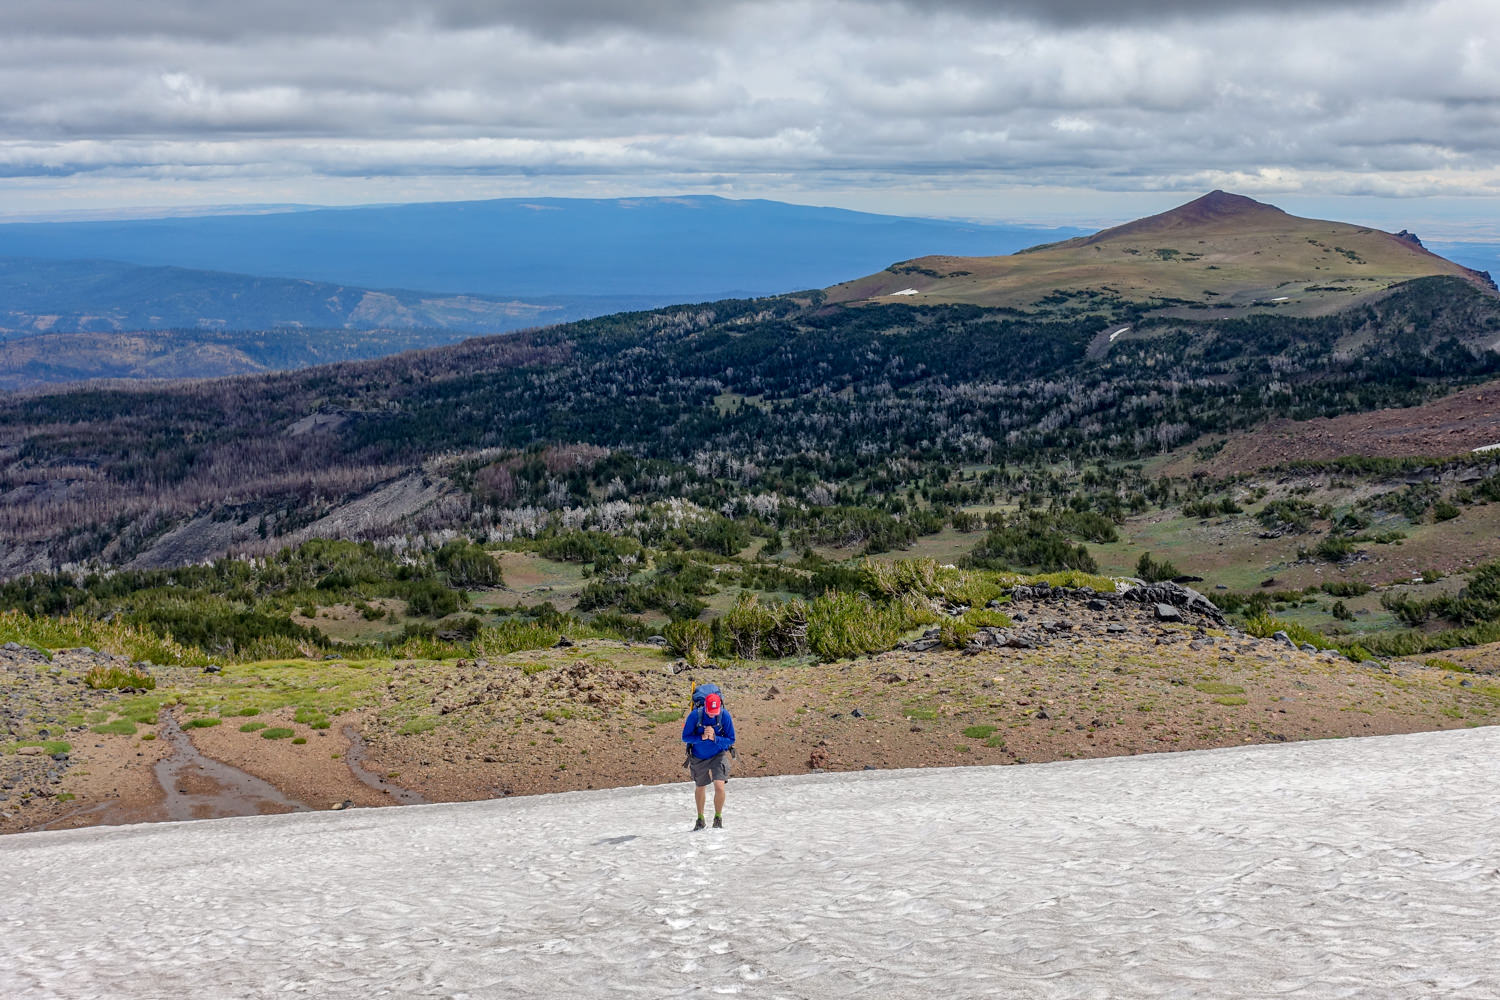
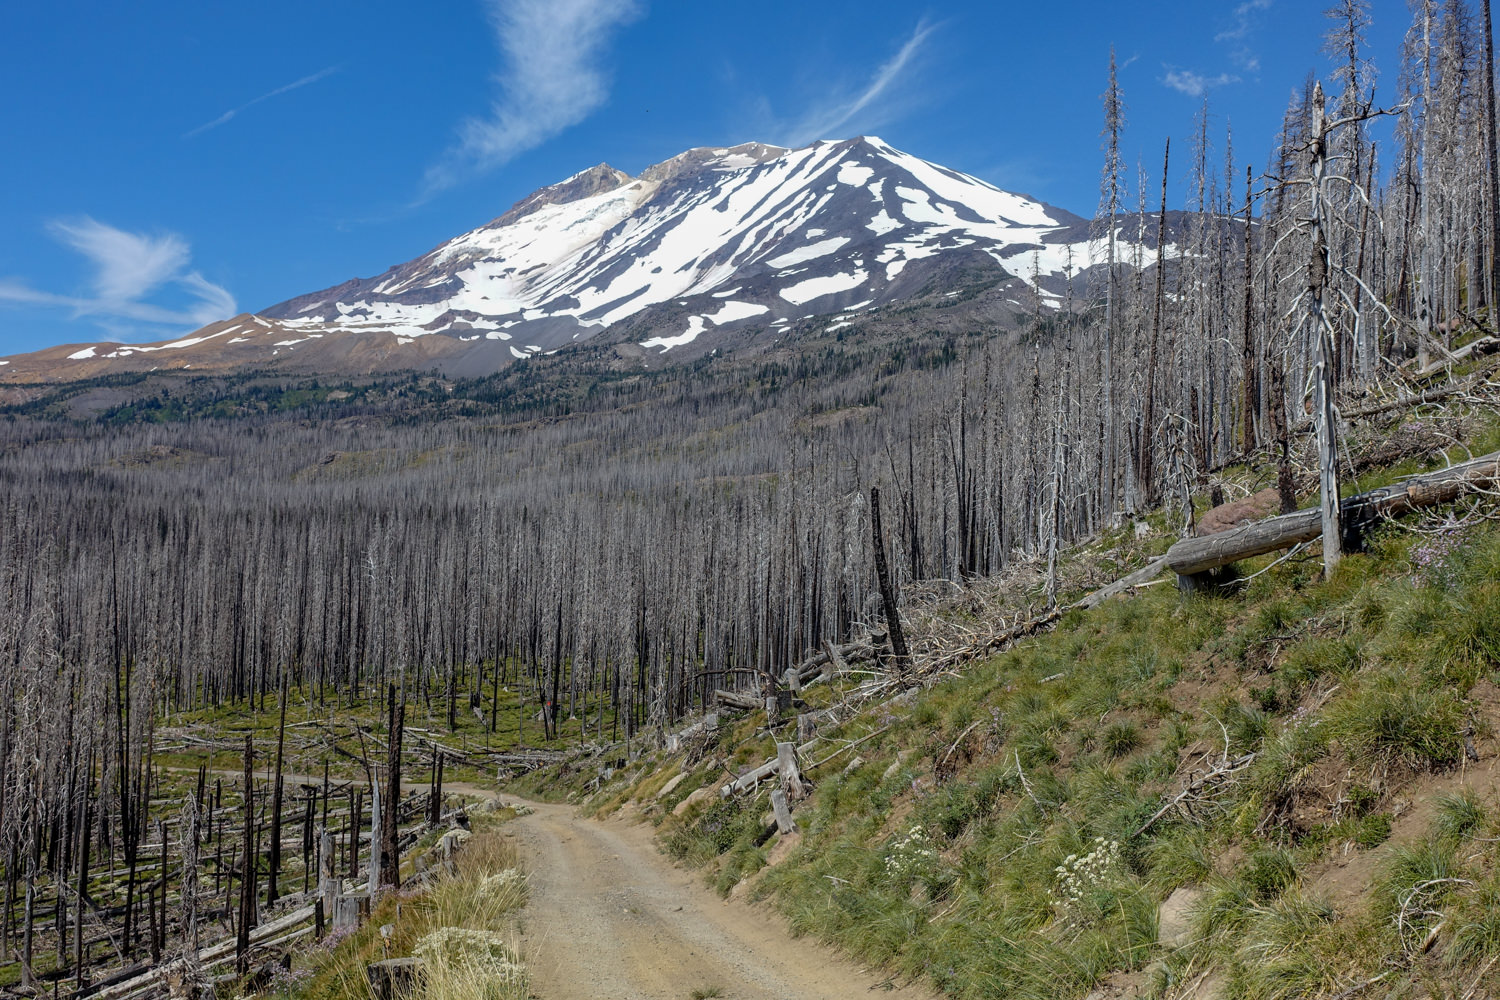
In general, July through September is the best time to hike around Mount Adams. Snowpack is a key factor for trip planning in this area, as snow can linger into late July and perennial snowfields exist in some areas. Rain and snow can fall at any time of year and freezing temperatures are possible, even in summer months. The bugs can be bad right after the seasonal melt, sometimes as late as mid-August. July and August have the lowest average rainfall and average temp highs of 82 degree for both months. In September and October the temps drop about 10 degrees each month and rain increase progressively by one to two inches.
As always, be prepared and diligent in monitoring current conditions before your hike. Weather can change quickly in this region. Before heading out, check the Mount Adams weather report for up-to-date conditions.
Difficulty
If you’re completing the portion of this trail that does not include “The Gap”, we rate this hike as moderate. Regardless of the beginning trailhead, reaching the Round the Mountain Trail will require a gradual steady climb. After that, most of the trail will pleasantly undulate up and down across many creeks, a lava field and, if you continue,across a major mudflow and rock fall.
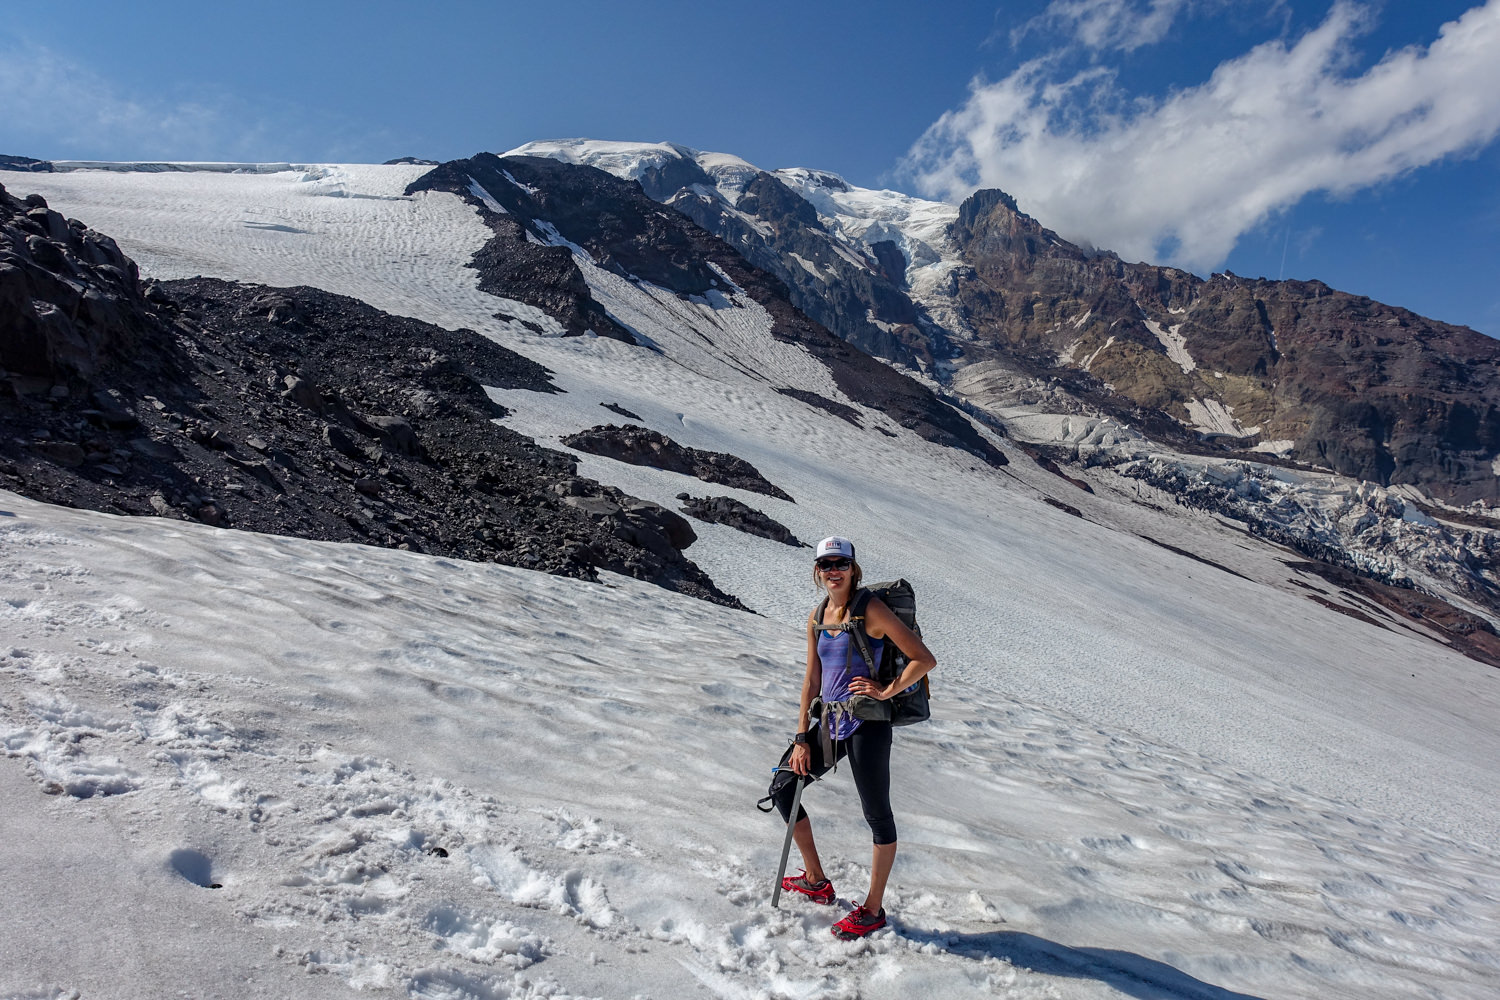
If you are extremely experienced and up for the challenge, the full circumnavigation (crossing The Gap) is rated as highly strenuous and very difficult. Besides requiring a high level of fitness, off-trail experience and expert navigation skills, you’ll also need to bring an ice axe and traction devices, to complete the full loop. Like we mentioned above, we would not recommend this route to about 99% of the hikers reading this guide.
As always, difficulty ratings depend on your experience, physical fitness, pack weight & weather conditions. Plan accordingly, train properly, know your limitations, brush up on your skills, and dial in your gear. Doing so will make for a safe and enjoyable adventure.
Permits
-
Wilderness Permit Required – Permits are free and self-issued at trailheads.
-
A seperate permit is required within the Yakama Indian Reservation. These are available for a small fee in the area of Bird Creek Meadows. Overnight stay permits are available. Camping is allowed only in the designated sites.
About one-half to two-thirds of Mount Adams is within the Mount Adams Wilderness of the Gifford Pinchot National Forest. The remaining area, roughly from Avalanche Valley to Bird Creek Meadows, is within the Mount Adams Recreation Area of the Yakima Nation.
You’ll need a NW Forest Pass to park at trailheads, but you must also obtain a self-issued wilderness permit at the trailheads. Hikers very familiar with the area recommend getting official permission to cross the Yakima Nation land on the eastside. Officially, you can’t be on the Yakima section of the loop between Oct 1 and June 30, unless you receive permission from the tribe. The Yakama Reservation (referred to as Track D) is open to the general public between July 1 and September 30. Further, they do allow camping at Sunrise Camp and in Avalanche Valley in the old existing campsites only.
The overall consensus is that as long as you start at the official trailheads and follow the high route, you don’t need a permit to cross The Gap. If in doubt, check with the Trout Lake Ranger Station for updates.
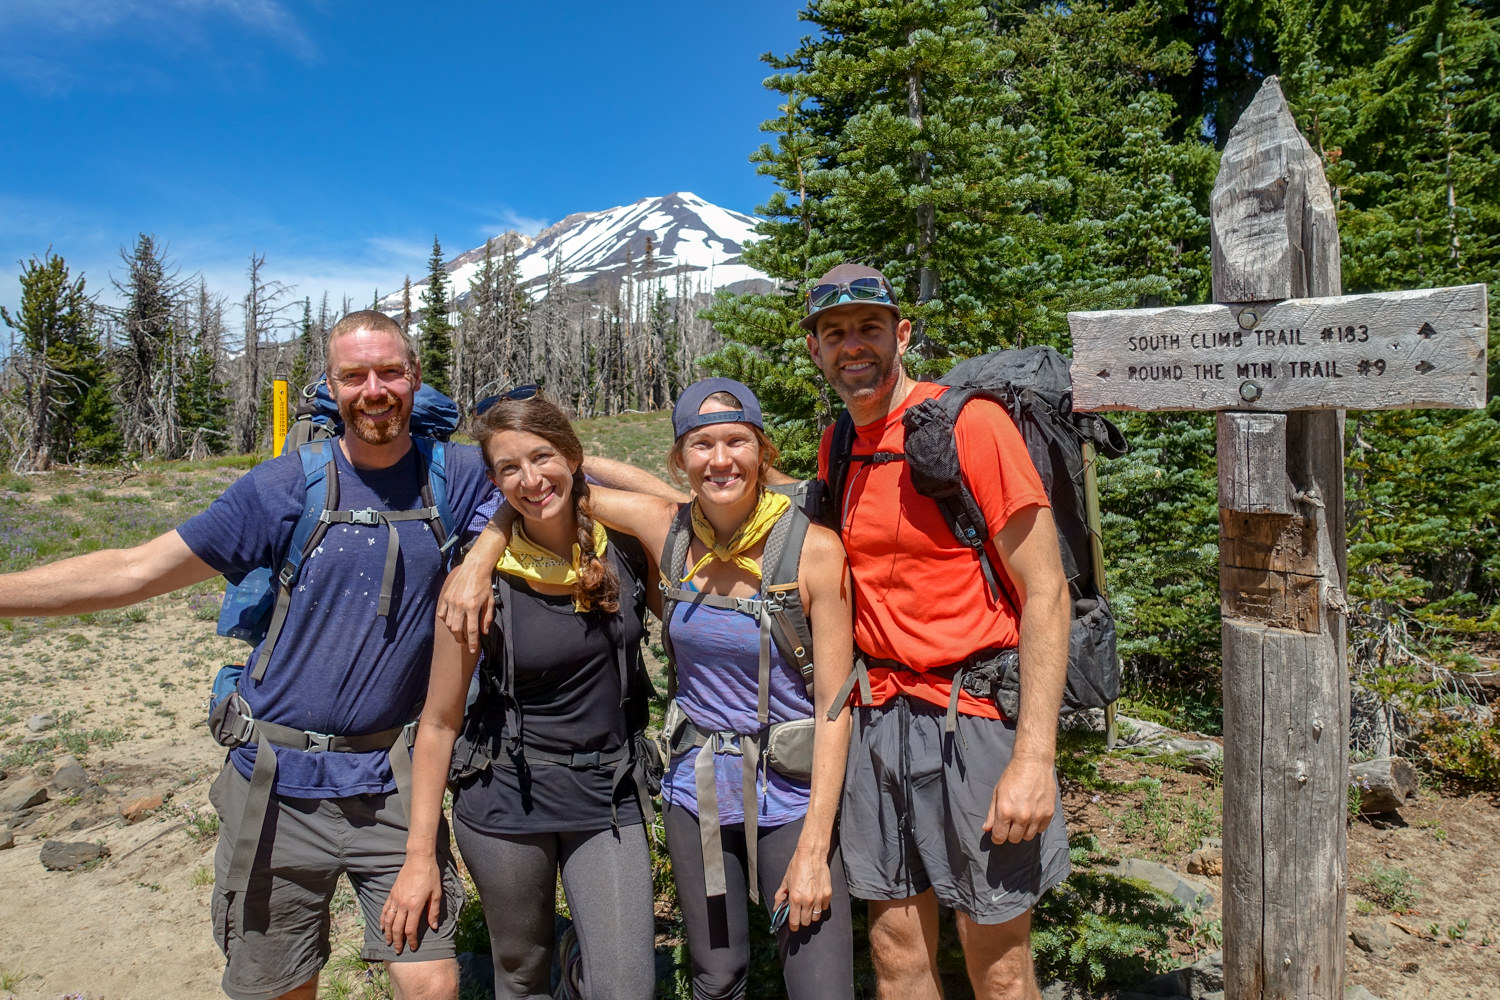
Getting to the trailheads
For this guide, we start at Cold Springs Trailhead and end at the Muddy Meadows Trailhead. If you don’t have time to complete the entire trail, there are several other trailheads which allow you to access portions of the trail. It’s important to note that trails accessing the “Round the Mountain Trail” generally gain between 1,500 feet and 3,000 feet.
Because most people don’t complete the full loop of Mt. Adams, transportation logistics can be a bit complicated. There are no official shuttle services offered in this area so your options are to either do an out-and-back hike or arrange your own car shuttle. The drive between the two trailheads is 38 miles and takes about 2 hours. Driving directions to both trailheads can be found below.
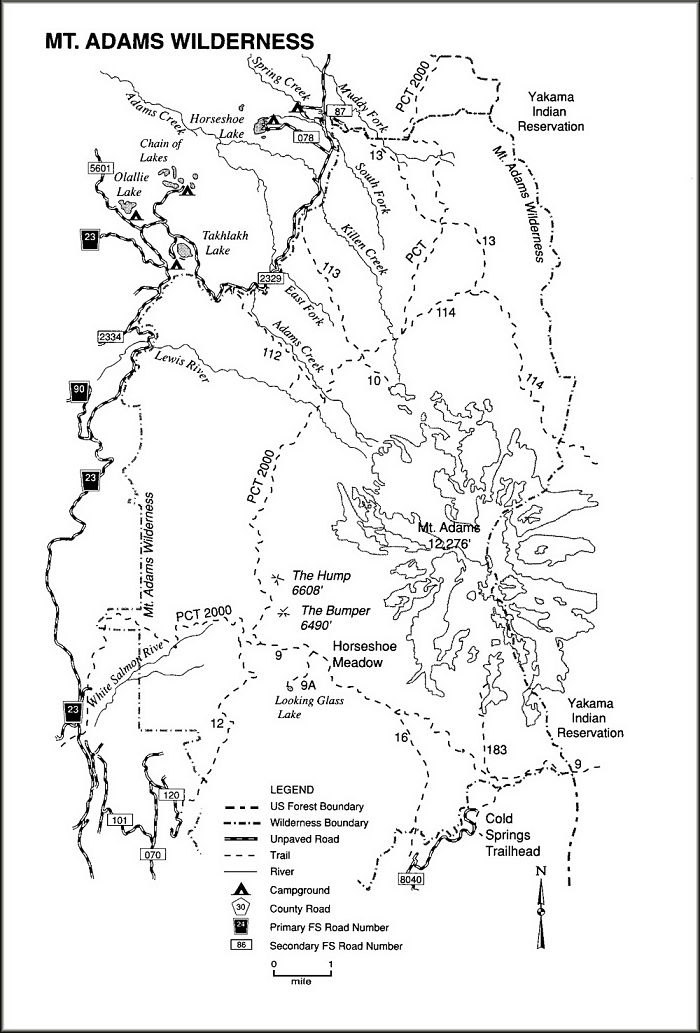
Map from fs.usda.gov
Campsites
Below is the listed hiking mileage from the Cold Springs Trailhead to each campsite. Plan your route accordingly.
-
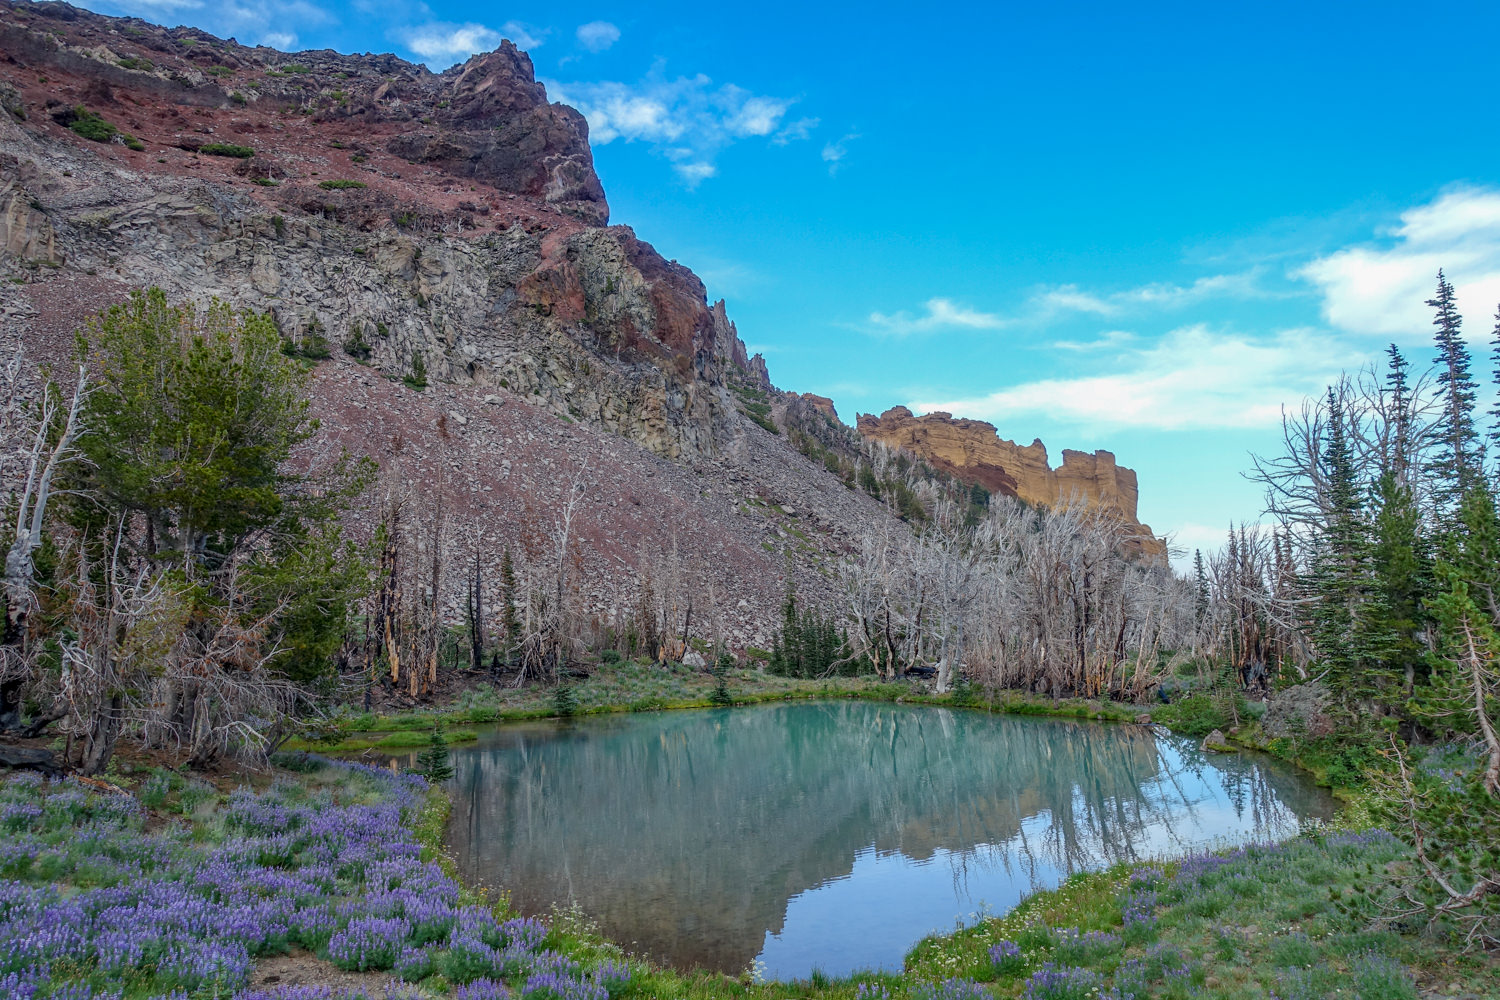
Lookingglass Lake – 7.2 miles (requires hiking one mile south of Round the Mountain Trail)
-
Horseshoe Meadows – 7.3 miles
-
Sheep Lake – 10.5 miles
-
Divide Camp 14.2 miles
-
Killen Creek– 15.6 miles
-
High Camp – 15.6 miles
-
Foggy Flats -18.6 miles
-
Avalanche Valley -24.7 miles (existing campsites only, just west of Goat Butte)
If you are planning on hiking all the way to Avalanche Valley rather than continuing north along the trail to the Muddy Meadows Trailhead, it’s very important to follow the guidelines set forth by the Mount Adams Ranger District and the Yakama Tribe. The “trail” in this section is a very faint and pretty much nonexistent, so GPS and off-trail navigation skills are highly recommended. In Avalanche Valley head more or less north across Rusk Creek to the camp near the spring on the old FS Trail. Crossing this creek can be difficult depending on time of day and season. The tribe does not permit dispersed camping, but it is allowed to camp near the spring in the old camping area.
Possible Itineraries
The Round the Mountain Trail maintains an elevation between 5,900 feet and 6,300 ft. Most people complete the Round the Mountain Trail (minus the gap) in four days, but faster hikers can complete it in three. Those wishing to have slower days, explore the alpine area more thoroughly, or complete the full loop including the gap, may want to plan for a five-day trip.
ROAD CLOSURE NOTE: Forest Road 82 is gated and locked. Bird Creek Meadows remains closed due to the 2015 Cougar Creek Fire. This should not effect your itinerary if starting at Cold Springs Trailhead.
Three Day Itinerary
STARTING TRAILHEAD: Cold Springs
ENDING TRAILHEAD:Muddy Meadows
-
Day 1 –Hike north from the trailhead to Round the Mountain Trail, turn left at junction and hike on to Lookingglass Lake campsite (.9 miles south of the trail to the lake).
-
Day 2 – Hike from Lookingglass Lake to Round the Mountain Trail to Divide Camp or go another 2.5 miles to High Camp
-
Day 3– Hike from High Camp to the Highline Trail to the Muddy Meadows Trailhead
TOTAL MILEAGE:20.8 or 21.9 miles (High Camp option)
Four Day Itinerary
STARTING TRAILHEAD: Cold Springs
ENDING TRAILHEAD: Muddy Meadows
-
Day 1 – Hike north from the trailhead to Round the Mountain Trail, turn left at junction and hike on to Lookingglass Lake campsite (.9 miles south of the trail to the lake)
-
Day 2 – Hike from Lookingglass Lake to Round the Mountain Trail to Divide Camp or go another 2.5 miles to High Camp
-
Day 3 – Hike from High Camp to the Highline Trail to Avalanche Valley
-
Day 4 – From Avalanche Valley to Muddy Meadows Trailhead
TOTAL MILEAGE: 39 miles or 40.1 miles (High Camp Option)
Five Day Itinerary
WARNING: : Traversing “the gap” (more info below) is only recommended for highly experienced backpacking experts with excellent off-trail navigation, glacier travel, and river fording skills. Because this route is a true loop, you can travel in a clockwise or counter-clockwise direction. We suggest heading counter clockwise so that if conditions do not allow you to cross “The Gap”, you can easily retrace your steps back to the Round the Mountain Trail.
STARTING TRAILHEAD:Cold Springs
ENDING TRAILHEAD: Cold Springs
-
Day 1 – “The Gap” Day. Hike north from the trail to meet up with Round the Mountain Trail. Turn right and head towards Bird Meadow. Follow signs towards Hellroaring Viewpoint, where the trail starts fading out. Continue off trail towards Sunrise Camp (multiple unstable scree fields and glacier travel required). There’ll be rock shelters signaling you’re at Sunrise Camp. Continue your hike off-trail over Klickitat Glacier and eventually across Big Muddy River (Be very cautious and assess the situation before crossing, as this river can be very dangerous, or deadly). After crossing, you’ll have to climb up and over a very unstable scree field on your way to Avalanche Valley. Be prepared to cross a series of swift streams along this route. This day will be long, arduous, and possibly dangerous. We can’t emphasize enough how this is for highly experienced backpackers only.
-
Day 2 – Hike from Avalanche Valley to Foggy Flats. There may be some difficult river crossings, depending on time of year. Always use caution.
-
Day 3 – Hike from Foggy Flats to Divide Camp or High Camp.
-
Day 4 – Hike from Divide Camp/Foggy Flats to Horseshoe Meadow or Lookingglass Lake
-
Day 5 – Hike from Horseshoe Meadow/Lookingglass Lake back to Cold Springs Trailhead.
NOTE: Campsites at Sunrise Camp are very exposed and can be incredibly windy, so always assess the conditions. If you’re crossing “The Gap”, we recommend doing it in one day.
TOTAL MILEAGE:35 miles
“The Gap” Section
As tempting as it is to complete the full loop around Mount Adams, we only recommend traversing the eastern off-trail section called “The Gap” if you are highly experienced and have exceptional confidence in your off-trail navigation, glacier travel, and river fording skills.
This section may seem short, but do not underestimate the difficulty and time it will require to cross. You will also need to bring an ice axe and traction devices to safely navigate the glaciers. The route will involve many obstacles that can be dangerous, and if ill-prepared, life-threatening. Trekkers must negotiate treacherous creek crossings, 1,000-foot deep canyons and valleys, traversing up and over steep and unstable scree fields, and a traverse across the Klickitat Glacier.
A highly challenging river crossing through the Big Muddy may require wading. It is a fast and dangerous river, depending on the time of year. If it’s early season, you may be able to traverse the glacier above the Big Muddy, but we recommend seriously considering conditions before attempting to cross.
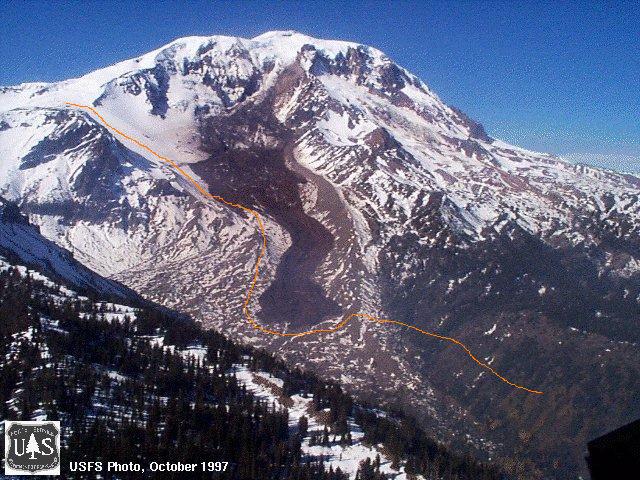
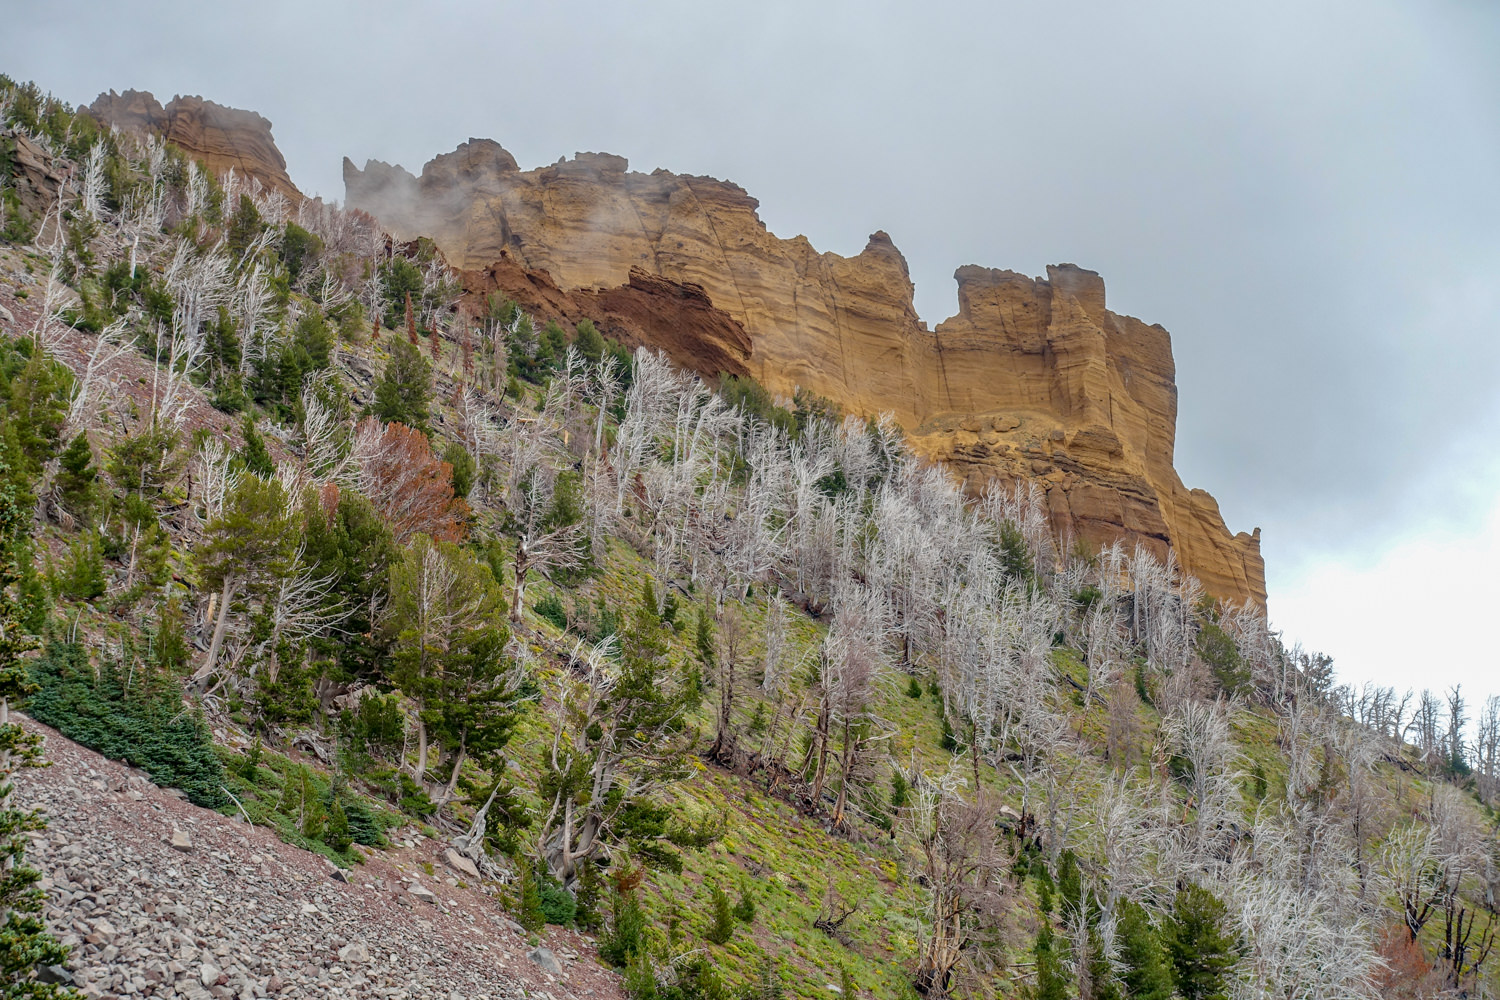
A photo of “the gap” – treacherous, off-trail, & experts only (USFS photo)
Maps & Guidebooks
Below is a list of guidebooks, maps, and GPS tools we found helpful in planning our trip in the Mount Adams Wilderness area.
-
Backpacking Washington – This route is covered in depth in the Backpacking Washington book, minus “The Gap”. We use this excellent resource to plan many of our backpacking trips throughout Washington.
-
Trekking Washington by Mike Woodmansee – This knowledgeable, easy-to-read book includes excellent details about the Round-the-Mountain Trail (particular water availability, trail obstacles and campsites) and full-color photographs. He provides lengthy descriptions of trees, flowers and animals interspersed with trail descriptions.
-
National Geographic Trails Illustrated Map Mount St. Helens, Mount Adams This map provides an overview of information about the campsites, mileage, and elevation of Mount Adams and the Round-the-Mountain Trail. It offers an overview of many other hikes in this part of South Central Washington.
-
Gaia GPS – We use Gaia GPS on all our backpacking trips to assist with planning our route and on-trail navigation.
-
Green Trails Map 367s Mount Adams – We love Green Trails Maps for their great attention to detail and this map is no exception.
-
USFS Gifford Pinchot, Mount AdamsThis is a good place to do further research on trails and regulations for backpacking around Mount Adams.

Regulations
According to USFS Gifford Pinchot, the following regulations are in place for Mount Adams. We are not an official source on current regulations, so please consult the official website prior to your trip for frequent road closures.
-
Entering the Wildernesses without a permit is prohibited.
-
No campfires above the Around the Mountain Trail (details at the website).
-
Shortcutting a trail switchback is prohibited.
-
Using or possessing any type of wagon, cart, or other wheeled vehicle is prohibited.
-
Camping within 100 feet slope distance from the shoreline of any lake and/or the Pacific Crest National Scenic Trail is prohibited.
-
Caching or storing equipment, personal property, or supplies is prohibited.
-
Being in an area posted as being closed for restoration, wilderness restoration, or rehabilitation is prohibited.
-
Dogs on leash are allowed but not recommended, especially for traveling through “The Gap.”
-
No Drones in the Wilderness Area.
Water
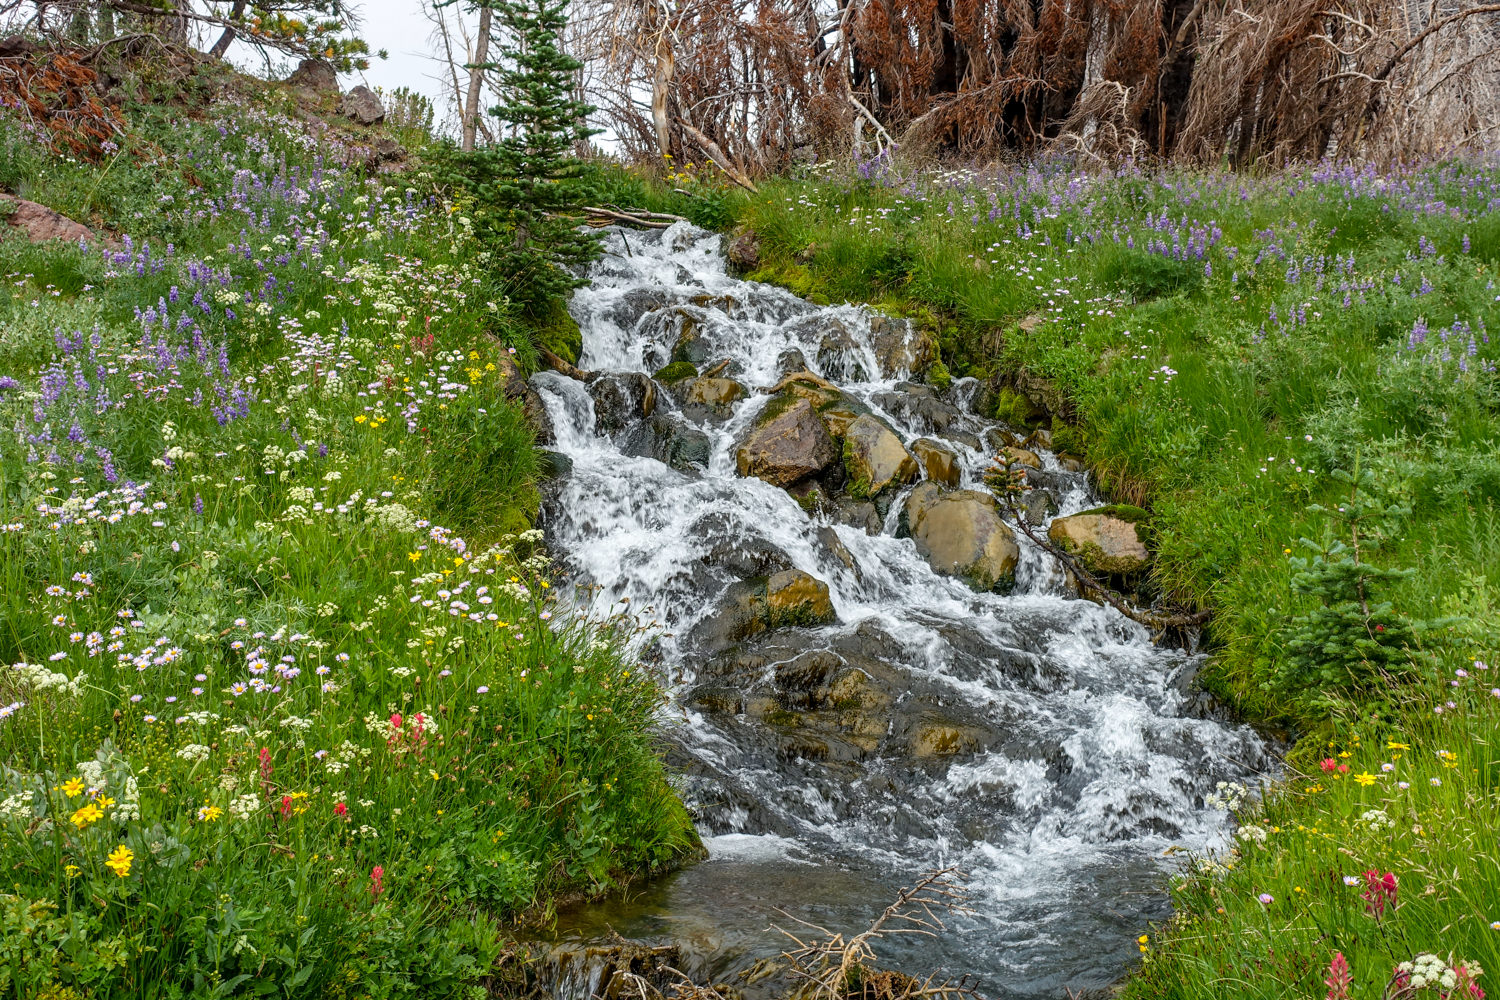
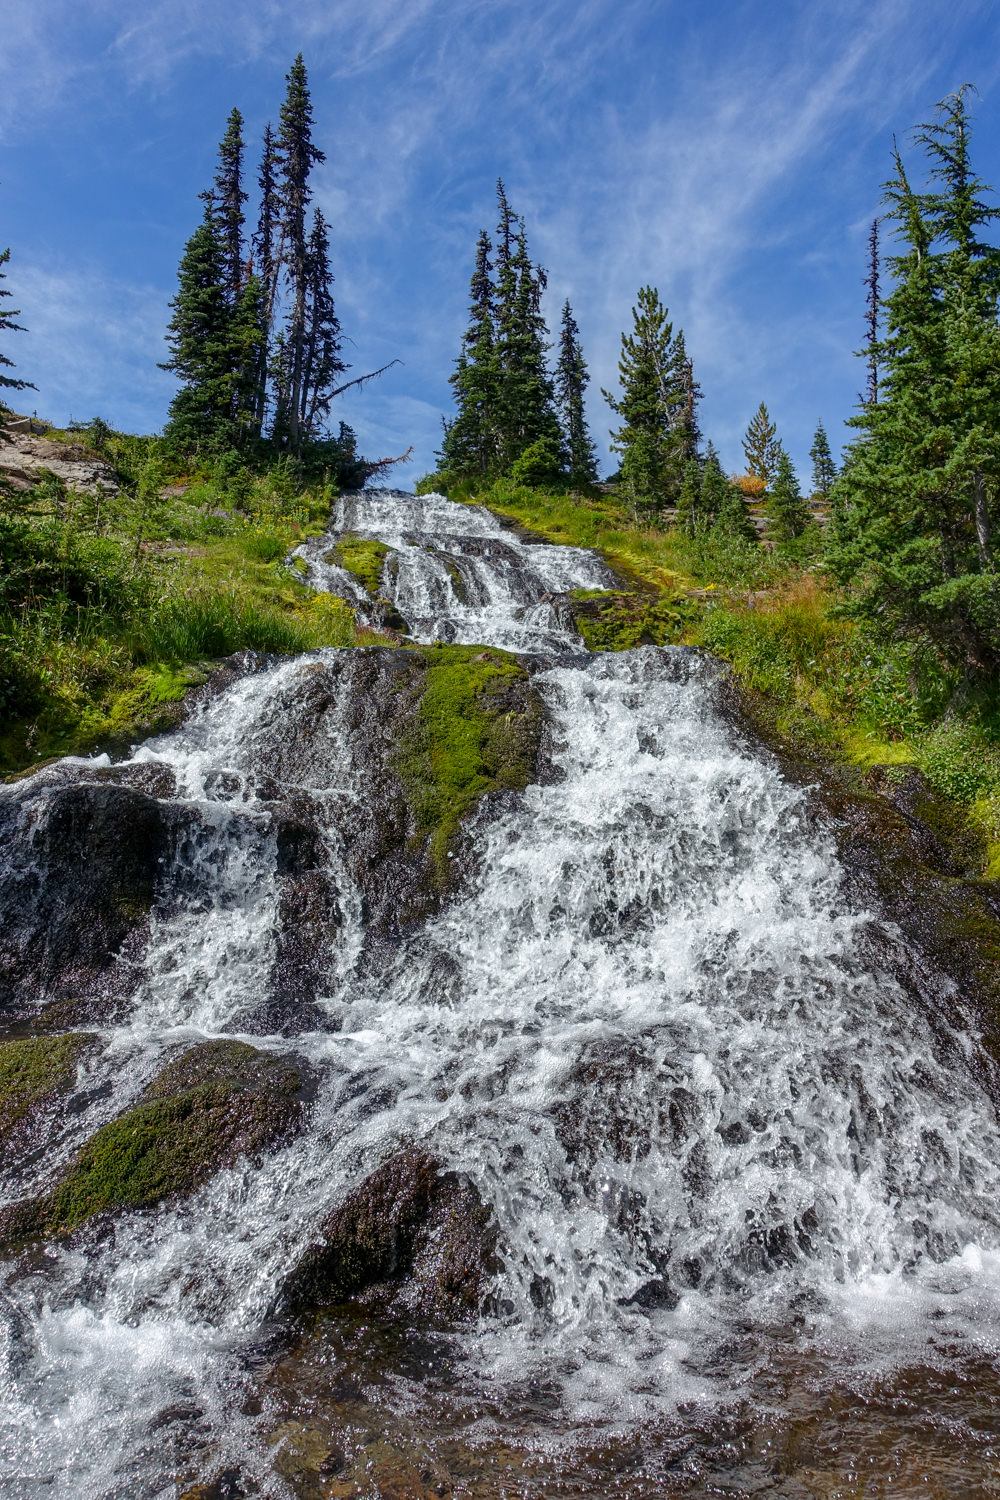
Water is plentiful along this trail and easily accessible from small streams. Carry enough water to get from one source to the next and use a lightweight water purifier. Every campsite along this trail has nearby running water. We carried the SteriPEN Ultra and were happy with its performance. Two other good lightweight options are the Sawyer Squeeze and Aquamira Drops. Check out our best water filters list for more excellent options.
Bears & Food Storage
Bears are not a problem in this area so there are no food storage requirements. That said, you should always protect your food against rodents and small critters. We recommend packaging all your food and scented products in a food storage container such as an Ursack.
Bugs
Mosquitoes are present along this route, especially early in the season and near bogs and water sources. Hiking later in the season is often bug-free. Use a combination of permethrin on your clothing and bring a small bottle of DEET for exposed skin to provide full protection.

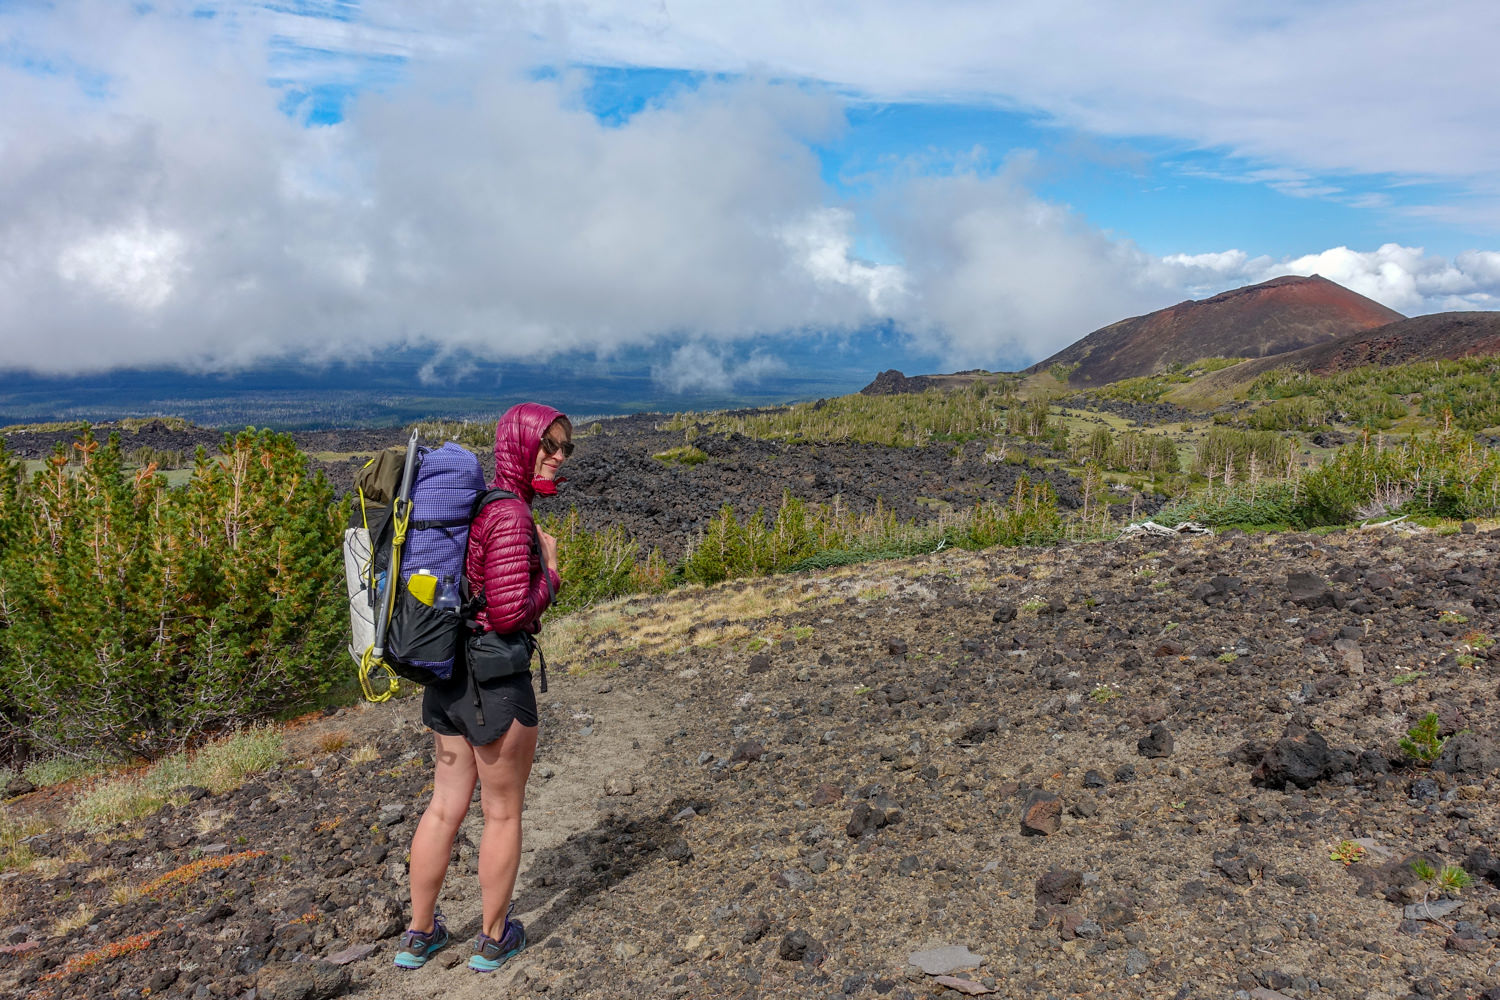
Backpacking Gear
We prefer lightweight backpacking because it’s more comfortable and it allows us to cover more ground with less effort. For recommendations on our favorite lightweight backpacking equipment, check out the CleverHiker Gear Guide and Top Picks page.
What to Pack
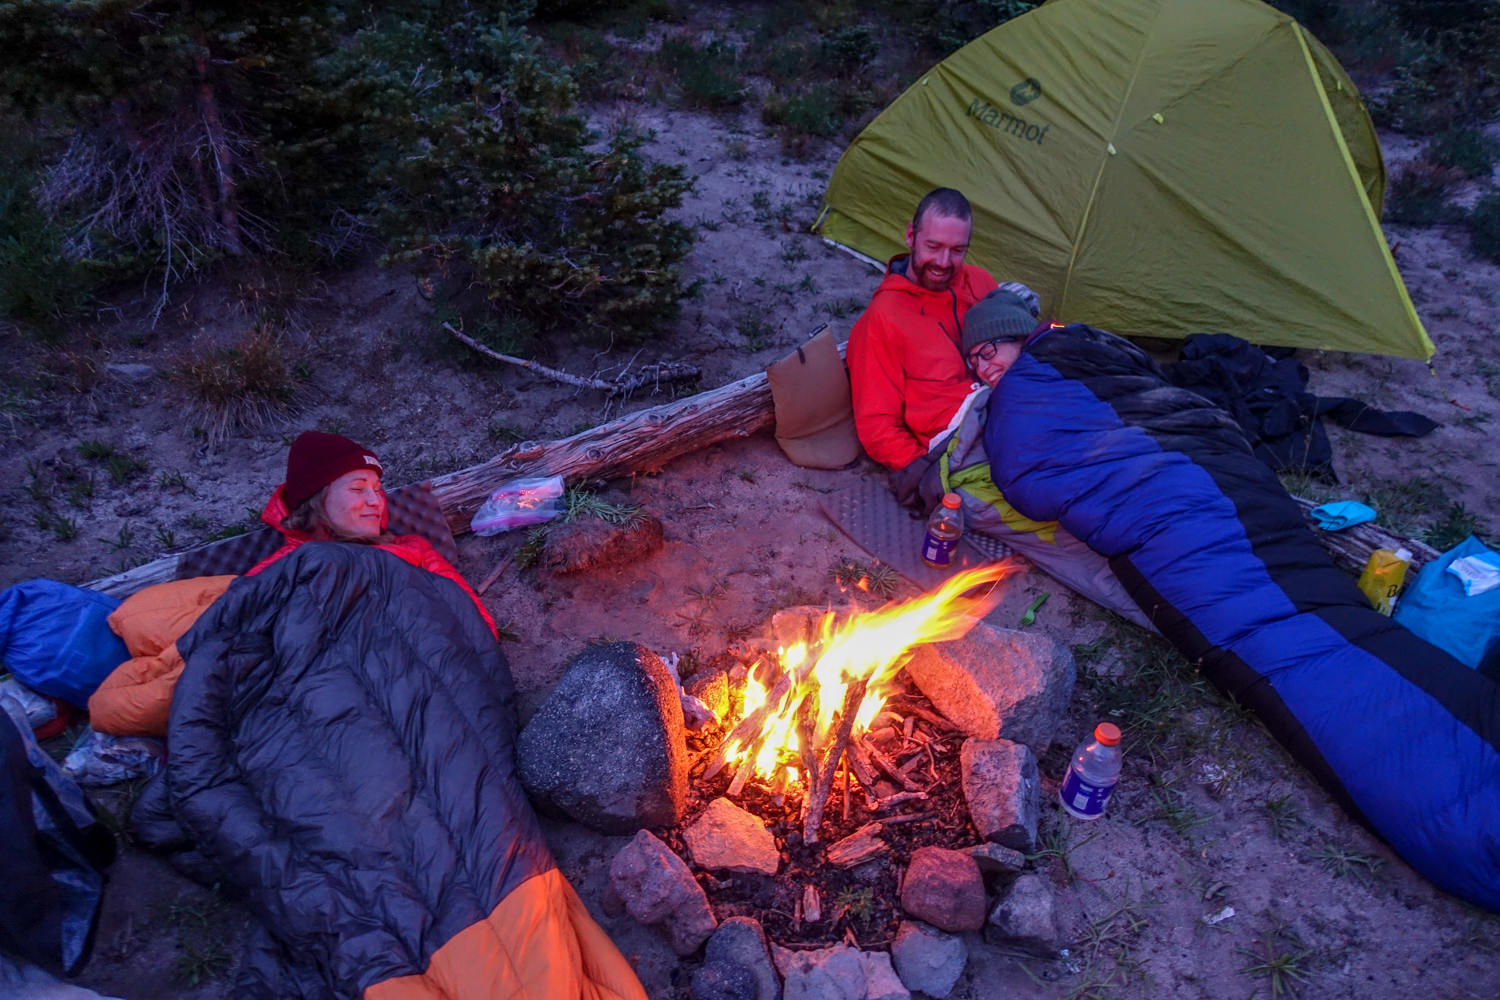
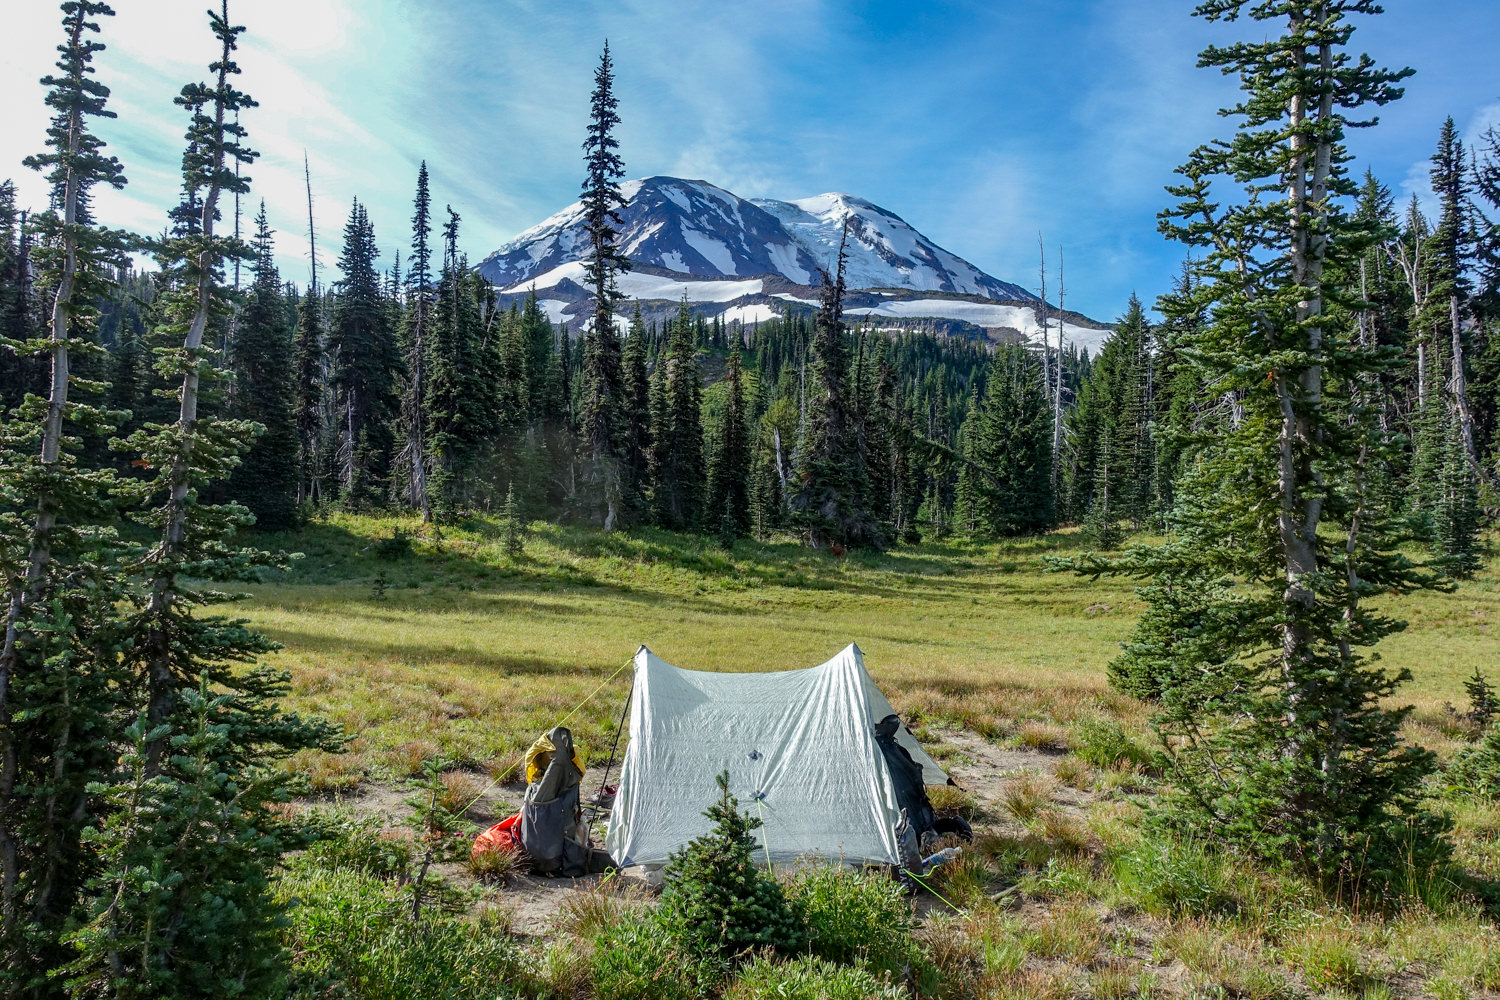
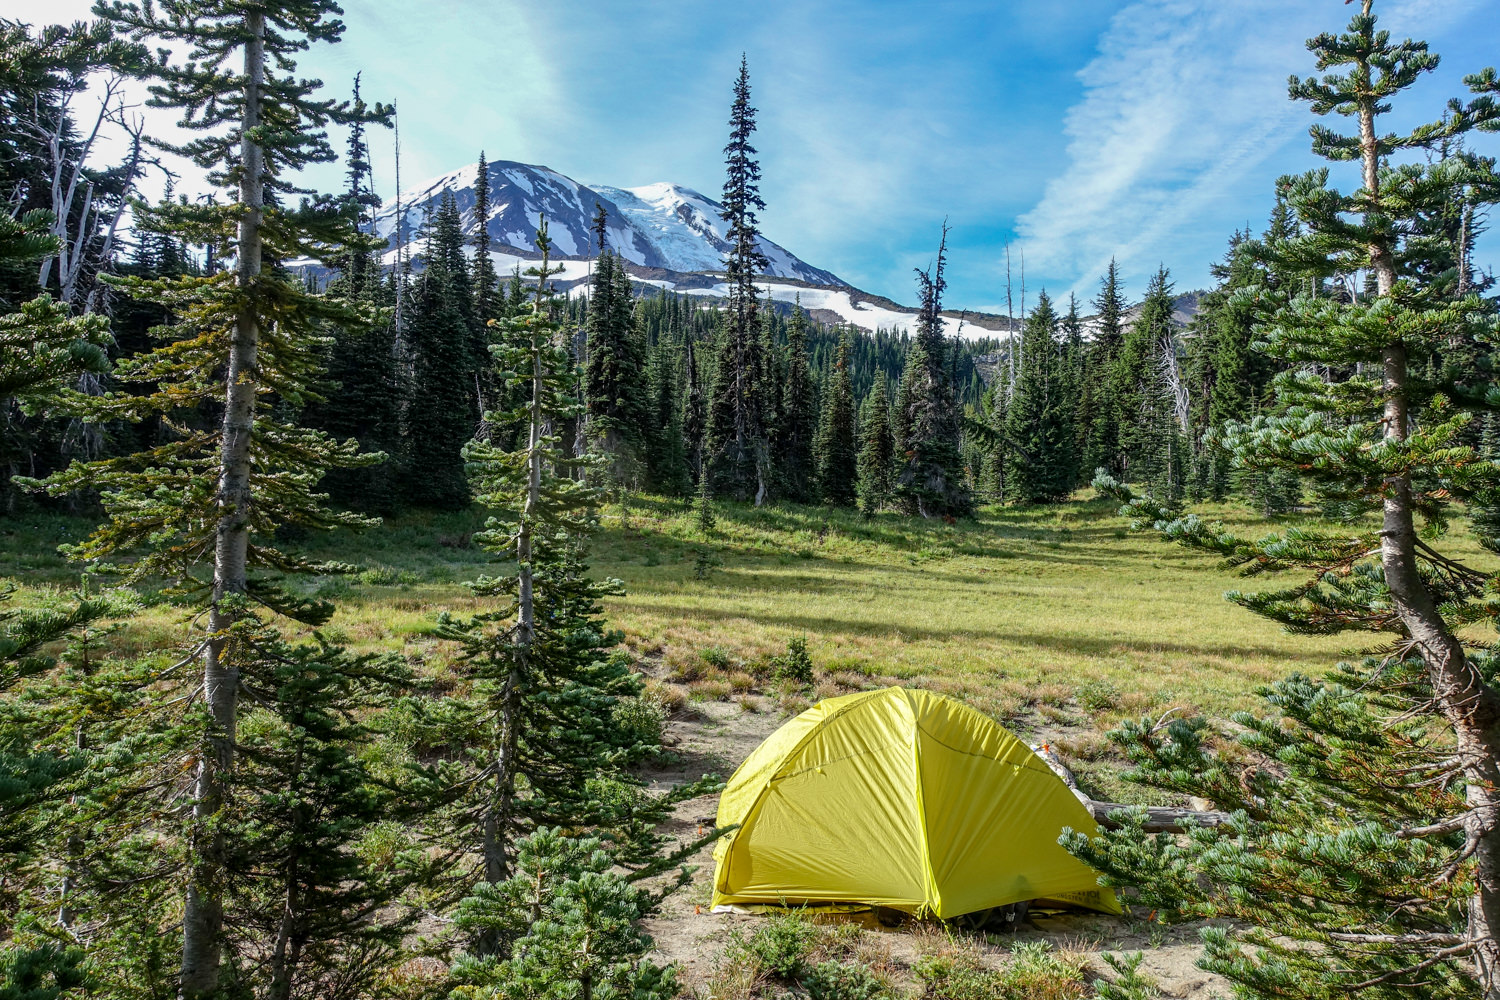
TENT: We used the ZPacks Duplex and the Marmot Tungsten 2P UL tents on this trip for their lightweight livability. The Duplex is our top choice for ultralight shelters on our best lightweight backpacking tents list and the Tungsten provides excellent value.
BACKPACK: We used the Zpacks Arc Blast and Gossamer Gear Gorilla backpacks on this trek. Both are lightweight, convenient, comfortable, and make our list of the best lightweight backpacking packs.
SLEEPING BAG: We used the Feathered Friends Egret UL 20 sleeping bag and the Enlightened Equipment Revelation quilt on this trek for night time temperatures around freezing. Both sleeping bags are lightweight, warm, and make our list of the best backpacking sleeping bags.
SLEEPING PAD: We used the Therm-a-Rest NeoAir XLite and Sea to Summit UltraLight Insulated sleeping pads on this trip. Both are light, comfortable, warm, and make our list of the best backpacking sleeping pads.
COOKING SYSTEM: We used the BRS Stove, Snow Peak Mini Solo Cookset, and Snow Peak Folding Spoon on this trek, all of which make our top picks gear list and best lightweight stove list.
WATER PURIFIER: We used the SteriPEN Ultra as our main purification method on this trip. It’s lightweight, works fast, and doesn’t require any pumping/squeezing or chemicals. Check out our best water purifiers list for our other top recommendations.
SHOES OR BOOTS: We wore Saucony Peregrine 7 trail runners (men’s and women’s) on this trail and they were excellent. If you prefer boots, make sure they’re lightweight and break them in really well before your trip. Here’s why we prefer hiking in trail running shoes: 5 Reasons to Ditch Your Hiking Boots. Also, here’s our top picks for the best backpacking footwear.
TRACTION DEVICE & ICE AXE: If hiking the full loop, including “The Gap” section, you’ll need traction devices, such as the Kahtoola Microspikes, and an ice axe, such as the C.A.M.P. USA Corsa. Also, here’s a brush up video on how to use them properly.
PERSONAL LOCATOR BEACON OR SATELLITE MESSENGER – If you are crossing “The Gap”, we recommend taking along a PLB or Satellite Messenger device that will allow you to signal for help if an emergency arises. It could be a matter of life or death.
HEADLAMP: A small headlamp like the Petzl Actik is an affordable, bright, and lightweight option.
FOOD:You’ll have to carry all the food you’ll need on this trip. Check out our Best Lightweight Backpacking Food Guide and our Best Freeze Dried Backpacking Meals for some of our go-to recommendations.
CLOTHING:
Here are some of our favorite hiking/backpacking clothing items from our Top Gear list.
-
1 Rain jacket shell – Patagonia Storm Racer / Rab Kinetic Plus
-
1 Pair rain pants (optional) – Mountain Hardwear Stretch Ozonic
-
1 Down jacket – Patagonia Micro Puff Hoody
-
1 Fleece jacket – Extra warmth under your down jacket that will be warmer when damp and better to hike in.
-
1 Pair hiking pants: PrAna Zion Stretch or running tights
-
1 Pair hiking shorts – Nike dri fit running shorts
-
1-2 Hiking t-shirts – Nike dri fit t-shirts
-
1 Long-sleeve shirt – Nike dri fit quarter zip
-
1-3 Pair underwear – ExOfficio boxer briefs or or ExOfficio women’s briefs
-
2-3 Pair socks (add thin sock liners if using boots) – Balega running socks for warm weather & SmartWool mountaineer socks for snow.
-
1 Pair long john bottoms – long john top optional for nighttime use.
-
1 Warm hat
-
1 Sun hat
-
1 Pair gloves or mittens
MAP &COMPASS: Although the trails here are well-marked (except “The Gap” portion), you always want to hike with a good map and GPS system, such as Gaia GPS. For our trip, we hiked with the Green Trails map, which provided detailed information on trails and milage. Another good option is the National Geographic Trails Illustrated Map Mount St. Helens, Mount Adams map. In addition, we always hike with a compass, and if you’re completing “The Gap”, you will definitely want to bring one along with your GPS unit.
FIRST AID KIT: Always bring a small personalized first aid kit. We use the Ultralight .7 Kit and add extras, like painkillers and personal medications.
SUN PROTECTION: Sunglasses (polarized recommended), sunscreen, and spf lip balm are an absolute must for every backpacking trip.
POCKET KNIFE: We brought along a small Swiss Army Knife, which came in handy here and there.
OTHER ITEMS:
-
SMALL TOWEL: the Nano pack towel is great.
-
CASH and ID
-
PERMITS
-
PERSONAL TOILETRIES
-
HAND SANITIZER: Always apply after using a bathroom and before eating.
-
WET WIPES: These can be useful for cleaning up after hiking.
-
INSECT REPELLANT: Use a combination of permethrin on your clothing and bring a 1oz bottle of DEET for exposed skin to provide full protection.
-
CAMERA: The Sony RX100 is our go-to camera for lightweight backpacking.
-
Ice Axe, Crampons and a helmet if you plan to do the gap.
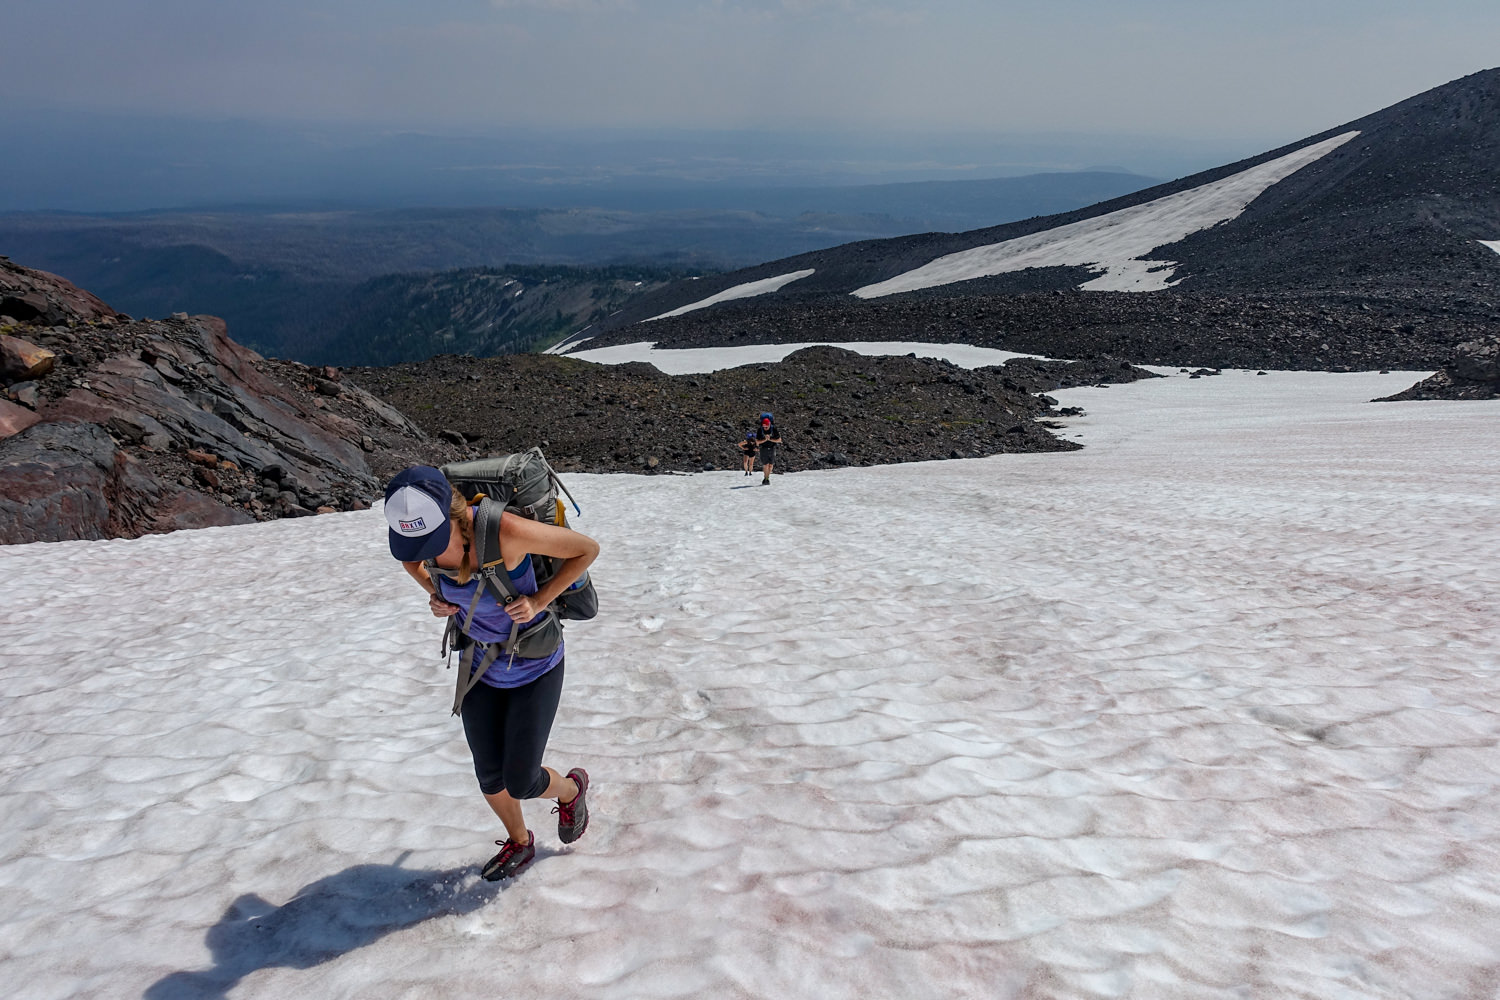
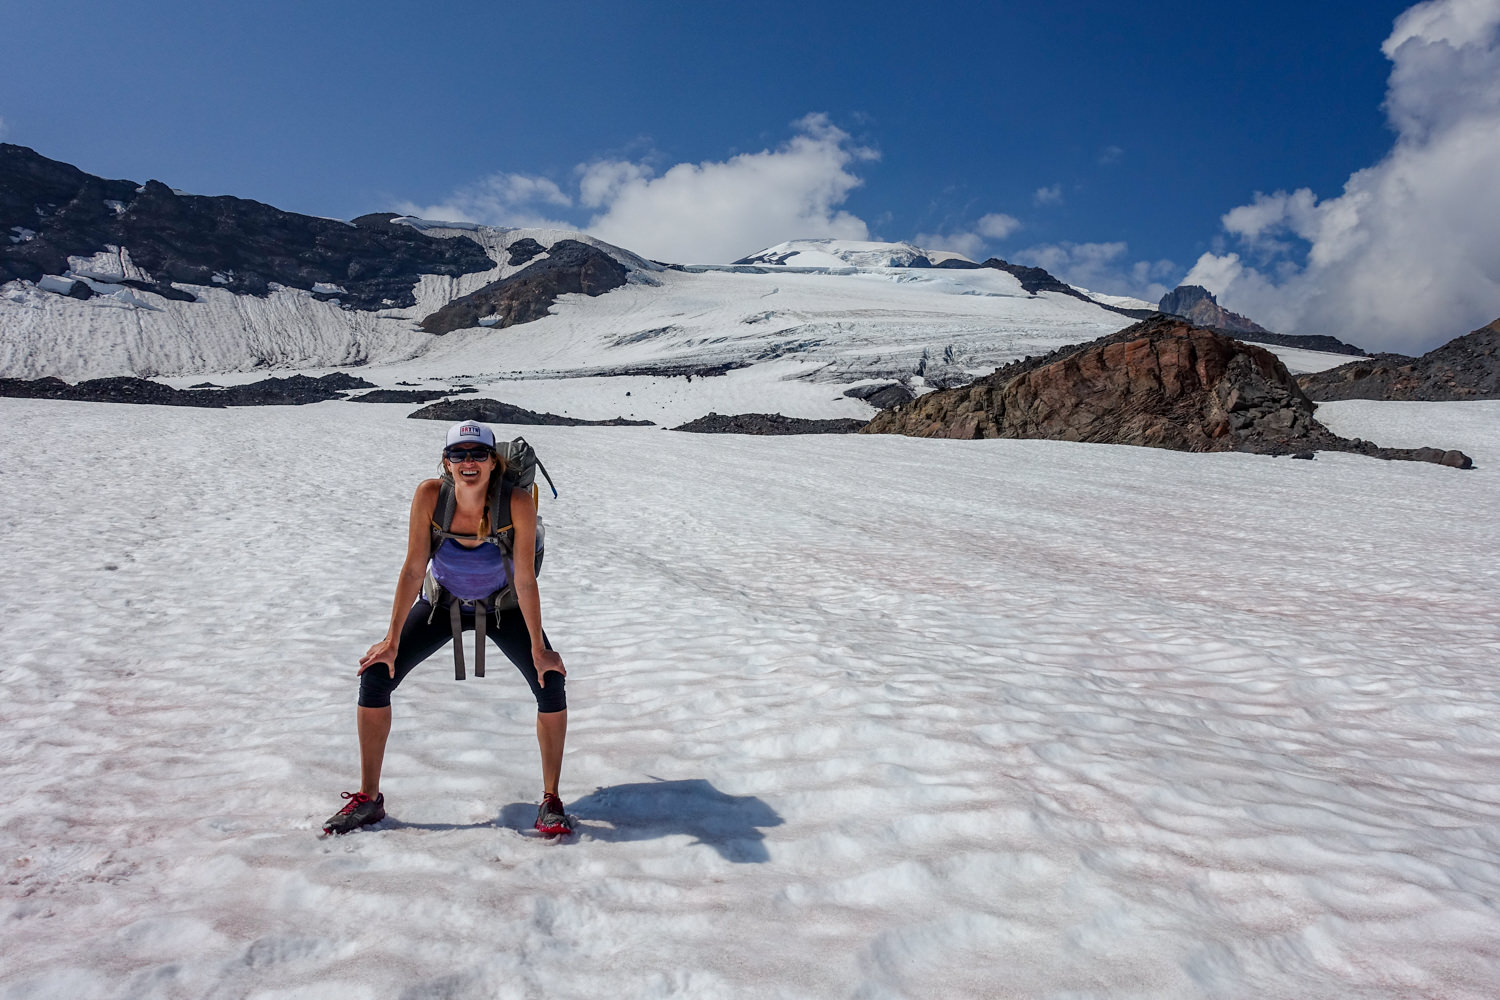
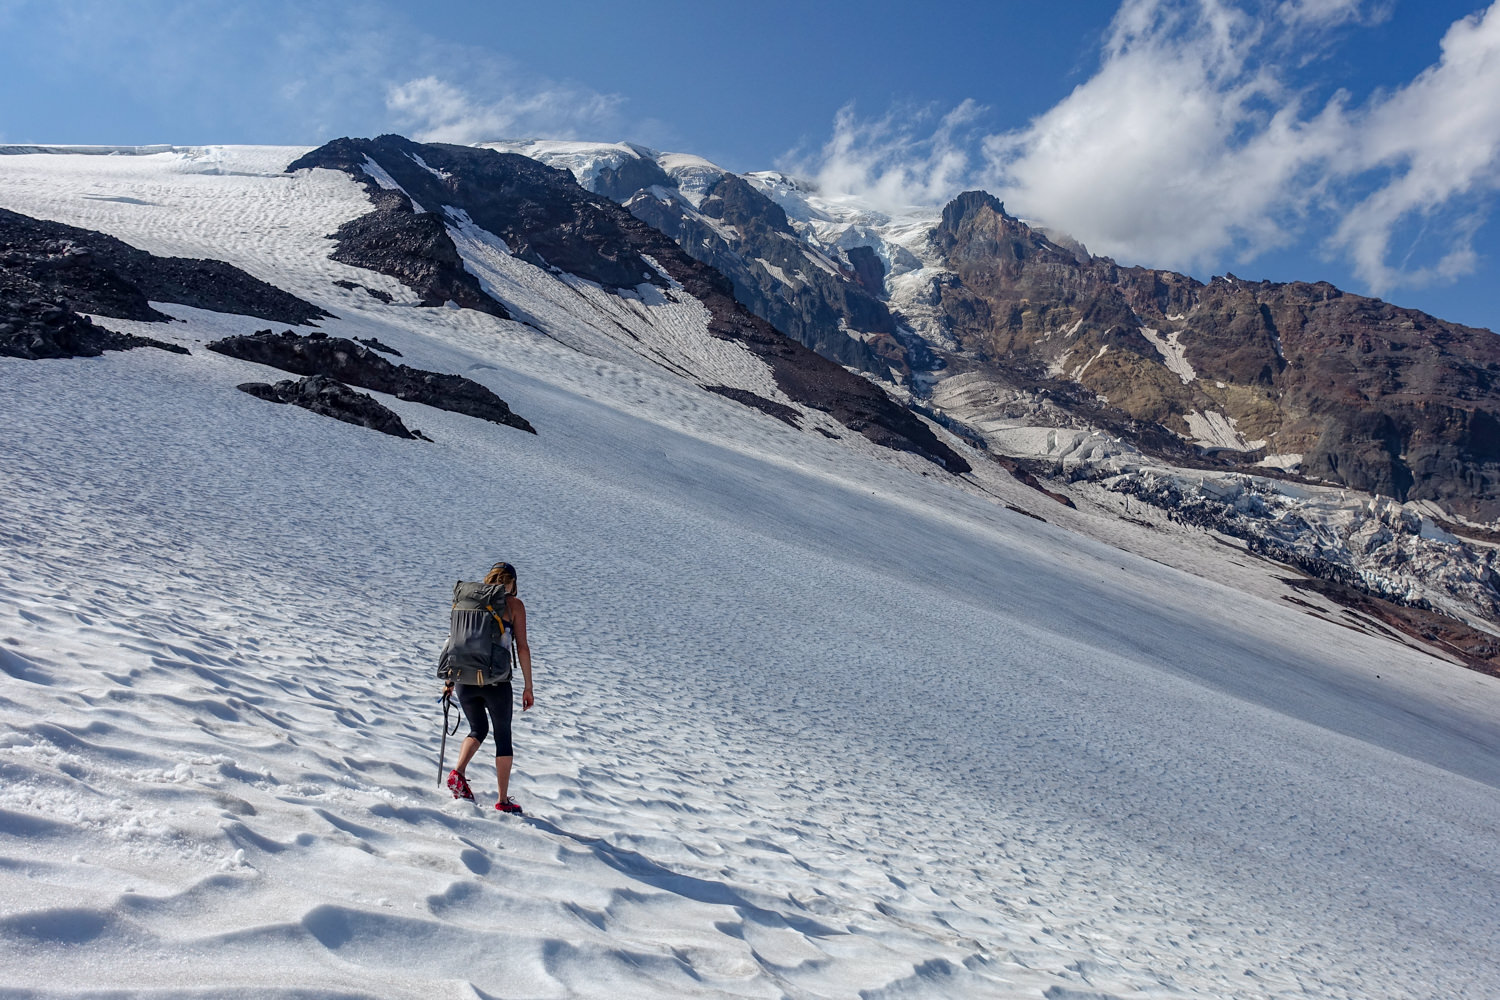
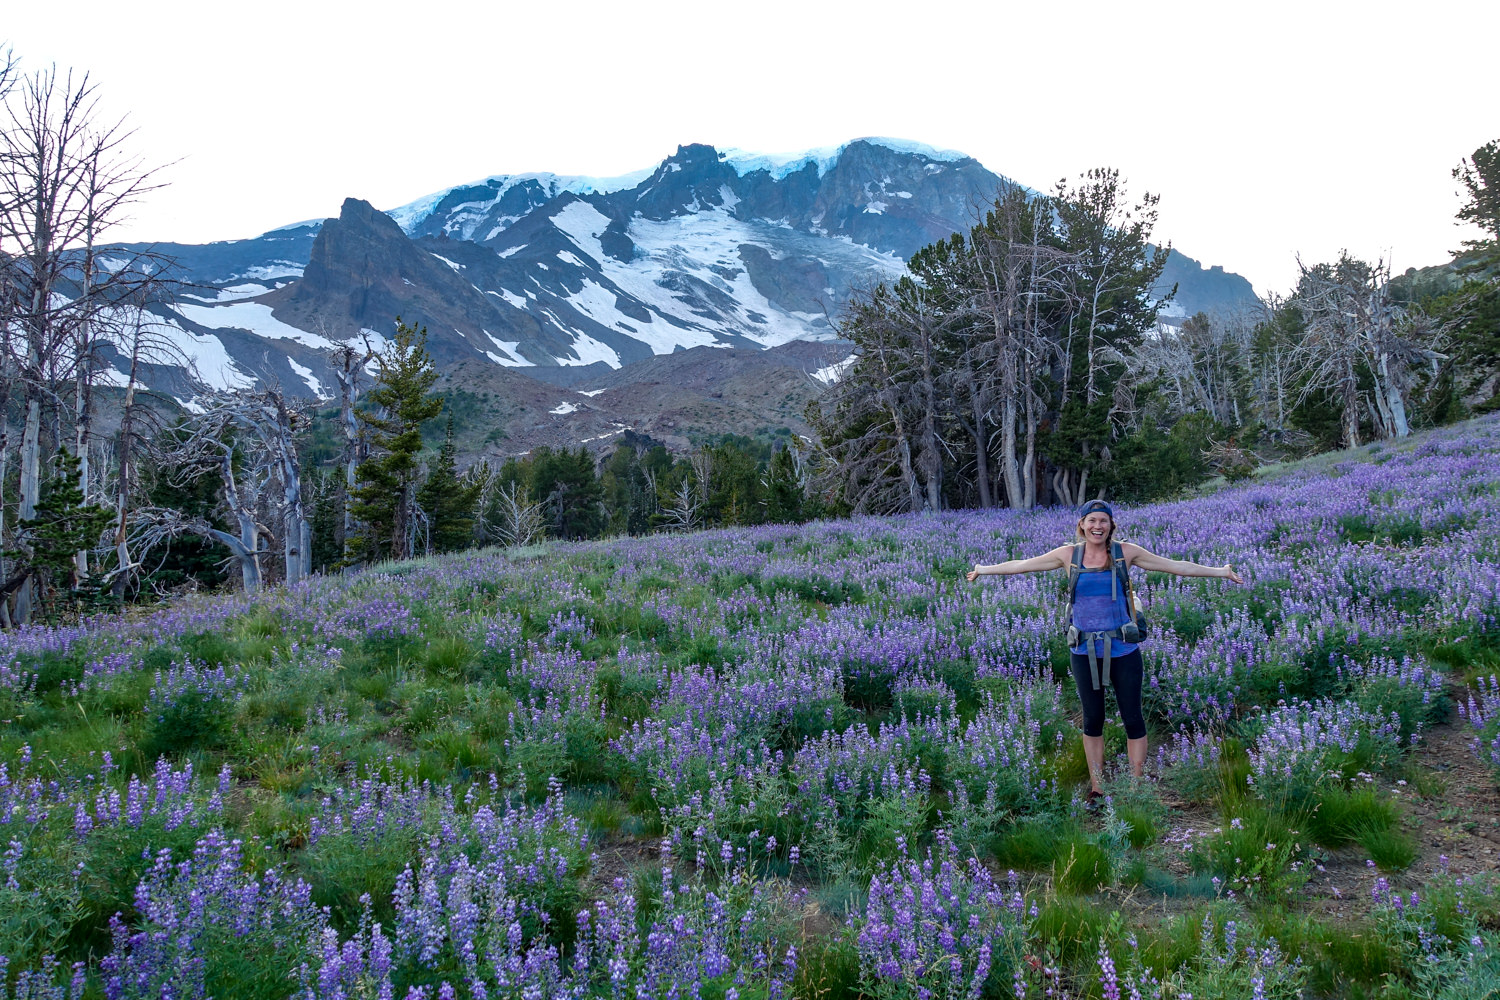
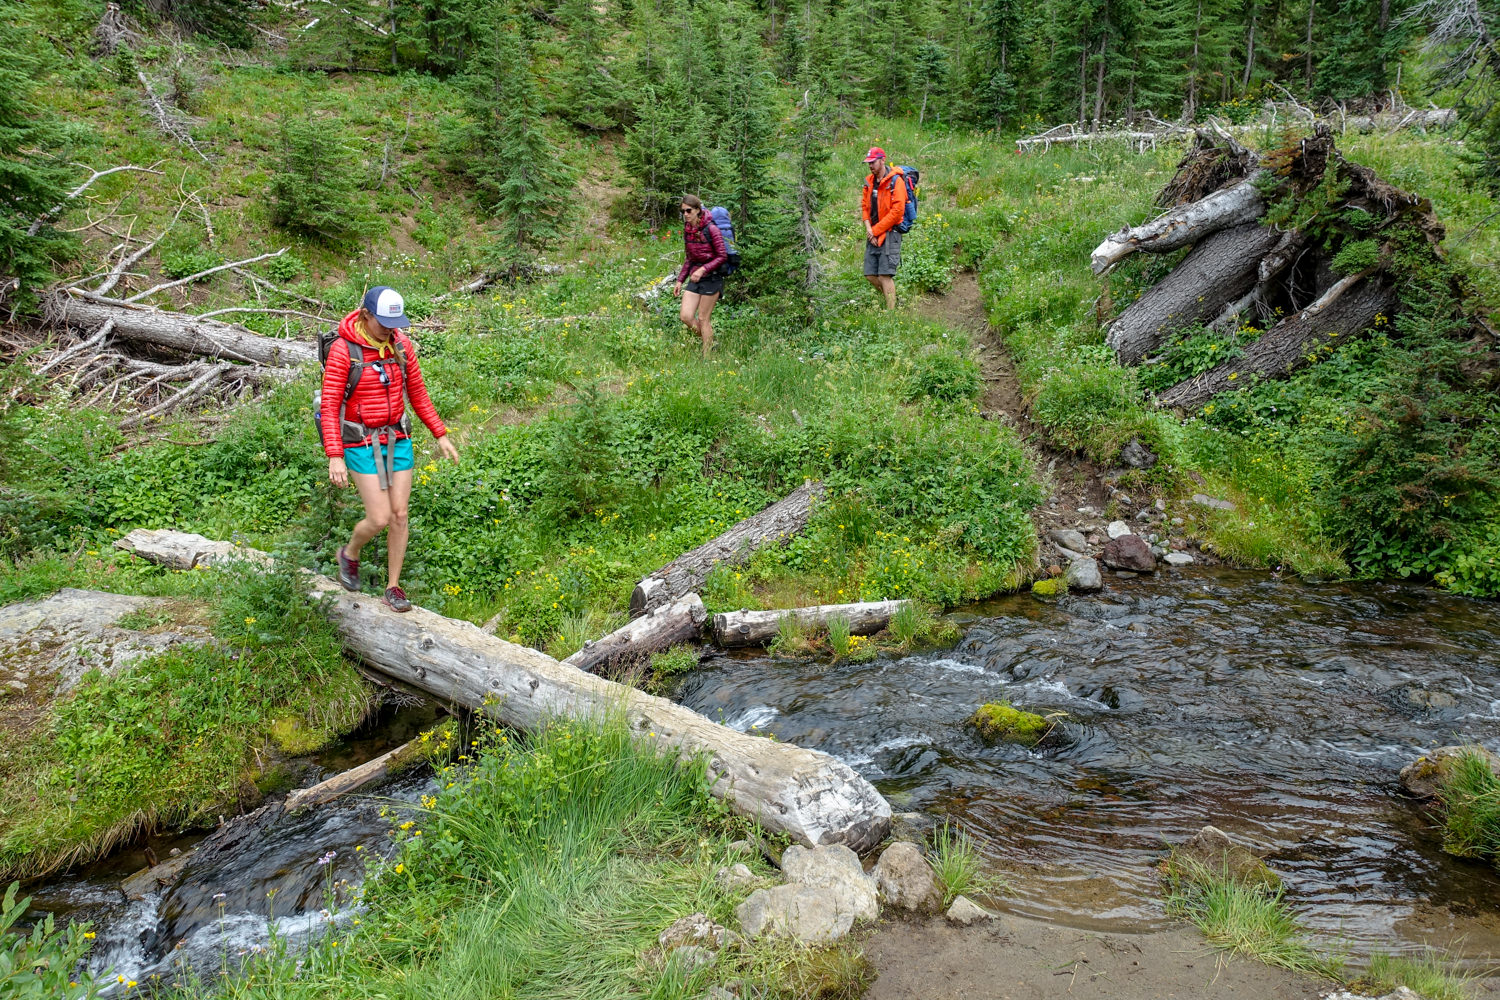
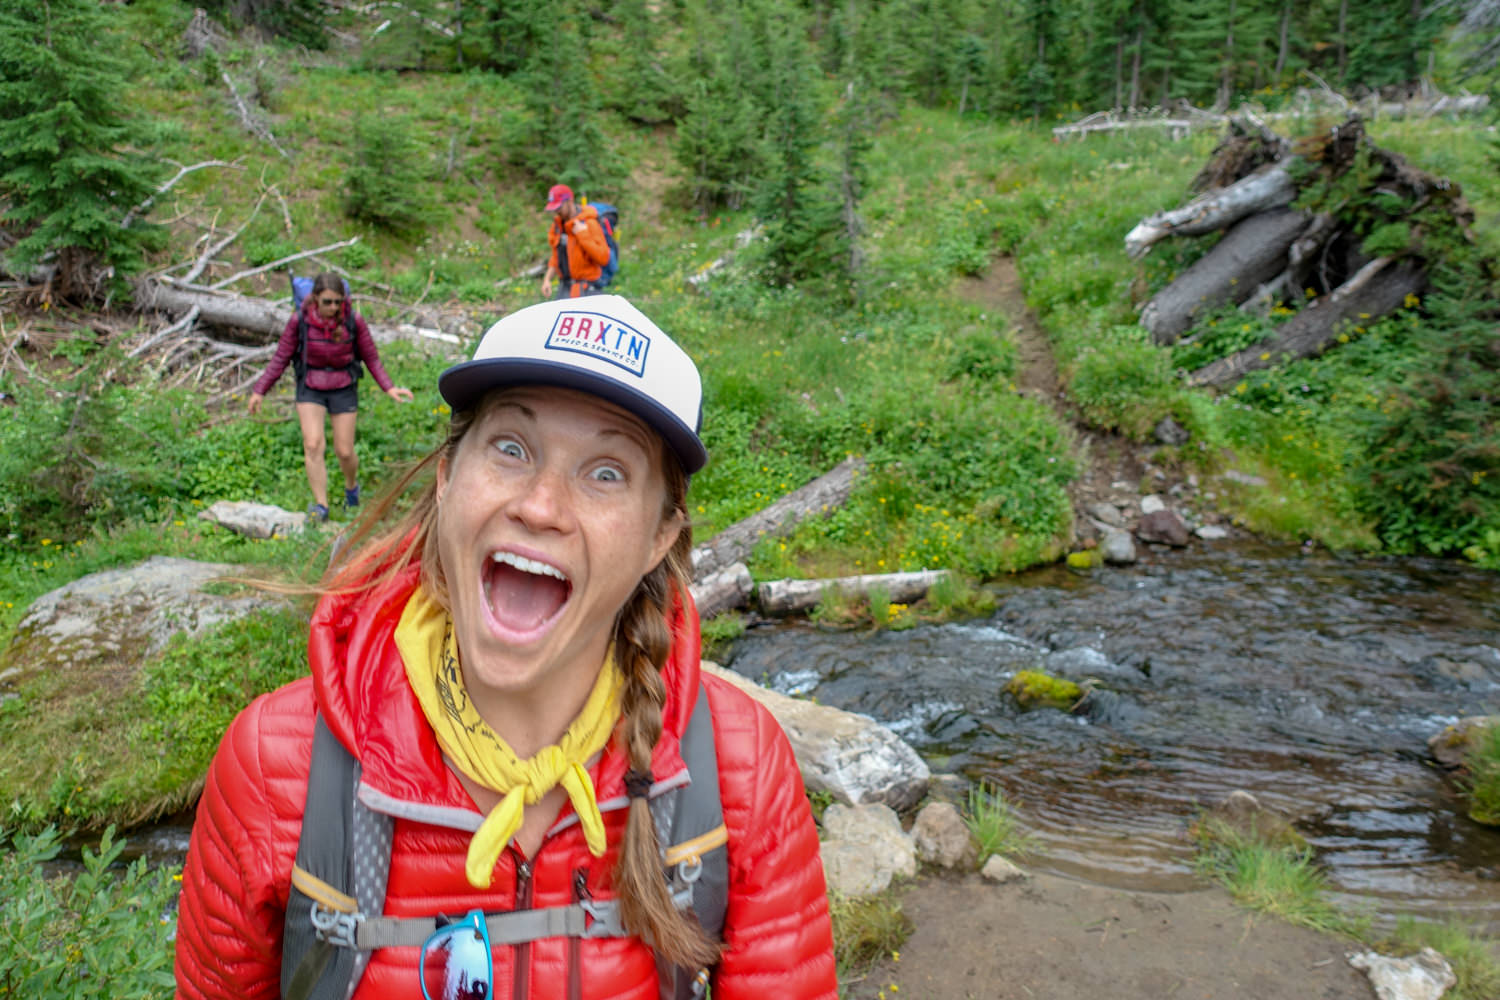
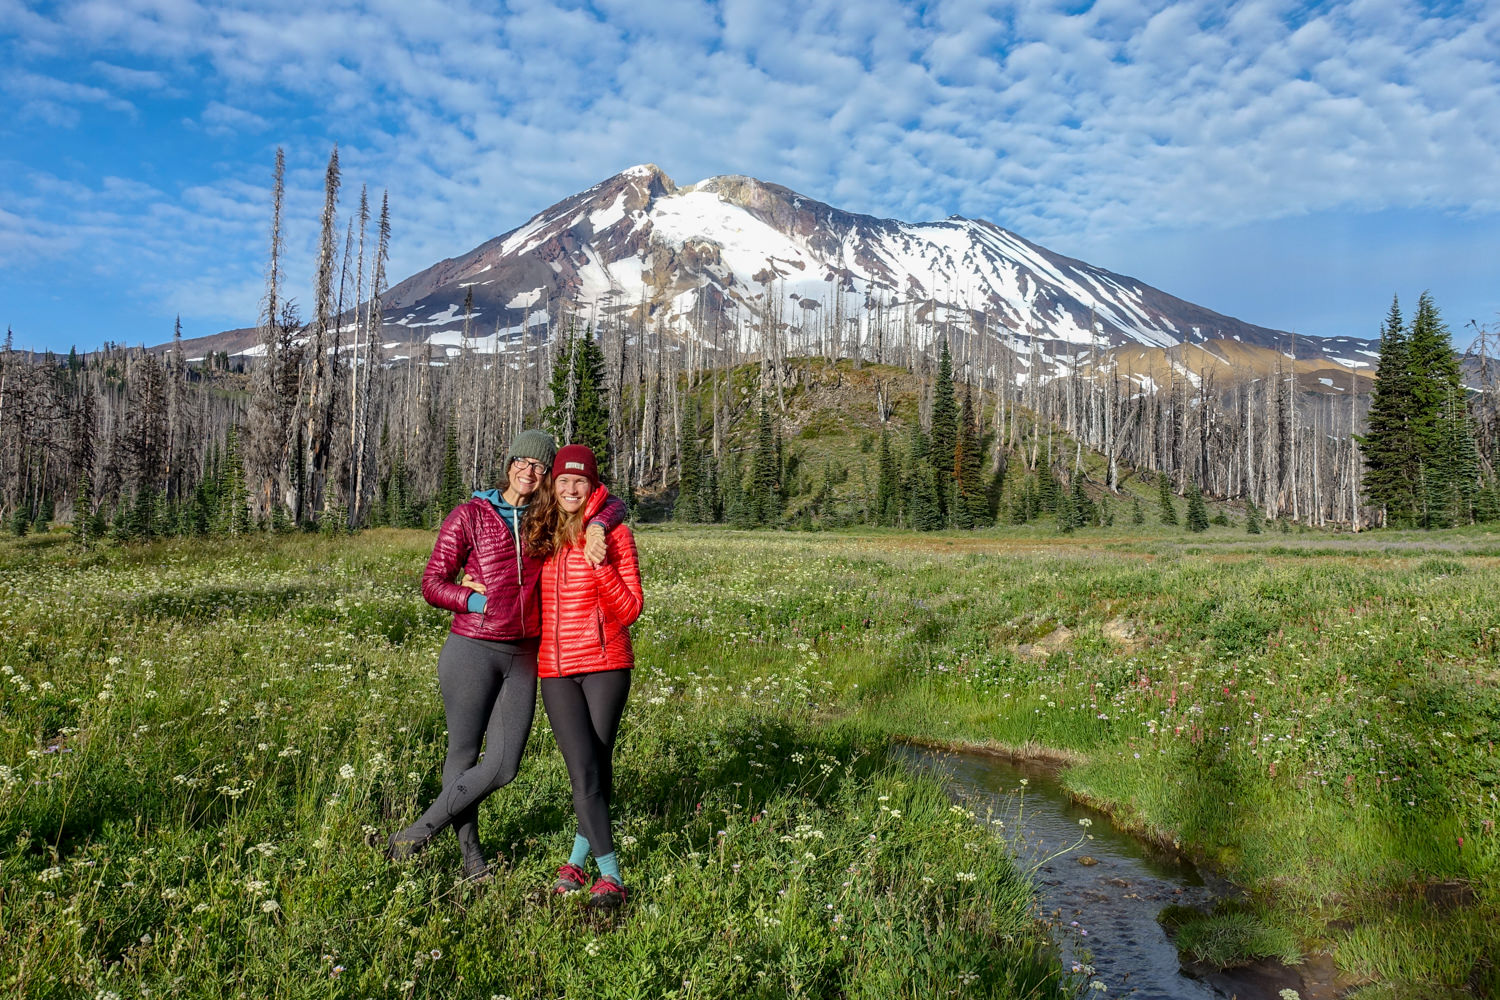
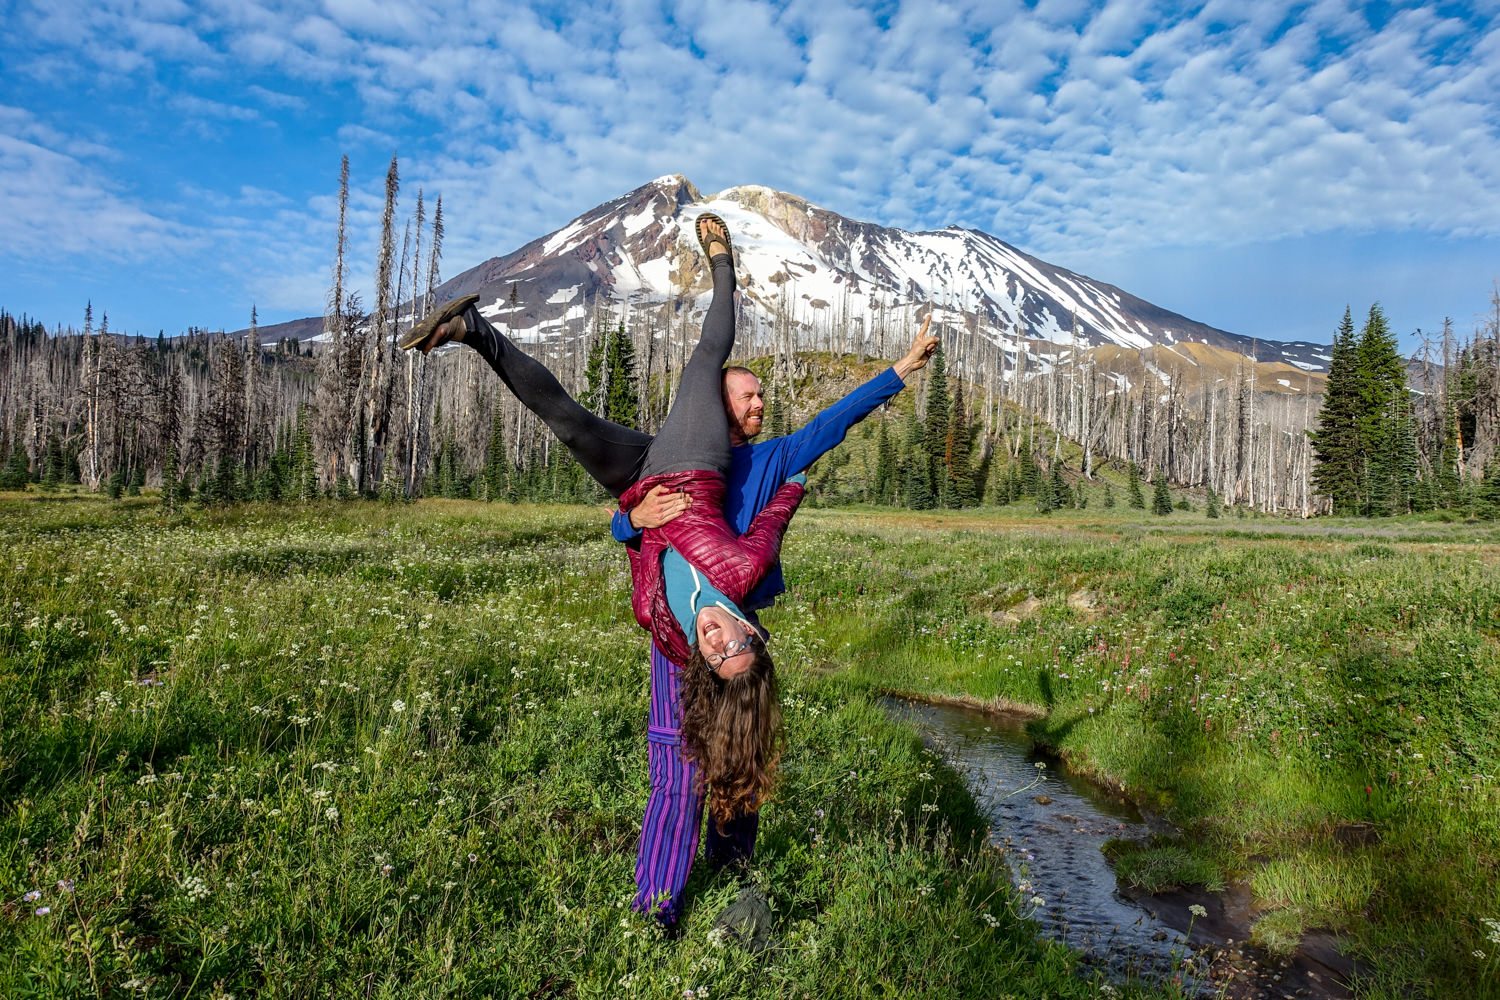
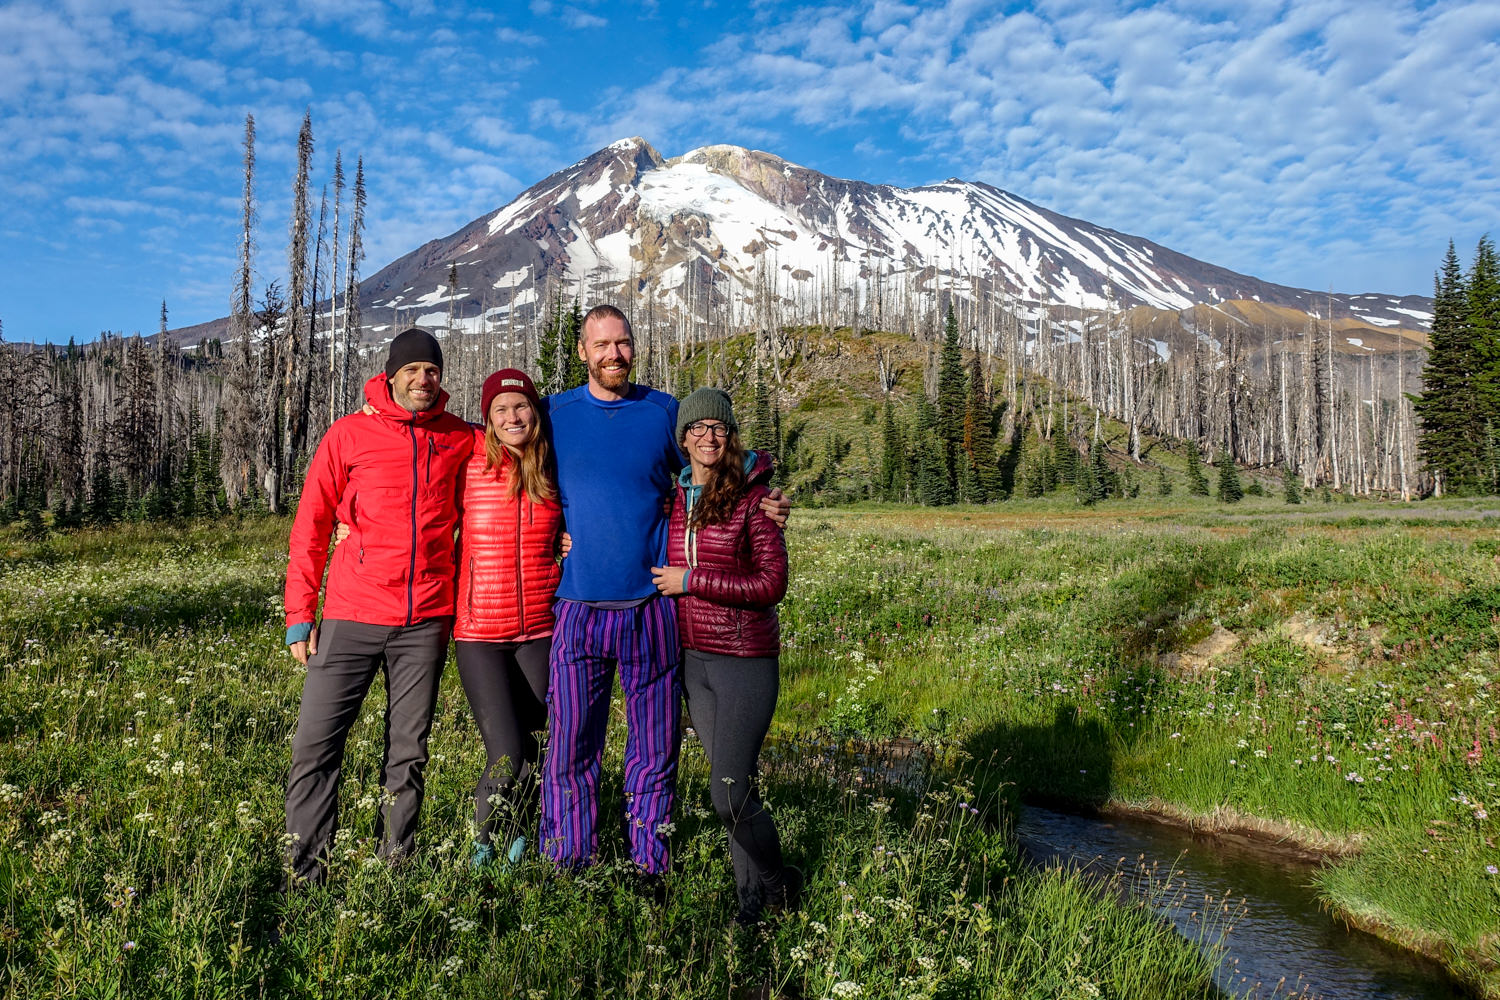
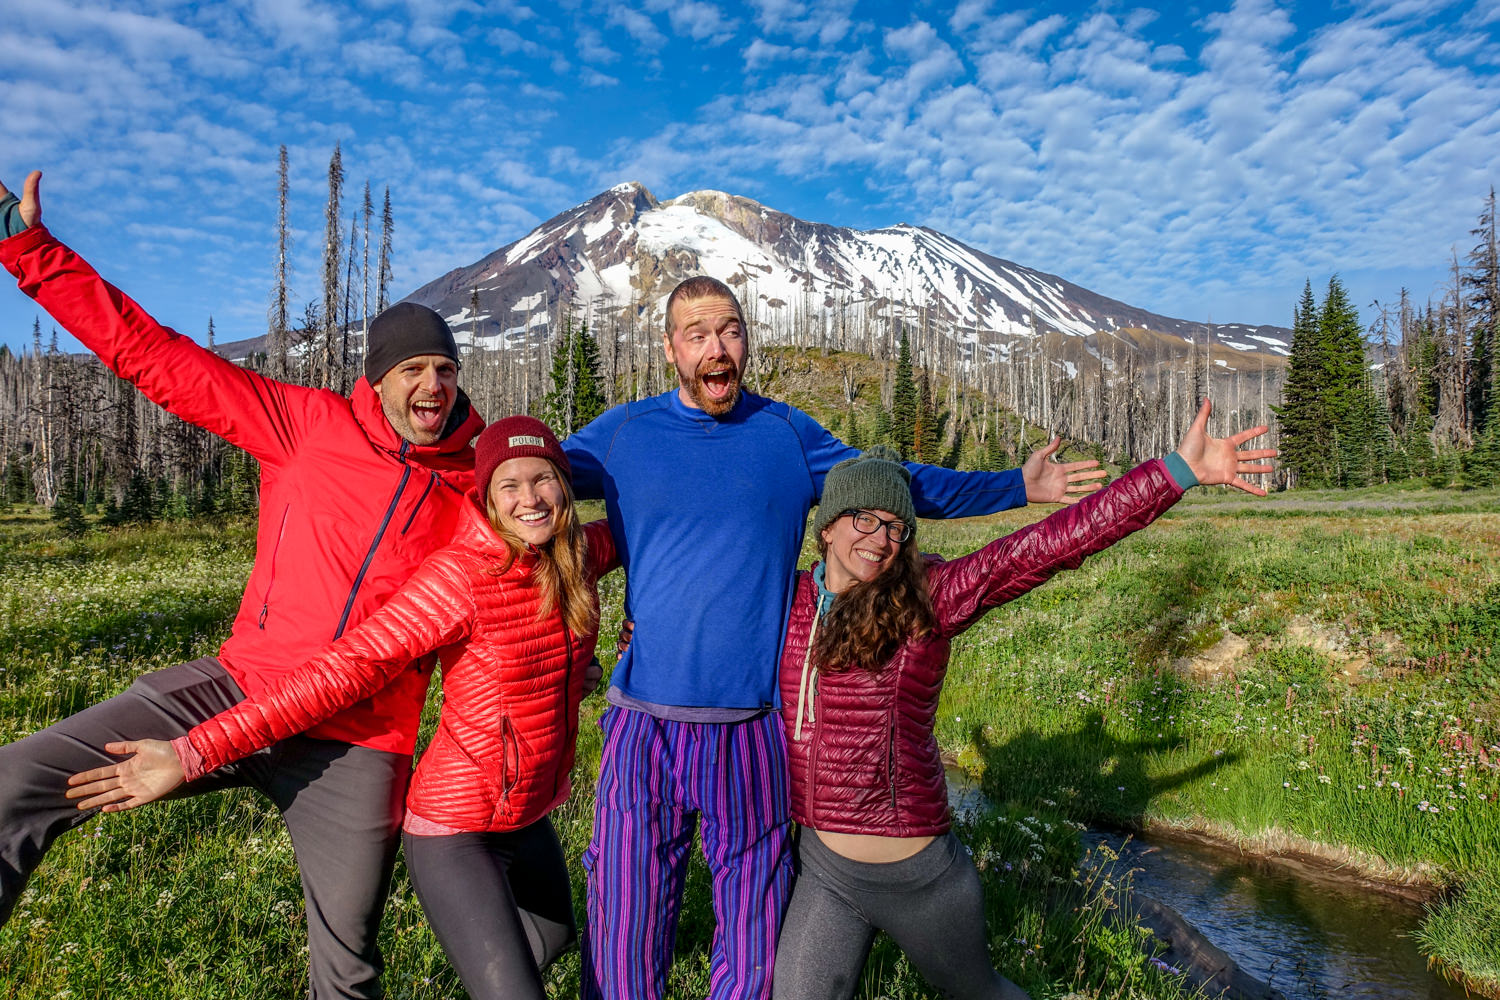
Mount Adams Slide Show


More Information
We hope this guide helps you plan a fantastic backpacking trip in the spectacular Mount Adams Wilderness Area! As always, please leave a comment below if you have any recommendations, questions, or suggestions. And if you found this guide helpful, click the little like button below to give us a digital high five!
For more popular CleverHiker content, check out the following links:
Some of the links on this page are affiliate links, which means we may receive a small commission if purchases are made through those links. This adds no cost to our readers and helps us keep our site up and running. Our reputation is our most important asset, which is why we only provide completely honest and unbiased recommendations.