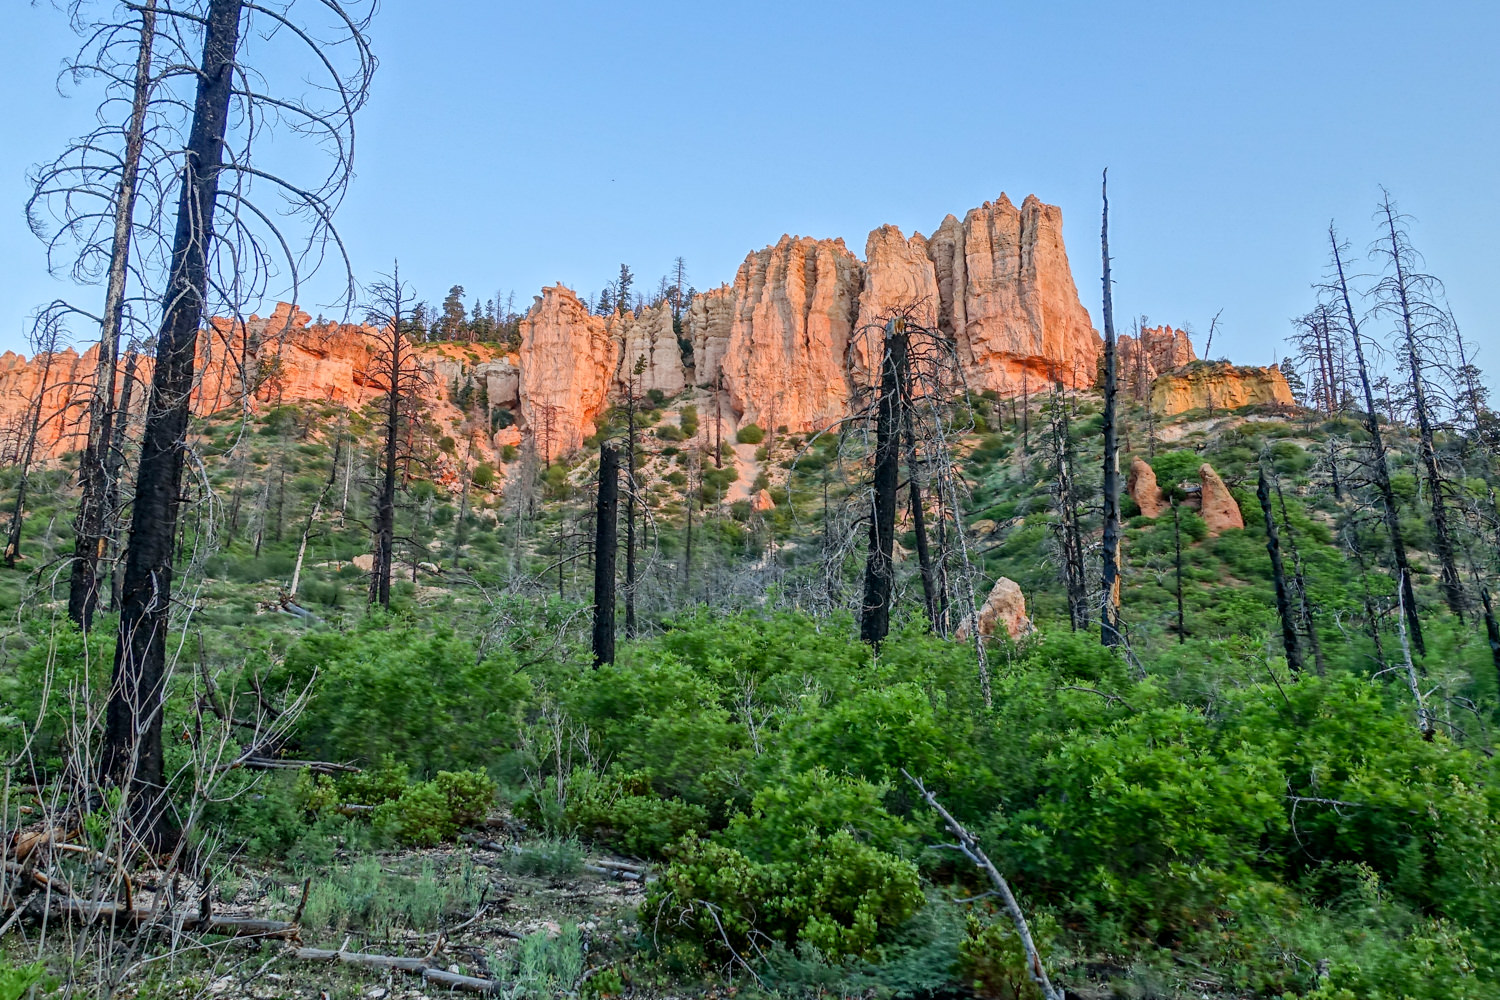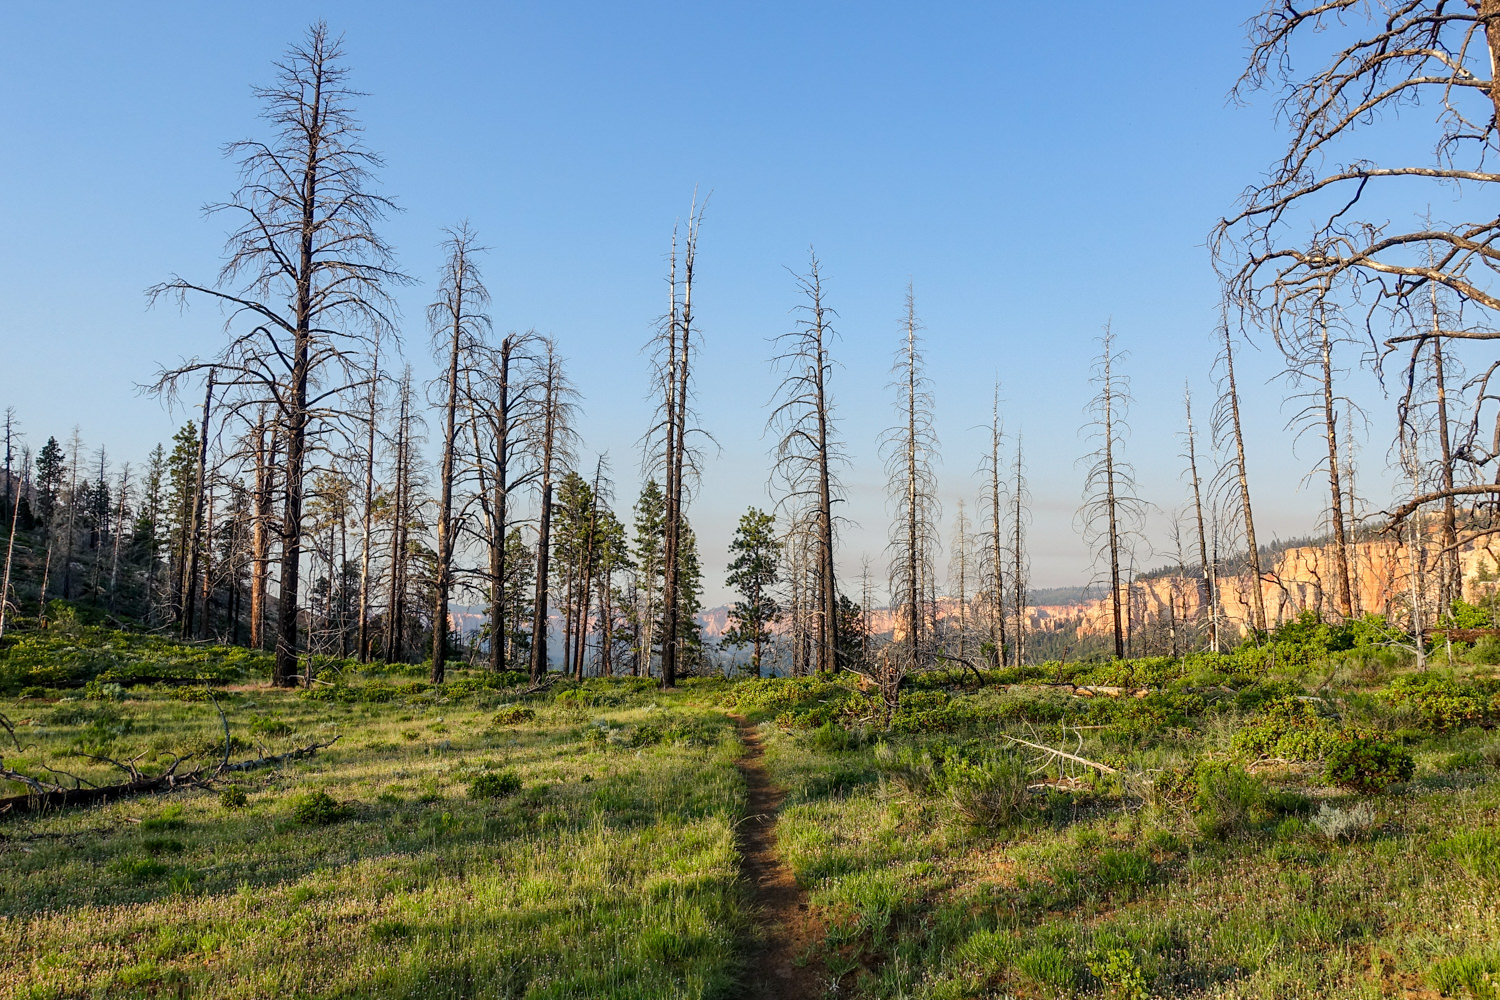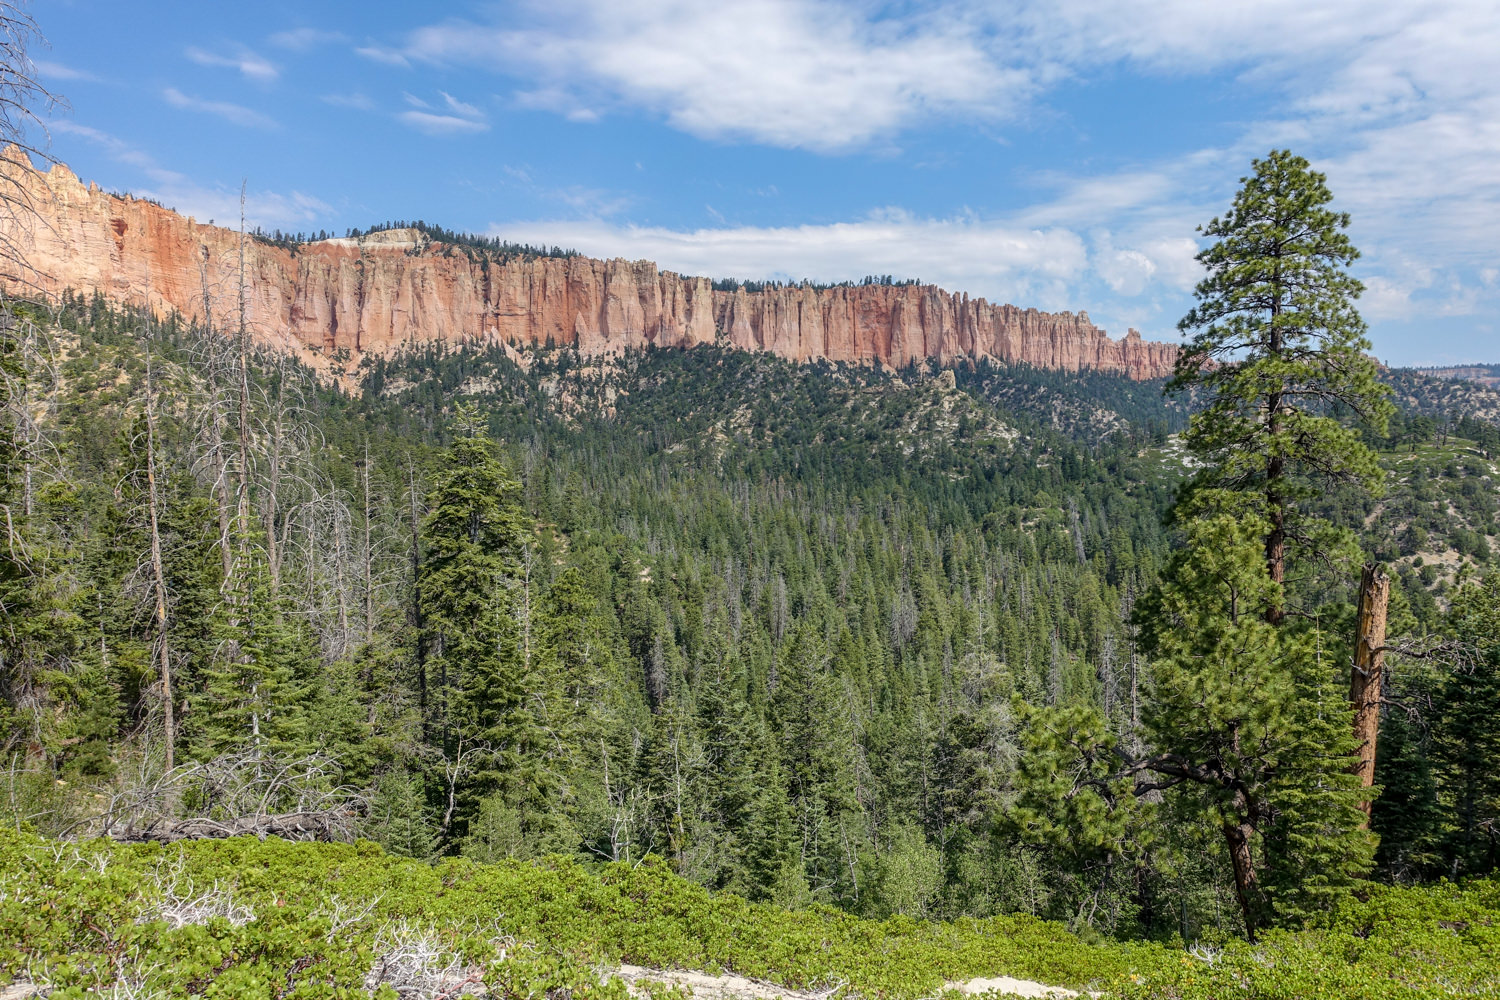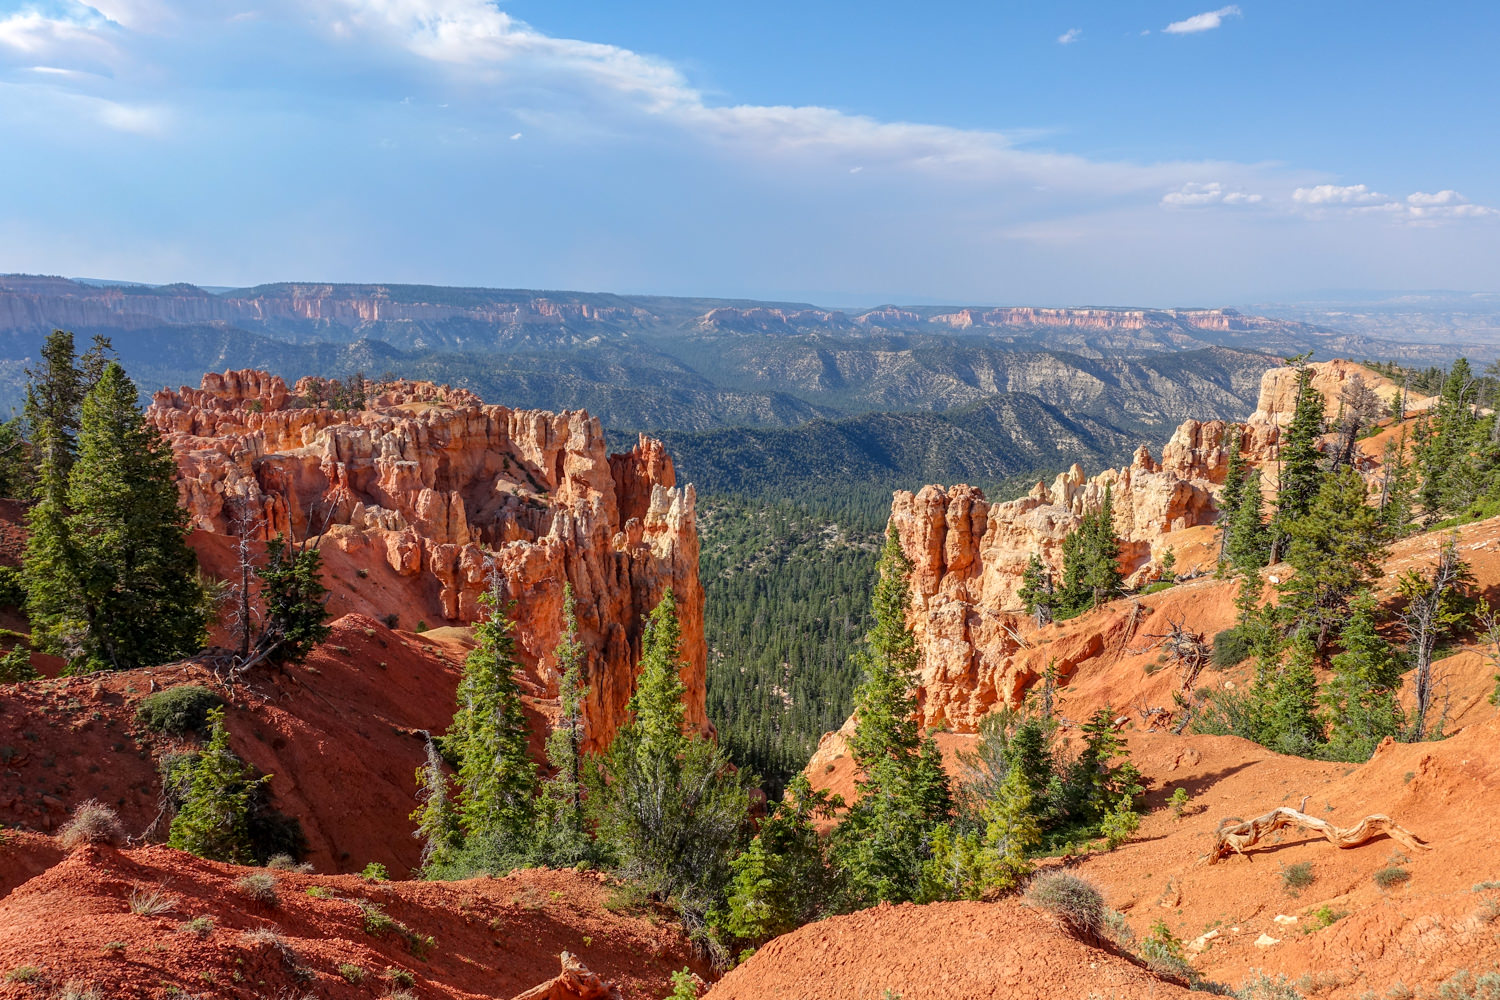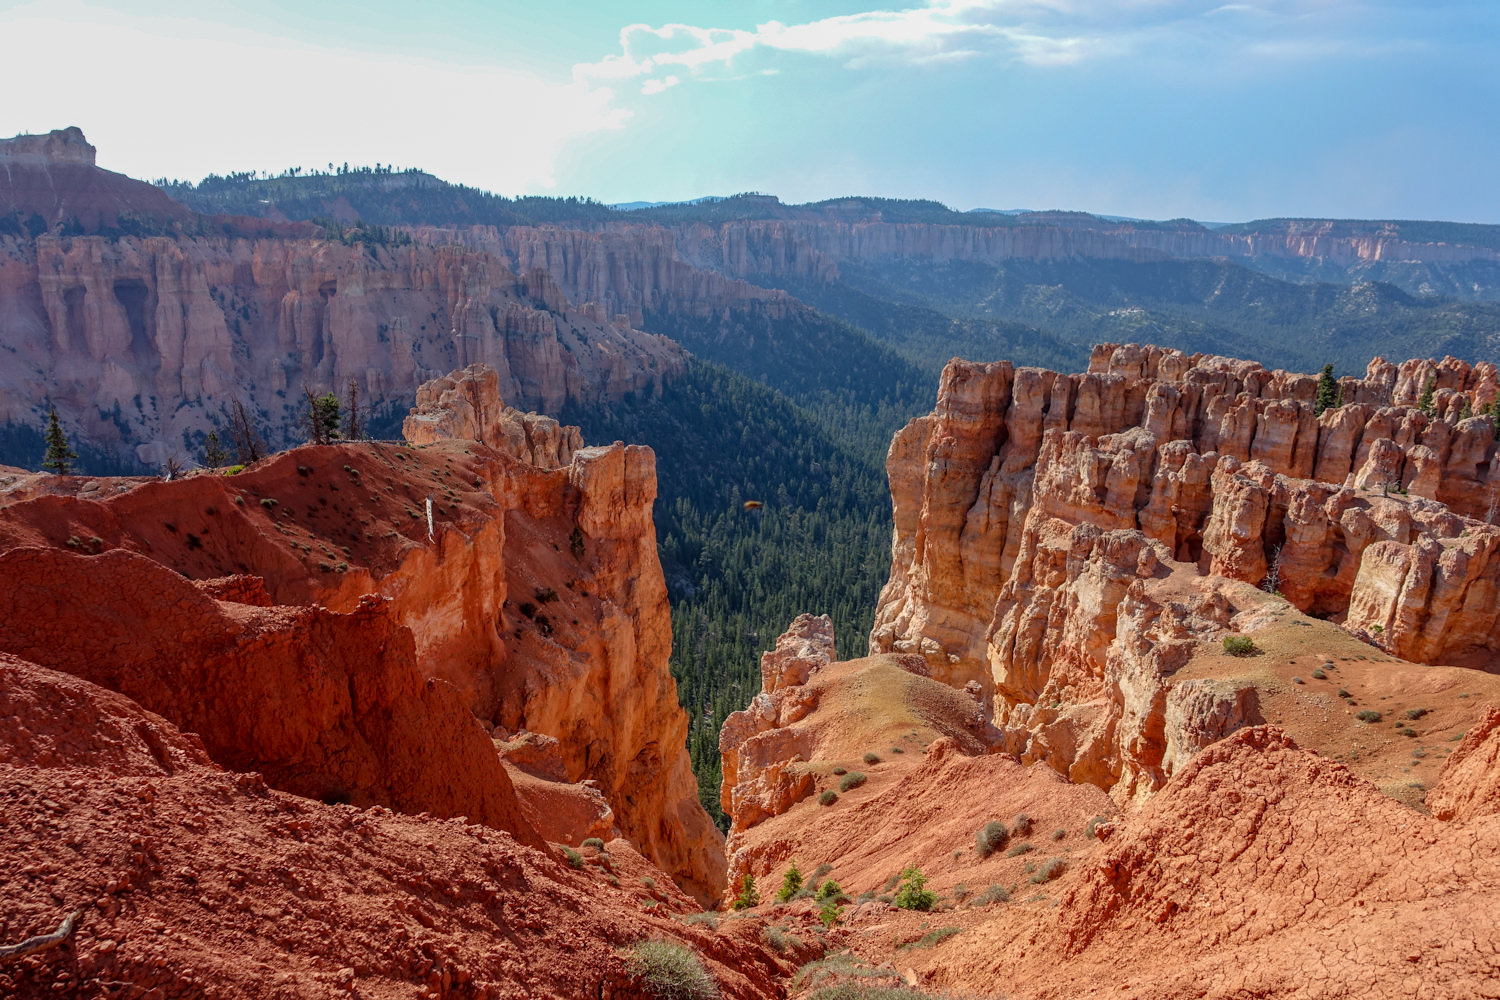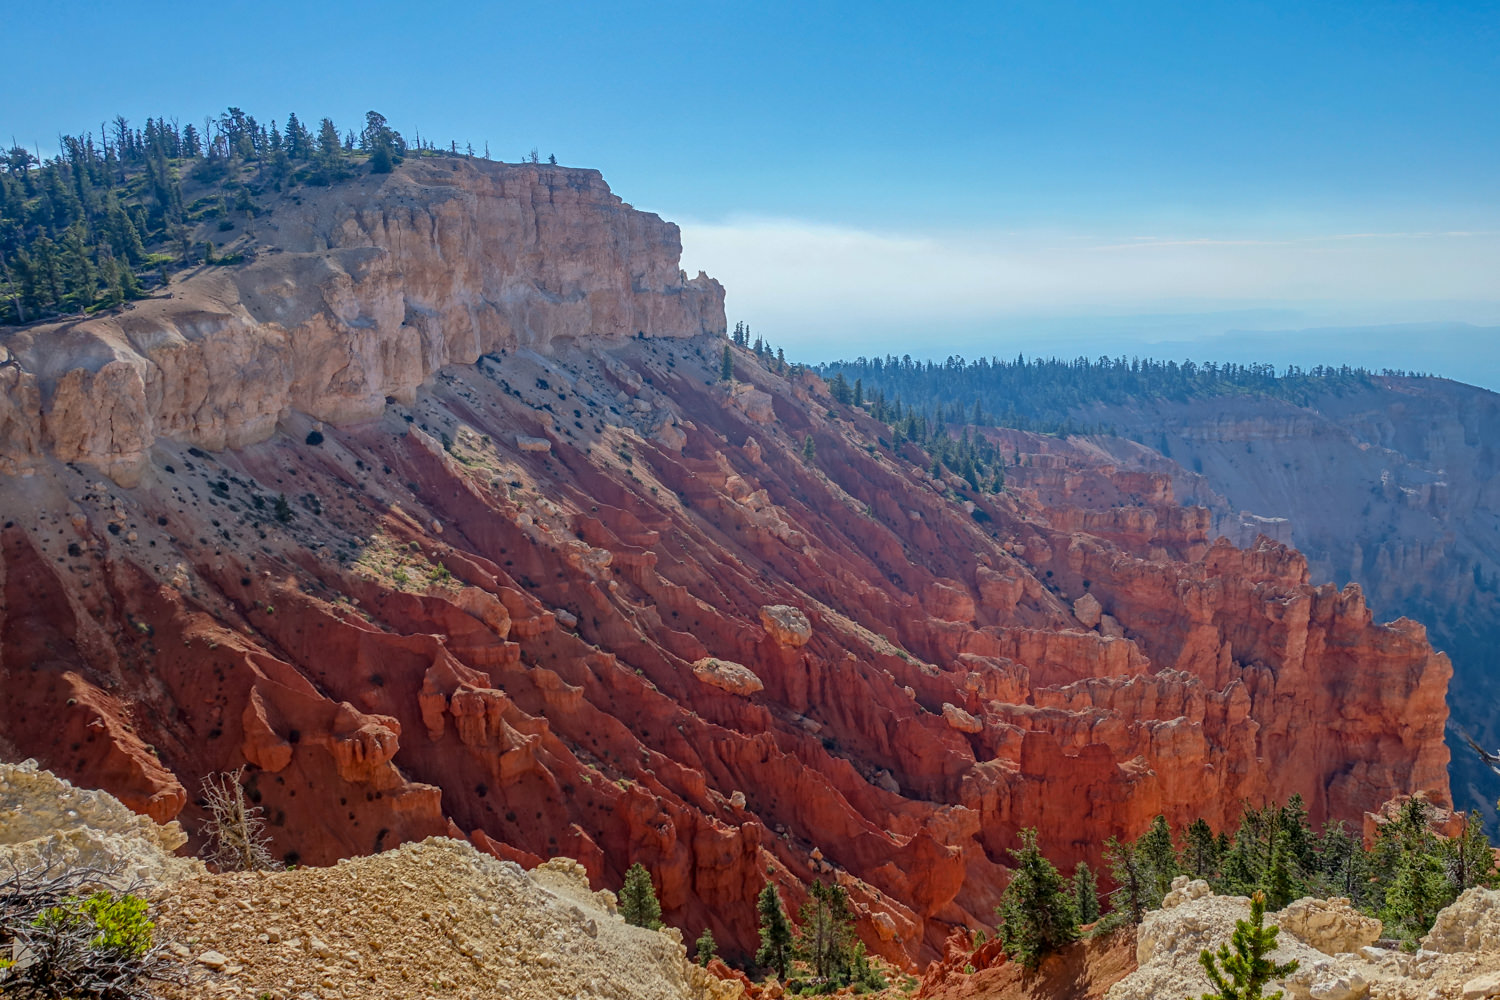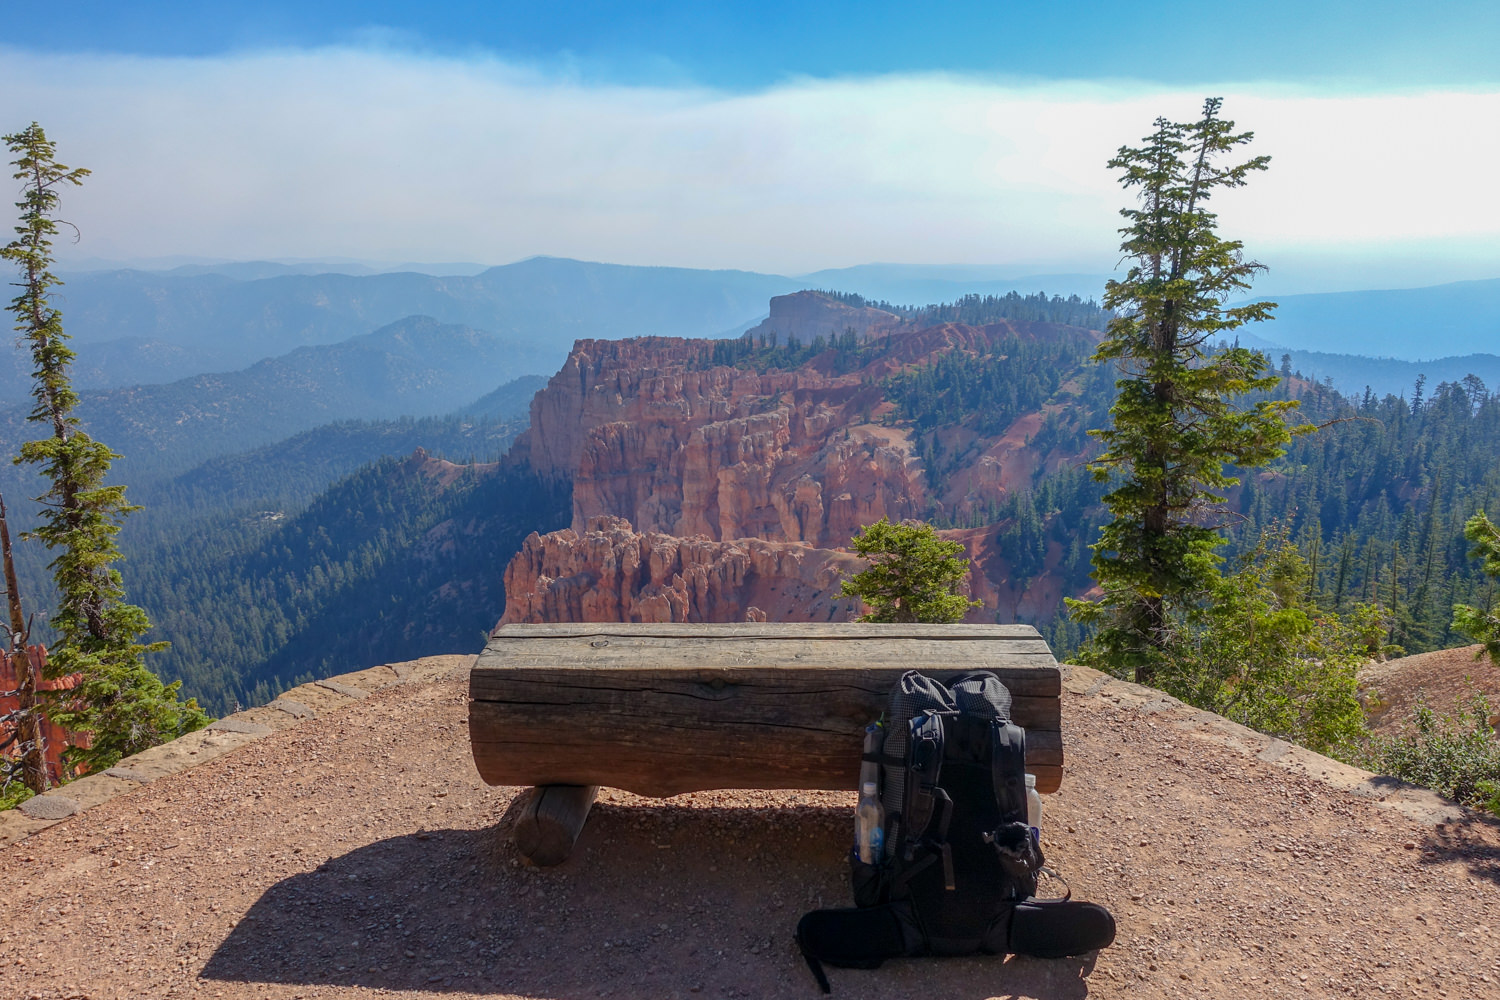
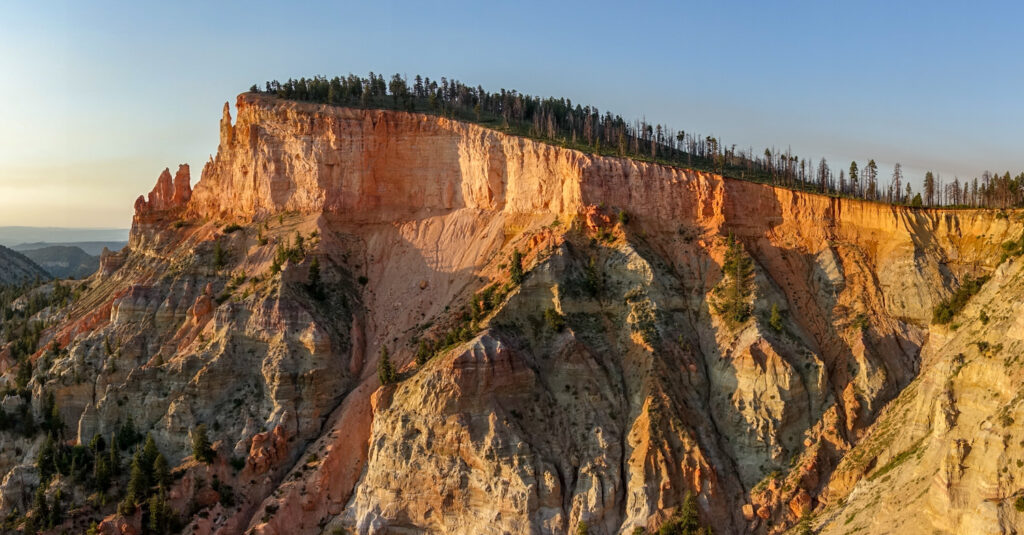
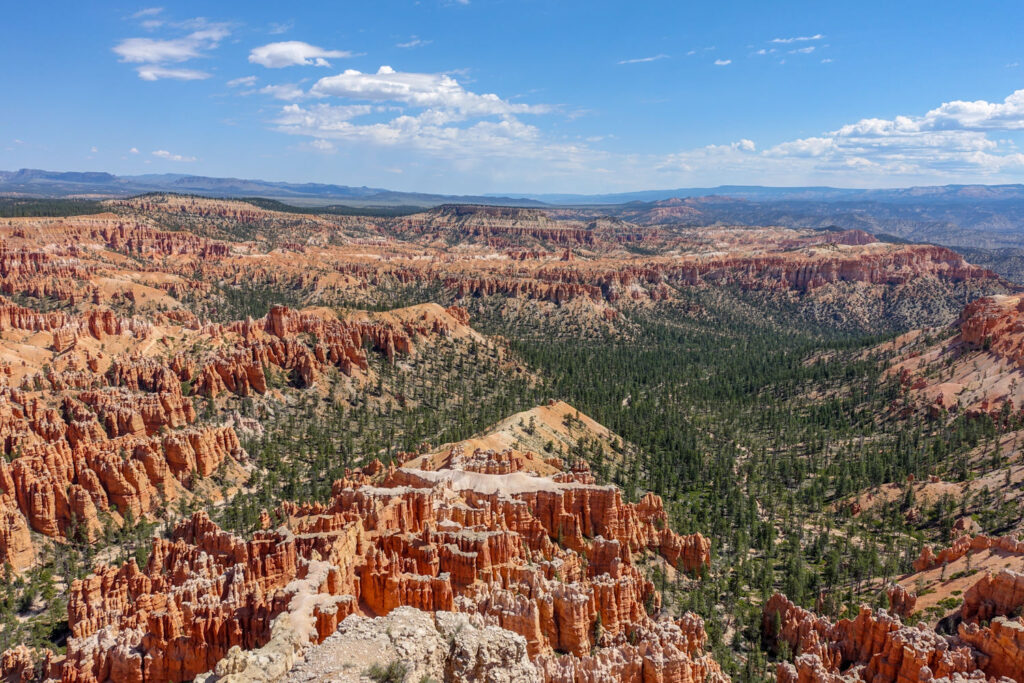
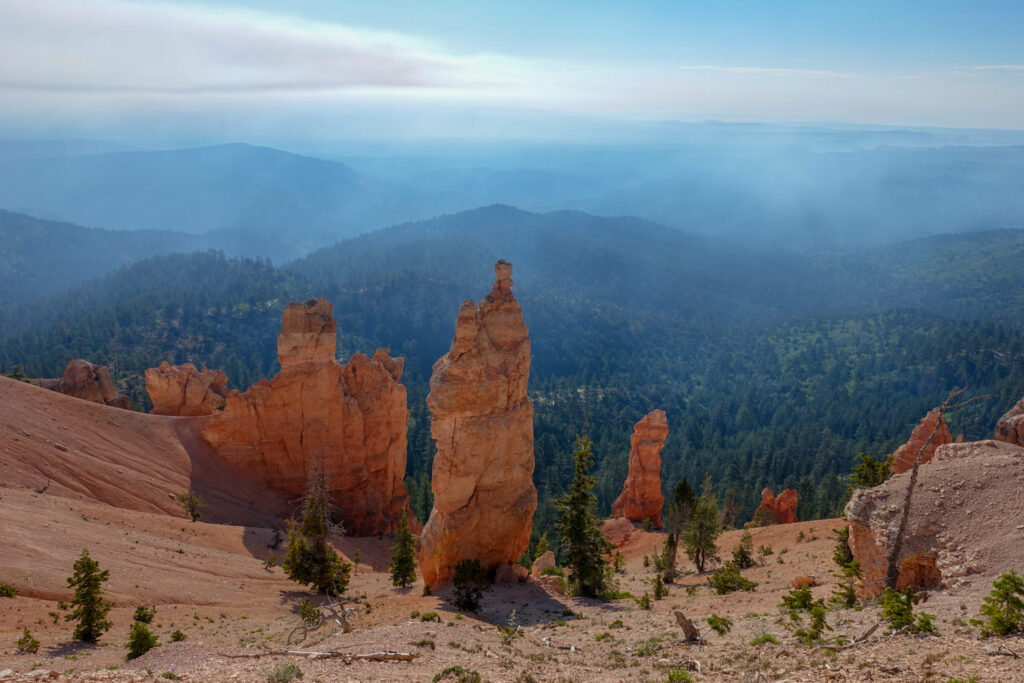
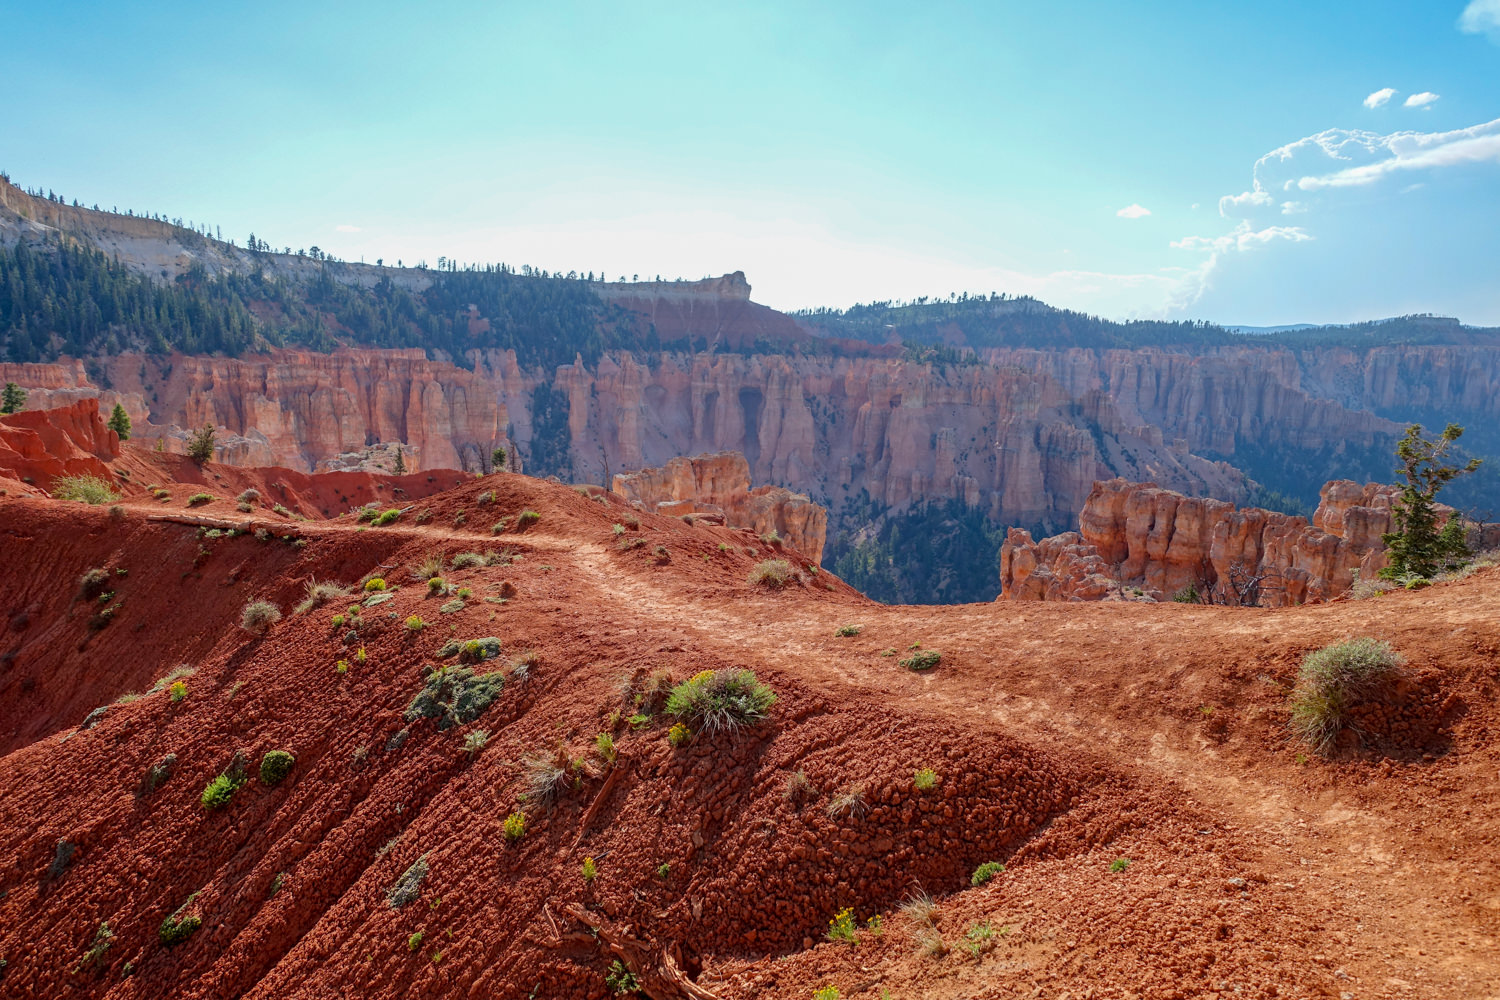
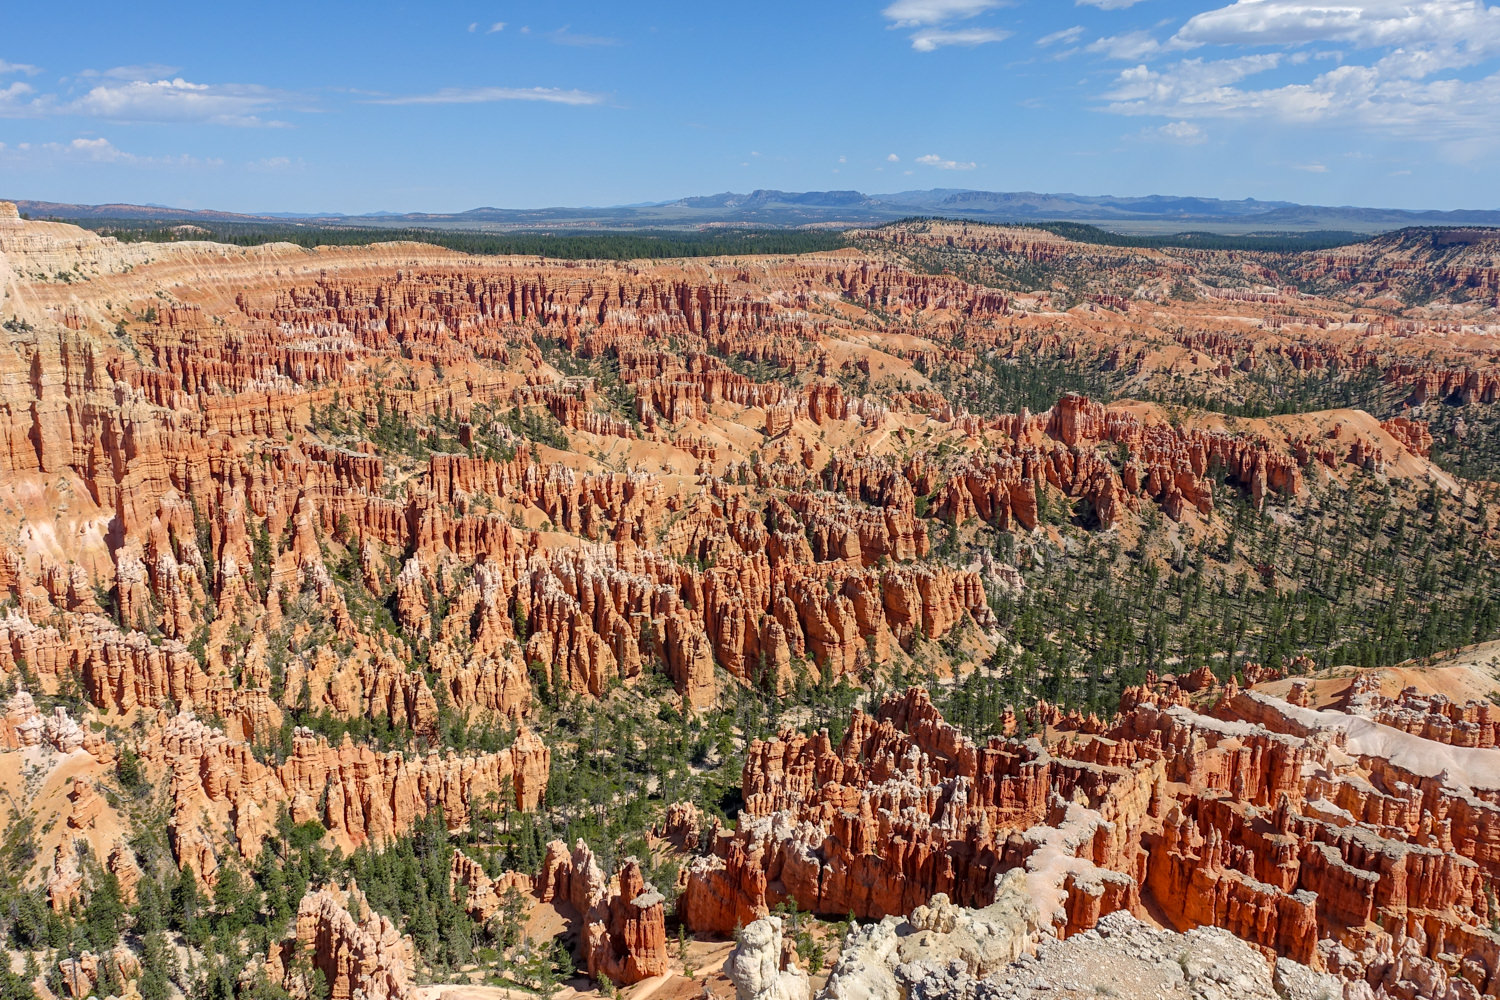
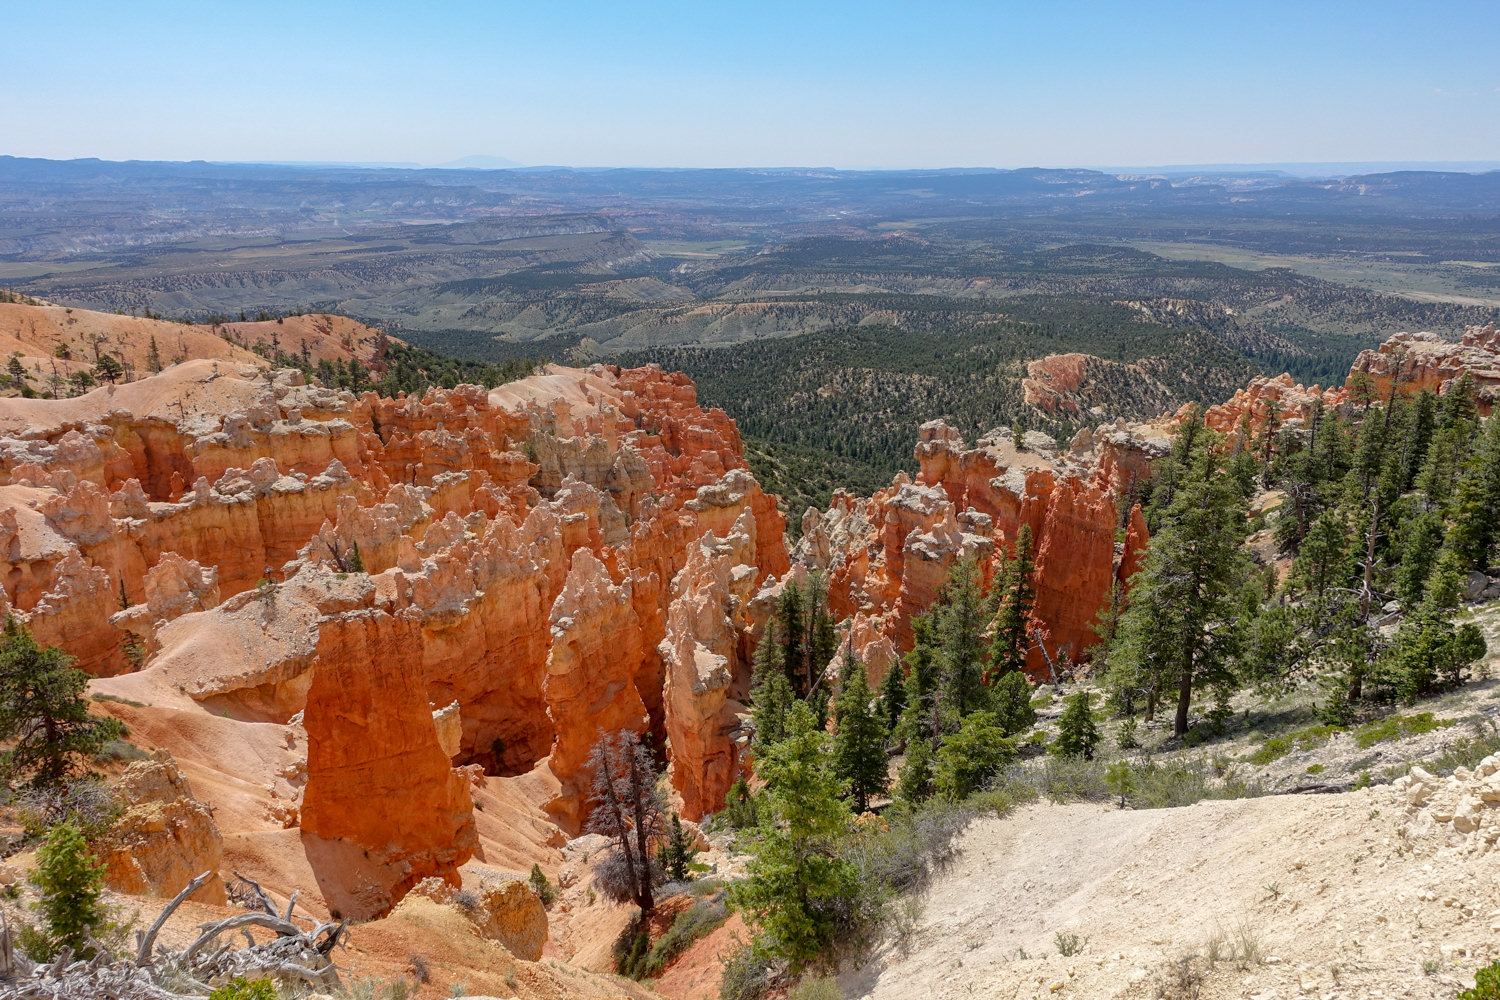
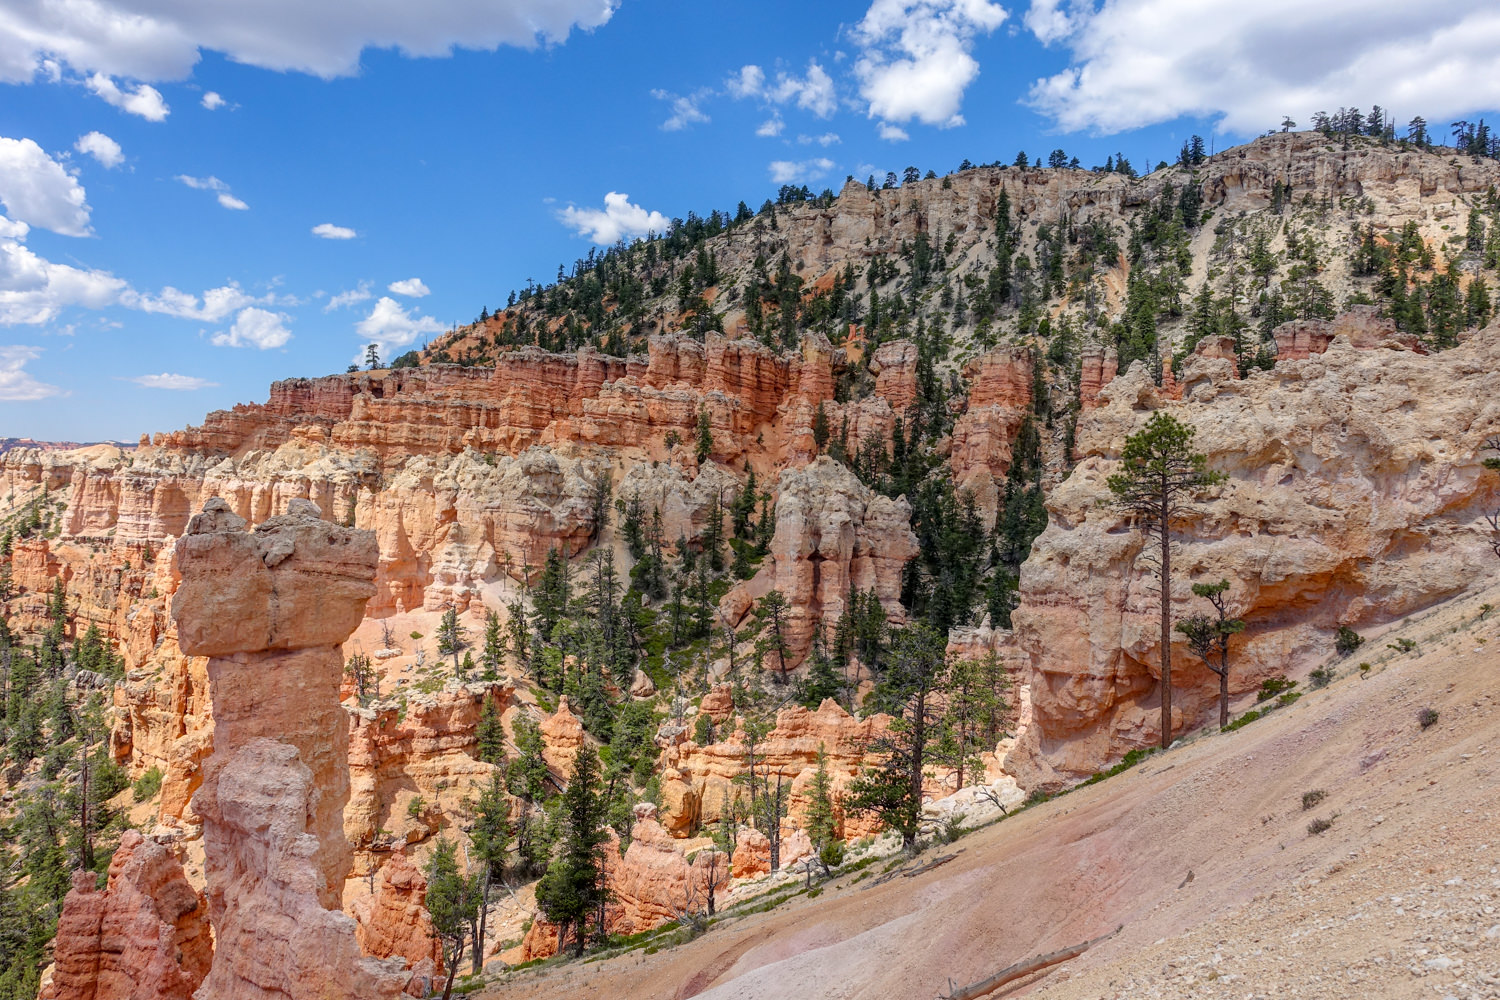
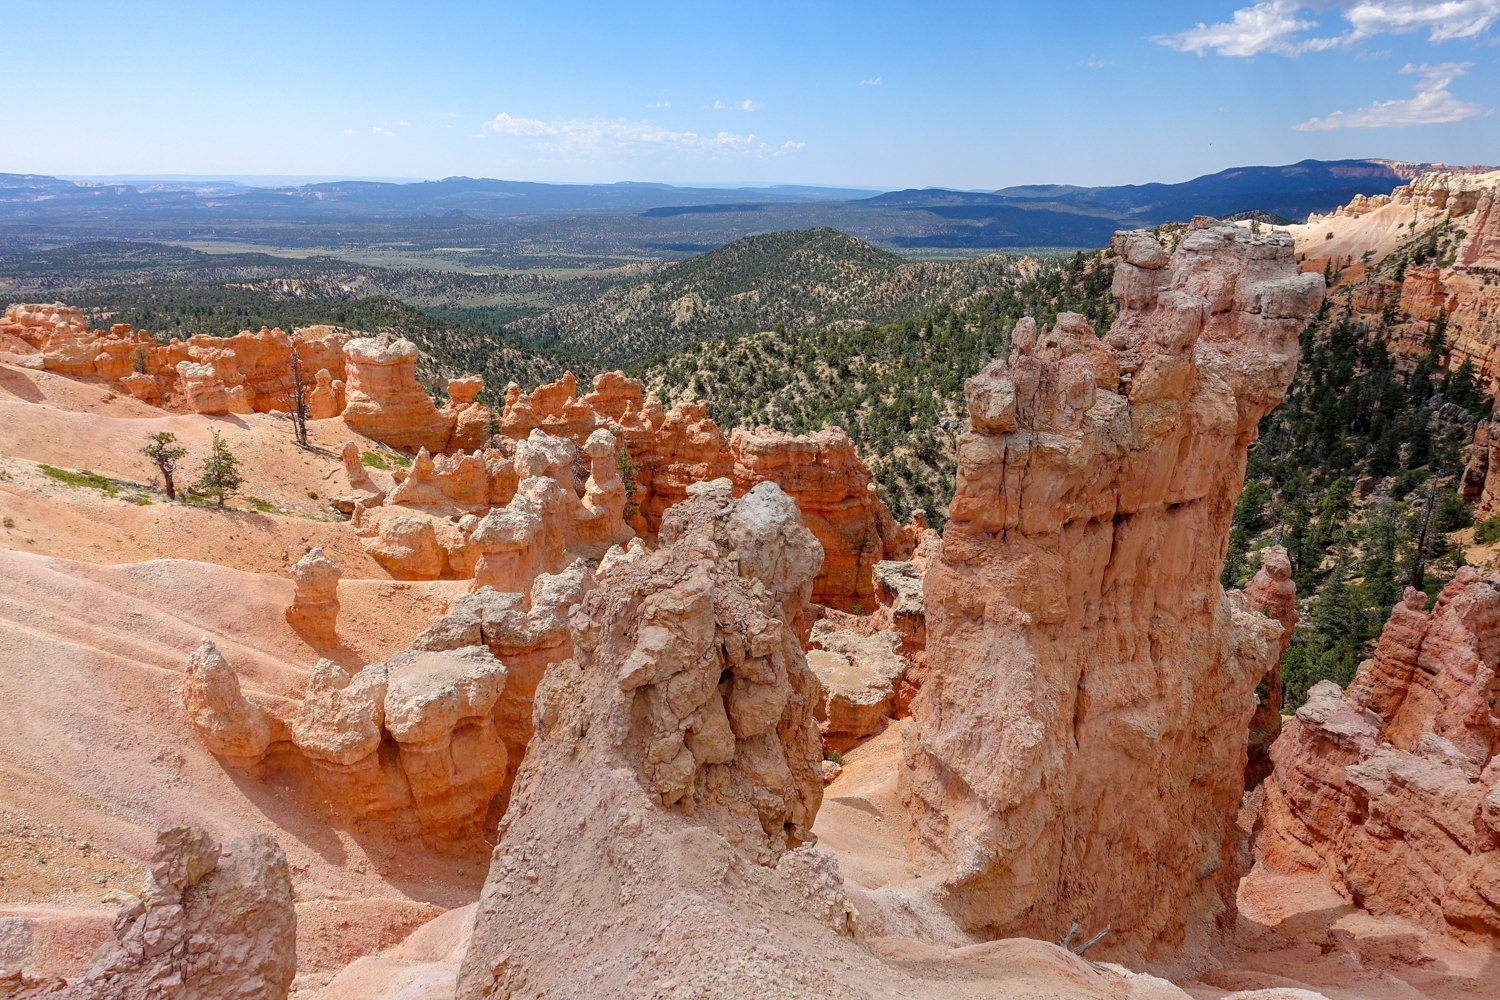
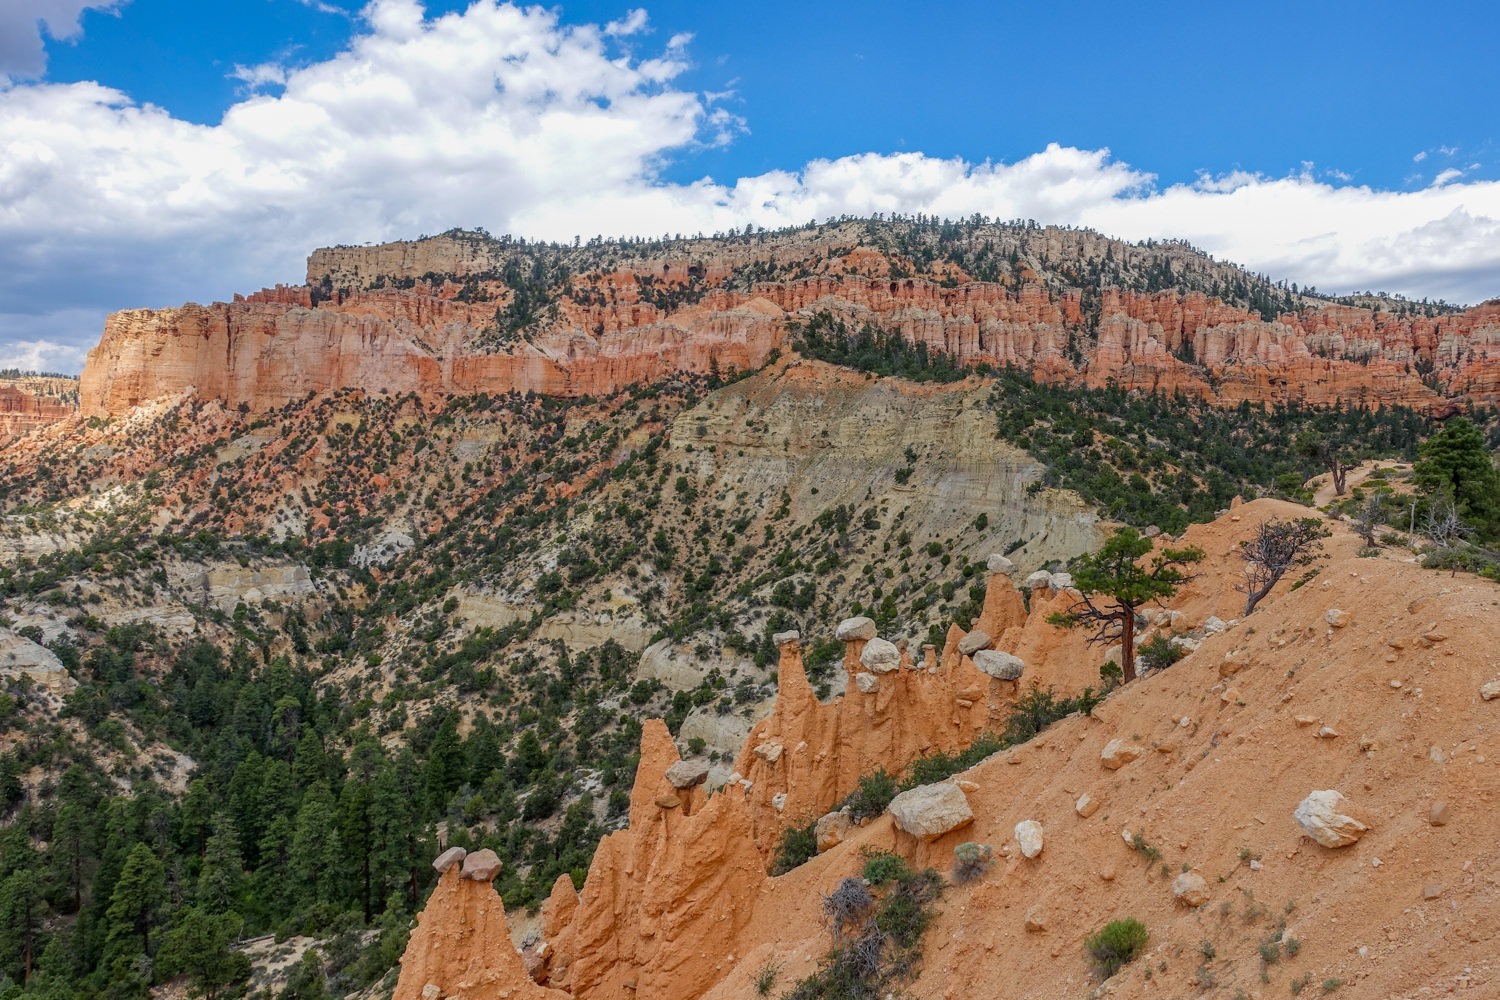
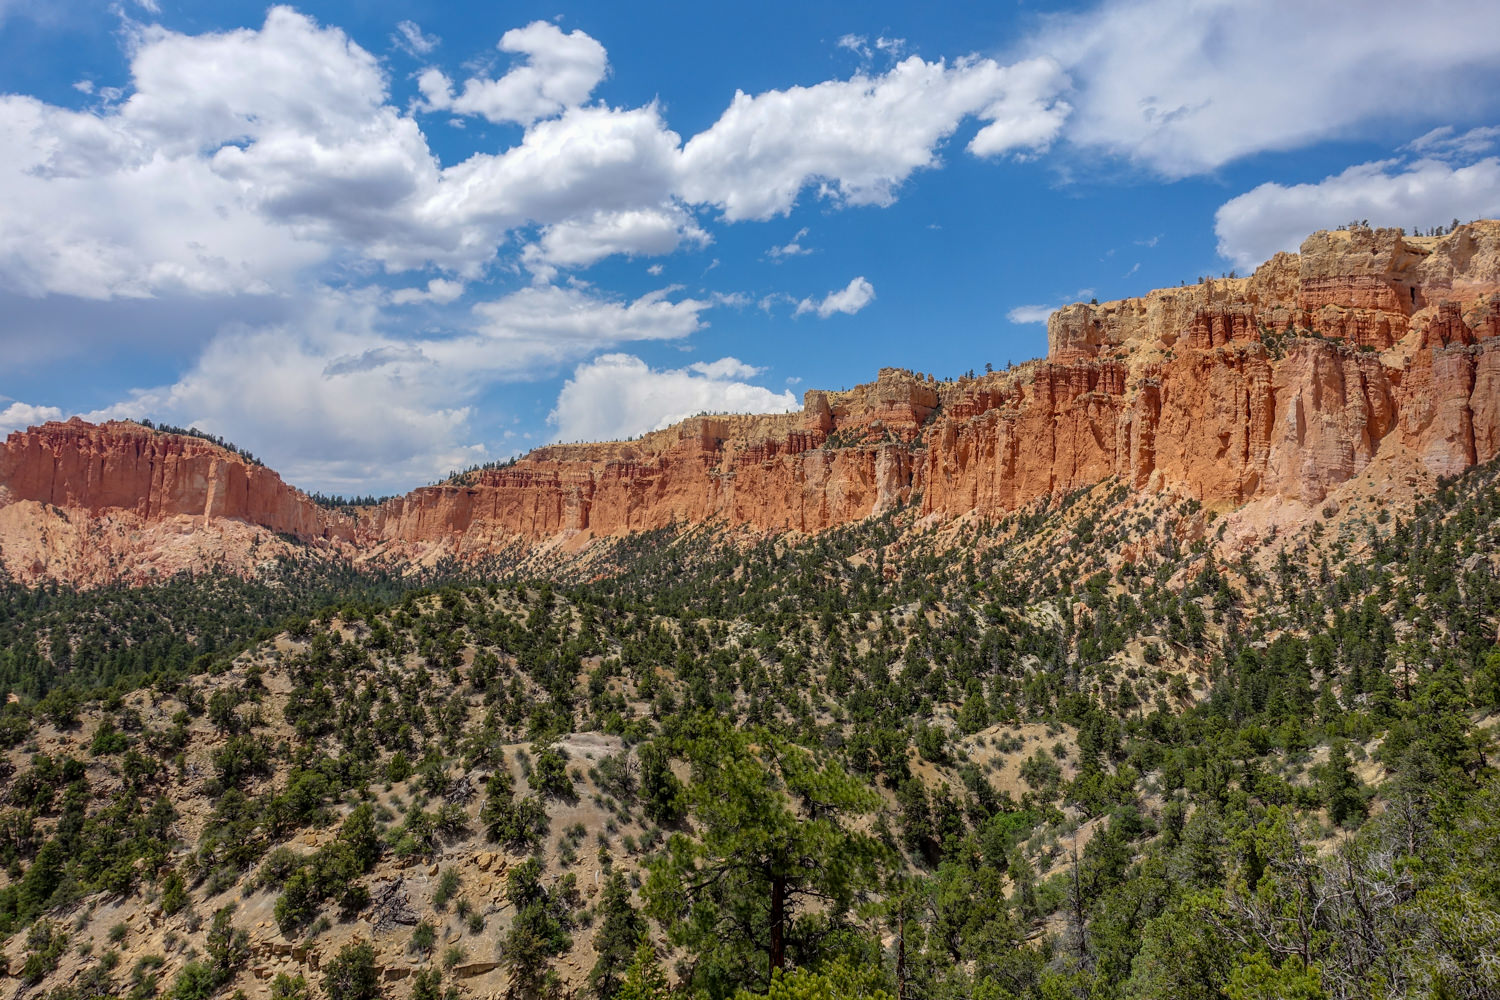
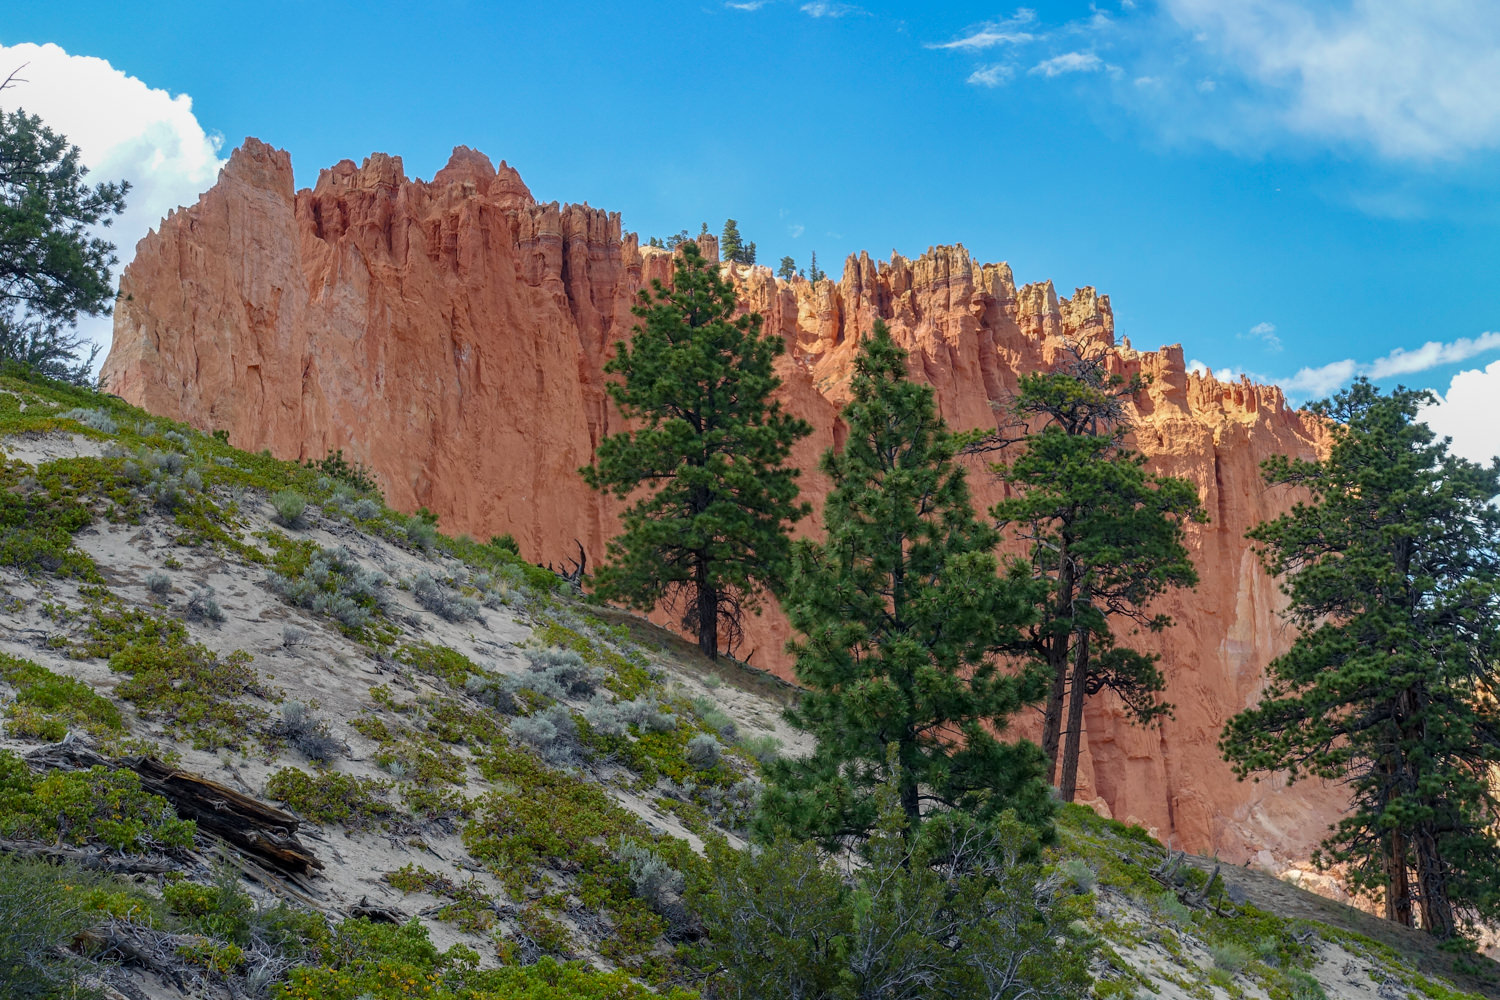
One of the nation’s smallest national parks, 56.2-square mile Bryce Canyon National Park in south-central Utah isn’t really a canyon in the usual sense. Comprised of a series of more than a dozen horseshoe-shaped chromatic limestone amphitheaters on the eastern edge of the Paunsaugunt Plateau, it’s a wonder of wind and rain erosion that has resulted in a maze of slot canyons, windows, and spires. Bordered on the rim by ponderosa pines, high elevation meadows, and fir-spruce forests, it’s also an awe-inspiring place to backpack.
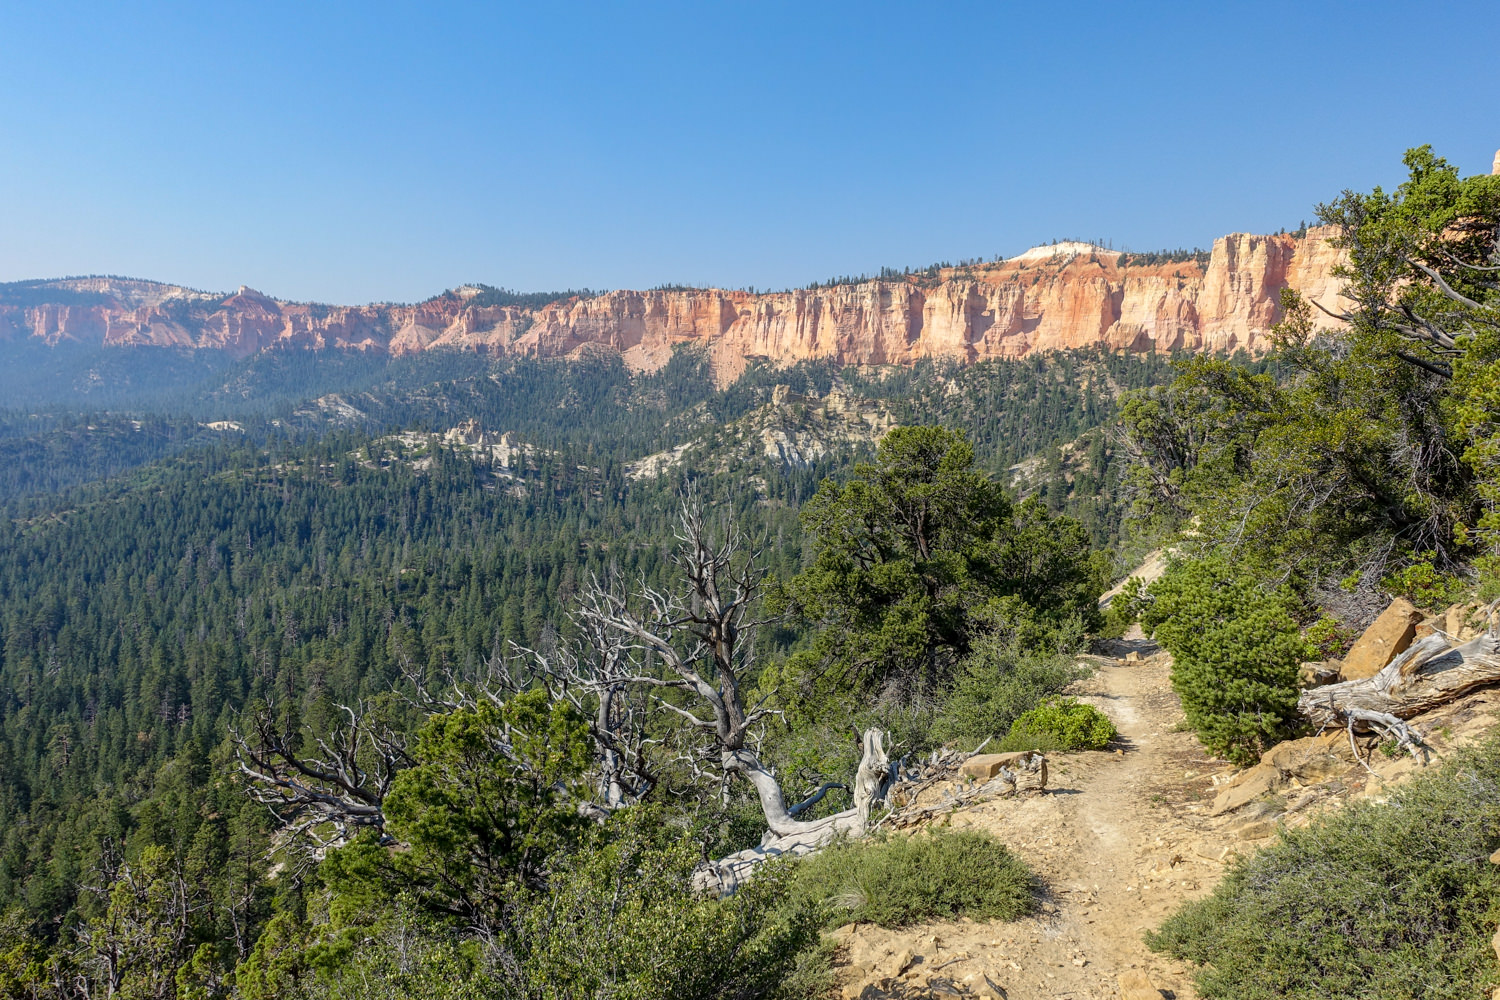
Combine the 23 miles of the point-to-point Under-the-Rim Trail with the 8.8 miles of the Riggs Spring Loop Trail at the end, and enjoy 31.8 miles of what is often called some of the world’s best air quality. Besides making it easier on the lungs, clean air also means easier on the eyes. You can literally see for 200 miles across a panorama of three states. It also means that on a clear night, the lack of light pollution provides unparalleled stargazing.
Quick Facts
Distance: 31.8 miles (50.7 km) (for both trails)
Days Needed: 3-5 days (for both trails)
Peak Elevation: 2,756 m/9,043 feet
Elevation Gain/Loss: 4,284 ascent and -3,549 descent
Best Travel Time: April to Mid-October
Permits: Required (see below)
Highlights
- Beautiful rock formations
- Distant views mixed in with pleasant forests and meadows
- Cooler when it’s hot elsewhere in Utah
- Relative solitude but expect to day hikers around trailheads.
- Variety of day hikes you can add on
- Good shuttle options from the start (consider parking a car at the visitor center and shuttling to the trailhead)
- Wildlife and bird sightings if you’re quiet and watchful
Lowlights
- Constant ascents and descents on the early part of the trail from Bryce Point
- Shuttle dependent – Hitchhiking not allowed in Bryce Canyon National Park
- Crowded around trailheads during peak tourist season
- Most of the hoodoos and slot canyons are in other parts of the park
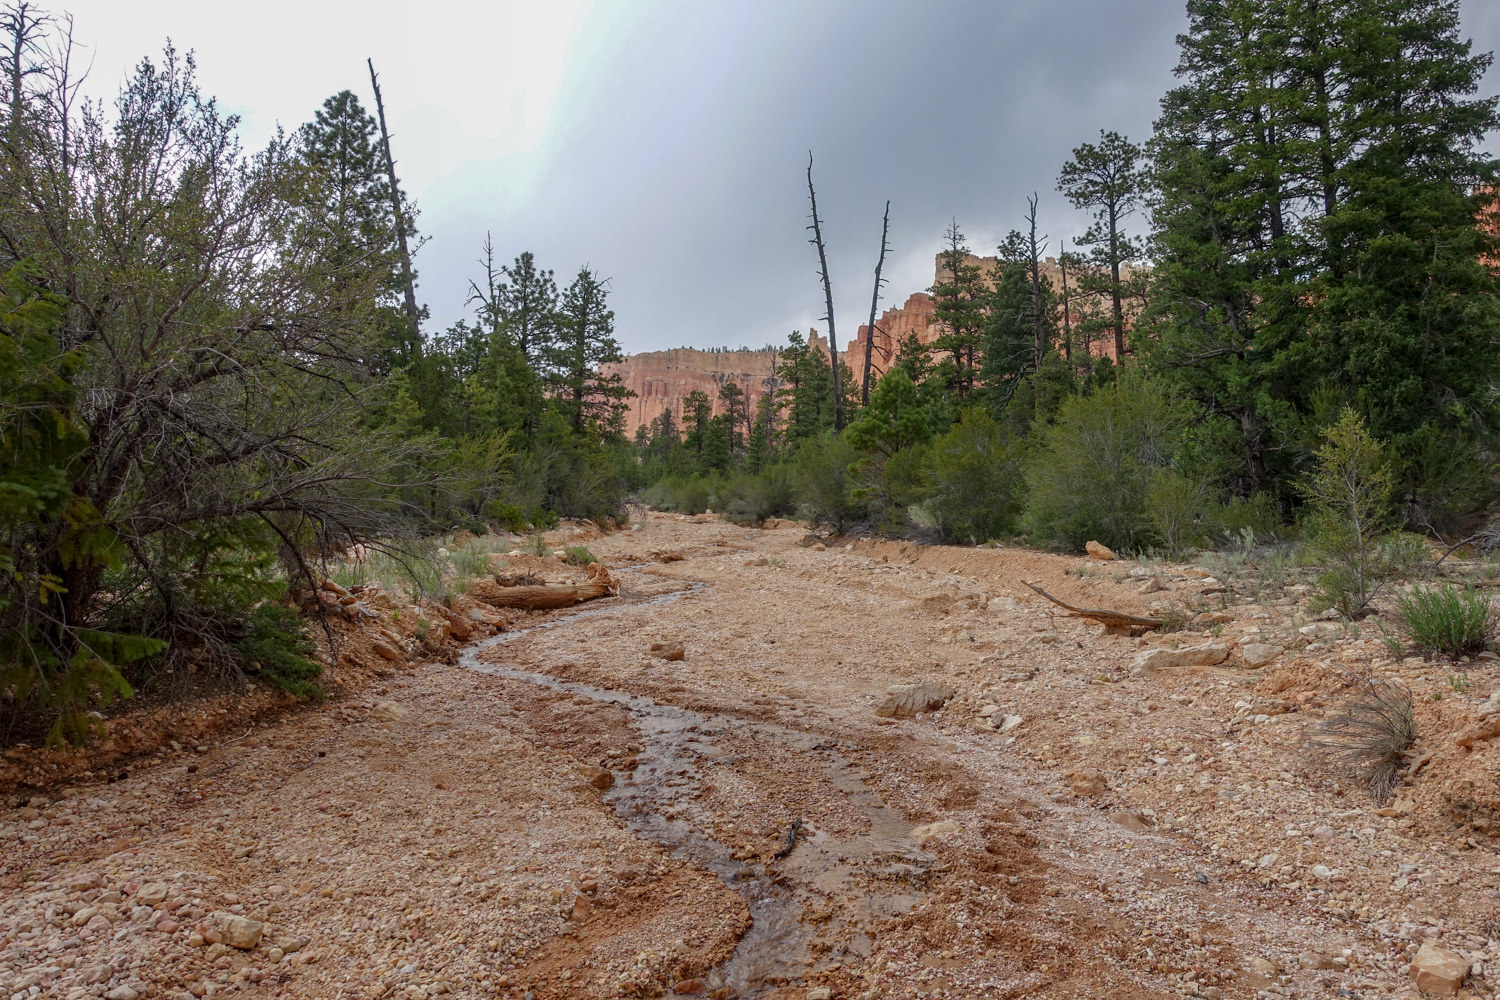
- Limited and unreliable water sources
- Can rain a lot in July and August, monsoon-like conditions
Best Time to Travel
In general, June through September is the best time to hike the Under-the-Rim Trail, but in some years you may still be able to hike as early as April. Snowpack is a key factor for trip planning in this area, as snow can linger in the canyon into April. During summer months, temperatures can reach into the 90s during the day and drop into the low 50s at night.
As always, be prepared and diligent in monitoring current conditions as weather can change quickly in the mountains. Before heading out, check the National Weather Service for up-to- date conditions.
Difficulty
- Total Distance: 31.8 miles (50.7 km) (for both trails)
- Total Elevation Gain/Loss: 2,756 m 9,043’ high
- Overall Difficulty: Moderate
We rate this hike as moderate due to its ascents and descents. As always, difficulty ratings depend on your experience, physical fitness, pack weight, and weather conditions. Although not a technically demanding hike, it requires careful planning for water resources. Like any backpacking trip, you should plan accordingly, train properly, know your limitations, brush up on your skills, and dial in your gear. Doing so will make for a safe and enjoyable adventure.
Permits
In addition to the required $35 National Park entrance pass ($80 for an annual pass), you will need to purchase a backcountry permit for all overnight stays. For 2025, the cost is $10 permit + $5 for each person in your group.
Permits for peak season trips – March through November – are available online up to three months in advance. If you purchases an advance online permit – which we highly recommend – you still must check in at the Visitor Center to review backcountry regulations, check-out a free bear canister, or have yours inspected.
Permits for winter trips – December through February – are available on a walk-in basis at the Visitor Center between 8:00 a.m and one hour before closing. Permits can be issued up to 48 hours in advance.
At a minimum, we recommend obtaining your permit the evening before you plan to hike to ensure you can get on the earliest shuttle possible. For official, up-to-date information on permits, fees, and trip planning, please see this Backcountry Information guide.
Trailhead Options
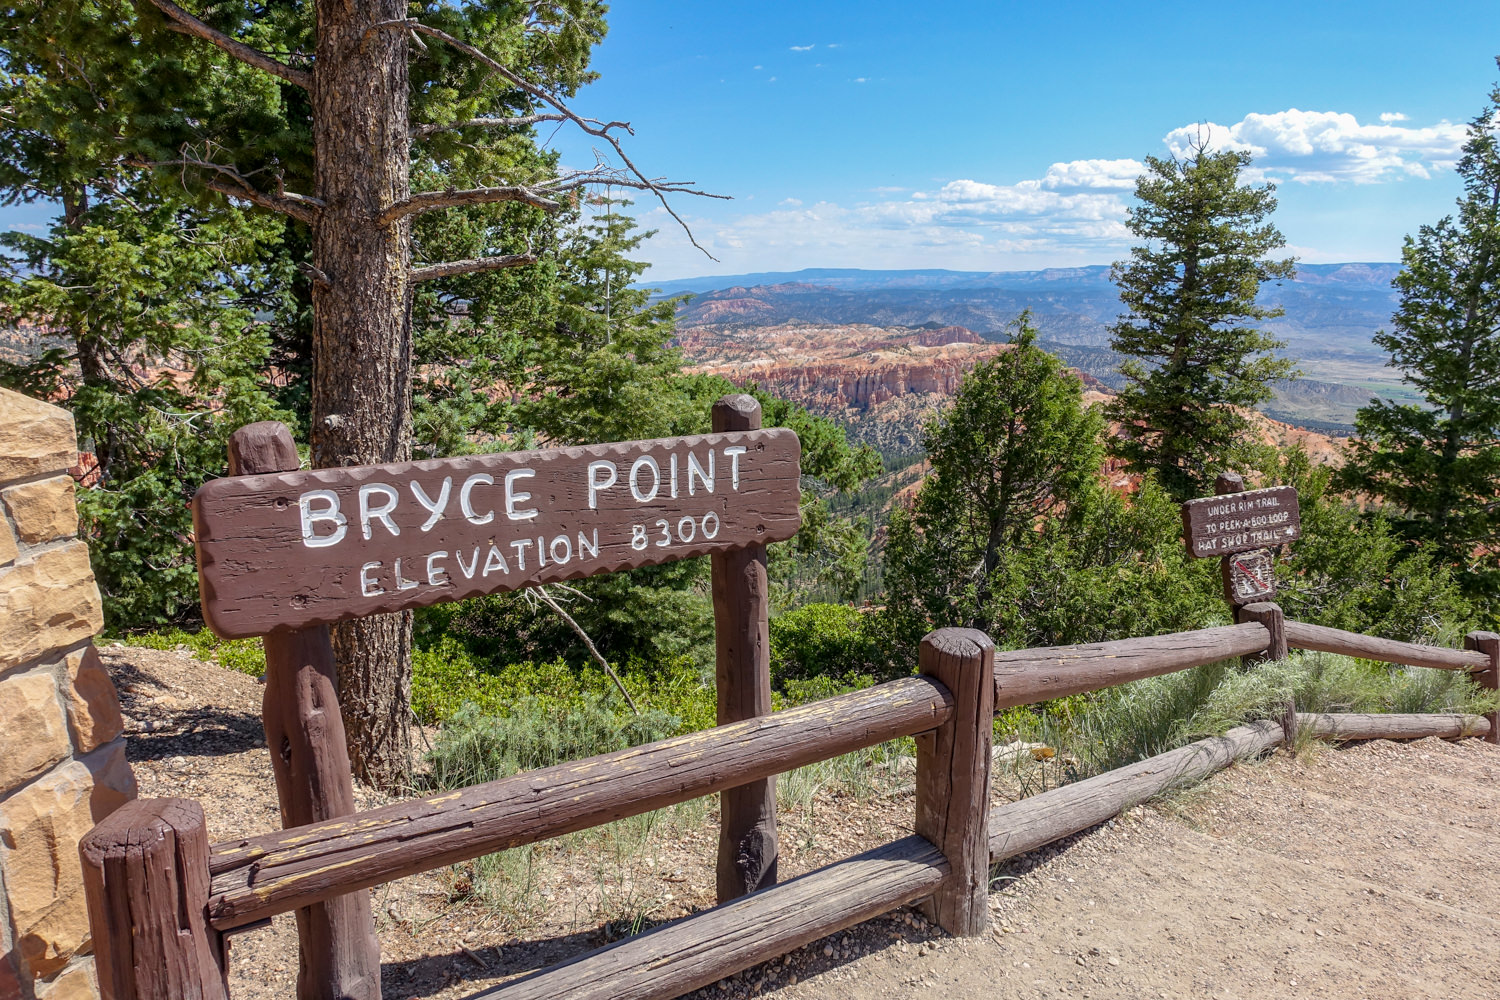
The Under-the-Rim Trail starts at either Bryce Point trailhead or at the southern trailhead, Rainbow Point. Though both are options, we recommend beginning the hike at Rainbow Point for an easier elevation profile.
STARTING AT BRYCE POINT
If you start at Bryce Point, the trail descends from the northern section of the park, trending first east and then south away from the amphitheater at an average distance from the edge of the plateau at about 0.62 miles (1 km) and ends in a significant climb back up at Rainbow Point.
STARTING AT RAINBOW POINT
We recommend starting at Rainbow Point, completing the Riggs Spring Loop Trail, (aka Riggs Spring Fire Trail) first. Then walk a short ways to the start of the Under-the- Rim Trail. The reason is that going south to north means less climbing at the end of your trip. Plus, the placement of the most reliable water sources makes it possible to carry less water over long distances if you hike from south to north. That being said, it’s now less convenient reaching Rainbow Point than it was when we did this trip (see below).
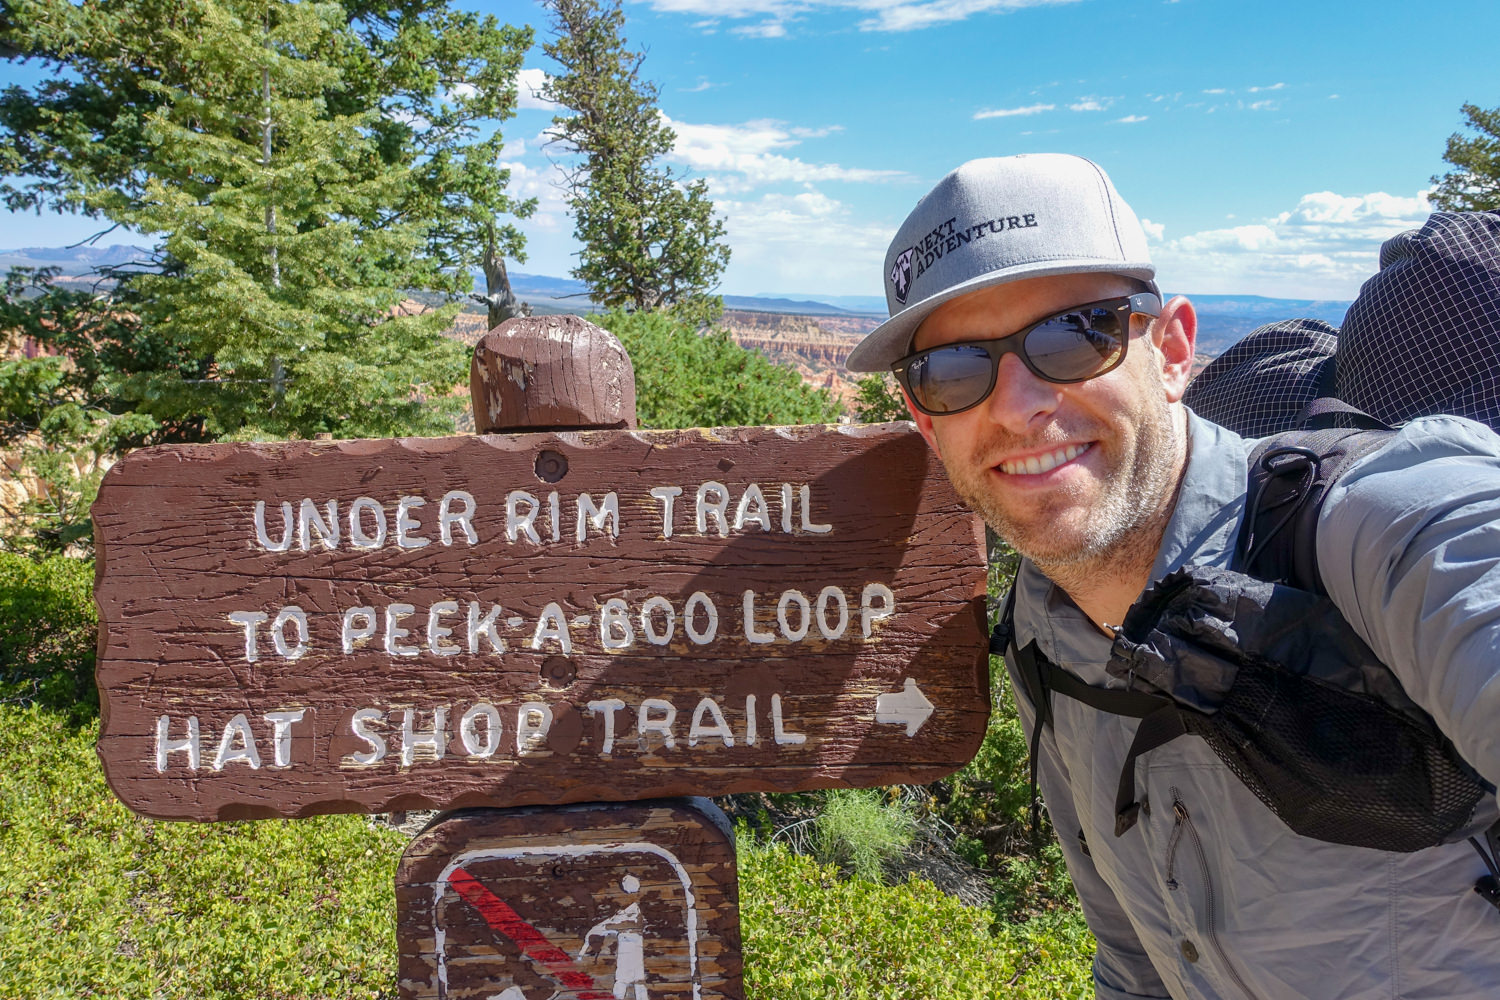
The Under-the-Rim trail descends eastward from Rainbow Point in the southern end of the park, swings north and west before making an eastward swing toward the Grand Staircase Escalante National Monument boundary and then back north to over the last 10 miles to the finish at Bryce Point.
Getting to Trailheads & shuttles
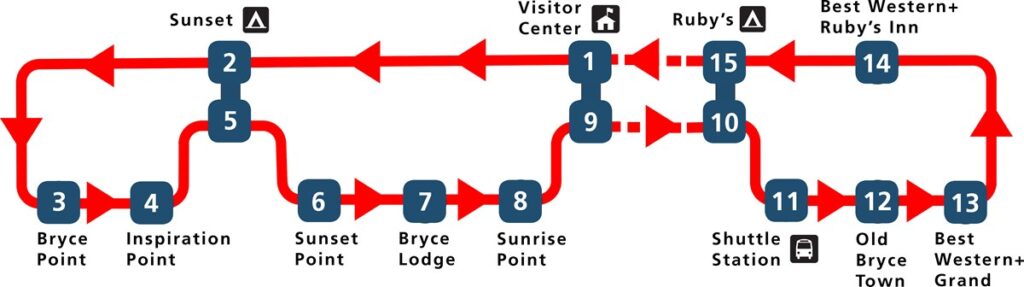
The Bryce Canyon Shuttle buses are free (for you and the occupants of your vehicle) once you pay your entrance fee. Park administrators strongly encourage you to leave vehicles outside the park, especially if you’re not staying overnight inside the park. Park near Ruby’s Inn on the left side of the road before entering the park or at Ruby’s Campground. Then walk 0.2 miles and board the shuttle at the Shuttle Station.
The Bryce Canyon Shuttle provides free transportation to and from Bryce Point during summer months. However, reaching Rainbow Point (start of the Riggs Spring Loop Trail) has gotten more difficult since we first published this guide.
On our last trip, we also took a separate free shuttle – the Rainbow Point Shuttle – to access the southern trailhead. However, the Rainbow Point Shuttle is no longer available. To reach the Riggs Spring Loop trailhead, you either need to drive your own vehicle or purchase a commercial shuttle from this list of authorized commercial vendors.
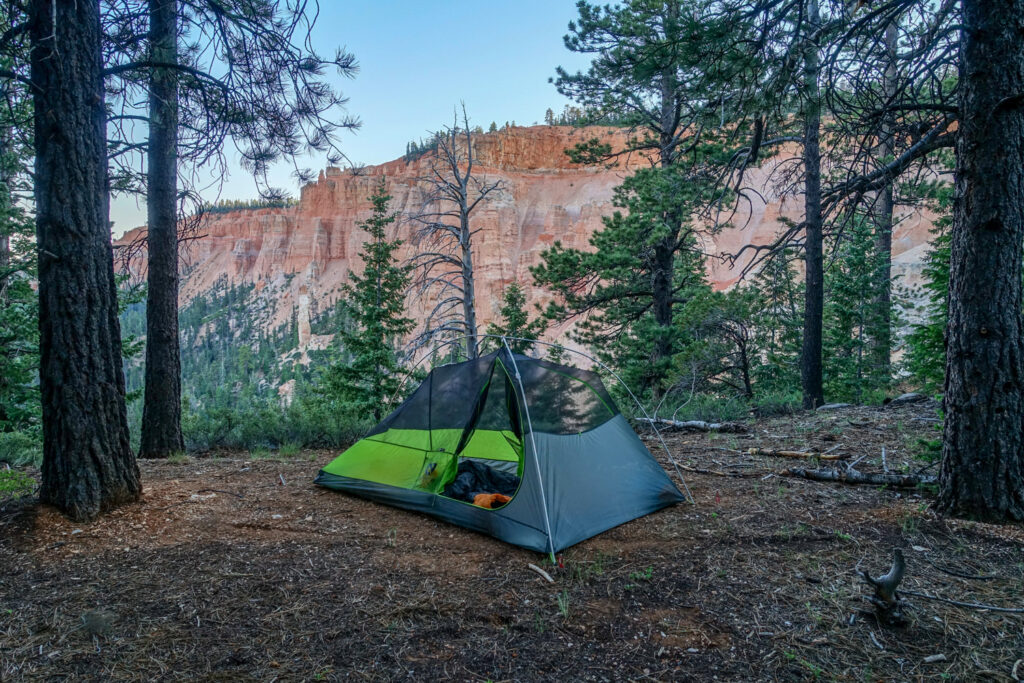
Campsites
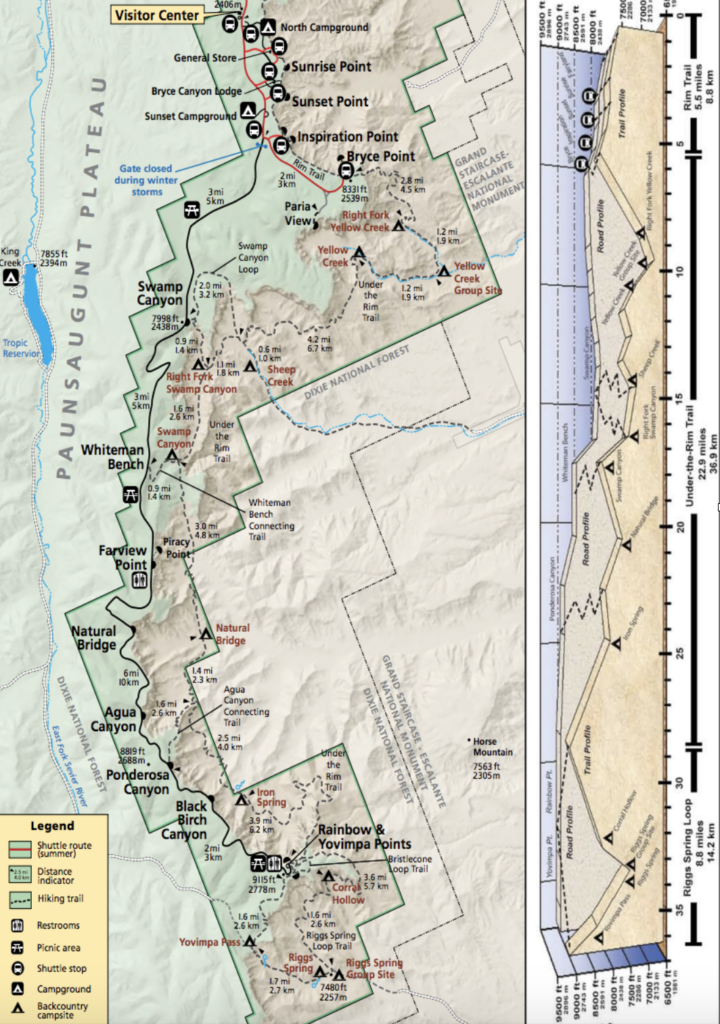
Camping is only permitted on established tent pads at designated campsites. There are 3 campsites (+ 1 group site) along the Riggs Springs Loop Trail and 7 along the Under-the-Rim Trail. Backcountry campsites are limited to 6 people per regular site and 15 people per group site. All sites are first-come, first-serve. For more information, please visit the NPS site.
Below are the campsites along the Riggs Spring and Under the Rim route.
- Yovimpa Pass
- Riggs Spring (Primitive & group camping sites)
- Corral Hollow
- Iron Spring
- Natural Bridge
- Swamp Canyon
- Right Fork Swamp Canyon
- Sheep Creek
- Yellow Creek (primitive & group camping sites)
- Right Fork of Yellow Creek
Below is a map provided by the Bryce Canyon National Park showing mileage, campsites, and the general route elevation of the Under the Rim and Riggs Springs Loop Trail.
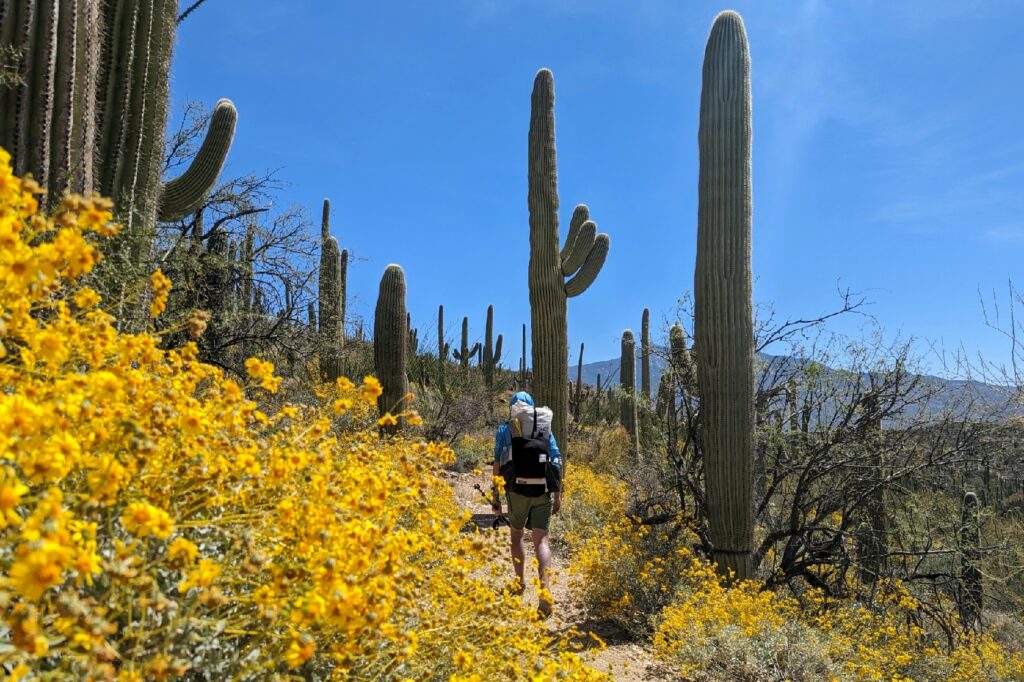
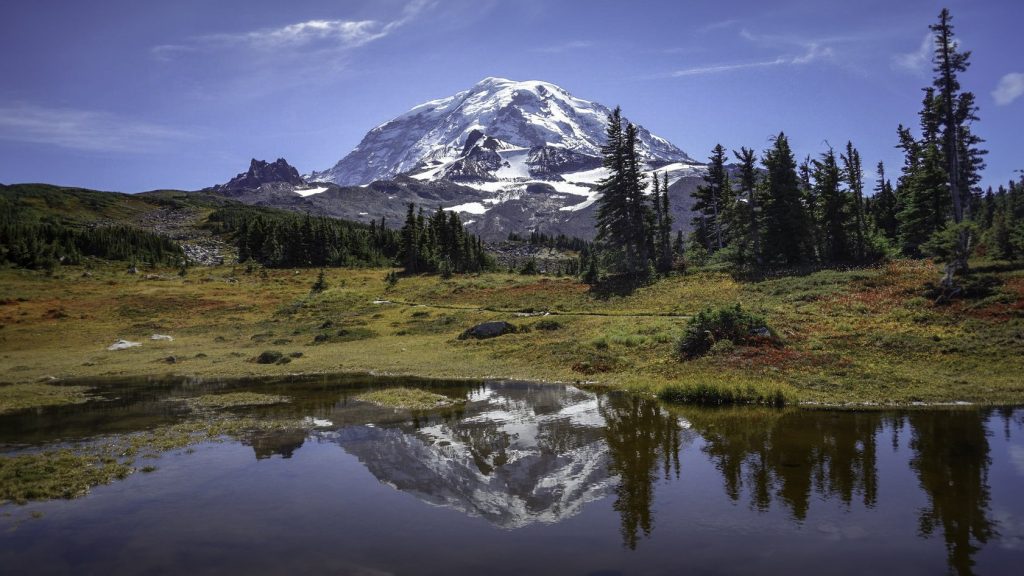
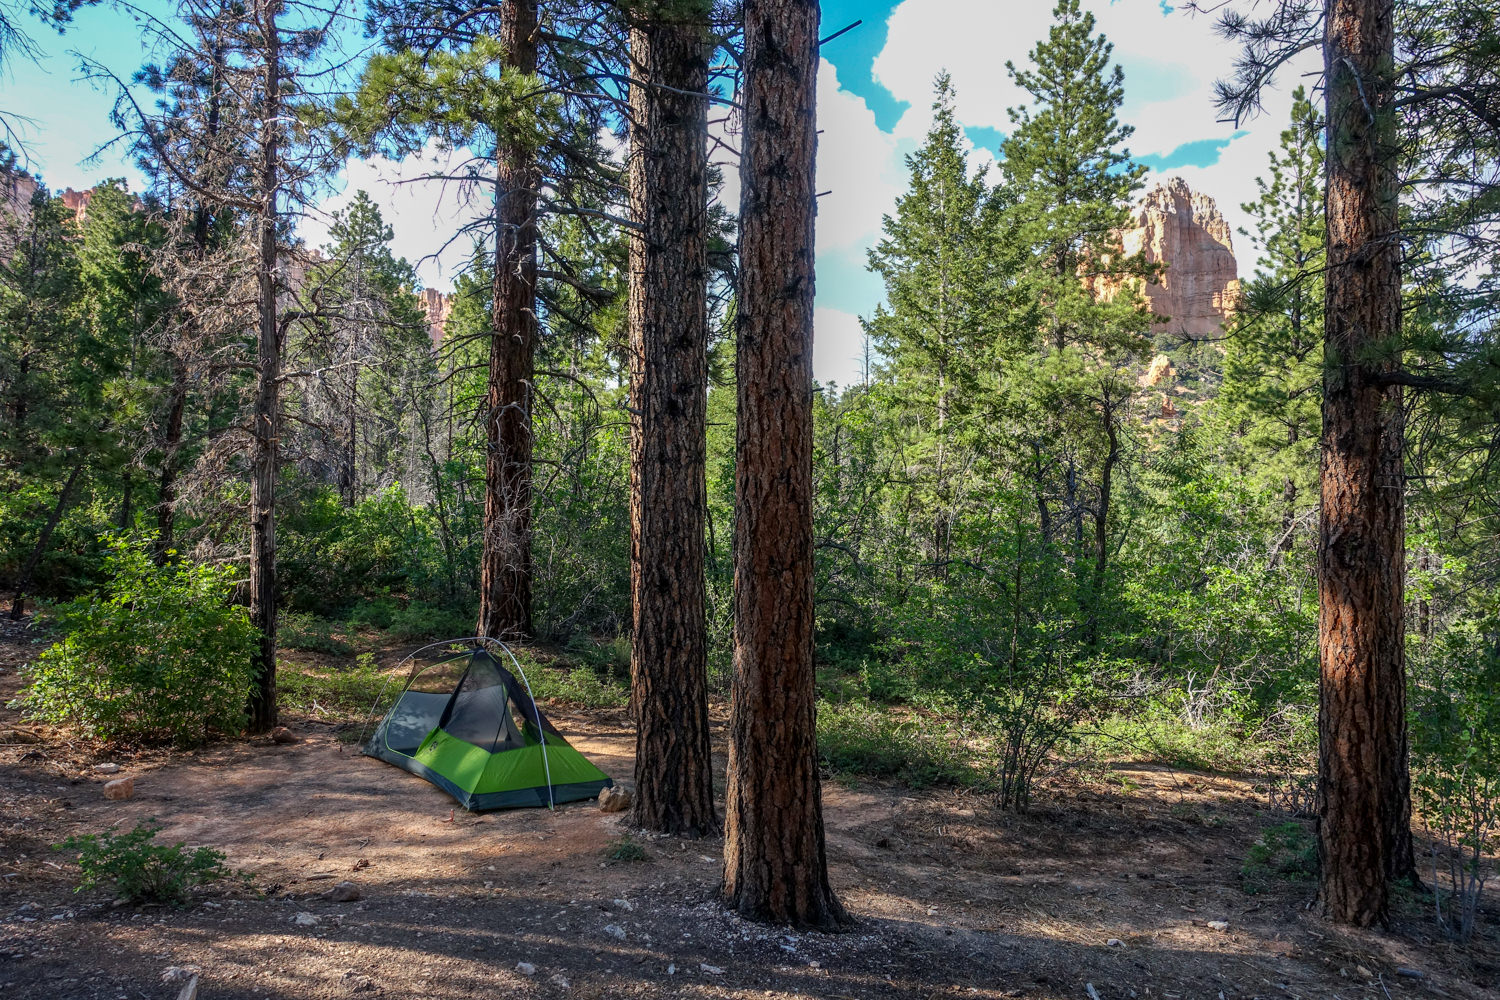
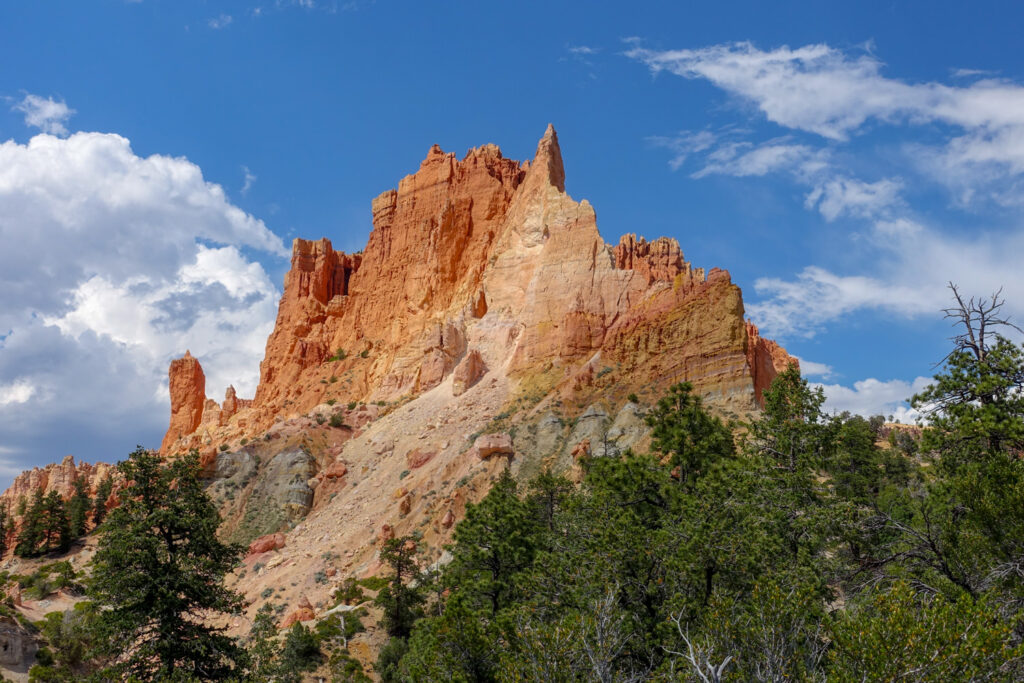
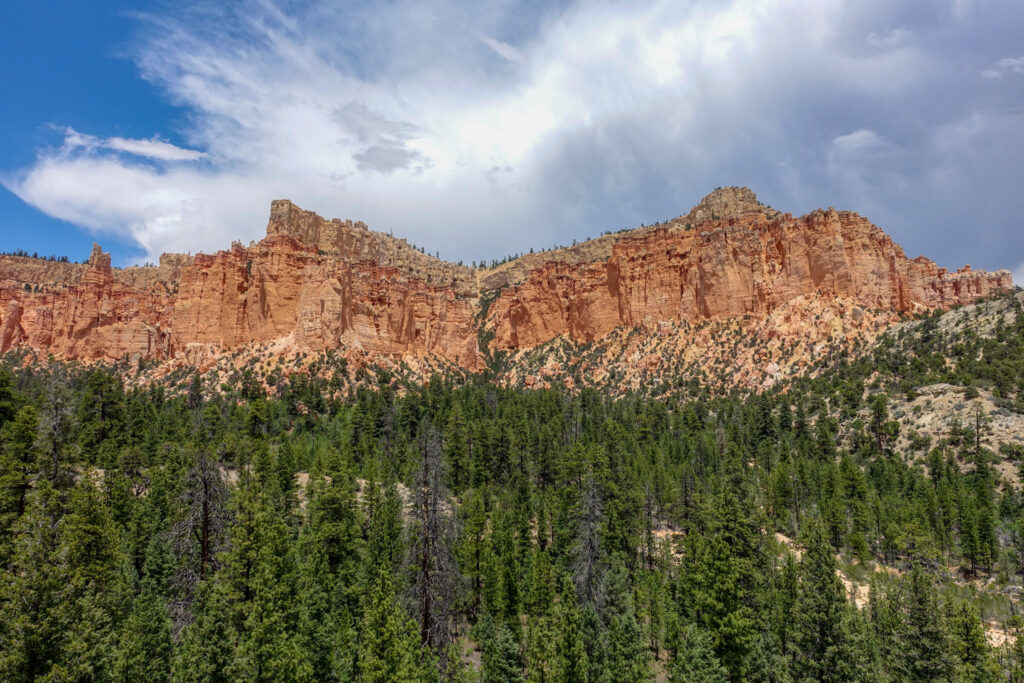
More Bryce Canyon Photos

Possible Itineraries
Most people complete the combined trails in 3-5 days. Below are a few sample itineraries. For more information on mileage between campsites, please refer to the Bryce Canyon NPS website.
ONE NIGHT OPTION
- Skip the Riggs Spring Loop, just complete the Under-the-Rim Trail (or visa versa)
- Starting Trailhead: Rainbow Point Trailhead
- Camp 1 – about half way – Swamp Canyon or Right Fork Swamp Canyon
TWO NIGHT OPTION
- Starting Trailhead: Rainbow Point Trailhead
- Camp 1 – Hike Riggs Spring Loop, camp at Yovimpa Pass or Iron Spring
- Camp 2 – Swamp Canyon or Right Fork Swamp Canyon
THREE NIGHT OPTION
- Starting Trailhead: Rainbow Point Trailhead
- Camp 1 – Riggs Springs
- Camp 2 – Swamp Canyon
- Camp 3 – Right Fork Yellow Creek
FOUR NIGHT OPTION
- Starting Trailhead: Bryce Point
- Camp 1 – Right Fork Swamp Canyon (Day hike the Swamp Canyon
- Loop Trail)
- Camp 2 – Natural Bridge (detour hike into Agua Canyon)
- Camp 3 – Iron Spring
- Camp 4 – Riggs Spring
FIVE NIGHT OPTION
This trip itinerary allows for extra time to explore this spectacular region and take side trips to Static Peak and The Wall.
- Starting Trailhead: Rainbow Point
- Camp 1 – Riggs Spring
- Camp 2 – Natural Bridge
- Camp 3 – Right Fork Swamp Creek (day hike Whitman Bench and
- Swamp Canyon Loop)
- Camp 4 – Right Fork Swamp Canyon
- Camp 5 – Right Fork Yellow Creek
Maps & Guidebooks
Both Riggs Spring Loop and the Under-the- Rim Trail follow well-defined and established routes. During peak season the trail is lightly used, but the risk of getting lost is pretty low. Still, you should always carry a map since it provides additional useful information, as well as routes to side trips easily accessed off the main trail. Below are some helpful resources when planning your visit.
- Hiking Zion and Bryce Canyon National Parks: A Guide To Southwestern Utah’s Greatest Hikes – In addition to covering Zion, too, you’ll find detailed information on hiking in Bryce Canyon National Park, with a map of the trails and valuable
information about elevations and key landmarks. - Best Backpacking Trips in Utah, Arizona, and New Mexico – This book offers detailed trip information for this trip, as well as other great backpacking trips in the SW.
- National Geographic Trails Illustrated Bryce Canyon National Park Map – This map offers excellent detail of the entire park, but also of the Under-the-Rim Trail and Riggs Spring Loop.
- Bryce Canyon NPS.gov – This NPS website is a great resource for trip planning, campsites, routes, etc.
Water
We recommend that you carry at least one gallon (4 liters) of water per person per day into BCNP backcountry. We like using sturdy yet light Platy Bottles for toting water. Water sources are intermittent and unreliable for the most part on this hike.
The National Park Service recommends both filtering and purifying backcountry water sources. These are our recommended water filters. We used Aquamira drops as our main treatment method on this hike, but you can also boil filtered water for a minute or purify it with UV light using a SteriPEN.
We recommend checking in at the visitor center for the most current information on water availability. You MAY find water at the following locations:
- Yellow Creek (near all campsites).
- Sheep Creek (near campsite).
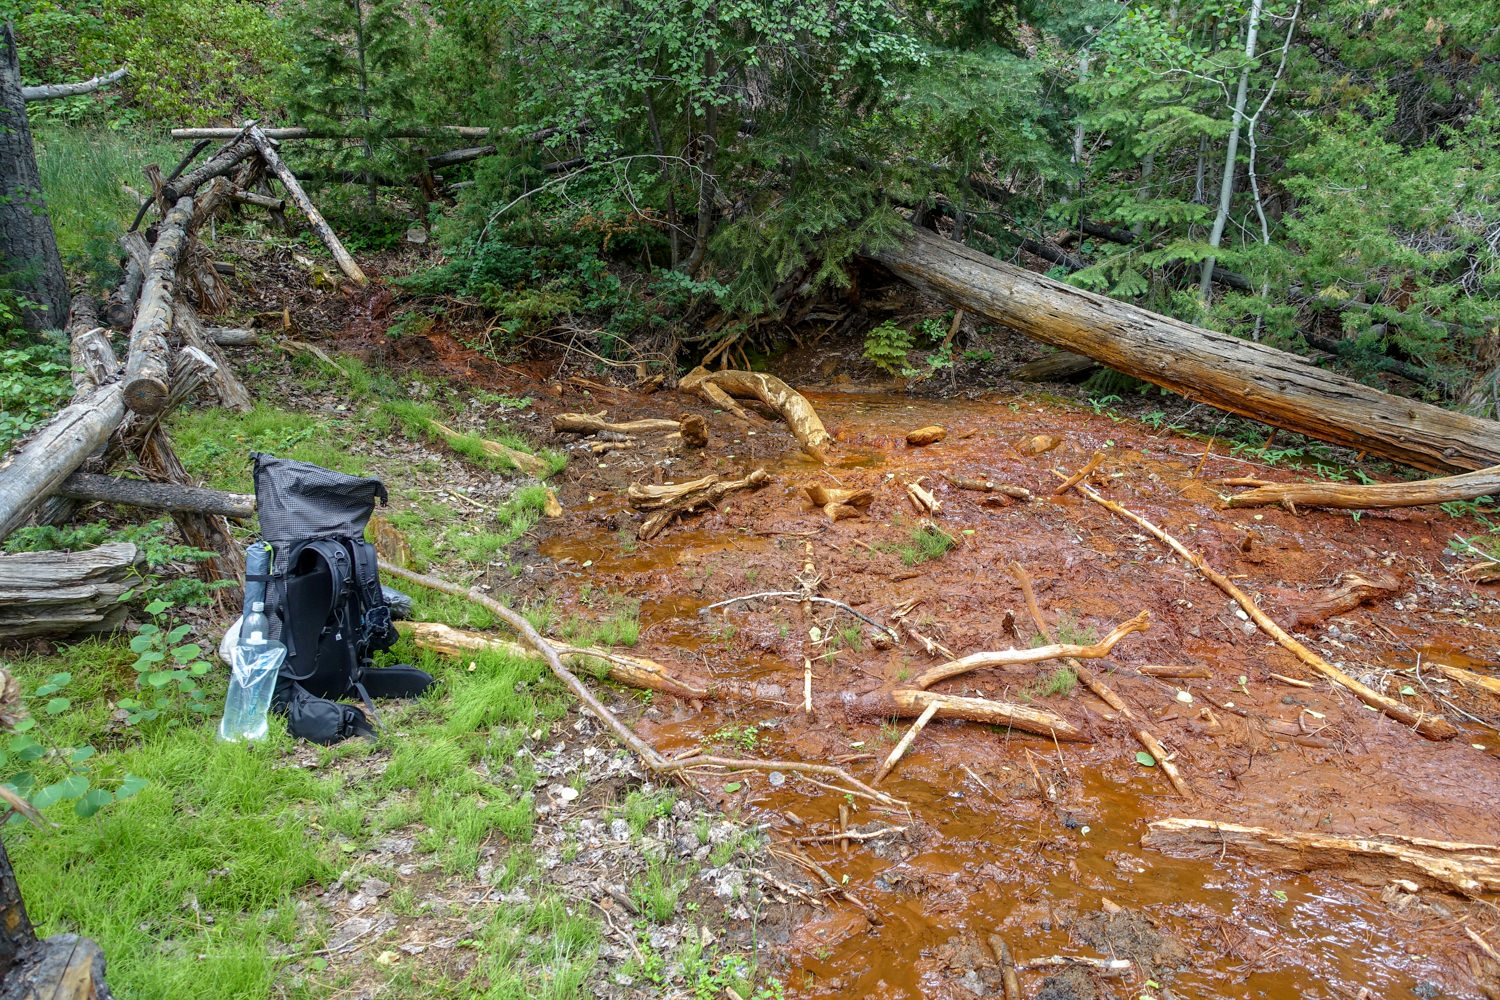
- Iron Spring (trail near campsite). Water in Iron Spring has substantial sediment and metallic taste. (photo included in slideshow below)
- Riggs Spring (inside log fence area).
- Yovimpa Spring (below Yovimpa Pass campsite) – We found this to be the best water source on the entire hike by far.
Regulations
- Either carry your waste out or dig 6 to 8 inches (15 cm) deep “catholes” at least 100 feet (30 m) away from water, trails and campsites to bury human waste.
- Pack out all trash and any you see left by others.
- Wash dishes and bathe at least 100 feet (30 m) from water sources, trails and campsites. Collect and bag food scraps and pack out as trash.
- Feeding or harassing wildlife in the park is a violation of federal law.
- Campfires are not allowed in the backcountry. Camp stoves are permitted.
Food Storage
Bear-resistant canisters are required for backpackers in Bryce Canyon National Park. If you have your own bear-resistant canister, you must present it to the backcountry ranger at the Visitor Center to make sure it meets park requirements (scroll down this Backcountry Information for a list of of approved mode). If you don’t have your own bear vault, you can borrow one free of charge at the Visitor Center.
Bears have become an issue in Bryce Canyon National Park in the past few years. In the summer of 2010 a black bear had to be killed because it had become accustomed to handouts and exhibited repeated aggressive behavior towards backpackers. Bears often lose their natural fear of humans when they become habituated to human food. Don’t let fear keep you from backpacking here. Instead, read about how to handle a bear encounter.
Chances are you’re more likely to have issues with ravens, mice and squirrels. They sometimes peck or chew into packs and tents left unattended. Follow proper food storage techniques and this shouldn’t be a problem. To learn more about food storage, check out our Food Storage video.
Bugs
Mosquitos are not usually a huge problem in Bryce Canyon, except when there have been extensive periods of wet weather prior to your arrival. The same holds for no-see-ums – though, like skeeters, most are only an issue around dusk. Use a combination of permethrin on your clothing and a small amount of DEET on exposed skin for full protection.
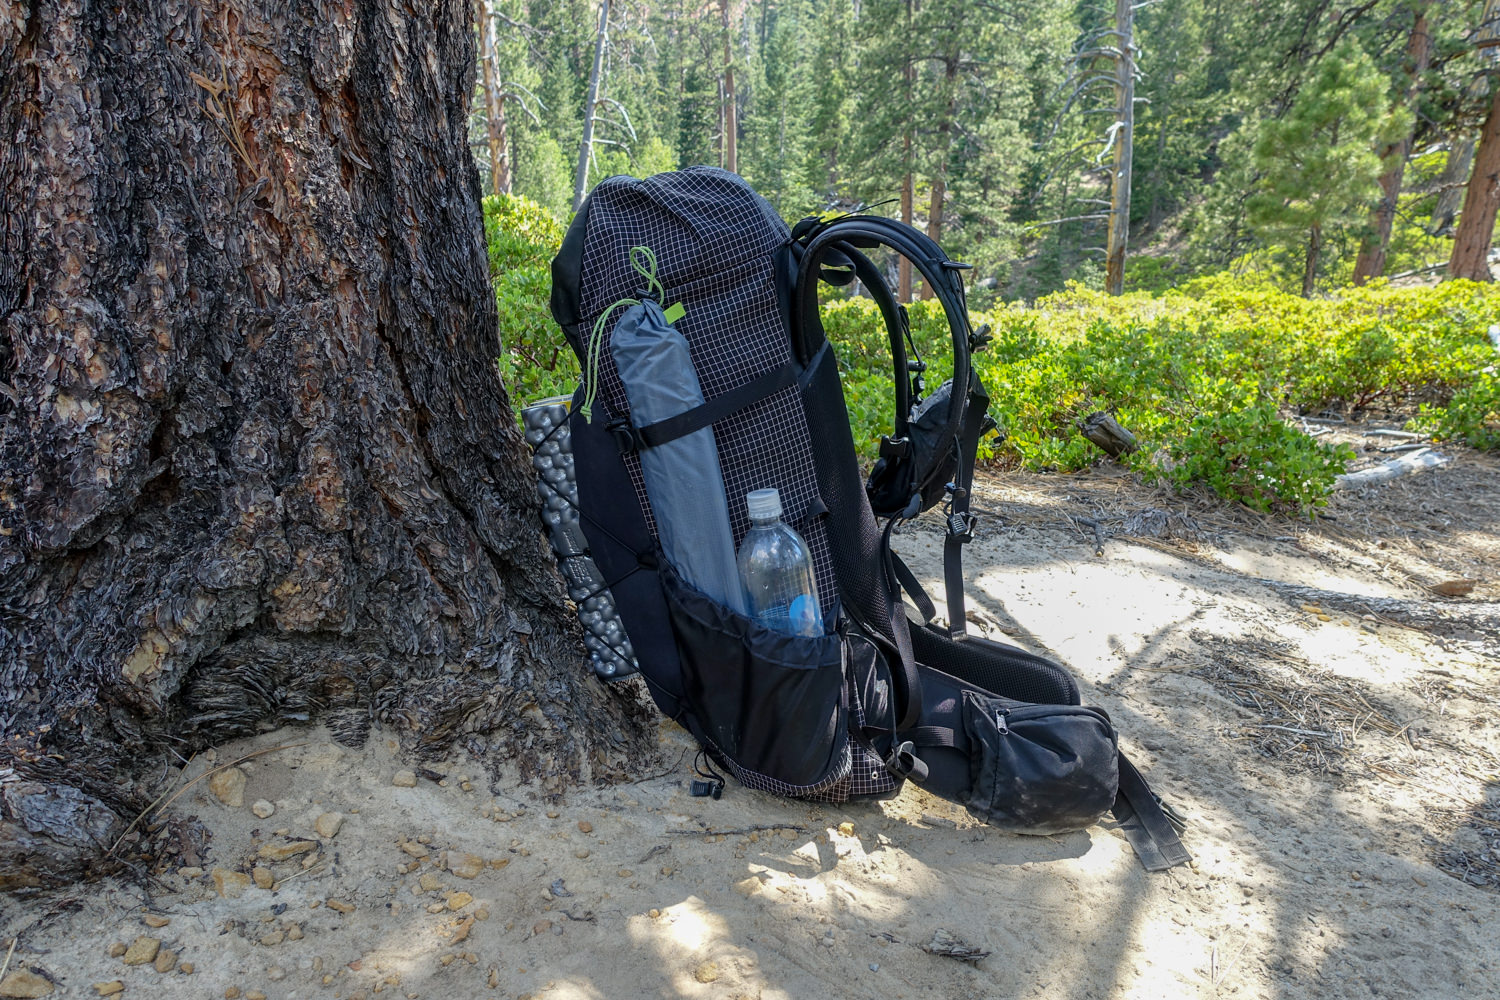
Backpacking Gear
We prefer lightweight backpacking because it’s more comfortable and it allows us to cover more ground with less effort. For recommendations on our favorite lightweight backpacking equipment, check out the CleverHiker Gear Guide and Top Picks page.
Gear List
Make sure to check out our Ultimate Backpacking Checklist, so you don’t forget something important.
Below you’ll find our current favorite backpacking gear. If you want to see additional options, our curated gear guides are the result of many years of extensive research and hands-on testing by our team of outdoor experts.
BACKPACK
- Best Backpacking Pack Overall: Gregory Paragon 58 – Men’s / Gregory Maven 58 – Women’s
- Best Ultralight Backpacking Backpack: Hyperlite Mountain Gear Unbound 40
- More: Check out our best backpacking backpacks guide for ultralight and trekking options
TENT
- Best Backpacking Tent Overall: Big Agnes Copper Spur HV UL2
- Best Ultralight Tent: Zpacks Duplex
- Best Budget Tent: REI Half Dome 2
- Best Tent Stakes Overall: All One Tech Aluminum Stakes
- More: Check out our best backpacking tents guide for more options
SLEEPING BAG/QUILT
- Best Sleeping Bag Overall: Men’s Feathered Friends Swallow YF 20 / Women’s Feathered Friends Egret YF 20
- Best Quilt Overall: Enlightened Equipment Revelation 20
- More: Check out our best backpacking sleeping bags guide and best backpacking quilts guide for more options
SLEEPING PAD
- Best Sleeping Pad Overall: NEMO Tensor All-Season
- Best Foam Sleeping Pad: NEMO Switchback
- More: Check out our best backpacking sleeping pads guide for ultralight and trekking options
CAMP KITCHEN
- Best Backpacking Stove Overall: MSR PocketRocket 2
- Best Backpacking Cookware Overall: TOAKS Titanium 750ml
- Best Backpacking Coffee Overall: Starbucks VIA
- More: Check out our best backpacking stoves guide and best backpacking cookware guide for ultralight and large group options
WATER & FILTRATION
- Best Water Filter Overall: Sawyer Squeeze
- Best Hydration Bladder Overall: Gregory 3D Hydro
- Best Backpacking Water Bottles: Smartwater Bottles
- More: Check out our best backpacking water filters guide and best backpacking water bottles guide for ultralight and large group options
CLOTHING
- Best Hiking Pants Overall: Men’s Outdoor Research Ferrosi / Women’s The North Face Aphrodite 2.0
- Best Hiking Shorts Overall: Men’s Patagonia Quandary / Women’s Outdoor Research Ferrosi
- Best Women’s Hiking Leggings: Fjallraven Abisko Trekking Tights HD
- Best Rain Jacket Overall: Men’s Patagonia Torrentshell 3L / Women’s Patagonia Torrentshell 3L
- Best Rain Pants: Men’s Patagonia Torrentshell 3L / Women’s Patagonia Torrentshell 3L
- Best Down Jacket Overall: Men’s Patagonia Down Sweater Hoodie / Women’s Patagonia Down Sweater Hoodie
- Best Fleece Jacket Overall: Men’s Patagonia Better Sweater / Women’s Patagonia Better Sweater
- Best Sunshirt Overall: Men’s Outdoor Research Echo / Women’s Outdoor Research Echo
- Best Socks Overall: Men’s Darn Tough Light Hiker Micro Crew / Women’s Darn Tough Light Hiker Micro Crew
- Beste Ultralight Liner Glove: Patagonia Capilene Midweight Liner
- More: Check out our best backpacking apparel lists for more options
FOOTWEAR & TRACTION
- Best Hiking Shoes Overall: Men’s HOKA Speedgoat 6 / Women’s HOKA Speedgoat 6
- Best Hiking Boots Overall: Men’s Salomon X Ultra 5 GTX / Women’s Lowa Renegade Evo GTX
- Best Hiking Sandals Overall: Men’s Chaco Z/1 Classic / Women’s Chaco Z/1 Classic
- Best Camp Shoes Overall: Crocs Classic Clogs
- Best Traction Device for Hiking Overall: Kahtoola MICROspikes
- More: Check out our best backpacking footwear lists for more options
NAVIGATION
- Best GPS Watch Overall: Garmin Instinct 2 Solar
- Best Personal Locator Beacon (PLB): Garmin inReach Mini 2
- More: Check out our article How to Use Your Phone as a GPS Device for Backpacking & Hiking to learn more
FOOD
FIRST-AID & TOOLS
- Best First-Aid Kit Overall: Adventure Medical Kits Ultralight/Watertight .7
- Best Pocket Knife Overall: Kershaw Leek
- Best Multitool Overall: Leatherman Wave+
- Best Headlamp Overall: Black Diamond Spot 400-R
- Best Power Bank Overall: Nitecore NB 10000 Gen 3
- More: Check out our best first-aid kit guide, best pocket knife guide, best multitool guide, best backpacking headlamps guide, and best power banks guide for more options
MISCELLANEOUS
- Best Trekking Poles Overall: Black Diamond Pursuit
- Best Backpacking Chair Overall: REI Flexlite Air
- Best Backpacking Stuff Sack Overall: Hyperlite Mountain Gear Drawstring
- More: Check out our best trekking poles guide, best backpacking chairs guide, and best stuff sacks guide for more options
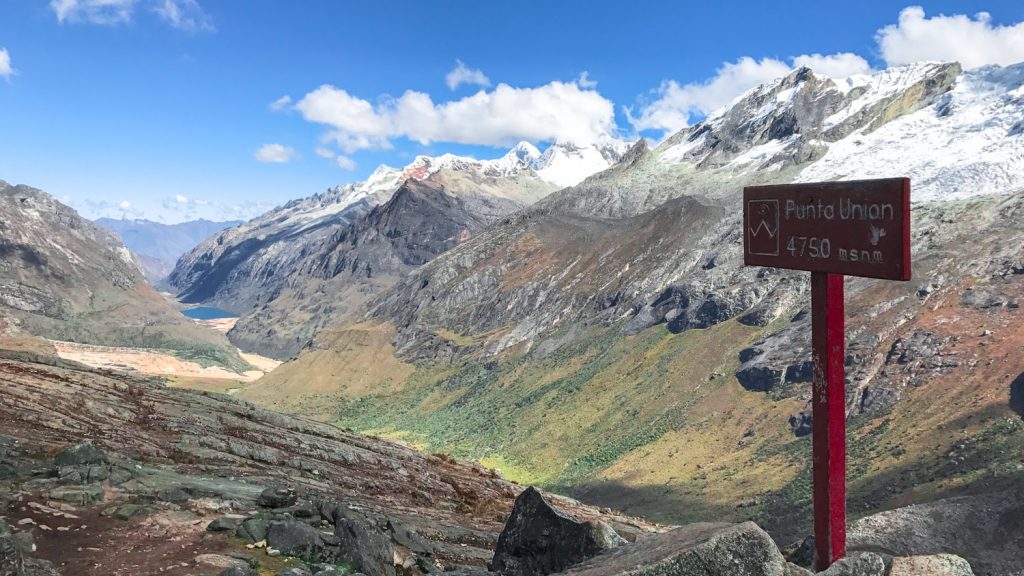
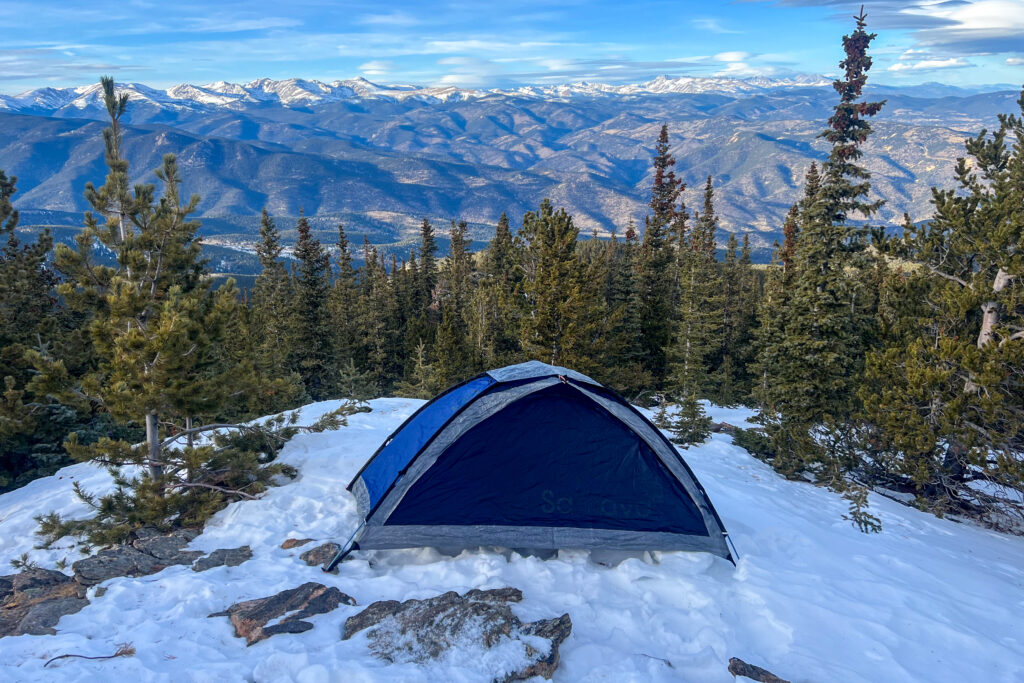
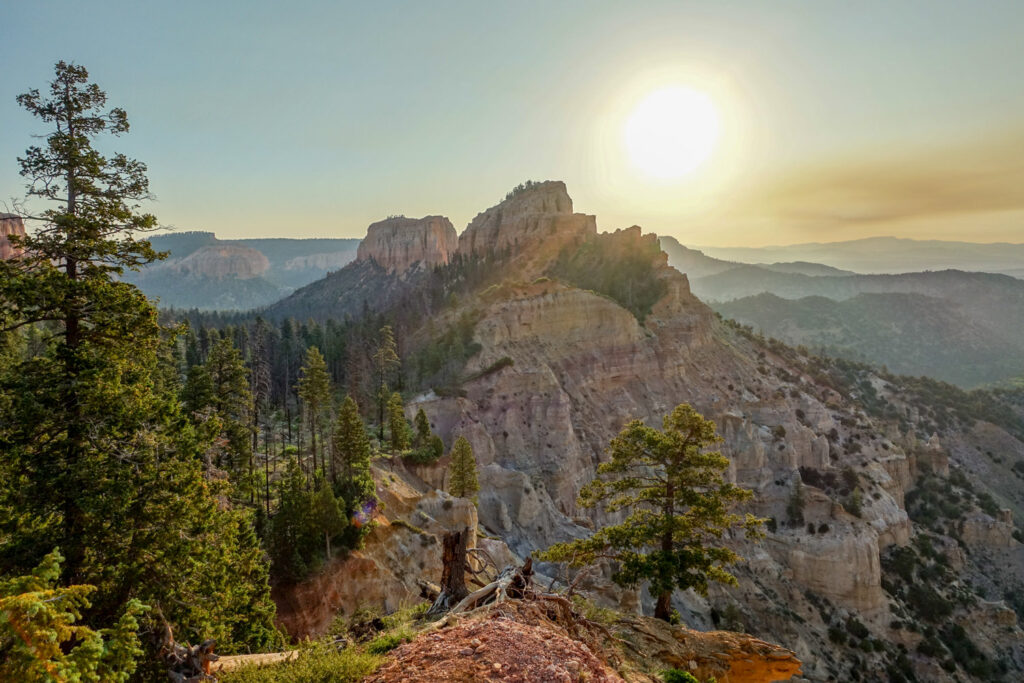
More Bryce Canyon Photos