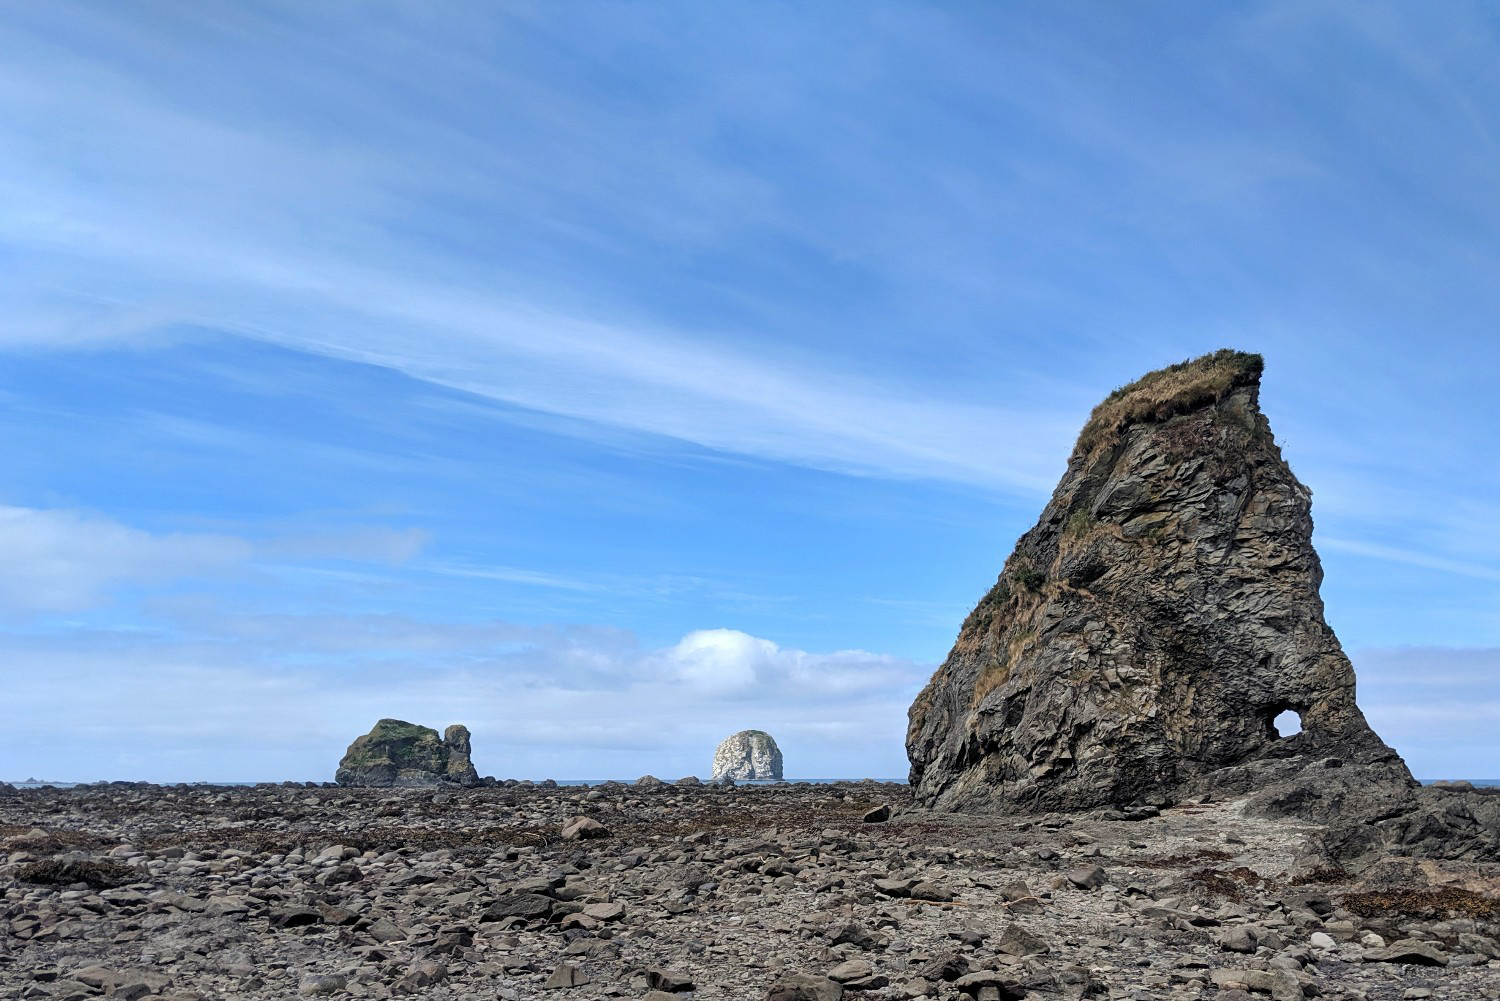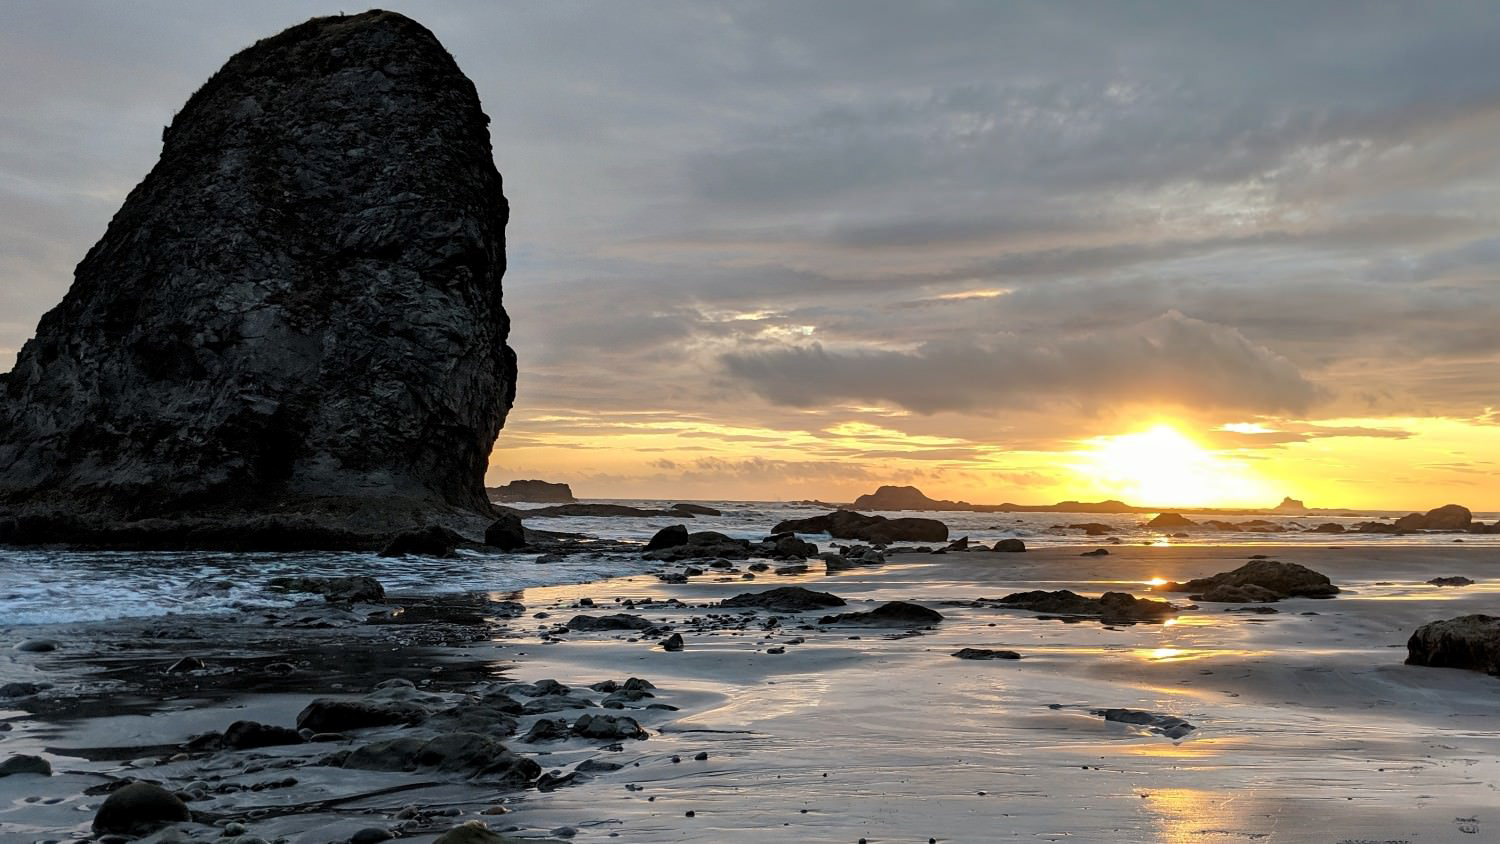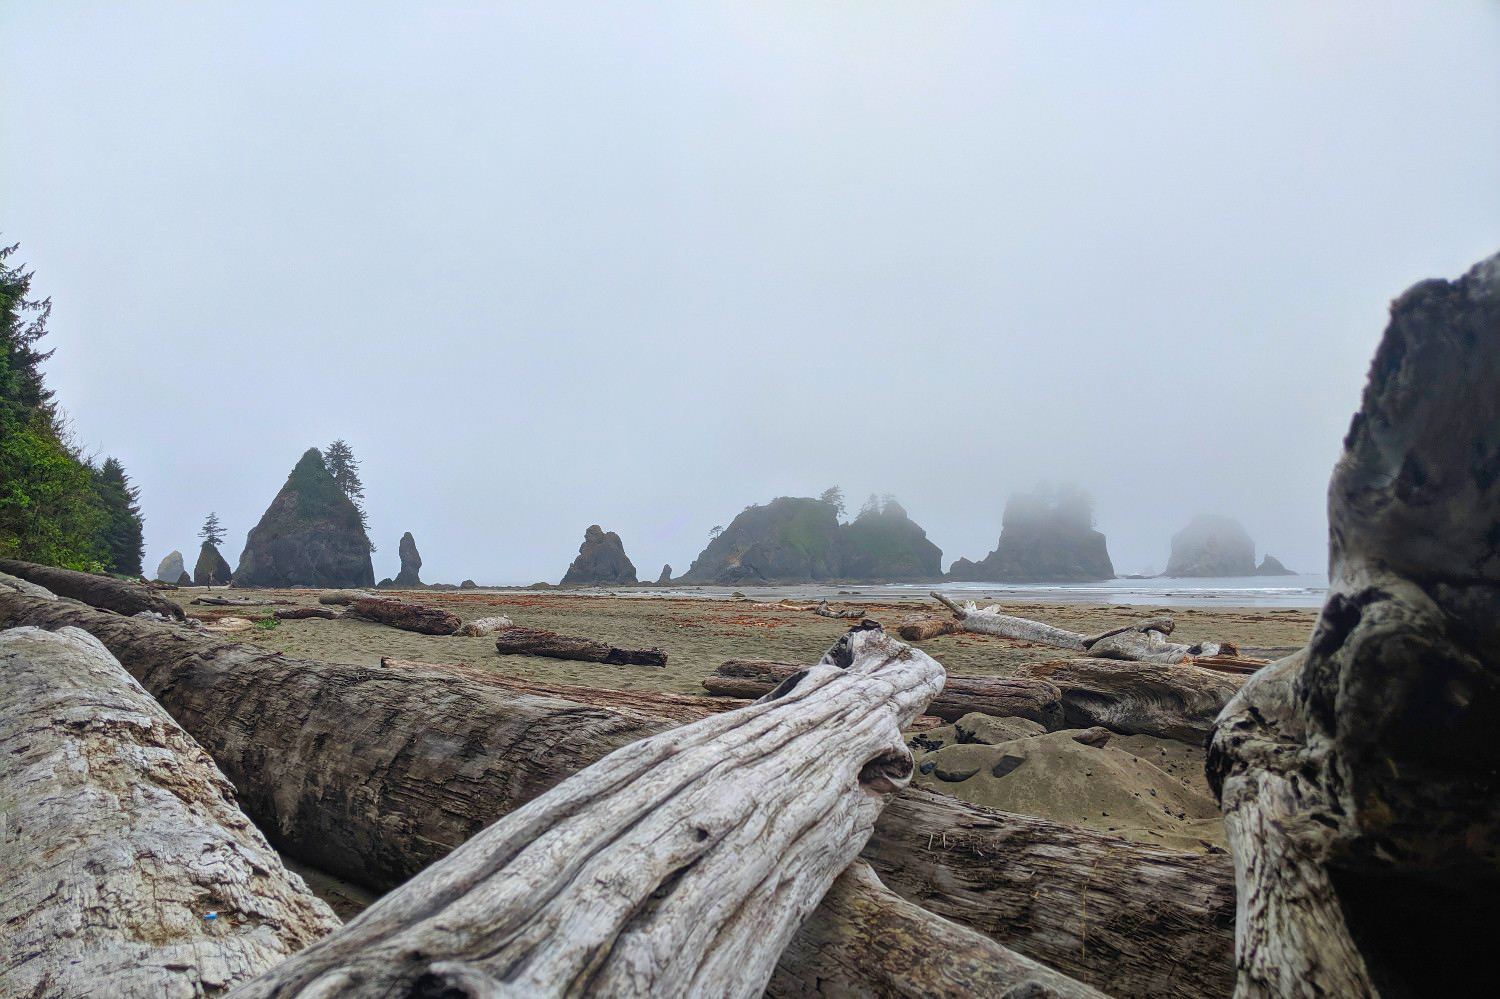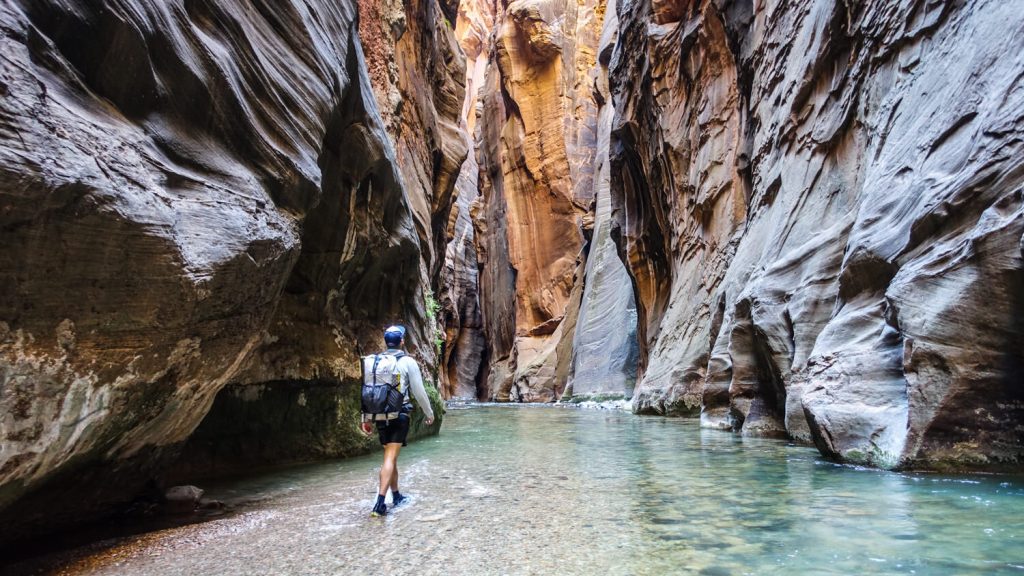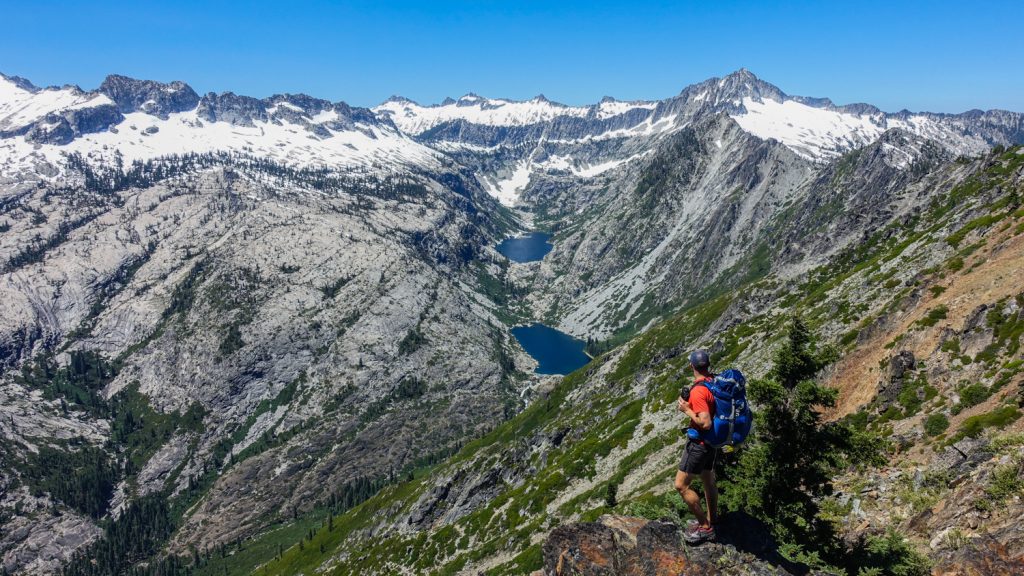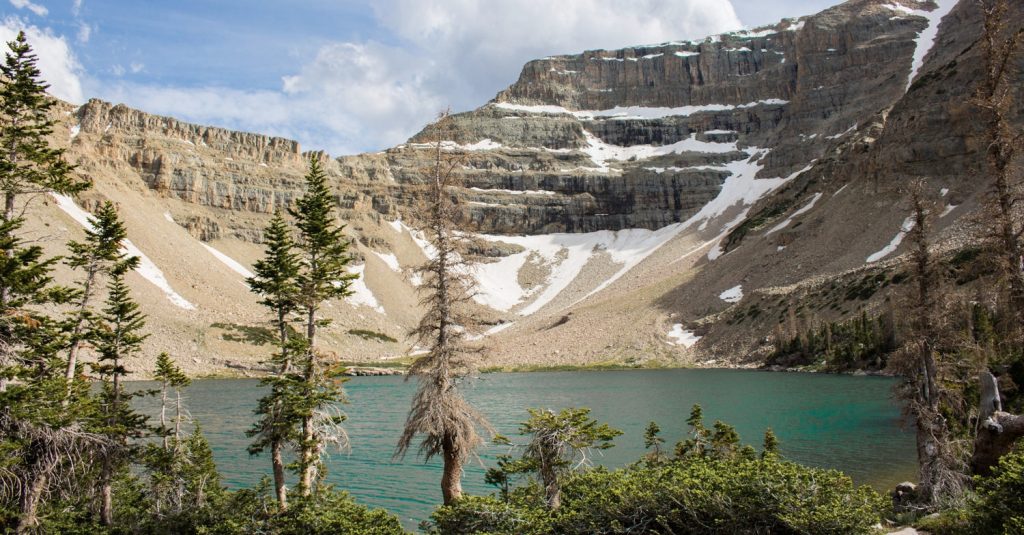

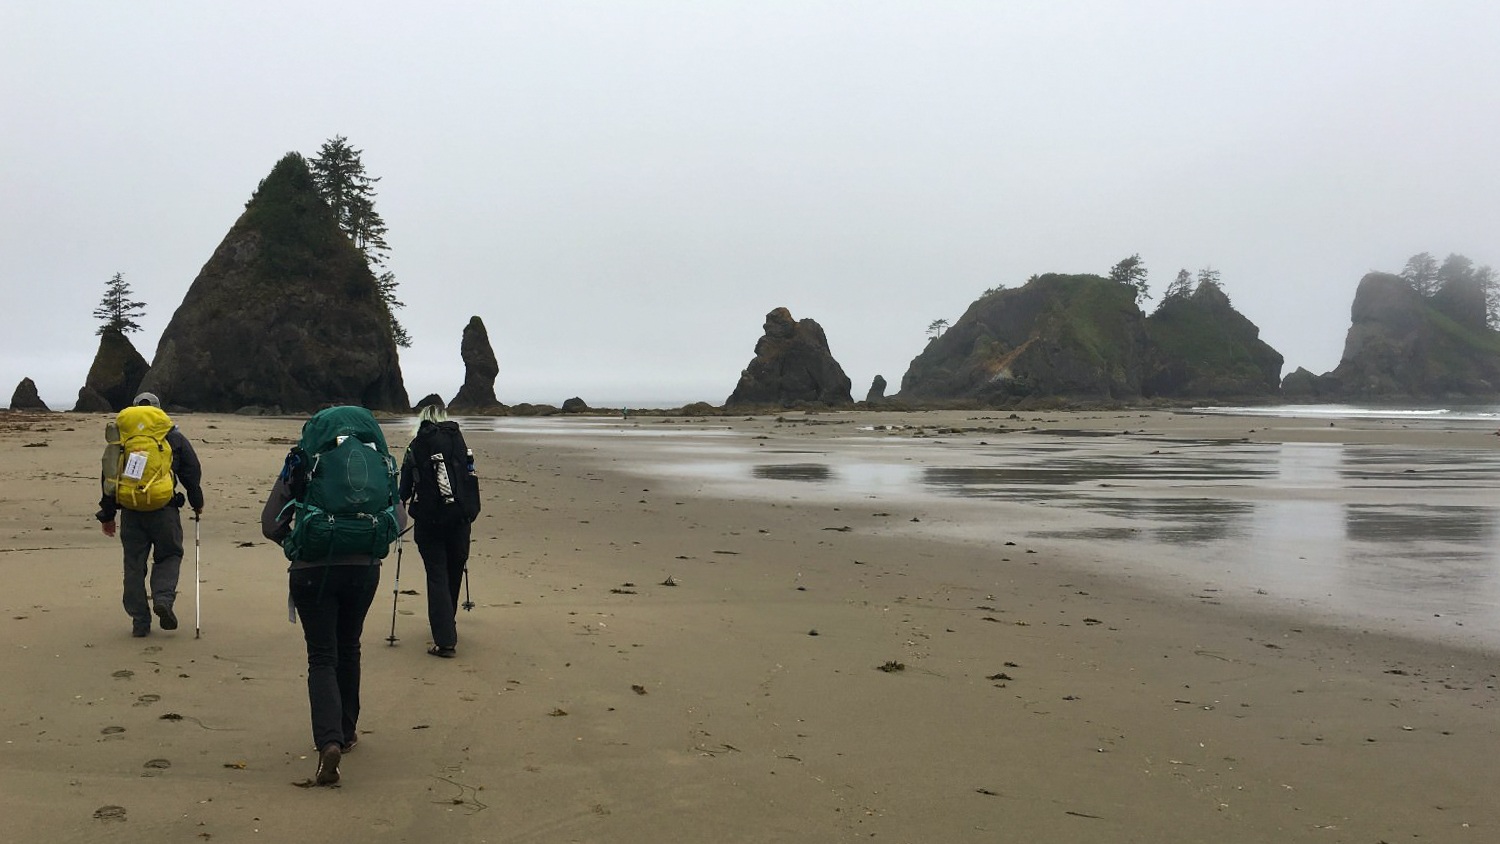
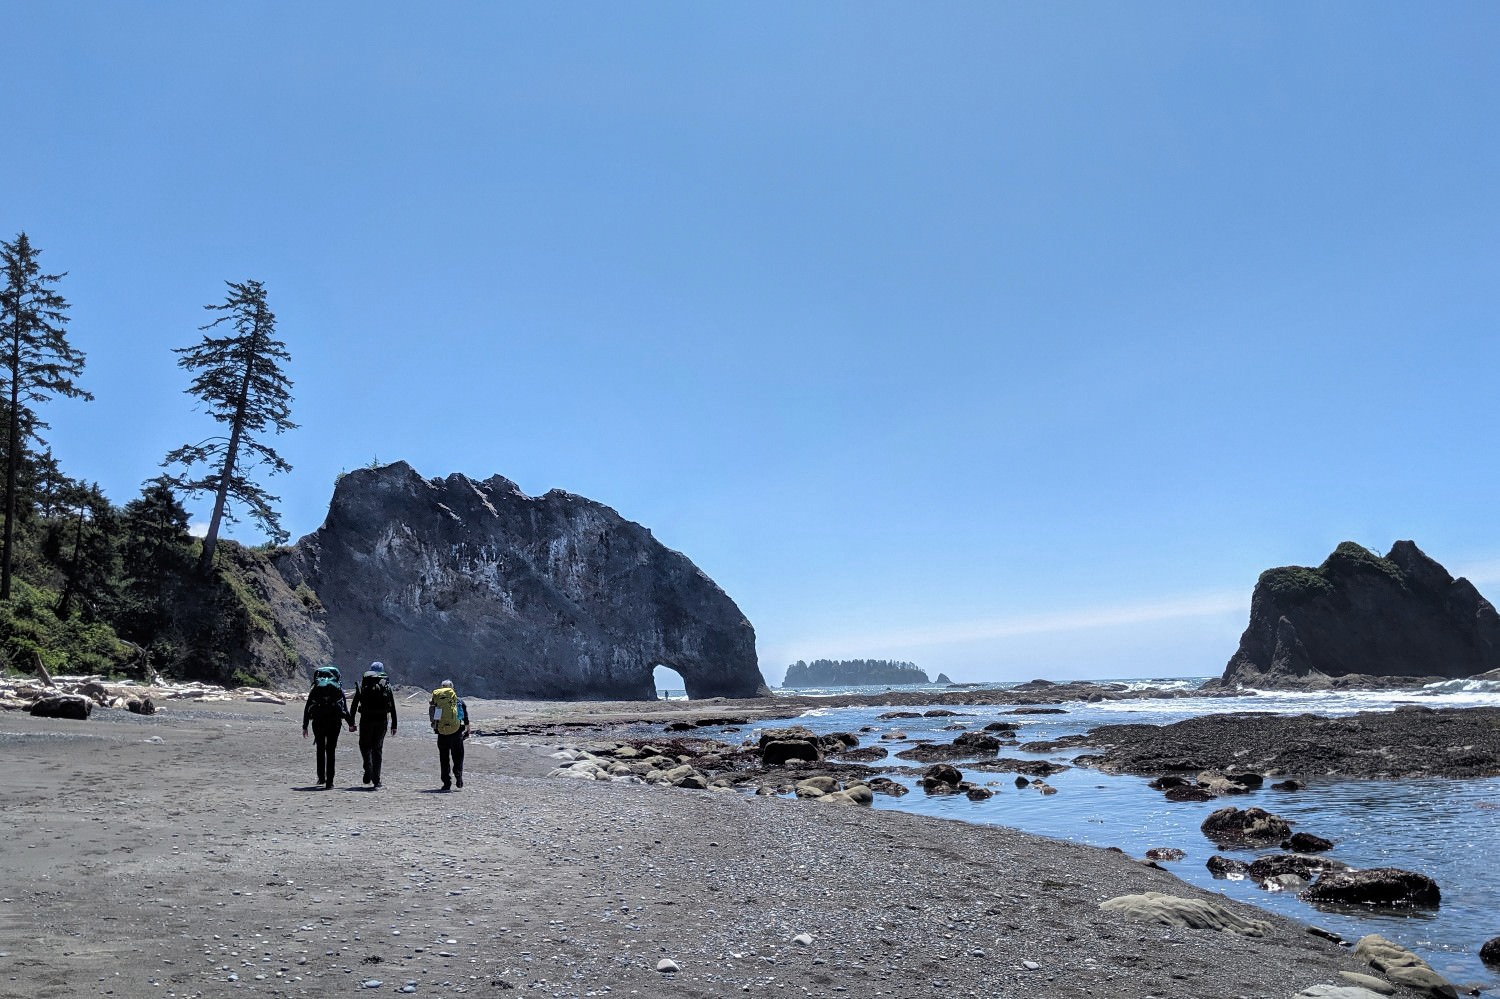
The North Coast section of Olympic National Park – from Shi Shi Beach to Rialto Beach – is not your ordinary walk on the beach. This route features some of the most rugged and isolated coastal landscapes in the country. From tide pools full of life to sea stacks miles out in the ocean, every headland you round offers another breathtaking view.
This is a challenging hike, and your daily mileage will depend on making it to headlands at low tide or using ropes to traverse overland trails. On this trek, you’ll also encounter some stretches of sandy beach, scattered boulders that require scrambling, and lots of rock-hopping.
Editor’s Note: We updated this article on September 19, 2026, to revise information about campfire restrictions, permit pricing, and permit availability. As always, the National Park Service website is the best source for the most up-to-date information.
Quick Facts
- Distance: ~37 miles, but it can vary depending on tides
- Days Needed: 3 to 5 days
- Best Time to Travel: May through September
- Permits: Required (more info below)
- Difficulty: Difficult
Hightlights
- Beautiful beach scenery
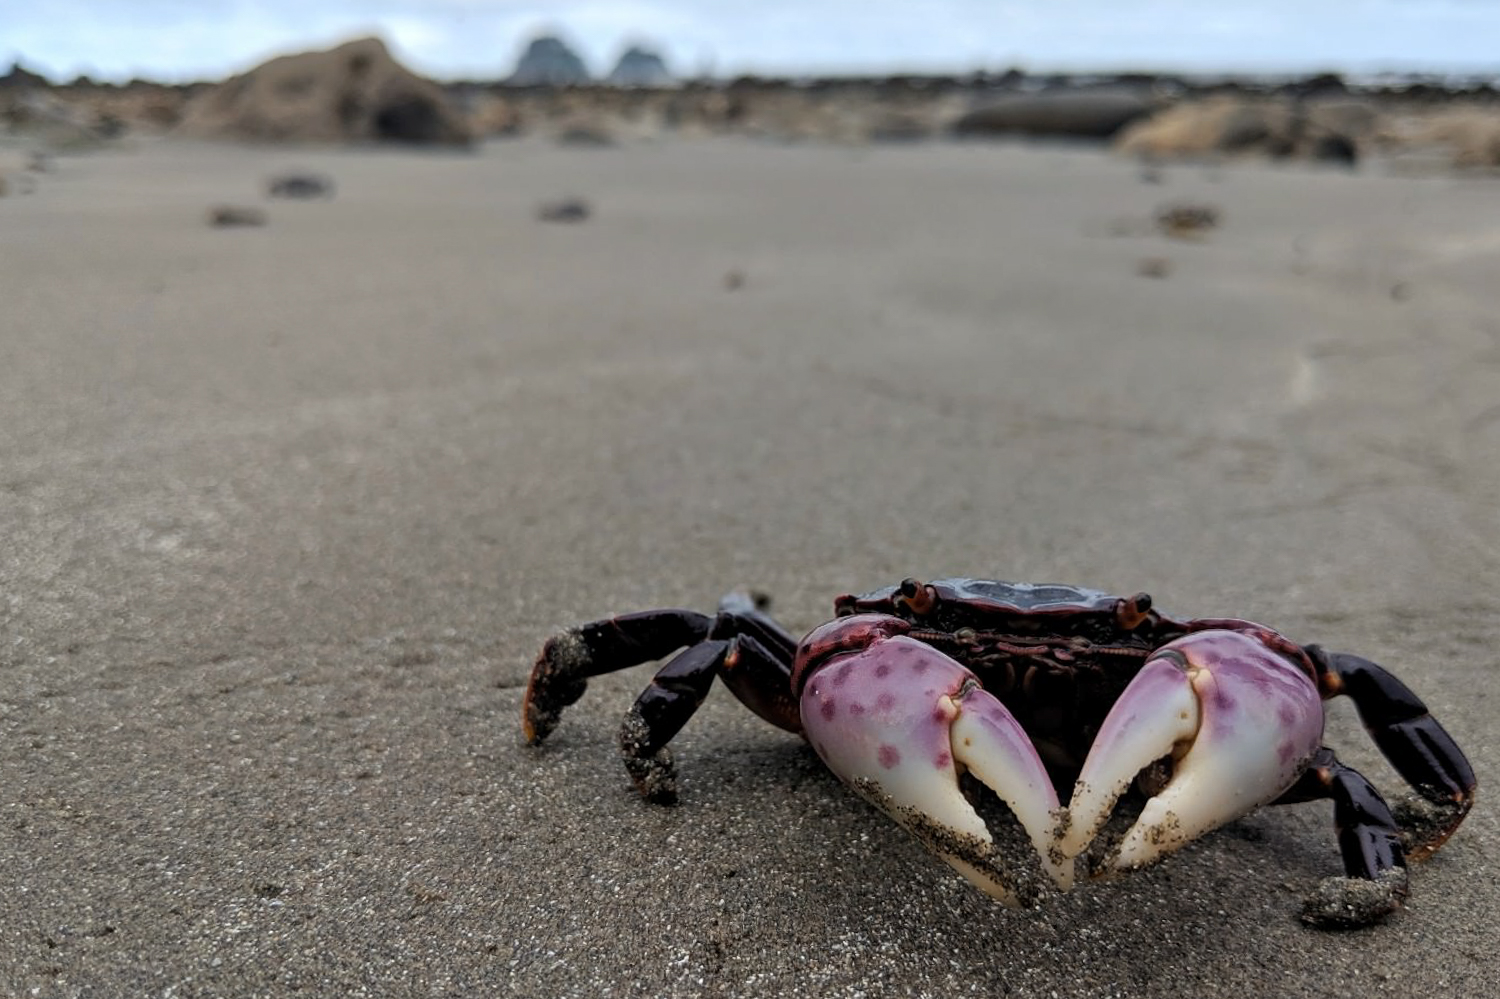
- Marine wildlife (eagles, starfish, seals, sea lions, seahawks, whales, lots of crabs)
- Colorful sunsets over the ocean
- Petroglyphs (be sure to get to Wedding Rocks at low tide)
- Solitude
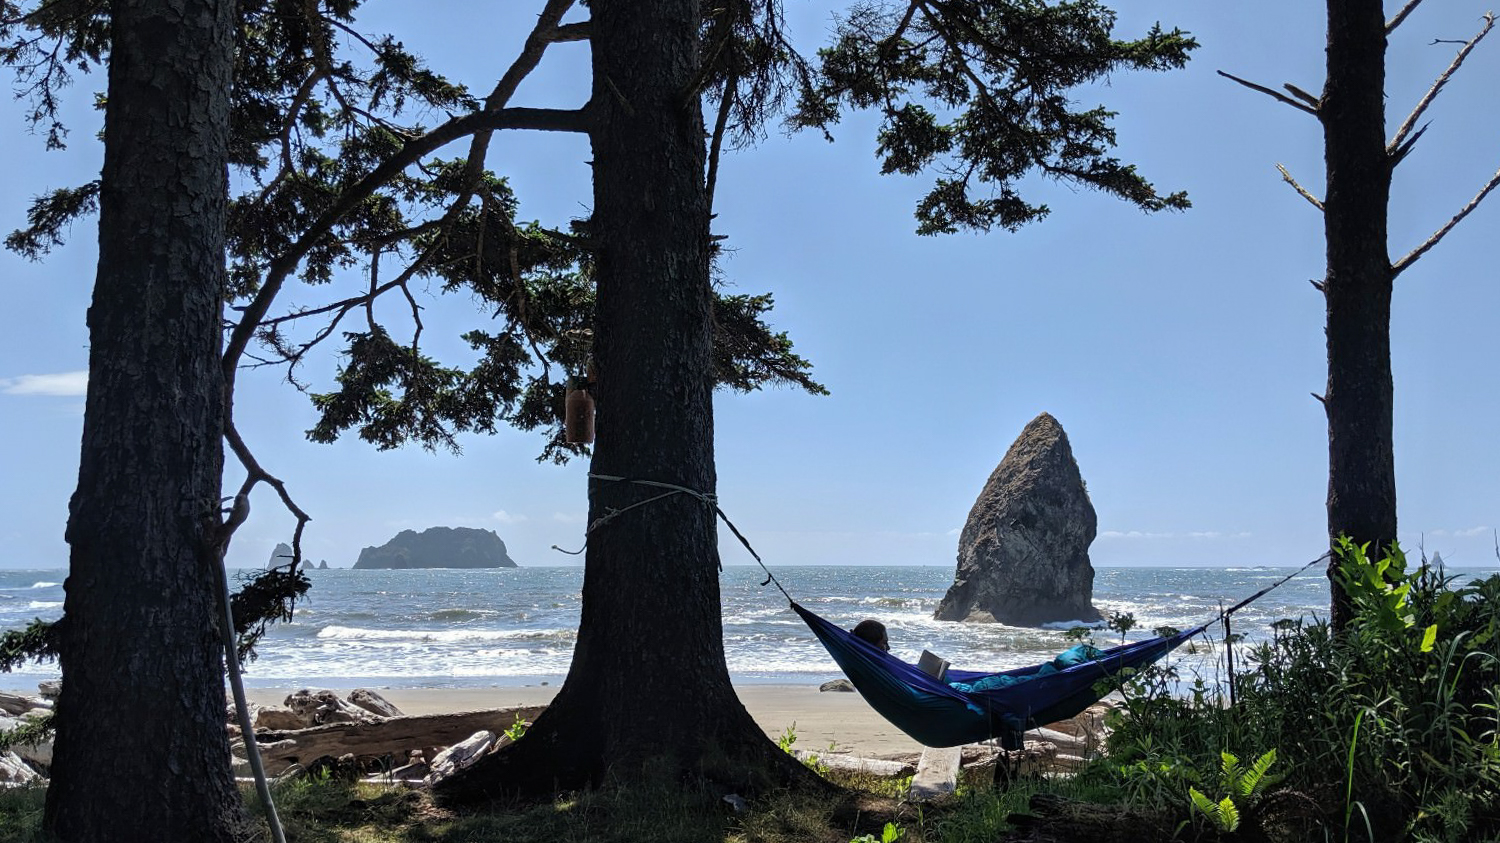
- Campsites all have great ocean views
Lowlights
- Quickly changing tides make it difficult to get miles in
- Long stretches of rocks and boulders to traverse
- Soft sand and pebble beaches are exhausting to hike on
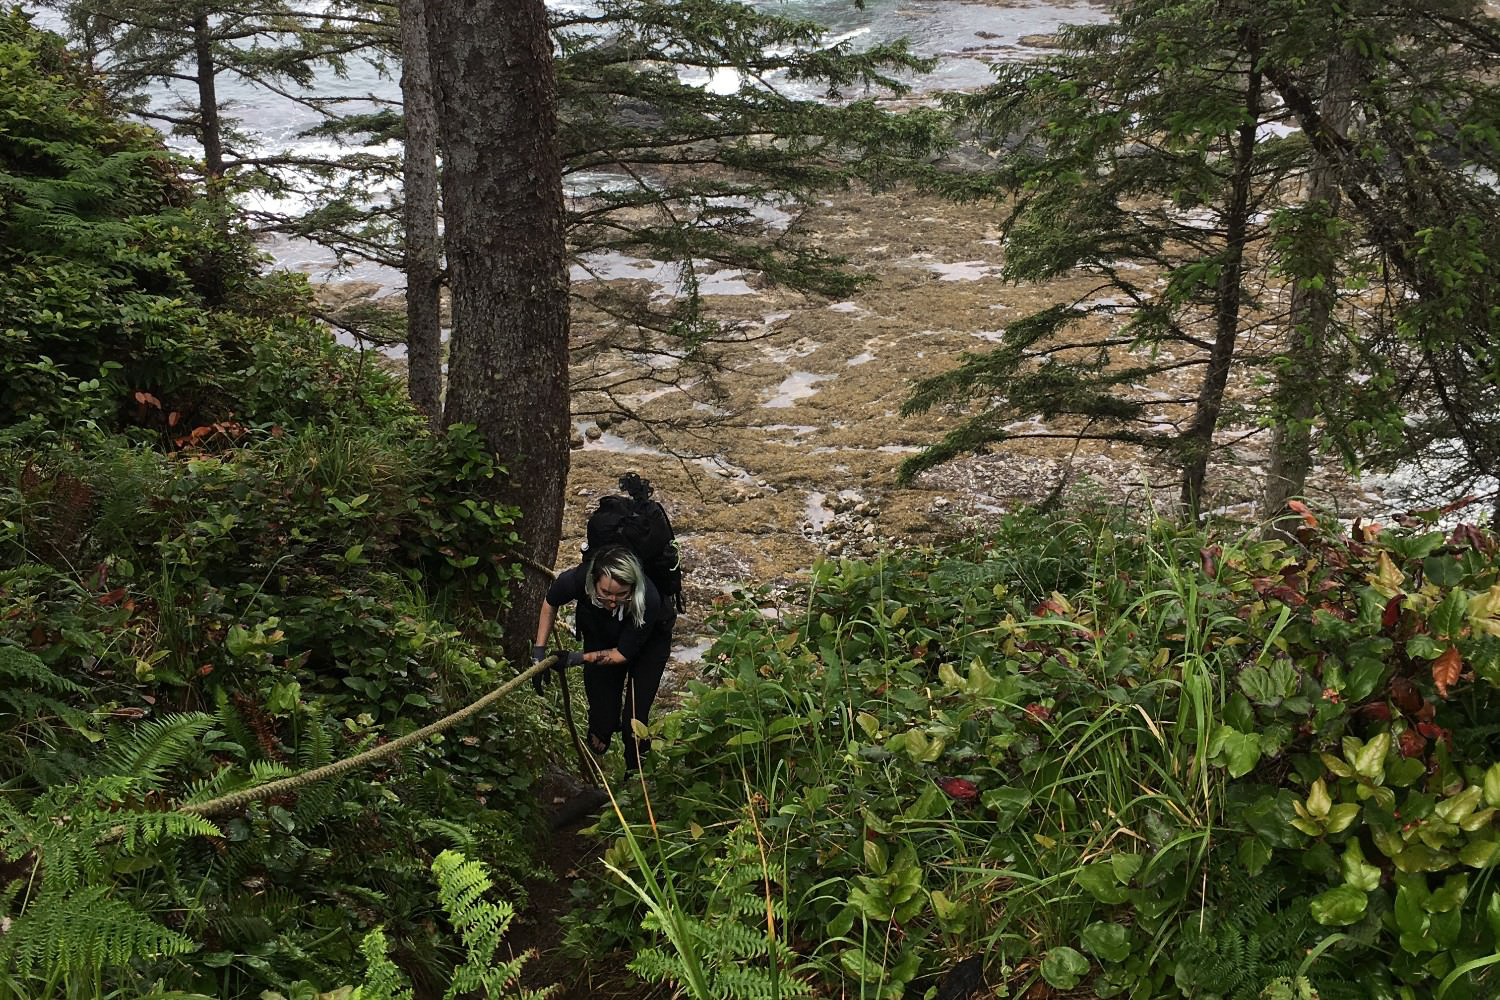
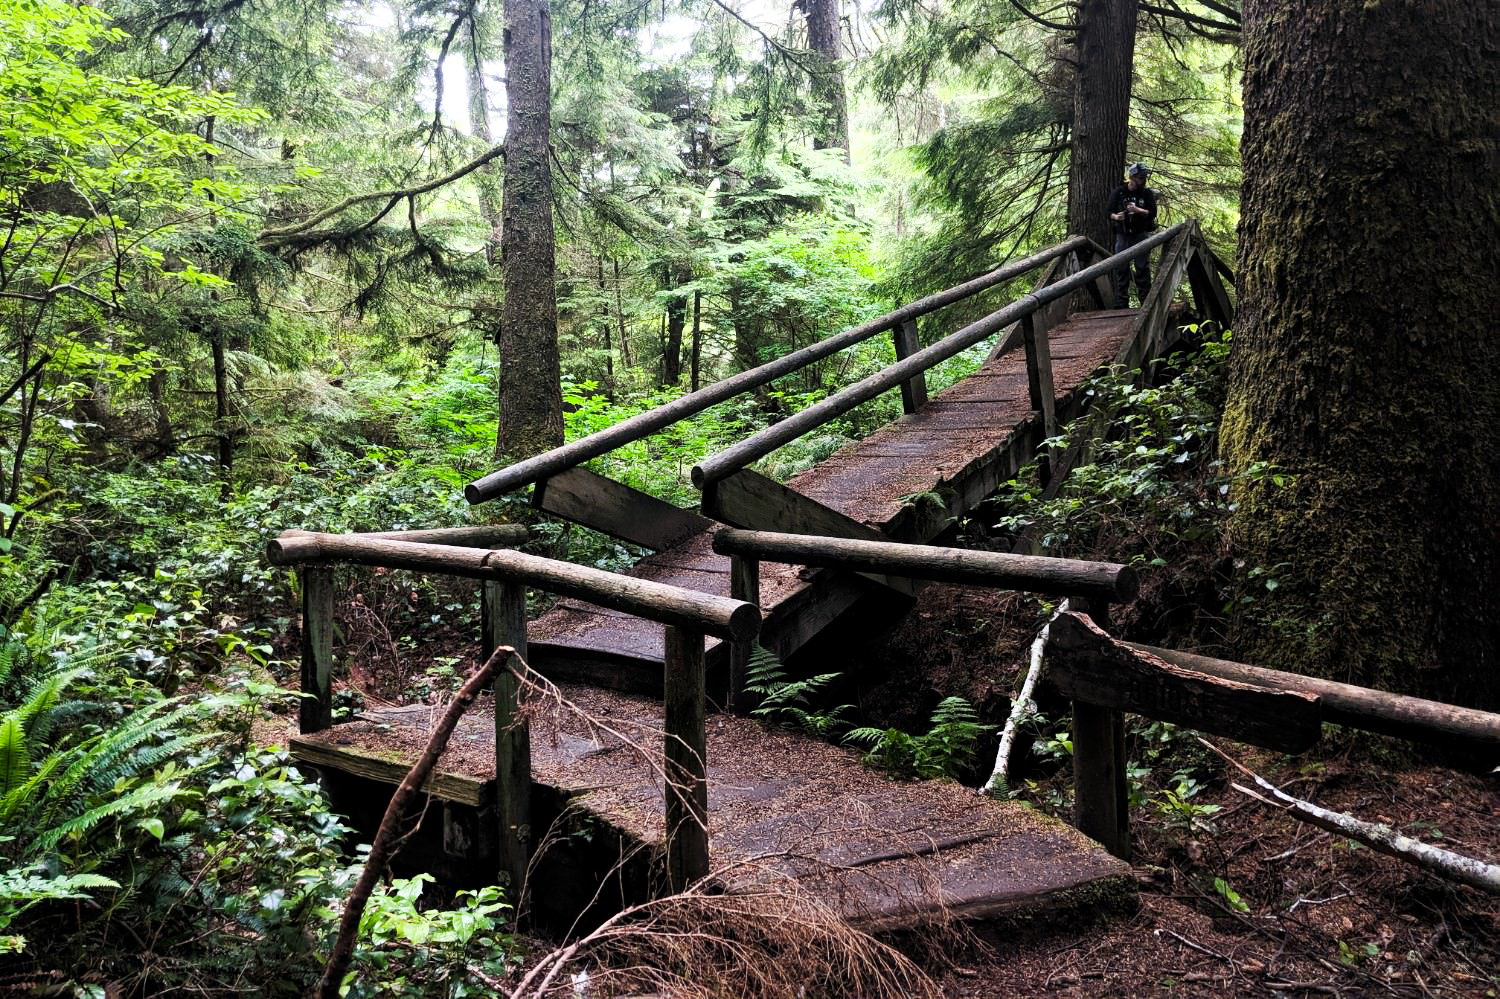
- Steep overland trails with some sketchy rope assists
- The Olympic Coast is often foggy, drizzly, and chilly
- Multiple permits and bear cans required
When Is the Best Time to Visit the Olympic Coast?
The months of May through September are the best times to travel to this area. Early spring, late fall, and winter can all be especially chilly and rainy on the Olympic Coast, and there are very few places to find shelter from bad weather on this hike. Traveling in the warmer and less rainy summer and late-spring months will make for the most pleasant trip.
How Difficult Is the North Coast Route?
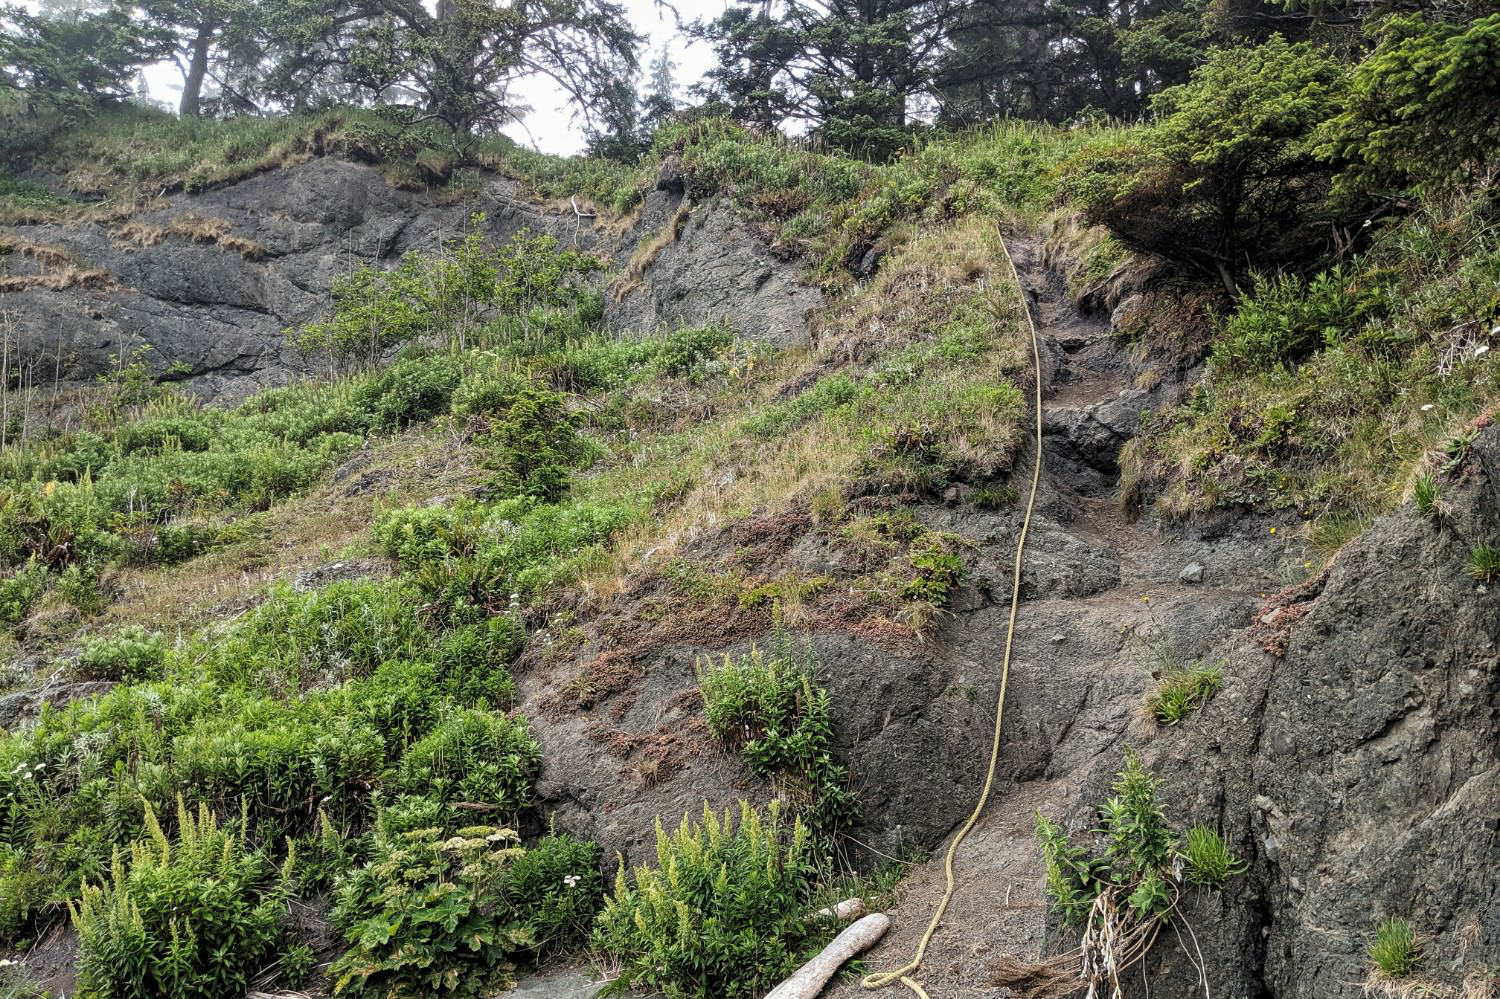
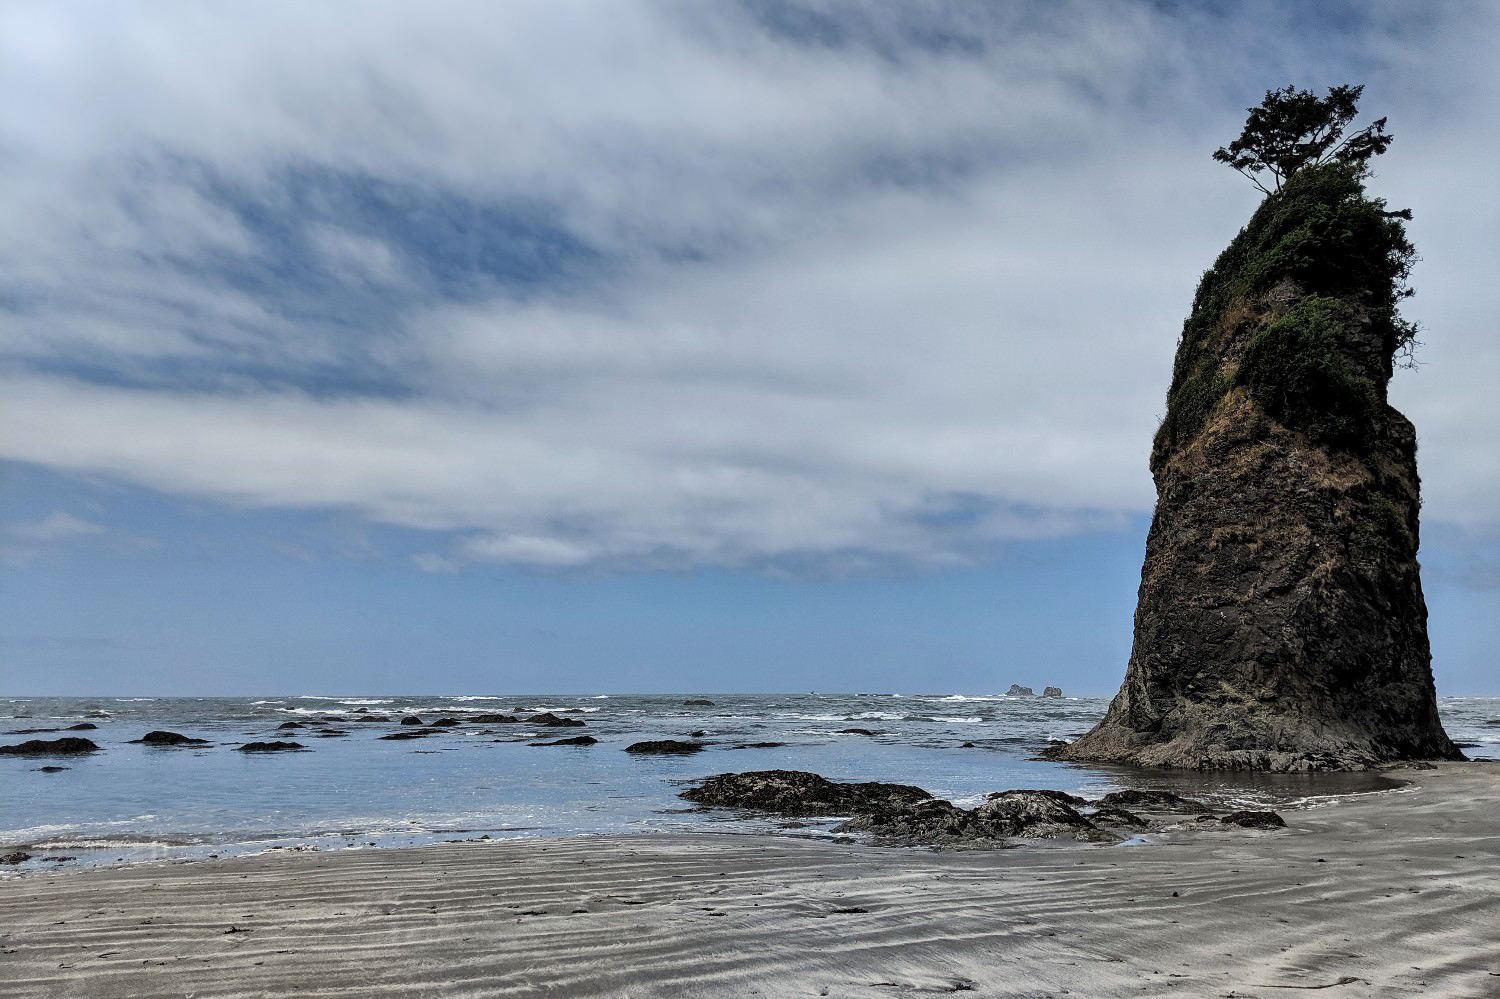
We rate this hike as difficult. Navigation is very easy – just follow the coastline – but the difficulty comes with timing. There are many headlands that can only be rounded at low tide. A couple are seldom passable unless you happen to get a negative tide. Some of these headlands have rope-assisted overland trails to go up and over if you miss low tide, but some don’t. If there is no rope, you may have to wait a few hours to pass.
Getting caught by the tide can be quite dangerous if you’re in a low-elevation spot or on an exposed rock. At one point, we spent four to five unpleasant hours cooking on a 20-square-foot rock with six-foot drop-offs to waves crashing against rocks on either side. Suffice to say, timing is critical, so make sure you print out a tide table for the dates of your trip.
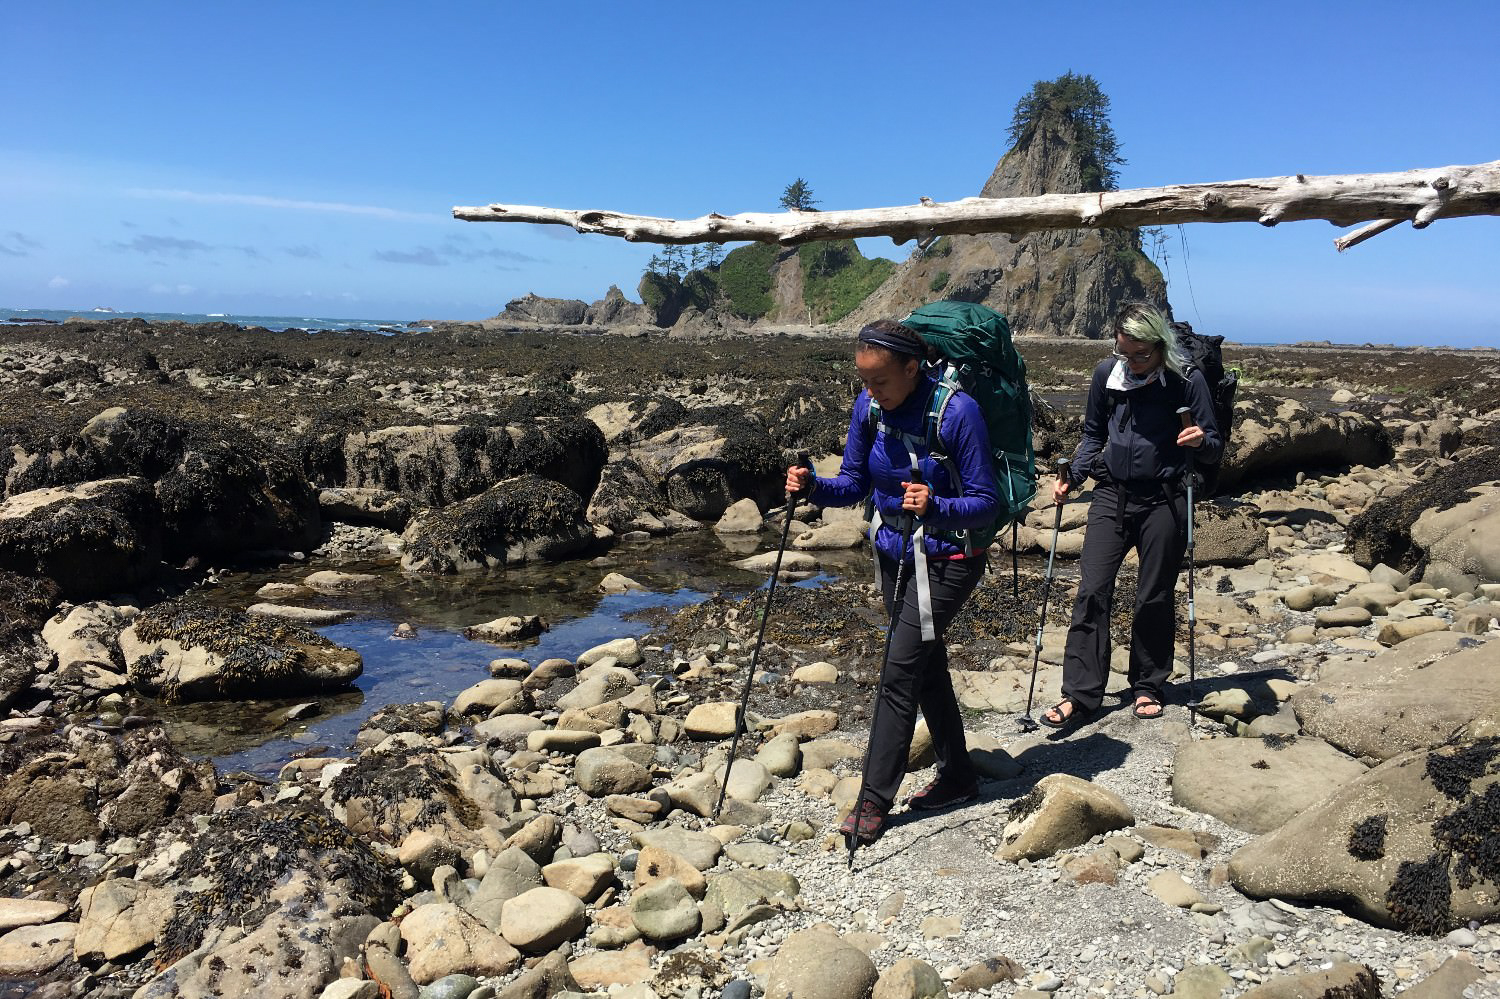
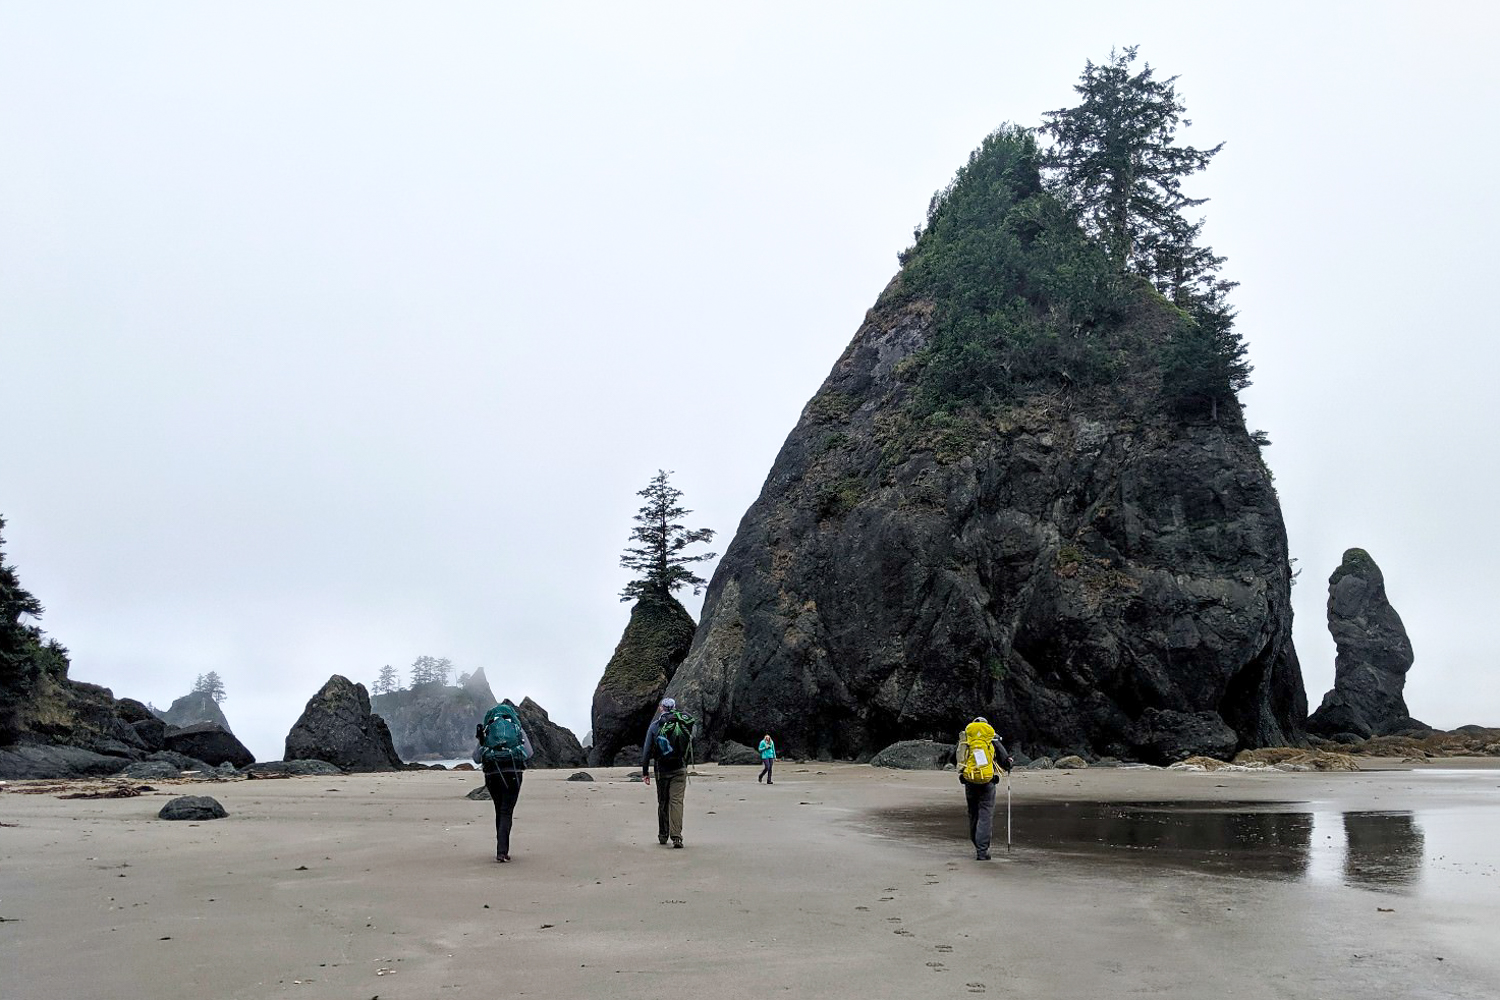
Rounding headlands is usually rocky and slow-going, but we generally preferred it over taking the rope-assisted overland trails. Going around the headlands, you can find plentiful tide pools with starfish, anemones, little hermit crabs, and all kinds of other marine life. The ropes on the overland trails are hard on your hands, the trails up and down are extremely steep (some are completely washed out on one side), and some of the ropes are fraying and have sketchy anchor points.
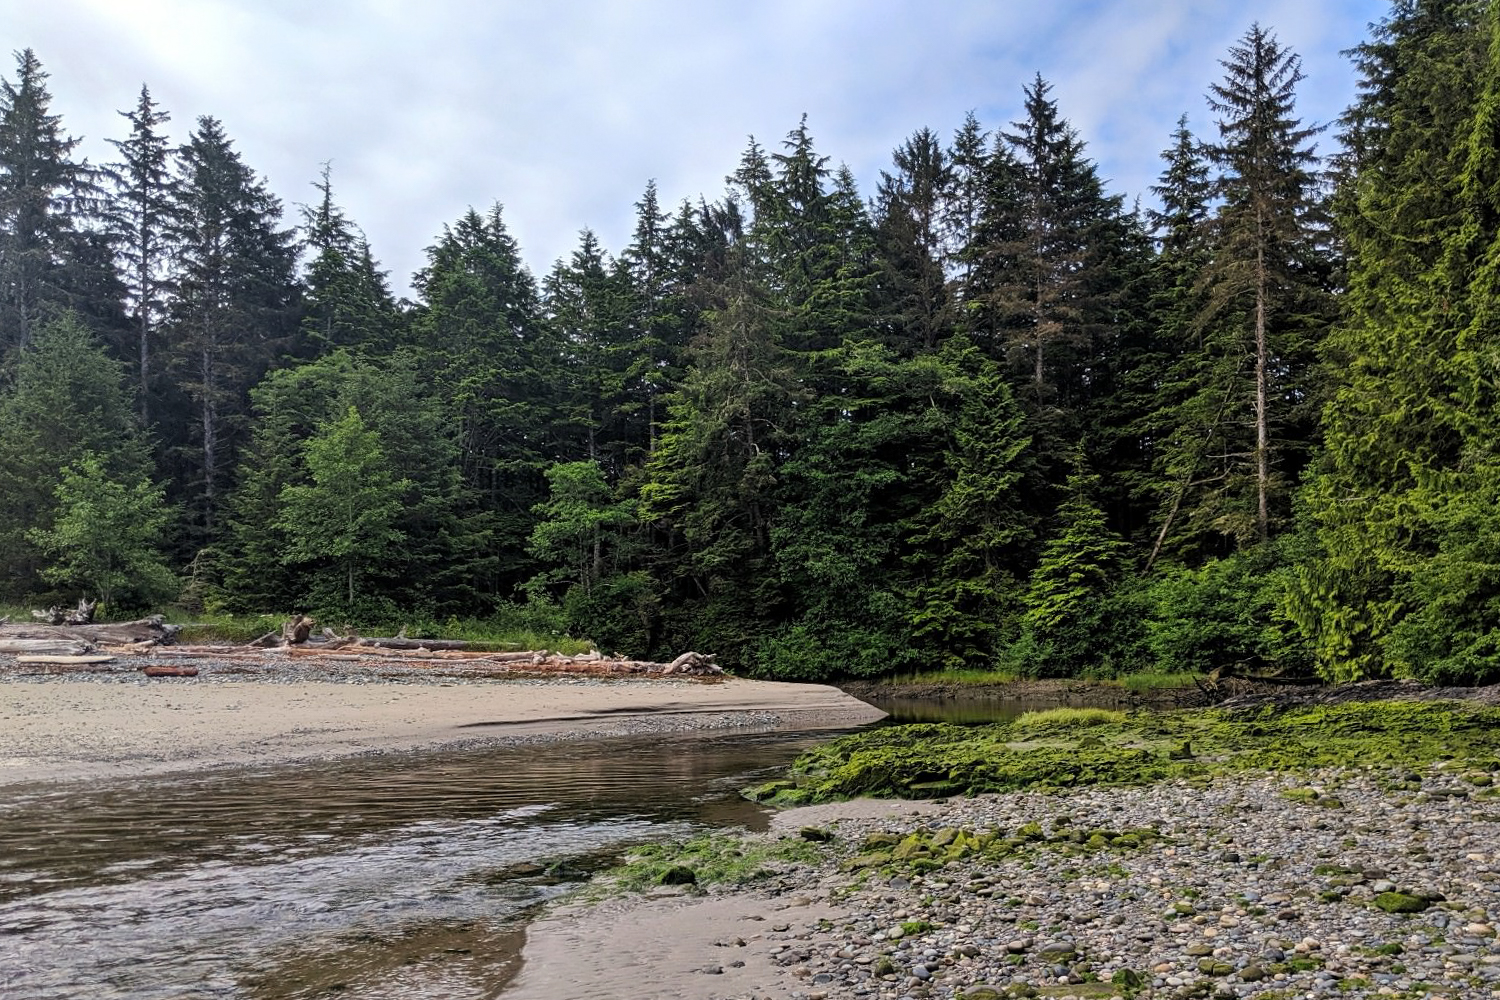
There is one crossing of the Ozette River on this route. We went across at negative tide in the morning after camping at the north bank, which made it a very easy crossing. The water was about up to the knee and wasn’t moving too quickly. If you don’t hit this spot at low tide, the crossing can be a little more unpredictable. Winter runoff and heavy periods of rain will also change the conditions of this river, so stay aware of the weather when planning your trip.
To ensure a safe and enjoyable trip, follow these safety guidelines:
- When traveling along the coast, know the tides.
- Bring a map and a tide chart to plan your route.
- Be prepared to hike over headland trails during high tides. Some headlands cannot be rounded even during the lowest tides.
- When camping on the beach, camp above the high tide water line.
What Permits Do I Need, and How Do I Get Them?
Editor’s Note: We are not an official source for permit information and park policies. For the most up-to-date information, check with the National Park Service.
Wilderness permits are required year-round for all overnight trips on the Olympic Wilderness Coast. They are limited between May 15 and October 15 when more people are visiting the coast. Reservations are required for campsites between Yellow Banks and Point of Arches, but we recommend booking all other sites you plan to stay at while you’re at it.
Wilderness permits typically become available in April each year, but you’ll want to check the official Olympic National Park website for the specific date. You can submit your reservation request online or in person at a park Wilderness Information Center during business hours.
These were the permit fees at the time of our trip:
- Wilderness permit flat fee per group (group size is 12 people max): $6
- Camping fee per person per night: $8
Alternatively, if you plan to camp for more than five nights in Olympic National Park over the course of the year, consider the Olympic Annual Wilderness Pass. One pass costs $45 and covers the cardholder’s camping fees for 12 months (permits and reservations are still required).
After you get your wilderness permit, you will need to get a separate permit to enter the Makah Indian Reservation to access the trailhead. The permit is $20 per vehicle (valid through the end of the calendar year), and there are several pickup locations. Alternatively, if you have access to a printer, you can purchase a permit ahead of time online.
What Regulations & Restrictions Are in Place?
The Olympic Coast is a beautiful section of wilderness that contains fragile marine ecosystems. It’s always important to practice Leave No Trace whenever you go into nature to protect yourself and others, wildlife, and the environment. Olympic National Park has a few rules of their own.
- Bear canisters are required for all food, garbage, and scented items. Bear cans can be loaned on a first-come, first-serve basis from the Wilderness Information Center in Port Angeles or the South Shore Lake Quinault Ranger Station, but stock is limited.
- Campfires and wood-burning camp stoves are only allowed below 3,500 feet. They are not allowed on the coast between the headland at Wedding Rocks and the headland north of Yellow Banks (including Sand Point).
- Do not gather wood from the forest – only collect from the beach.
- Always build fires on the beach and keep them at least 10 feet from logs and below the high tide line. Remove any evidence before you leave.
- Pets, vehicles, bicycles, wheeled devices, and stock animals are prohibited on park beaches and coastal trails.
- Avoid walking on or picking up tide pool animals.
- Take no more than a handful of unoccupied shells.
Where Do I Park, and How Do I Get Back to My Vehicle?
To hike this trail end-to-end from Shi Shi Beach to Rialto Beach, you’ll need to park a vehicle at either end of the hike, arrange for transportation ahead of time, or hitchhike back to your car.
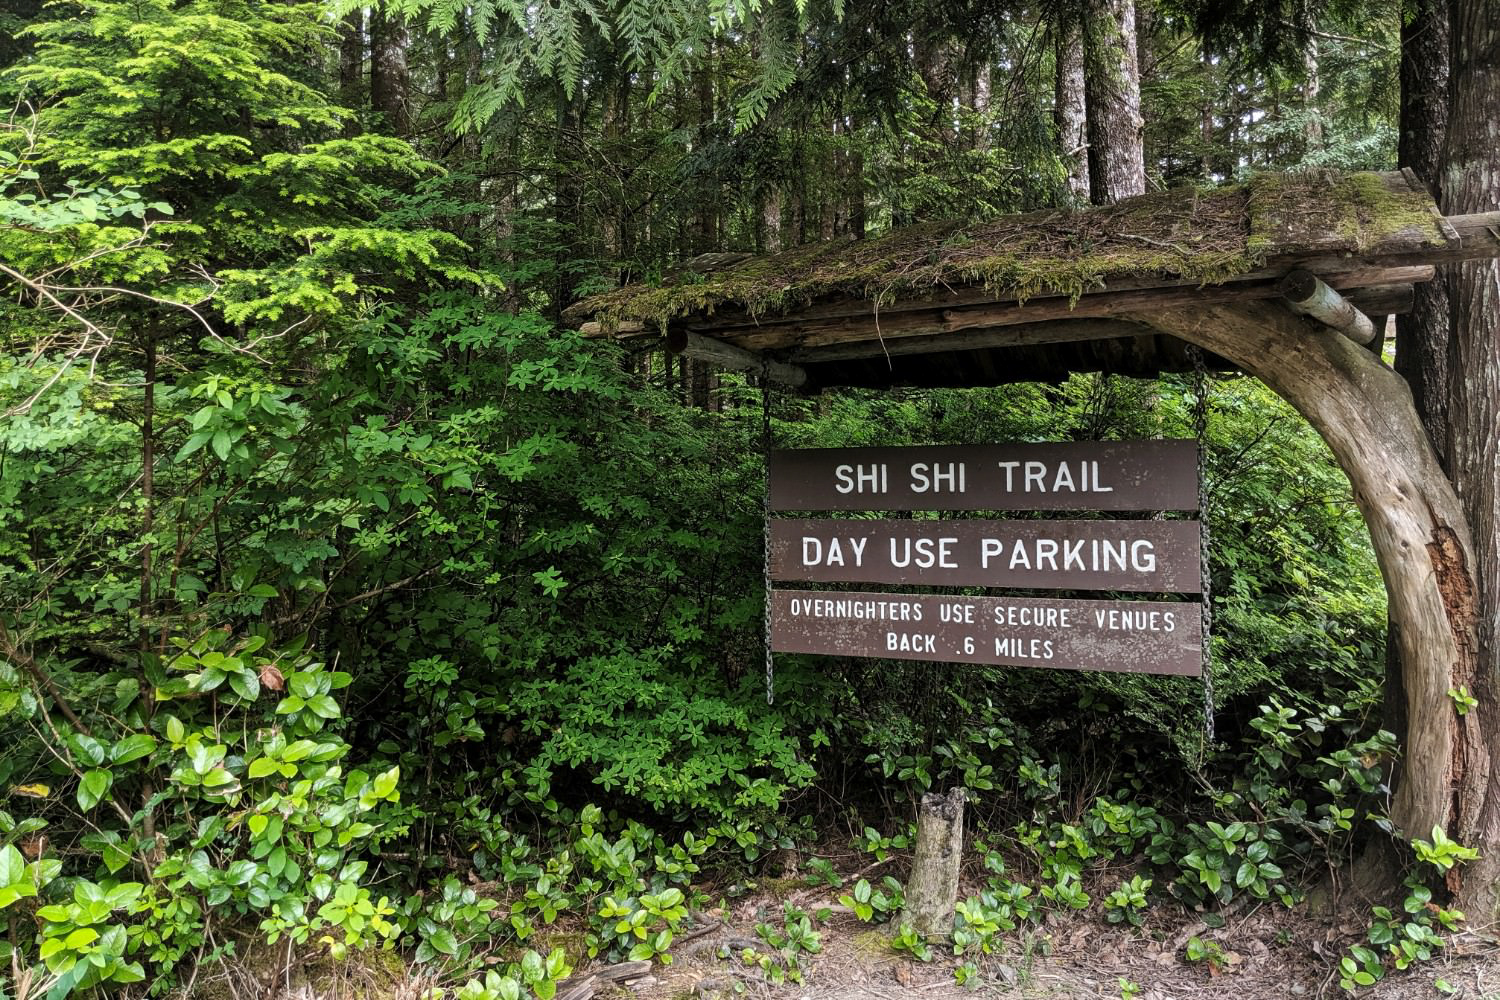
- If you have two vehicles in your party: There is an overnight backpackers’ lot at the Rialto Beach trailhead to drop the first vehicle. Drive north to Shi Shi Beach (about an hour and 50 minutes), where you can park the second vehicle on private land in the Makah Indian Reservation (about a half mile from the trailhead). Parking prices vary, but we paid $10 per night. There is a lot at the Shi Shi Trailhead, but overnight parking is not recommended due to break-ins and vandalism.
- If you’re arranging transportation from one end back to your vehicle: There’s not a lot of information on individuals or companies offering rides between these trailheads, but we found Olympic Hiking Co. They offer shuttles from Rialto to Ozette, then Ozette to Shi Shi (they don’t charge for the second location shuttle if you book with a group).
- If you’re planning to hitchhike back to your vehicle: First things first: Don’t get in the car if it doesn’t feel right. We’ve done a lot of hitchhiking between trail towns and trailheads and have never had a bad experience, but things can happen. Always stay aware of your surroundings and, if possible, have a partner with you if you must hitchhike.
Where Should I Camp?
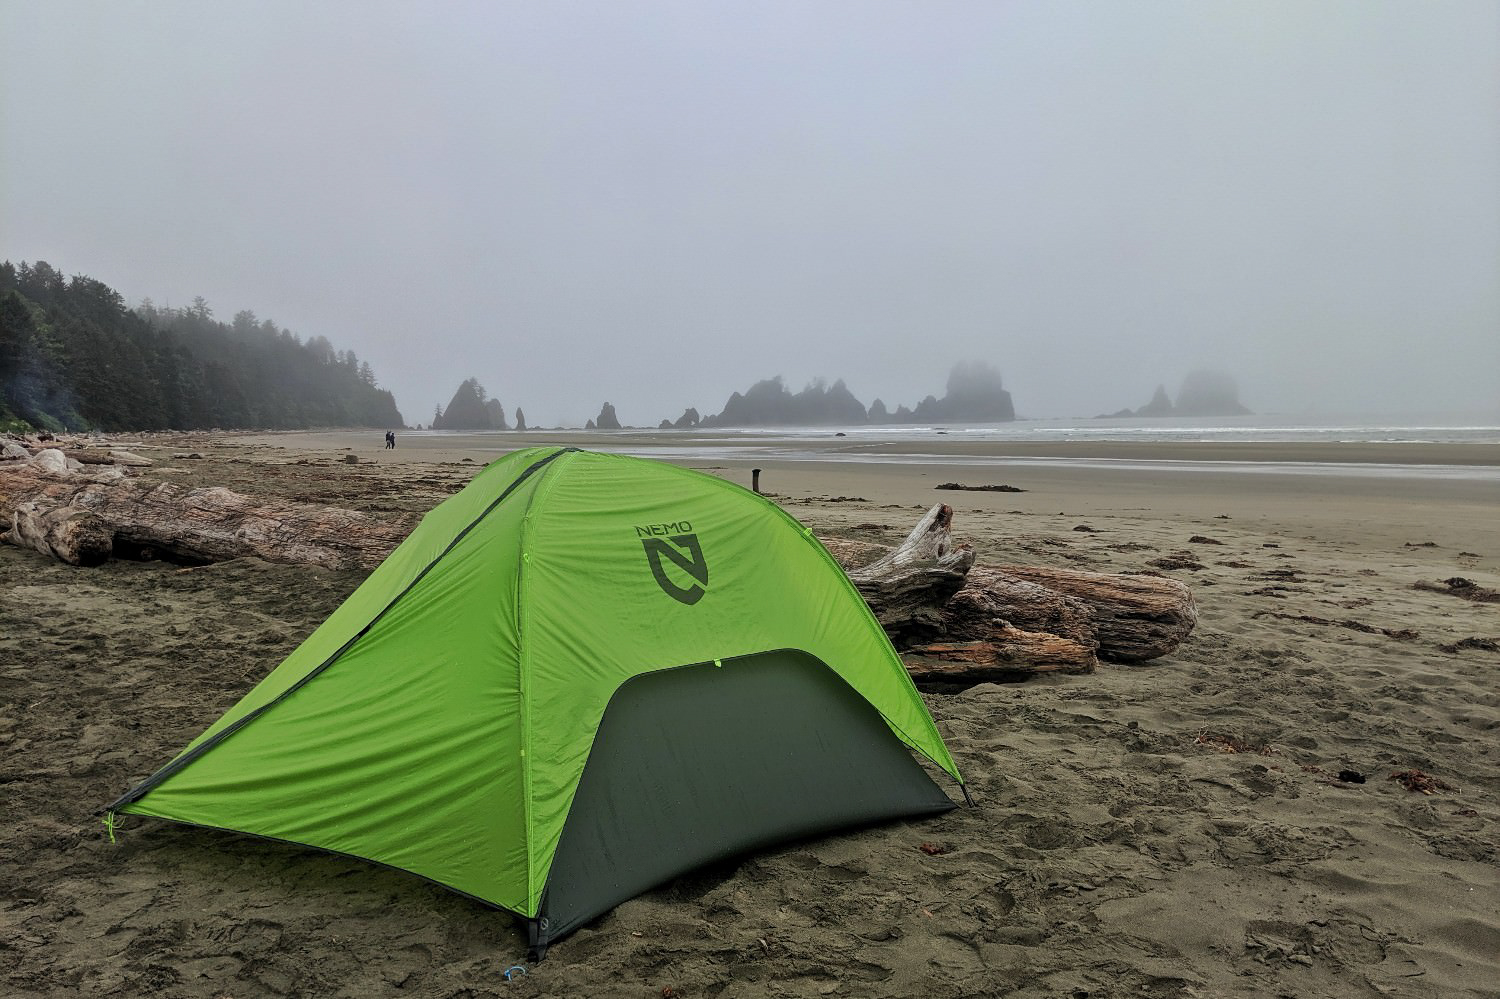
There are designated campsites along this route, most of which will have you camping directly on the beach sand. There are a limited number of forested campsites at some locations, so if you don’t want to camp in the more exposed beach sites, get to camp early. We highly recommend making reservations ahead of time for the following sites if you want to stay at them, as space is very limited.
- Seafield Creek
- North side of Ozette River
- South side of Ozette River
- Cape Alava
- Wedding Rocks
- Yellow Banks
What Gear Should I Pack?
Make sure to check out our Ultimate Backpacking Checklist, so you don’t forget something important.
Below you’ll find our current favorite backpacking gear. If you want to see additional options, our curated gear guides are the result of many years of extensive research and hands-on testing by our team of outdoor experts.
BACKPACK
- Best Backpacking Pack Overall: Gregory Paragon 58 – Men’s / Gregory Maven 58 – Women’s
- Best Ultralight Backpacking Backpack: Hyperlite Mountain Gear Unbound 40
- More: Check out our best backpacking backpacks guide for ultralight and trekking options
TENT
- Best Backpacking Tent Overall: Big Agnes Copper Spur HV UL2
- Best Ultralight Tent: Zpacks Duplex
- Best Budget Tent: REI Half Dome 2
- Best Tent Stakes Overall: All One Tech Aluminum Stakes
- More: Check out our best backpacking tents guide for more options
SLEEPING BAG/QUILT
- Best Sleeping Bag Overall: Men’s Feathered Friends Swallow YF 20 / Women’s Feathered Friends Egret YF 20
- Best Quilt Overall: Enlightened Equipment Revelation 20
- More: Check out our best backpacking sleeping bags guide and best backpacking quilts guide for more options
SLEEPING PAD
- Best Sleeping Pad Overall: NEMO Tensor All-Season
- Best Foam Sleeping Pad: NEMO Switchback
- More: Check out our best backpacking sleeping pads guide for ultralight and trekking options
CAMP KITCHEN
- Best Backpacking Stove Overall: MSR PocketRocket 2
- Best Backpacking Cookware Overall: TOAKS Titanium 750ml
- Best Backpacking Coffee Overall: Starbucks VIA
- More: Check out our best backpacking stoves guide and best backpacking cookware guide for ultralight and large group options
WATER & FILTRATION
- Best Water Filter Overall: Sawyer Squeeze
- Best Hydration Bladder Overall: Gregory 3D Hydro
- Best Backpacking Water Bottles: Smartwater Bottles
- More: Check out our best backpacking water filters guide and best backpacking water bottles guide for ultralight and large group options
CLOTHING
- Best Hiking Pants Overall: Men’s Outdoor Research Ferrosi / Women’s The North Face Aphrodite 2.0
- Best Hiking Shorts Overall: Men’s Patagonia Quandary / Women’s Outdoor Research Ferrosi
- Best Women’s Hiking Leggings: Fjallraven Abisko Trekking Tights HD
- Best Rain Jacket Overall: Men’s Patagonia Torrentshell 3L / Women’s Patagonia Torrentshell 3L
- Best Rain Pants: Men’s Patagonia Torrentshell 3L / Women’s Patagonia Torrentshell 3L
- Best Down Jacket Overall: Men’s Patagonia Down Sweater Hoodie / Women’s Patagonia Down Sweater Hoodie
- Best Fleece Jacket Overall: Men’s Patagonia Better Sweater / Women’s Patagonia Better Sweater
- Best Sunshirt Overall: Men’s Outdoor Research Echo / Women’s Outdoor Research Echo
- Best Socks Overall: Men’s Darn Tough Light Hiker Micro Crew / Women’s Darn Tough Light Hiker Micro Crew
- Beste Ultralight Liner Glove: Patagonia Capilene Midweight Liner
- More: Check out our best backpacking apparel lists for more options
FOOTWEAR & TRACTION
- Best Hiking Shoes Overall: Men’s HOKA Speedgoat 6 / Women’s HOKA Speedgoat 6
- Best Hiking Boots Overall: Men’s Salomon X Ultra 5 GTX / Women’s Lowa Renegade Evo GTX
- Best Hiking Sandals Overall: Men’s Chaco Z/1 Classic / Women’s Chaco Z/1 Classic
- Best Camp Shoes Overall: Crocs Classic Clogs
- Best Traction Device for Hiking Overall: Kahtoola MICROspikes
- More: Check out our best backpacking footwear lists for more options
NAVIGATION
- Best GPS Watch Overall: Garmin Instinct 2 Solar
- Best Personal Locator Beacon (PLB): Garmin inReach Mini 2
- More: Check out our article How to Use Your Phone as a GPS Device for Backpacking & Hiking to learn more
FOOD
FIRST-AID & TOOLS
- Best First-Aid Kit Overall: Adventure Medical Kits Ultralight/Watertight .7
- Best Pocket Knife Overall: Kershaw Leek
- Best Multitool Overall: Leatherman Wave+
- Best Headlamp Overall: Black Diamond Spot 400-R
- Best Power Bank Overall: Nitecore NB 10000 Gen 3
- More: Check out our best first-aid kit guide, best pocket knife guide, best multitool guide, best backpacking headlamps guide, and best power banks guide for more options
MISCELLANEOUS
- Best Trekking Poles Overall: Black Diamond Pursuit
- Best Backpacking Chair Overall: REI Flexlite Air
- Best Backpacking Stuff Sack Overall: Hyperlite Mountain Gear Drawstring
- More: Check out our best trekking poles guide, best backpacking chairs guide, and best stuff sacks guide for more options
More North Coast Route Photos