
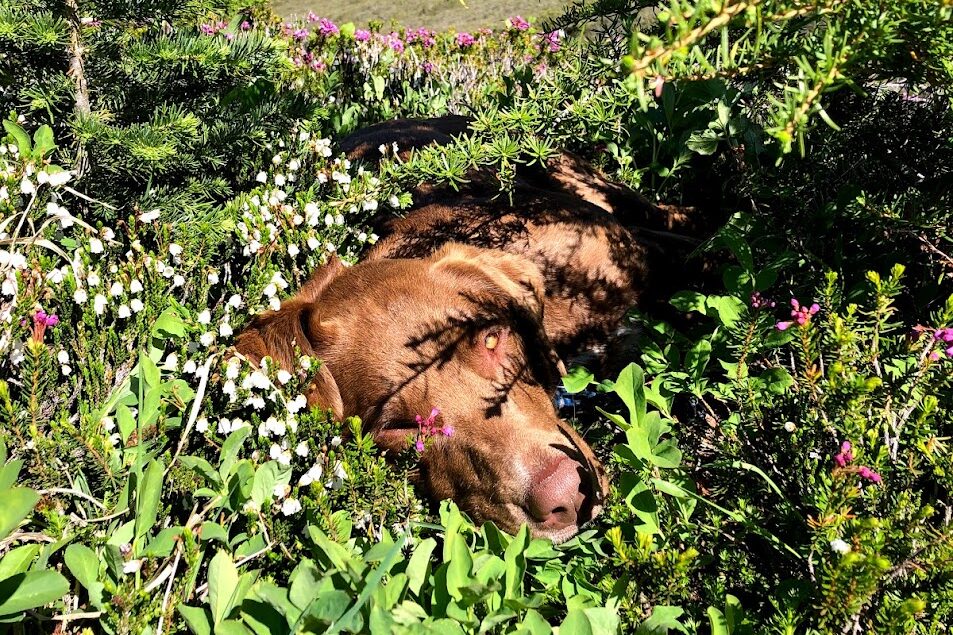
Hiking and backpacking with dogs can be a rewarding outdoor experience, but they also come with unique challenges. Over the years, the CleverHiker team has learned the best tricks to keep our pups safe, our sleeping pads intact, and our trail time stress-free.
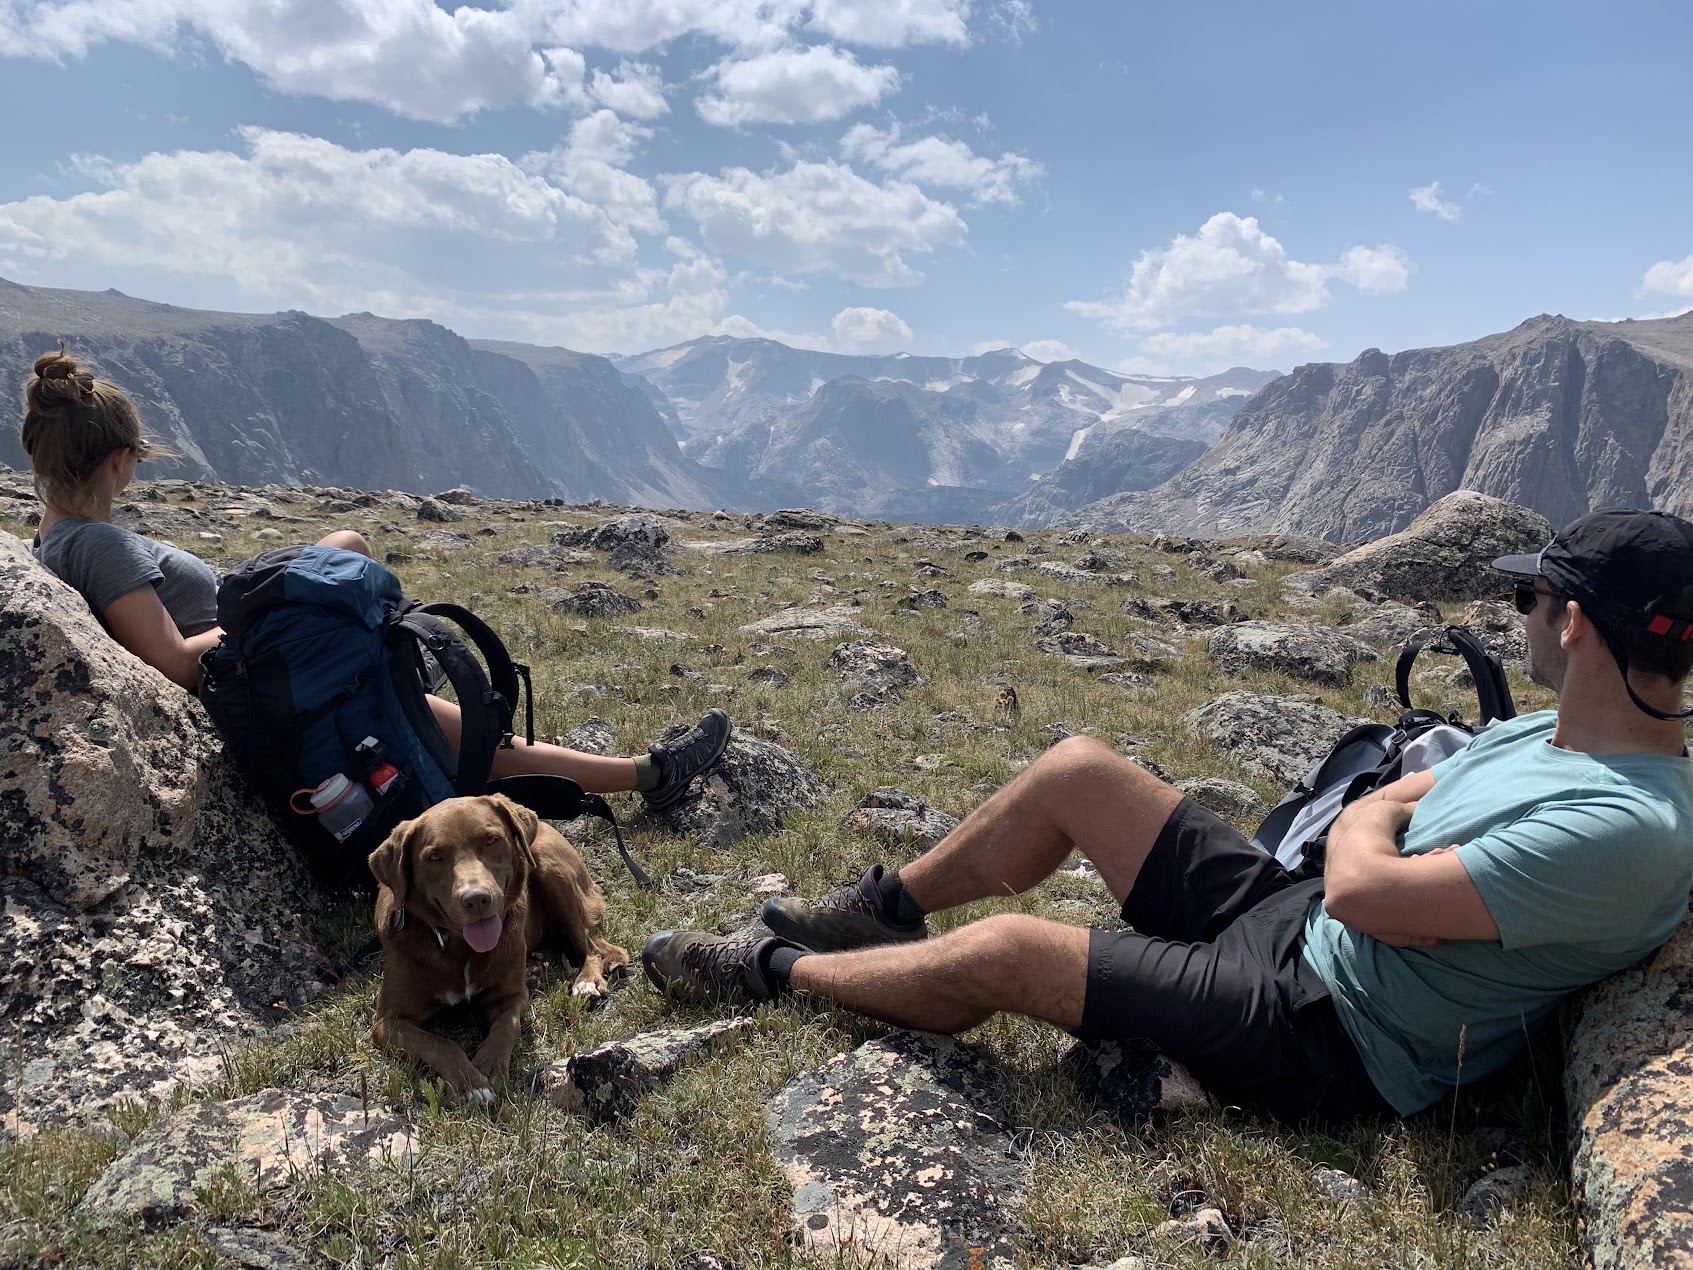
Our four-legged friends are always down for adventure, and they’re the most enthusiastic hiking partners we could ask for. But we’ve made a few mistakes with our hiking companions that we wish we could have avoided. Dogs require extra attention and care to make sure the experience is safe and enjoyable for both of you.
Following the tips in this guide will prepare you and your pooch for the trail and build confidence to take them on longer hikes and backpacking trips. After all, a long walk with their best friend is your dog’s dream come true.
Keep up with vet visits, vaccinations & Medication
The most important thing you can do for your best bud’s health is take them to the vet regularly. Your veterinarian can address any concerns you may have about hiking with your dog, and they can provide helpful insights into proper dog first aid.
Check with your vet to make sure your dog’s vaccines, heartworm prevention, and flea and tick prevention are all current, as this can help them avoid serious health problems caused by things like a bite from another animal or drinking bad water (yes, dogs can get Giardia). And of course, you should have a plan for administering any medication your dog needs on extended hiking trips.
ID Tags & Microchips
Your dog should always wear an ID tag with your name and phone number while on the trail. It’s also best practice to microchip them, in case the worst happens and they get lost.
Know Signs of OVERHEATING
Dogs aren’t always great at telling us when they’re in pain or uncomfortable (especially when they are pumped to be on an adventure). Keep an extra close eye on them when you’re out on a hike. This is especially important if the weather’s warm and the trail doesn’t have much shade. Overheating can lead to heat exhaustion and then heat stroke. If you’re hike or backpacking trip is far from a veterinary hospital, you’re in a bad spot. Know the signs your dog is overheating and stay ahead of it.
Some signs of heat distress include excessive panting, loud breathing, and lagging behind. When things progress to disorientation, vomiting, diarrhea, getting them to cool water (but not so cold that it can shock them) is imperative while you make an exit plan to get them to the vet.
If you notice early signs, take a good, long rest in the shade and offer plenty of water and a snack. If there isn’t any shade available, make some with your tent, jackets, trekking poles, or a closed-cell foam pad. Your dog’s abilities and health should ultimately dictate how many miles you cover for the day. Don’t be a turbo dog dad or mom who ignores their needs to get your miles/vert in.
By keeping your mileage conservative and timing your sun exposure for early morning and late afternoon, you can avoid overheating your fur baby.
Know Signs of INJURIES
All dogs have different ways of communicating to their person that something is wrong. If your dog is licking its paws, frequently rubbing a body part, sneezing/coughing, guarding a part of its body, limping, avoiding certain types of terrain, shivering, or being aggressive/barky, it’s likely your dog is in pain.
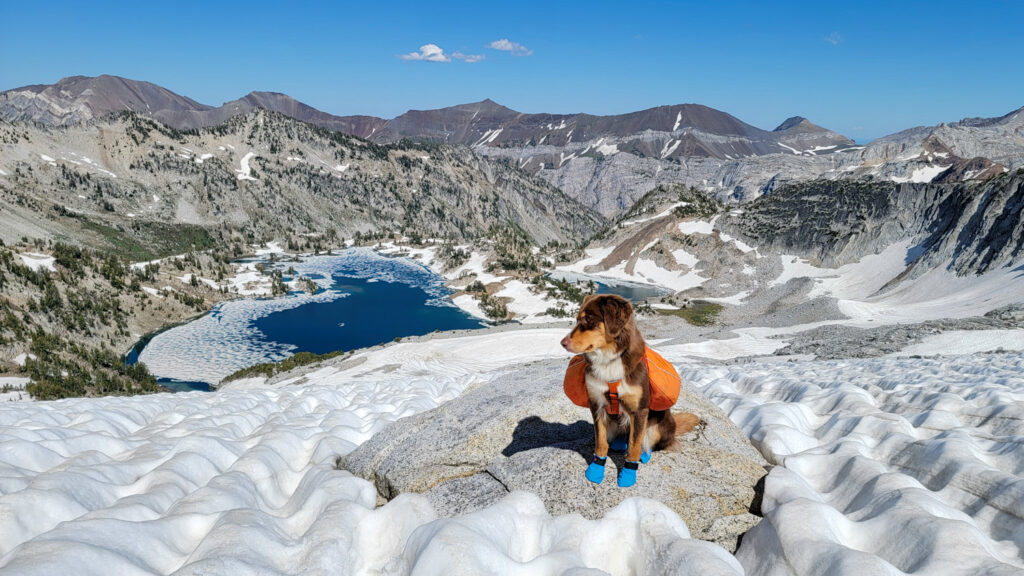
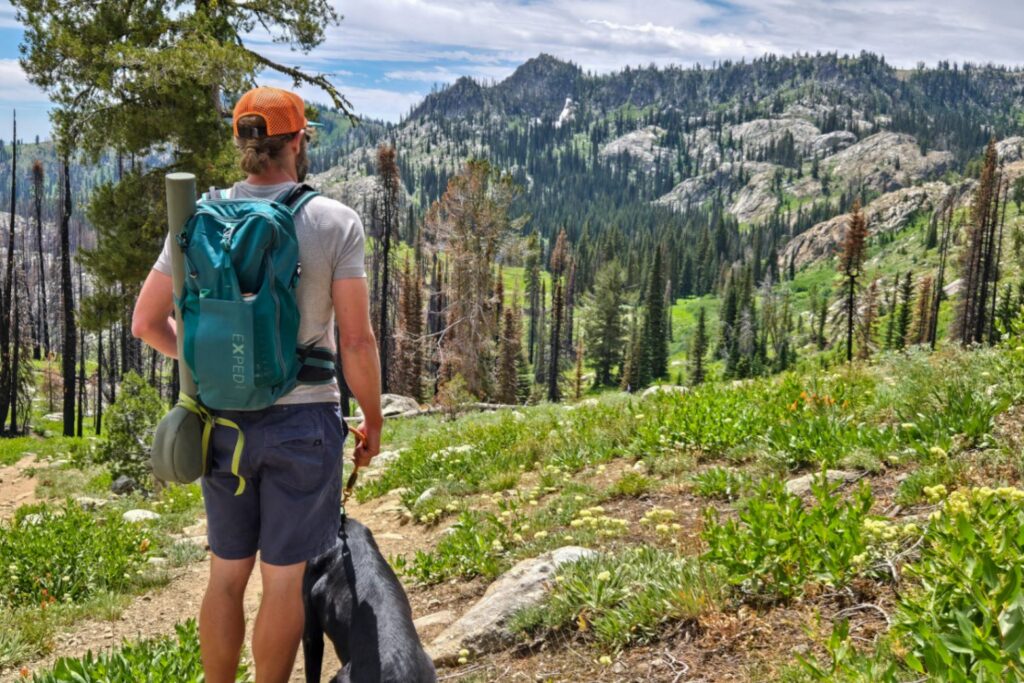
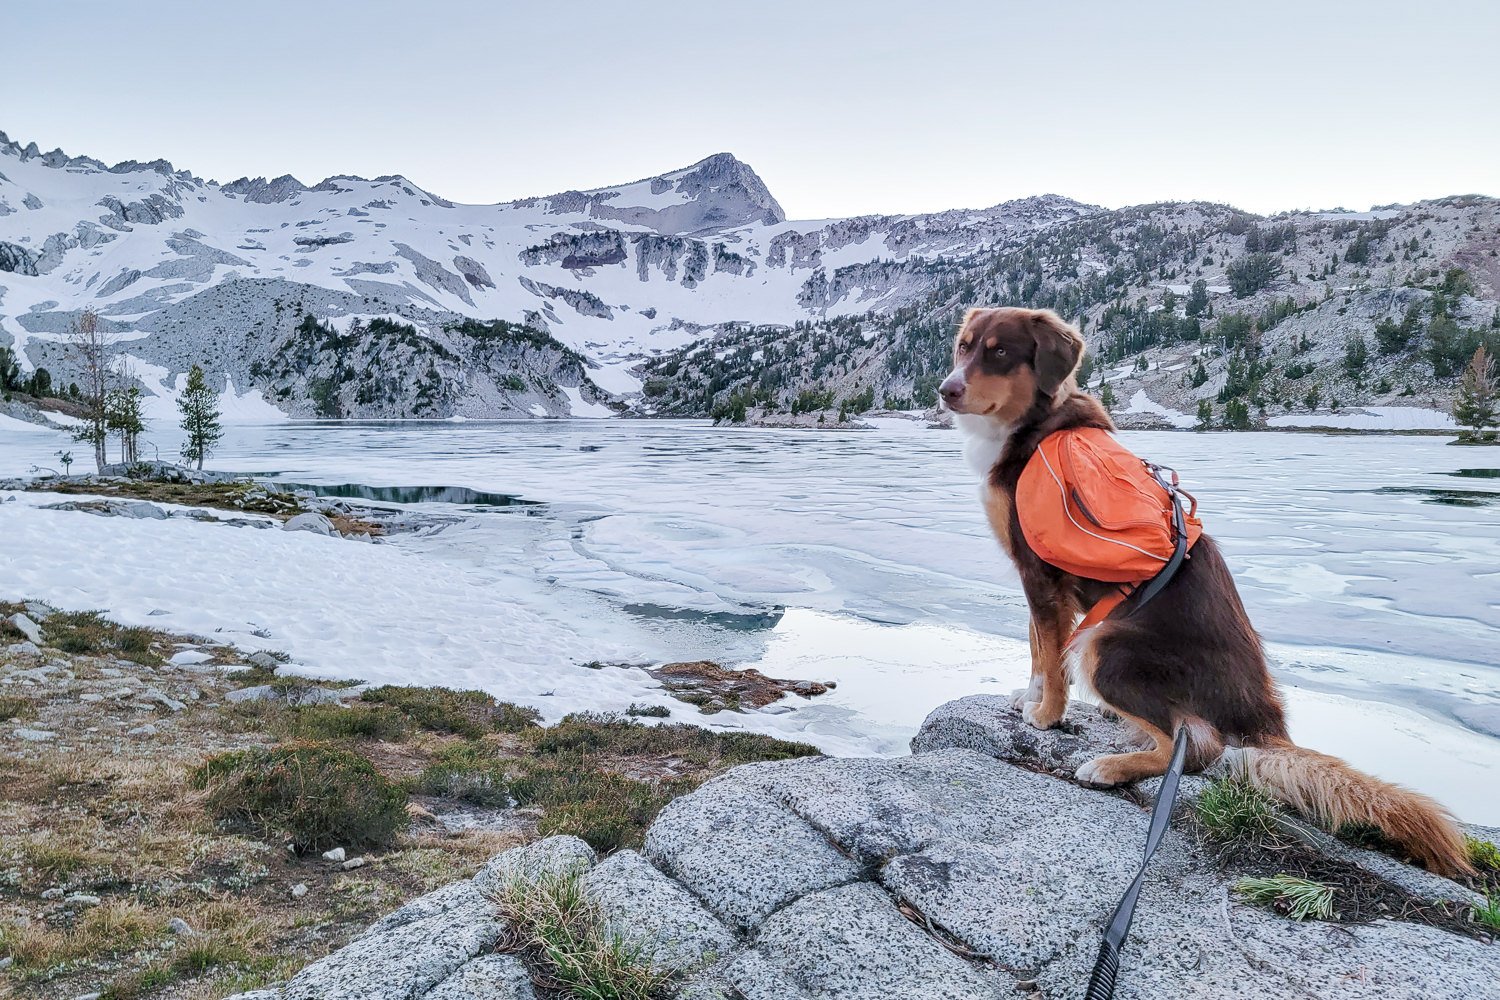
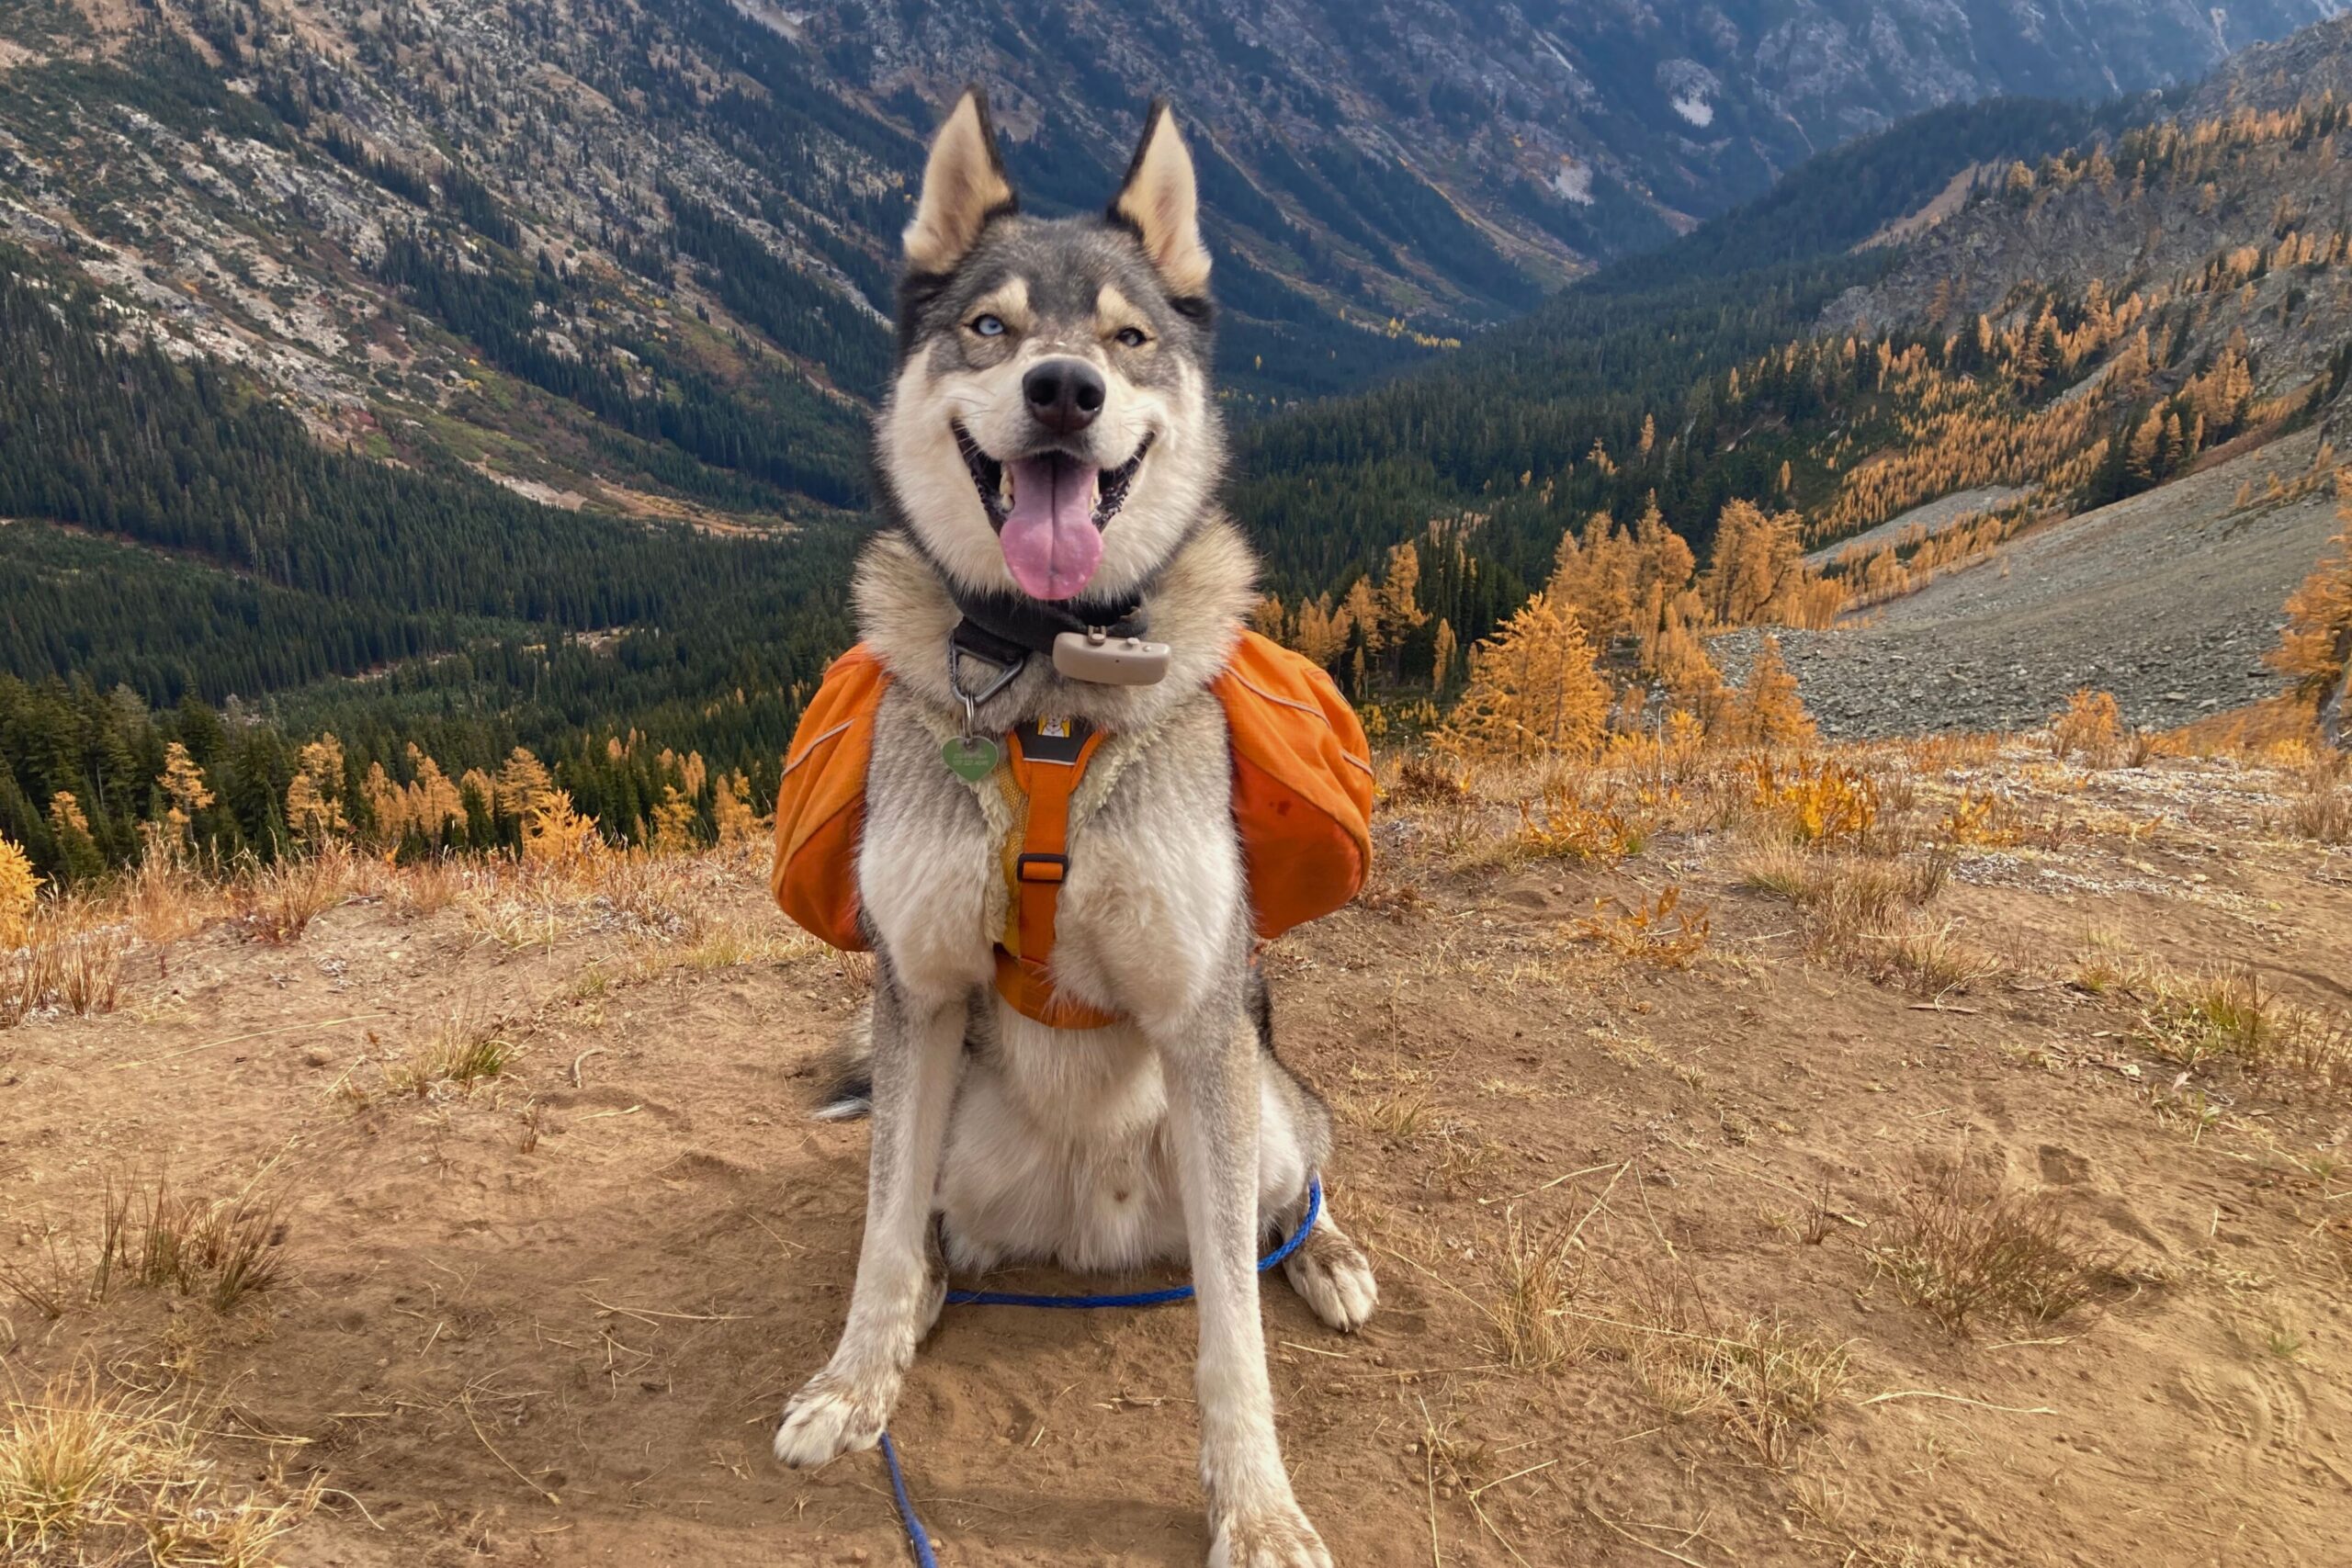
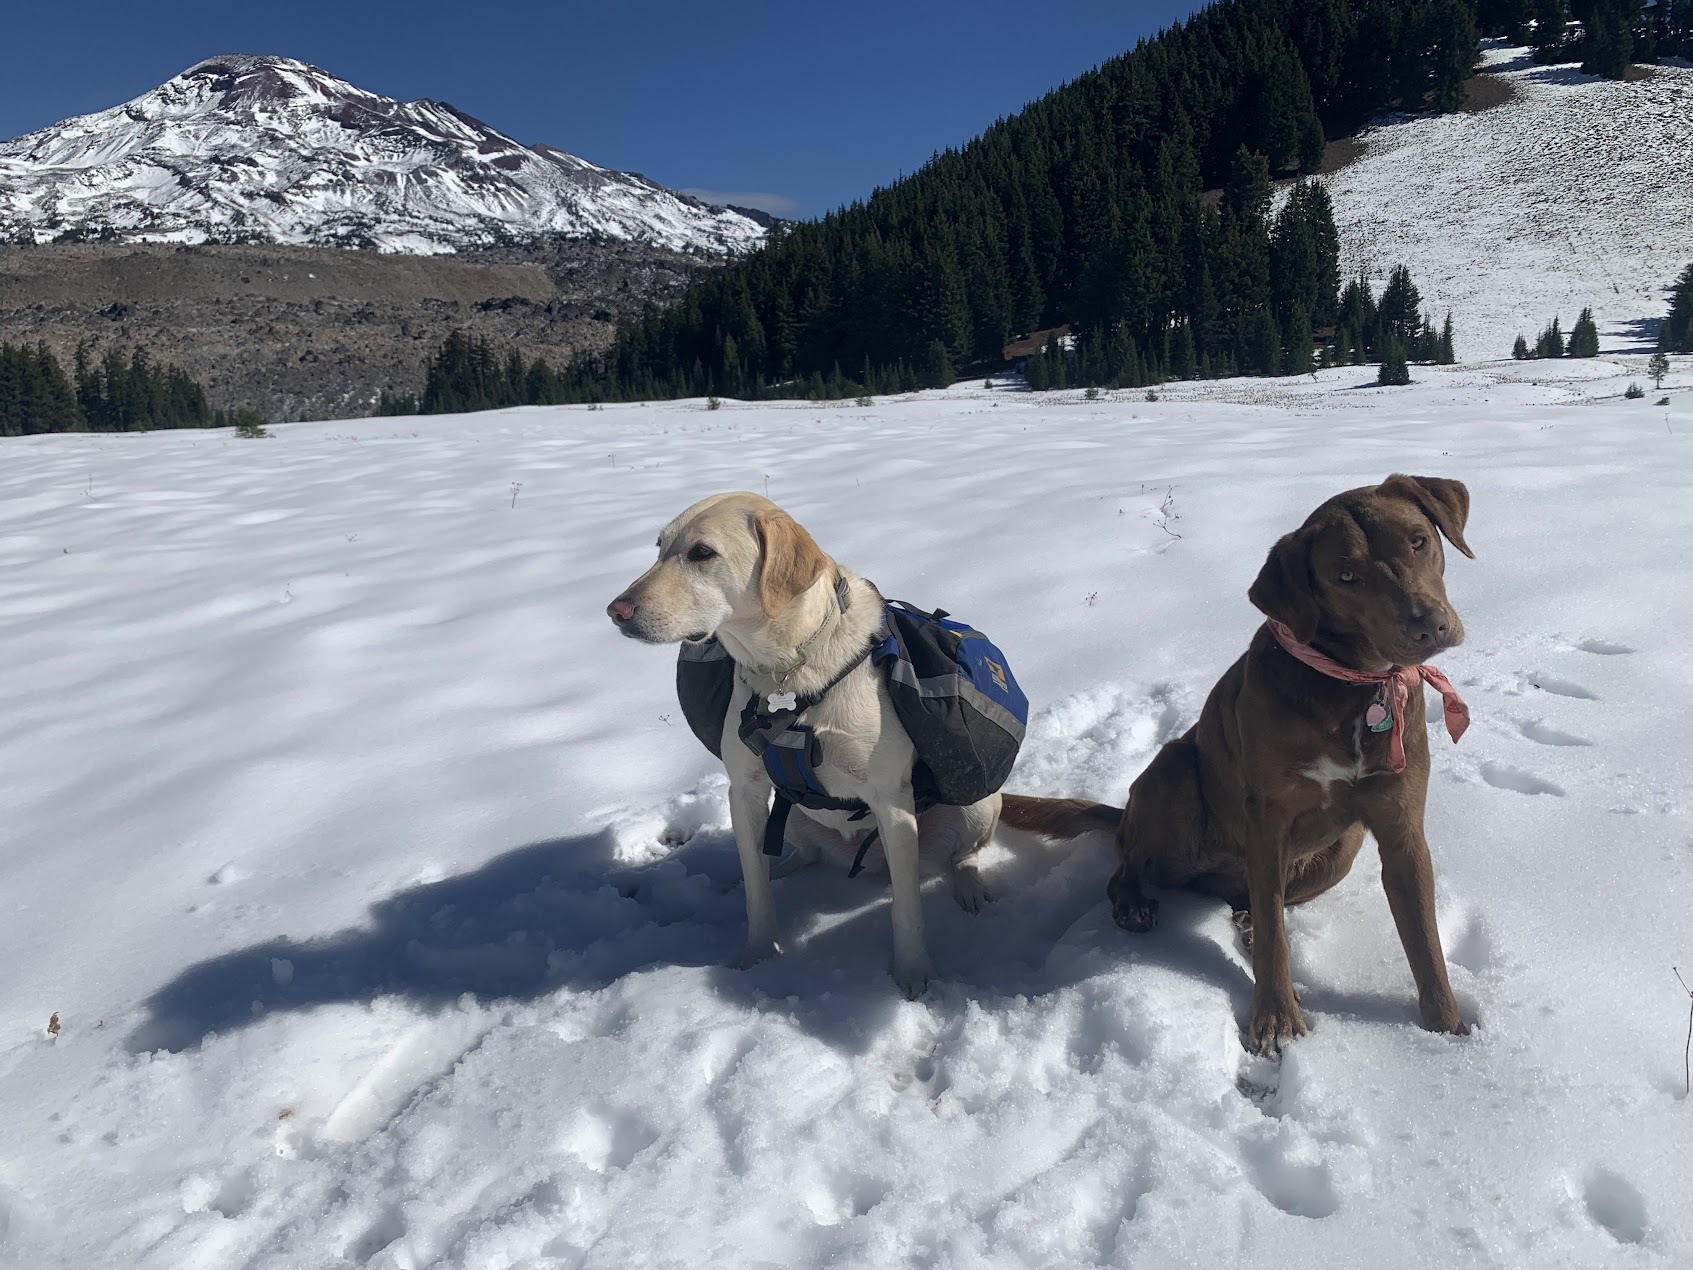
Also, dog backpacks need to be properly sized and weighted to prevent hot spots. When you take breaks or are in camp, do a full-body scan/massage to see if there are any issues. Check out our guide to the best dog backpacks for our top recommendations.
Some trail conditions can quickly deteriorate a dog’s paws or burn them, despite how thick and tough their pads appear. Sharp or loose rocks, hot sandy trails, snow/ice, and river crossings can destroy their pads and quickly end a trip.
RESEARCH THE TRAIL CONDITIONS AND BE PREPARED FOR EMERGENCIES
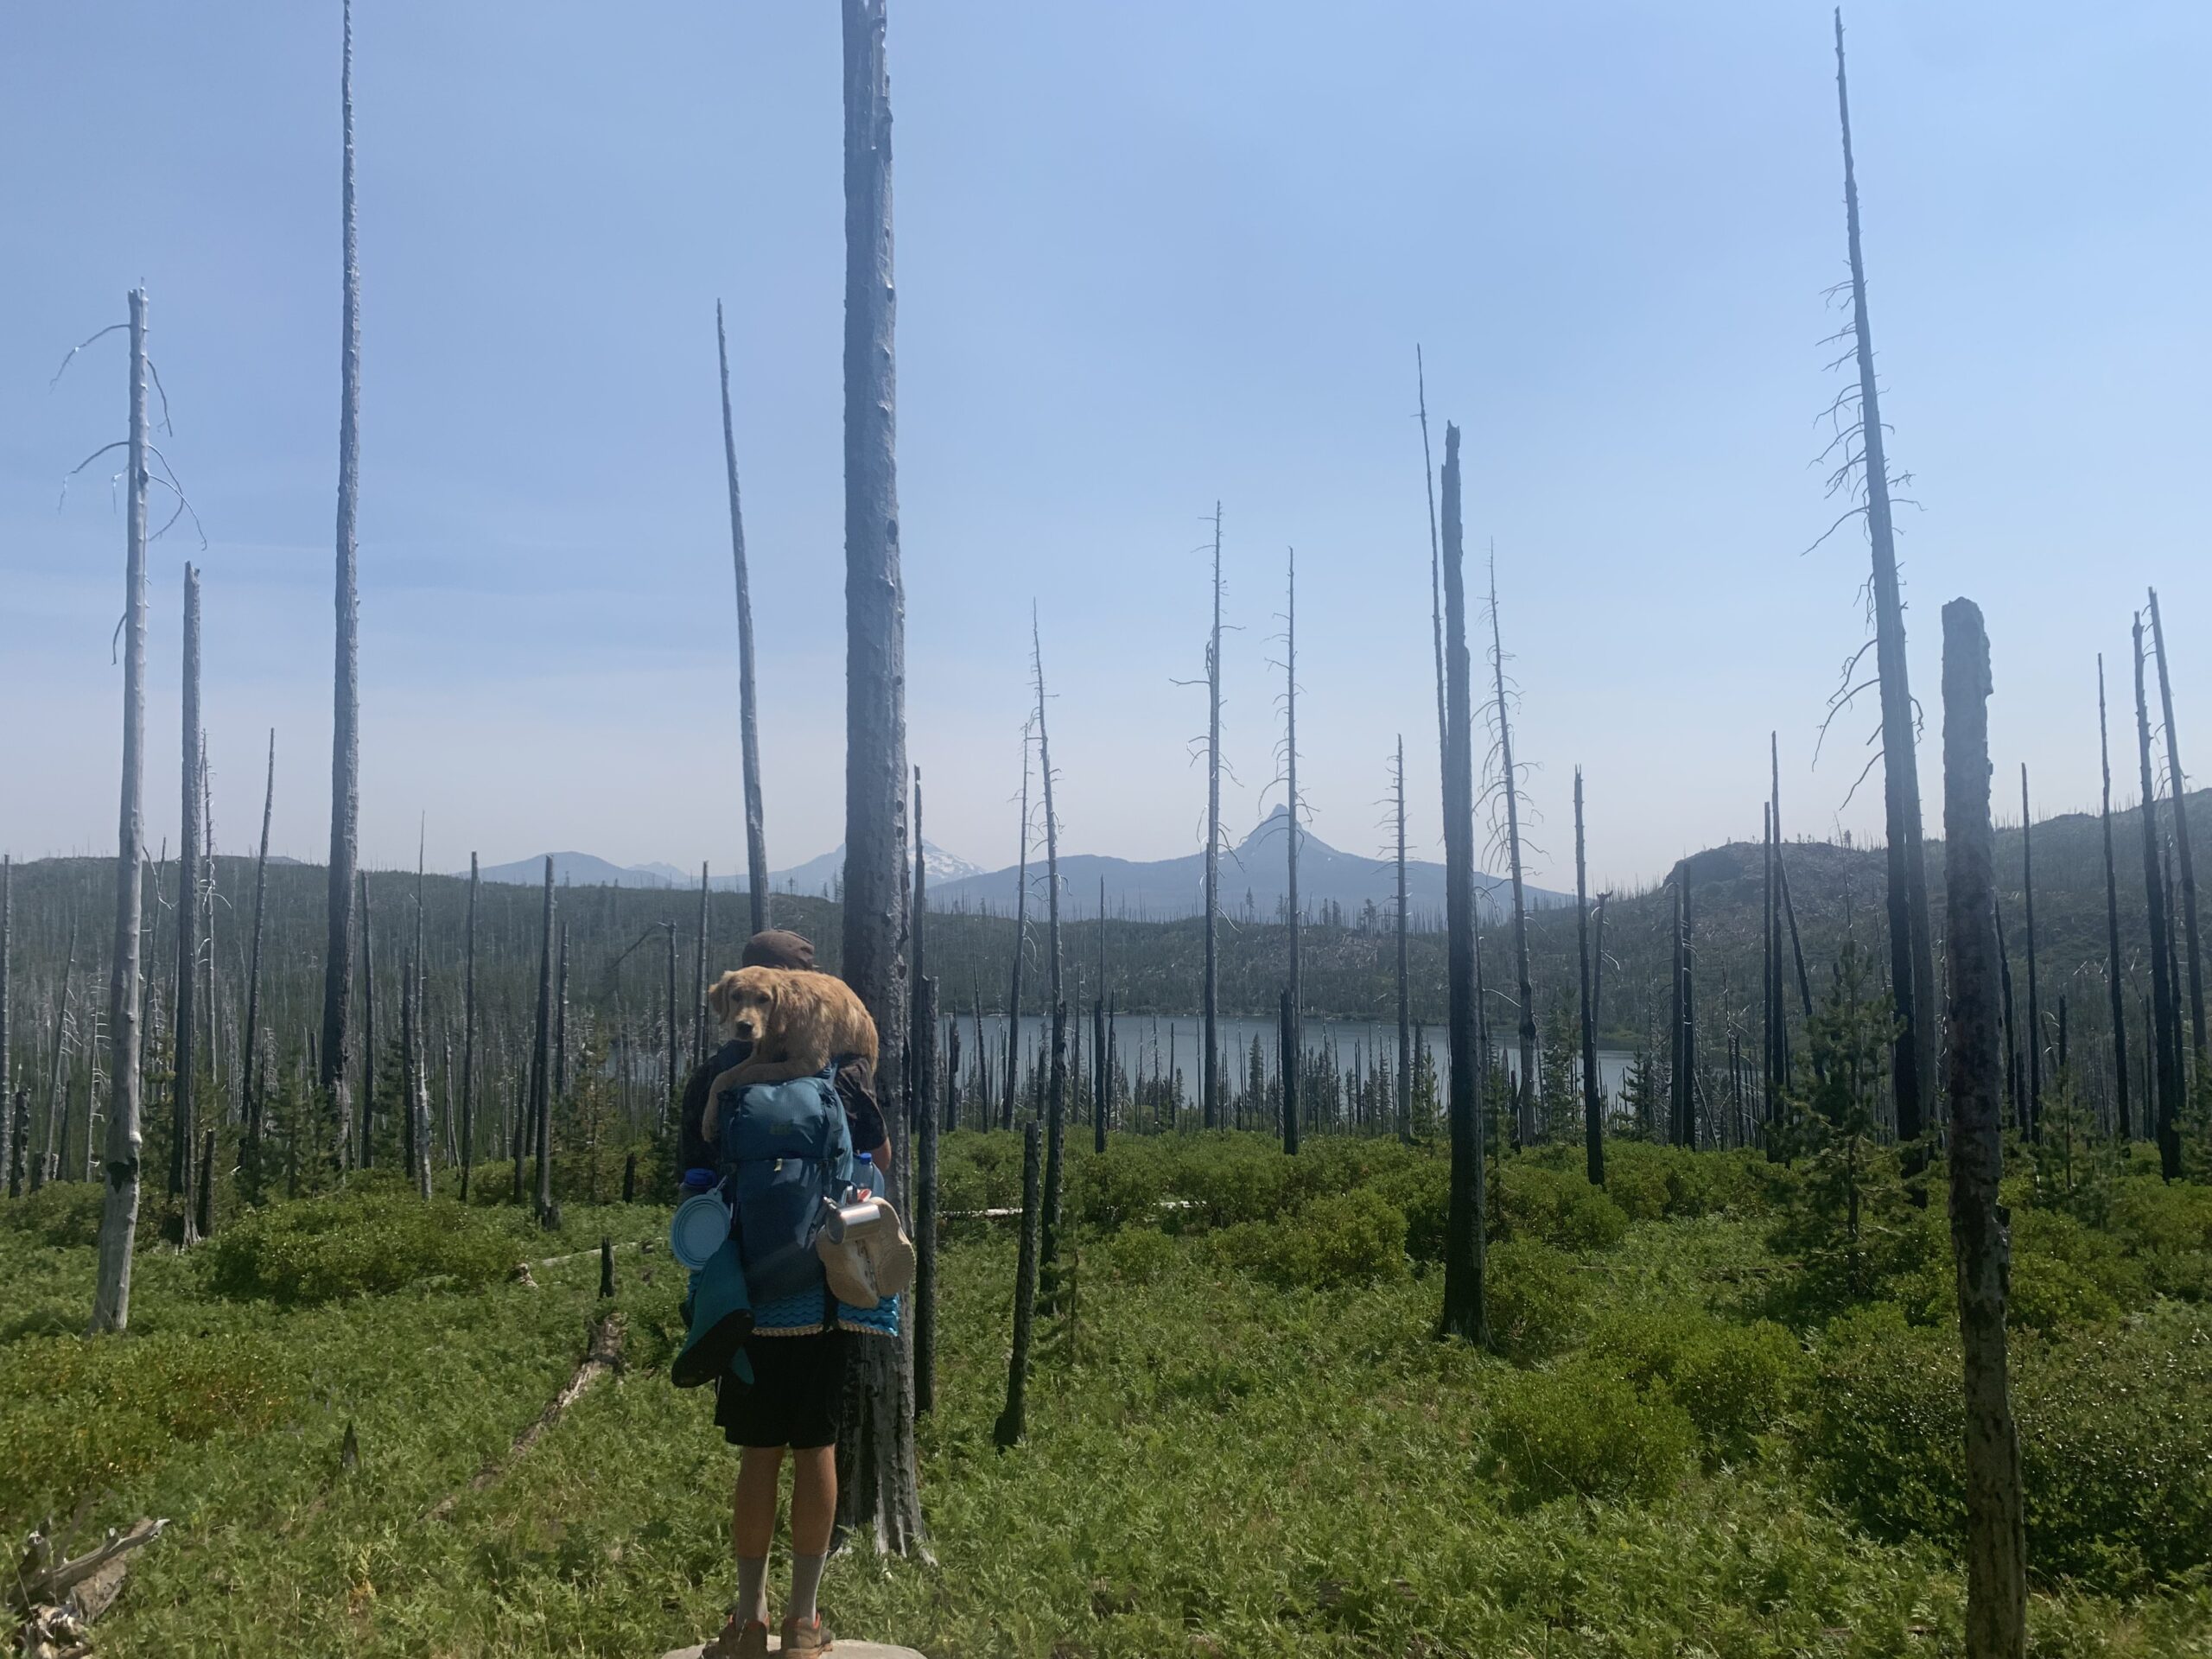
Be prepared to carry your dog. We never plan on it, but we’ve had to carry our dog over our shoulders like a sheep or stuffed into our backpack a number of times. We’ve carried her across rivers, glaciers, and over lava fields, and to be honest, we now leave our dog at home when we go on backpacking trips where we aren’t 100% certain the trail conditions will be safe and suitable for dogs. There are lots of brands that make emergency dog slings that are lightweight and make a dog evacuation much easier.
Also, just because you know the trail, it doesn’t mean you know the current conditions. Some trails were perfect for our dog in the fall or winter, but then destroyed her paws in the summer. We’ve gone on backpacking trips with trails that led to washed-out bridges and made for seriously dangerous river crossings. Some trails are just too abrasive for dog paws. And every time we feel like dumb dumbs because it could have been avoided, it sucks for them, and it is scary.
When in doubt, consider taking your dog on short trips you are familiar with and get up-to-date trail condition reports. If you’re hesitating, there’s always a dog sitter from Rover.
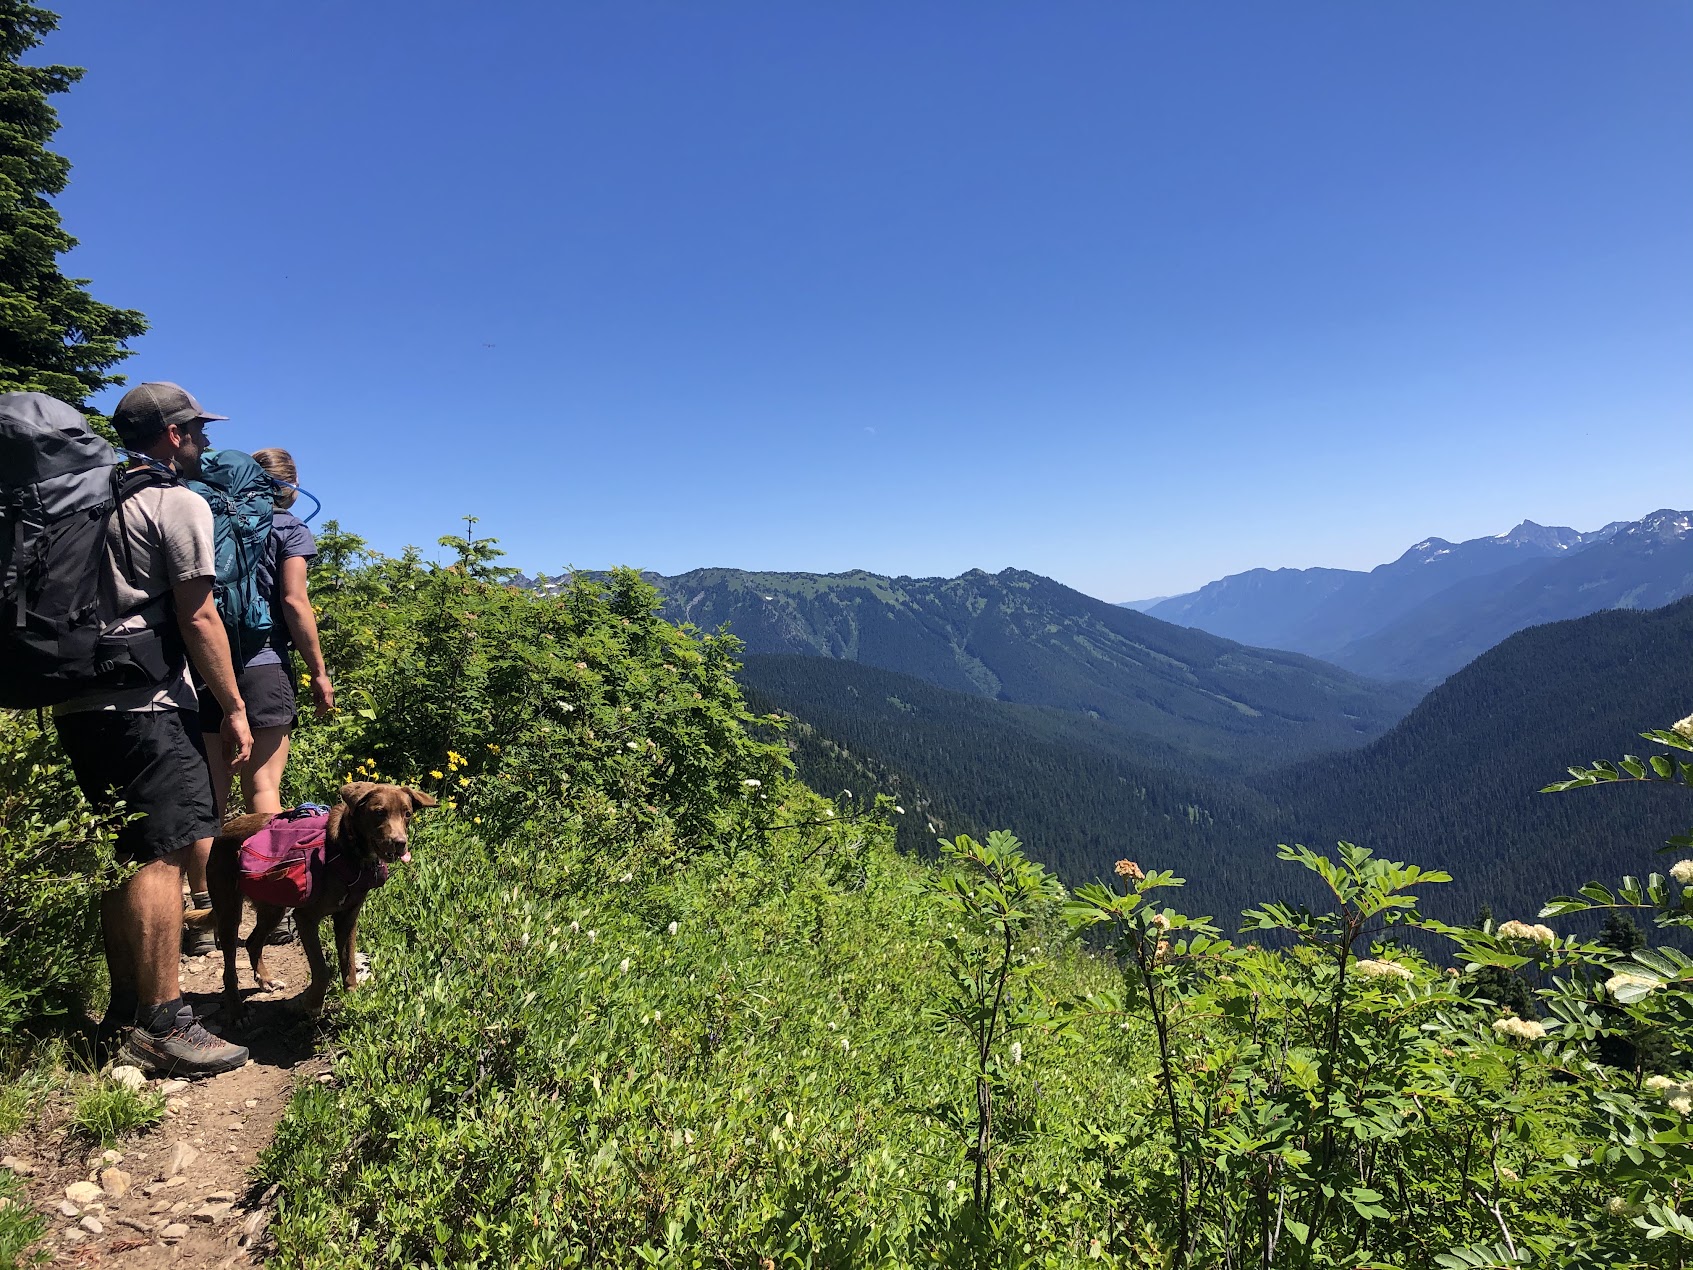
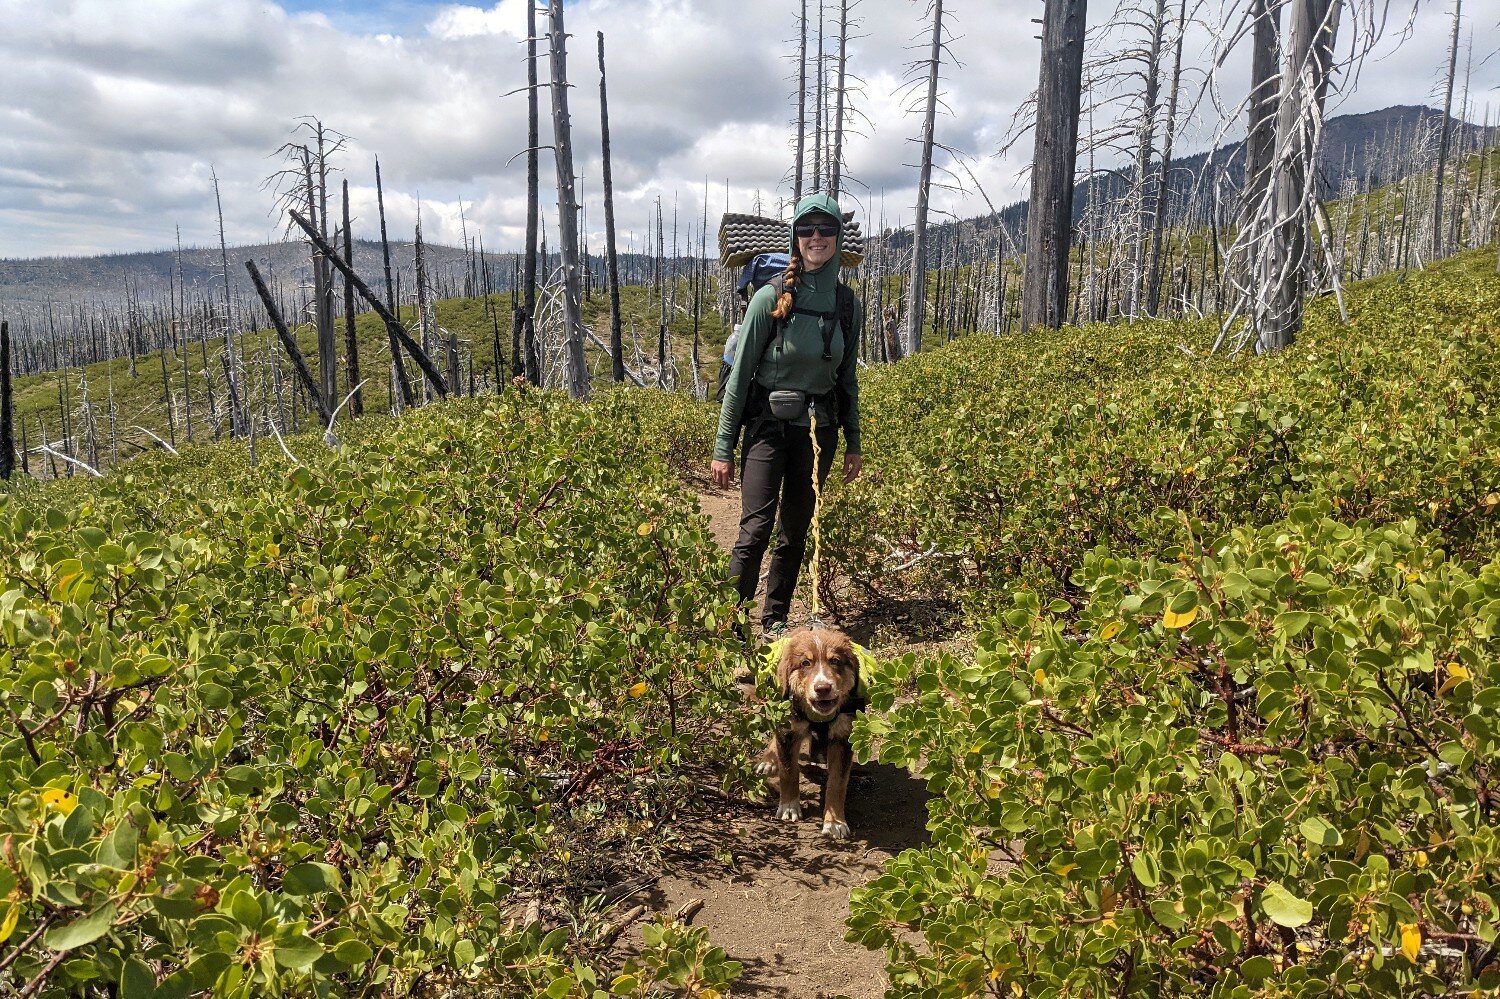
Be prepared to keep your Dog on a leash
Many wilderness areas require dogs to be leashed, usually on a lead no longer than 6 feet, for a number of reasons. Often, these rules are in place to protect wildlife or sensitive ecosystems. Or it could be that it’s a high-traffic area, and keeping your dog on a leash will help others enjoy their time on trail.
Whatever the reason may be, it’s important to follow these rules for the safety of you, your dog, other hikers, and local flora and fauna. In areas where leashes aren’t required, it’s still a good idea to leash your dog near fast-moving water, steep drop-offs, or when you see another trail user (whether it’s another hiker or wildlife). Keep in mind that your dog may be very friendly, but that doesn’t mean all dogs are or that everyone wants your dog to approach them.
Bottom line: don’t be that person who has an uncontrollable dog that ruins the experience for wildlife and other users.
Don’t take your dog where it isn’t allowed
Similar to the reasons an area may require you to keep your dog on leash, some areas don’t allow dogs at all. Never take your dog anywhere that they’re prohibited or you could damage a sensitive area, disturb protected wildlife, and/or end up with a fine to pay.
train with your dog ahead of time
Don’t take your dog into marmot country and expect them to listen to you; it’s like telling a kid not to touch any toys in a toy store. Your dog will be extra hyped in the wilderness, and there are a lot of live “squeaky toys” that will tempt and distract your dog. It’s stressful for everyone involved.
Before you head into the wilderness, work with your dog on basic commands. We recommend having your dog be proficient with come, leave it, sit, and stay in highly distracting environments. Good recall (come) is especially important if your dog is going to be off-leash at all, so you can call them back if they wander a little too far from you or you need to leash them quickly. “Leave it” is also important so you can regain their attention if they’re tempted to chase wildlife or nibble at something potentially dangerous.
Remember to train for the situation in a controlled (low distraction) environment at first and then gradually increase the level of distractions/temptations to mimic backpacking through chipmunk and deer habitats. When the time comes to put your dog’s skills to the test on the trail, make sure you pack along plenty of training treats to reward good behavior.
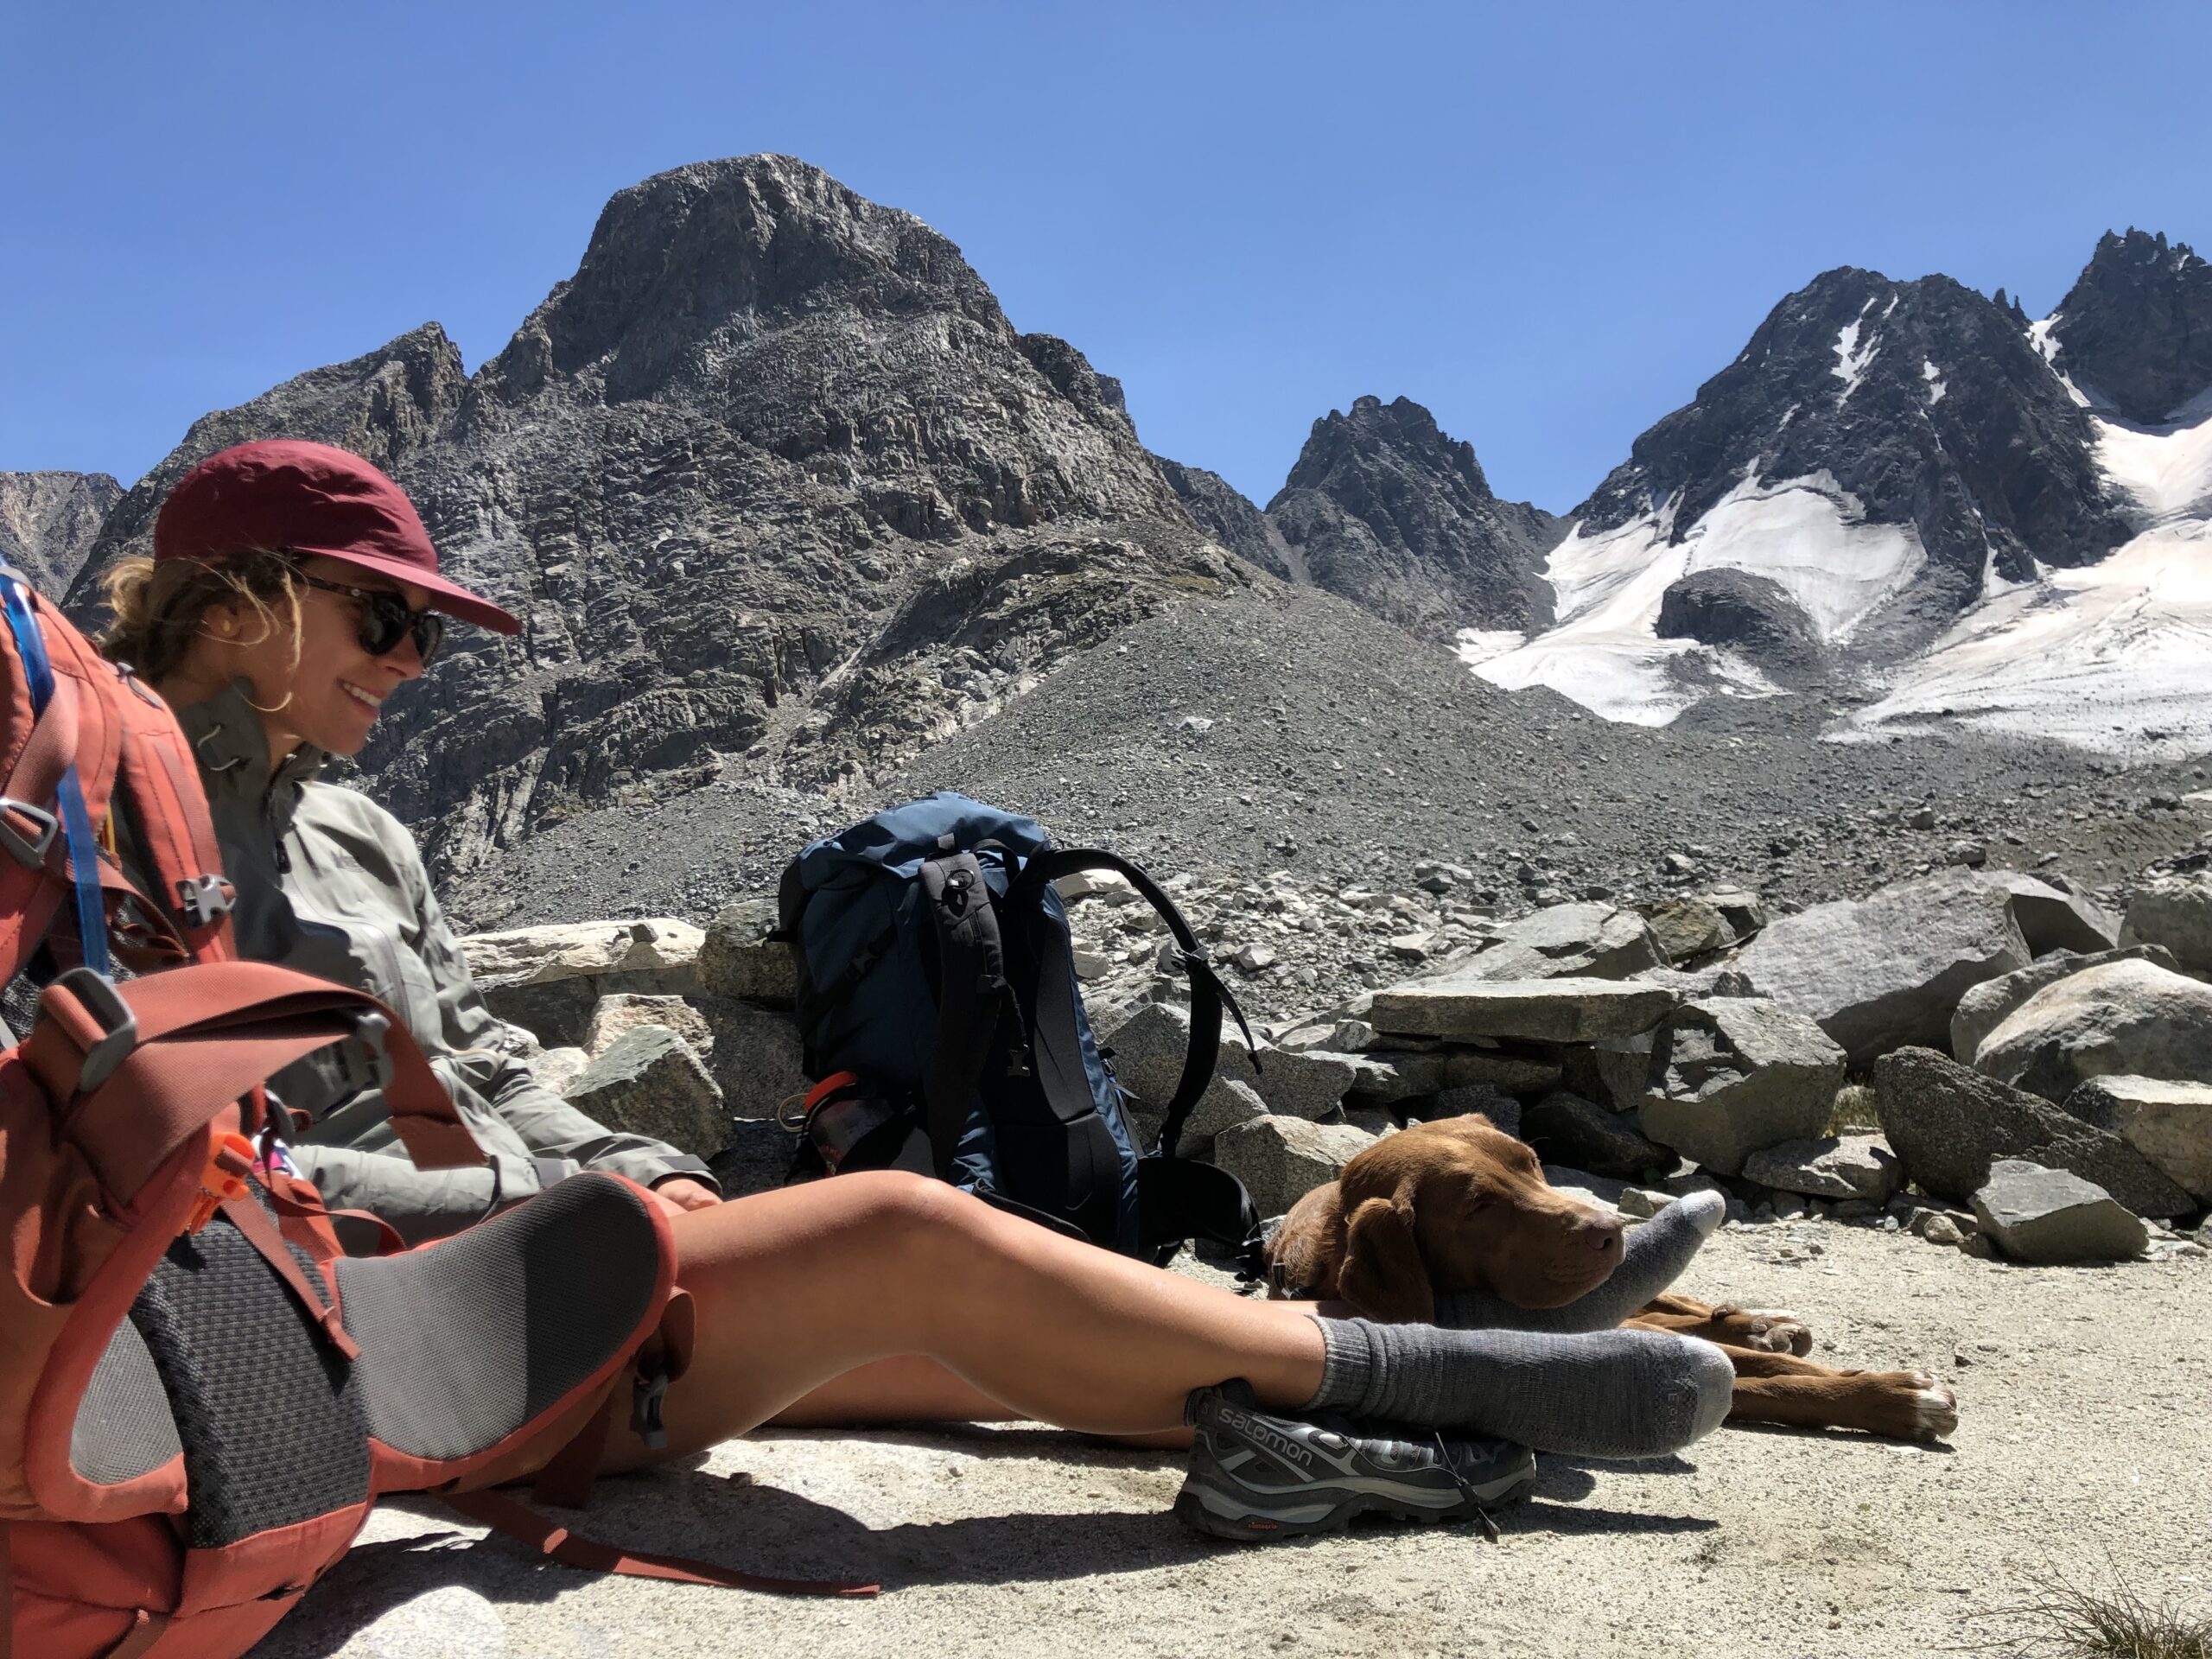
Start Small
If your dog is new to hiking, it’s best to start with a short, simple trail. Most dogs seem to really enjoy going for a hike, but not every dog has the energy to walk for multiple miles. If you want to eventually take your dog on longer overnight trips, work up to bigger mile days on trails close to home before heading out to the backcountry.
Puppies & Older Dogs
It’s important to remember that puppies and older dogs – especially those with health challenges – will likely require extra support from you on trail. Let your dog set the pace and remain patient with them.
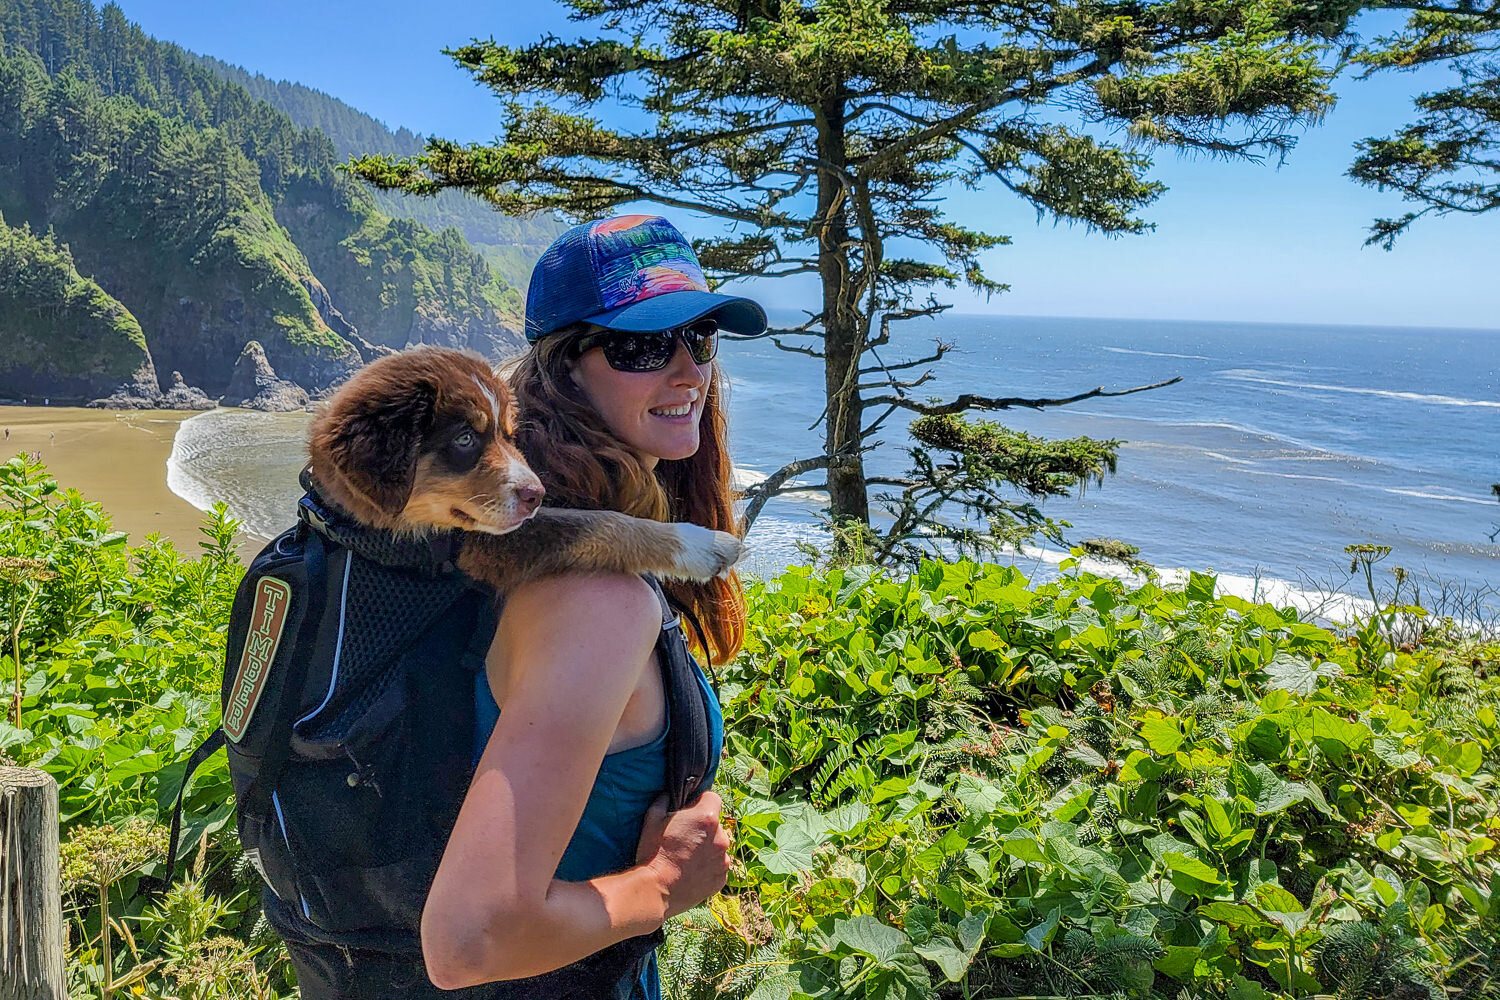
For smaller dogs and puppies, it’s a good idea to get a dog carrying backpack so your pooch can enjoy hikes with you, even when they can’t handle the distance on their own.
Dealing with pet waste
When your dog does its business, you should treat it just like you would your own in the backcountry. If you’re in an area where it’s safe to bury your waste, you may also bury your dog’s waste (in a hole 6-8 inches deep). In areas where you need to pack out your waste (like alpine areas and environmentally sensitive spaces), you should also be packing out your dog’s waste.
Leaving it on the ground isn’t just gross for other users of the area, but it can also destabilize the ecosystem because you’re introducing foreign matter into the soil and water systems. If we’re packing it out, we usually bring a gallon ziplock or a Loksak bag with us to isolate the doody bags from the rest of our stuff in an outer pocket of our backpack. If your dog carries a backpack, consider lining one of the pockets with a plastic bag so they can carry out their own poop bags. You should always bear-hang your dog’s poop with the rest of your smellies when backpacking in bear country. And please don’t leave poop bags on the side of the trail with the plan to grab them on the way out, because it just doesn’t work.
Food & WAter
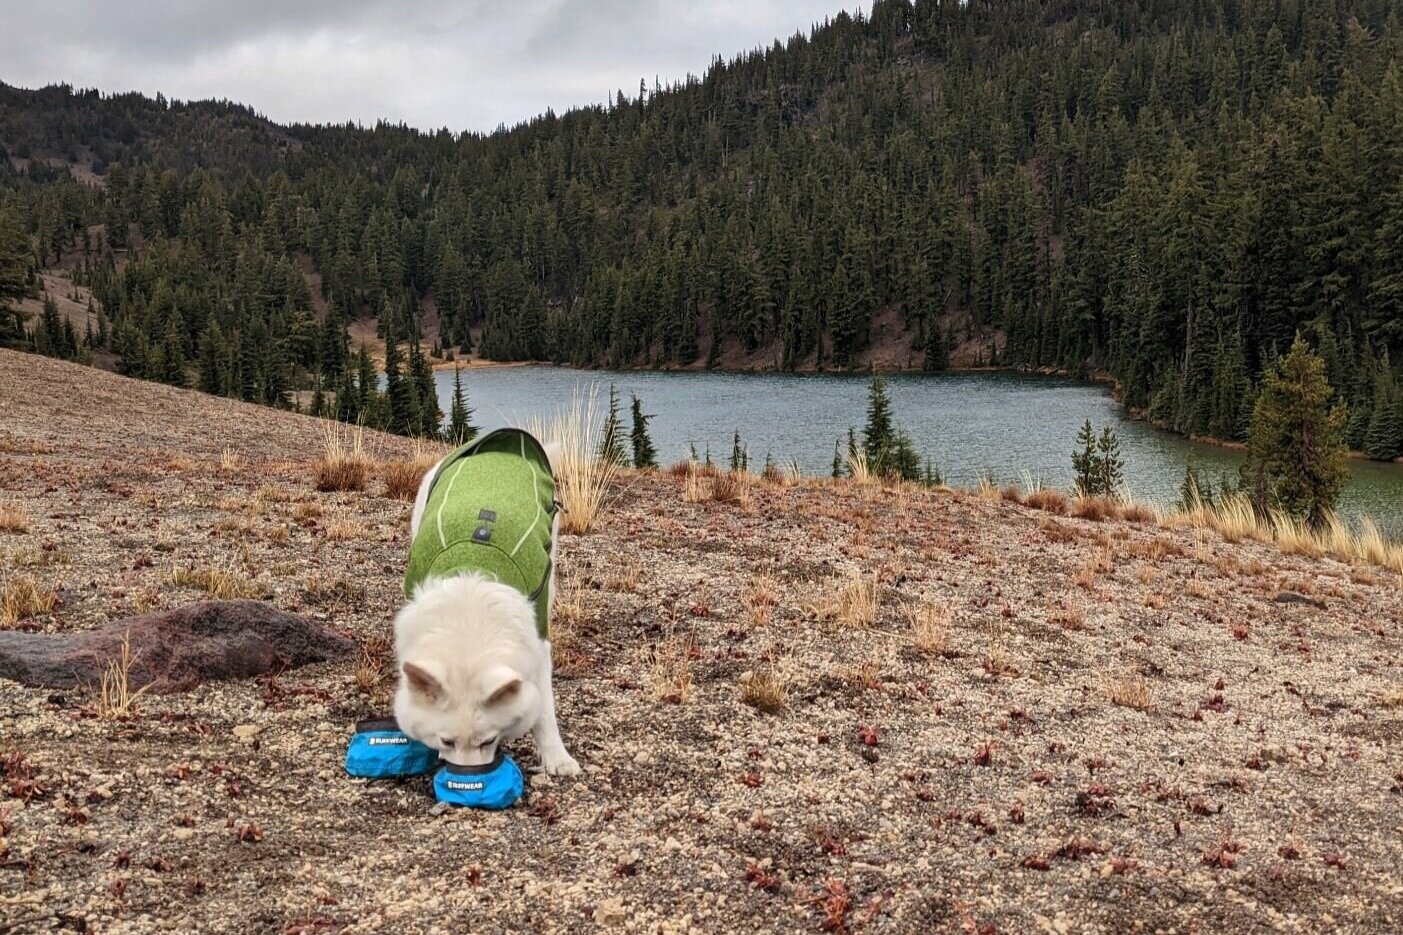
Dogs need extra calories and hydration for hiking, just like we do. Our dogs typically get a snack anytime we stop to eat on the trail. We pack high-calorie foods like peanut butter, jerky, and cheese to reward their efforts and keep up their energy level.
You may also want to feed them a slightly larger portion for their regular meals if you’re hiking a lot of miles or on a multi-day backpacking trip. It’s best to ask your vet how many calories they recommend feeding your dog on your trip.
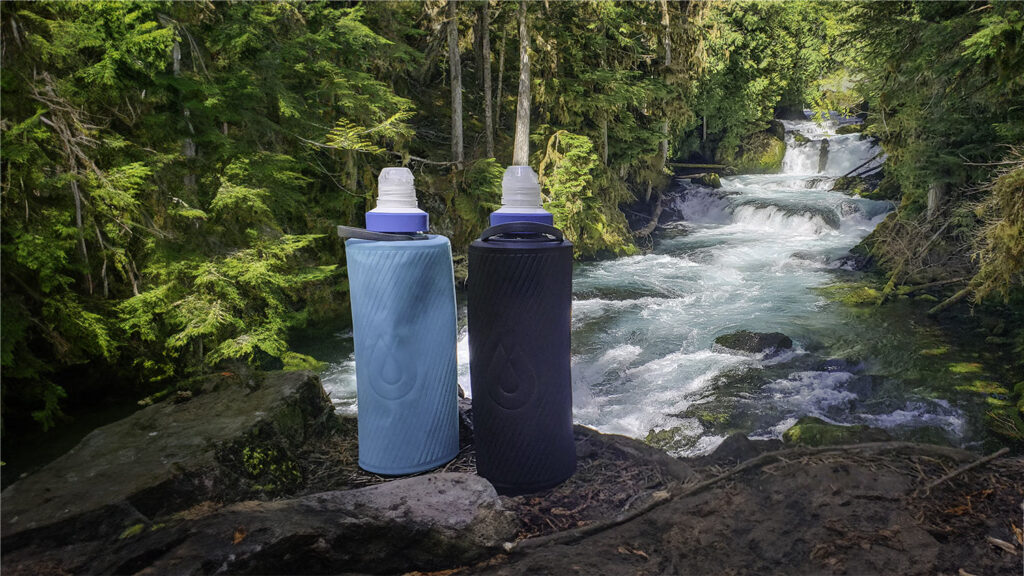
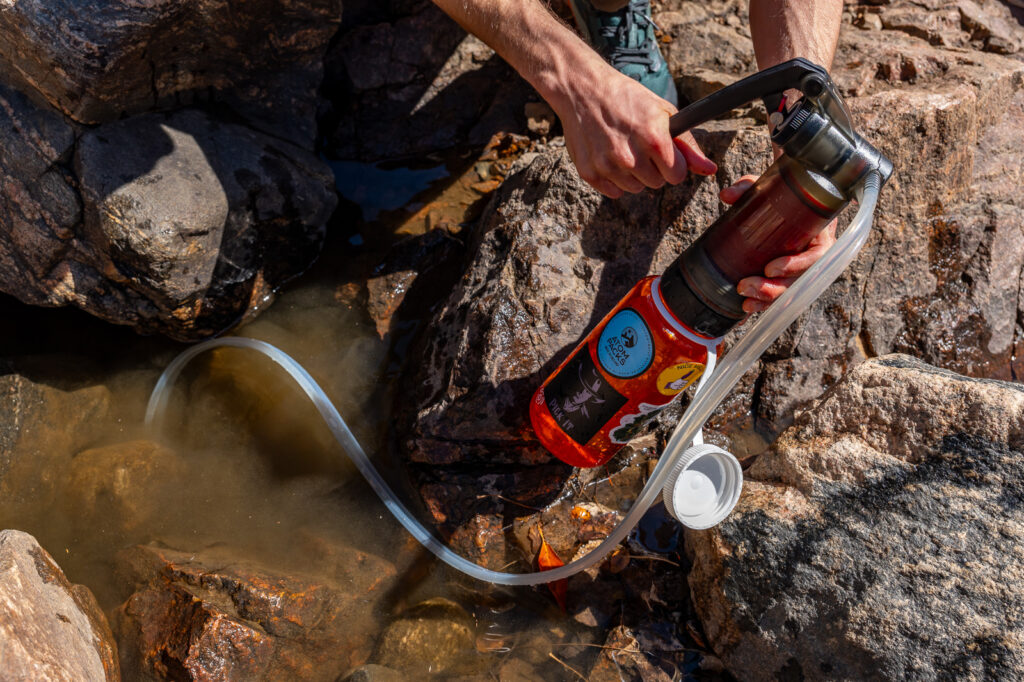
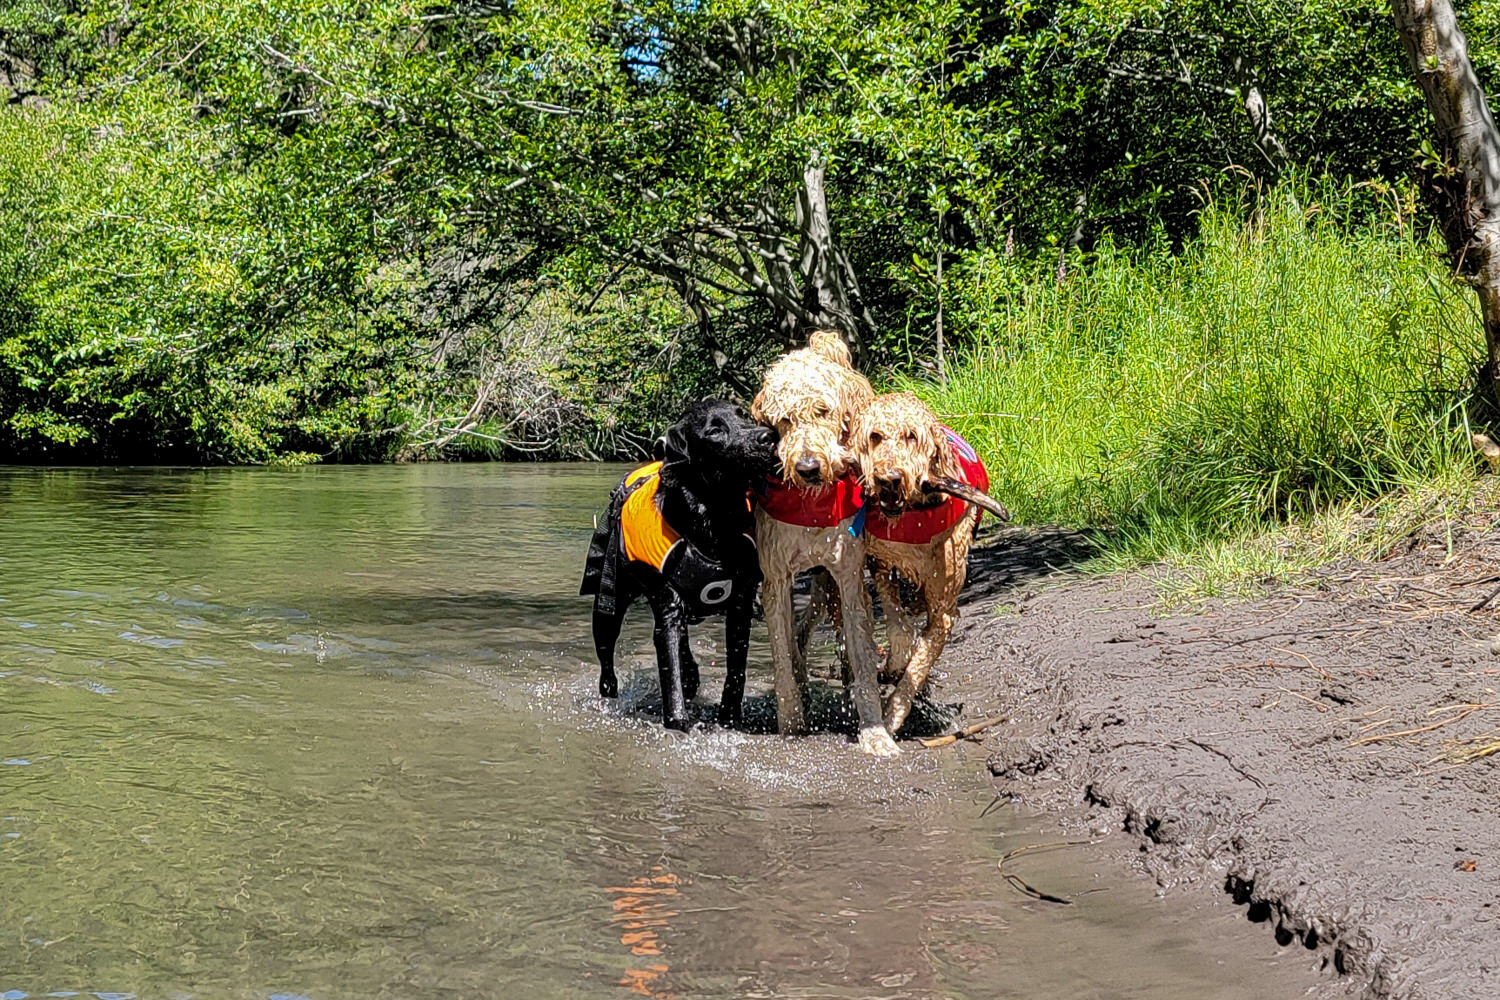
As for water, the best practice is to use a filter (see CleverHiker’s guide to the best backpacking water filter) to treat all of the water you offer your dogs in the backcountry. Though serious infections are rarer, dogs are susceptible to many of the same water-borne illnesses we are, like Giardia and Cryptosporidium.
Have a First Aid Kit & Know how to use it
If you take the proper precautions, you’ll greatly reduce the risk of anything going wrong on your hike. That said, things do happen, so you should always carry a first aid kit. Dog-specific ones can be made at home, or there are pre-packed options too. Practice wrapping a paw and irrigating a wound so your pup doesn’t freak out on you when they are in pain.

Avoid trail hazards
Take extra care to protect your dog around hazards like wildlife, swift water, steep ledges, and thin ice. The best way to ensure your dog’s safety around these dangers is to put them on a leash. During hunting season, put on a brightly colored reflective vest.
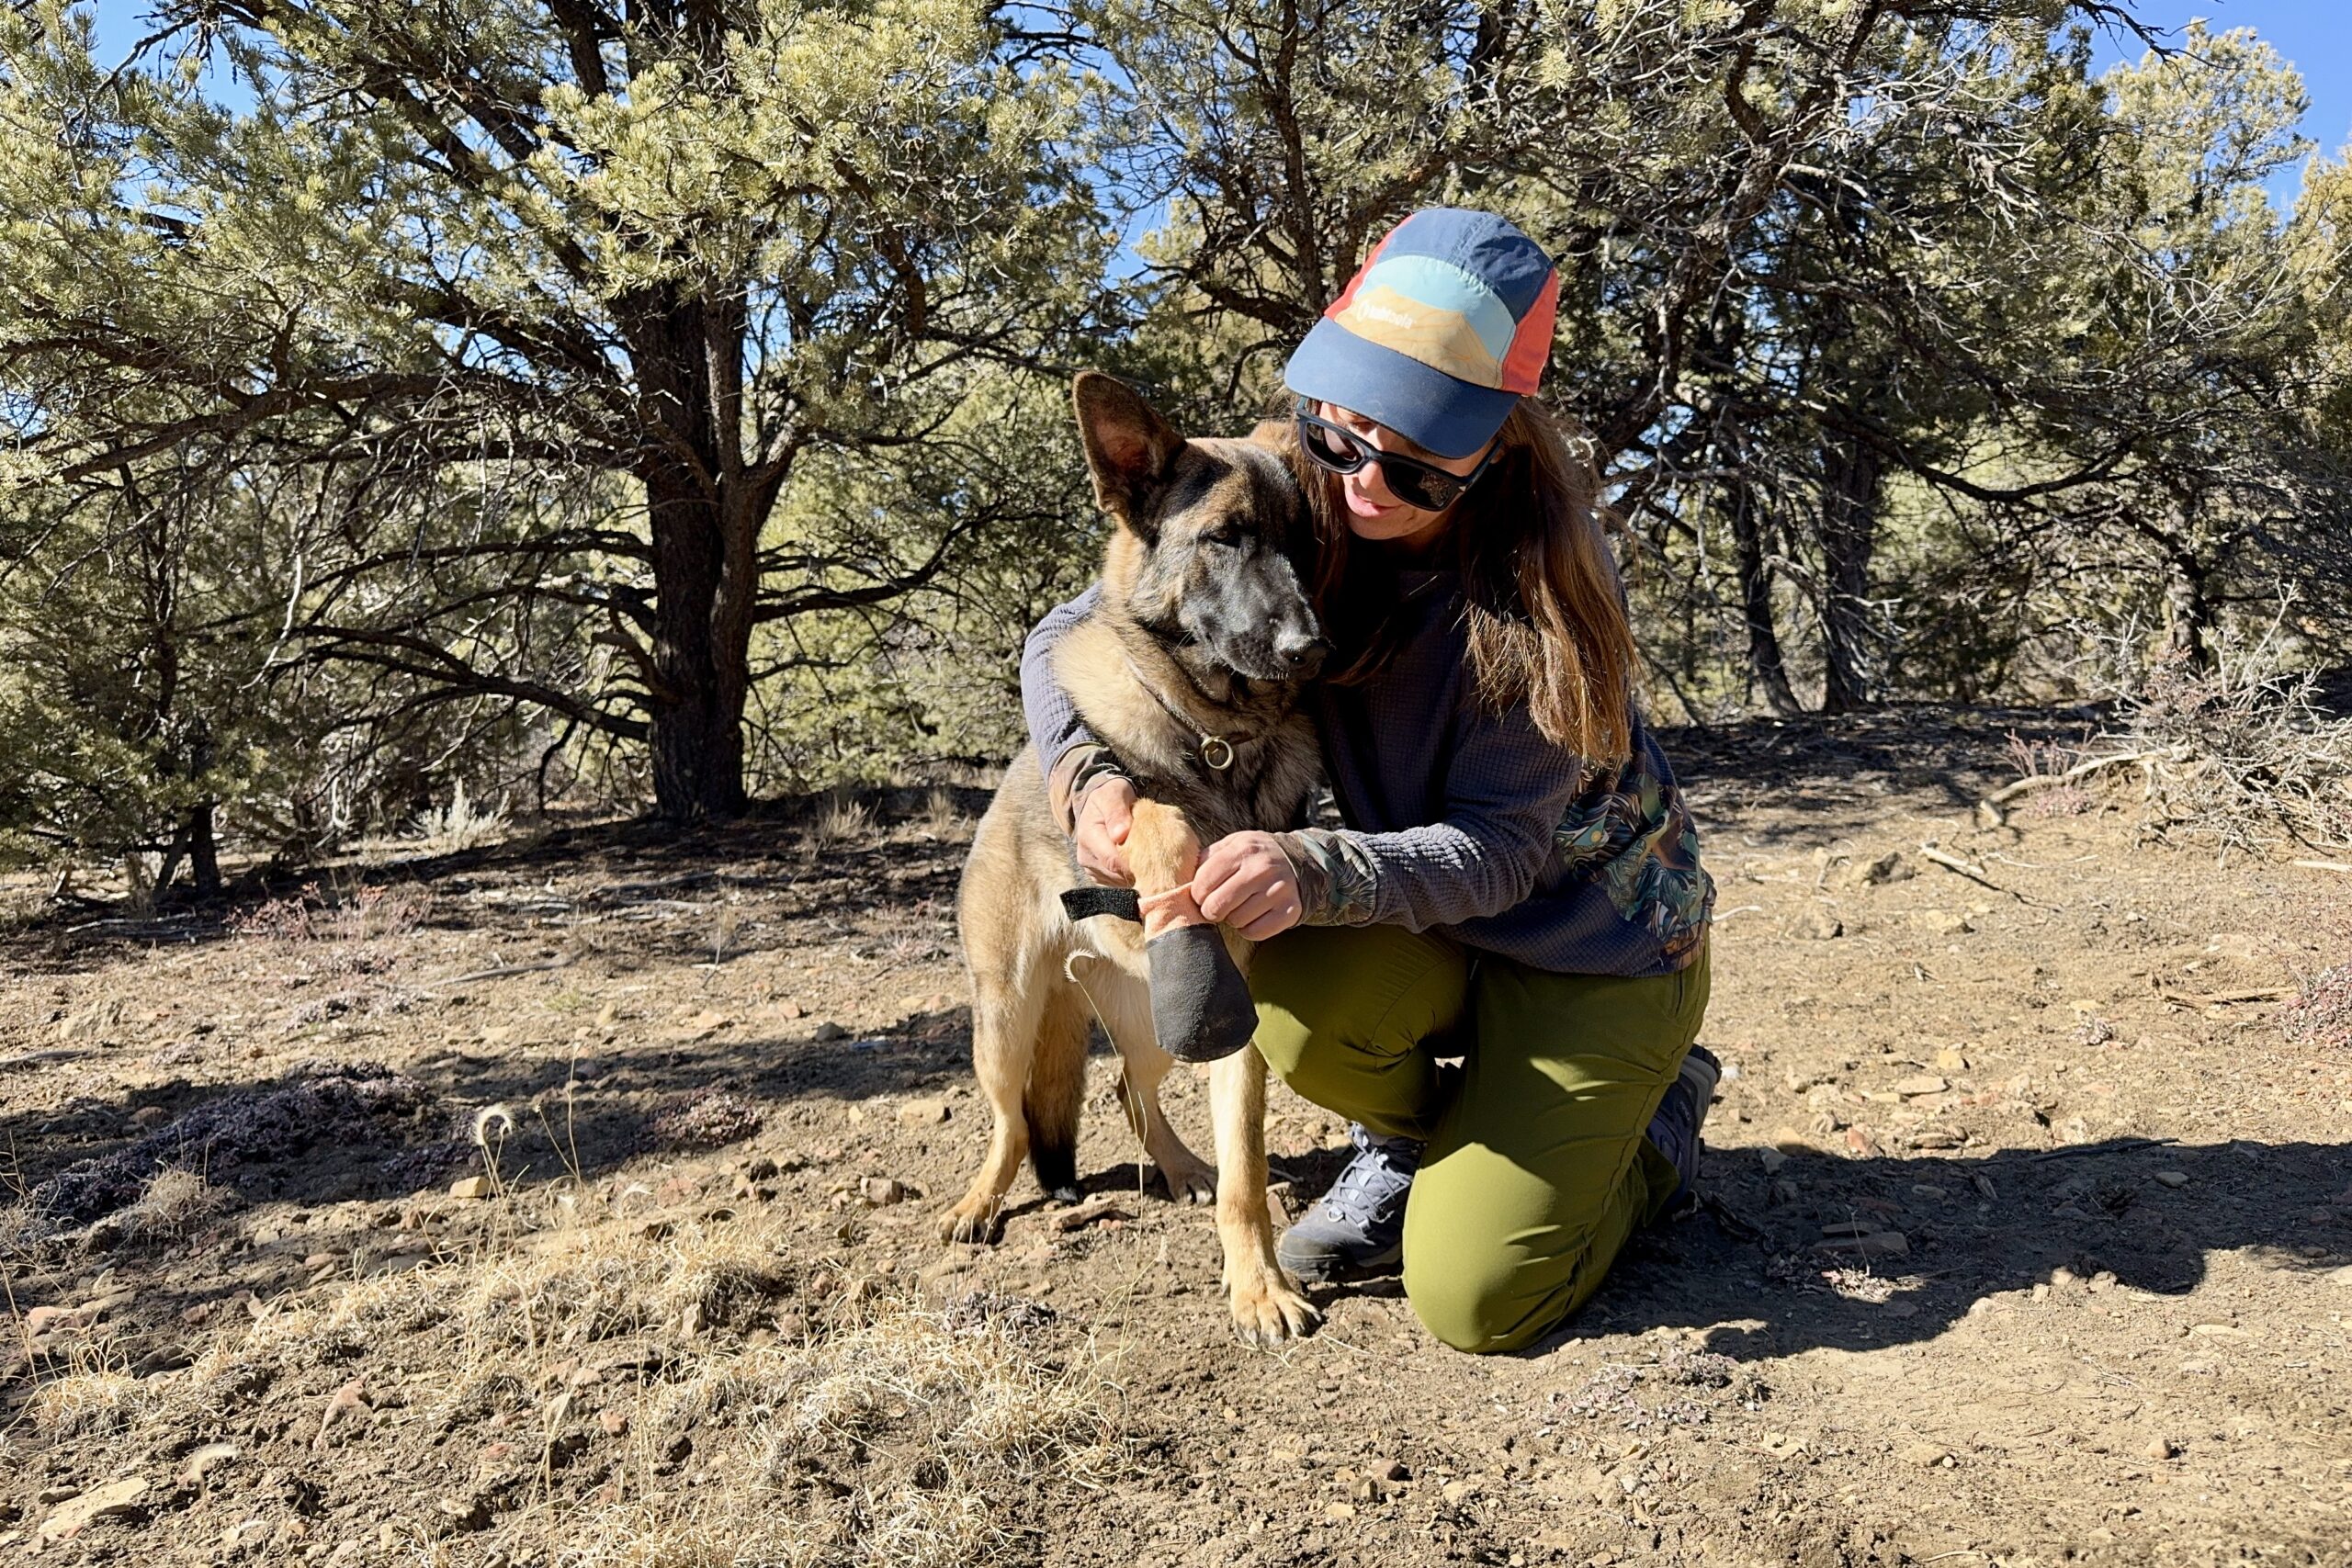
Protect their paws
You likely wouldn’t hike over rough terrain barefoot, and it’s better for your dog not to either. Dogs can develop painful blisters and tears on their paw pads if proper care isn’t taken.
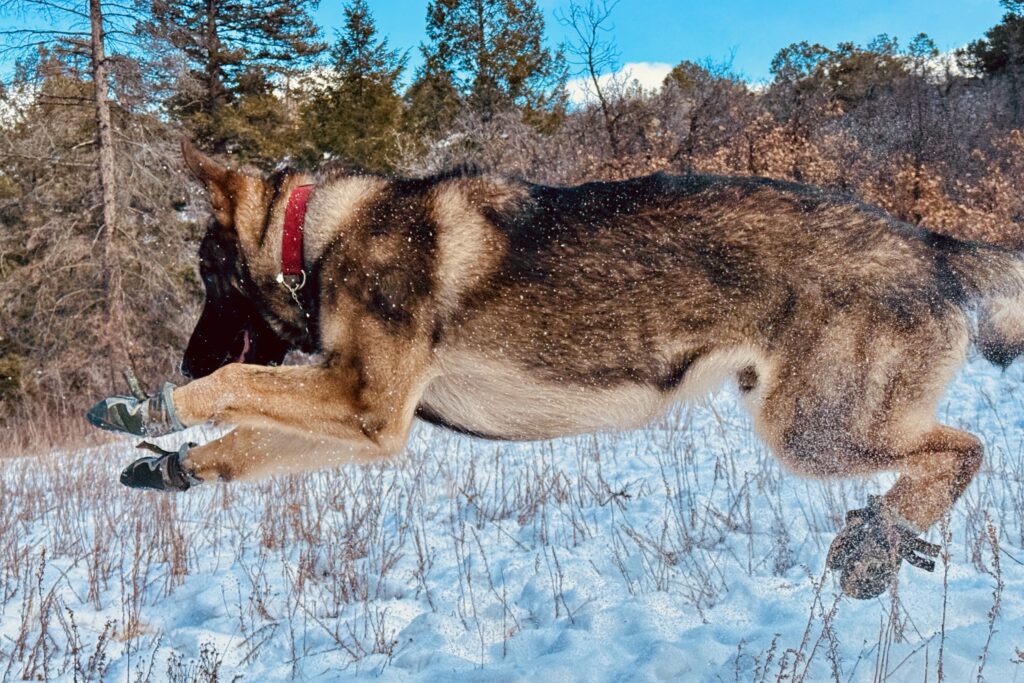
For rocky and abrasive (like volcanic landscapes) terrain, we put hiking boots on our dogs to protect their pads. See our guide to the best dog boots for the right kind for your doggo. They are also a good idea if your dog doesn’t get outside much to develop calluses, has virgin puppy paws, or is just prone to injuries.
For snow, sand, ice, and trails where the ground gets very hot (like paved trails and desert sand), we use Musher’s Wax to keep the paws from burning or collecting blister-causing debris.
Protect Your Gear
If you use lightweight gear, you know that some of the materials can be pretty delicate. Dog claws and teeth can have a devastating effect on your equipment, so it’s important to teach dogs that your outdoor gear is not theirs to destroy.
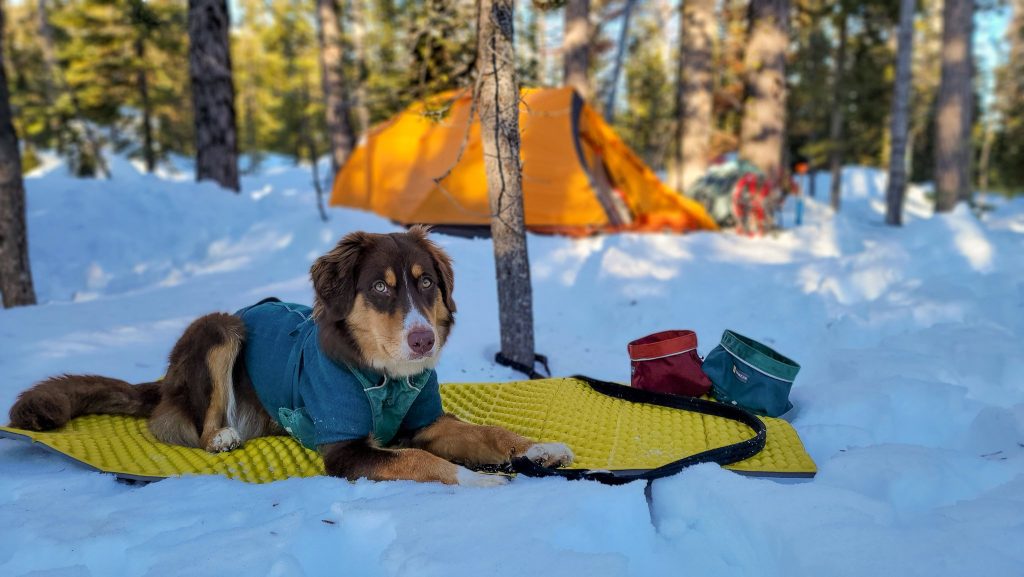
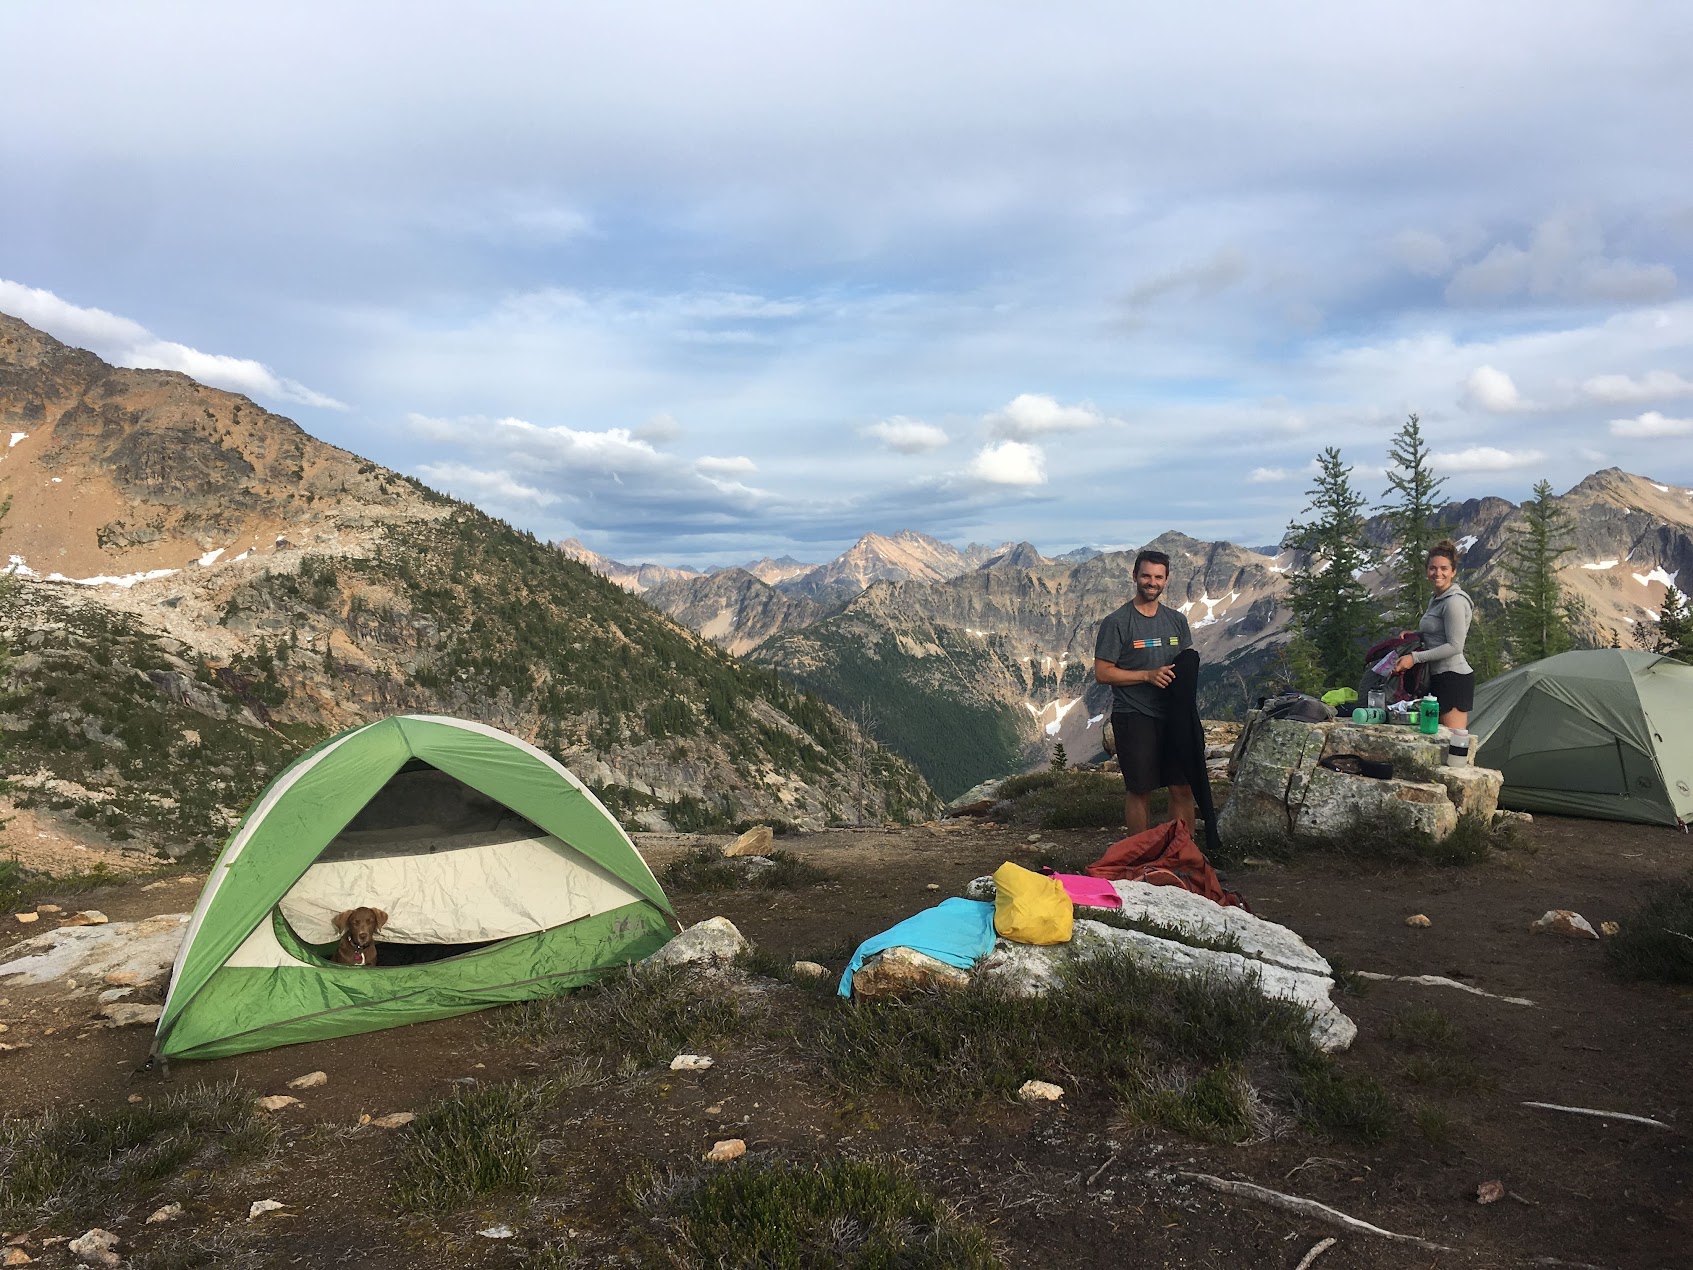
In the tent, we put dog socks on our puppers to protect our inflatable sleeping pads, sleeping bags, and tent floor from their claws.
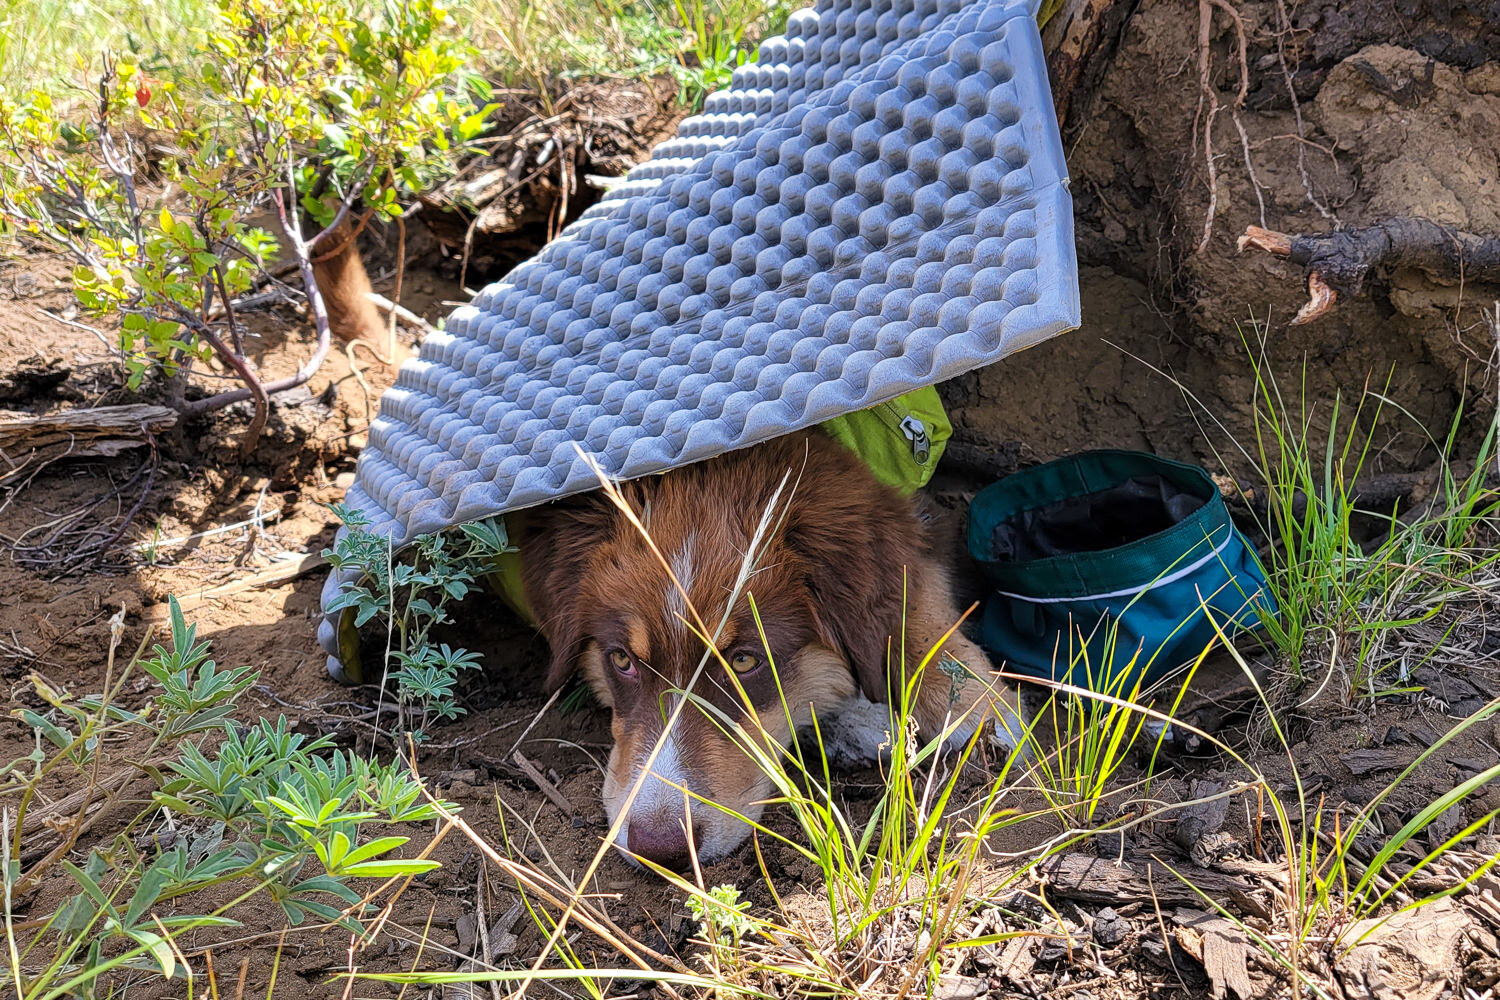
Bring a closed-cell foam pad for them so they have a cozy bed and don’t try to steal yours. If your dog scratches nests at home, you can bet they will in the tent.
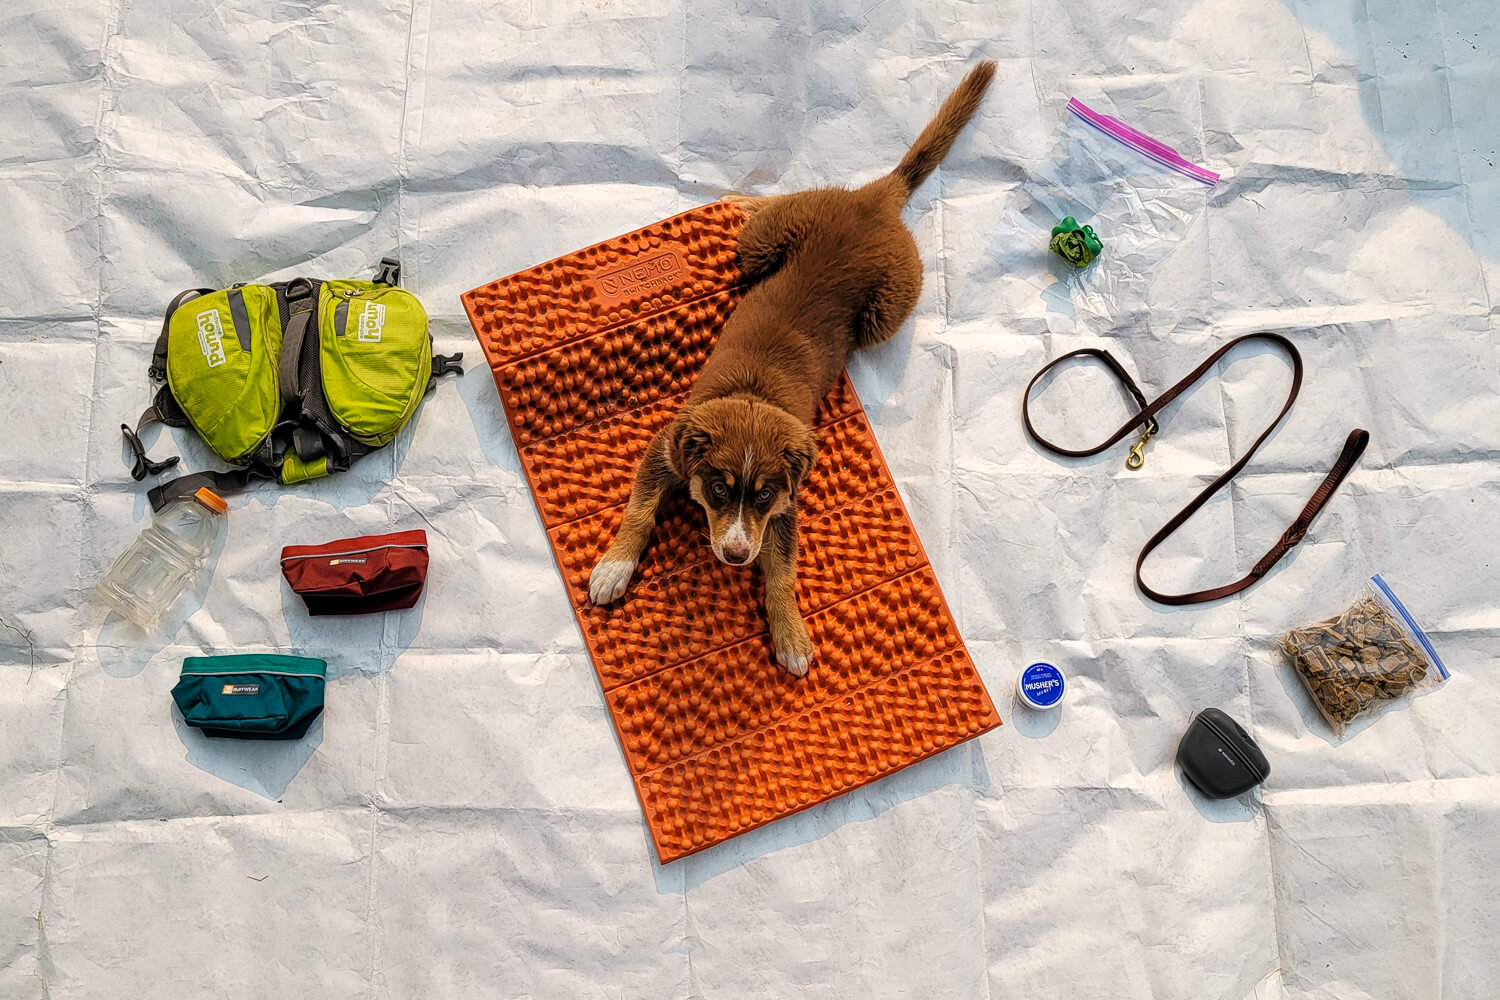
Dog Gear Checklist for Backpacking
- Any important medications
- Plenty of food (we pack ours in ziplocks or dedicated food bags)
- First aid kit
- Backpack (if your dog carries their own gear)
- Leash
- ID tags
- Light collar
- Poop bags
- Training treats
- Food and water bowls
- Treat pouch
- Snacks (peanut butter, jerky, cheese, etc.)
- Boots or Musher’s Wax (optional depending on terrain)
- Closed-cell foam pad; cut to size (we use this to keep them out of the dirt in camp and for them to sleep on in the tent)
- Dog sleeping bag or blanket (if you don’t want to share your sleeping bag on chilly nights)
- Socks / boot liners (for in the tent and/or to wear in conjunction with boots)
- gallon ziplock (for containing poop bags)
- Pack towel
- Toy (optional)
Clothing to suit the conditions