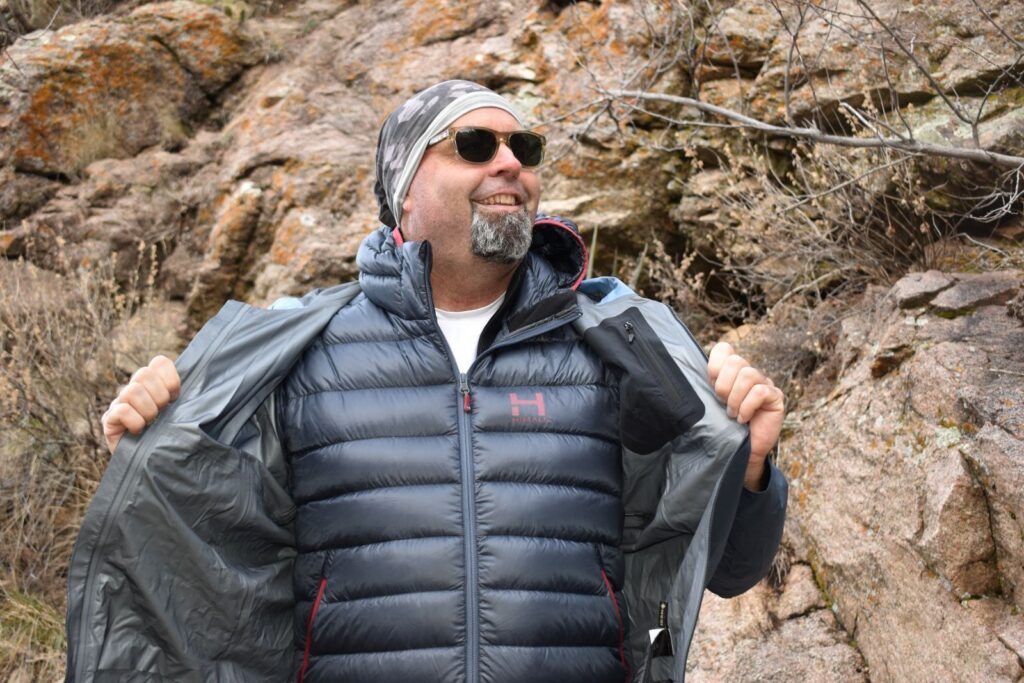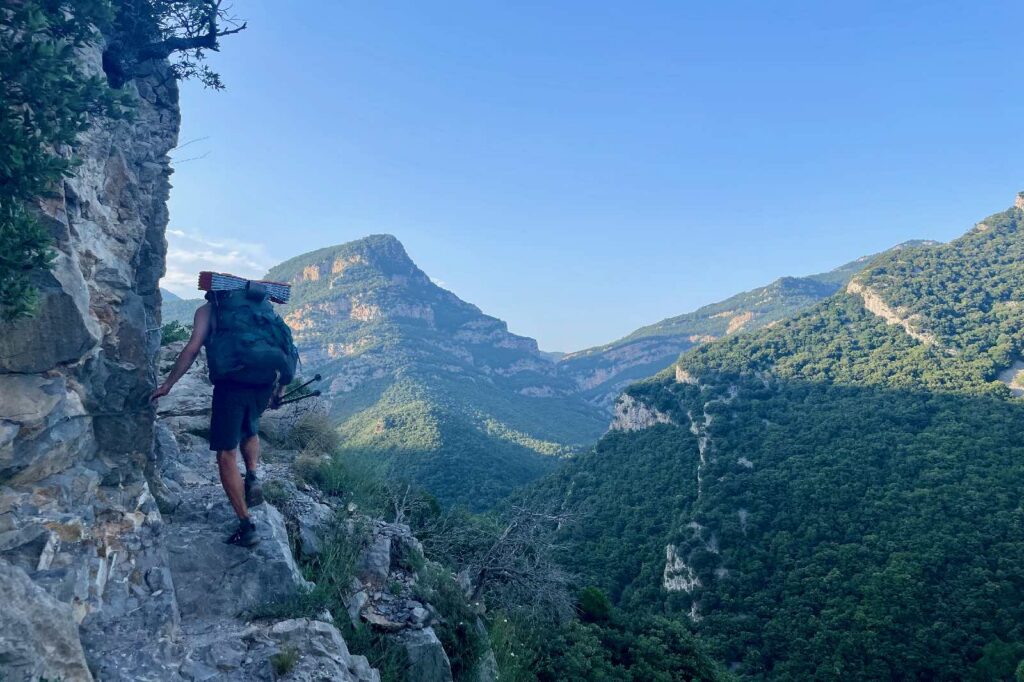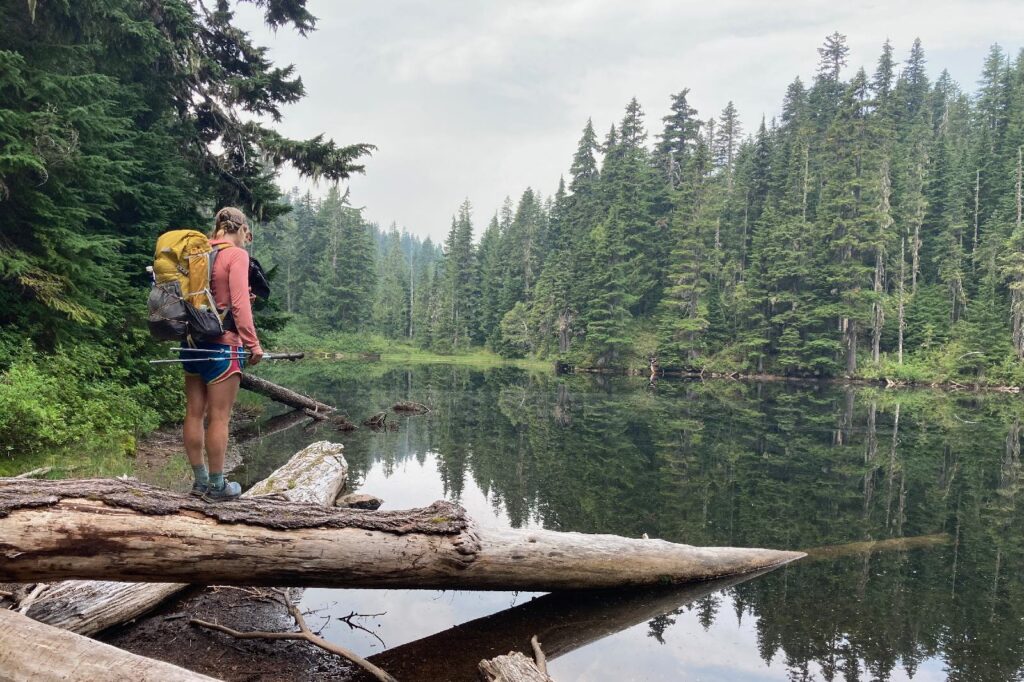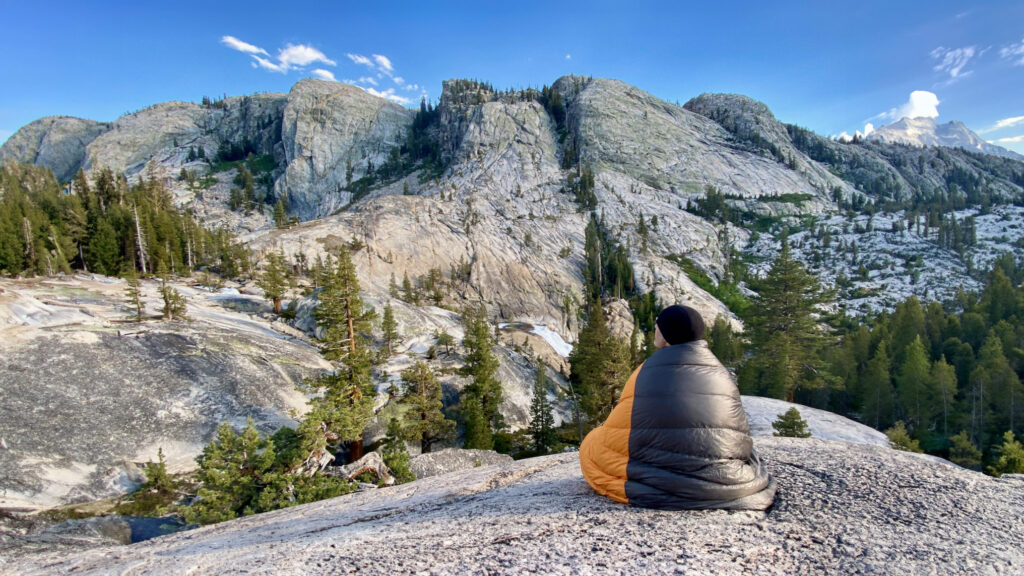
Dear inflation, please stop. Whether you’re just starting out or updating your worn-out gear, backpacking can be expensive, even though it’s simple living. With all the latest ultralight options and technical specs to compare, it’s hard to know where to start. Our 20 tips for backpacking on a budget are here to help!
Over the course of our 40,000 miles of trail adventures and 20+ CleverHiker gear analysts, we’ve found some competitive alternatives to pricier gear and have a few favorite tips and tricks for keeping your overall investments low and well-kept.
And for more info, check out some of our other popular gear guides:
1. Don’t Sweat a Couple of Ounces
Every single gear guide at CleverHiker has a “Best Budget” award for one item in the roundup. Look for our yellow budget buy icons(like below) on our gear guides as well. These are our favorites for providing a high bang for your buck, balancing weight, price, performance, and quality. Check our all our comprehensive guides in our backpacking section.
If budget is at the top of mind, save some dough and don’t focus on ultralight gear and go for a slightly heavier option. They are usually made with more durable materials and could be more comfortable if it isn’t compromising features for weight.
Often, it’s only a few ounces saved, but sometimes twice the price.

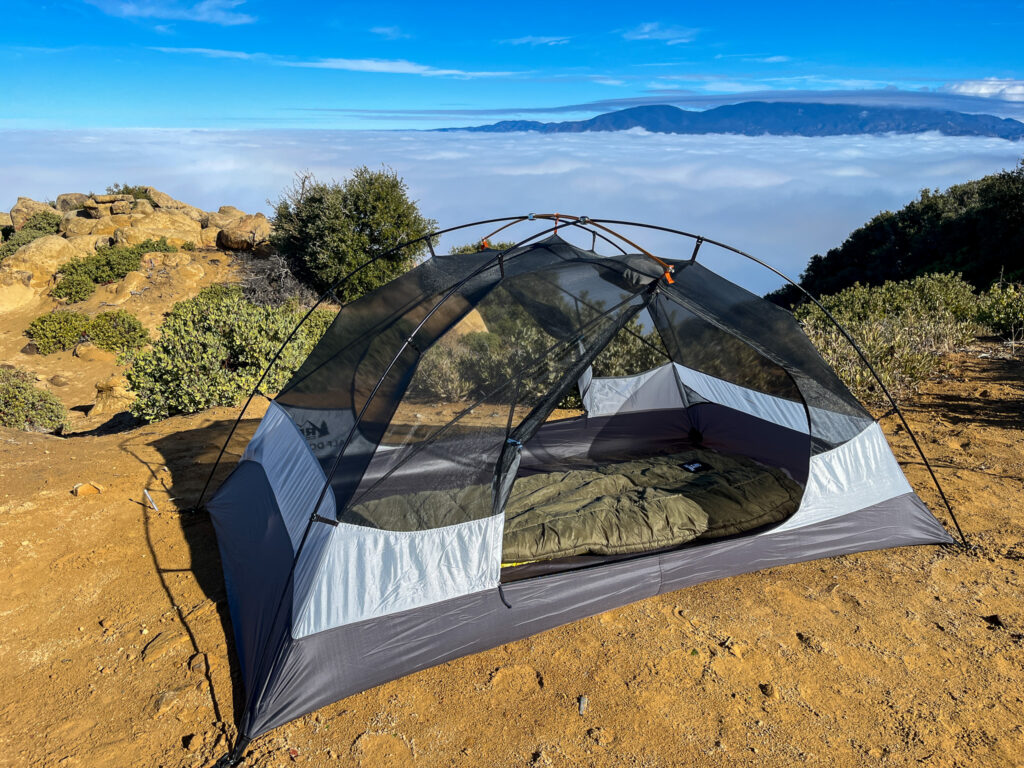
2. Wait For Sales On the Big 4
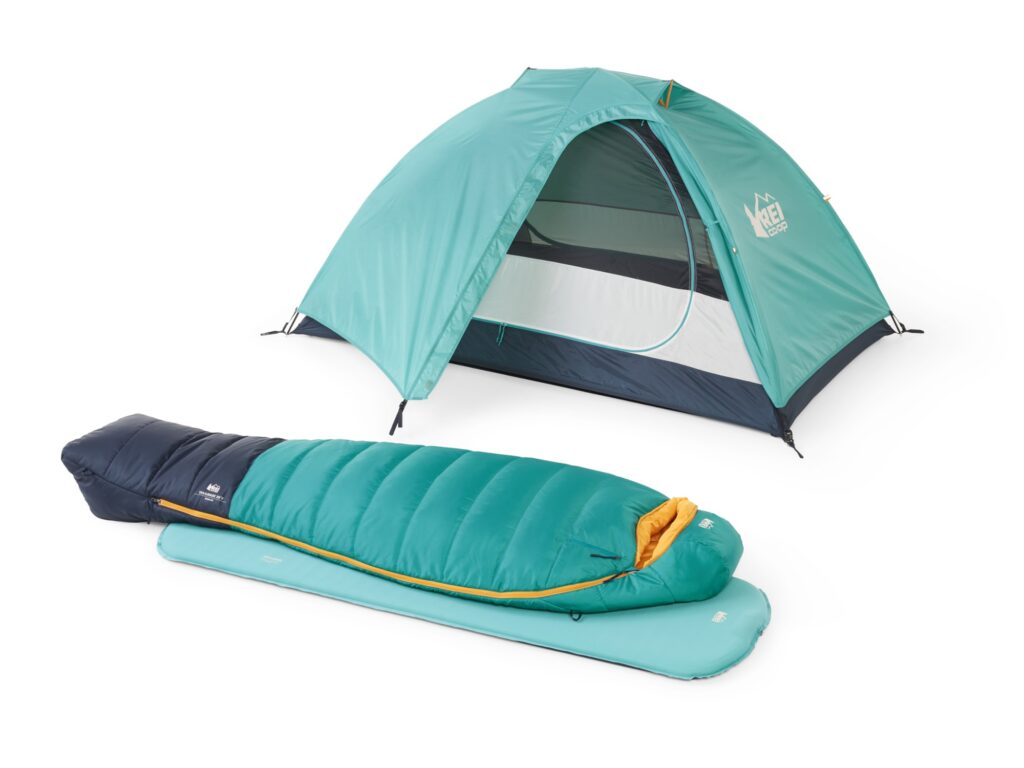
In our opinion, buying your top choice, brand new gear while on a budget is best reserved for the big four: tent, pack, sleeping bag, and pad. Wait for the sale and still get all the warranties on these bigger ticket items. “Buy once, cry once.”
Most backpacking gear retailers have sales between seasons to make room for new gear. For example, spring is usually the best time to buy an insulated winter jacket or 4-season tent.
Holiday promotions also drive big discounts. Memorial Day, Labor Day, Black Friday, and Cyber Monday are all great times to score big savings.
REI usually has its largest sale of the year – the anniversary sale – around Memorial Day. You can save up to 30% on sale items and take advantage of a member’s-only coupon for 20% off one full-price item. When REI has a sale or a 20% coupon, other retailers like Amazon and Backcountry often markdown to match the price.
3. Take Advantage of First Order Deals & E-list Coupons
They can be annoying pop-ups, but most manufacturers offer great deals for placing your first order with them or signing up to receive emails or texts. You can always unsubscribe if they spam you too much.
Backcountry gives you 15% off your first order in exchange for your email.
If you sign up for Public Land’s (formerly Moosejaw) e-list, they send you a coupon for 10% off your first order. They also have a price match guarantee.
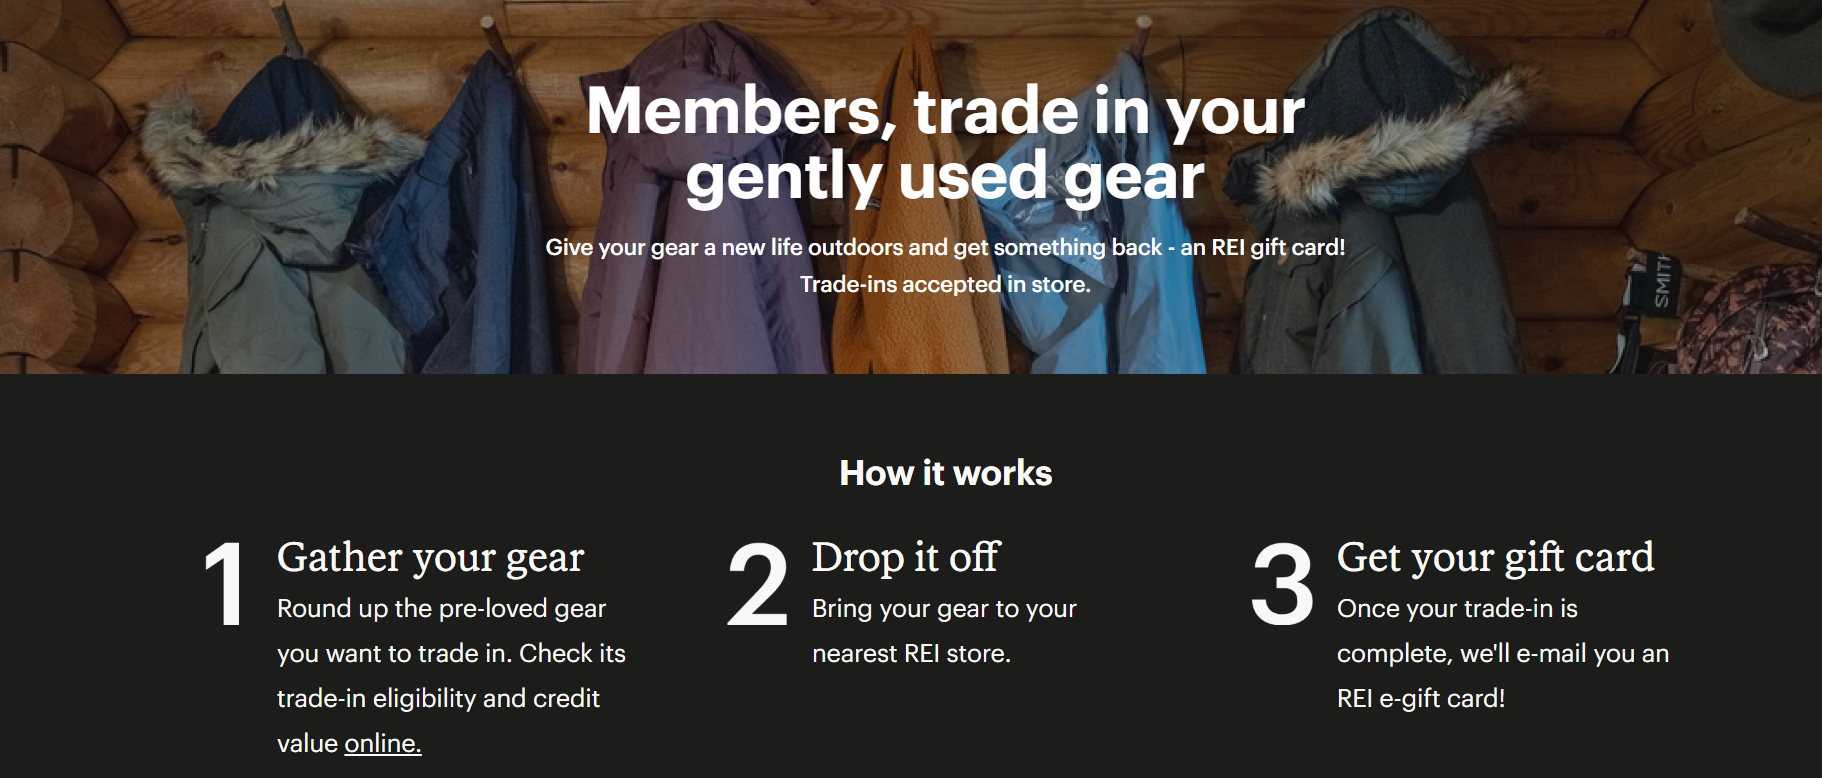
4. Buy Used Gear & Trade In Yours
REI has a section in their store called Re/Supply, where you can sell your used gear to get a little extra for your next big purchase, or buy used gear and often score some great deals.
You can also find some truly solid pieces on Reddit threads, Craigslist, Poshmark, Geartrade, and Facebook Marketplace. And if you happen to live in or near a mountain town, local hiking organizations often coordinate gear swaps or sales of their own.
REI members can trade-in their gear for store credit. Patagonia has a very successful trade-in and Worn Wear program. Trade your used gear in for credit, shop from their worn wear, and feel better about yourself.
5. Borrow Gear from a Friend
You might not have the gear, but your friends probably do! First off, make sure they don’t feel left out when you ask.
If you don’t want to ask your friend because they all now want to come with you, we’ve seen generous locals on community FB forums share their gear that’s gathering dust in the garage.
Friends with young kids are your best bet. Just be empathetic about the fact that they can no longer use their single- or two-person UL tent. Bummer.
You’ll probably get bonus points if you offer to babysit, mow their lawn, or walk their dog in exchange. Also, make sure to be a good friend. Treat borrowed gear with care, clean it after use, repair any damage, and return it promptly after your trip. Accidents happen, so be prepared to replace it if you really shralp it.
6. Rent Gear
So, your friends don’t have the gear either? Rent it! A lot of REI locations rent basic backpacking gear, and some locations have even started renting ultralight gear bundles at a weekly rate. This is a great option if you only plan to go out once or twice a year or if you’re new to backpacking and want to test out some gear before committing to a purchase. If you don’t have an REI near you, check with your local outfitter to see if they rent.
If you’re a college student, check if your school has an outdoor club and reach out to see if it rents gear – they often do.
There are also some online gear rental sites worth checking out, like FriendWithA, Outdoors Geek, Xscape Pod, and LowerGear Outdoors.
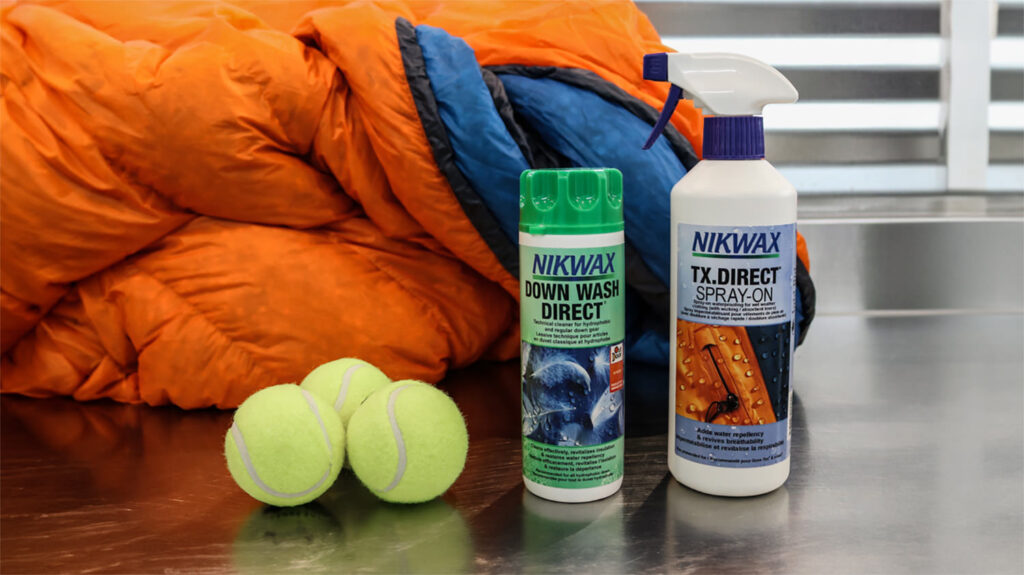
7. Take Care & Repair
A great way to save money is by simply making sure you take great care of the gear you already have. Here are a few easy ways to prolong the life of your current setup:
- Make sure to store your tent dry – when you get home, set up your tent in a sunny spot in your backyard or hang it up in your bathroom or on a clothesline to dry it completely before storing. Check out our tent care tips for more info.
- Use a footprint with your tent – footprints can be expensive, but they protect the bottom of your tent from tree sap and abrasive objects like sticks and rocks. You can make your own affordable, lightweight footprint by buying Tyvek and cutting it to size. You can figure out if a footprint is right for you in our Do You Really Need a Footprint article.
- Store your sleeping bag in a large mesh storage sack or hang it in your closet – never store a sleeping bag compressed in its stuff sack, as that will compress and deform its insulation over time. Check out our article on how to care for your sleeping bag.
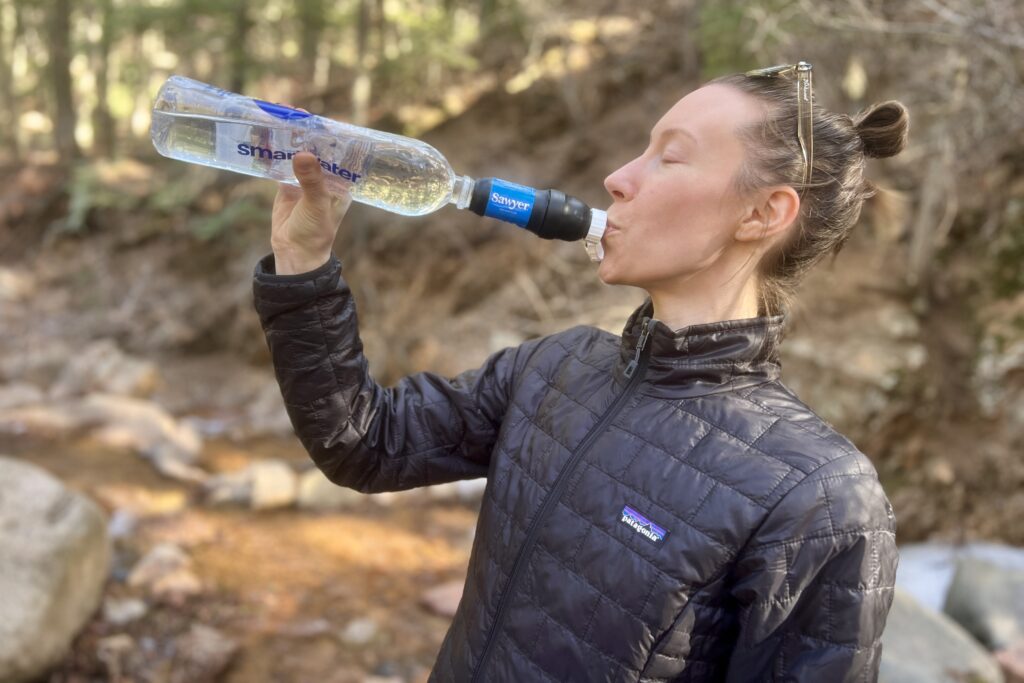
- Backflush your water filter – most filters come with a cleaning kit and are field cleanable. Regular backwashing will keep up the flow rate of your filter and make it last much longer.
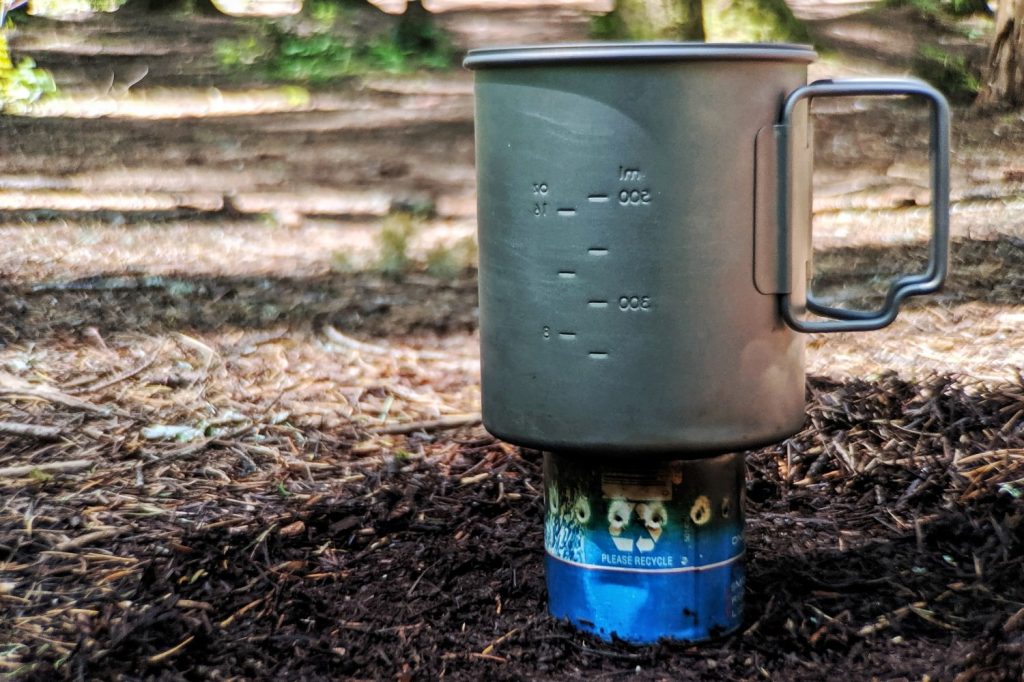
- Clean your cook gear when you get home – backpacking foods are often really salty, clean your pots before you store them to prevent corosion.
- Tenacious Tape will save your life – you can patch tents, sleeping bags, pads, and jackets with this stuff. We have a base layer shirt that fell victim to a stray campfire ember and the Tenacious Tape we used is still holding strong.
8. Buy a Backpacking Bundle
Just like all those streaming subscriptions, savings can be had if you bundle your buys.
REI offers a whole starter backpacking bundle with a tent, sleeping bag, and pad. If you were angling for these items anyway, you’ll save a few bucks if you buy all three at once.
As a bonus, this bundle almost always goes on sale during REI sale events, at least that’s what we’ve seen in the past.
9. Go for Synthetic Materials
Historically, insulated products with down fill are much lighter, but synthetic technology has come a long way over the past several years, and the difference in weight is getting less and less significant – especially when you factor in price.
Synthetics even have two major advantages over down – they dry quicker and will keep you warmer when wet.
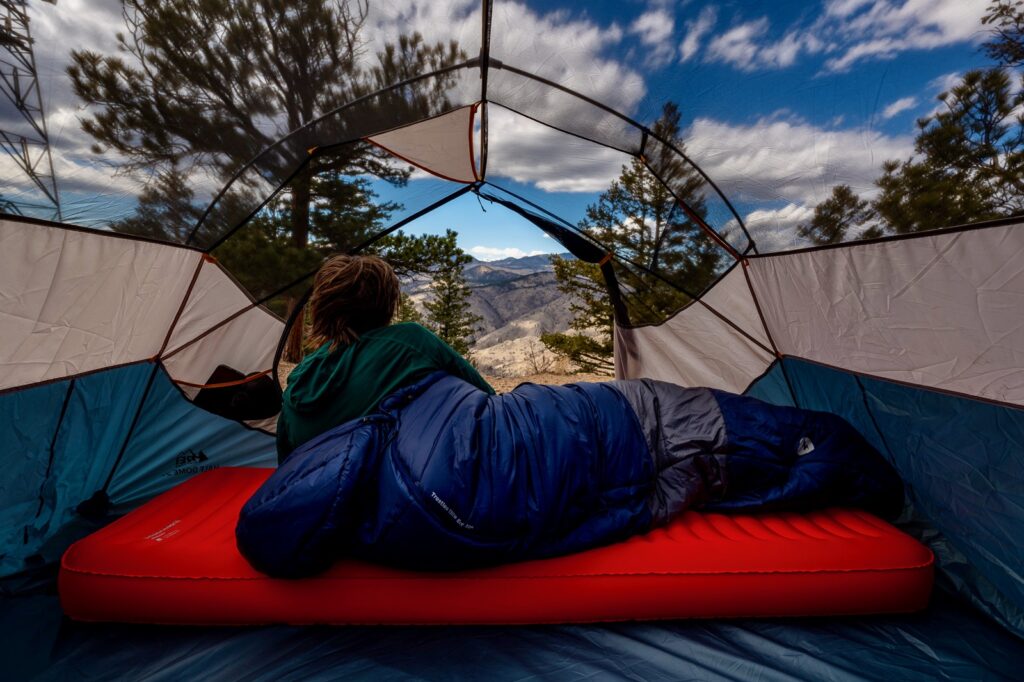
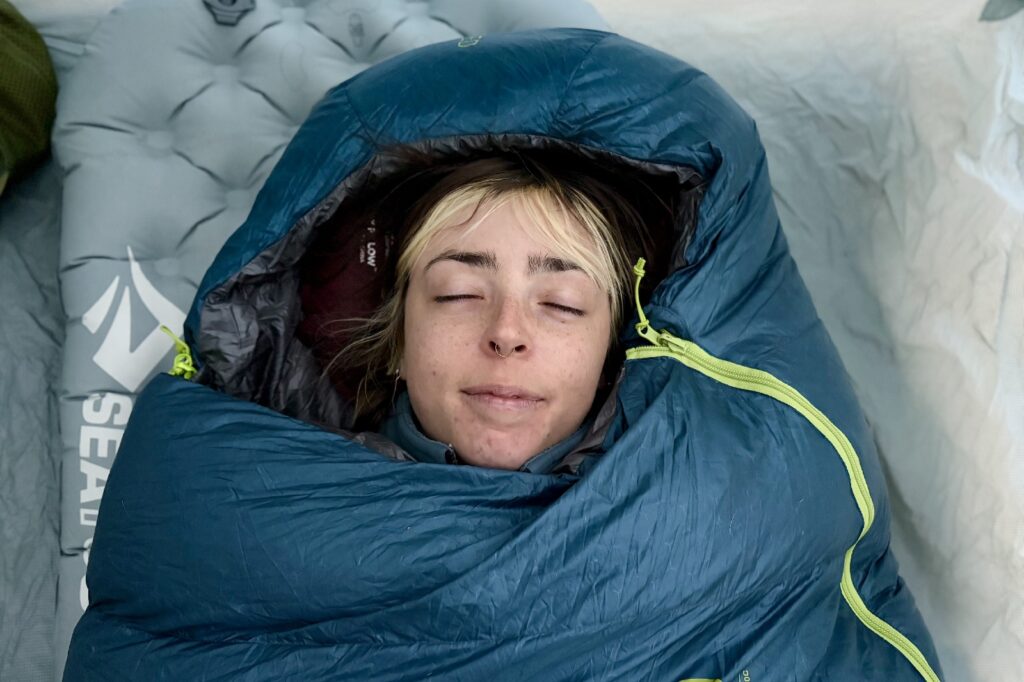
10. Get a Sleeping Bag Liner
A sleeping bag can be one of the most expensive pieces of gear in your pack. Many people own multiple bags for different seasons so they can get outside year-round, but you can turn your summer bag into an all-season sleep system with a sleeping bag liner.
In general, a 20-30°F (EN Lower Limit) bag will get you through the summer, fall, and spring if you live in a mild climate. If you like to winter camp or have more intense seasons, a sleeping bag liner can add up to 25 degrees to your setup. That’ll help you keep warm on chilly trips without needing to buy a new, expensive sleeping bag.
11. Don’t Buy/Bring Unnecessary Items
There’s an old saying in the backpacking community: “people pack their fears“. If you fear being cold, you’ll pack too many clothes. If you fear going hungry, you’ll pack too much food. If you fear getting injured, you’ll pack a huge first aid kit.
One of the most common mistakes beginners make is buying and carrying way too much stuff they won’t reasonably need. We find that a good lightweight backpacking checklist really helps with this, and the more experience on the trail you get, the more you’ll realize how much you can get by without. You should always carry the ten essentials with you when you hit the trail, but many things outside of that list should be considered luxury items.
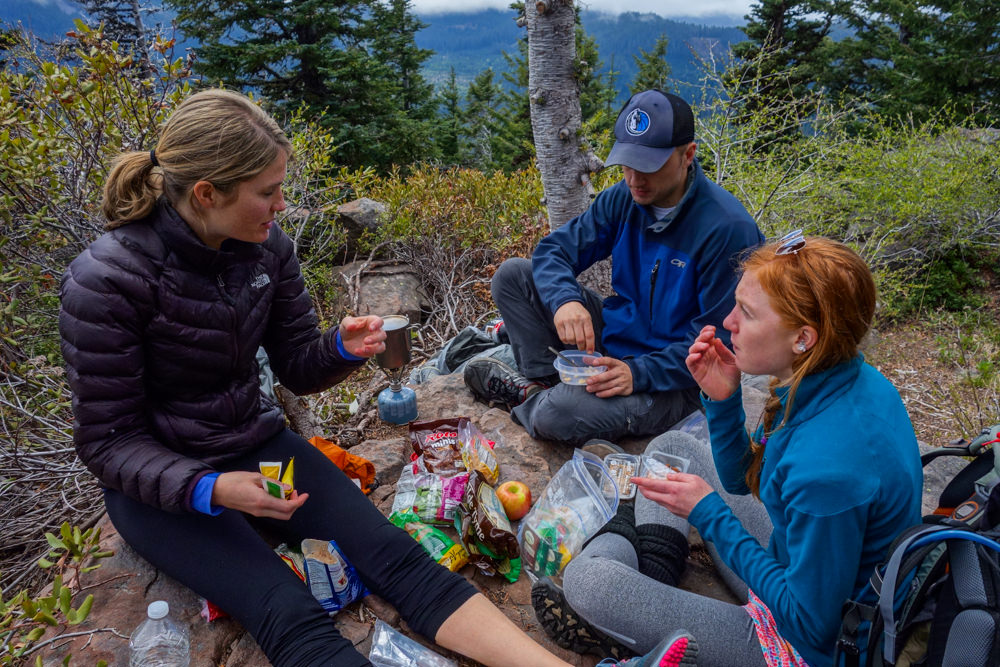
Planning ahead can save you money at the grocery store, as well. It’s all too common for us to see people pack too much food for their trip, which leads to overspending and a heavier pack. Before we go to the grocery store for trail meals and snacks, we always sit down with pen and paper or a spreadsheet and outline every meal we plan to eat.
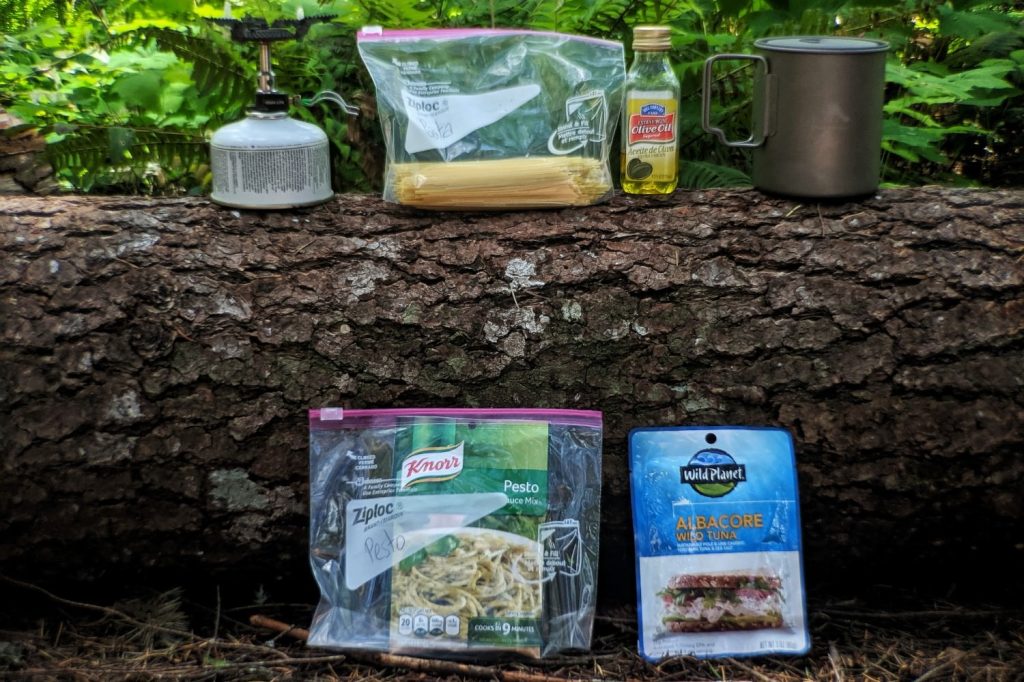
Here’s an example:
DAY ONE
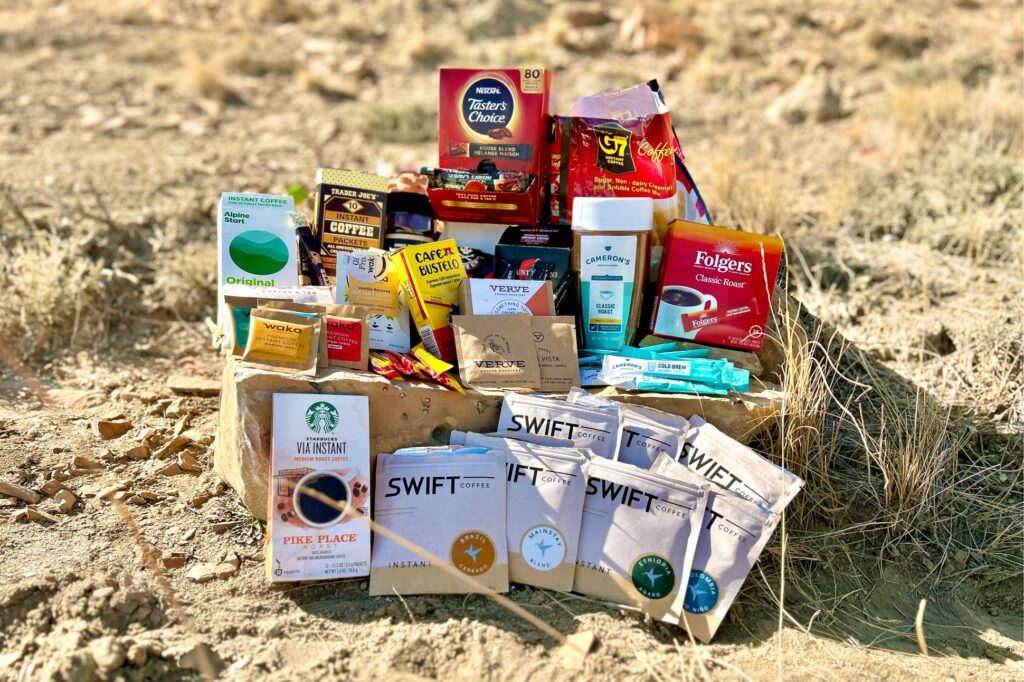
- Breakfast: Instant oatmeal and coffee
- Lunch: Peanut butter on tortillas
- Snacks: ProBar, trail mix, jerky
- Dinner: Angel hair pasta with dehydrated pesto packet and tuna
Just like at home, when you have a clear plan, you don’t end up making as many impulse purchases while still ensuring that you have plenty to eat.
For more ideas of what to include in your backpacking meal plan, take a look at our Best Backpacking Food Guide.
12. Consider a Closed-cell Foam Pad
There are many types of closed-cell foam pads on the market, and while we prefer the comfort and packability of inflatable pads, foam pads are cheap and won’t pop. If you’re okay sleeping on firm surfaces or planning to thru-hike, you’ll quickly get used to a foam pad being all you really need.
R-values stack, so you can even layer a foam pad underneath an air pad to make it work during colder months. Check our guide to the best sleeping pads to learn more.
13. Sit Pads Are a Great Alternative to Backpacking Chairs
Backpacking chairs are an increasingly common sight out on the trail; the Helinox Chair Zero (check out our full review) and the more affordable REI Co-op Flexlite Air Chair are great options. We love our Therm-A-Rest Z-Seat and rarely leave for a trip without it. Sit pads keep your bum dry when you sit on wet logs, make rugged rocks tolerable to sit on, and provide an insulating barrier between you and the cold ground.
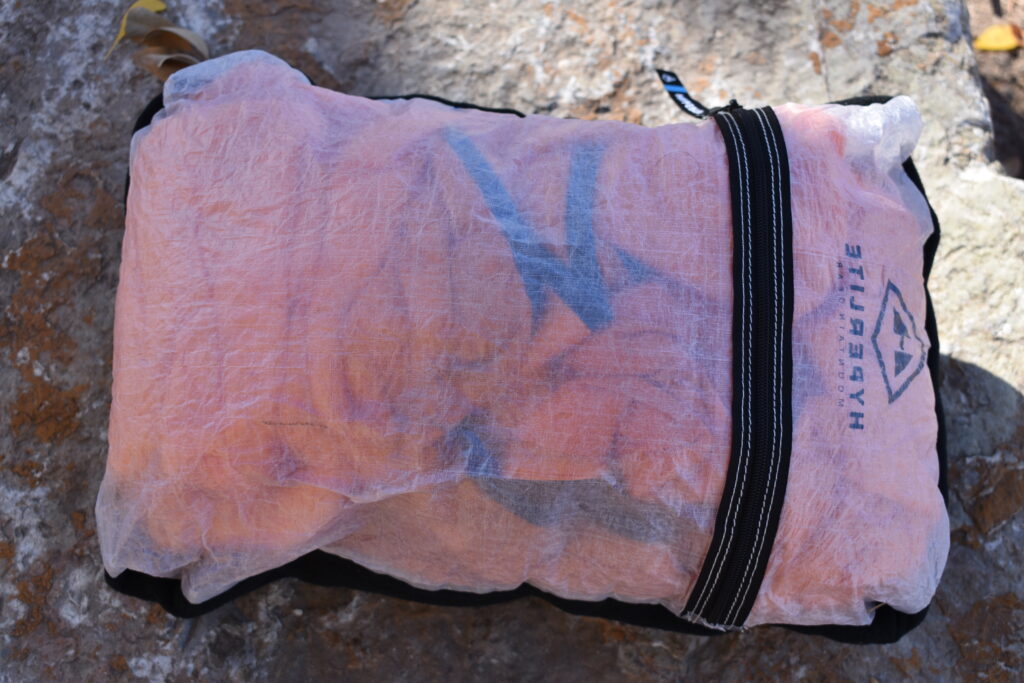
14. Use a Stuff Sack as a Pillow
Backpacking pillows are becoming very popular additions to camp sleep systems. You’re likely already bringing extra clothes in a stuff sack, and that’s almost… almost… the same thing. A puffy coat makes an excellent filling for a stuff sack pillow, and you can make it even more comfy by wrapping the whole sack in a fleece jacket or soft base layer shirt.
15. Use a Trash Compactor Bag as a Pack Liner
Keeping our gear dry is a huge priority when we go on trips. If you’ve ever had the pleasure of wrapping yourself in a damp sleeping bag, you know why. Pack liners and dry sacks are a great option for keeping important gear dry, but we’ve found that heavy duty trash compactor bags work just as well (just make sure you are getting unscented bags).
16. Use Ziplocs & Buy Snacks in Bulk
Speaking of keeping your stuff dry, we like to use Ziplocs to keep small things like our phones and paper maps dry. As long as they’re sealed properly and don’t get holes in them, we’ve found Ziplocs are really effective.
We also package a lot of our food in Ziplocs to help cut down on micro-trash from packaging and as a basic odor-proof barrier. We like to label our Ziplocs so we know what was in them, then we can keep reusing them for multiple trips.
Individually wrapped bars, hydration packets, and other sporty snacks will often cost more than foods you have to put together yourself. Buy in bulk and package yourself where you can!
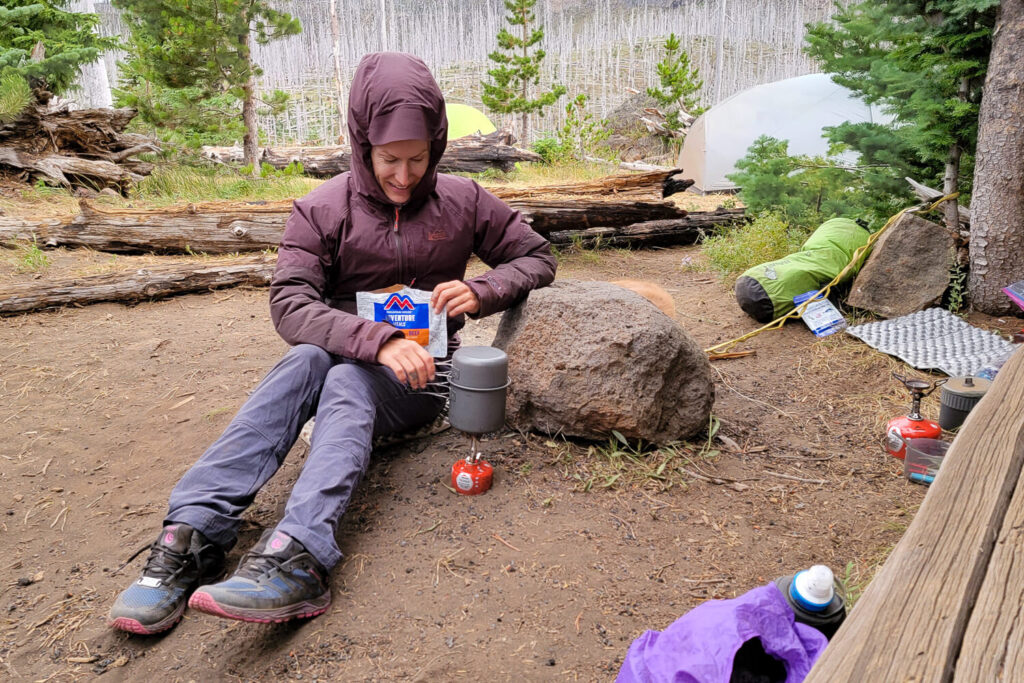
17. Make Your Own Backpacking Meals
Prepackaged dehydrated backpacking meals are really convenient, but can be pretty pricey, especially if you’re going out for multiple days.
If you have the time and the passion, you can save a boatload by making your own meals. You can learn more in our extensive guide to lightweight backpacking meals as well as our catalog of meal recipes and food dehydration tips.
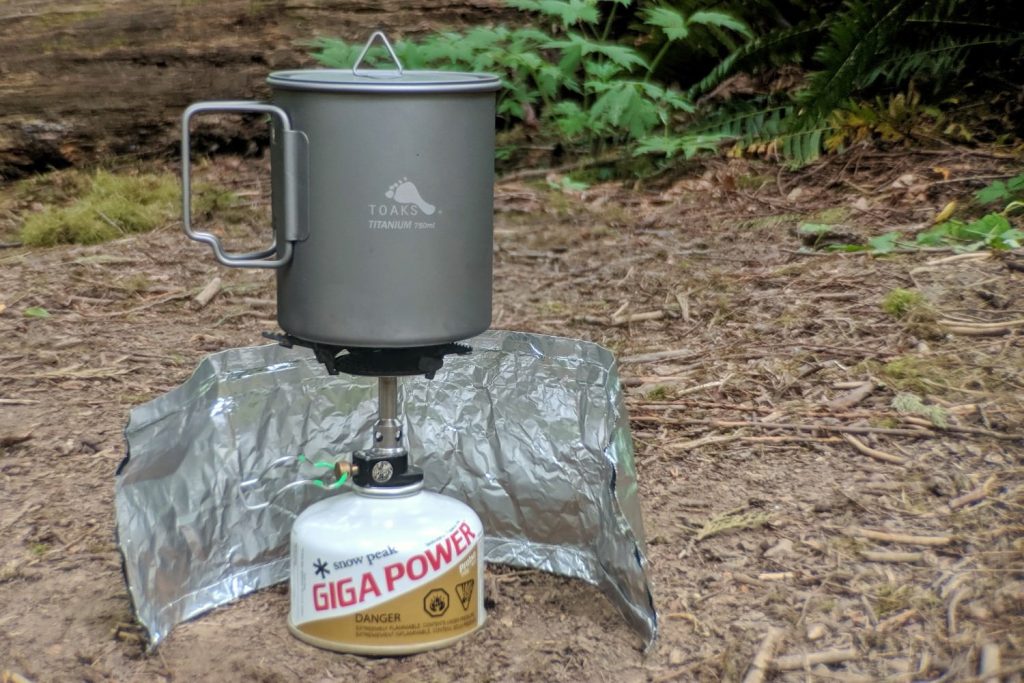
18. Make an Aluminum Foil Windscreen
Windscreens are a great addition to any camp cooking set-up; they increase your fuel efficiency (which reduces your fuel use and cost) and yield faster boiling times. A windscreen costs around $10-$15 online. However, you can also make one for pennies from aluminum foil.
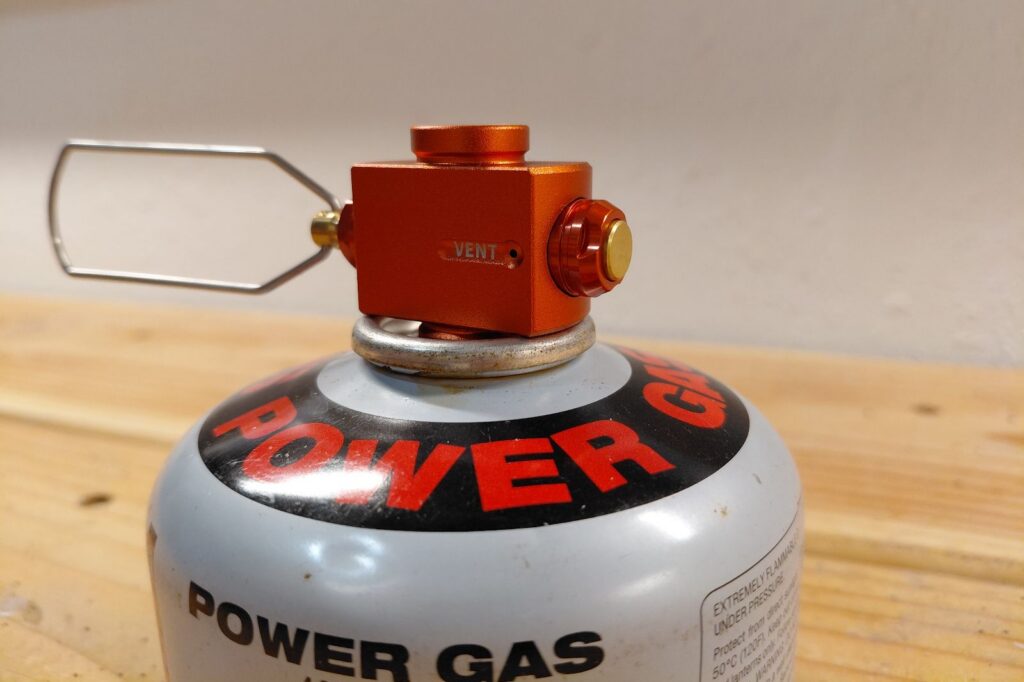
NOTE: Though very rare, fuel canisters can overheat and explode under the wrong conditions. If you are using your windscreen with a canister stove, be sure to leave one side completely open to let heat escape.
19. While You’re at it, Make Your Own Stove
We prefer to use canister stoves for our backpacking trips. They’re quicker, easier to use, and offer more control over the flame size. However, if you’re really trying to hit the trail on the cheap, you can make an alcohol stove out of a standard 12 oz. soda can. We’ll just leave this note about how to use your new alcohol stove safely here, as we’ve witnessed many an alcohol stove blunders in the wilderness.
20. Quick Picks for Budget Backpacking Gear
TENTS
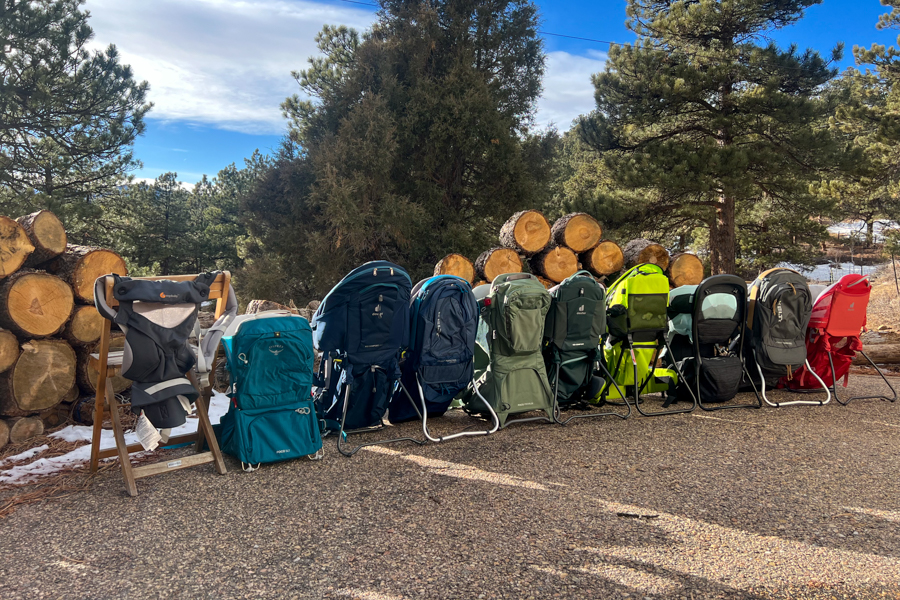
BACKPACKS
- REI Co-op Flash 55 (Men’s / Women’s)
- Osprey Rook (Men’s) & Renn (Women’s)
- Osprey Exos (Men’s) & Eja (Women’s)
SLEEPING BAGS
- REI Magma 15
- Marmot Trestles Elite Eco 20
- Exped Terra 15
- NEMO Disco 15 (Men’s / Women’s)
SLEEPING PADS
FOOTWEAR & CLOTHING
STOVES & CAMP KITCHEN
- Stove: BRS 3000T
- Cookset: Soto Amicus Stove Cookset Combo
- Pot: Toaks Titanium 750 ml. Pot
- Spoon: Humangear GoBites Bio-Uno
WATER Treatment
OTHER GOOD BUDGET GEAR & ACCESSORIES
- Headlamp: Petzl Tikkina
- Compression Stuff Sacks: REI Co-op Lightweight Compression Sacks
- Sit Pad: Therm-a-Rest Z-Seat
- Trekking Poles: Trekology Trek-Z 2.0
- Pillow: Therm-a-Rest Compressible
- Battery Charger: OKZU 10000
- Pocket Knife: Opinel No. 8
- Multi-tool: Gerber Suspension NXT
- First Aid: Adventure Medical Kits Ultralight & Watertight .7 Kit
- Bathroom Essential: REI Snow Stake (used as a cathole trowel)
Final Thoughts
There are so many ways to cut costs when gearing up to go backpacking without cutting comfort. Whether you’re new to backpacking and want more tips to help get you started, or if you’re a seasoned hiker wanting to brush up on some skills, check out this other popular content: