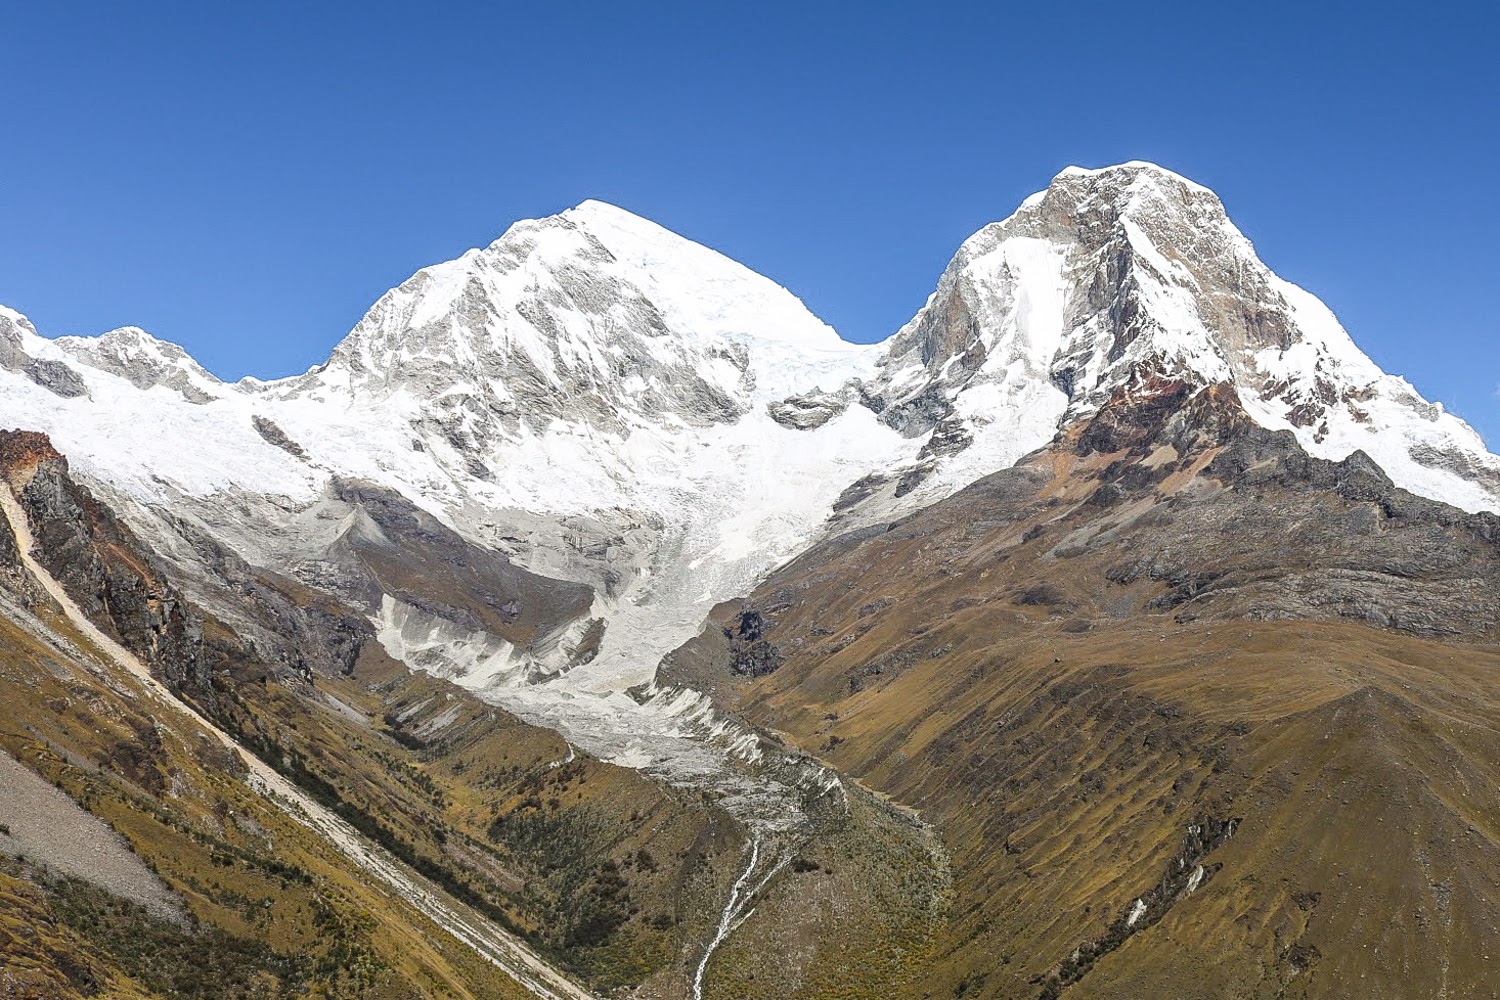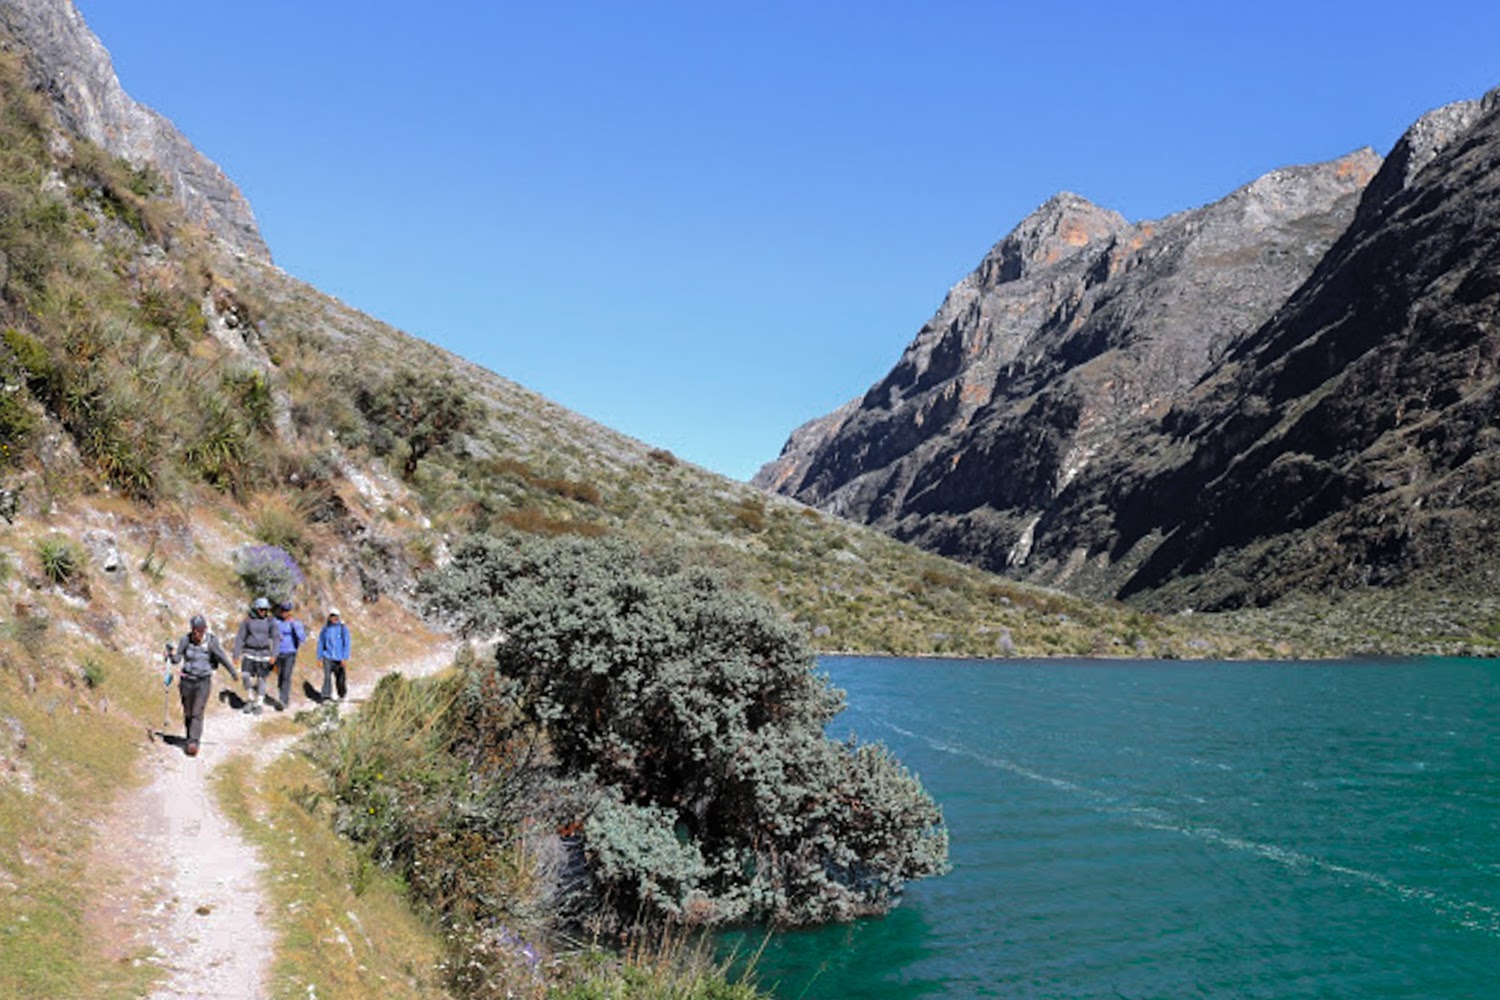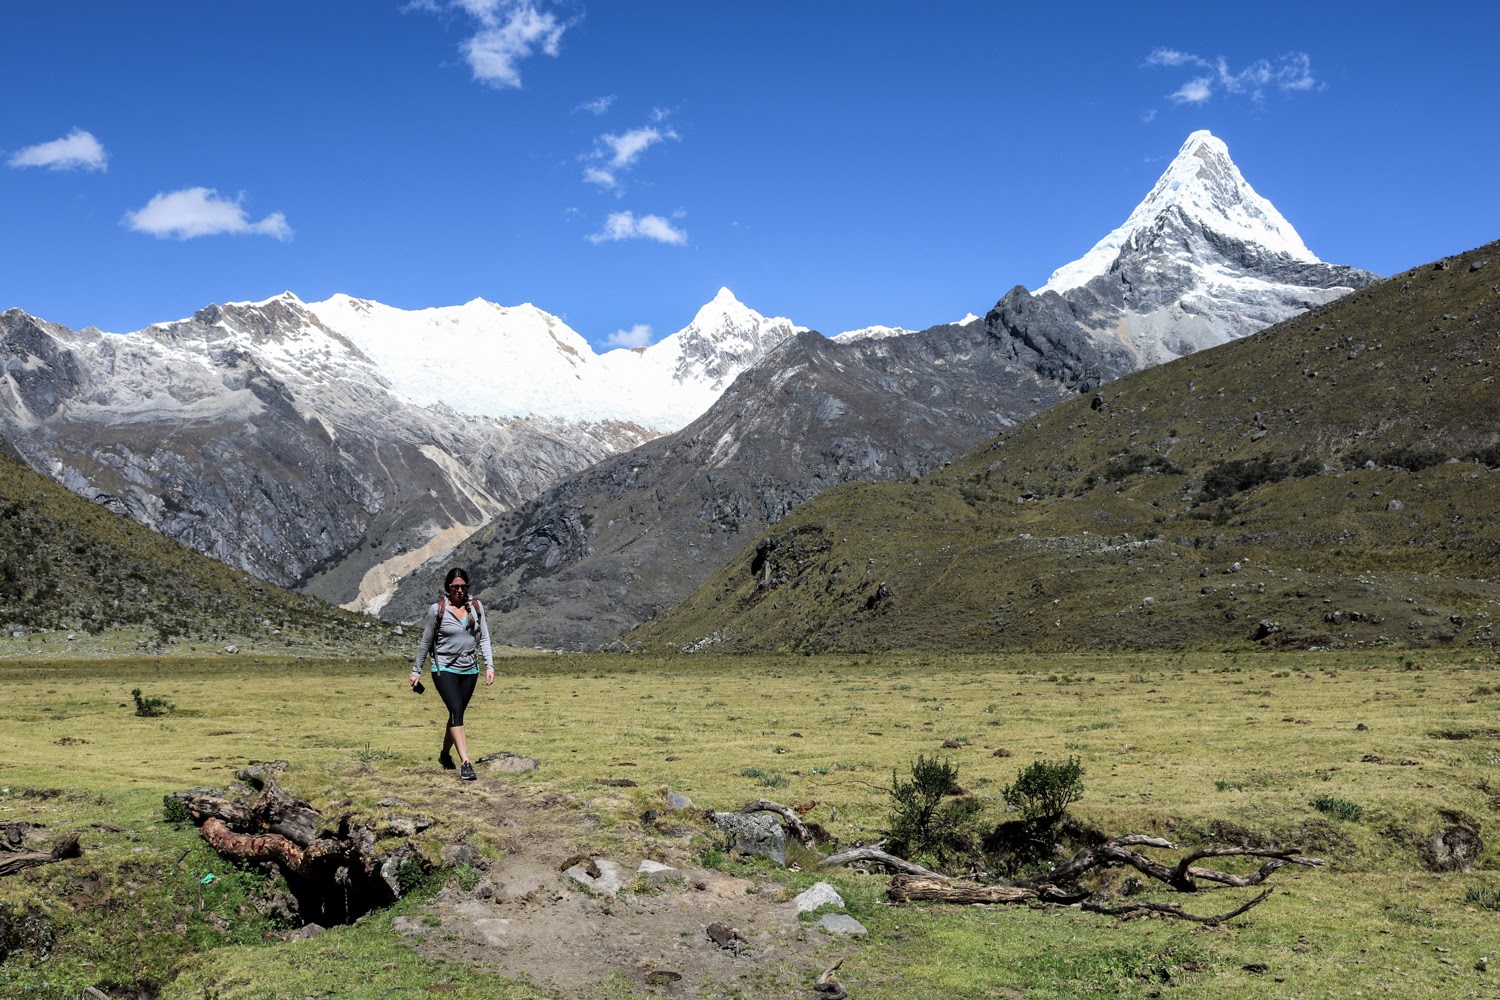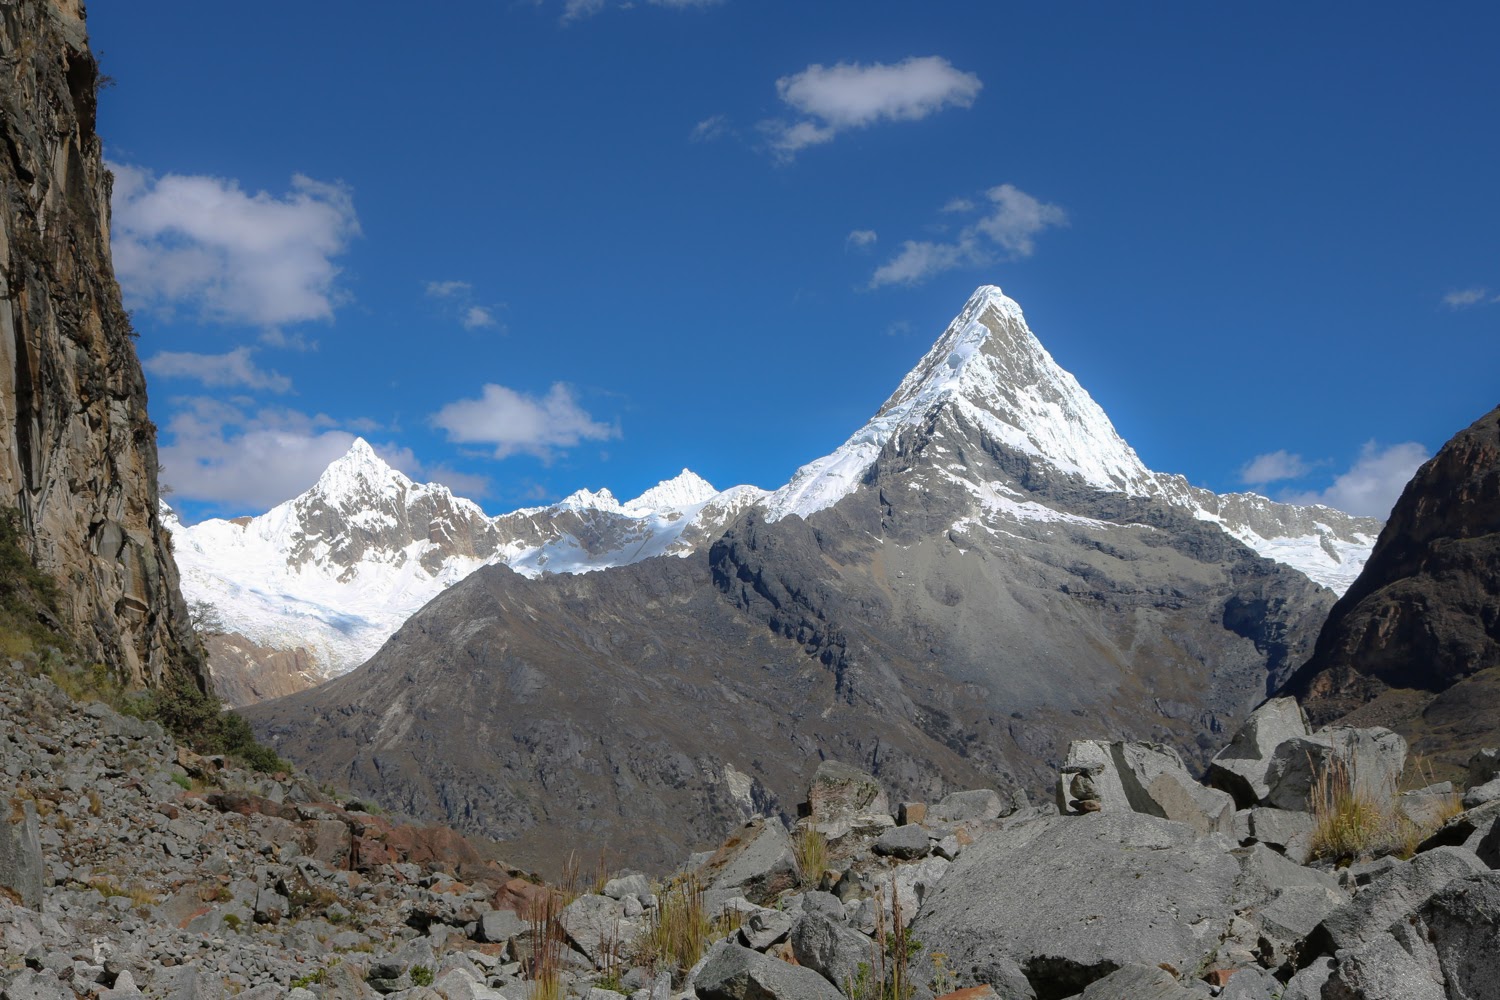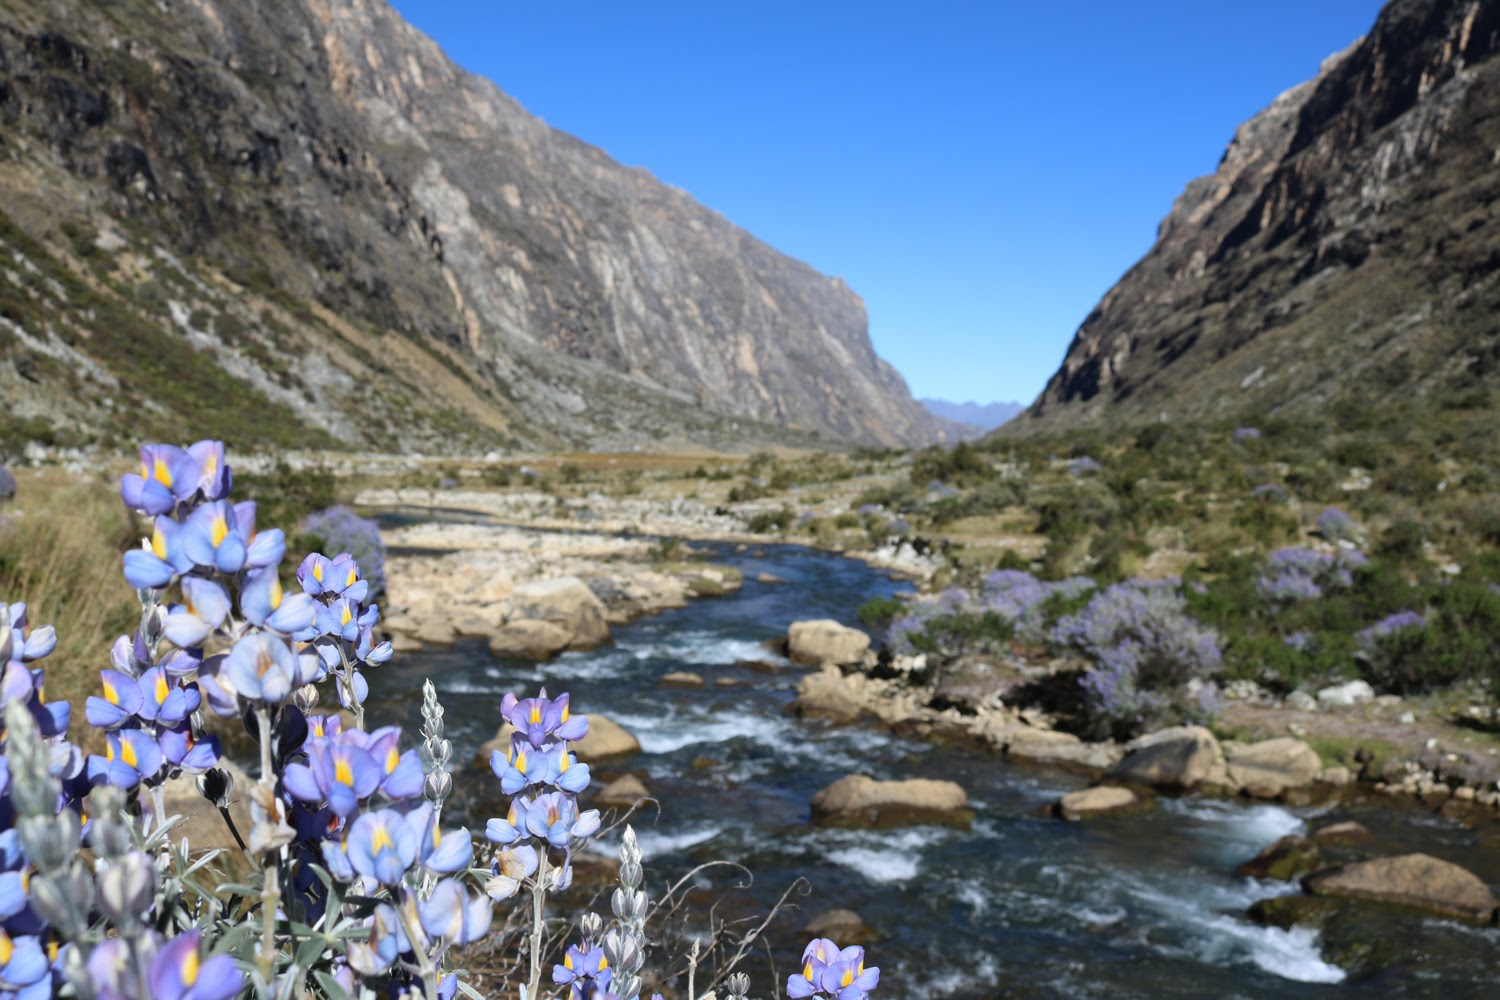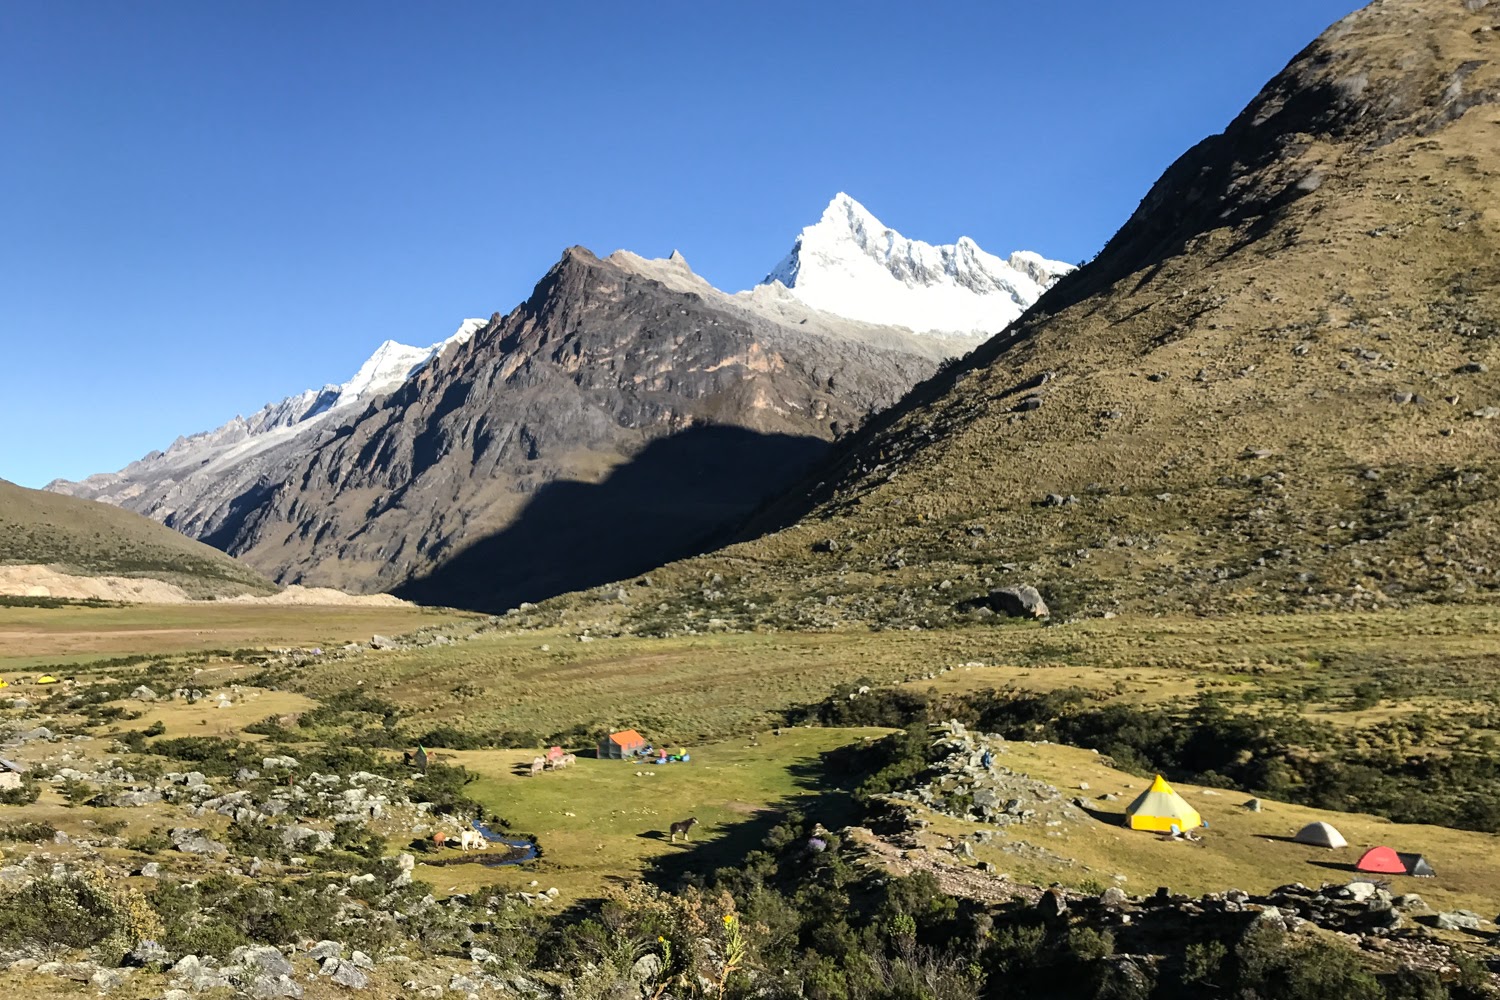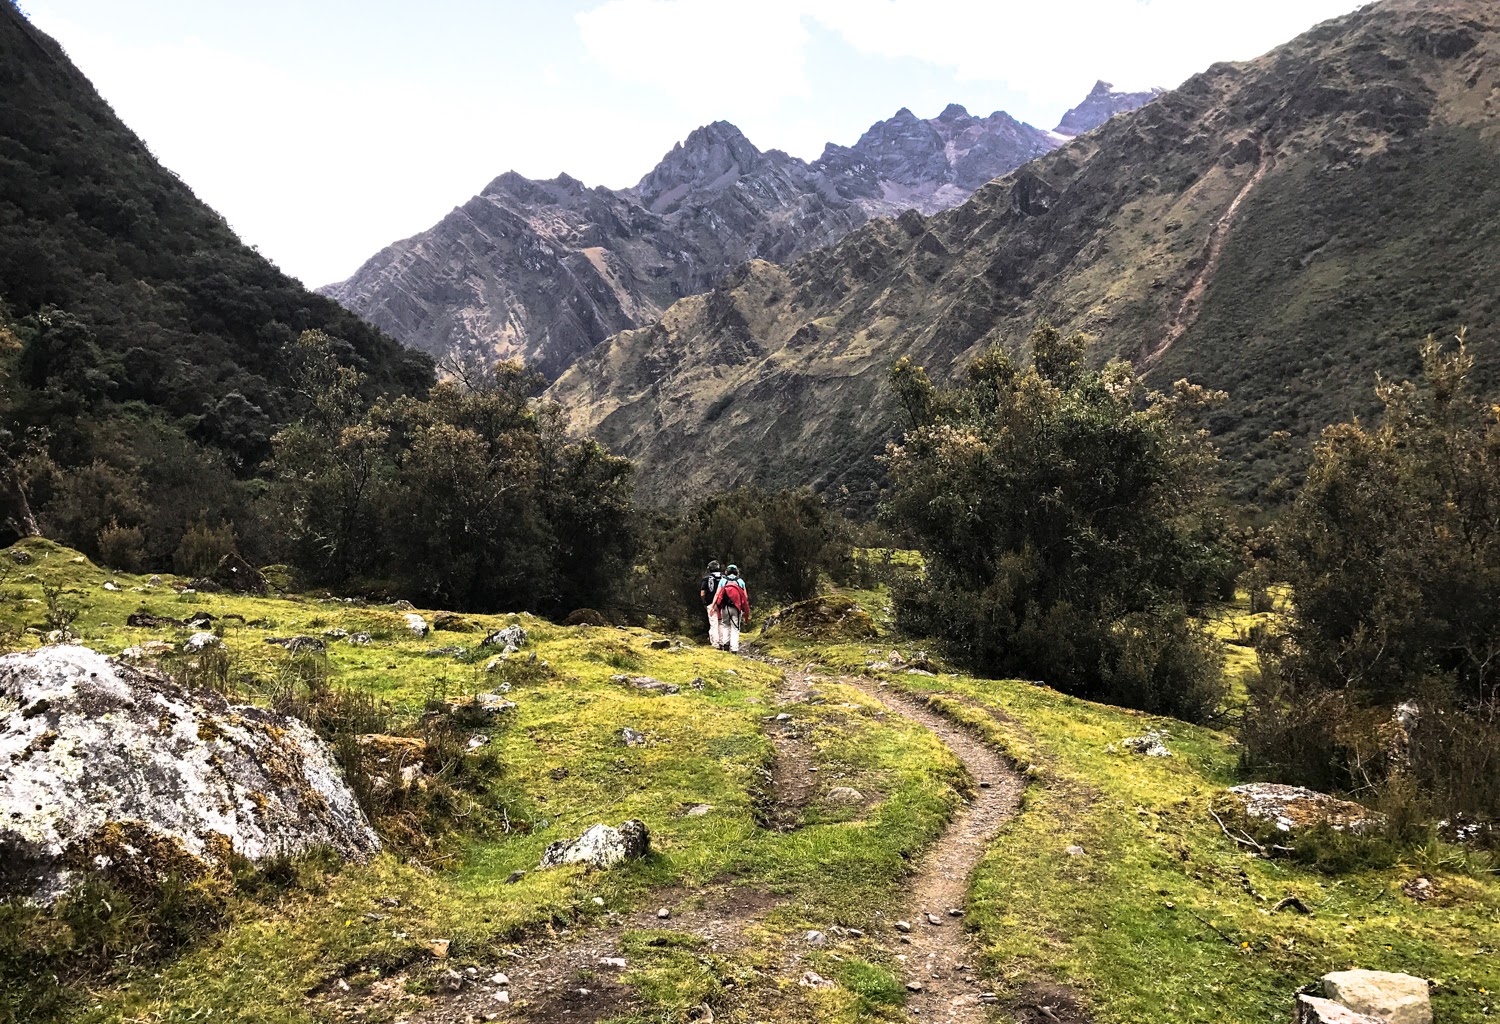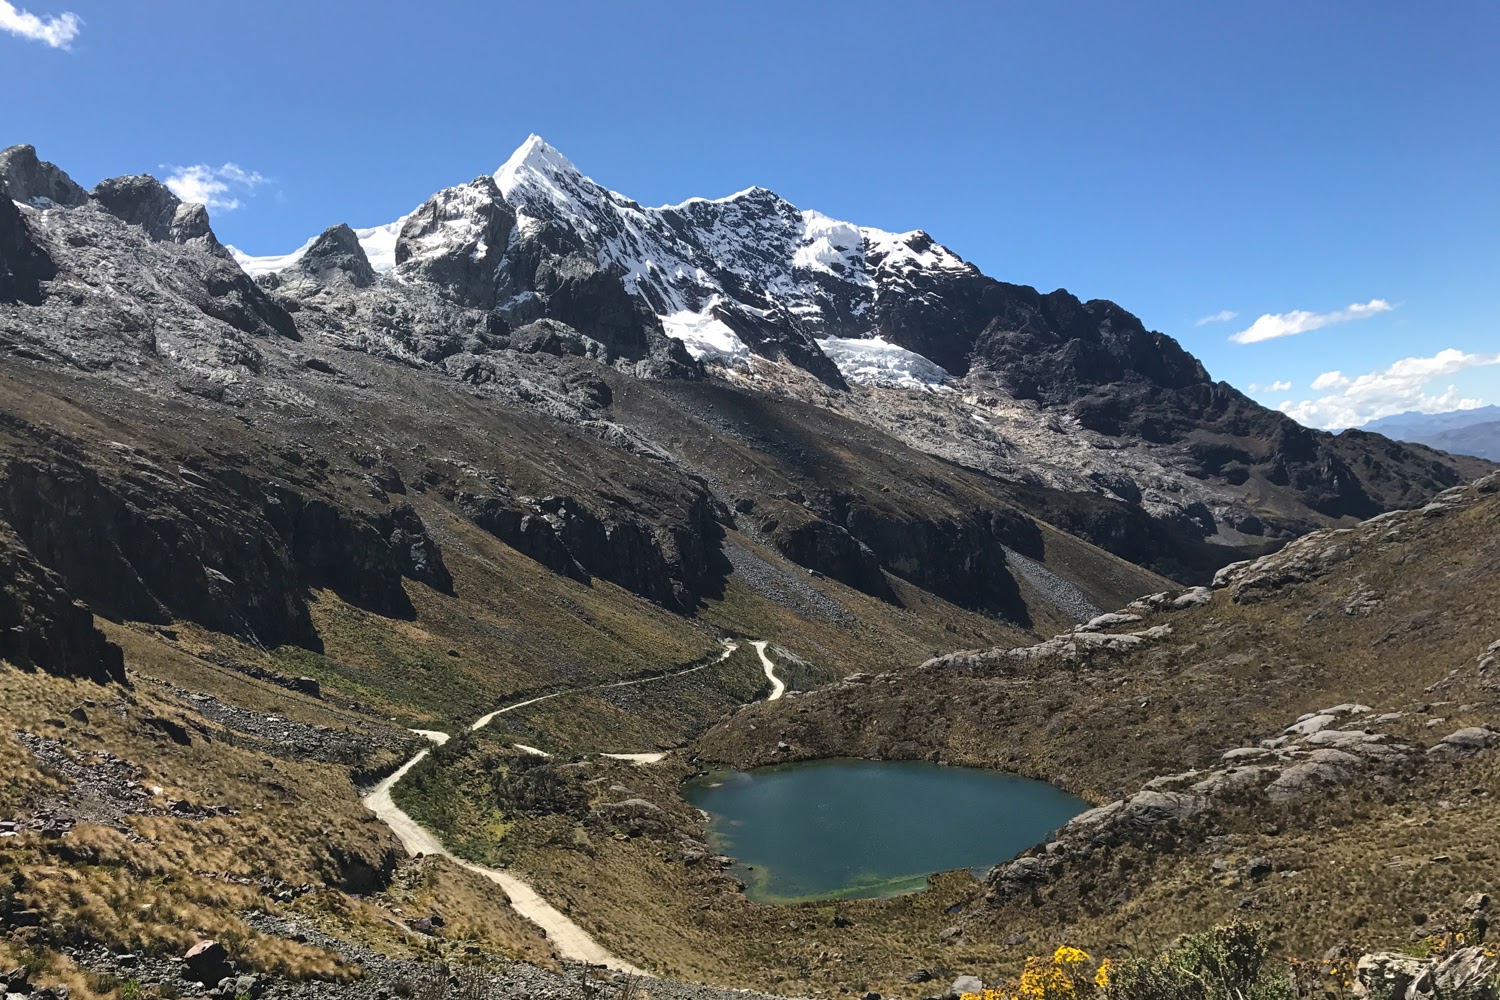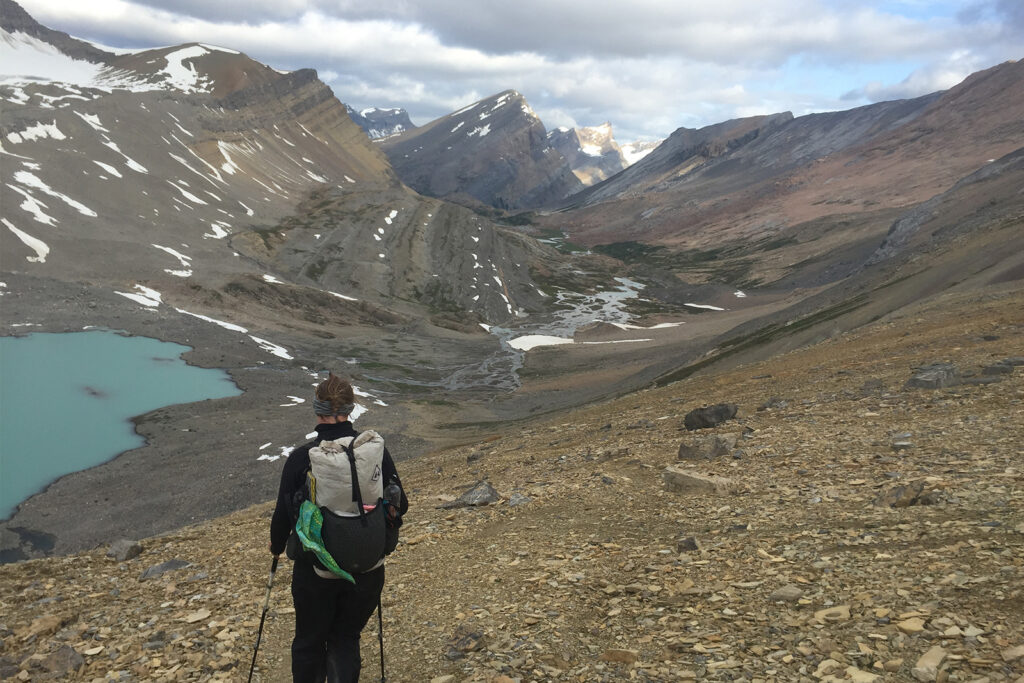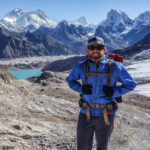
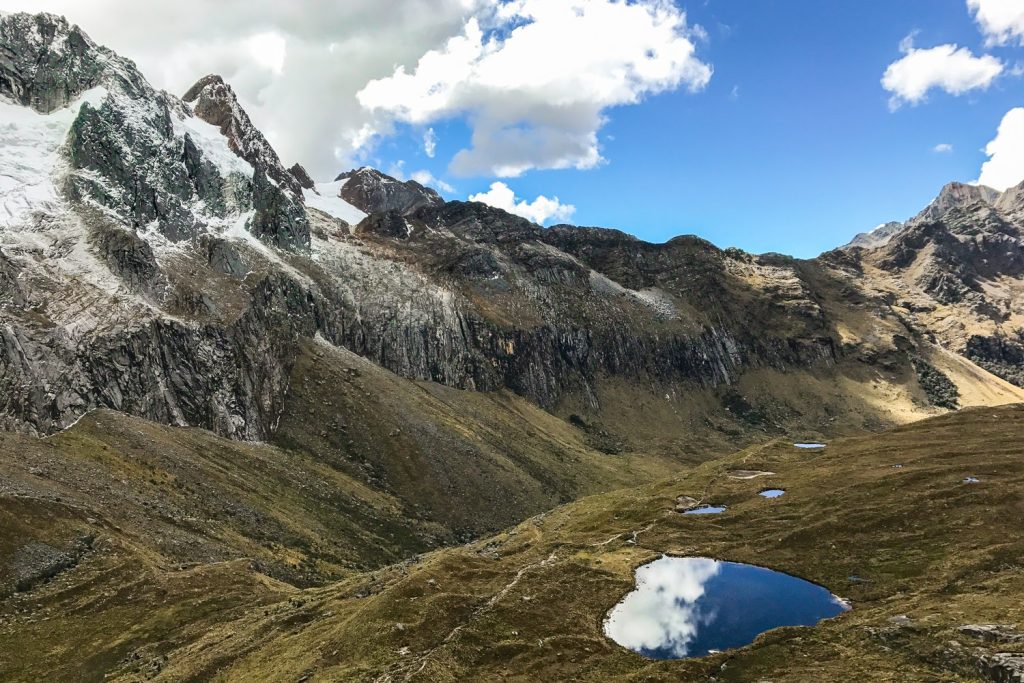
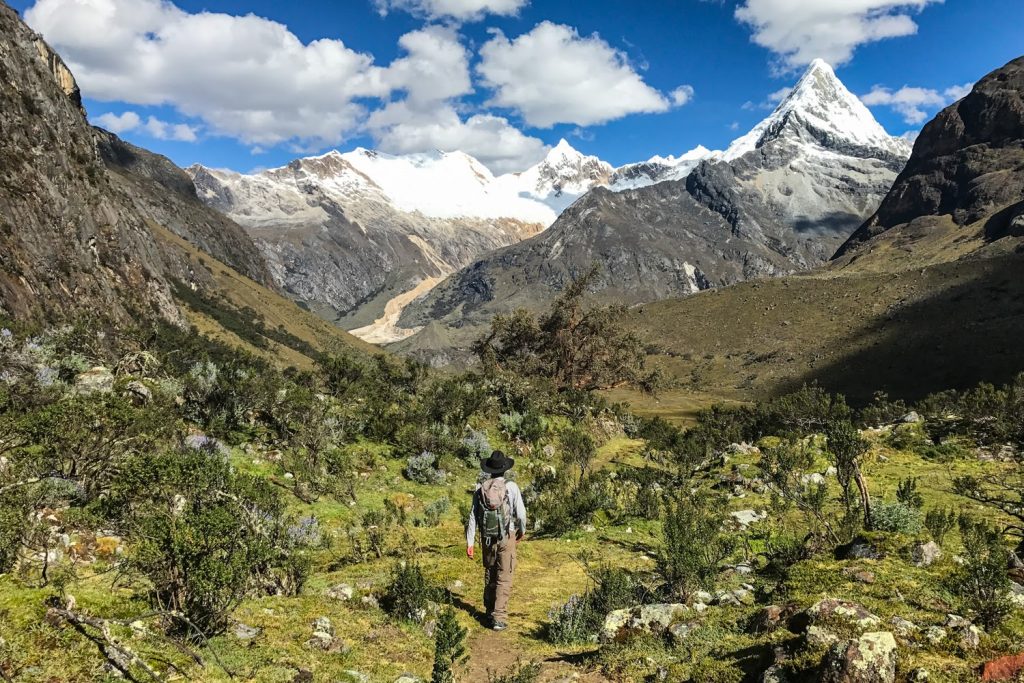
Nestled in the white-peaked Cordillera Blanca range in the Andes, the classic 4-day Santa Cruz backpacking trip may be one of the most beautiful treks in the world. While many people flock to the trails near Machu Picchu, this overlooked hiking mecca north of Lima has a fraction of the visitors, offering relative solitude for such a spectacular place. This trek winds its way through the valleys of the Cordillera Blancas while passing beautiful turquoise lakes on its way to the highest point on the trek, Punta Union. Whether you go independently or with a trekking company, this trek will leave you craving more for what this area has to offer.
Quick Facts
- Distance: 50 kilometers / 31 miles
- Days Needed: 3-4
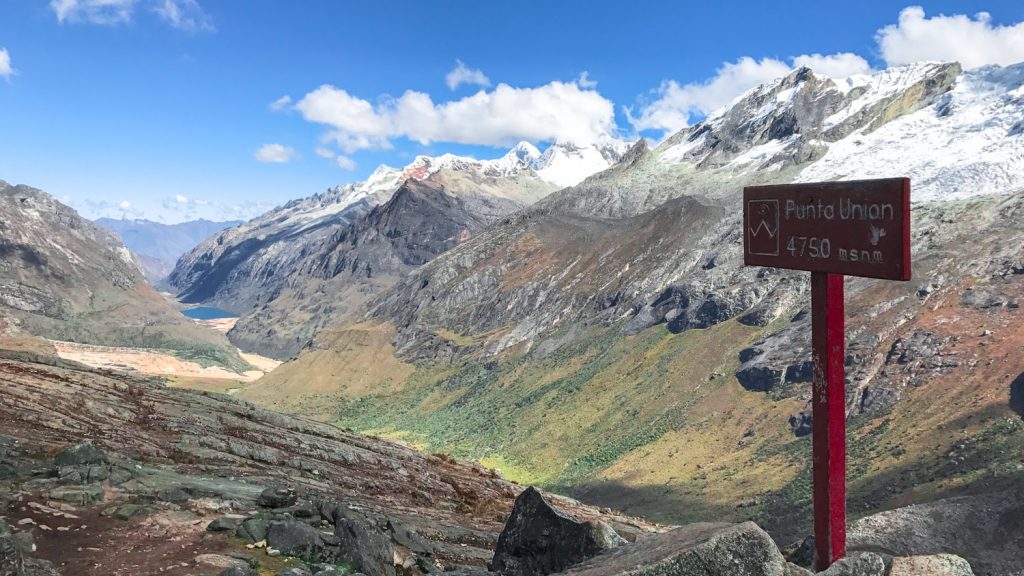
- Highest Elevation Reached: 4760m/15,617ft (Punta Union pass)
- Best Travel Time: May to September (dry season)
- Difficulty: Moderate-Difficult
- Closest Town: Huaraz
- Note: Can complete independently or with a guide
Best Time to Travel
Although people trek year round in this region, the best time to hike is May to mid-September when the weather is generally good and the mountains are clear. Hiking outside this peak season will bring much more solitude, but the weather is also more inconsistent. As always, make sure you check local weather conditions before you set out and be diligent in monitoring current conditions as weather can change quickly in the mountains.
Difficulty
- Total Distance: 50 km / 31 miles
- Beginning elevation: Vaqueria (3700m/12,139ft) or Chashapampa (2900m/9,514ft)
- Highest elevation: 4,760m/15,617ft
- Overall Difficulty: Moderate-Difficult
As always, difficulty ratings depend on your experience, physical fitness, pack weight, & weather conditions. Each day you will be hiking for roughly 6-8 hours with moderate to significant elevation gain, depending on the day. If you are hiking with a guide or have a donkey to help carry some of your gear, you will be hiking with much less weight, allowing you to hike longer distances more comfortably.
We highly recommend training before your trek. Put a backpack on and do some day hikes. Get your body ready; do some air squats and lunges to build up leg strength. Know your limitations, brush up on your backpacking skills, and dial in your lightweight gear. Doing so will make for a much more enjoyable trip and can also help with altitude.
Getting There
Most people traveling to Peru arrive at Jorge Chávez International Airport in Lima. In order to begin the Santa Cruz trek you will need to get to the small mountain town of Huaraz, which lies 400 km north of Lima. You will have two options to get from Lima to Huaraz. You can take a bus, which takes roughly 8 hours and will cost you anywhere from $15-$55 depending on seat selection. We recommend going with either Cruz del Sur or Oltrusa, as they offer the most reliable, comfortable and cleanest buses. Also, you can buy your tickets online ahead of time, which is a rare convenience when traveling by bus internationally. Pro Tip: If taking a night bus, we highly recommend upgrading to a cama suite. Your seat will recline 180 degrees!
Your other transportation option is to fly from Lima to Huaraz, which takes about one hour and will cost anywhere from $50-$150, depending on season.
Visa Information
As of September, 2025, you do not need a tourist visa to enter Peru for trips lasting less than 90 days. However, the US Department of State issued a level 2 travel advisory for Peru effective May 16, 2025. Please check current guidelines here for specific information as these policies can change – and CleverHiker is not an official source of information on Peru visas.
Where to Stay in Huaraz
You should spend 1-2 nights (we recommend 2) in Huaraz prior to your trek in order to properly acclimatize. There are many hotels and guesthouses in all price ranges throughout Huaraz. We enjoyed staying in walking distance from Plaza del Armas, which is a central point in the small city. For around $30-40/night for two people, you can find very nice accommodation with breakfast included. Most hotels and guesthouses will store your larger bags for you while trekking.
We stayed at El Jacal Classic Guesthouse before our trek and were very pleased with the cleanliness and service provided. We arrived to Huaraz very early in the morning on a night bus, and they let us hang out in the common area and even fed us breakfast that morning before check-in.
Pro Tip: Plan on spending a night in Huaraz after your trek to shower, relax, and drink a celebratory Pisco Sour with your new trekking friends. We had some people in our group that went straight from the trek to a night bus, and they regretted it.
Trekking Cost
If you decide to complete the hike with a trekking company, you can expect to pay anywhere from $150-$300 for the 4-day trek. There’s a wide range in quality of service, so do your research. Usually a higher cost translates to better equipment, guides, food, and overall service. Compared to hiking costs in the areas around Machu Picchu, we felt the costs to hike around Huaraz were very reasonable for what you receive.
In addition to this cost, every trekker will be required to pay an entrance fee to Parque Nacional Huacarán (currently 160PEN/$45 USD in 2025). You can pay this at the trailhead prior to your trek. Just remember to bring a copy of your passport with you. It’s money well spent as your fee goes to maintain trails, pay park rangers, and continue conservation efforts in this breathtaking region.
Don’t forget to bring some extra cash with you. You may want to buy some treats after your get off the trail. You will also want some cash to tip your hard working guides, cooks, and donkey drivers. The going rate for tipping seems to be right around 10% of your cost, divvied up between all the trekking staff. Many groups pool their tips and give as a group.
Trailheads
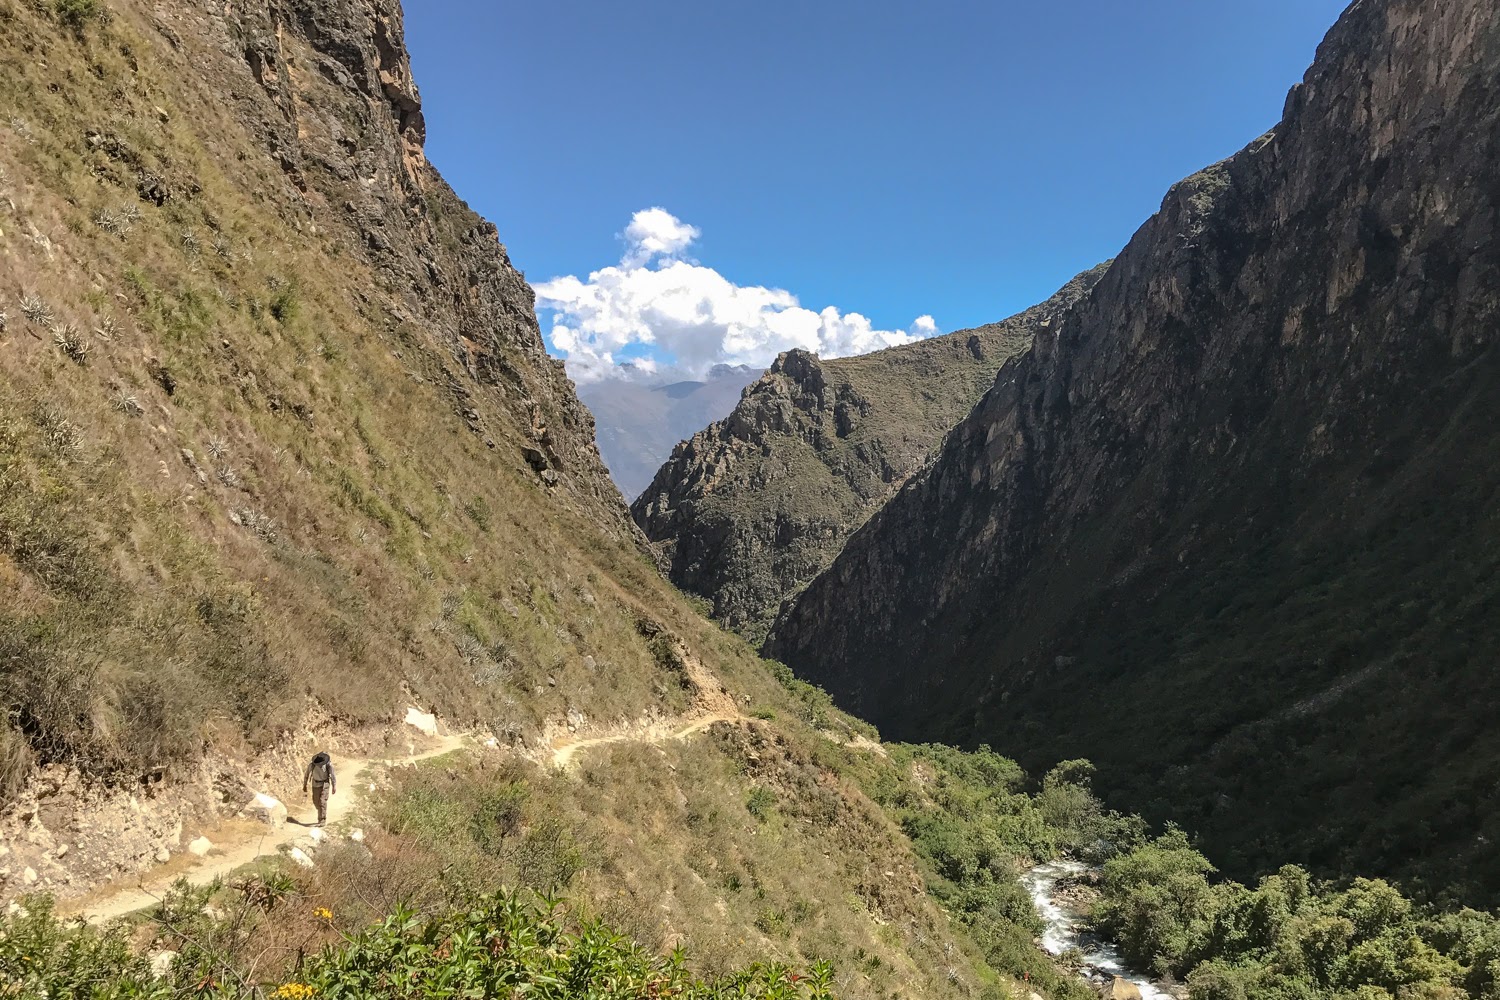
There are two possible starting points for this trek, and you can complete it in either direction. The most common place to begin is Vaqueria (3,700m). However, on our trek we began at Cashapampa (2,900m).
The benefit to beginning at Vaqueria is that it is less total elevation gain than beginning at Cashapampa. Also, if you are trekking independently, it is easier to finish at Cashapampa as there are more transportation options back to Huaraz. If beginning in Cashapampa, your first day is a hot and grueling climb up a dusty trail.
The benefit of beginning your hike in Cashapampa is that you have begin at a lower elevation and have a more gradual ascent to Punto Union, crossing the pass on your third day. For those struggling with altitude, this may be a better option. If properly acclimatized, we recommend starting at Vaqueria. If not, we recommend starting at Cashapampa.
If you are hiking independently, you will use a combination of combis (small buses) and shared taxis to get to the trailhead. It’s cheap and not super complicated to get to the trailheads. Just ask locally for the easiest transportation routes/options.
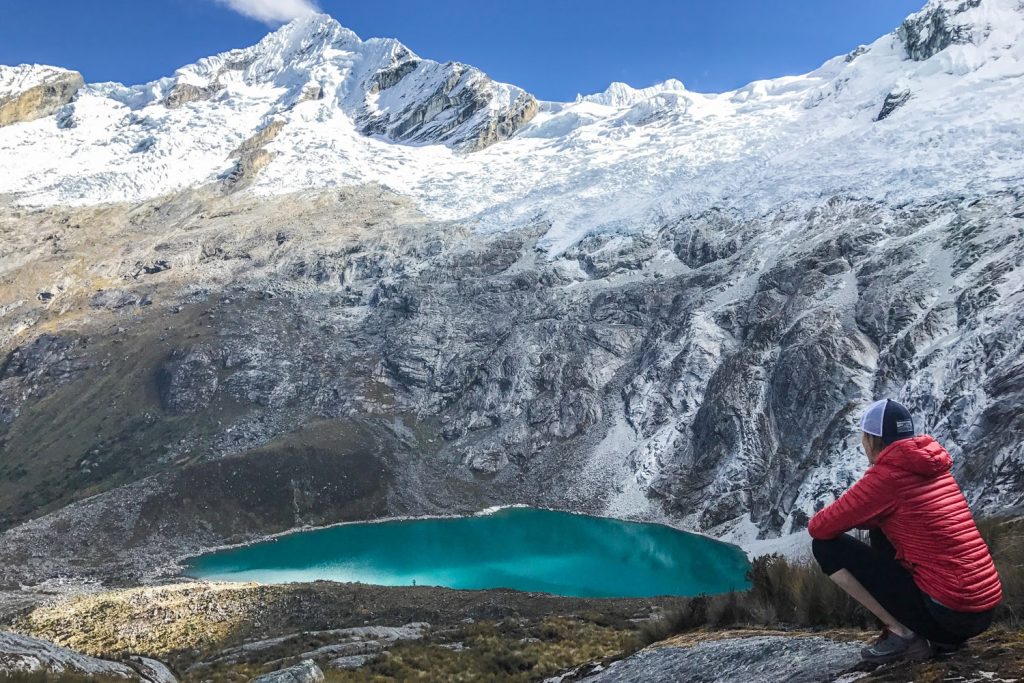
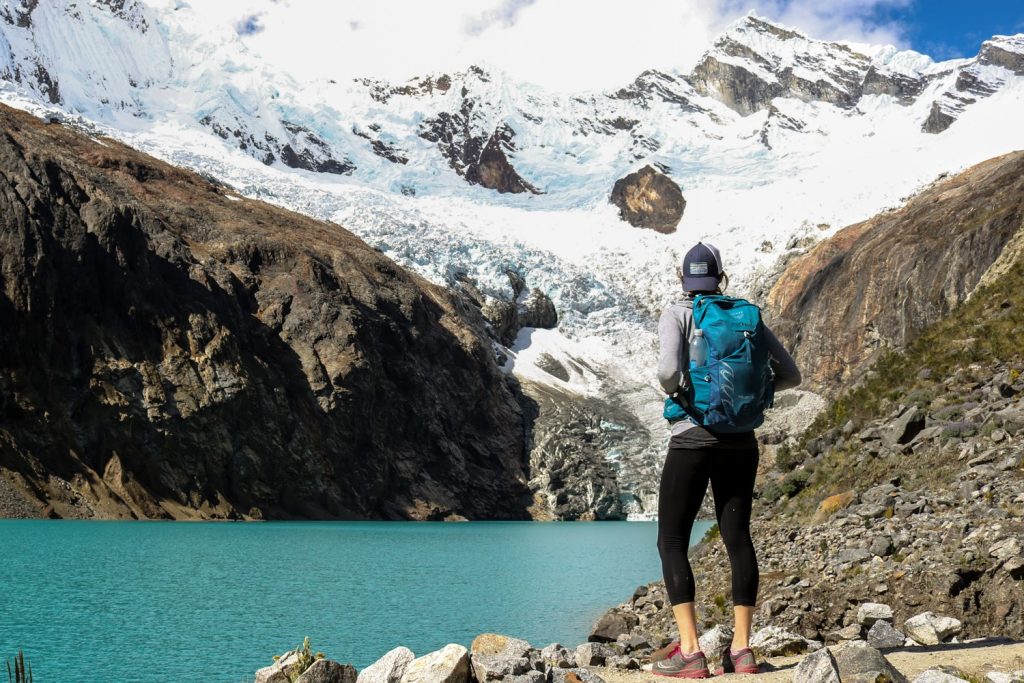
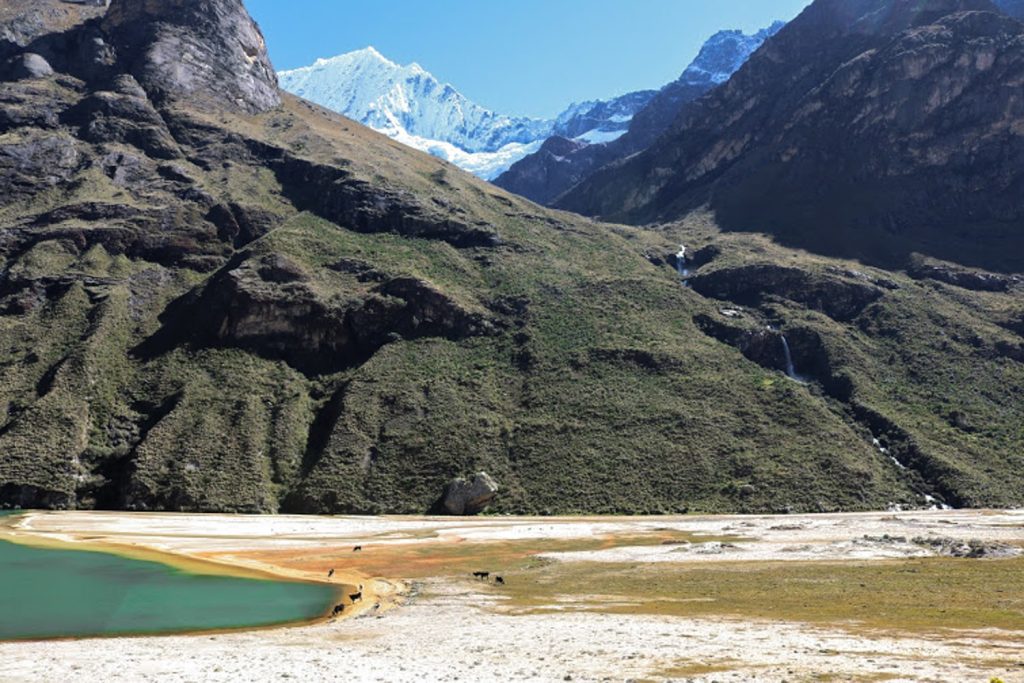
Regardless of where you choose to begin, there are some incredible side trips that you cannot miss. Either right before or right after you cross Punta Union, there is a side trip to Laguna Arhueycocha that is very worthy of the uphill sludge to get there. Think glaciers feeding into a beautiful turquoise lake surrounded by a amphitheater of peaks.
Independent or Guided Trekking
This is an important question for many trekkers and the choice will likely come down to experience and personal preference. We generally enjoy the freedom and flexibility that comes with hiking independently. However, when you factor in gear logistics, transportation, and the relatively low cost of going with a trekking company, we recommend hiring a guide for this trek. This does not mean you have to sign up for a trekking group with 14 other people. If you like the solitude of a small group, you could even hire your own guide and donkey driver, although your price will be higher.
If you’re a highly experienced backpacker, it is totally possible to complete this trek without a guide. The trail is well-marked and easy to follow. If you plan to hike independently, make sure you have a good map, the right gear, a proper permit, and a good guidebook before you leave Huaraz. Also, expect to put in a good amount of planning time to prepare fully for your hike. You will have to travel to Peru with a full backpacking setup or plan on renting quite a bit of gear in Huaraz. You will also have to carry all your gear unless you hire a donkey driver.
If you’re unsure of your preparedness or nervous about high altitude safety, we highly recommend hiring a guide.
Guided Trek Pros
- all pre-trip details handled
- all transportation arranged
- little worry about any details while hiking (food, route, schedule, etc.)
- guidance & safety while trekking at high altitude
- local information on region, culture, etc
Independent Trekking Pros
- less expensive
- more flexible schedule
- more choice on where to camp
- no group dynamics to deal with, just you and the trail.
Trekking Companies
If you walk the streets in Huaraz, you will find no shortage of trekking companies. Many people organize their treks before arriving for peace of mind. However, if you are on a more flexible schedule, you can arrange your trek in Huaraz.
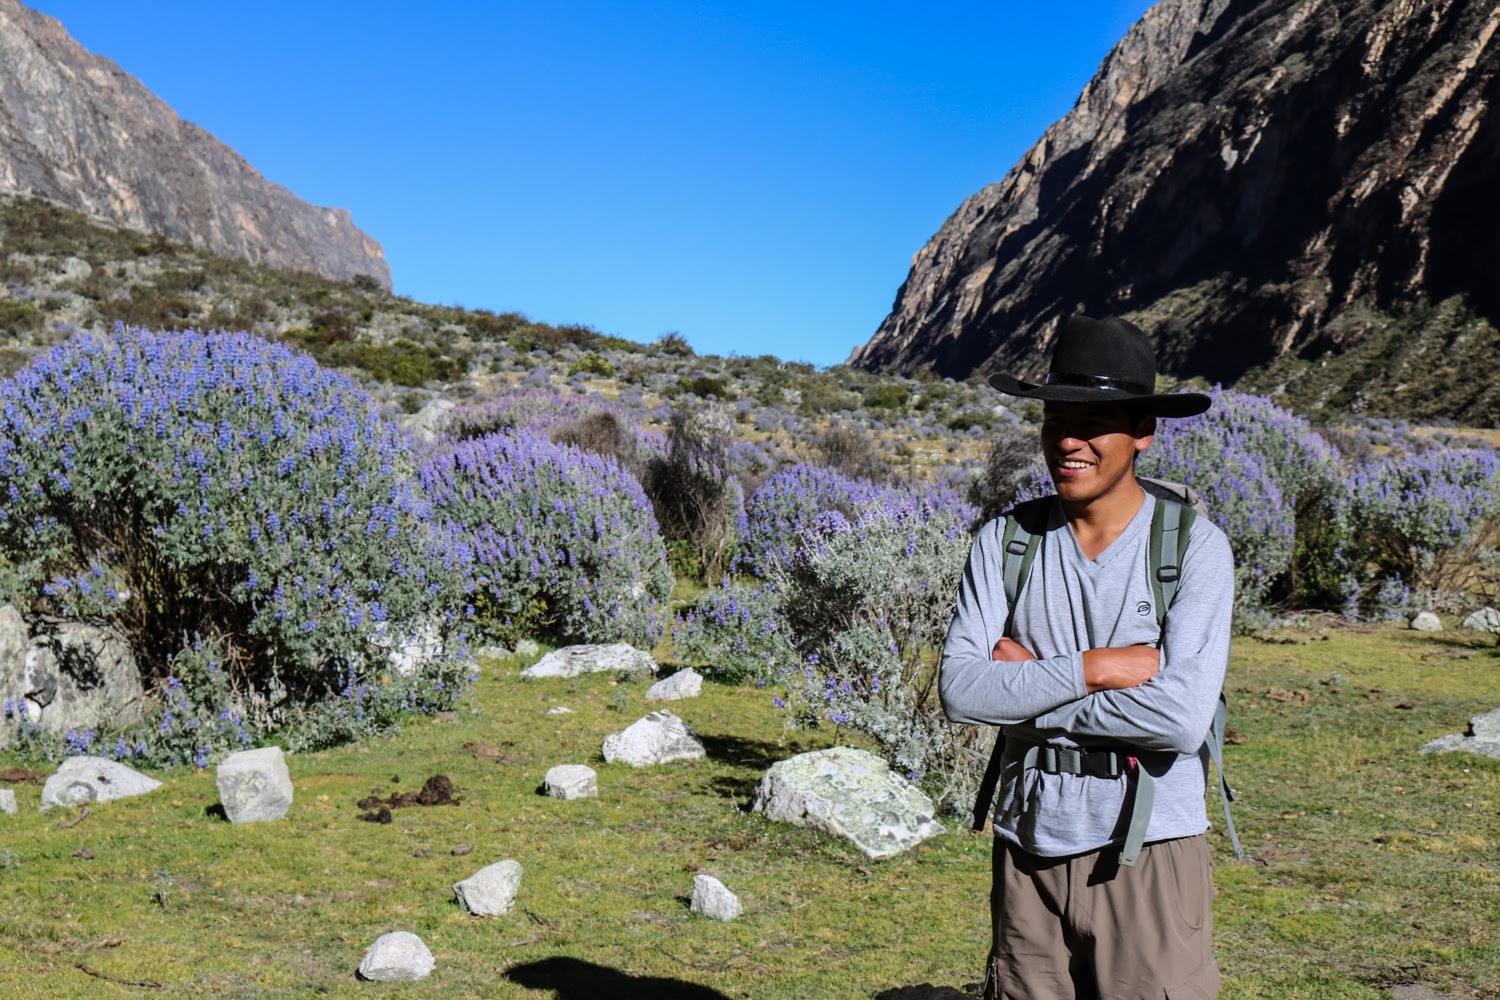
After researching our options, we decided to go with the trekking company Eco Ice Peru. Their reviews were fantastic, and our pre-trip communication with the owner, Orlando, was phenomenal. Throughout our trek we were constantly impressed with the professionalism and service offered at every turn. The staff was not only diligent in ensuring we had a good time, they were also fun, positive, and always smiling. After driving back to Huaraz on our last day we were invited to the house of Orlando’s mother, and she served us a phenomenal feast with pisco sours. It was a lovely way to celebrate with our new friends.
Water
There are plentiful water sources along the way. However, it is imperative that you purify your water to ensure it is safe to drink.
If you are hiking with a trekking company, they will provide you water. Every morning your crew will boil water and fill up your bottles for the day. We recommend bringing two 1L plastic water bottles per person. In addition, you will be provided with tea and other hot beverages at every meal time. Coca tea, which can help with symptoms of altitude sickness, will almost always be an option.
If you are hiking independently, you need a purification method that’s effective for both bacteria and viruses. Boiling is an effective way to kill harmful microbes in Peruvian tap water and backcountry sources. We recommend bringing a SteriPEN Ultra as your water purification method. It is fast, easy to use, and you don’t have to ingest any chemicals. Aquamira Chemical Drops are also another good purification method, but they require time (30min – 4 hours) for purifying. The MSR Guardian is one of the few water filters that remove viruses as well as bacteria and protozoa, making it another good choice to purify backcountry water sources outside the U.S. and Canada.
Remember: Staying hydrated is essential while trekking – especially at high elevation. Drink up!
Food
If you are hiking with a trekking company, you will have all your meals provided, including a daily snack bag (chocolate, cookies, fruit, etc) and a tea time every afternoon – which usually had delicious appetizers.
The meals that we had on our trek were some of the best we had in Peru. Our dinners were often 3-4 course affairs, always including soup, several main courses, and dessert. It was amazing what the chefs would cook over a propane stove. We ate all our meals in a large tent with a table and stools – a wild luxury on a wilderness trek.
The quality and quantity of food can vary between companies, so do your research before selecting a company. Eco Ice Peru was exceptional, and we highly recommend them.
If you are hiking independently, you will need to plan all your meals and carry your food and cooking system. For backcountry meals we usually focus on dehydrated foods like Mountain House, instant mashed potatoes, instant pasta, tuna/chicken packets, cured meats and hard cheese, and oatmeal, to name a few.
For more information on food and meals in the backcountry, check out our video on Ultralight Backpacking Food.
Personal Hygiene
The Santa Cruz trek is a true wilderness trek, so you should be prepared to get down and dirty. Some of the trekking companies provide a small bucket of hot water each day after hiking. However, we found that the best way to feel relatively clean was to pack a supply of body wipes. It’s amazing what a game changer this “shower” can be at the end of an arduous day of hiking.
Also, do not head out on the trail before picking up some alcohol-based hand sanitizer. Keep it in a handy place and use it before any snacks or meals.
Many of the trekking companies will put up a temporary toilet tent at your site every night. This is basically a small one-person tent with a dug-out hole for doing your thing. It’s not glamorous, but it ensures that human waste is disposed of responsibly and in a contained manner. Make sure that you carry toilet paper with you throughout the trek, as this is not always provided by your trekking company. As always, it is imperative that you Leave No Trace while trekking. Let’s help keep this place beautiful.
Bugs
Mosquitoes and biting flies are present and can be incredibly obnoxious at lower elevations. Use a combination of permethrin on your clothing and a small amount of DEET on exposed skin for full protection. Luckily, bugs were only really an issue on the first and last days of the trek for us.
Travel Insurance
We highly recommend purchasing travel insurance if you plan to trek in Peru. Most trekking locations in Peru are very remote, so if something goes wrong, you’re likely to need an emergency evacuation and that can get insanely expensive.
When choosing travel insurance, make sure to buy a plan that will cover high altitude trekking and helicopter evacuations, just in case. We did a bunch of research and ended up choosing World Nomads for our treks. Their rates were reasonable, their coverage met our needs, and communicating with them was easy. We fortunately didn’t need to use our travel insurance, but the peace of mind alone was well worth it.
Trekking Safety
When hiking in Peru, you’ll be heading into remote areas far from reliable hospitals. If hiking with a trekking company, they will be carrying a basic first aid kit. If trekking independently, it’s important to take every precaution before you set out. Here’s a tutorial video we created to help you brush up on emergency first aid skills.
- Educate yourself on acute mountain sickness (AMS – more info below). Take the prescribed acclimatization days, stay hydrated, and listen to your body.
- We recommend buying travel insurance before you trek to ensure that if any emergency evacuations or procedures need to be completed, you are covered.
- Don’t trek alone. If you’re traveling solo, consider hiring a guide or making friends to hike with you.
- Always pay close attention to weather conditions, especially on the long pass day. Storms can develop quickly in the mountains and can be fatal if you’re not prepared.
- Always hike with a lightweight first-aid kit and the 10 backpacking essentials.
- Leave a detailed itinerary with an emergency contact and write important phone numbers on a piece of paper that will be easy to find in an emergency.
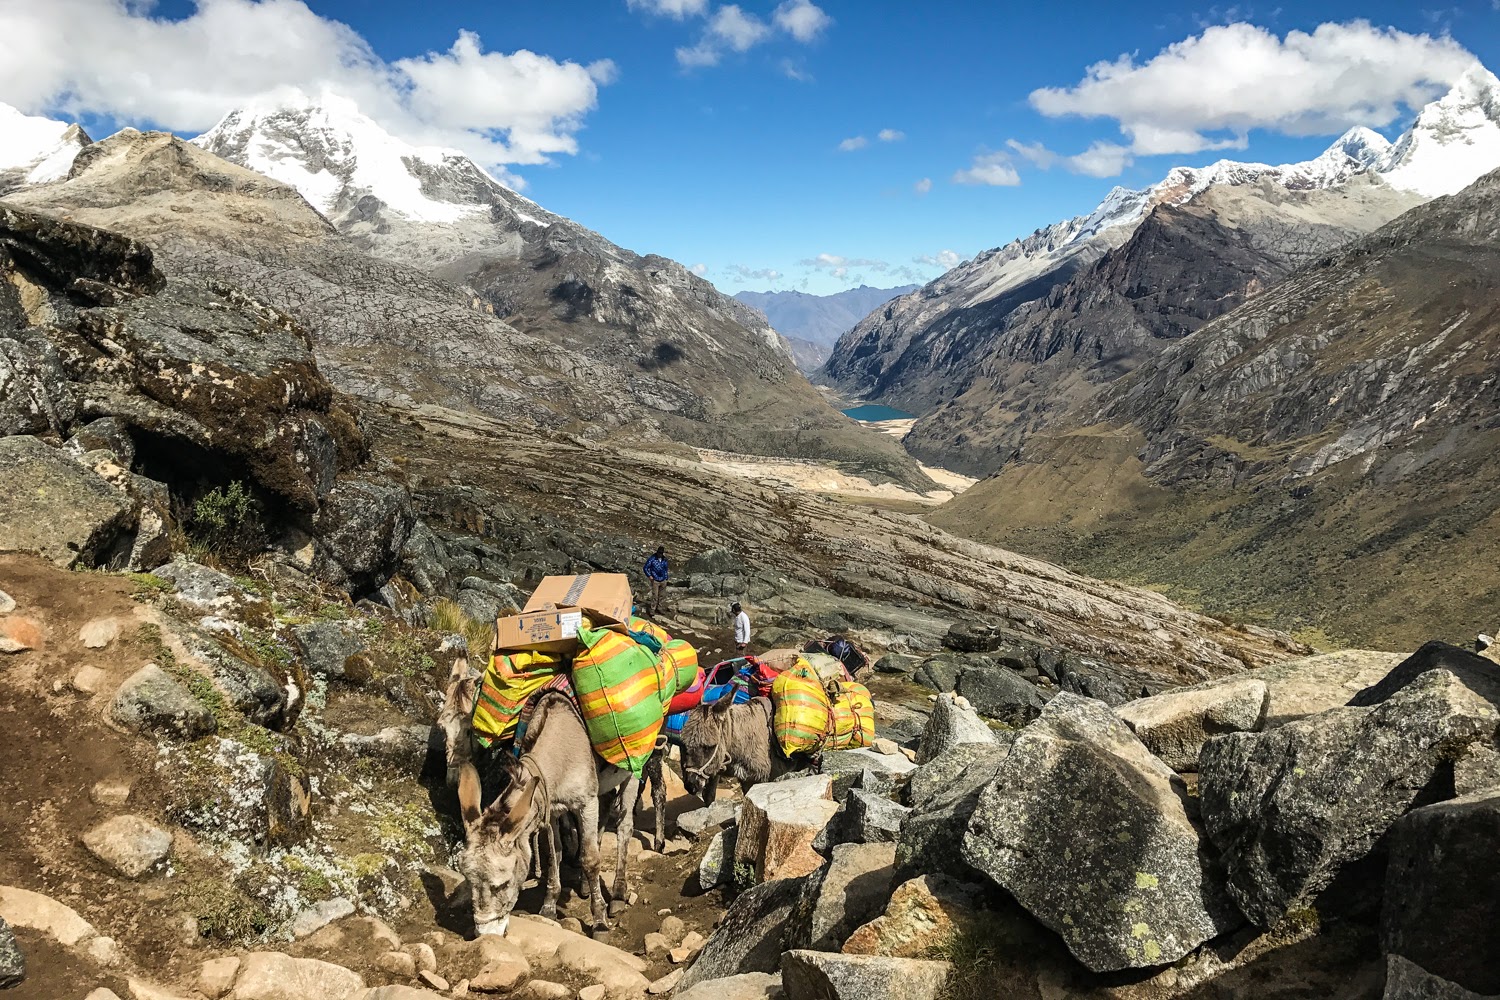
- When encountering donkeys or mules on the trail, move to the inside (away from any cliff) and let them pass.
- Crime is not common while hiking in Peru, but it’s not unheard of either. Keep a close eye on your belongings, especially your backpack filled with valuables.
- Always carry enough water on the trail and stay hydrated.
- Keep your eyes on the trail to avoid any misstep that could end your trek.
High Altitude Safety
It’s important to know the basics of high altitude hiking. Acute Mountain Sickness (AMS) is no joke, and if you make reckless decisions or ignore symptoms, it could even kill you. Most people that take the time to acclimatize properly experience limited AMS symptoms, if any, so there’s no need to freak out. But you do want to understand AMS and take it seriously. Learn more about high altitude safety with this tutorial video we created.
Although this trek has a gradual ascent, you will be hitting an elevation of 15,617 ft (4,670m), which is significant for the average hiker. Many people coming to Peru are arriving from near sea level and will need to take a few days in Huaraz (10,013 ft/3,052m) to acclimatize prior to heading out on the Santa Cruz Trek. It’s recommended that you go on several day hikes to prepare. The day hikes around Huaraz will most likely be some of the most beautiful day hikes you’ve ever done. Some recommended acclimatization hikes in the area are: Laguna 69, Laguna Wilcacocha, and Laguna Churup.
Maps and Guidebooks
- Lonely Planet Peru – For general trip planning and research, we highly recommend picking up this book. There’s good information about the Cordillera Blanca region, including the Santa Cruz trek, day hikes around Huaraz and general information on Huaraz. And I’m sure you didn’t come to Peru just to hike in the north. It’s the travel bible. Pick one up.
- Peru’s Cordillera Blanca and Huayhuash: The Hiking and Biking Guide – This book is a great resource written by people who’ve actually hiked and biked these trails. If you chose to trek independently, this is a resource you should definitely consider purchasing. It covers the Santa Cruz and Huayhuash treks extensively, but also offers great information on lesser known treks in the region.
- Map of Santa Cruz Trek (From Cashapampa to Vaqueria) – This is a somewhat basic map of the area that will give you a general outline of the trek. You will want to find a more detailed map in Huaraz to take on the trail if you are hiking independently.
Trekking Gear List
One of the nicest things about trekking in Peru is that it’s accessible for a wide range of travelers. Most of the people that come to Peru to trek do so with a trekking company, which will provide most of the camping and cooking equipment, transportation and food. In most situations you will be provided with a duffle bag the night before you depart for your trek. It varies, but generally you are allowed to fill this bag with 5 kgs (~11 lbs) of gear that will be carried by the donkeys during the day. Because most of your gear is carried by donkeys, you should be carrying a pretty light daypack. That will give you the opportunity to pack light and enjoy your hike.
If you’re new to our site, don’t miss out on the CleverHiker Gear Guides, where we break down our favorite tents, sleeping bags, sleeping pads, backpacks, stoves, hammocks, and much more.
Gear List
Make sure to check out our Ultimate Backpacking Checklist, so you don’t forget something important.
Below you’ll find our current favorite backpacking gear. If you want to see additional options, our curated gear guides are the result of many years of extensive research and hands-on testing by our team of outdoor experts.
BACKPACK
- Best Backpacking Pack Overall: Gregory Paragon 58 – Men’s / Gregory Maven 58 – Women’s
- Best Ultralight Backpacking Backpack: Hyperlite Mountain Gear Unbound 40
- More: Check out our best backpacking backpacks guide for ultralight and trekking options
TENT
- Best Backpacking Tent Overall: Big Agnes Copper Spur HV UL2
- Best Ultralight Tent: Zpacks Duplex
- Best Budget Tent: REI Half Dome 2
- Best Tent Stakes Overall: All One Tech Aluminum Stakes
- More: Check out our best backpacking tents guide for more options
SLEEPING BAG/QUILT
- Best Sleeping Bag Overall: Men’s Feathered Friends Swallow YF 20 / Women’s Feathered Friends Egret YF 20
- Best Quilt Overall: Enlightened Equipment Revelation 20
- More: Check out our best backpacking sleeping bags guide and best backpacking quilts guide for more options
SLEEPING PAD
- Best Sleeping Pad Overall: NEMO Tensor All-Season
- Best Foam Sleeping Pad: NEMO Switchback
- More: Check out our best backpacking sleeping pads guide for ultralight and trekking options
CAMP KITCHEN
- Best Backpacking Stove Overall: MSR PocketRocket 2
- Best Backpacking Cookware Overall: TOAKS Titanium 750ml
- Best Backpacking Coffee Overall: Starbucks VIA
- More: Check out our best backpacking stoves guide and best backpacking cookware guide for ultralight and large group options
WATER & FILTRATION
- Best Water Filter Overall: Sawyer Squeeze
- Best Hydration Bladder Overall: Gregory 3D Hydro
- Best Backpacking Water Bottles: Smartwater Bottles
- More: Check out our best backpacking water filters guide and best backpacking water bottles guide for ultralight and large group options
CLOTHING
- Best Hiking Pants Overall: Men’s Outdoor Research Ferrosi / Women’s The North Face Aphrodite 2.0
- Best Hiking Shorts Overall: Men’s Patagonia Quandary / Women’s Outdoor Research Ferrosi
- Best Women’s Hiking Leggings: Fjallraven Abisko Trekking Tights HD
- Best Rain Jacket Overall: Men’s Patagonia Torrentshell 3L / Women’s Patagonia Torrentshell 3L
- Best Rain Pants: Men’s Patagonia Torrentshell 3L / Women’s Patagonia Torrentshell 3L
- Best Down Jacket Overall: Men’s Patagonia Down Sweater Hoodie / Women’s Patagonia Down Sweater Hoodie
- Best Fleece Jacket Overall: Men’s Patagonia Better Sweater / Women’s Patagonia Better Sweater
- Best Sunshirt Overall: Men’s Outdoor Research Echo / Women’s Outdoor Research Echo
- Best Socks Overall: Men’s Darn Tough Light Hiker Micro Crew / Women’s Darn Tough Light Hiker Micro Crew
- Beste Ultralight Liner Glove: Patagonia Capilene Midweight Liner
- More: Check out our best backpacking apparel lists for more options
FOOTWEAR & TRACTION
- Best Hiking Shoes Overall: Men’s HOKA Speedgoat 6 / Women’s HOKA Speedgoat 6
- Best Hiking Boots Overall: Men’s Salomon X Ultra 5 GTX / Women’s Lowa Renegade Evo GTX
- Best Hiking Sandals Overall: Men’s Chaco Z/1 Classic / Women’s Chaco Z/1 Classic
- Best Camp Shoes Overall: Crocs Classic Clogs
- Best Traction Device for Hiking Overall: Kahtoola MICROspikes
- More: Check out our best backpacking footwear lists for more options
NAVIGATION
- Best GPS Watch Overall: Garmin Instinct 2 Solar
- Best Personal Locator Beacon (PLB): Garmin inReach Mini 2
- More: Check out our article How to Use Your Phone as a GPS Device for Backpacking & Hiking to learn more
FOOD
FIRST-AID & TOOLS
- Best First-Aid Kit Overall: Adventure Medical Kits Ultralight/Watertight .7
- Best Pocket Knife Overall: Kershaw Leek
- Best Multitool Overall: Leatherman Wave+
- Best Headlamp Overall: Black Diamond Spot 400-R
- Best Power Bank Overall: Nitecore NB 10000 Gen 3
- More: Check out our best first-aid kit guide, best pocket knife guide, best multitool guide, best backpacking headlamps guide, and best power banks guide for more options
MISCELLANEOUS
- Best Trekking Poles Overall: Black Diamond Pursuit
- Best Backpacking Chair Overall: REI Flexlite Air
- Best Backpacking Stuff Sack Overall: Hyperlite Mountain Gear Drawstring
- More: Check out our best trekking poles guide, best backpacking chairs guide, and best stuff sacks guide for more options
INDEPENDENT HIKING GEAR
If you are heading out on the Santa Cruz independently, then you are a probably an experienced backpacker who’s aware of your gear requirements for multi-day treks into the mountains. That being said, there is a good amount of elevation gain on this trip, so it is imperative to keep your pack weight to a minimum.
We prefer lightweight backpacking because it’s more comfortable and it allows us to cover more ground with less effort. It makes the hiking a lot more fun and trip logistics a lot easier. But we don’t like giving up camp comforts either. We hike with lightweight shelters, plush sleeping pads, cozy sleeping bags, and all the other camp comforts everyone wants. For recommendations on our favorite lightweight backpacking equipment, check out the CleverHiker Gear Guide and our Top Gear Picks page.
Responsible Trekking & Cultural Considerations
The number one rule of backpacking is Leave No Trace. Learn it and live it.
Don’t litter. Pack out your trash and keep Peru beautiful for generations to come. If you really want to be a superstar, pack out trash that you find along the trail.
Dispose of human waste properly (dig a hole 6-8 inches deep, fill it back up when finished, and carry out your toilet paper).
Dress conservatively, especially in towns. For women, this may mean hiking in long pants rather than short shorts.
Always ask permission before taking a photo of a person. Most people won’t mind, but if they decline, respect their wishes.
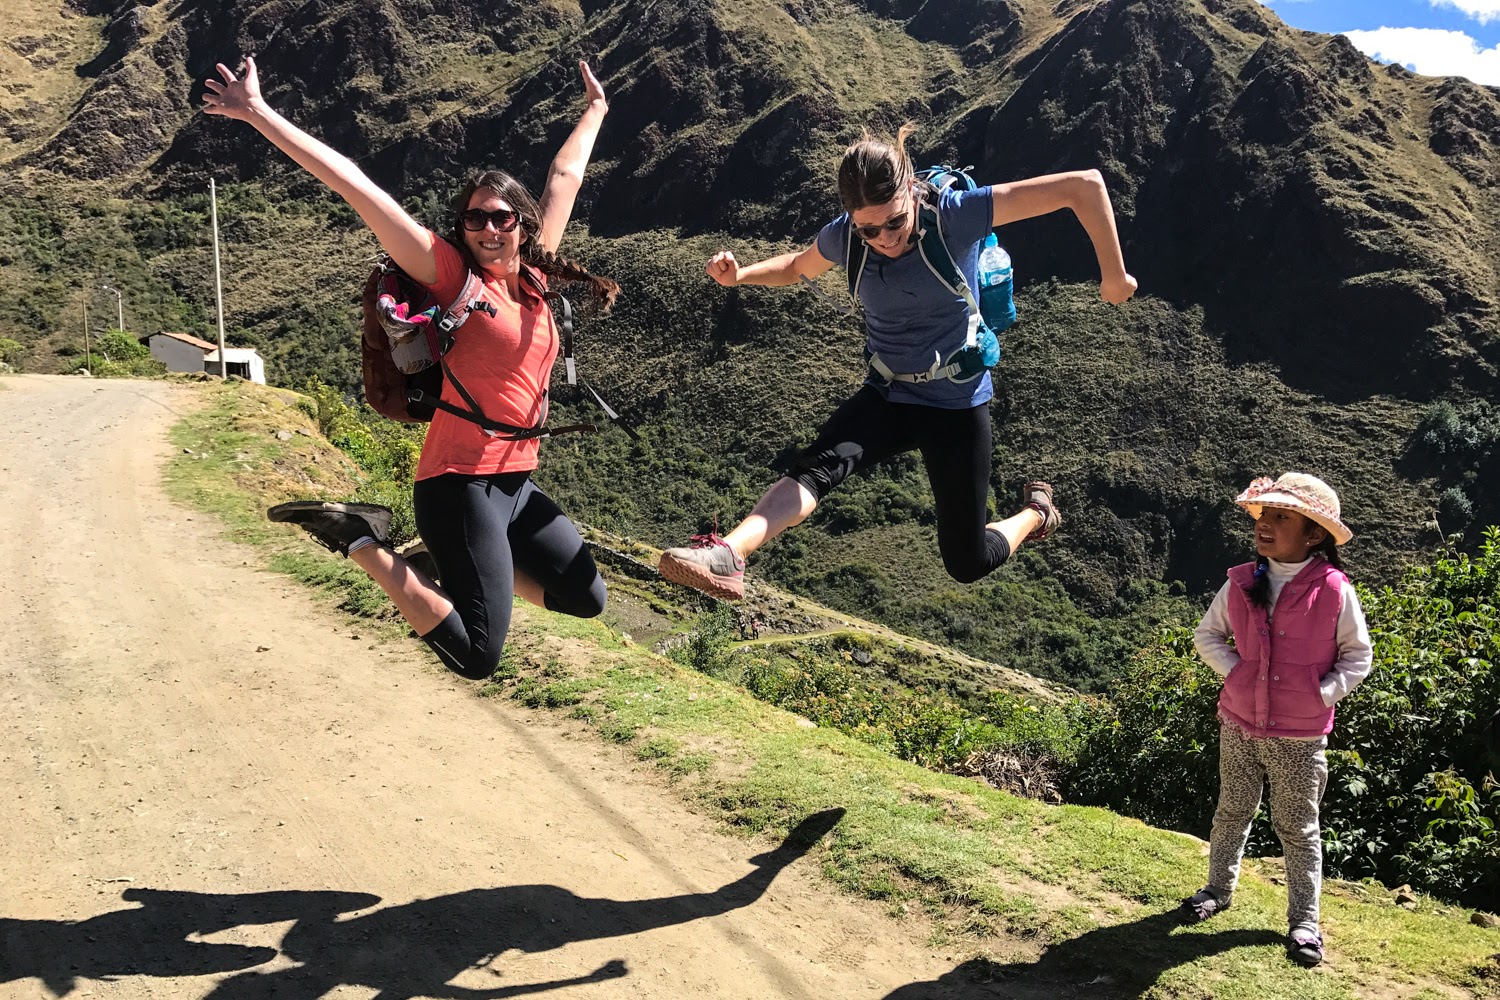
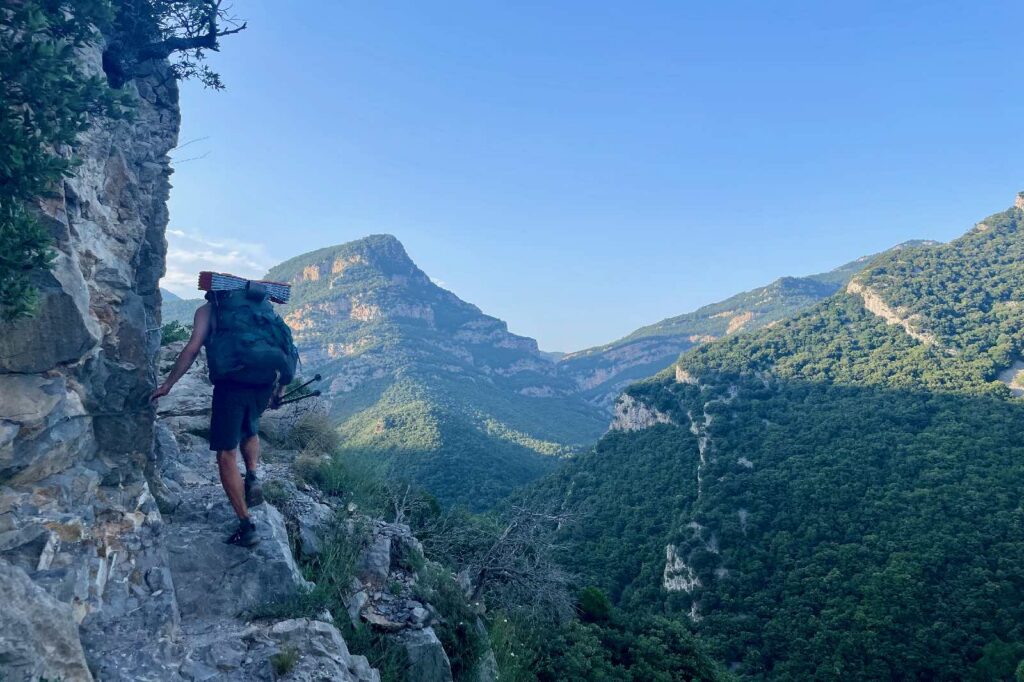
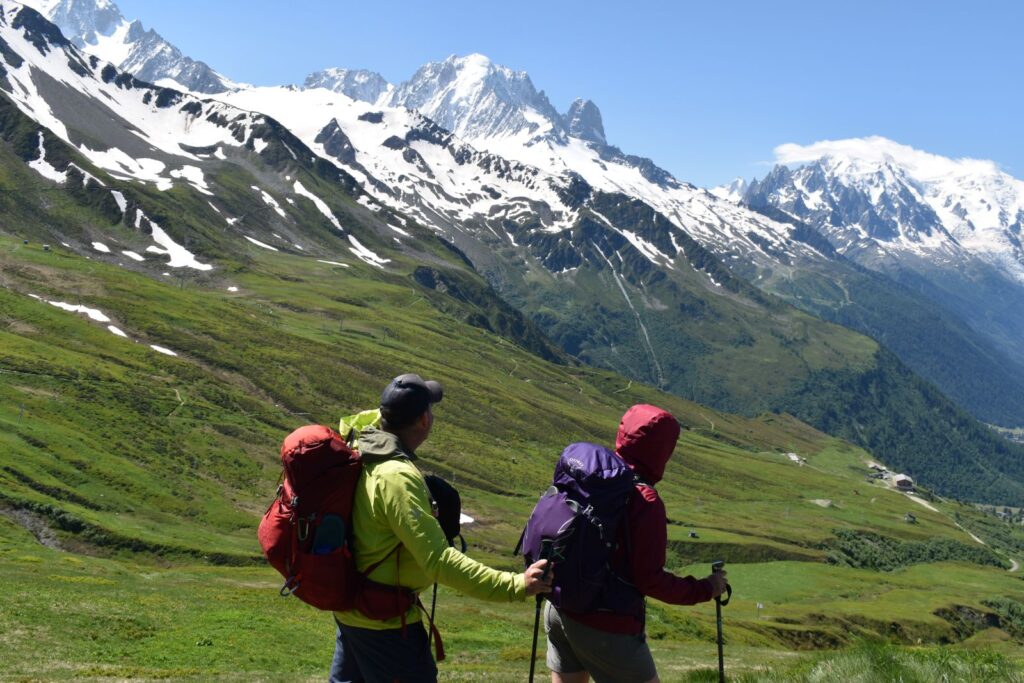
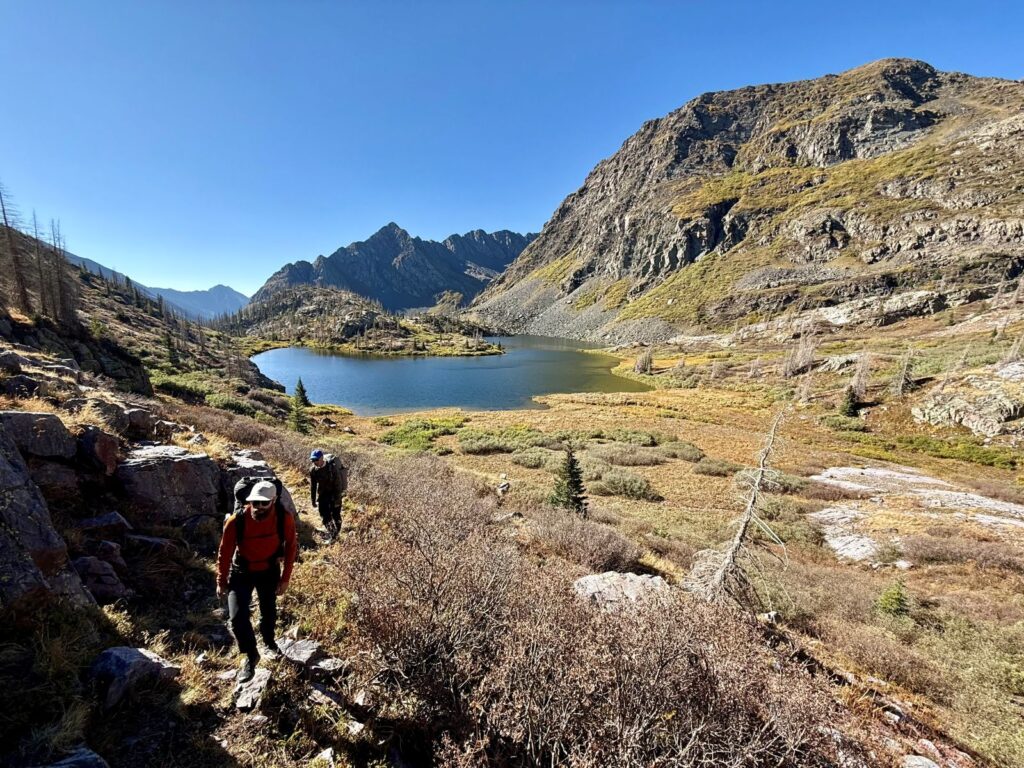
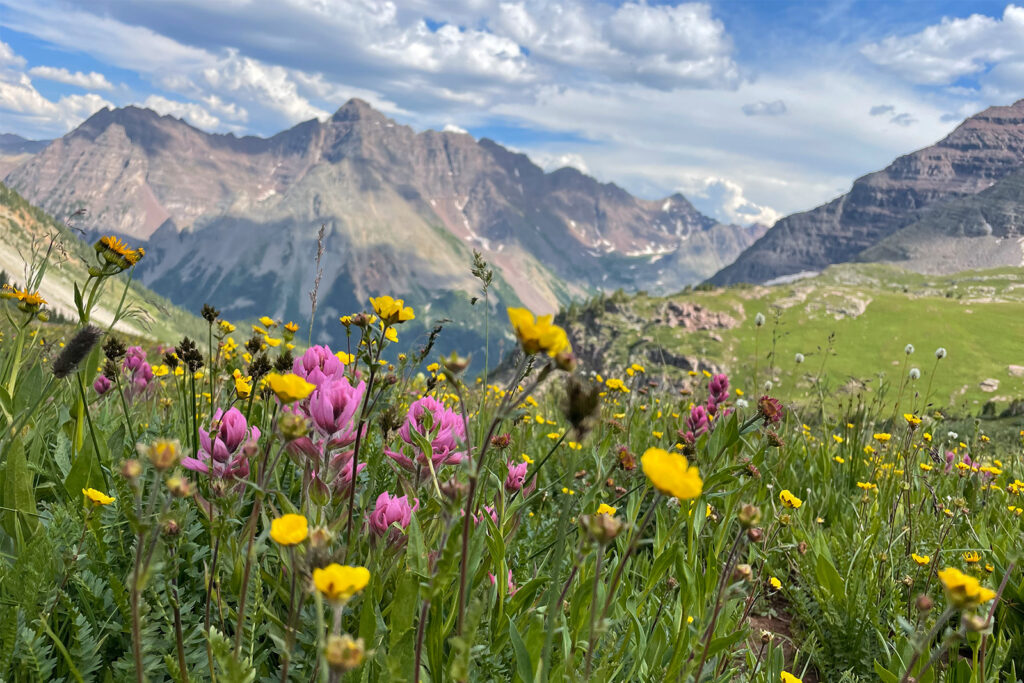
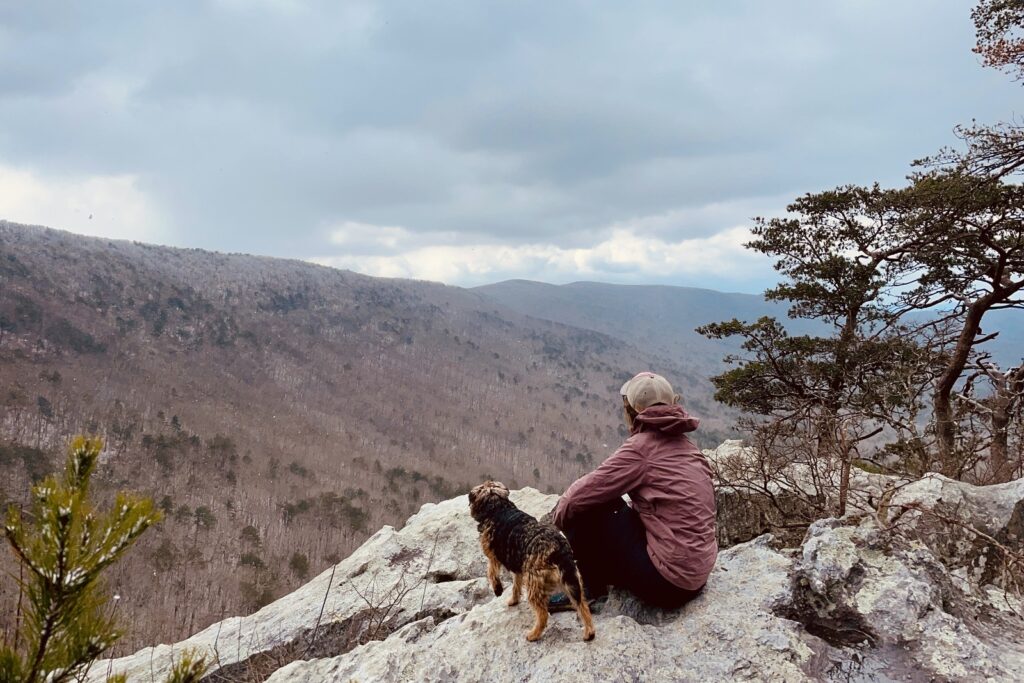
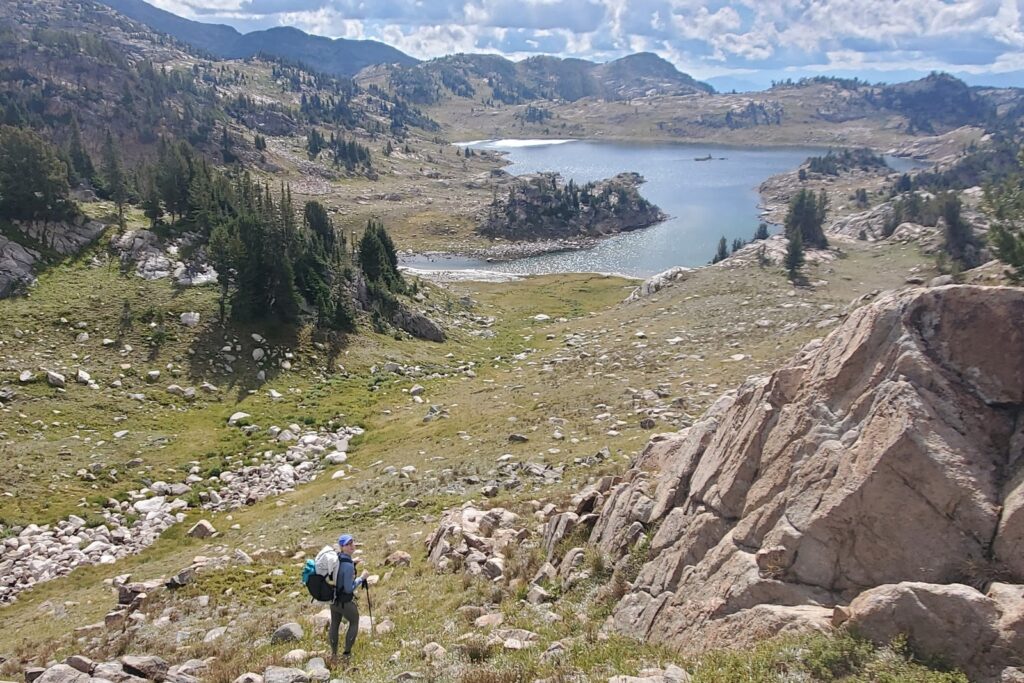
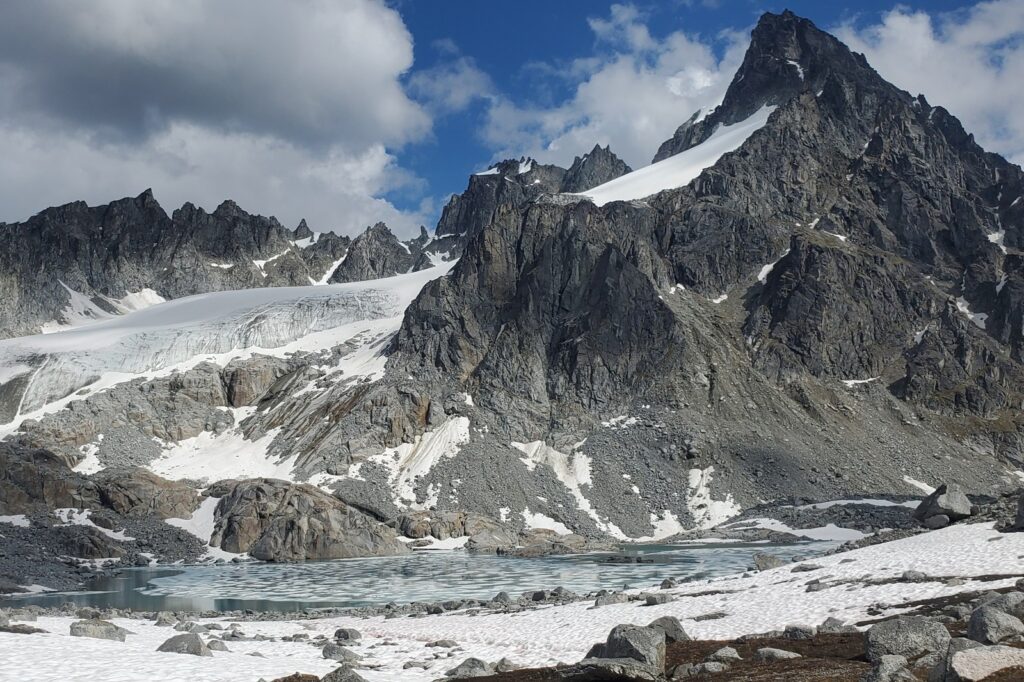
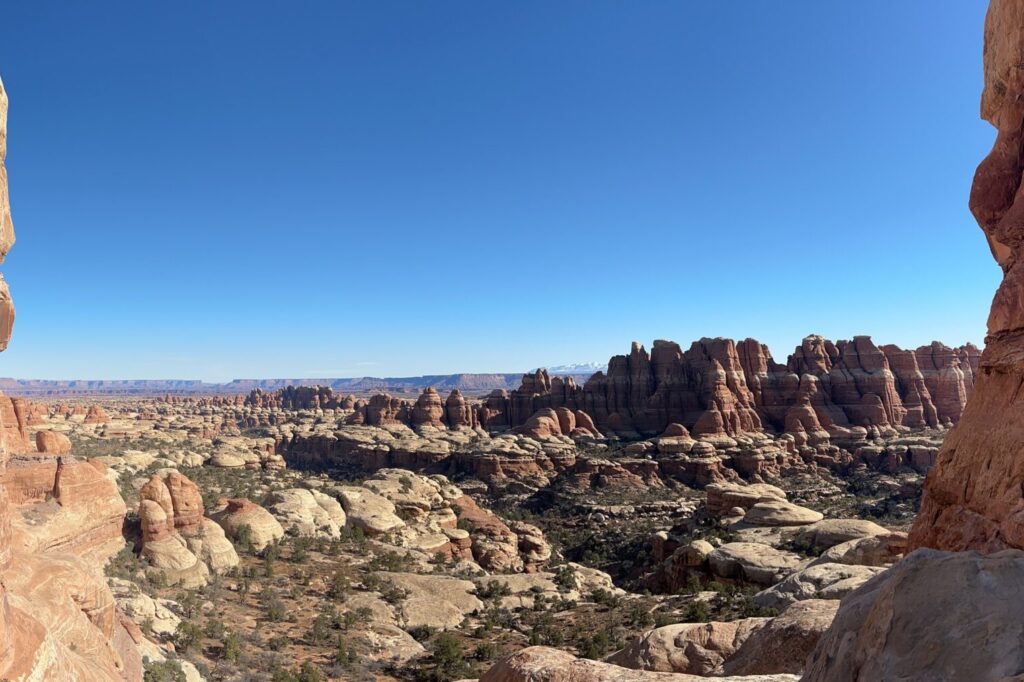
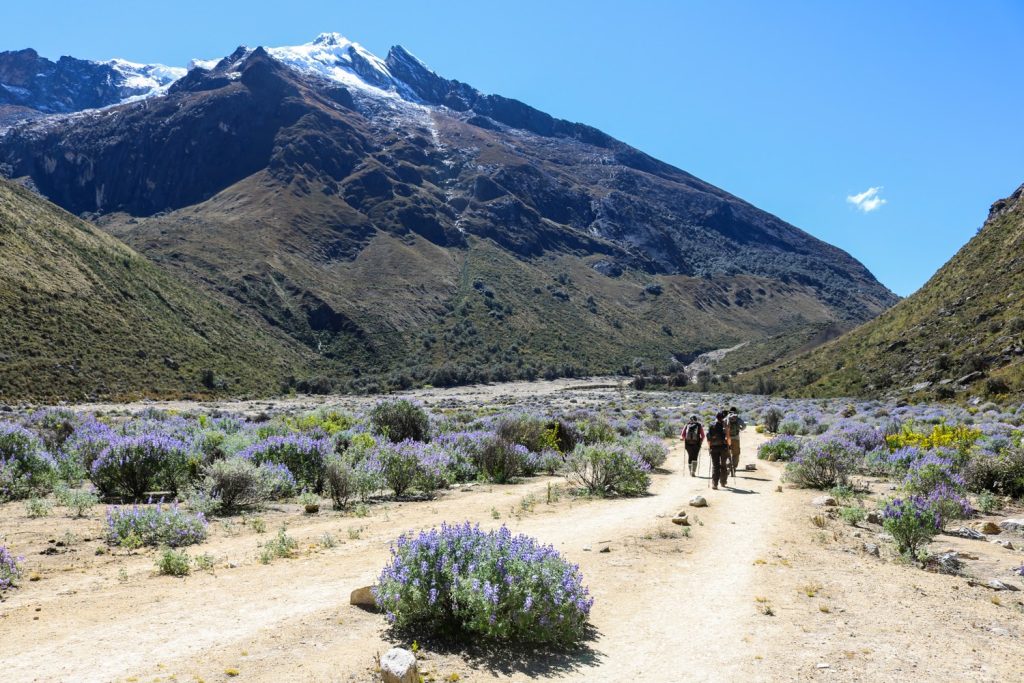
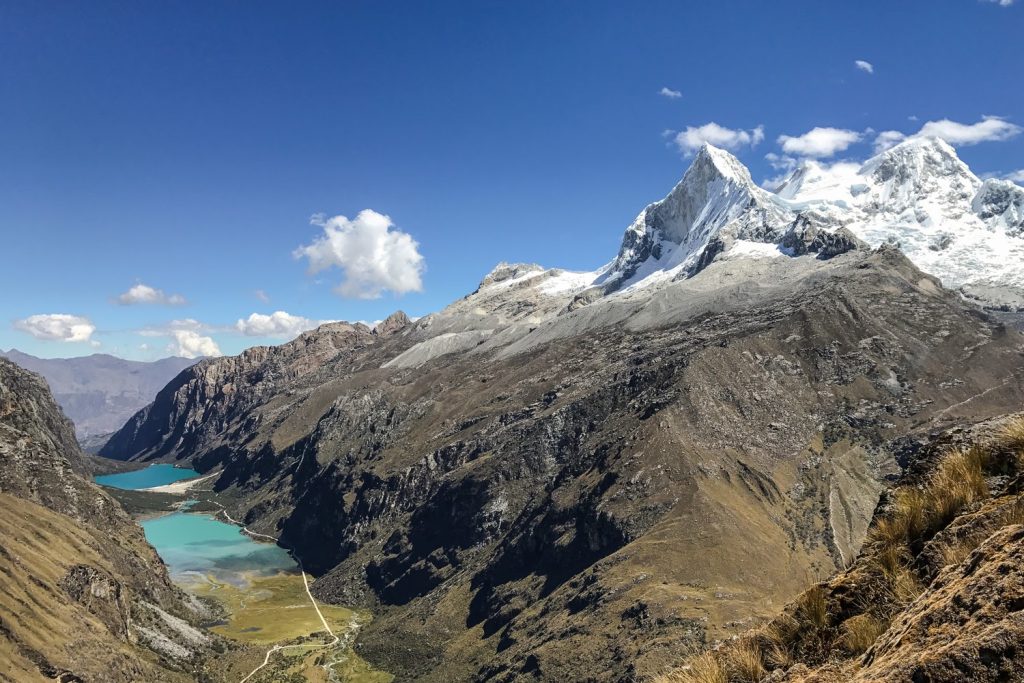
Santa Cruz Photo Gallery