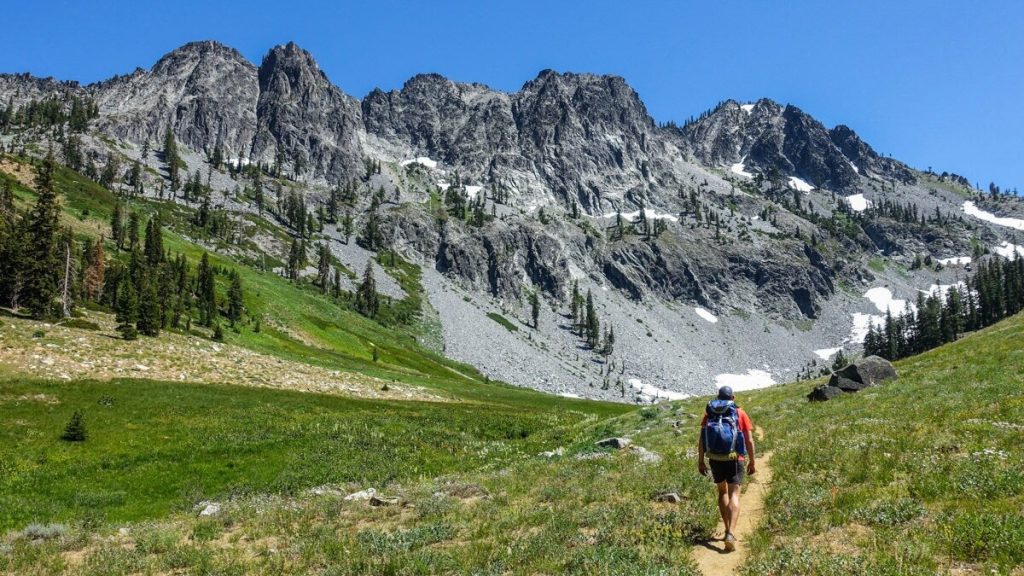
Still very much a backpacking frontier, Death Valley National Park is the largest national park in the Lower 48. Popular with desert-loving backpackers, the Cottonwood-Marble Canyon Loop is one of the few loop trails within the park’s 3.4 million acres. This route is long, challenging, and undeniably beautiful but a bit tricky to follow at times.
To create the Cottonwood-Marble Canyon Loop, the “trail” follows dirt roads and washes (not an actual trail) through three different canyons. Backpackers will wind through dramatic narrow passages, travel over steep ridges, and trek across classic desert landscapes. With few signs to guide backcountry travelers, you must prepared with topo maps and GPS. Many side canyons beckon, but stay on the main route to avoid getting lost in a maze.
Based on our personal experience, this backpackers guide to the Cottonwood-Marble Canyon Loop will help dedicated and well-prepared adventurers enjoy the Death Valley backcountry.
Quick Facts
- Distance: Varies, between 26.3 and 31.8, depending on route
- Days Needed: 2-4 days
- Elevation Gain/Loss: 4,032 feet (1,229 meters)
- Peak Elevation: 4,955 feet (1,510 meters)
- Best Time to Travel: Winter (or late fall, early spring)
- Permits: Required ($10)
- Difficulty: Moderate (overall)
Highlights
- Solitude
- Beautiful, fun-to-navigate canyons
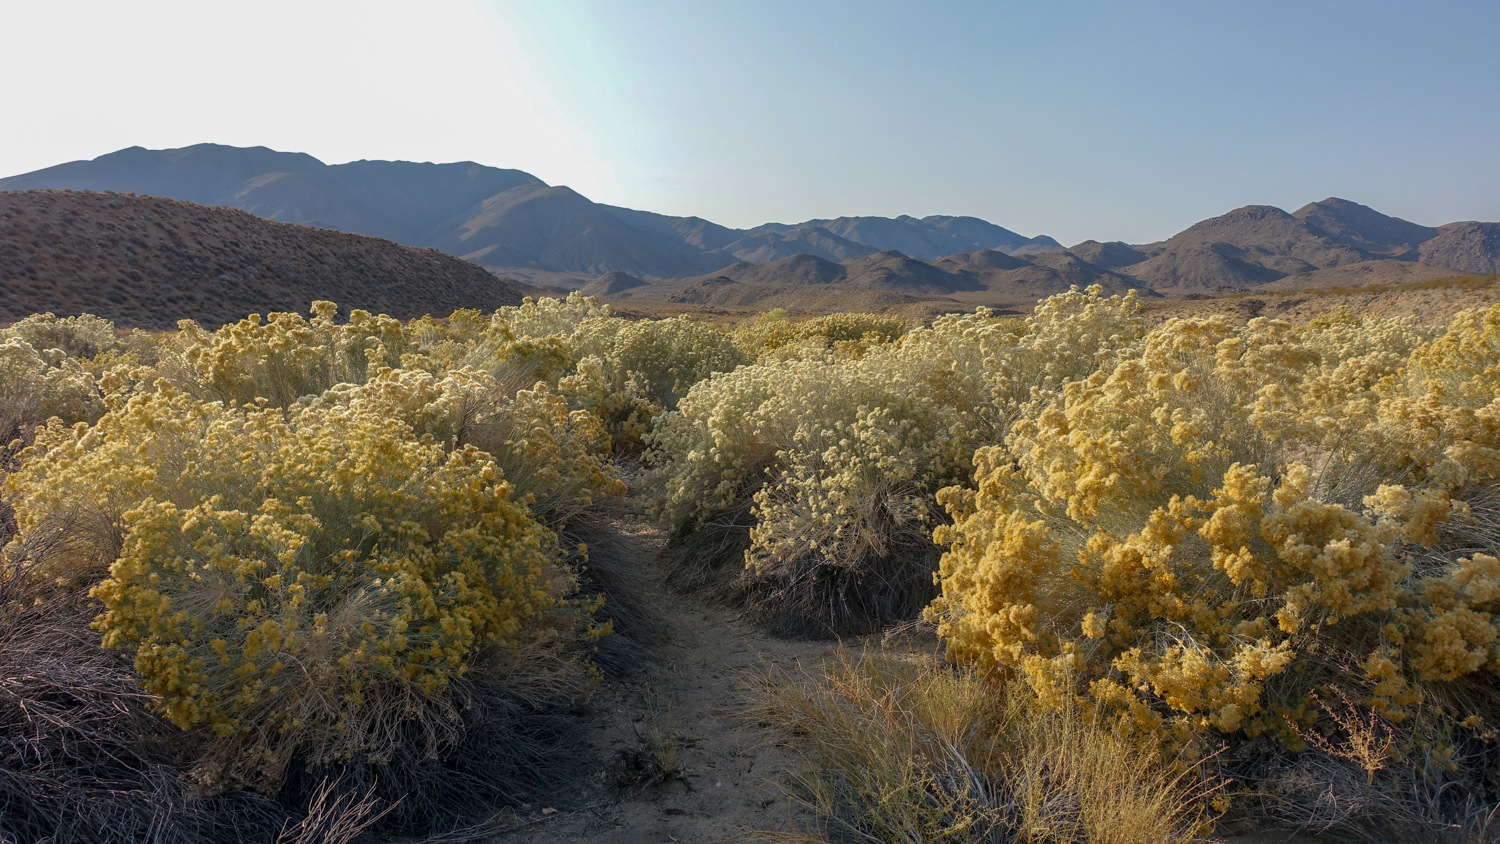
- Spring wildflowers
- Crystal clear air
- Possible wildlife sightings: kit fox, bighorn sheep, roadrunners, mohave fringed lizard, desert cottontail, badger, coyote, bobcats, ringtail cats, bats and gophers.
- Scorpions found in the park are not venomous
- Wild horses and burros wandering about
Lowlights
- Very hot and windy in summer
- Sun exposure – little shade along most of the route
- Few reliable water sources – plan very carefully
- Sketchy trail at times (deep, loose sand, gravel, washouts), few signs
- Scorpions, rattlesnakes, and black widow spiders
- Flash floods in the fall can be very dangerous
- Decent amount of elevation gain along a mostly unmarked route
Best Time to Travel
Mid-October through mid-March is the best time to hike in Death Valley. Winter also offers the most dramatic photography, with long shadows and more vibrant colors.
Avoid hiking in the summer because the temperature can get dangerously high with little opportunity for shade. Even driving here in summer is a sketchy proposition. Stay on paved roads and carry lots of extra water. If your car breaks down, stay with it until help comes (don’t try to walk out). There’s limited phone coverage.
Spring brings road flooding, runoff, and roaring creeks. Always check Death Valley’s Current Conditions page before heading out. And absolutely avoid this loop if there’s any chance of flash flooding.
Difficulty
We rate the Cottonwood-Marble Canyon Loop as moderate to strenuous. Much of the hike involves walking on dirt roads, gravel washes, and cross-country brushy areas, as well as through deep sand or gravel. It also requires navigating narrow canyons and open deserts (topo map, compass, and phone GPS app strongly recommended).
This trail is quite navigable for the confident and experienced hiker, but beginners and anyone unfamiliar with desert hiking should skip this one or go with experienced hikers.
As always, difficulty ratings depend on your experience, physical fitness, pack weight, and weather conditions. Plan accordingly, train properly, know your limitations, brush up on your skills with our tutorials, and dial in your gear. Doing so will make for a safe and enjoyable adventure.
Permits
Unlike most national parks, Death Valley does not have an entry gate. Pay National Park entry fees at ranger stations or any of the self-pay facilities around the park.
Here are up-to-date entry fees.
- Individual (no vehicle) – $15 (good for 7 days)
- Motorcycle – $25 (good for 7 days)
- Automobile with up to 4 people – $30 (good for 7 days)
- Death Valley Annual Pass – $55
- Annual Pass for all National Parks– $80
Backcountry Camping Permits
The National Park Service requires a backcountry permits for the Cottonwood Marble Canyon loop. Permits cost $10 (per group) and must be reserved online at recreation.gov.
They become available six months before the scheduled departure date. Online same-day permits are available through recreation.gov until 11:59 p.m. on the day of departure.
In-person permits are no longer available, but park staff can assist visitors with permits at the Furnace Creek Visitor Center (open 8 a.m.–5 p.m. daily) or at the Stovepipe Wells Ranger Station (open intermittently).

Trailhead
Although there is no specific “trailhead” when you first set out, most backpackers begin the route at the intersection of Cottonwood Canyon Rd. and Marble Canyon Rd.
The road is rough and may require a 4WD high clearance vehicle for the final 2 miles to the trailhead. If your vehicle cannot handle the final two miles, you’ll have to hike the additional two miles in and out.
We recommend checking the National Park website for road closures and travel advice prior to your trip. (As we’re updating this guide, the road is currently closed due to flooding.)
Route Description
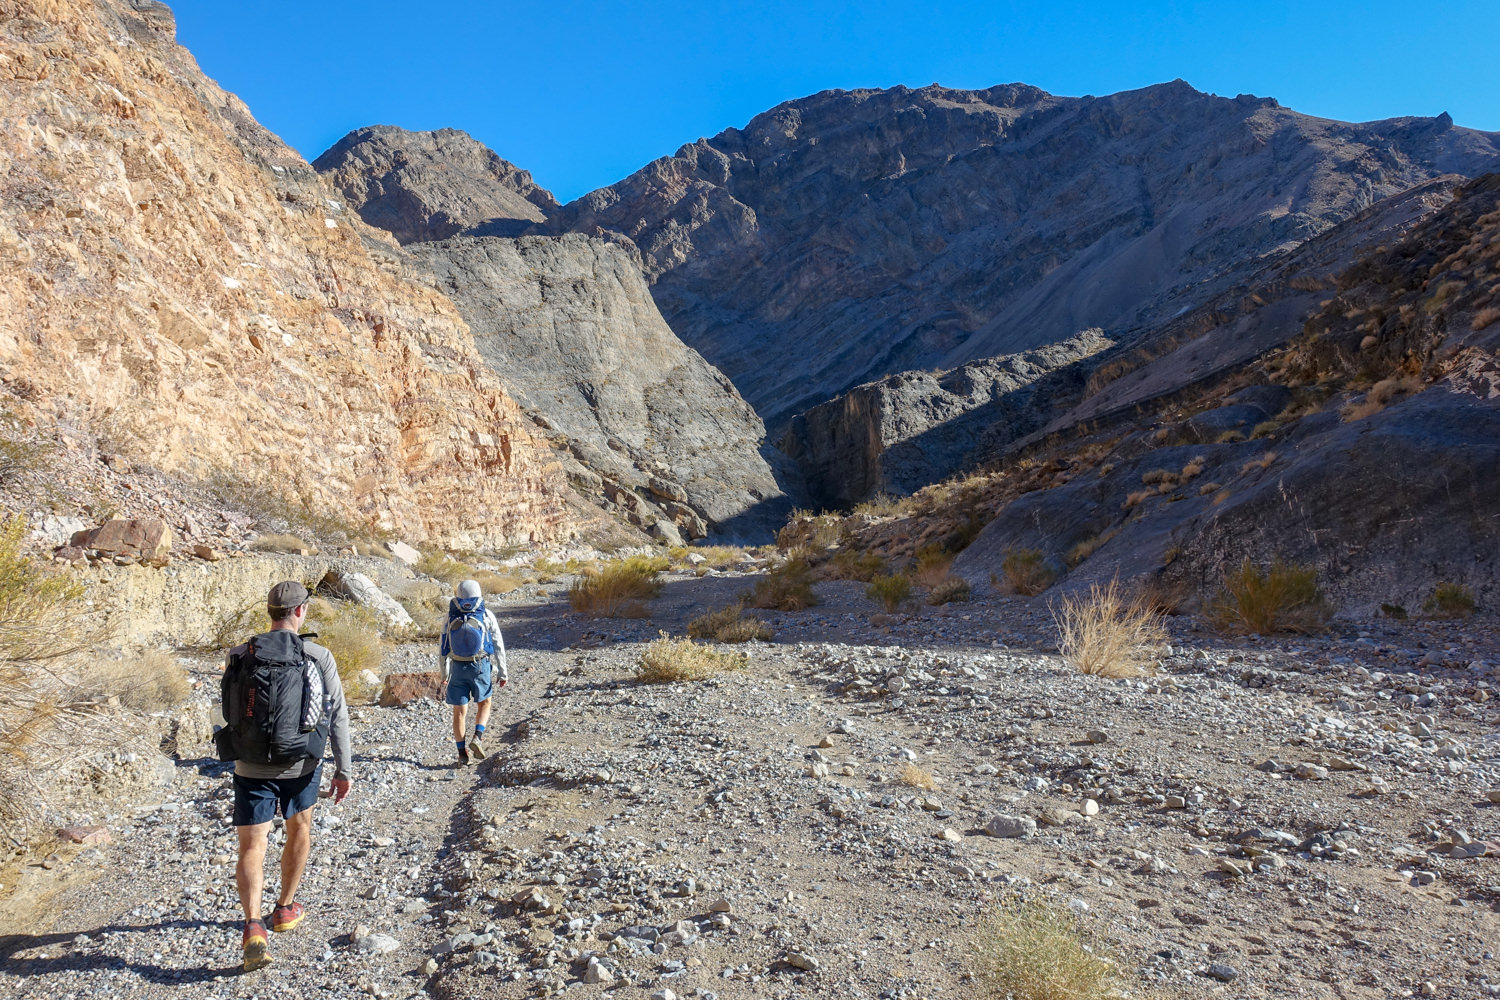
Most people hike the Cottonwood-Marble Canyon Loop in a clockwise direction, hiking along Cottonwood Canyon Road for the first 8 miles.
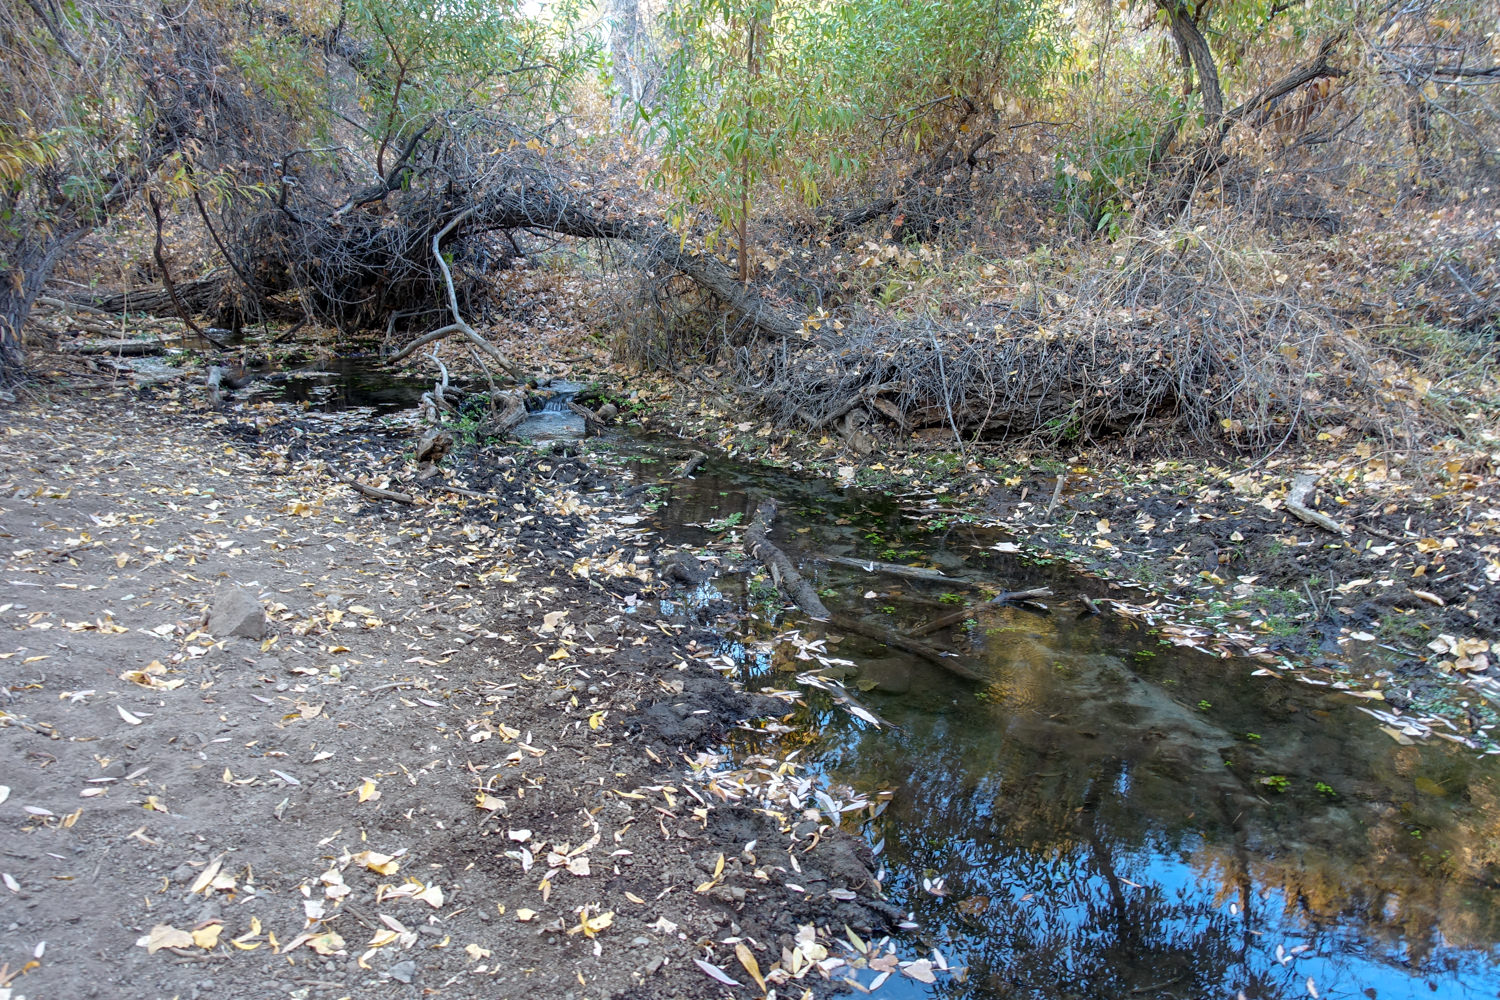
After this dirt road stretch, the route narrows from road to trail and passes through a canyon before reaching a grove of cottonwood trees. This is the location of one of three seasonal springs along this route. This may be a good place to get water in fall, winter, and spring and to set up camp. However, this is a less reliable water source than Cottonwood Springs (4 miles further).
Hiking toward Cottonwood Spring, the trail gets rougher and makes its way up an easy slope to a steep canyon before entering an oasis of cottonwood trees. This is another good place to camp – and the best water source along the entire loop.
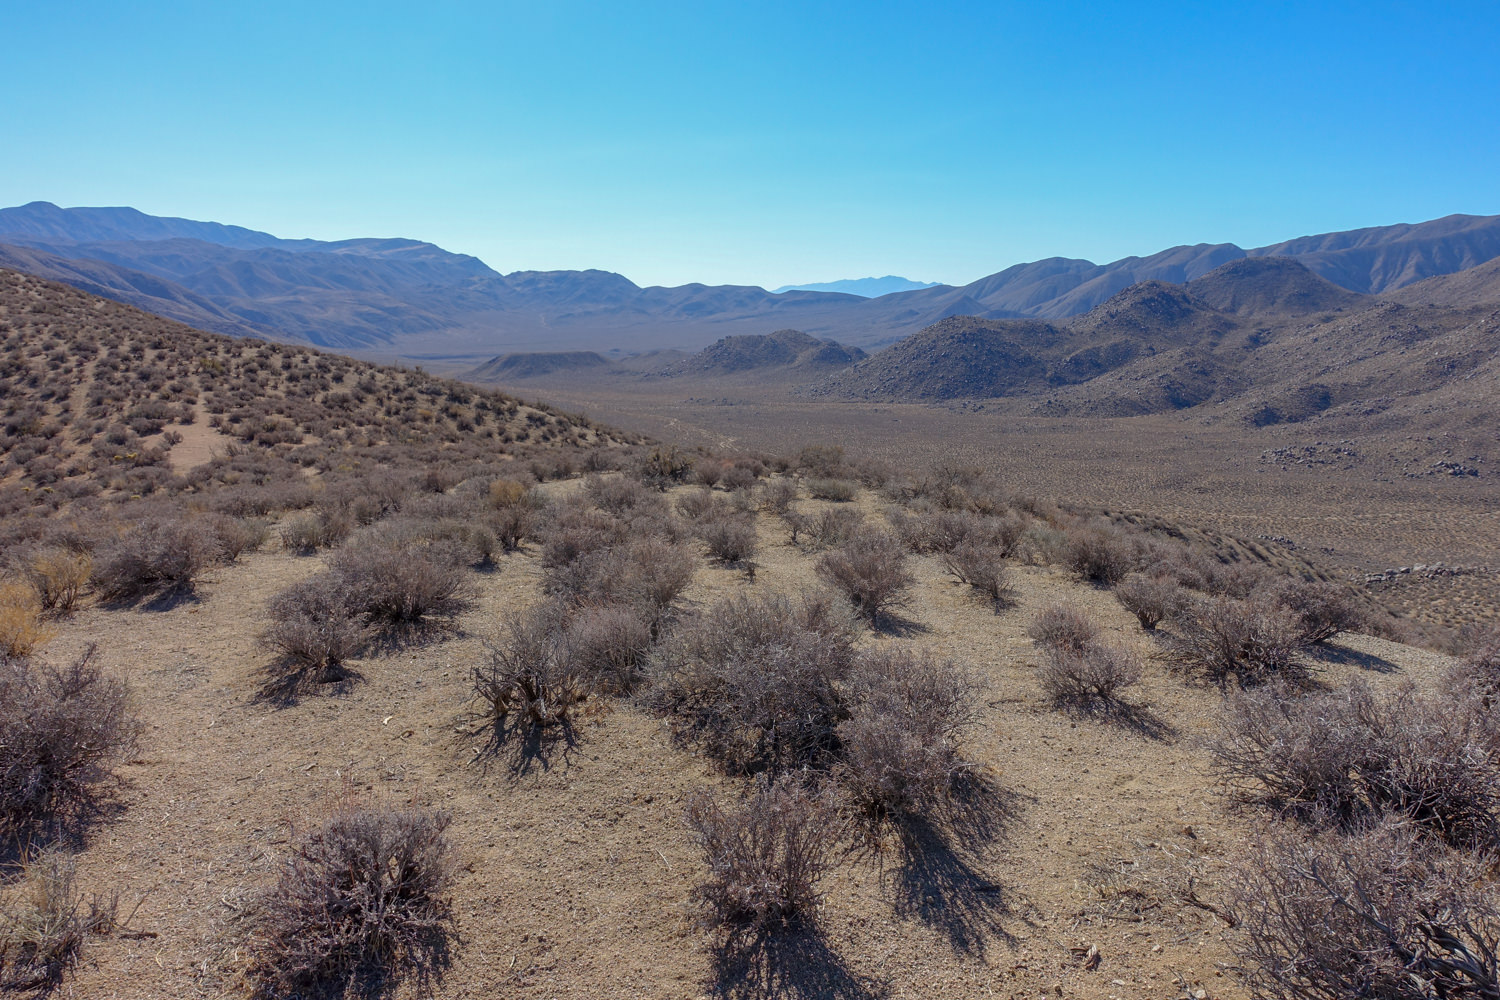
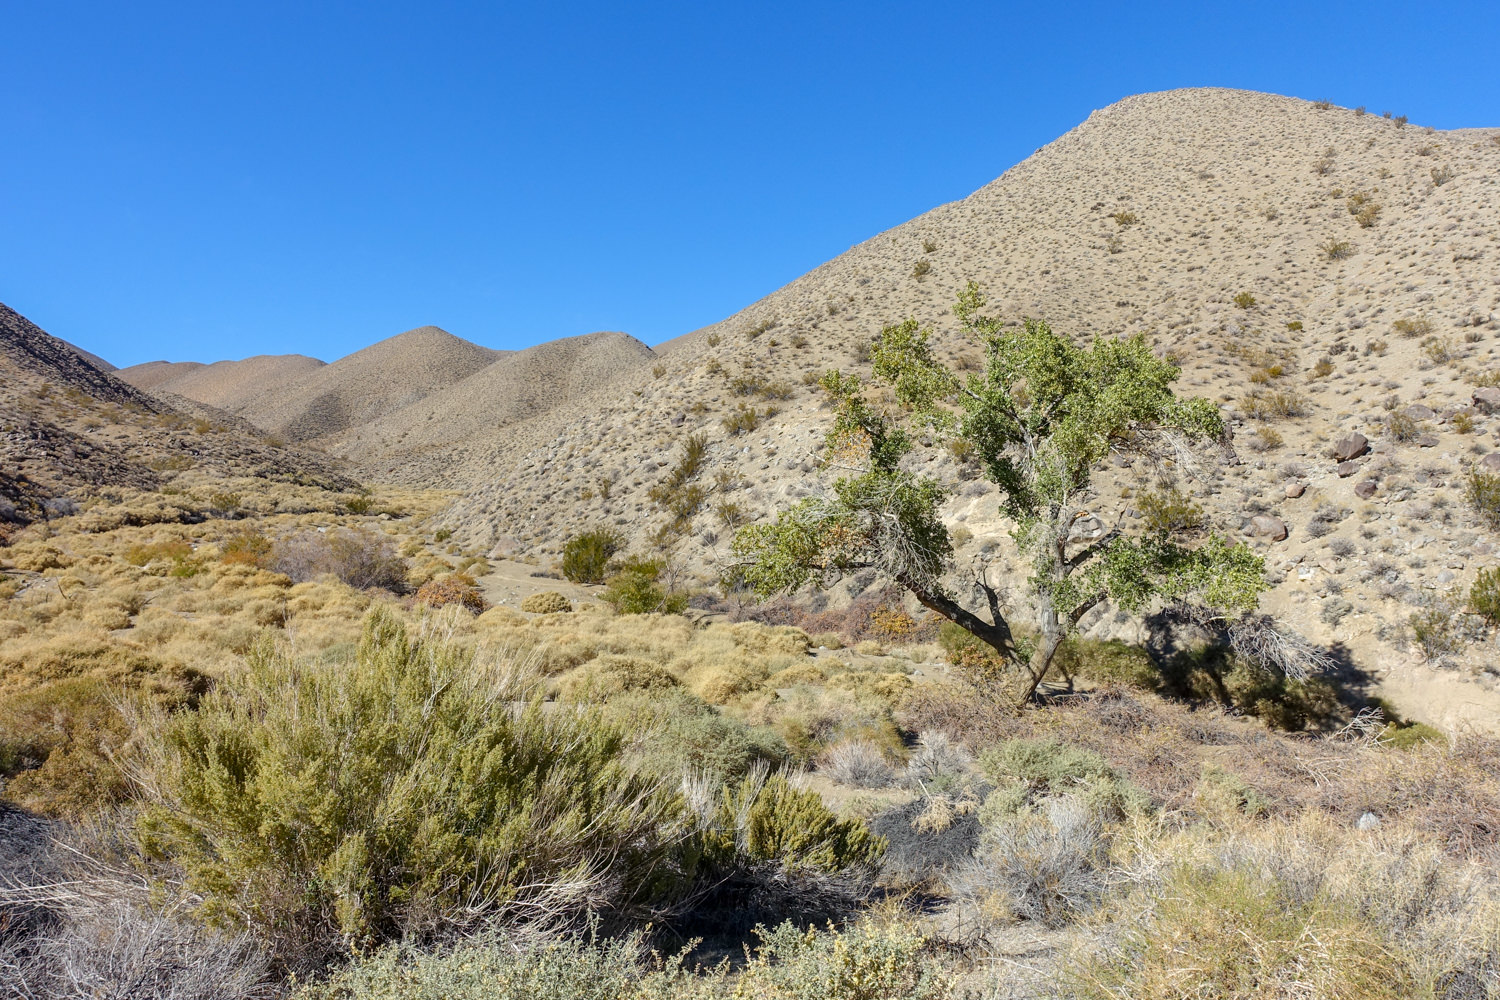
From here, it’s 6 miles to Deadhorse Canyon, much of it across desertscape. Dig out the map and compass (or better yet, GPS) here. There may be footprints that point in the right direction, but it’s tricky here.
Continue trekking up the valley with the mountains on your right. Head up the steep gully ahead to a low saddle that provides entry into Deadhorse Canyon.
This is another confusing spot. To enter Deadhorse Canyon, drop into the next vegetated canyon and hike a short way (less than a city block) into it. Then, head uphill to a saddle to the north for a big view over Deadhorse Canyon and a large cottonwood tree in the valley below. From the saddle, turn left (not right, like the NP GPX track says) and head steeply downhill to the water drainage area. From here, you can turn right and head down the drainage much more easily than the steep descent down the headwall to Deadhorse Canyon.
Shortly after reaching the large cottonwood tree at the bottom of the canyon, you’ll come across a tricky section of the trail with a 6-8 foot drop. Navigating this section without your pack may be easier, so take it off and have a hiking partner hand it down to you. There are some foot and hand holds in the rock that makes it easier to get down, so take your time and be safe.
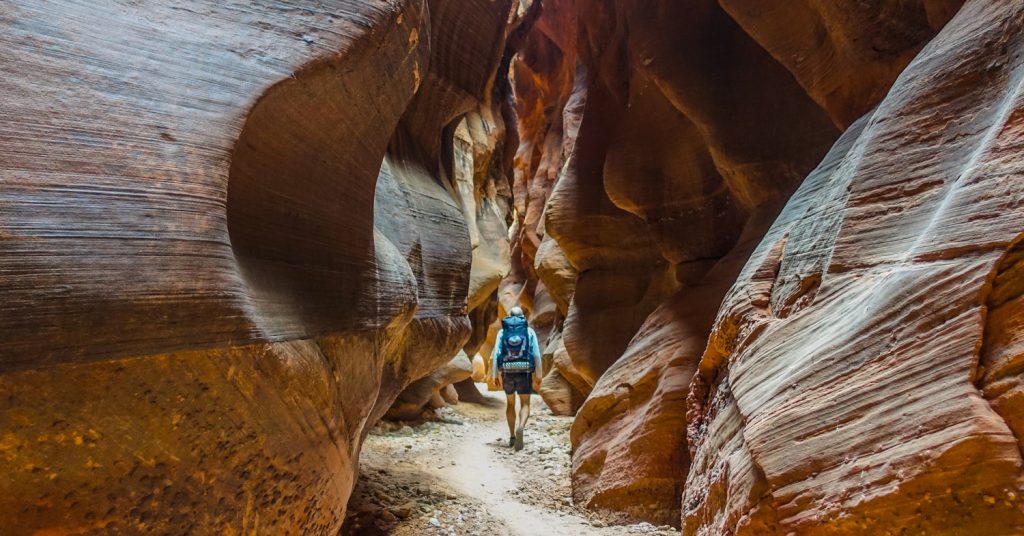
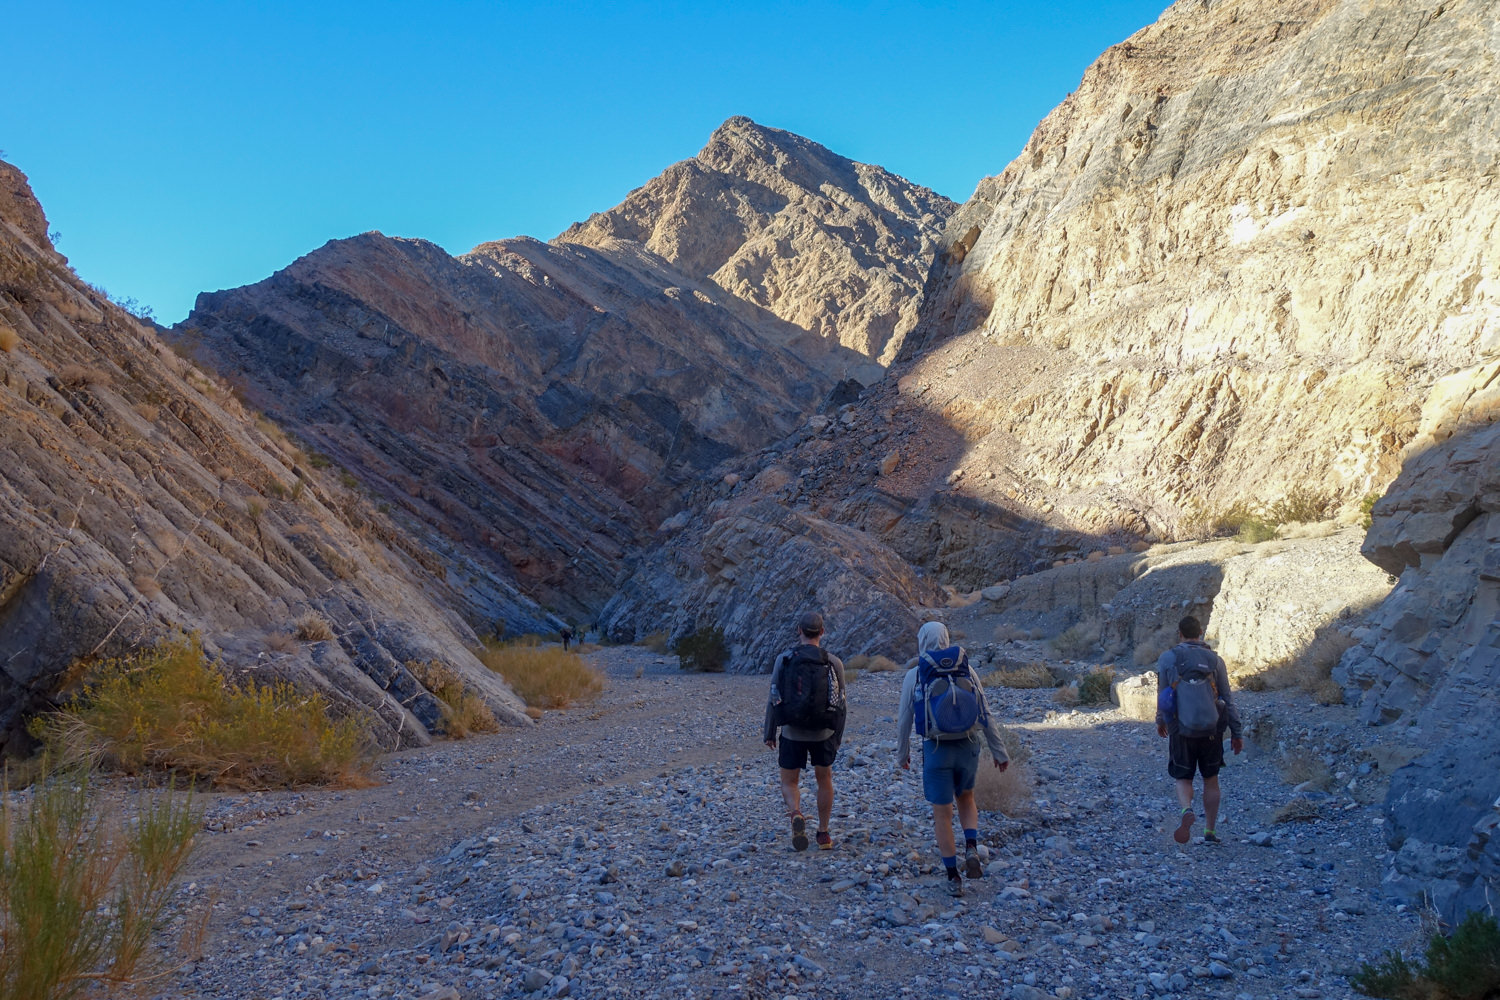
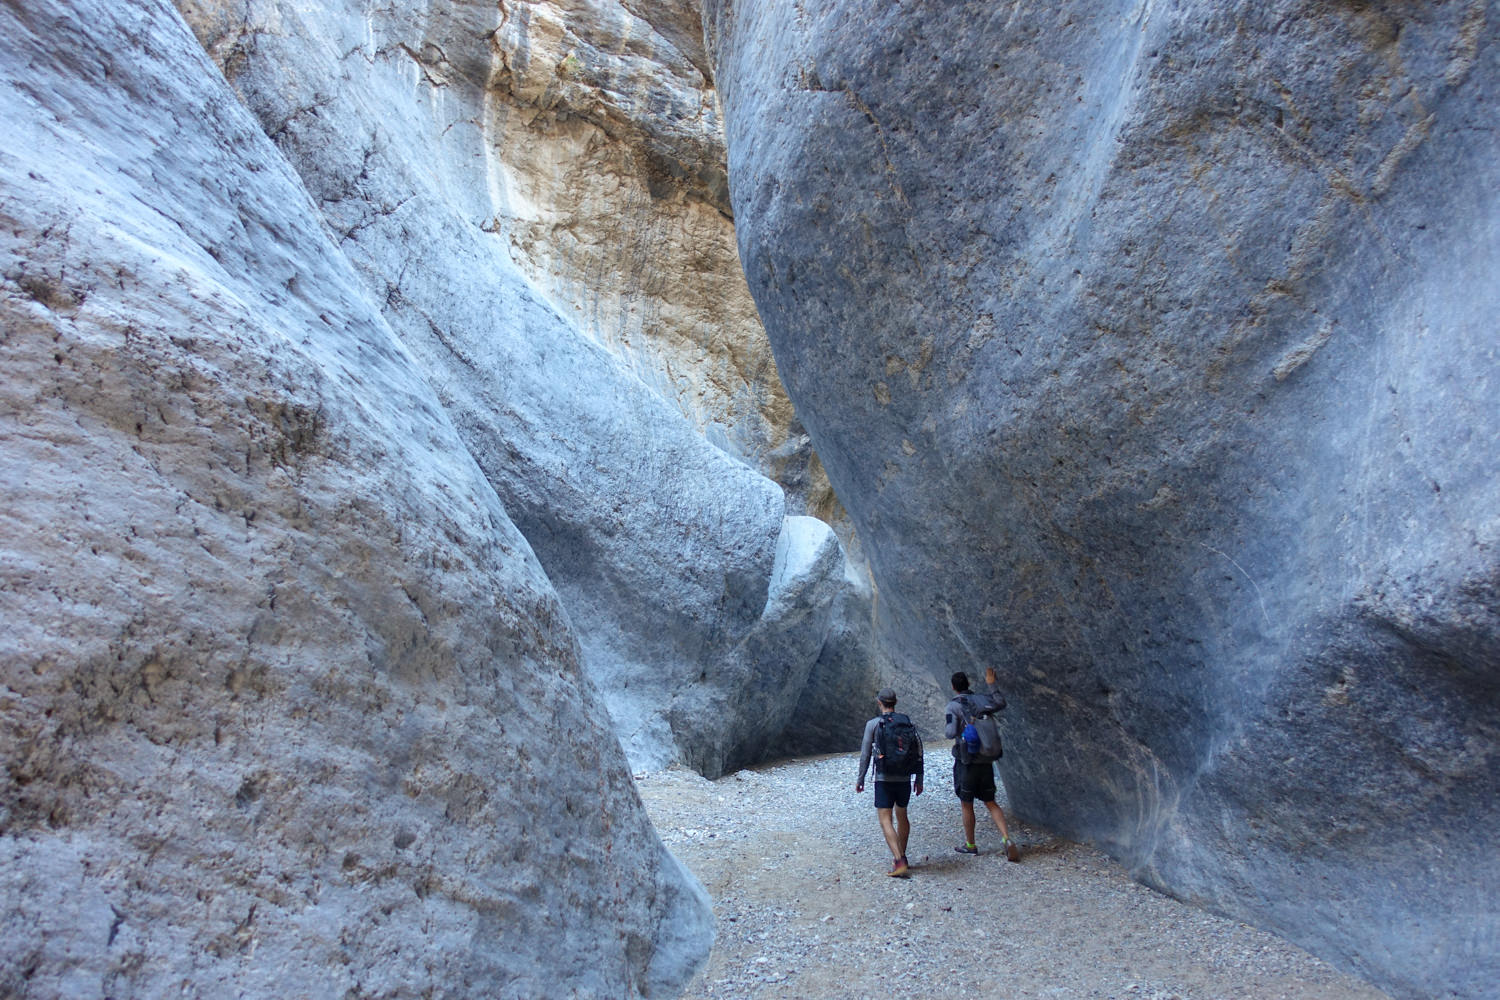
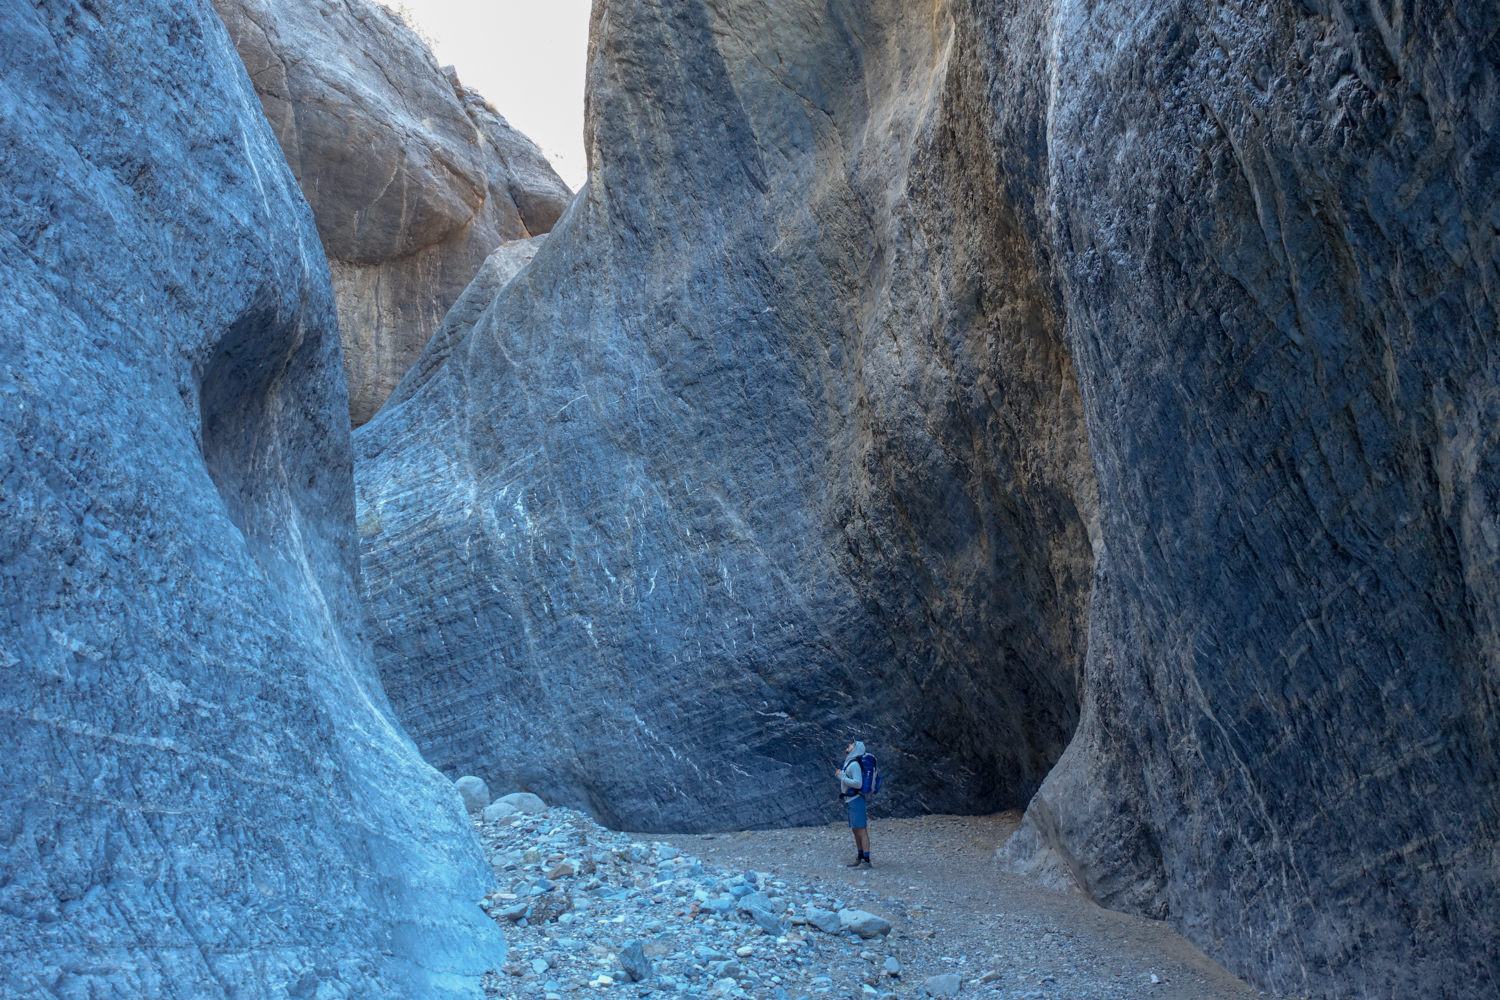
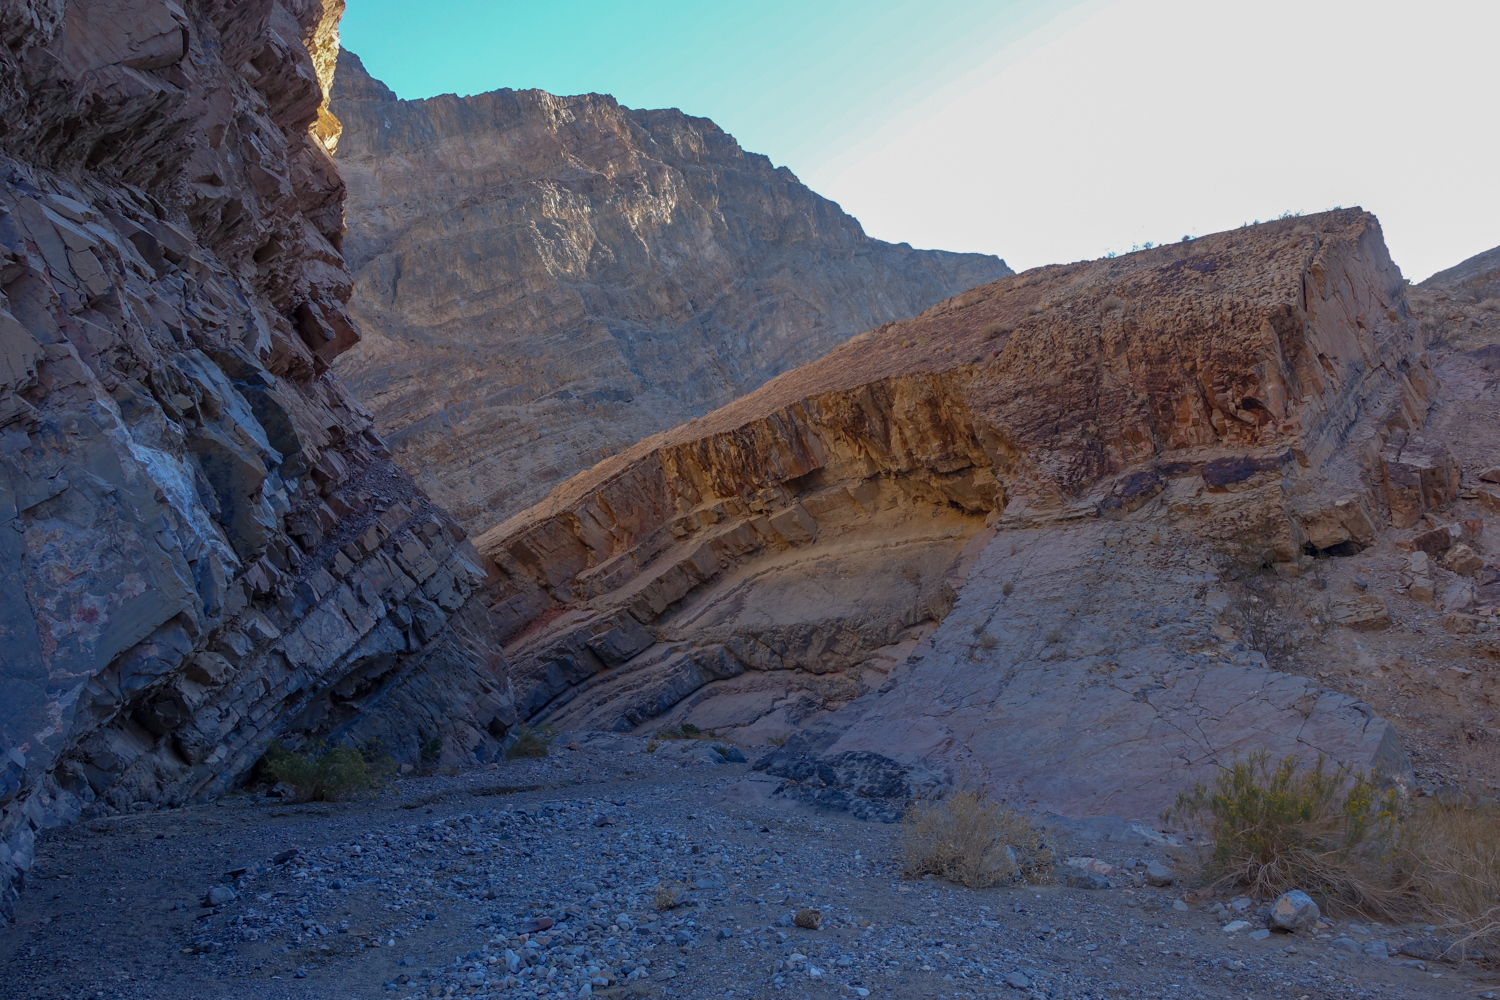
Marble Canyon, known for its distinctive narrows and soaring walls (akin to places in Utah), can also be choked with debris after storms. Flash flooding is a potential danger, particularly in the spring and early fall. For many, Marble Canyon is the best part of the loop, thanks to its easy grades, beautiful narrow canyons, and hard-pack terra firma (that lets you avoid the sand and gravel).
Marble Canyon presents only one moderate challenge: a boulder blocks (dry pour-off) the canyon exit, and a climb of the west ridge is required to get around it. Make your way through these canyons until you reach Marble Canyon Road. The final stretch through a wash to the end/start at the junction of Marble Canyon and Cottonwood Springs Road.
Getting there
From Barstow, California
Get on I-15 S from E Mountain View Street and Barstow Road and follow CA-58 W and US-395 N to Trona Rd for 59.5 miles. Turn right onto Trona Rd and follow it for 21.2 miles. Follow Trona Wildrose Rd and CA-190 E for 87.3 miles. Turn left onto Cottonwood Canyon Rd and drive 4.3 miles to Stovepipe Wells Campground.
From the Stovepipe Wells Campground
Drive west on Cottonwood Canyon Road. A high-clearance vehicle is recommended to reach the start of this loop. If you’re in a 4WD vehicle, you can go about two more miles to knock off part of the rough washboard road that must otherwise be hiked for the next 8 miles.
GPS Files
It’s highly recommended that you use a GPS device on this route, as it can be tricky to navigate at times, and getting lost would be disastrous. We use GPS phone apps like Gaia GPS and Topo Maps+ and they work great.
- GPS Files From the National Park – (Full Trip):
GPX (98 KB download)
KML format (78 KB download)
We used this GPX track, and it worked great. The following downloads are optional and unnecessary if you use the full trip download.
NOTE: There’s one section on this GPX track that isn’t quite right. From the saddle overlooking Deadhorse Canyon (you can see one large cottonwood tree in the canyon below from the top), turn left (not right) from this saddle and head down to the water runoff drainage. From that point, you can turn right and head downhill much easier than the route the GPX track would take you on. - Separated Road and Trek KML Tracks:
Cottonwood Marble Road ( 6 KB download)
Cottonwood Canyon Road (16 KB download)
Marble Canyon Road (2 KB download)
Cross Country Trek (39 KB download) - GPS Waypoints (less than 2 KB download each): Cottonwood/Marble parking for 2WD vehicles, Chokestone obstacle, Deadhorse saddle traverse, Cottonwood Canyon camping area, Cottonwood Canyon, Cottonwood Canyon End Road, Cottonwood/Marble Canyon Road intersection, Cottonwood Saddle, Lemoigne Turnoff, Cottonwood Valley, Cottonwood/Marble Camp, Cottonwood Canyon Spring, Cottonwood Springs Camping, Cottonwood Springs, Deadhorse Canyon Camping, Deadhorse Canyon Dryfall, Deadhorse Spring, Dry Spring on Pass, end Marble Canyon Road, Lemoigne Canyon turnoff, Lower Marble Canyon Narrows, Marble & Deadhorse Canyon intersection, Middle Marble Canyon Narrows, rocky outcropping Cottonwood Canyon, saddle looking down Deadhorse, Upper Marble Canyon Narrows.
Campsites
There are no designated campsites along this route, but you will see signs of previous camps. The best campsites are around Cottonwood Springs and Deadhorse Canyon, with seasonal water flow and ample shade from the old-growth cottonwoods that thrive in the area. But you can also camp in the desertscape/playa between Cottonwood Springs and Deadhorse Canyon, as well as at the Marble Canyon entry point (trailhead).

Possible Itineraries
Two Day Itinerary
Trailhead Start/Finish: Cottonwood-Marble Canyon Junction (google map)
- Day 1 – Hike clockwise to Cottonwood Springs (about 12 miles)
- Day 2 – Get an early start for a long day continuing clockwise back to your starting trailhead through Marble Canyon (about 14.3 miles)
Note – You could also reverse this route and start with the longer day. Additionally, you could make this a great 3-day itinerary by stopping short of your car by a few miles and camping another night around the Marble Canyon trailhead.
Three Day Itinerary
Trailhead Start/Finish: Cottonwood-Marble Canyon Junction (google map)
- Day 1 – Hike up Cottonwood Canyon to camp near Cottonwood Canyon Road end campsite near a seasonal spring. (8.5 miles)
- Day 2 – Hike from Cottonwood Canyon to seasonal Deadhorse Springs. (9.5 miles)
- Day 3 – Hike from Deadhorse Springs back to start. (8.3 miles)
Four Day Itinerary
Trailhead Start/Finish: Cottonwood-Marble Canyon Junction (google maps)
- Day 1 – Hike up Cottonwood Canyon to the seasonal spring near the end of Cottonwood Road. (8.5 miles)
- Day 2 – Hike to Cottonwood Springs (3.5 miles)
- Day 3 – Hike from Cottonwood Springs to seasonal Deadhorse Springs (6 miles)
- Day 4 – Hike from Deadhorse Springs through Marble Canyon and back to your car (8.3 miles)
Maps & Guidebooks
Below is a list of guidebooks and maps we’ve found helpful in planning our trips in Death Valley. In addition to planning with these resources, we recommend calling or visiting the ranger station in Death Valley to get any updates on current conditions.
- Hiking Death Valley National Park: A Guide to the Park’s Greatest Hiking Adventures – This book includes detailed information about 57 best day hikes and extended backpacking trips in Death Valley. It includes GPS coordinates for the trailheads, mile-by-mile directional cues, rich narratives, and beautiful photographs.
- Death Valley National Park Recreation Map – Tom Harrison Maps are famous for their beauty and accuracy. This map includes color-coded symbols and trails, mileages between trail junctions, latitude/longitude, UTM grids, contour lines, vegetation, and elevations at trail junctions.
- National Geographic Trails Illustrated Map – Death Valley National Park – This map features all of Death Valley’s marked trails, including mileages between intersections. It also includes a list of backcountry roads and trails complete with descriptions, lengths, and starting points. The map base includes contour lines and elevations for summits. Hot weather tips, a temperature chart, regulations, and safety suggestions are also included.
- Hiking Death Valley: A Guide to its Natural Wonders and Mining Past – This book offers in-depth descriptions of each region of the park, meticulous maps, mileage tables, and some of the most useful trip descriptions found in any hiking guide.
Regulations
Be sure to brush up on the regulations for Death Valley National Park. Rules change so please consult the official website before your trip. Frequent road closures can impact this loop. Below is a snapshot of important regulations to follow.
- No campfires are allowed.
- Being in an area posted as being closed for restoration, wilderness restoration, or rehabilitation is prohibited.
- Walking on, climbing, entering, ascending, descending, or traversing any archaeological or cultural resource is prohibited. This includes all mine structures, features, and ruins (e.g., standing mill structures, aerial tram towers, terminals, and cables, ore bins, ore chutes, buildings, walls, gates, fencing, etc.).
- Possessing, destroying, injuring, defacing, removing, digging, or disturbing a structure or its furnishing or fixtures or other cultural or archeological resources is prohibited. This includes all mine structures, features, and ruins (i.e., standing mill structures; aerial tram towers, terminals, and cables; ore bins; ore chutes; buildings; walls, gates, fencing, etc.
- In non-designated campgrounds, group size is limited to 12 persons and no more than 4 vehicles, and/or 8 pack animals, and/or 4 vehicles. Groups larger than 12 must split up into smaller groups and must camp, hike, and eat at least a half-mile apart. Larger groups may request an exception to these limits from the superintendent under the terms of a special use permit.
Water
Due to its arid environment, backpacking in Death Valley can be more challenging than in many other places. There are three seasonally reliable water sources along this route, with flows that vary depending on the time of year. Of the three sources, Cottonwood Springs is the most reliable. We highly recommend calling the Death Valley visitor center (760-786-3200) to ask about current water source conditions before your trip.
All water sources here should be filtered or treated because giardia is present in this area. We used a combination of Chlorine Dioxide pills and a Sawyer Squeeze on this loop. Check out our Best Water Filters list for more great options.
Backpackers newer to desert hiking often underestimate how much water they need. You should generally carry at least 4 liters of water per person per day. On very hot days, you may need to drink 5-6 liters. We highly recommend bringing a trusty water bladder or two to carry water between sources.
Seasonal Springs along this loop (clockwise):
- Cottonwood Road’s end – 8.5 miles in
- Cottonwood Springs – 12 miles in (the most reliable source)
- Deadhorse Springs – 1/4 mile north of the large cottonwood tree at the bottom of Deadhorse Canyon (if you hit the 6-8 food dryfall you’ve gone too far) – 18 miles in
Gear List
Make sure to check out our Ultimate Backpacking Checklist, so you don’t forget something important.
Below you’ll find our current favorite backpacking gear. If you want to see additional options, our curated gear guides are the result of many years of extensive research and hands-on testing by our team of outdoor experts.
BACKPACK
- Best Backpacking Pack Overall: Gregory Paragon 58 – Men’s / Gregory Maven 58 – Women’s
- Best Ultralight Backpacking Backpack: Hyperlite Mountain Gear Unbound 40
- More: Check out our best backpacking backpacks guide for ultralight and trekking options
TENT
- Best Backpacking Tent Overall: Big Agnes Copper Spur HV UL2
- Best Ultralight Tent: Zpacks Duplex
- Best Budget Tent: REI Half Dome 2
- Best Tent Stakes Overall: All One Tech Aluminum Stakes
- More: Check out our best backpacking tents guide for more options
SLEEPING BAG/QUILT
- Best Sleeping Bag Overall: Men’s Feathered Friends Swallow YF 20 / Women’s Feathered Friends Egret YF 20
- Best Quilt Overall: Enlightened Equipment Revelation 20
- More: Check out our best backpacking sleeping bags guide and best backpacking quilts guide for more options
SLEEPING PAD
- Best Sleeping Pad Overall: NEMO Tensor All-Season
- Best Foam Sleeping Pad: NEMO Switchback
- More: Check out our best backpacking sleeping pads guide for ultralight and trekking options
CAMP KITCHEN
- Best Backpacking Stove Overall: MSR PocketRocket 2
- Best Backpacking Cookware Overall: TOAKS Titanium 750ml
- Best Backpacking Coffee Overall: Starbucks VIA
- More: Check out our best backpacking stoves guide and best backpacking cookware guide for ultralight and large group options
WATER & FILTRATION
- Best Water Filter Overall: Sawyer Squeeze
- Best Hydration Bladder Overall: Gregory 3D Hydro
- Best Backpacking Water Bottles: Smartwater Bottles
- More: Check out our best backpacking water filters guide and best backpacking water bottles guide for ultralight and large group options
CLOTHING
- Best Hiking Pants Overall: Men’s Outdoor Research Ferrosi / Women’s The North Face Aphrodite 2.0
- Best Hiking Shorts Overall: Men’s Patagonia Quandary / Women’s Outdoor Research Ferrosi
- Best Women’s Hiking Leggings: Fjallraven Abisko Trekking Tights HD
- Best Rain Jacket Overall: Men’s Patagonia Torrentshell 3L / Women’s Patagonia Torrentshell 3L
- Best Rain Pants: Men’s Patagonia Torrentshell 3L / Women’s Patagonia Torrentshell 3L
- Best Down Jacket Overall: Men’s Patagonia Down Sweater Hoodie / Women’s Patagonia Down Sweater Hoodie
- Best Fleece Jacket Overall: Men’s Patagonia Better Sweater / Women’s Patagonia Better Sweater
- Best Sunshirt Overall: Men’s Outdoor Research Echo / Women’s Outdoor Research Echo
- Best Socks Overall: Men’s Darn Tough Light Hiker Micro Crew / Women’s Darn Tough Light Hiker Micro Crew
- Beste Ultralight Liner Glove: Patagonia Capilene Midweight Liner
- More: Check out our best backpacking apparel lists for more options
FOOTWEAR & TRACTION
- Best Hiking Shoes Overall: Men’s HOKA Speedgoat 6 / Women’s HOKA Speedgoat 6
- Best Hiking Boots Overall: Men’s Salomon X Ultra 5 GTX / Women’s Lowa Renegade Evo GTX
- Best Hiking Sandals Overall: Men’s Chaco Z/1 Classic / Women’s Chaco Z/1 Classic
- Best Camp Shoes Overall: Crocs Classic Clogs
- Best Traction Device for Hiking Overall: Kahtoola MICROspikes
- More: Check out our best backpacking footwear lists for more options
NAVIGATION
- Best GPS Watch Overall: Garmin Instinct 2 Solar
- Best Personal Locator Beacon (PLB): Garmin inReach Mini 2
- More: Check out our article How to Use Your Phone as a GPS Device for Backpacking & Hiking to learn more
FOOD
FIRST-AID & TOOLS
- Best First-Aid Kit Overall: Adventure Medical Kits Ultralight/Watertight .7
- Best Pocket Knife Overall: Kershaw Leek
- Best Multitool Overall: Leatherman Wave+
- Best Headlamp Overall: Black Diamond Spot 400-R
- Best Power Bank Overall: Nitecore NB 10000 Gen 3
- More: Check out our best first-aid kit guide, best pocket knife guide, best multitool guide, best backpacking headlamps guide, and best power banks guide for more options
MISCELLANEOUS
- Best Trekking Poles Overall: Black Diamond Pursuit
- Best Backpacking Chair Overall: REI Flexlite Air
- Best Backpacking Stuff Sack Overall: Hyperlite Mountain Gear Drawstring
- More: Check out our best trekking poles guide, best backpacking chairs guide, and best stuff sacks guide for more options
More Cottonwood-Marble Canyon Loop Photos
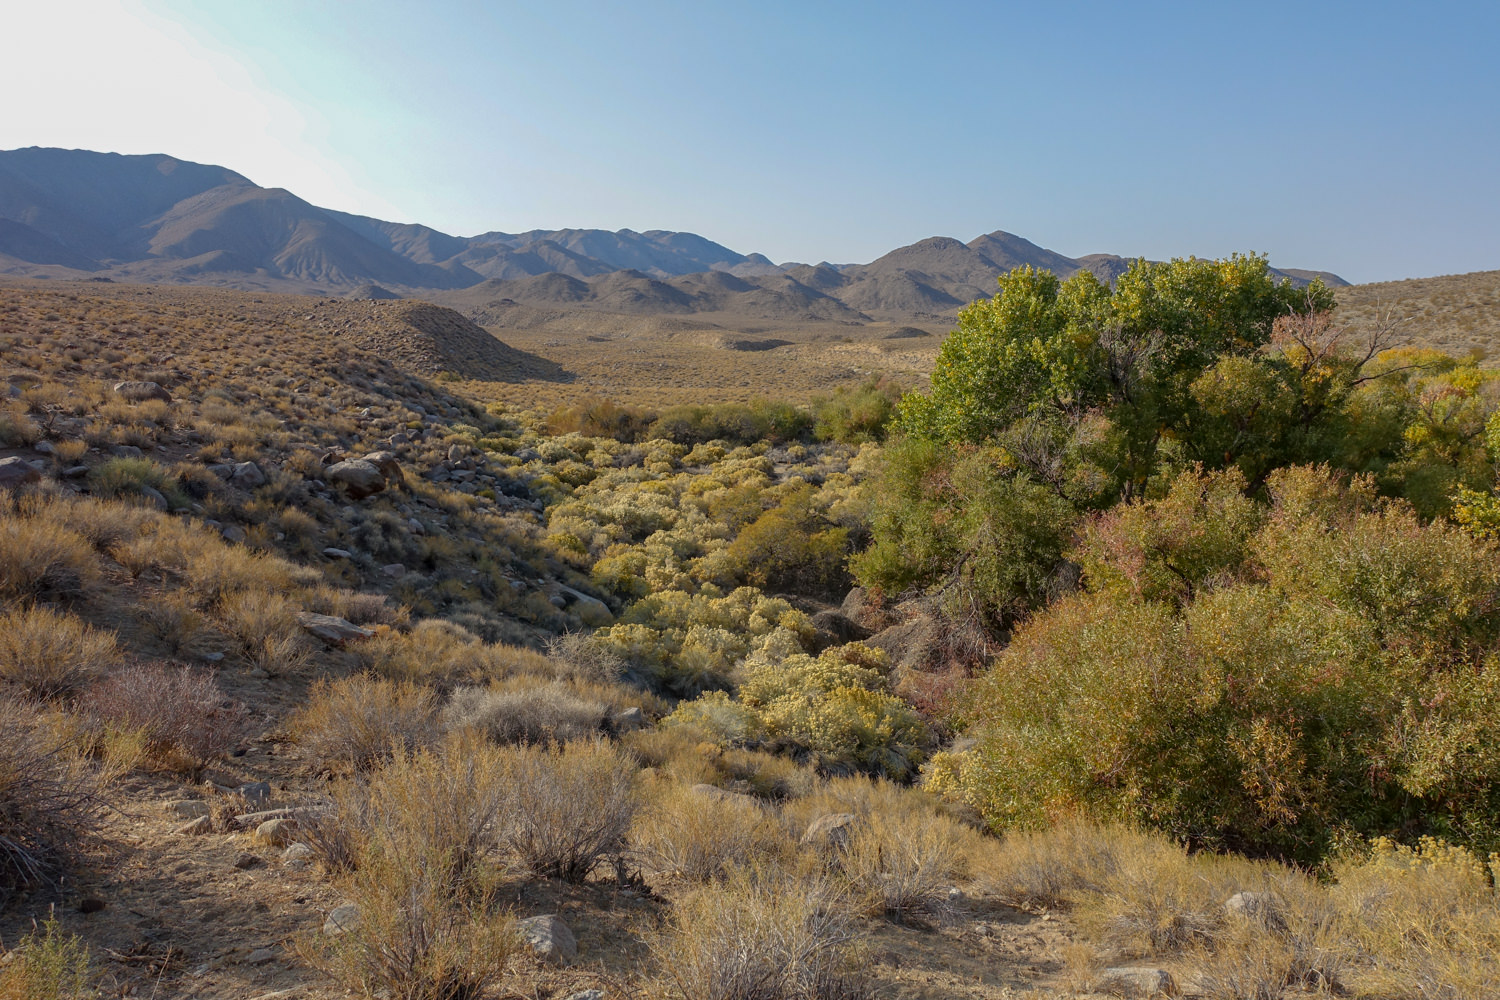
The mequite tree is an impressive and useful desert plant. Its pods can be turned into flour, and the tree was a key source of protein for desert-faring Indigenous peoples. – photo credit: dave collins (cleverhiker.com)
Summertime temperatures will quickly climb into the triple digits. Stay covered, time your exposure, and stay hydrated. – photo credit: dave collins (cleverhiker.com)
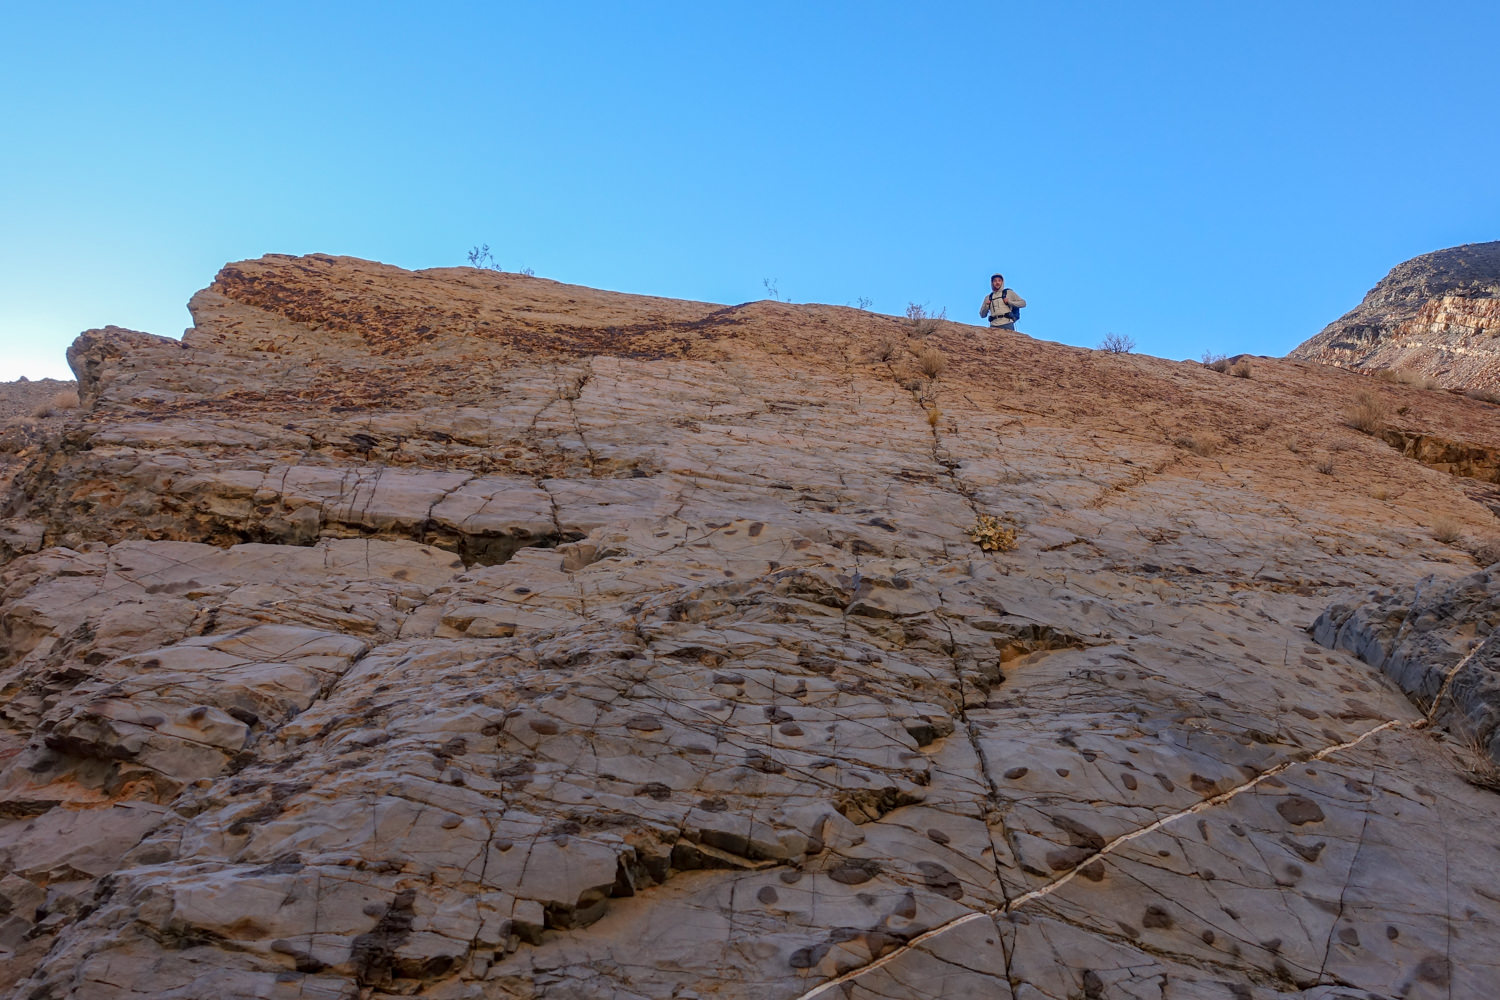
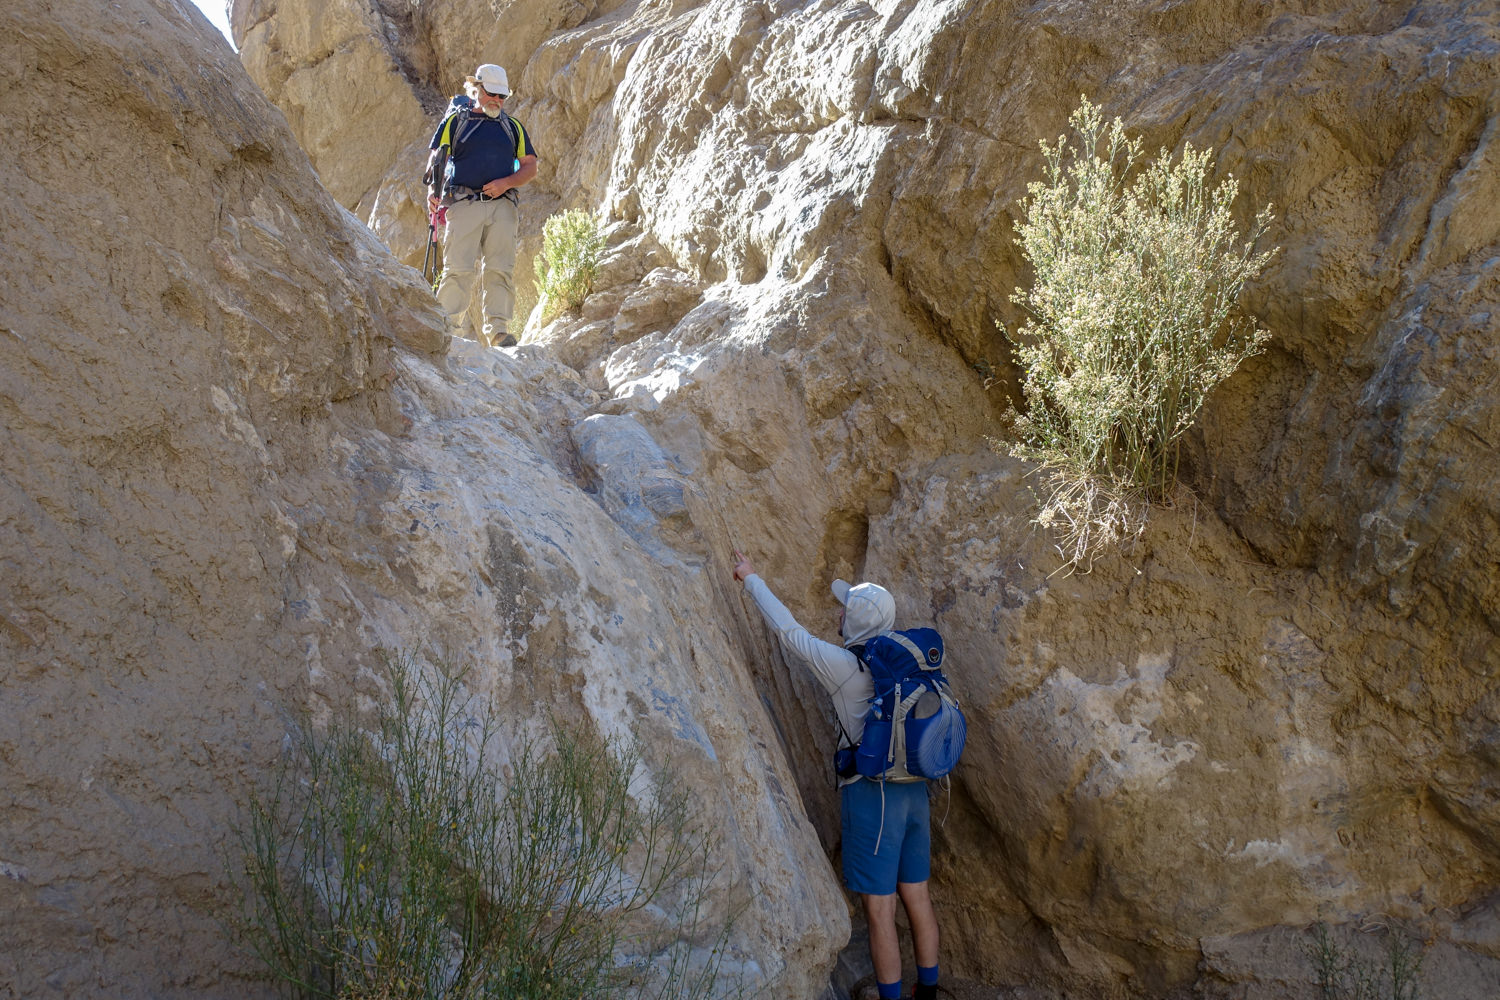
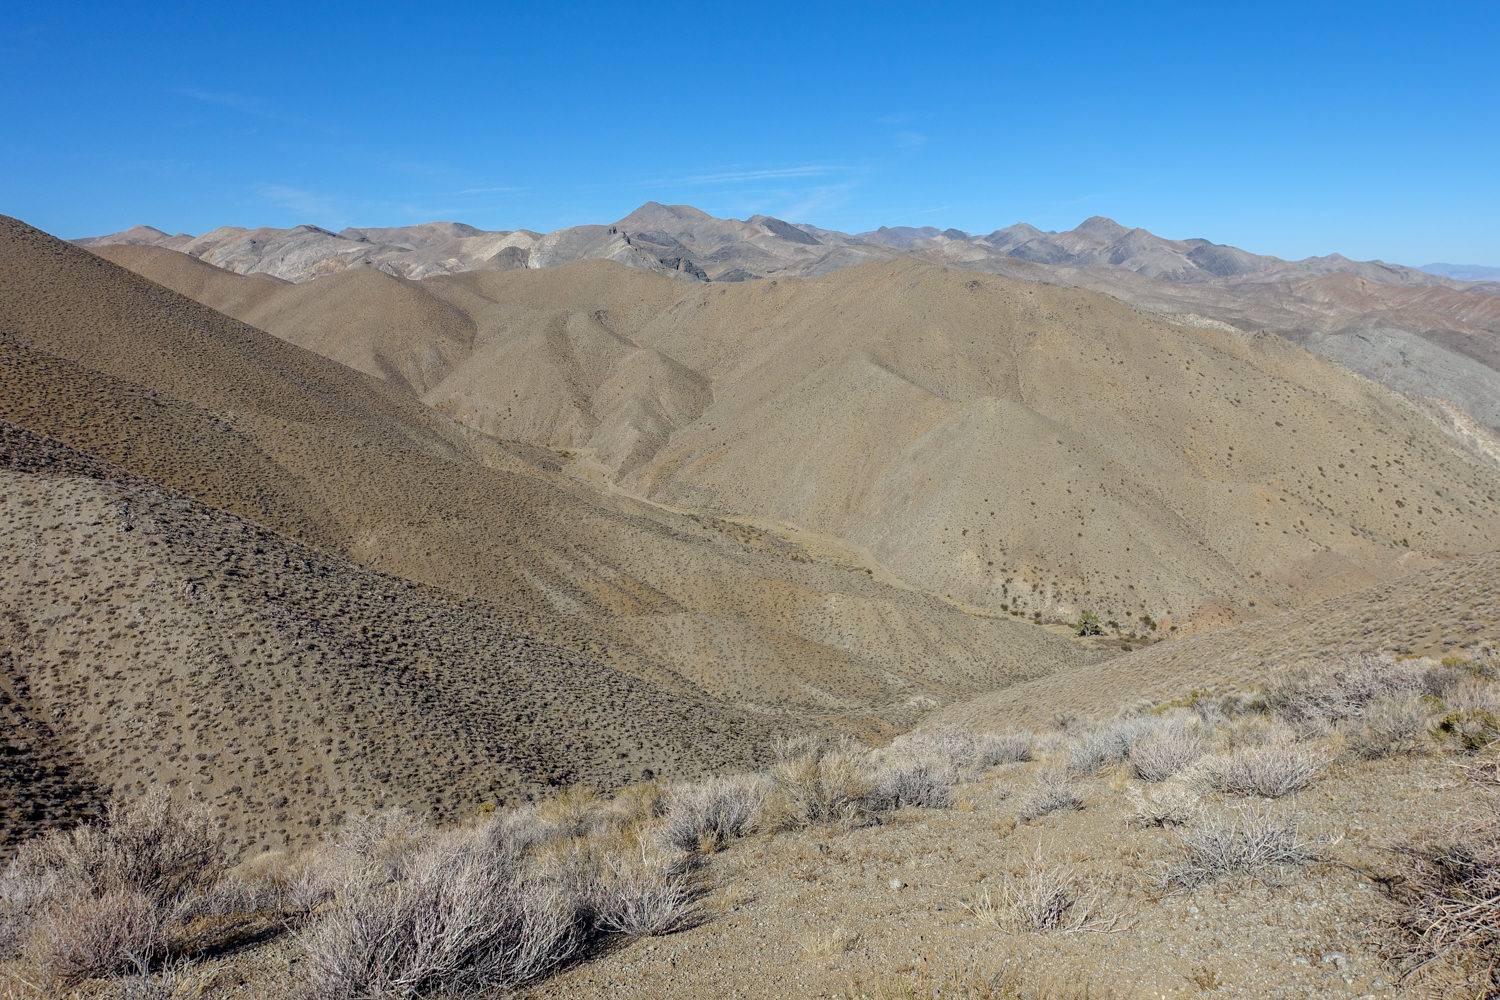
the trail can be sketchy at times. – photo credit: dave collins (cleverhiker.com)
exposed areas can get really sandy and dusty if the winds pick up. – photo credit: dave collins (cleverhiker.com)
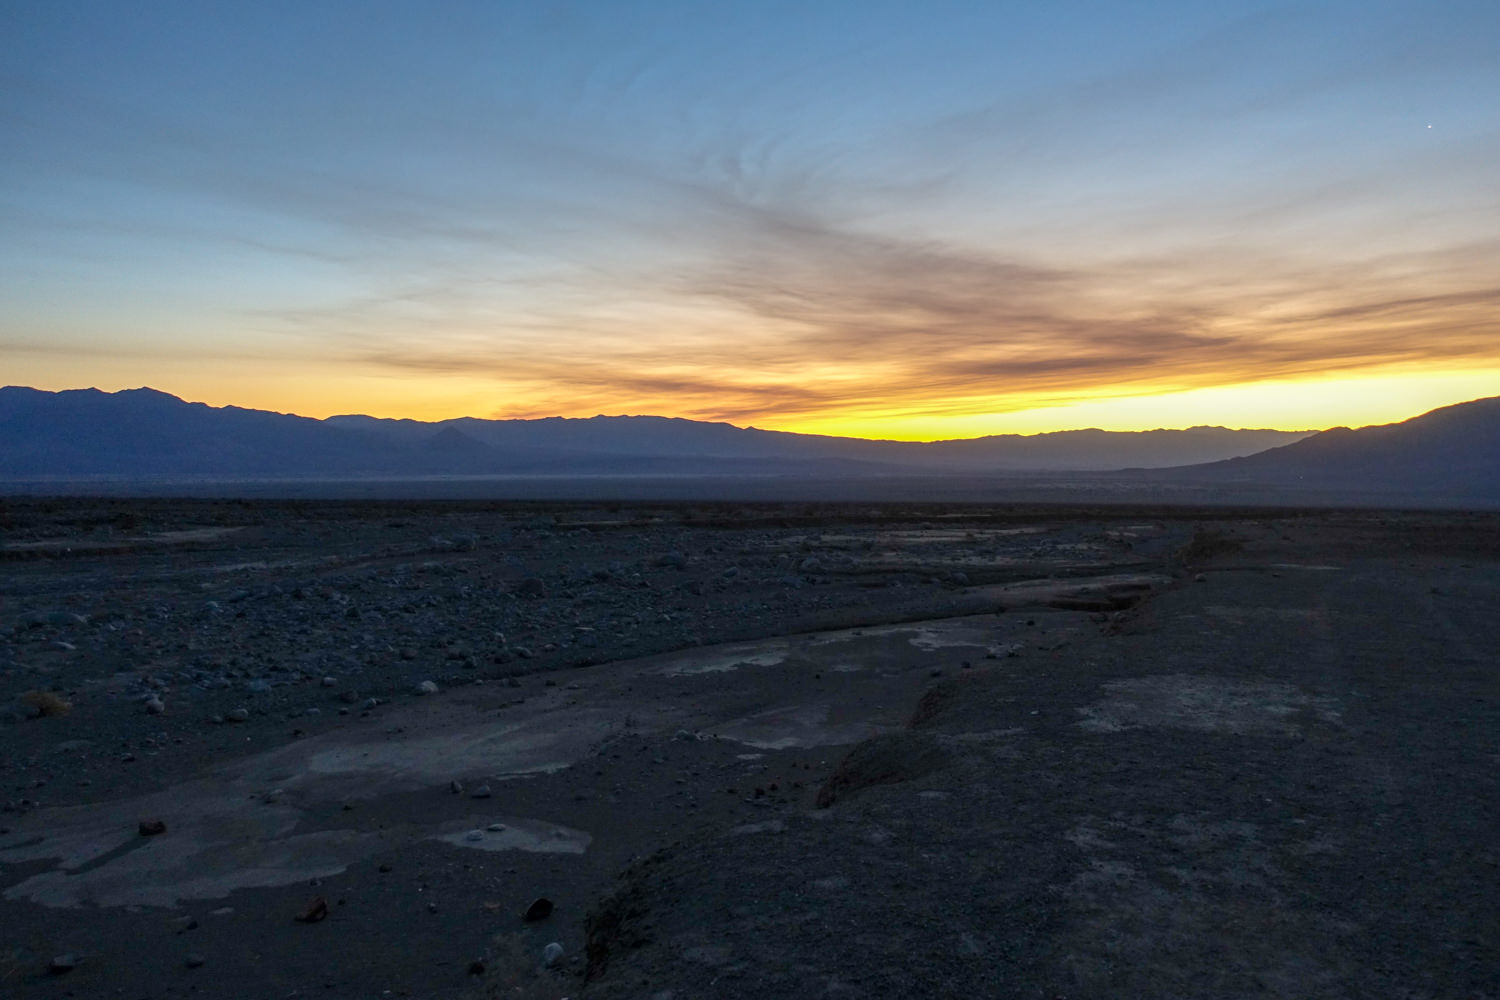
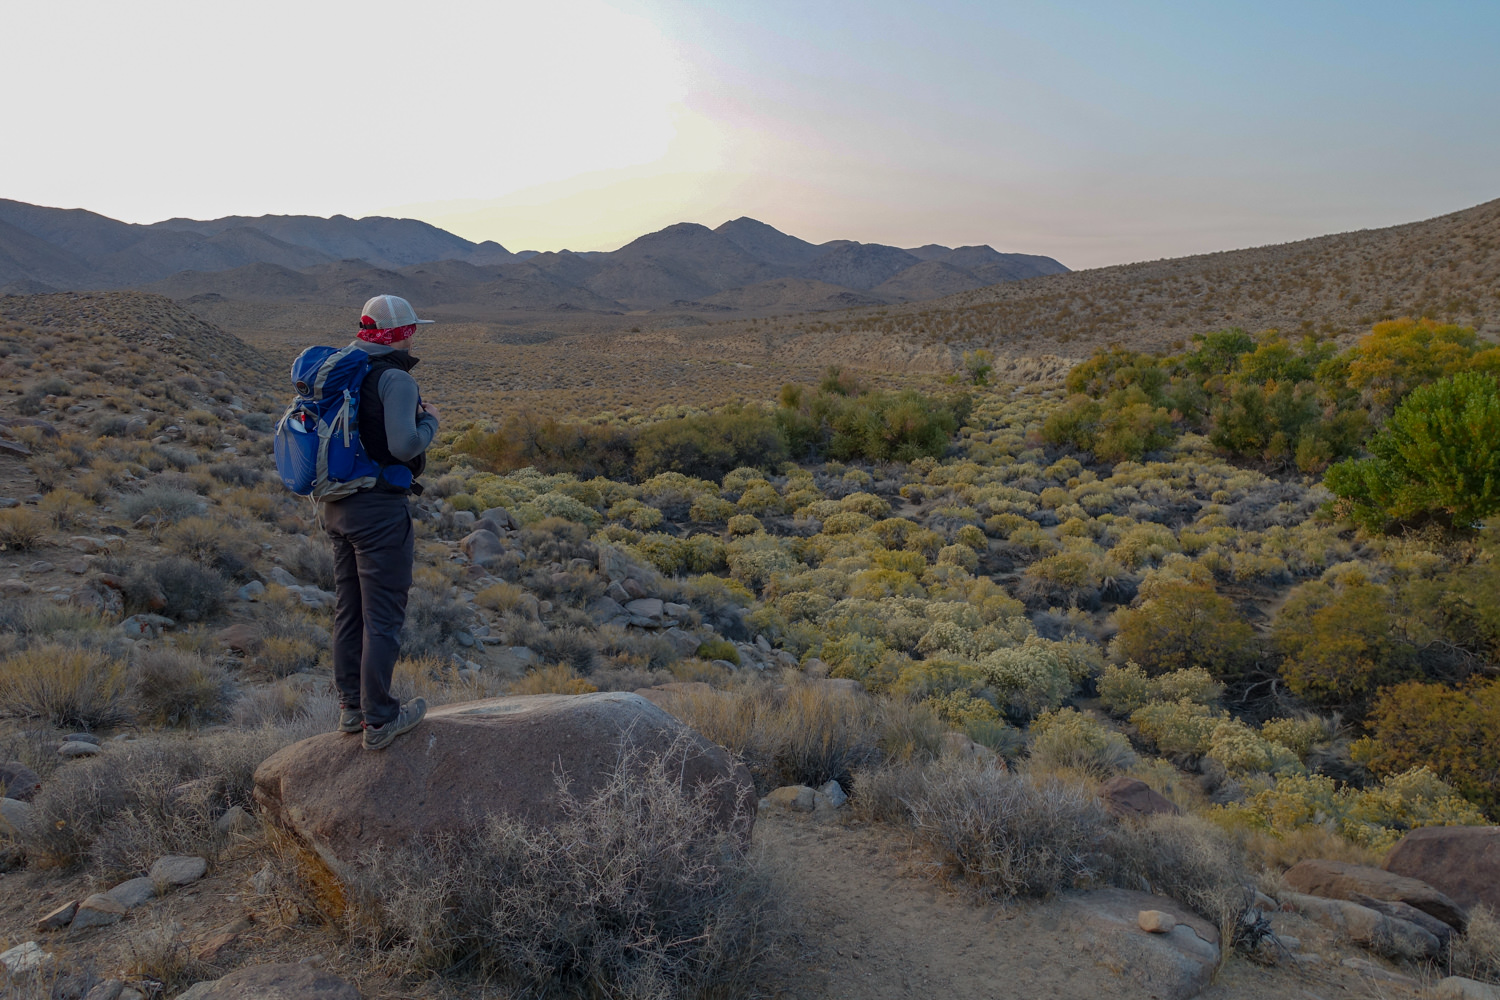
temperatures would drop quickly at sunset. – photo credit: dave collins (cleverhiker.com)

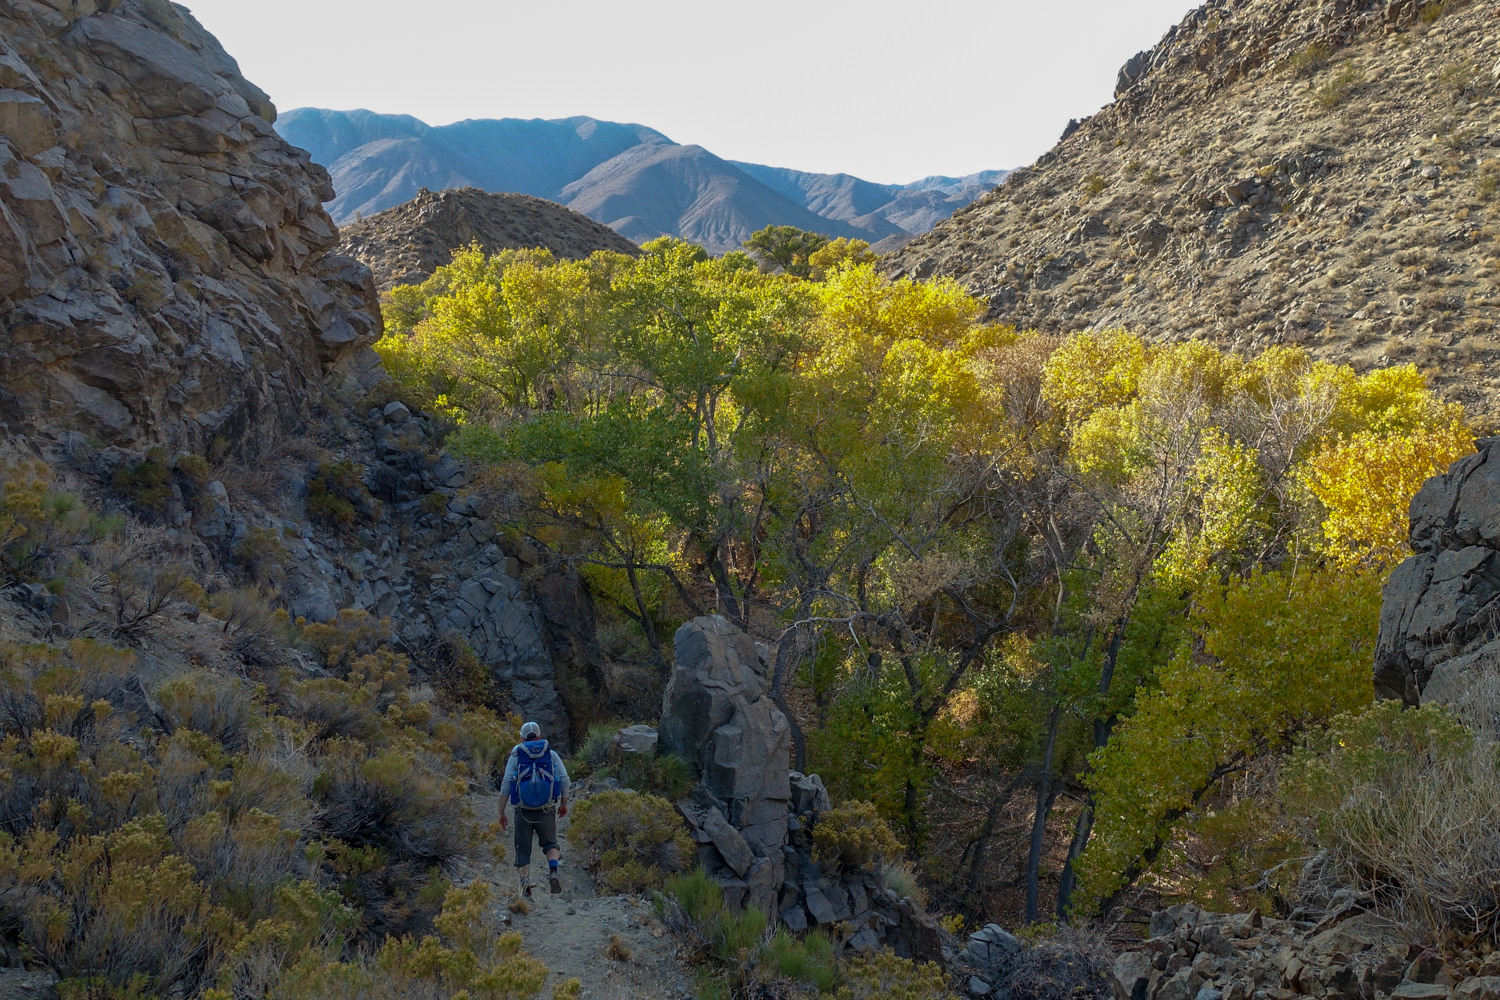
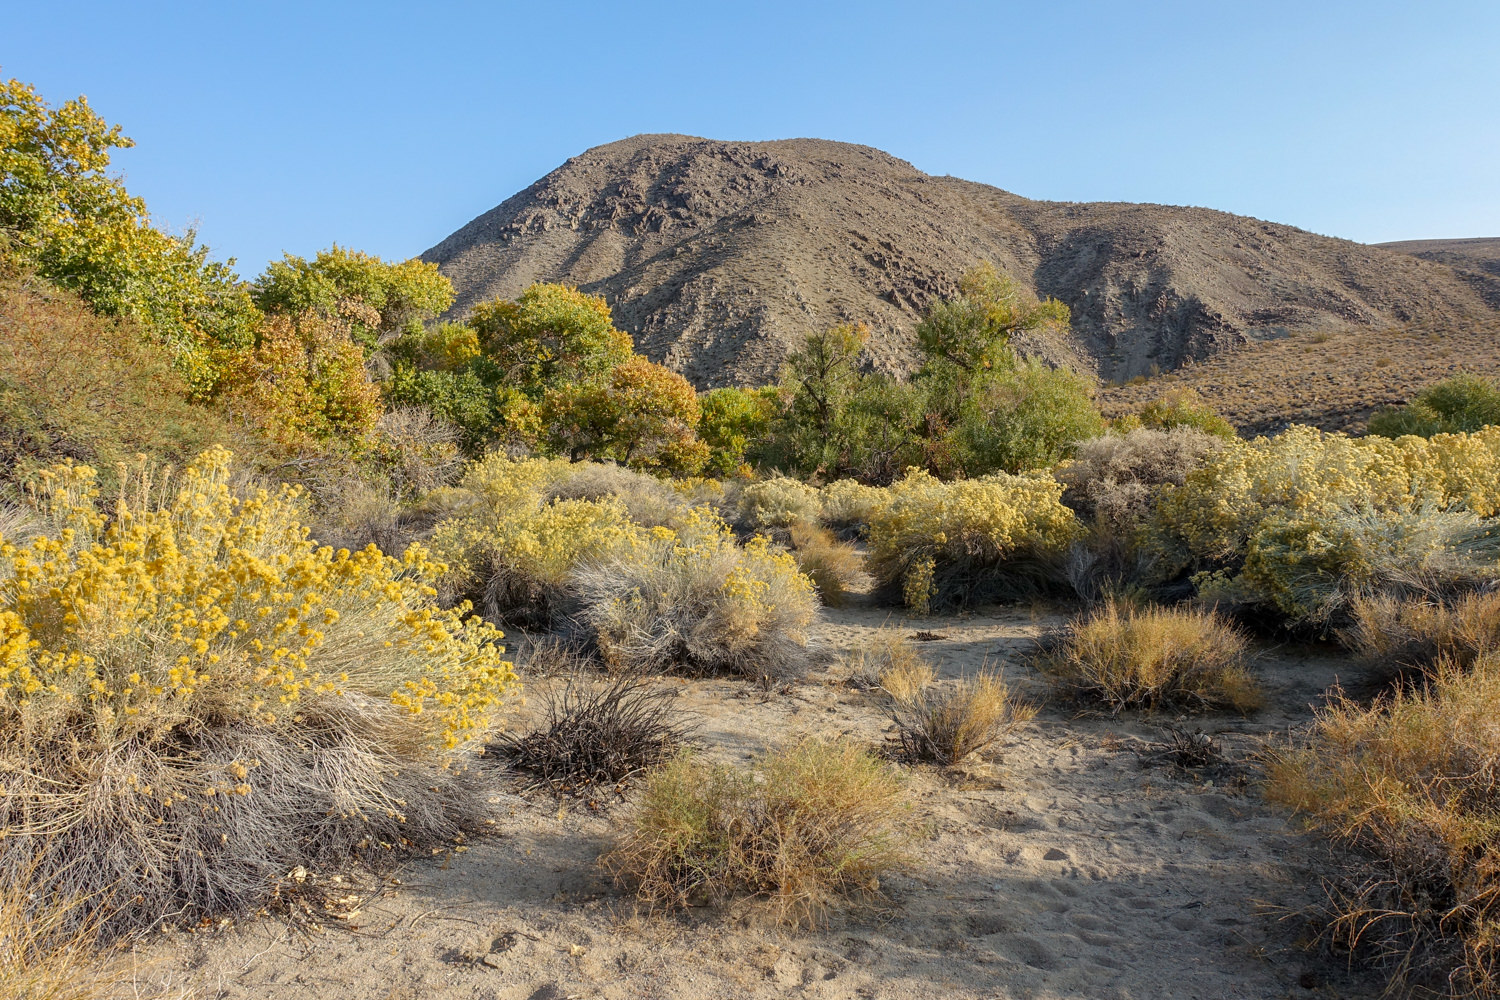
entering much needed shade of a canyon. – photo credit: dave collins (cleverhiker.com)
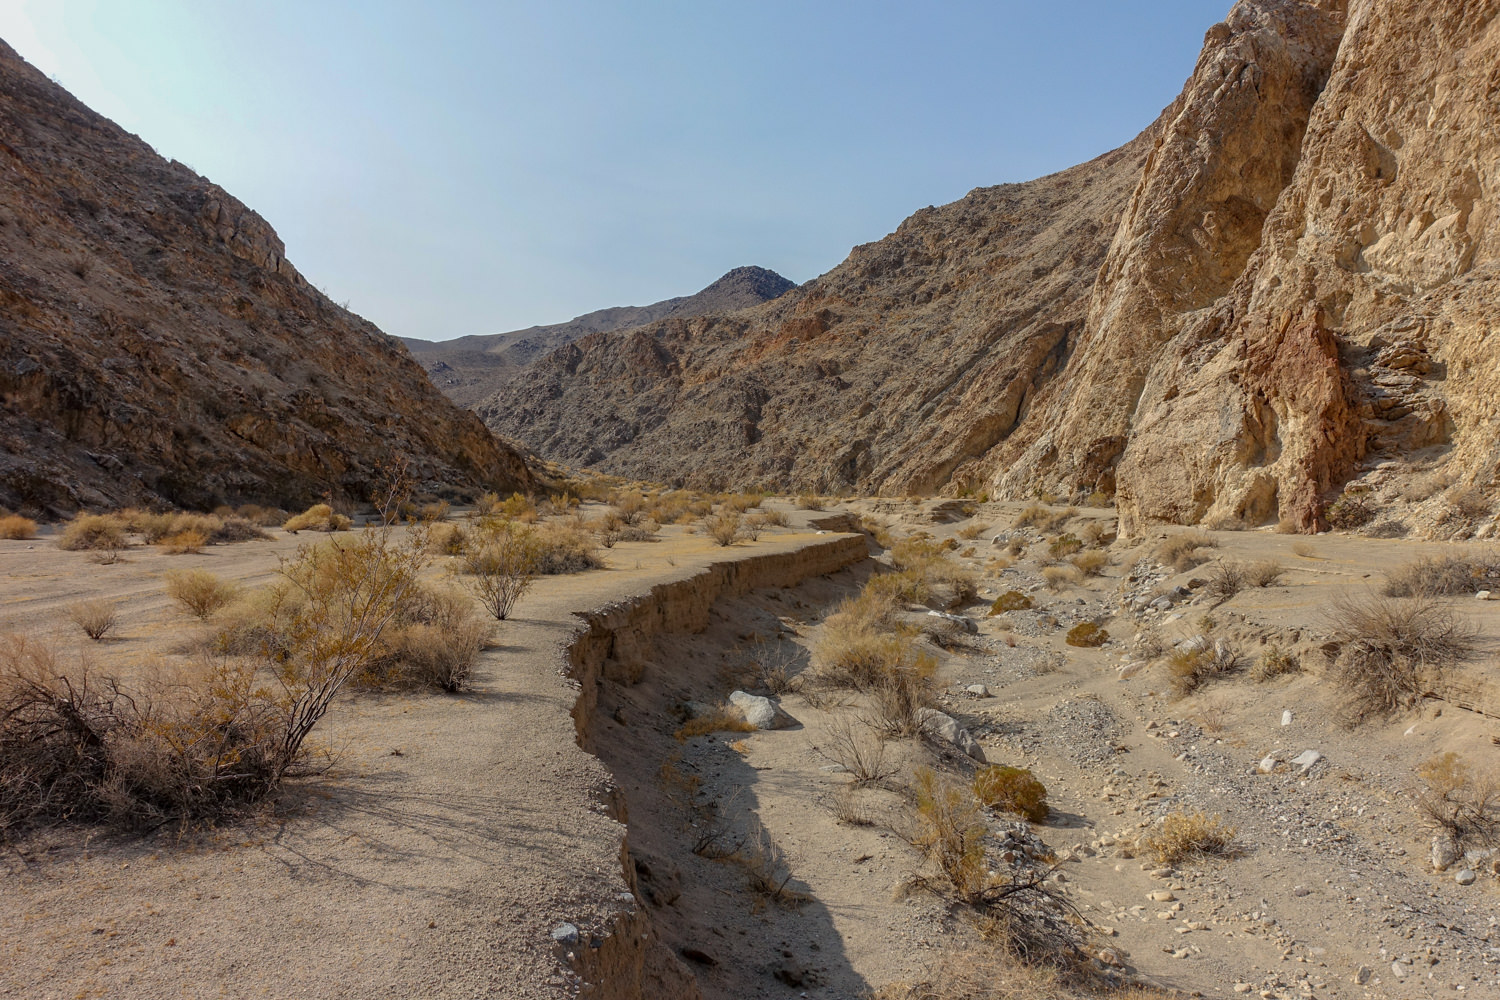
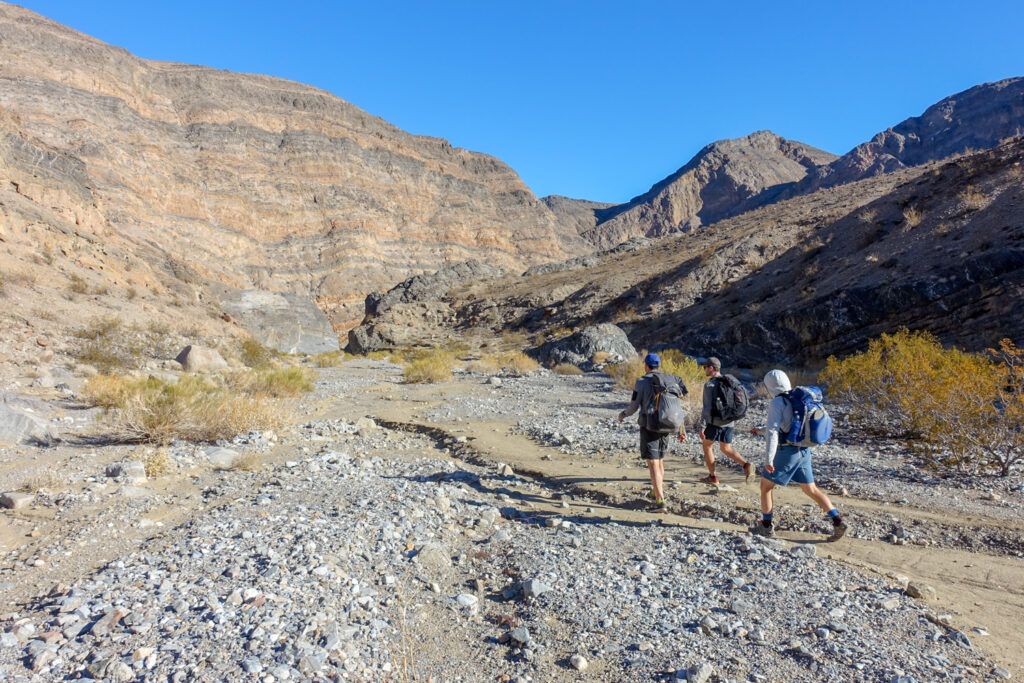
gravel washes remind the hikers that water does visit this desert in a fast and violent manner. – photo credit: dave collins (cleverhiker.com)
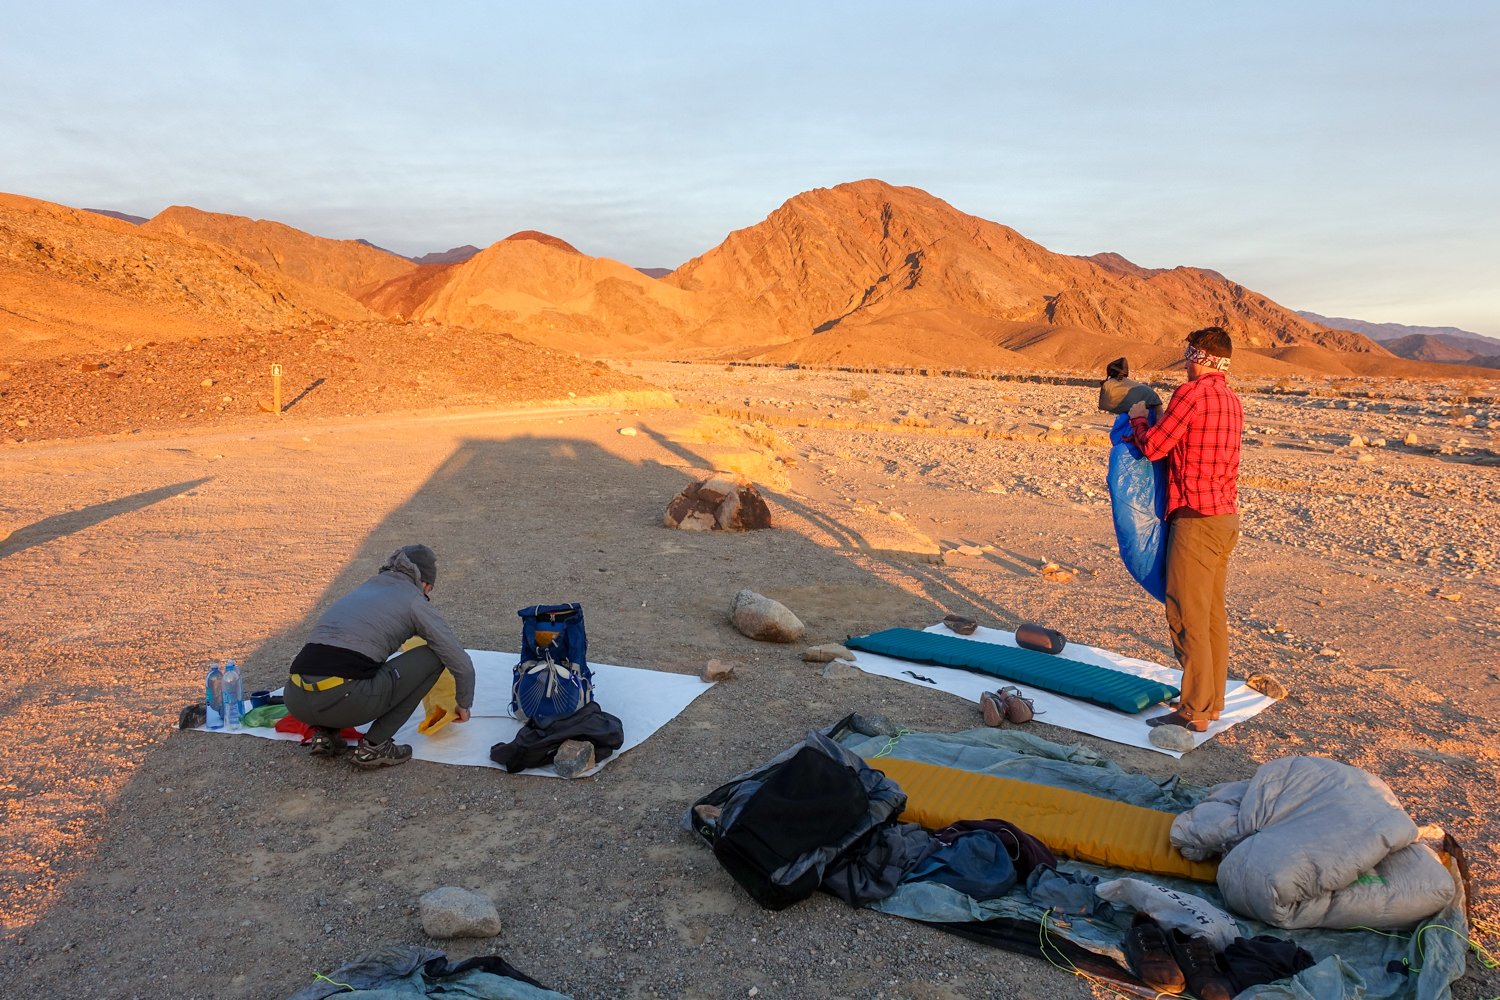
cowboy camping is definitely a special desert experience. – photo credit: dave collins (cleverhiker.com)
keep your eyes peeled for wildlife like wild horses and burros. – photo credit: dave collins (cleverhiker.com)
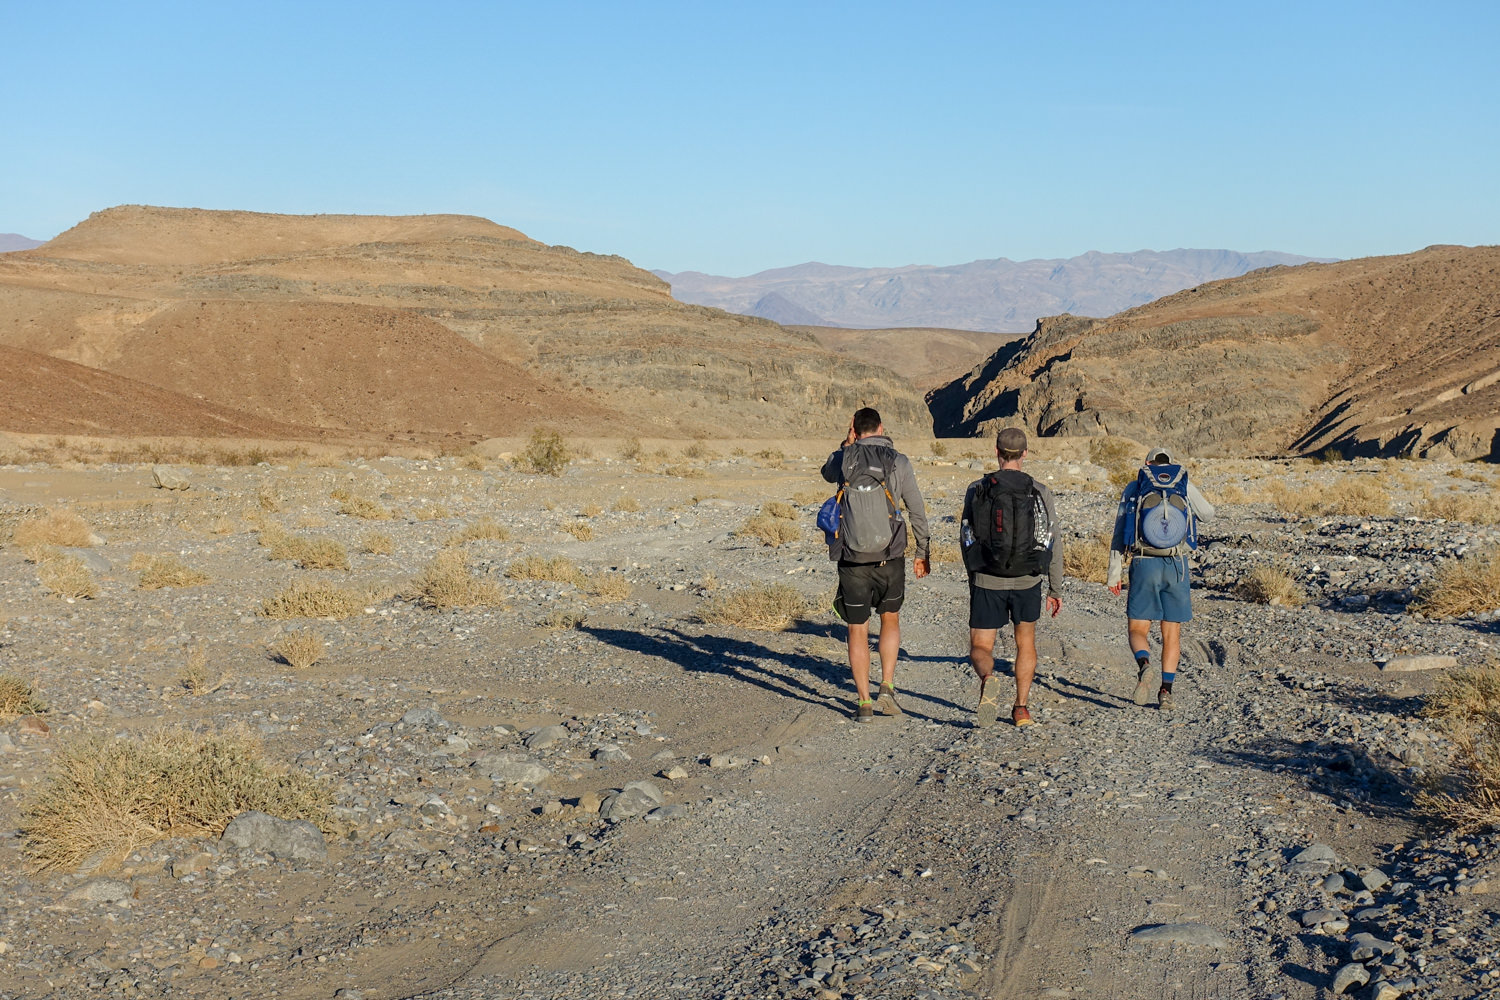
stay hydrated and on-trail out there. – photo credit: dave collins (cleverhiker.com)
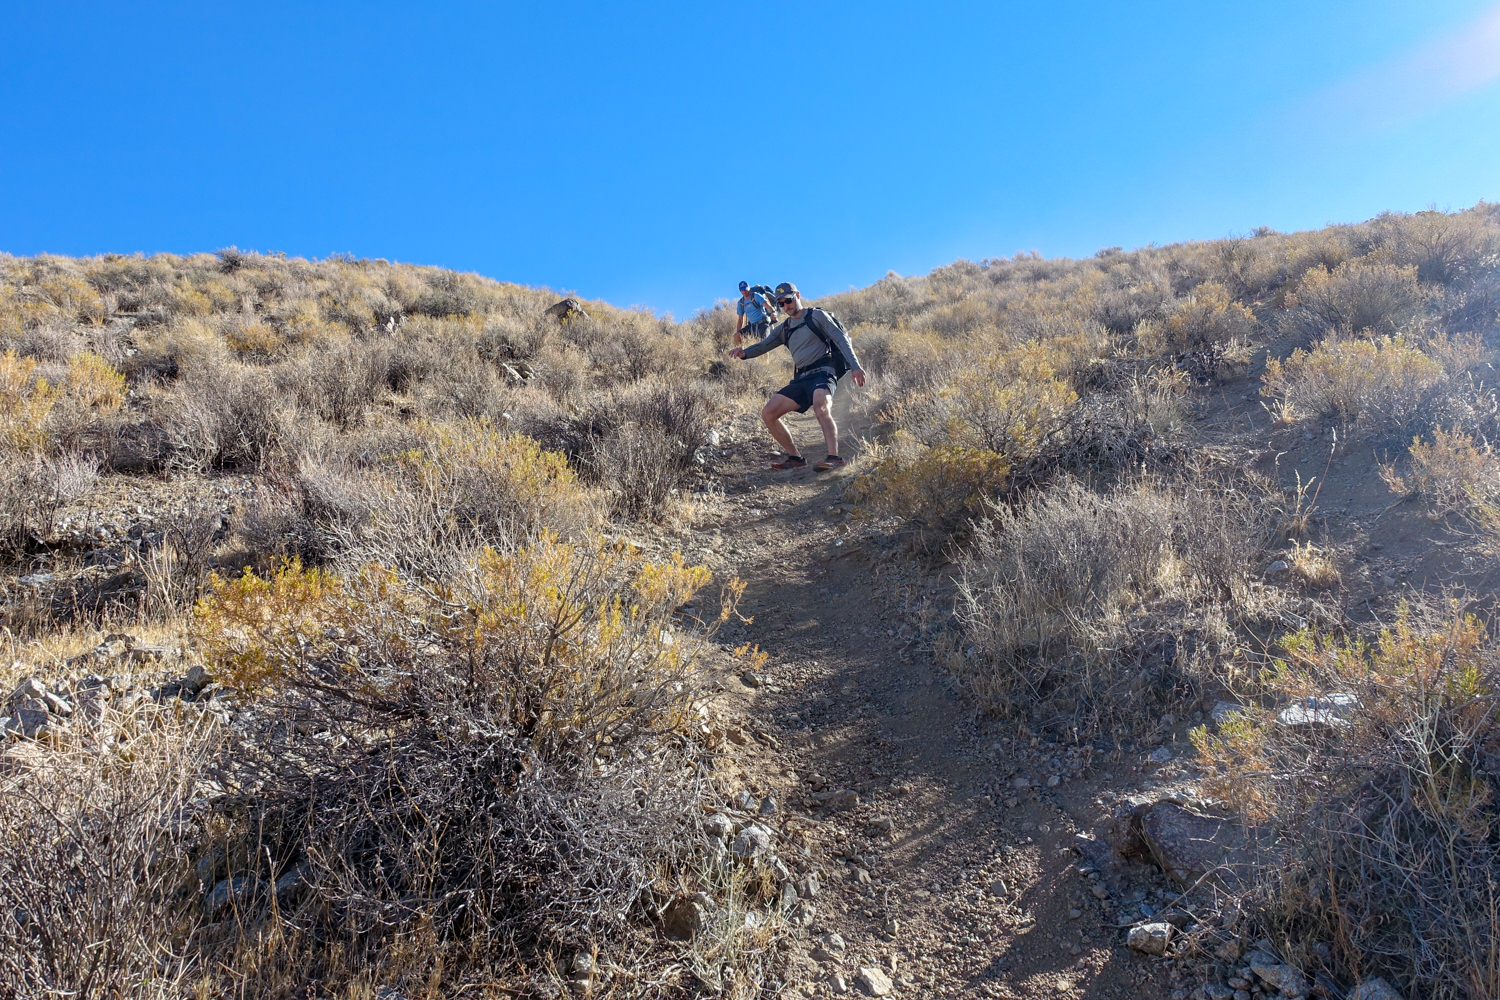
“kitty litter” crumbly trails and sharp brush makes for a spicy descent. -photo credit: dave collins (cleverhiker.com)
Final Thoughts
This route in Death Valley is a really fantastic backpacking loop. We hope this guide helps you plan an awesome, safe, and memorable adventure.