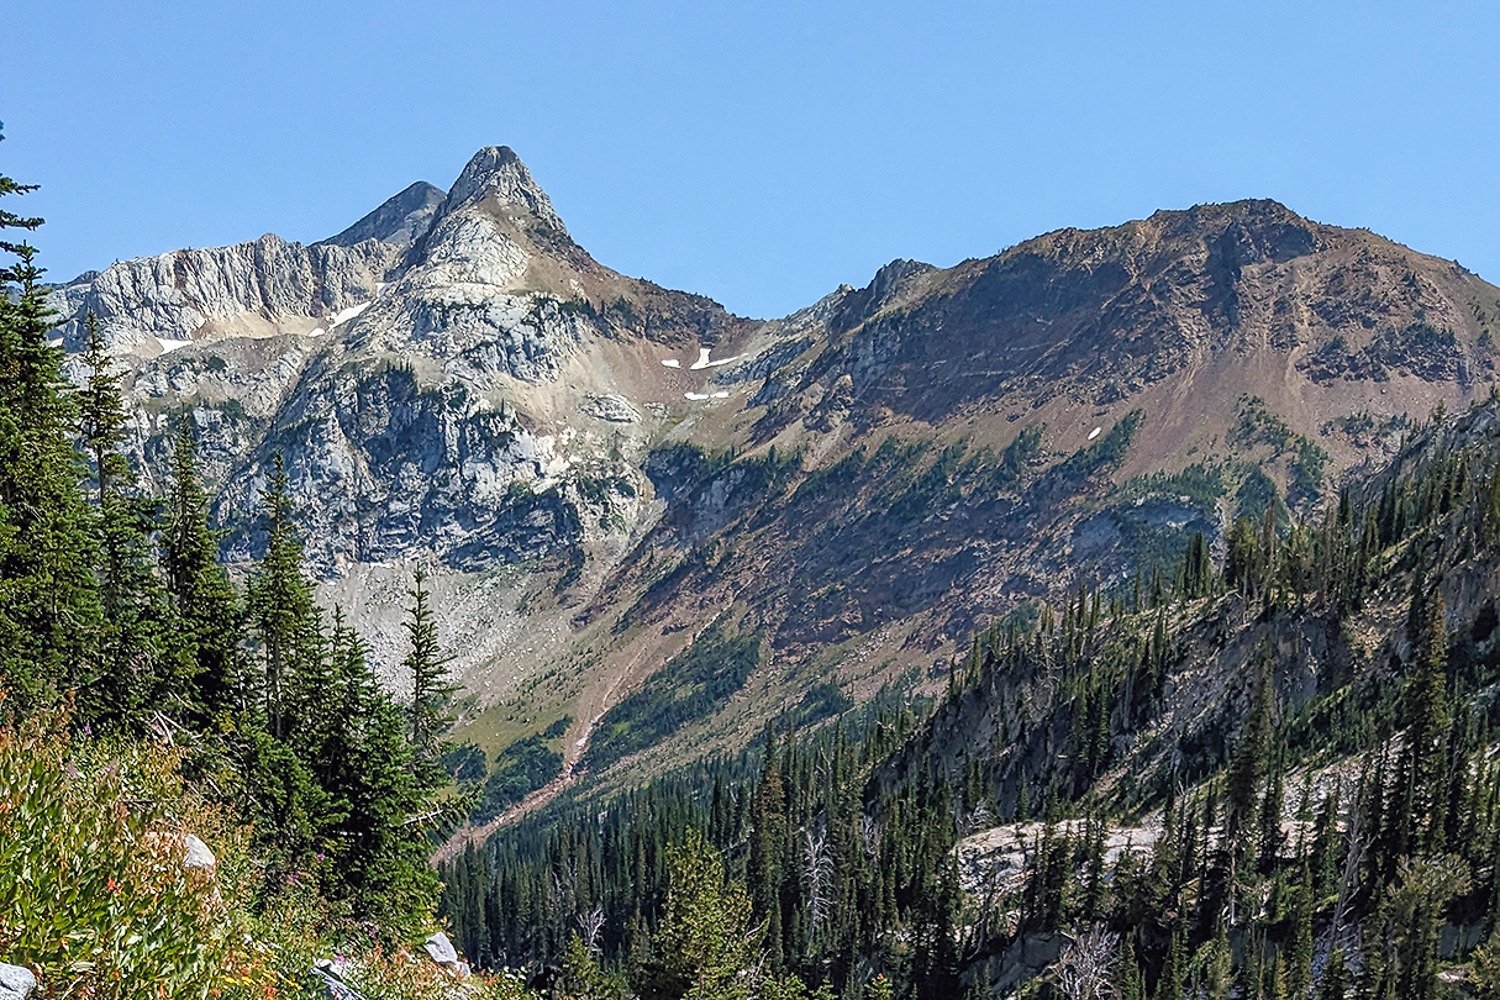
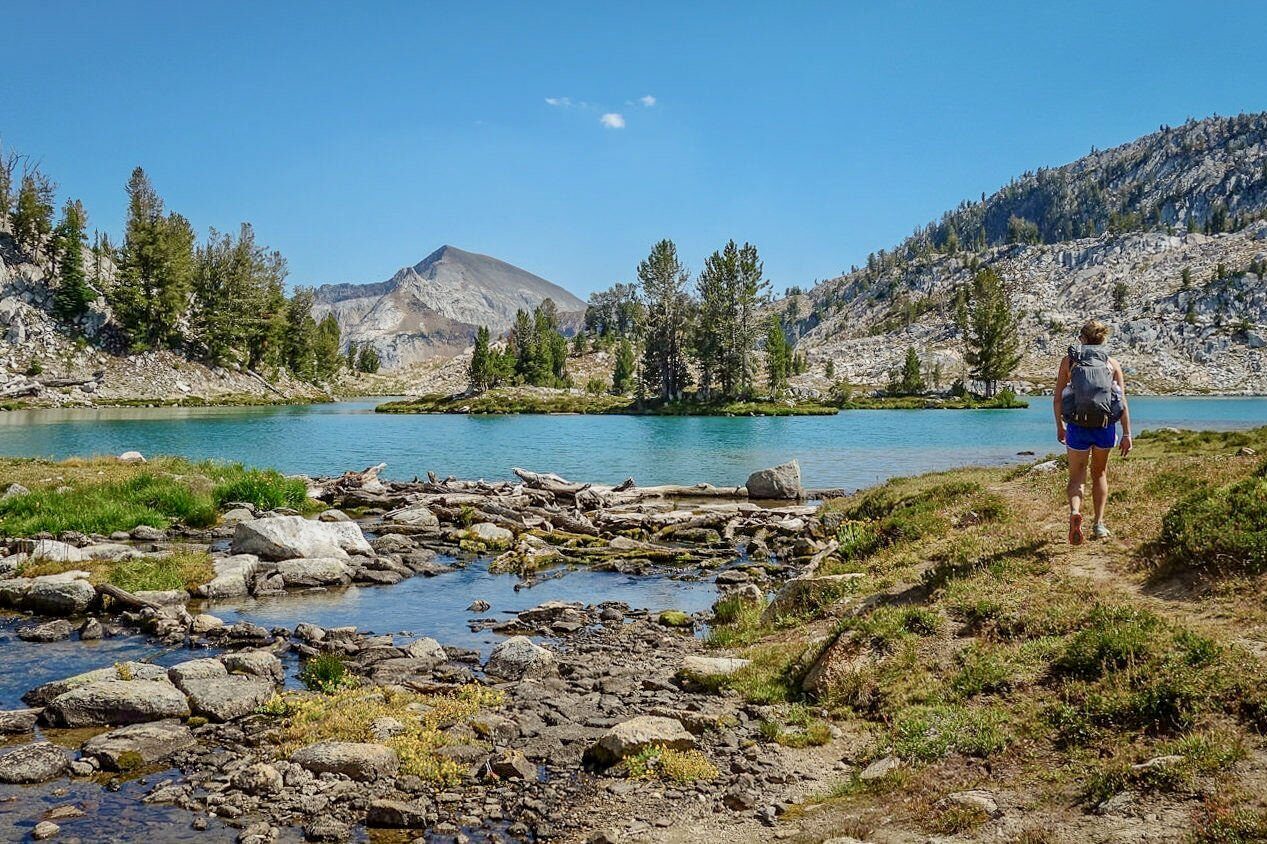
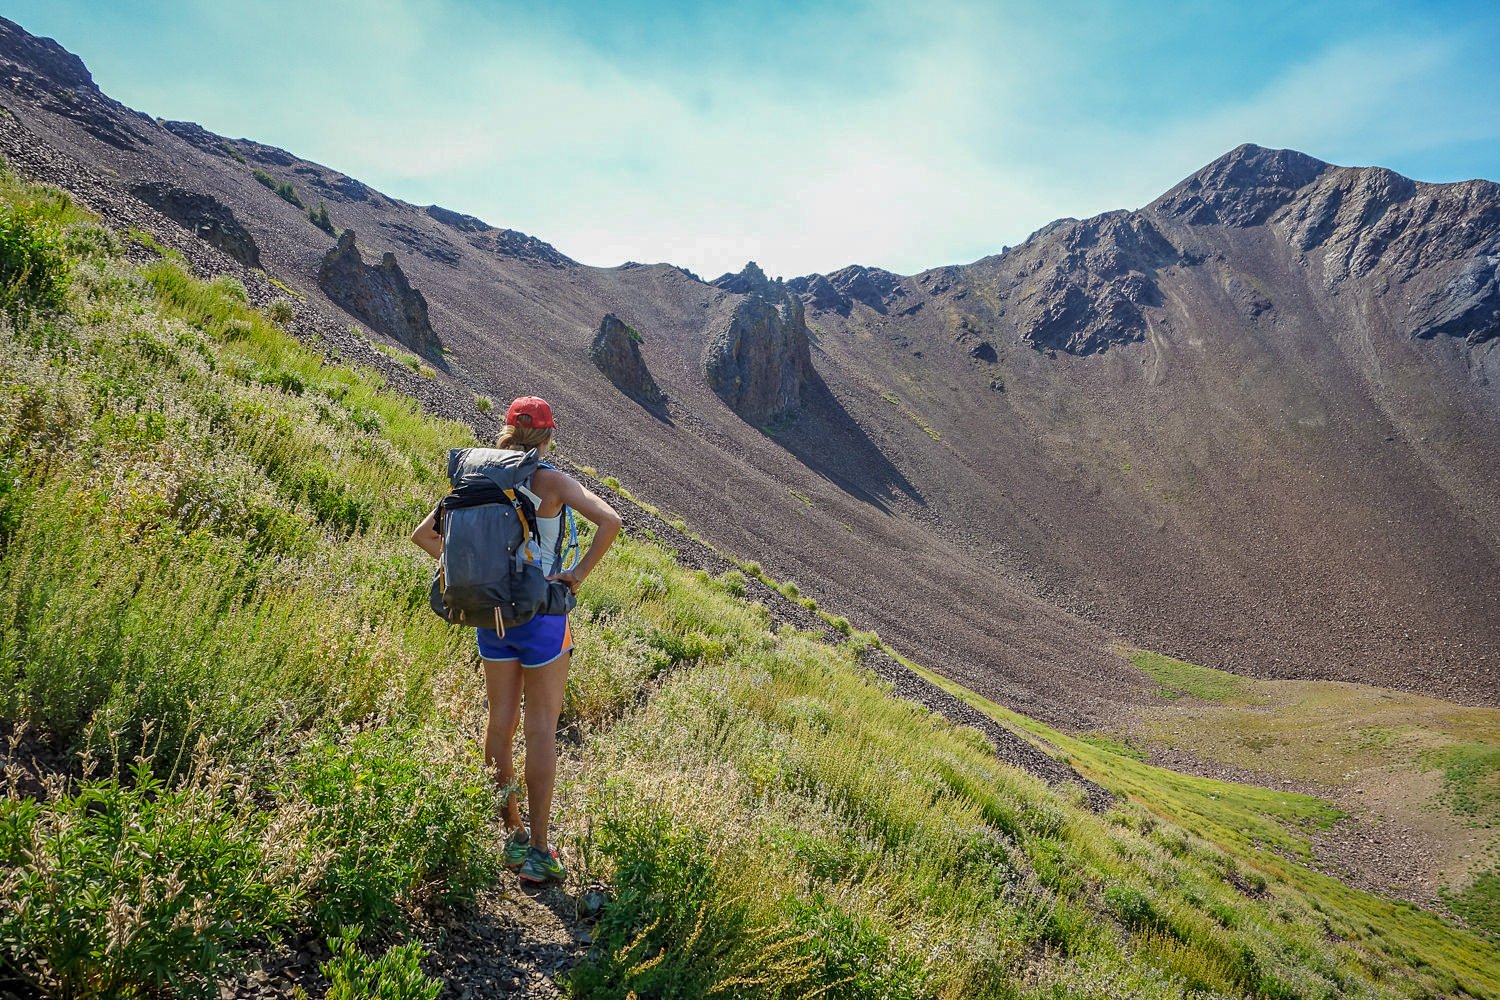
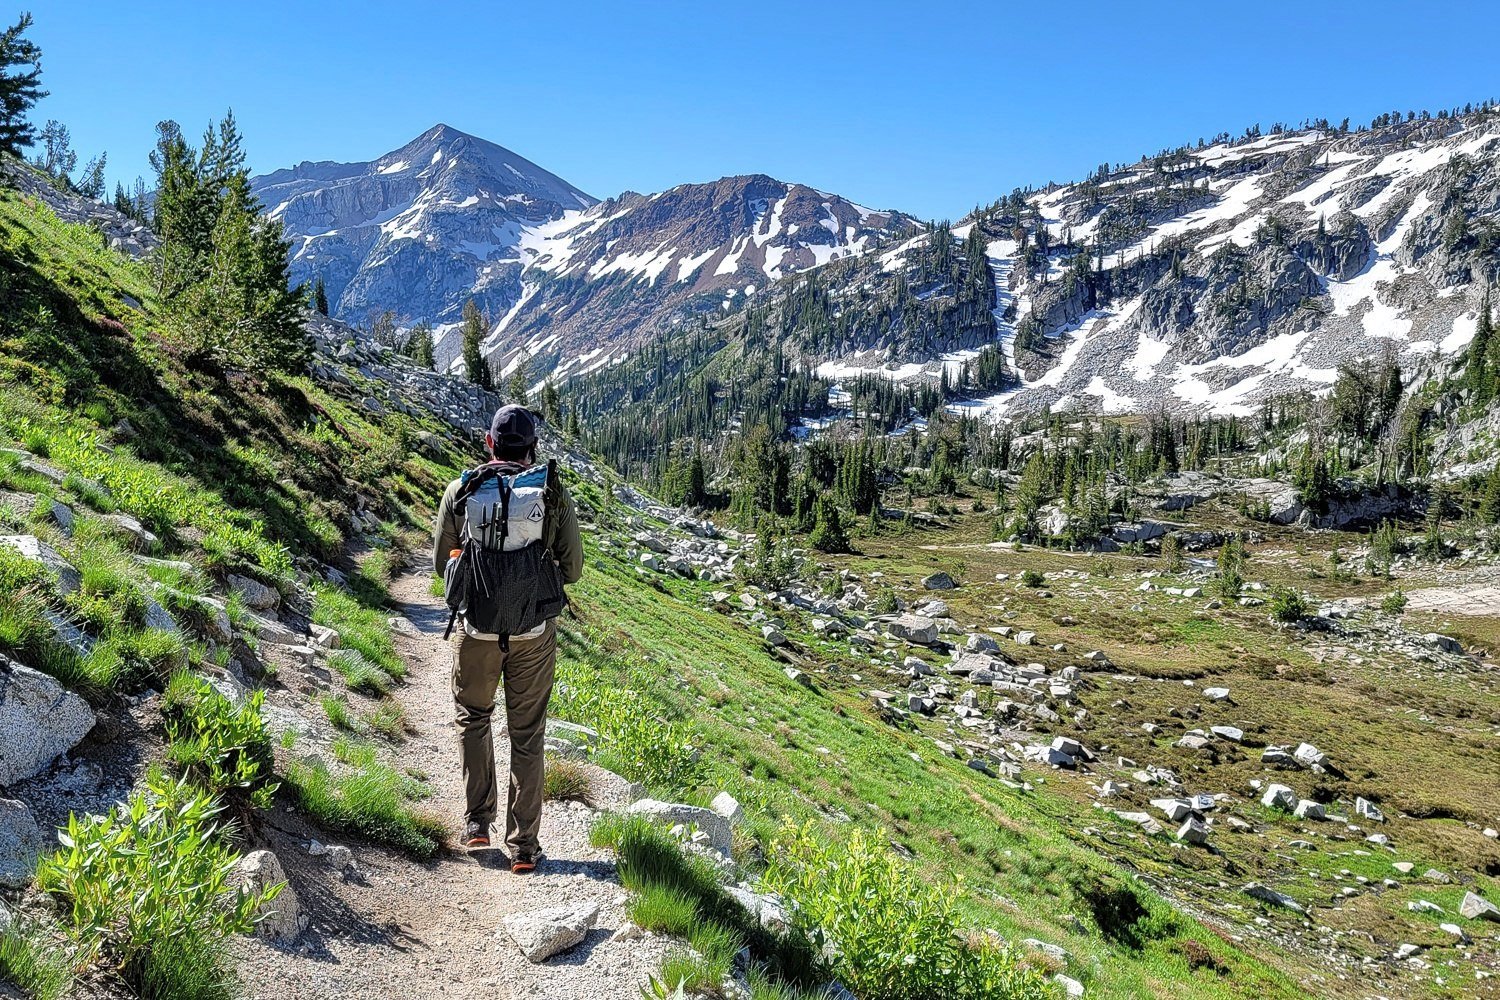
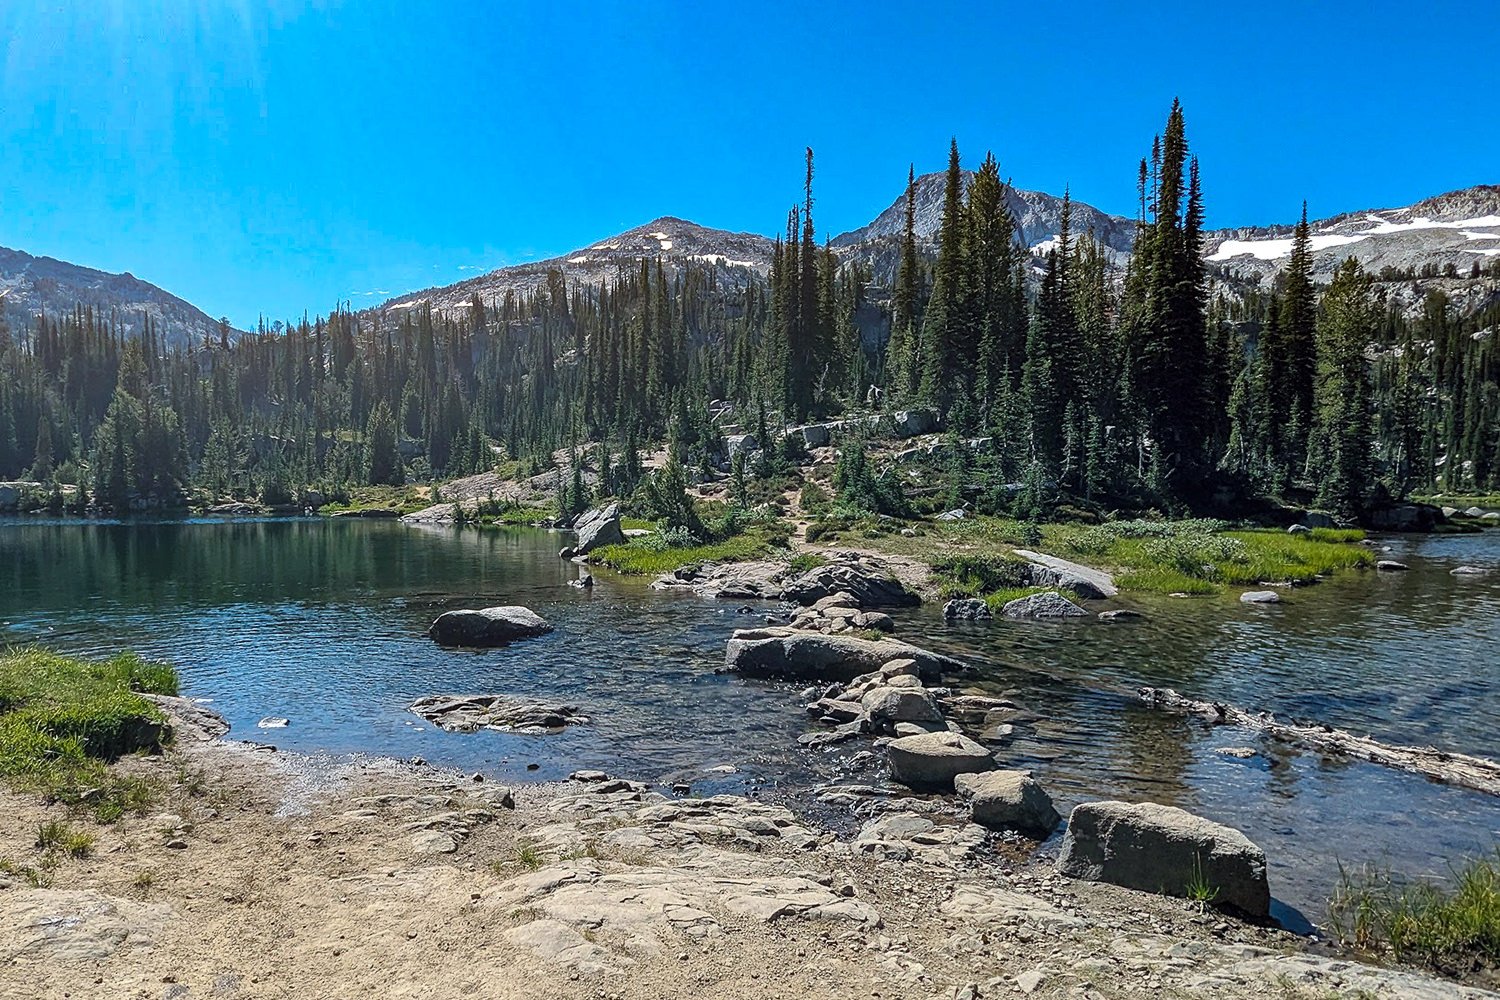
The Wallowa Mountain Range, located in the Eagle Cap Wilderness of eastern Oregon, is one of the most stunning areas to backpack in the Pacific Northwest. Often referred to as the “Alps of Oregon,” the immense granite peaks of the Wallowas are best experienced on multi-day backpacking trips.
This 36-mile Wallowa River Loop Trail will take you over some breathtaking mountain passes and still ensure that you get a chance to take in the beauty of the Lakes Basin. Throughout this loop, you can expect to see crystal-clear lakes and streams, wildflower-socked meadows, and granite peaks that will make you wonder if you’re still in Oregon.
There are also very worthy side trips to the summit of Eagle Cap and Matterhorn that will further solidify your appreciation of the Wallowas. Although this route sees its fair share of hikers, we think it’s well worth a visit.
Quick Facts
- Distance: 36 miles
- Days Needed: 4-5 days
- Elevation Gain: 7,500
- Best Time: July-September
- Permits: free and available at trailhead
- Difficulty: moderate-difficult
Highlights
- Immense granite peaks
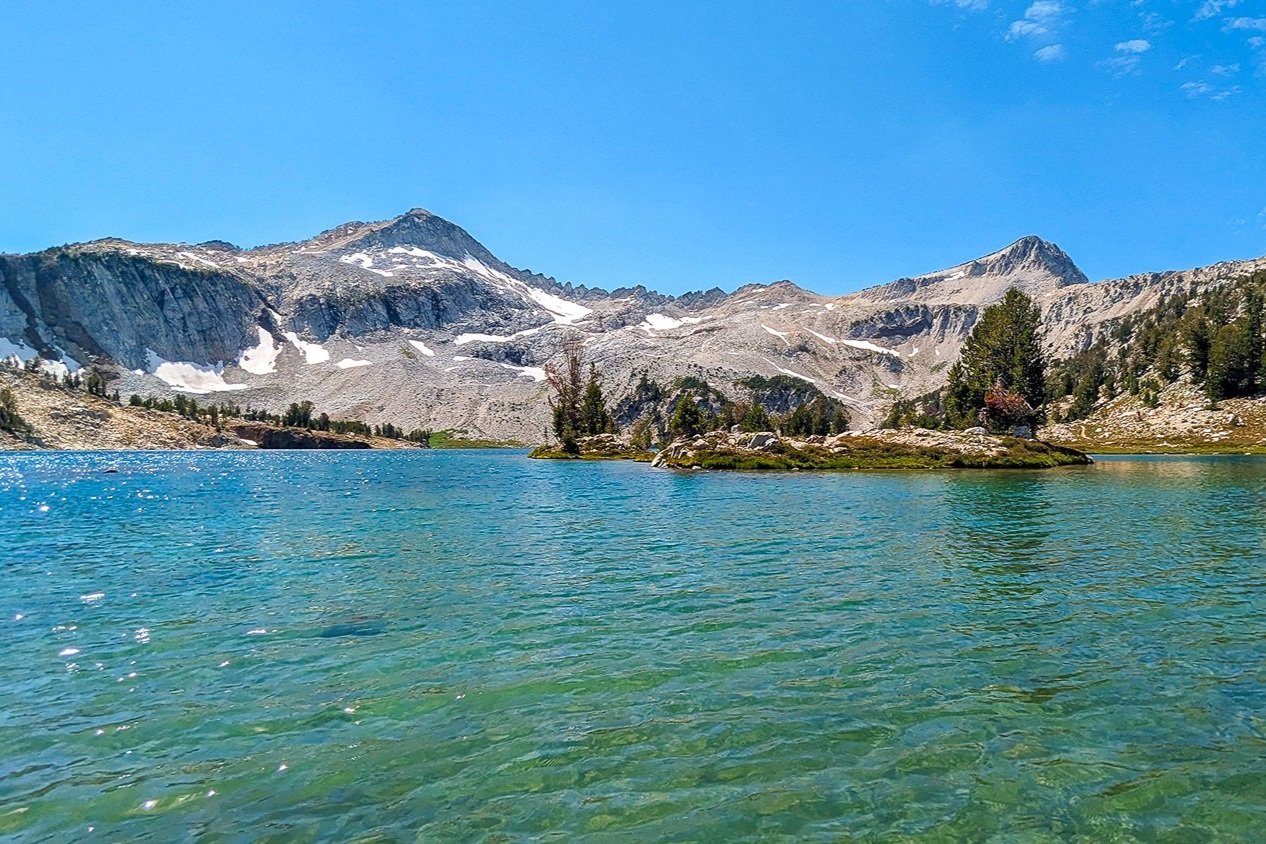
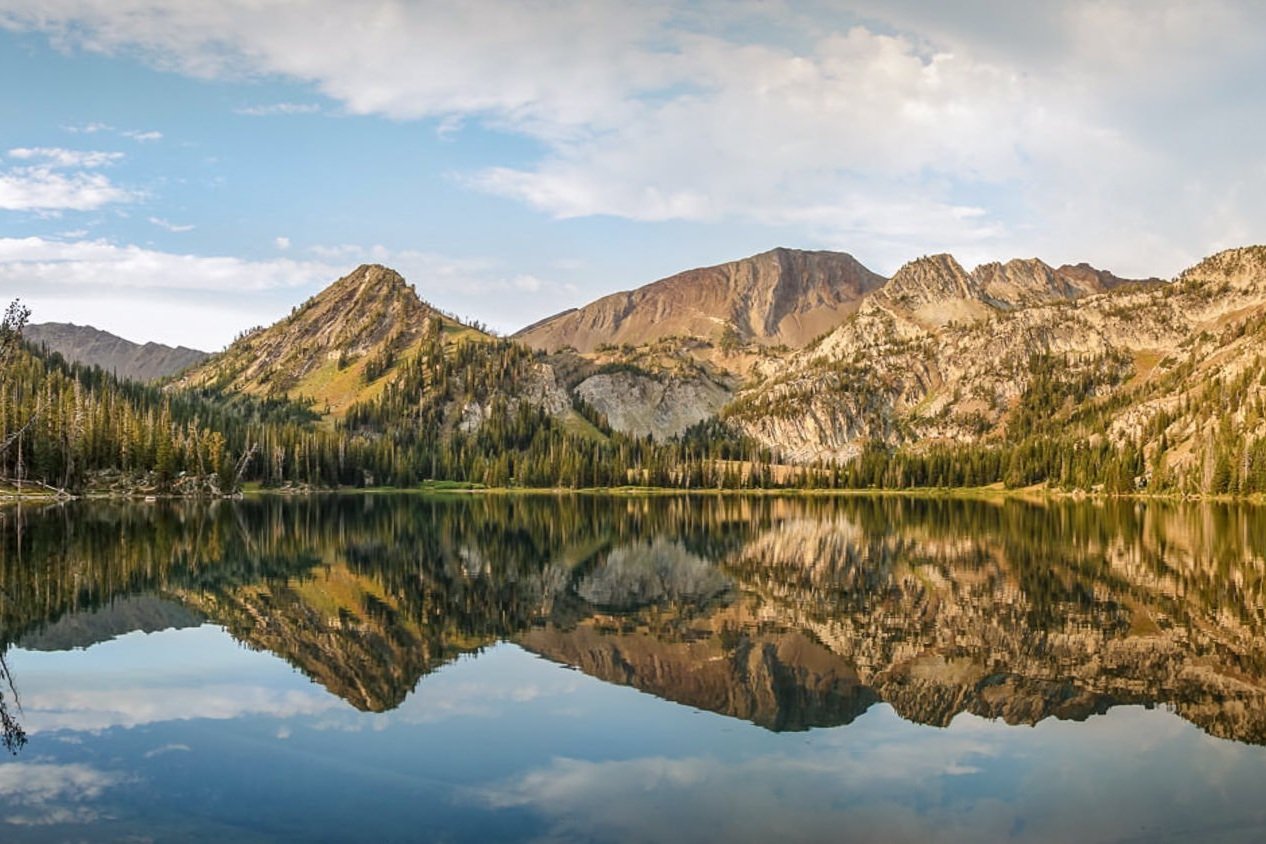
- Pristine alpine lakes
- Wildflower meadows
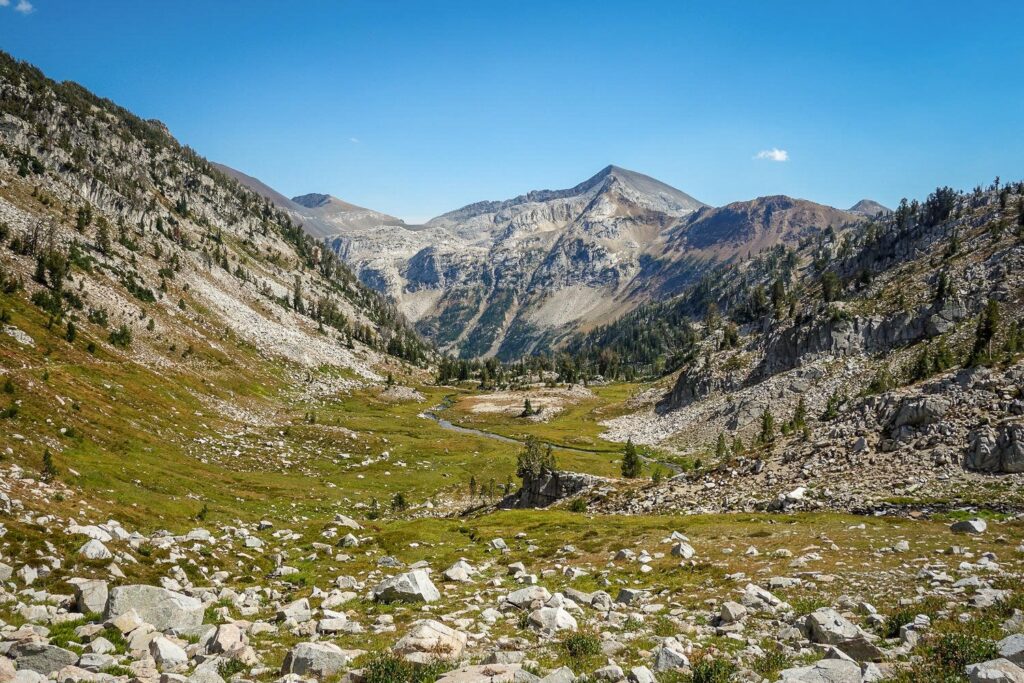
- Beautiful glacier-carved valleys
- Well-marked and maintained trails
- Permits are self-issued at the trailhead and free
Lowlights
- Crowds, especially in the lakes basin
- Seasonal bugs & snow
- Some big climbs and descents
Best Time to Travel
In general, late July to September is the best time to travel to this area. Snowpack is a key factor for trip planning in the Eagle Cap Wilderness. Some years, a heavy winter snowpack and early-season storms will keep trails covered into July. In warmer years with lighter snowpack, June backcountry trips are quite feasible.
The same is true for autumn hiking; some years, early snowstorms make this area inaccessible, and others, it’s stable into October. You can always visit the nearest ranger station or call them before your trip to ask about trail conditions, snow levels, and accessibility. The Wallowa-Whitman National Forest’s ranger station will have the most up-to-date information.
Varying snow conditions also mean variable water levels. The trail has a few river crossings that could be challenging during increased water levels in the early season after a heavy snow year or heatwave.
July and August are usually great for wildflowers, but it comes at a cost. Mosquitoes are the worst during this time. Use a combination of Permethrin on your clothing and a small amount of Picaridin on exposed skin for full protection. Lots of backpackers wore bug nets along this route. Mid-August through September can also be a good time to visit this area because crowds and bugs will be lessened.
Always pay close attention to the weather forecast before your trip and be prepared for changing conditions.
Difficulty
- Total distance: 36 miles
- Total elevation gain: 7,500 feet
- Overall difficulty: moderate to difficult
Difficulty depends on your experience, physical fitness, pack weight, and weather conditions. This is not a technically demanding hike, but there are a few big climbs and descents on this trail. Climbing over Polaris Pass is the most demanding portion of this hike, with the trail on the west side of the pass being mostly scree. Be careful, go slow, and watch your footing.
Solitude
The population is booming in Oregon. Nearby, Boise was the 5th fastest-growing city in the U.S. last year. More people recreating in the wilderness across the country. This has created more pressure and impact on the Wallowa-Whitman National Forest, and especially the Eagle Cap Wilderness. This area is not the hidden gem it used to be. Because the Eagle Cap Wilderness is a popular hiking destination, and the Wallowa River Loop is one of its most popular trails, don’t expect to be alone on this hike. That said, we were surprised by how few hikers we saw on the east side of Polaris Pass. Once we reached Glacier Lake and headed into the Lakes Basin, we started seeing many more travelers.
To avoid the crowds, try to hike this trail mid-week and on the shoulder of the summer rush from mid-July to mid-August.
Route Summary
The Wallowa River Loop can be completed in 4-5 days, depending on your physical fitness level, desired pace, and side trails to summits. Because this hike is a true loop, you can hike it in either direction. Below is a general route summary heading in a clockwise direction. Moving clockwise will result in hiking uphill on most of the scree-filled and exposed sections. This loop is not a singular trail, but rather multiple trails connected. Before you hit the trail, study a detailed map with trail numbers, mileage, and junctions, as the signage can be confusing.
- Begin your hike at the Wallowa Lake Trailhead, near the south end of the lake.
- Follow the East Fork Wallowa Trail until you reach Aneroid Lake. There are some good campsites along the lake.
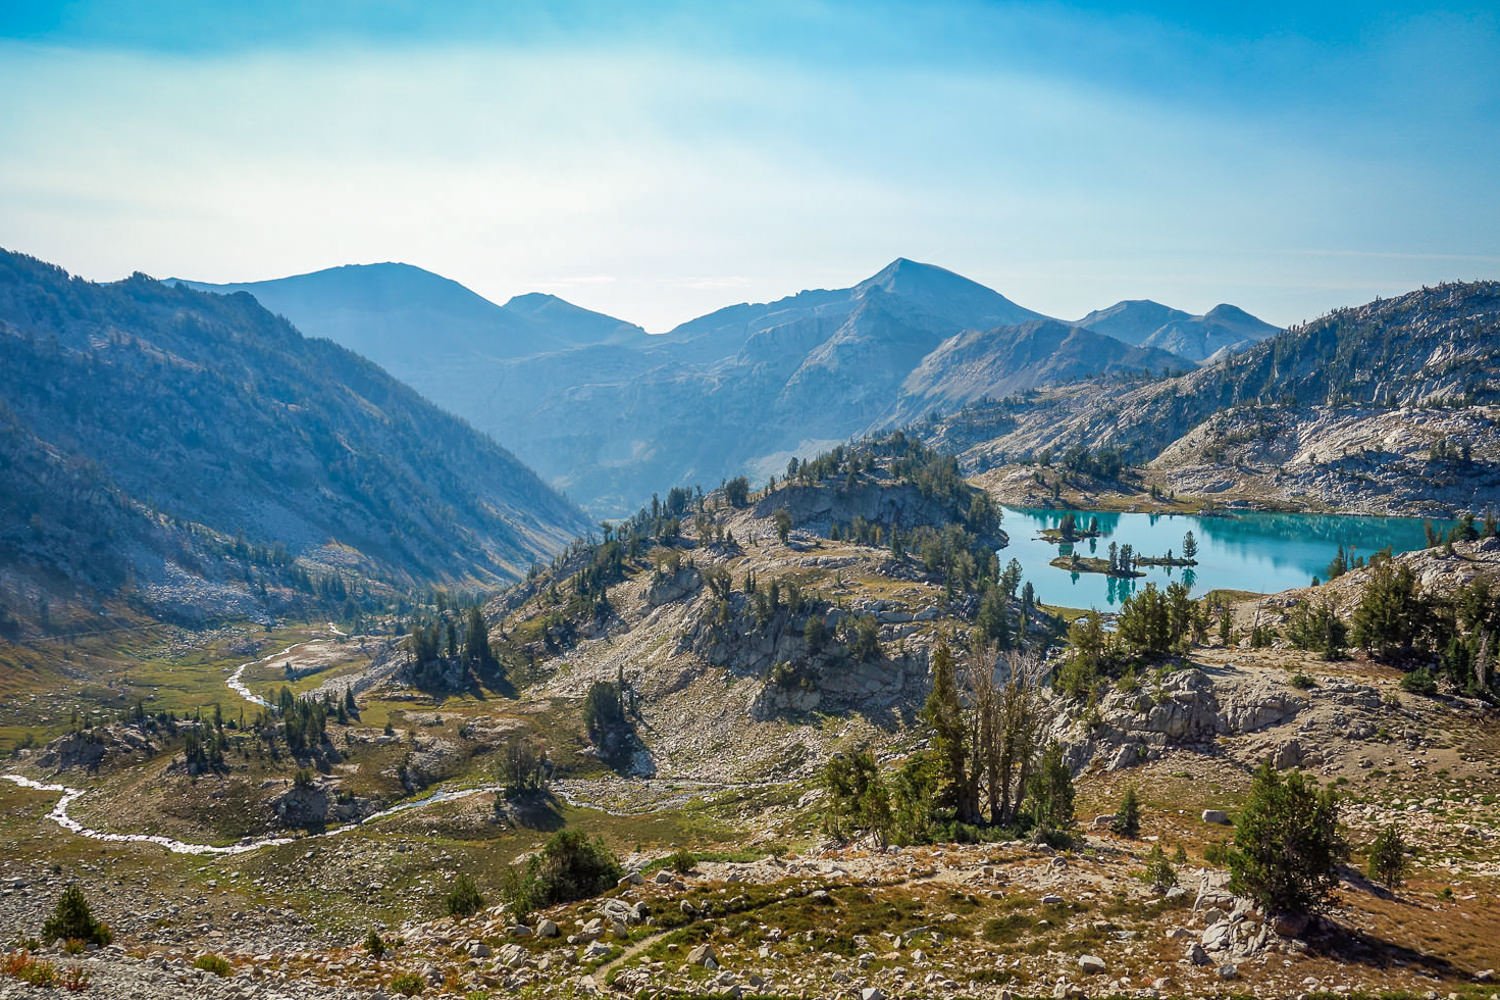
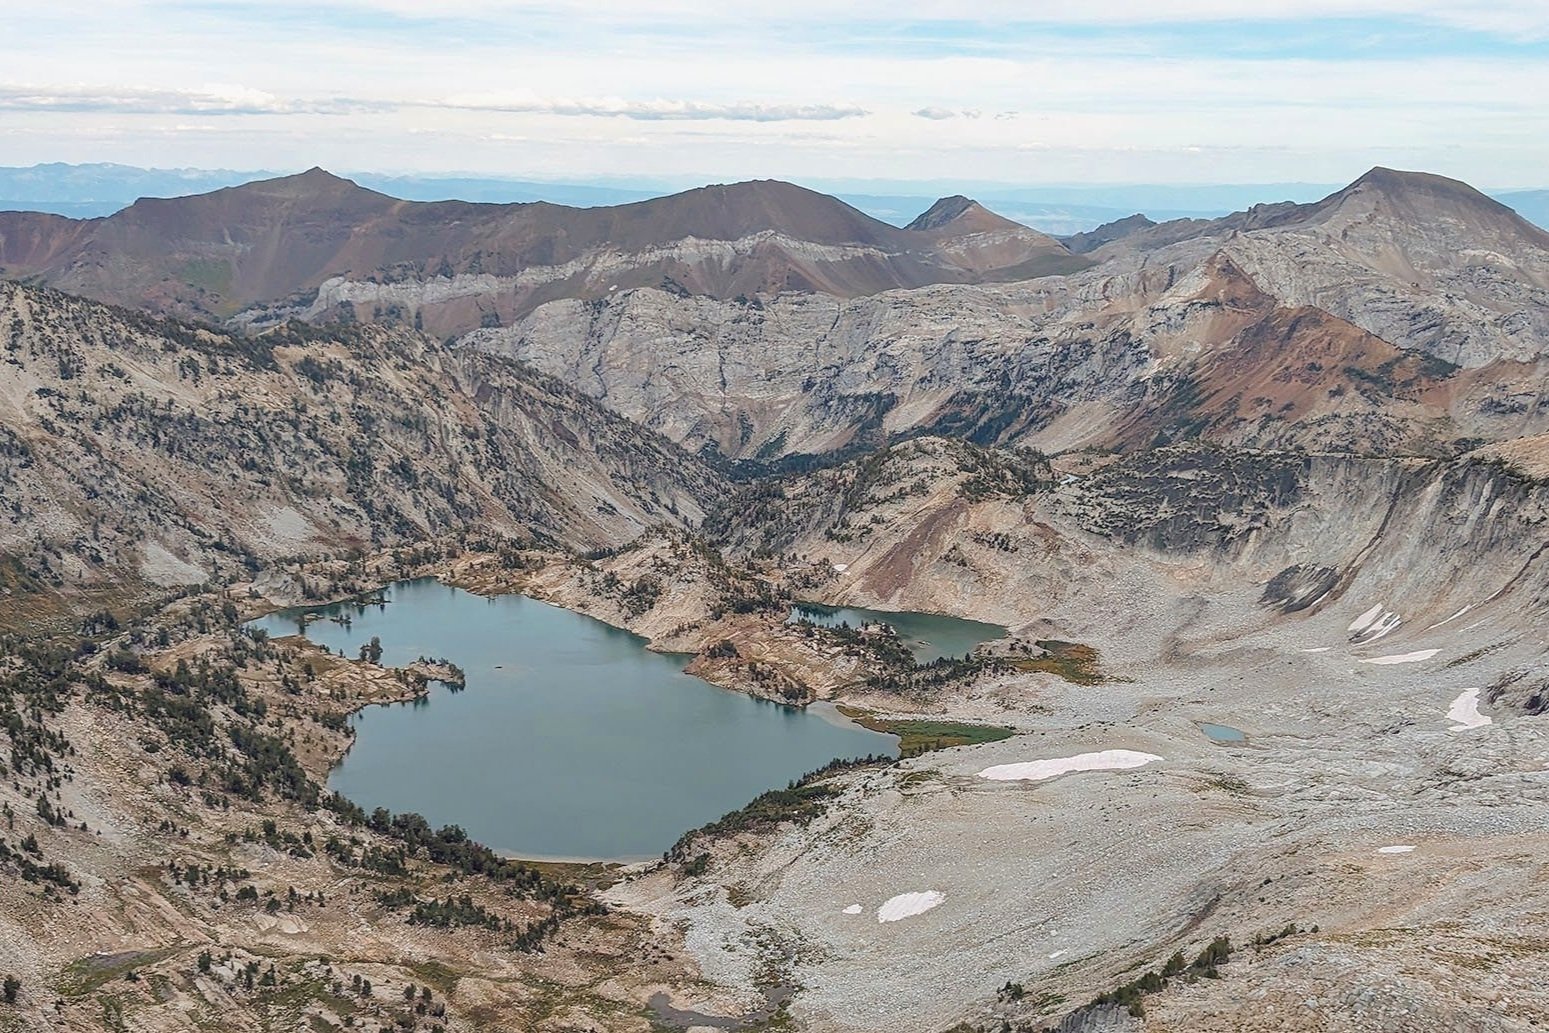
- Continue ascending up and over Tenderfoot Pass and onward to Polaris Pass, following signs for Polaris Trail. Take a moment to enjoy Polaris Pass. It’s arguably one of the best views in the Wallowas. An optional side hike from Polaris Pass is to take the summit trail (0.7 miles, +450 ft) to Sentinel Peak.
- After the pass, descend through a well-graded but long set of switchbacks and follow the trail to Frazier Lake.
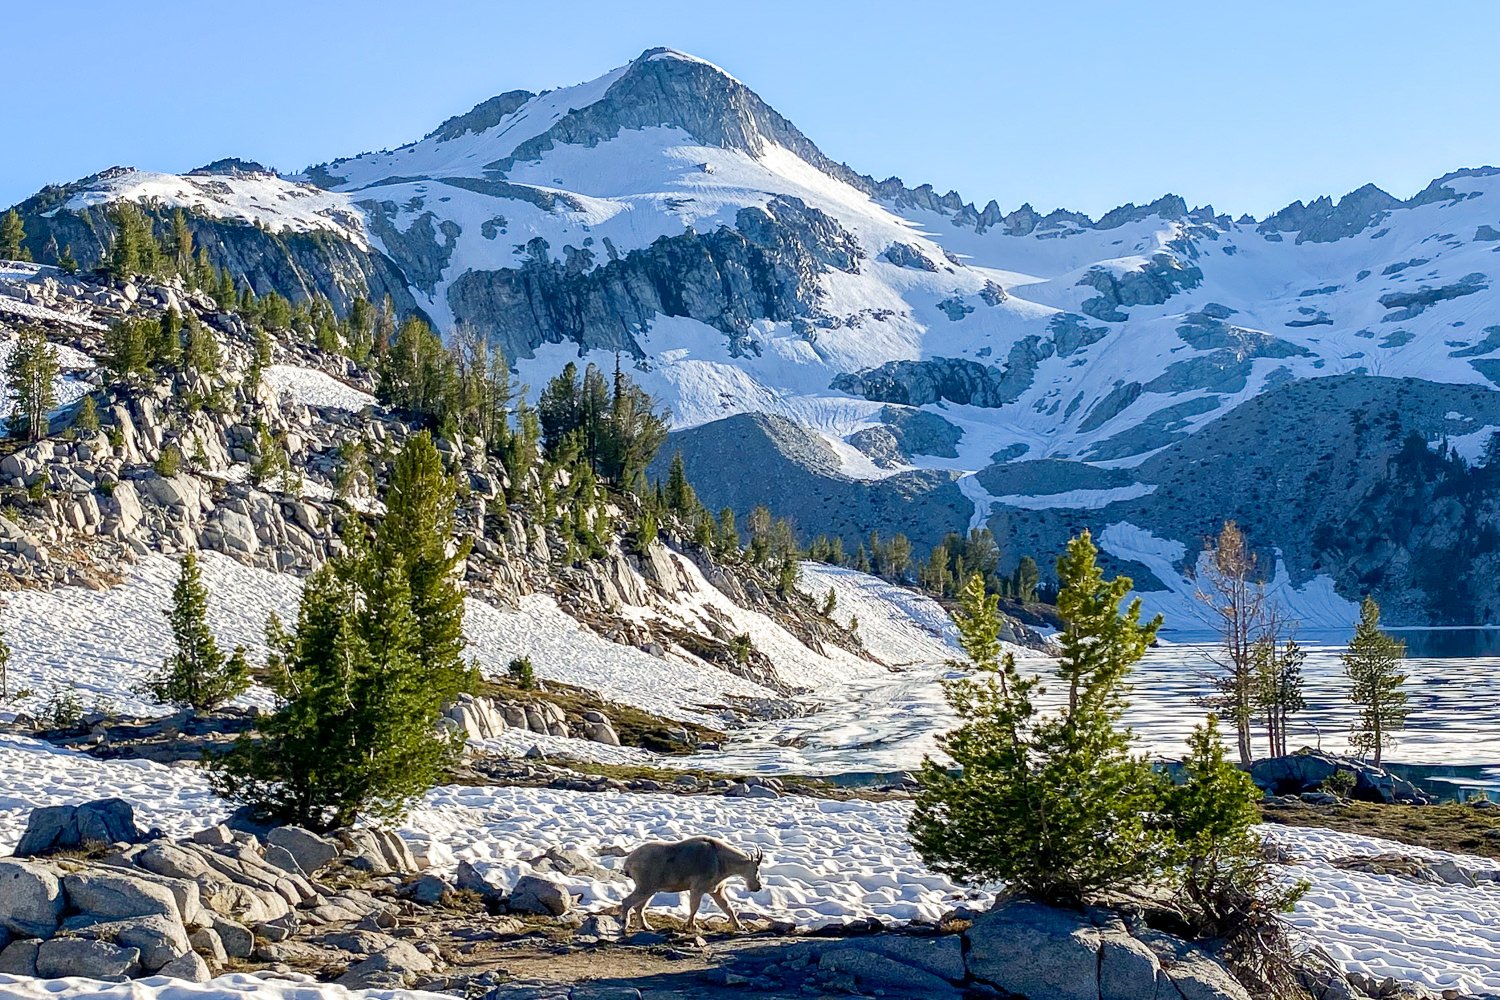
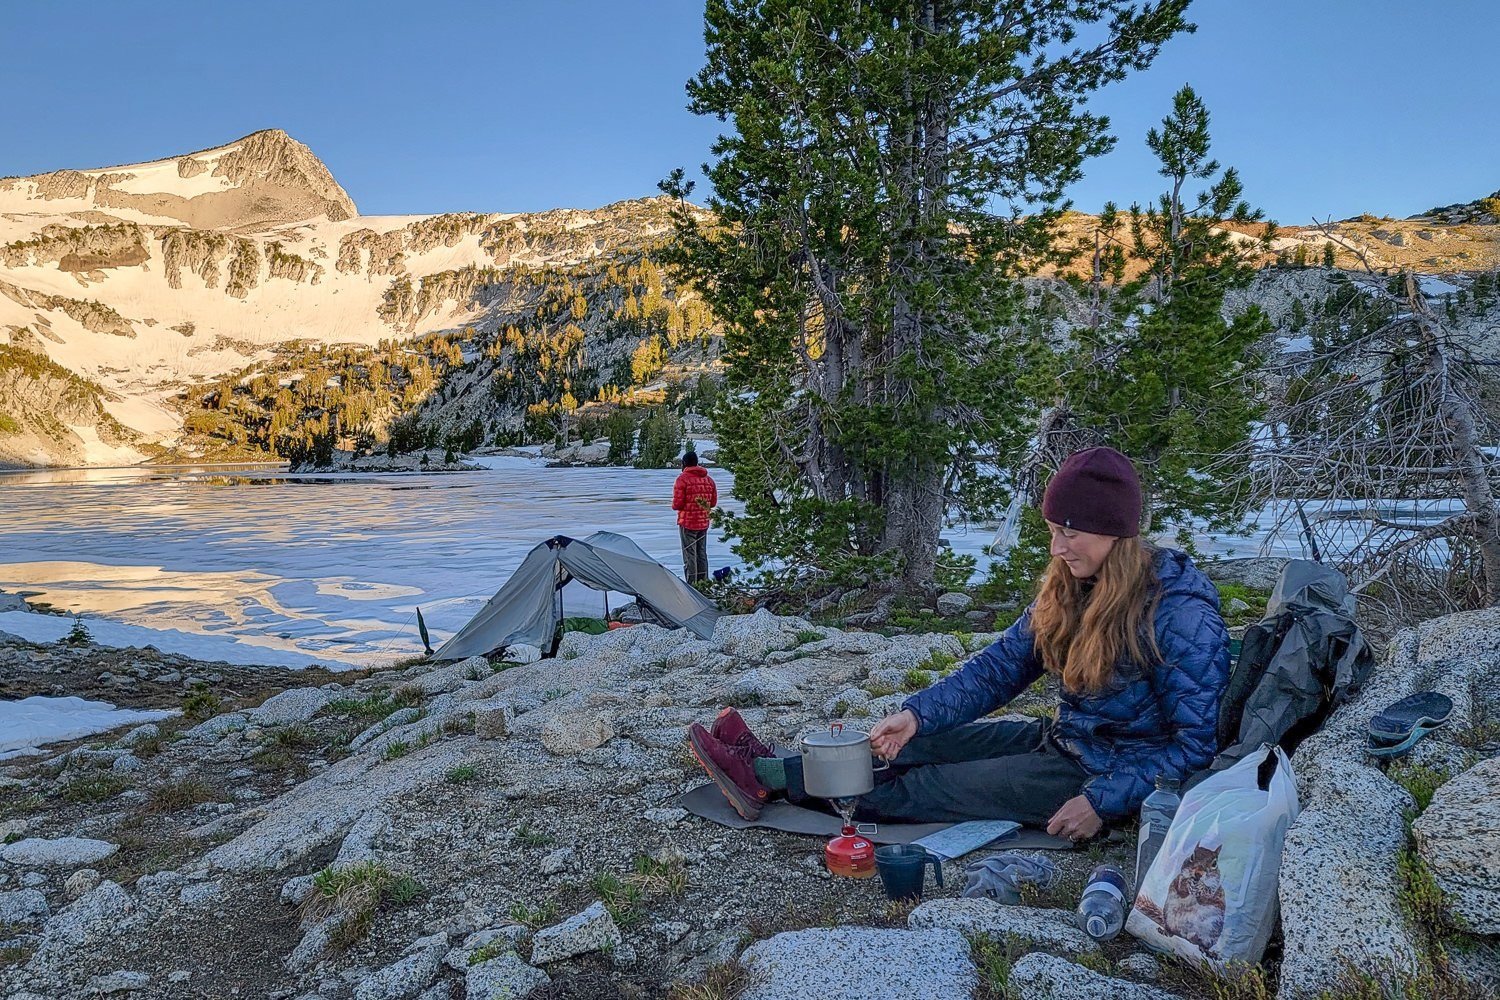
- At Frazier Lake, take the trail towards Glacier Lake following signage for Glacier Pass. There are some nice campsites close to Glacier Lake. Try to get one early because they are in high demand, and get ready to enjoy some stunning sunrises and sunsets.
- After Glacier Pass, you will begin descending into the Lakes Basin Management Area via Glacier Lake Trail. Follow signage for the Mocassin Lake Trail. At Moccasin Lake, you’ll find several popular campsites and epic swimming holes.
- You’ll then meet up with the Lakes Basin Trail, which will wind you through some exquisite, crystal-clear lakes and campsites.
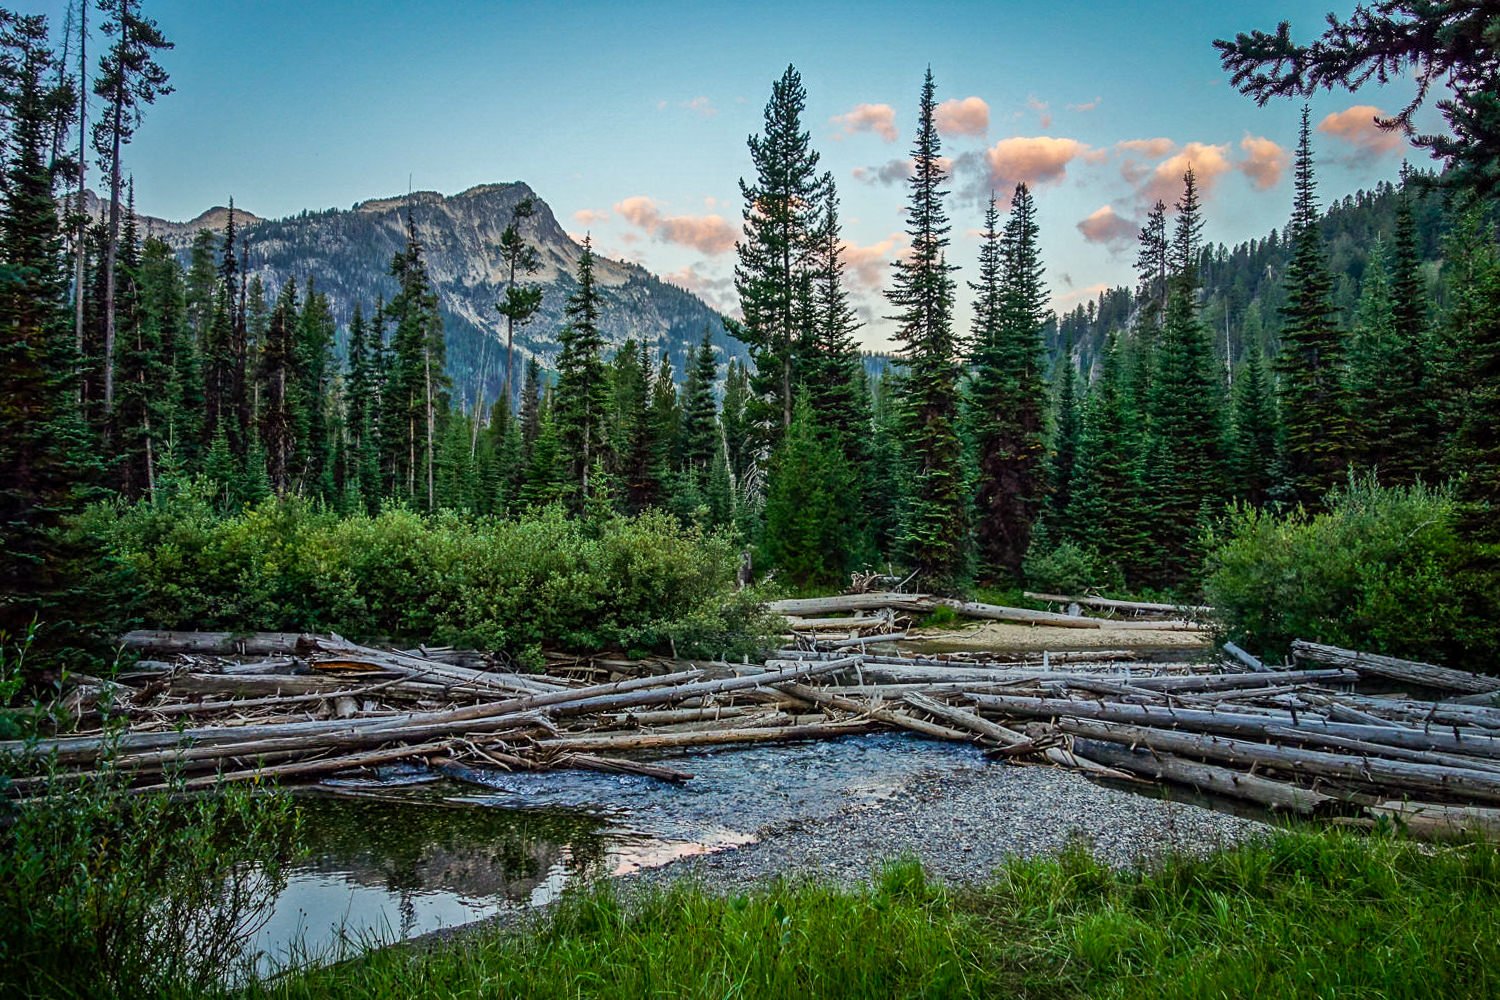
- The Lakes Basin trail eventually meets up with the West Fork Trail, which will lead you through beautiful Six Mile Meadows and back to the Wallowa Lake Trailhead.

Maps & Guidebooks
- You can always start from the computer with Wallowa-Whitman forest service maps.
- Currently, there are only a few map options for this area, and none of them are ideal for backpacking trails and mileage. The Green Trails Wallowas, Imus Geographics, and Wallowa Mountain Hell’s Canyon Trail Association (WMHCTA) maps are all options you can purchase online. The WMHCTA map can also be found in person at the Sports Corral when you get to Joseph. It includes a QR code for a downloadable GPS map. We stopped at the Ranger Station in Joseph to purchase a map before heading to the trailhead.
- Backpacking Oregon – This book is an excellent resource for the Wallowa River Loop and many other backpacking trips around Oregon. I highly recommend this book if you like backpacking around the PNW. It’s got great play-by-play descriptions of this trail and is very useful when planning camping locations and side trips.
- Hiking Oregon’s Eagle Cap Wilderness – A practical, well-organized, and thorough book about the various trails in the area, complete with maps, trail descriptions, elevation profiles, and photos. This book contains information about backpacking trips as well as day hikes.
- AllTrails – On this app, the route we took is called East Fork to Glacier Lake to West Fork Loop. A primary benefit of this app is being able to see recent trip reports and comments from fellow hikers. With a premium subscription, you can download different trail maps and record your hike. Keep in mind that the mileage on the actual trail maps will more accurately reflect the trail length than the AllTrails track.
- CalTopo – With a free account, you can view this loop with a variety of map and layering options and create a PDF. A premium subscription will allow you to download the map, access layers while offline, and utilize GPS tracking.
- Gaia GPS – This link provides you with a connected loop. You can use the free version or purchase a premium subscription. The premium feature of downloading the map for offline use is a feature we heavily use. CleverHiker offers a discount when you sign up for the premium version.
Permits & Regulations
We love this area and want to help preserve its pristine and wild condition. Please review how to leave no trace (LNT) when spending time in the outdoors. We have an LNT for backpackers tutorial that goes in-depth on these basic backcountry principles. For information on how to poop in the woods, we’ve got you covered with our how-to guide.
Permits for the Eagle Cap Wilderness are free and self-issued at trailheads. You might also need a Northwest Forest Pass to park at some of the trailheads.
Below is our summary of the regulations for this area. For the official regulations, please visit the USFS Wallowa-Whitman Recreation page. It’s always good practice to visit the nearest ranger office before heading into the backcountry. The office in Joseph is super helpful and will be able to give you current fire restrictions and trail conditions. They are located at 201 East Second St., or you can reach them at 541-426-5546.
- Leave no trace – If you pack it in, pack it out
- No motorized equipment
- No bicycles
- No groups larger than 12
- No groups larger than 6 if camping in the Lakes Basin area
- No shortcutting trails or switchbacks
- No damaging live vegetation
- No entering restoration areas
- No camping within 100 feet of any lake or posted wetland
- Expect fire bans and be careful parking over grass. No campfires within 1/4 mile (1320 feet) of the following lakes: Bear Lake (Bear Creek Area), Blue Lake, Chimney Lake, Dollar Lake, Eagle Lake, Frazier Lake, Little Frazier Lake, Glacier, Hobo Lake, Ice Lake, Jewett Lake, Laverty Lake, Maxwell Lake, Mirror Lake, Moccasin Lake, Prospect Lake, Steamboat Lake, Sunshine Lake, Swamp Lake, Tombstone Lake, Traverse Lake, and Upper Lake.
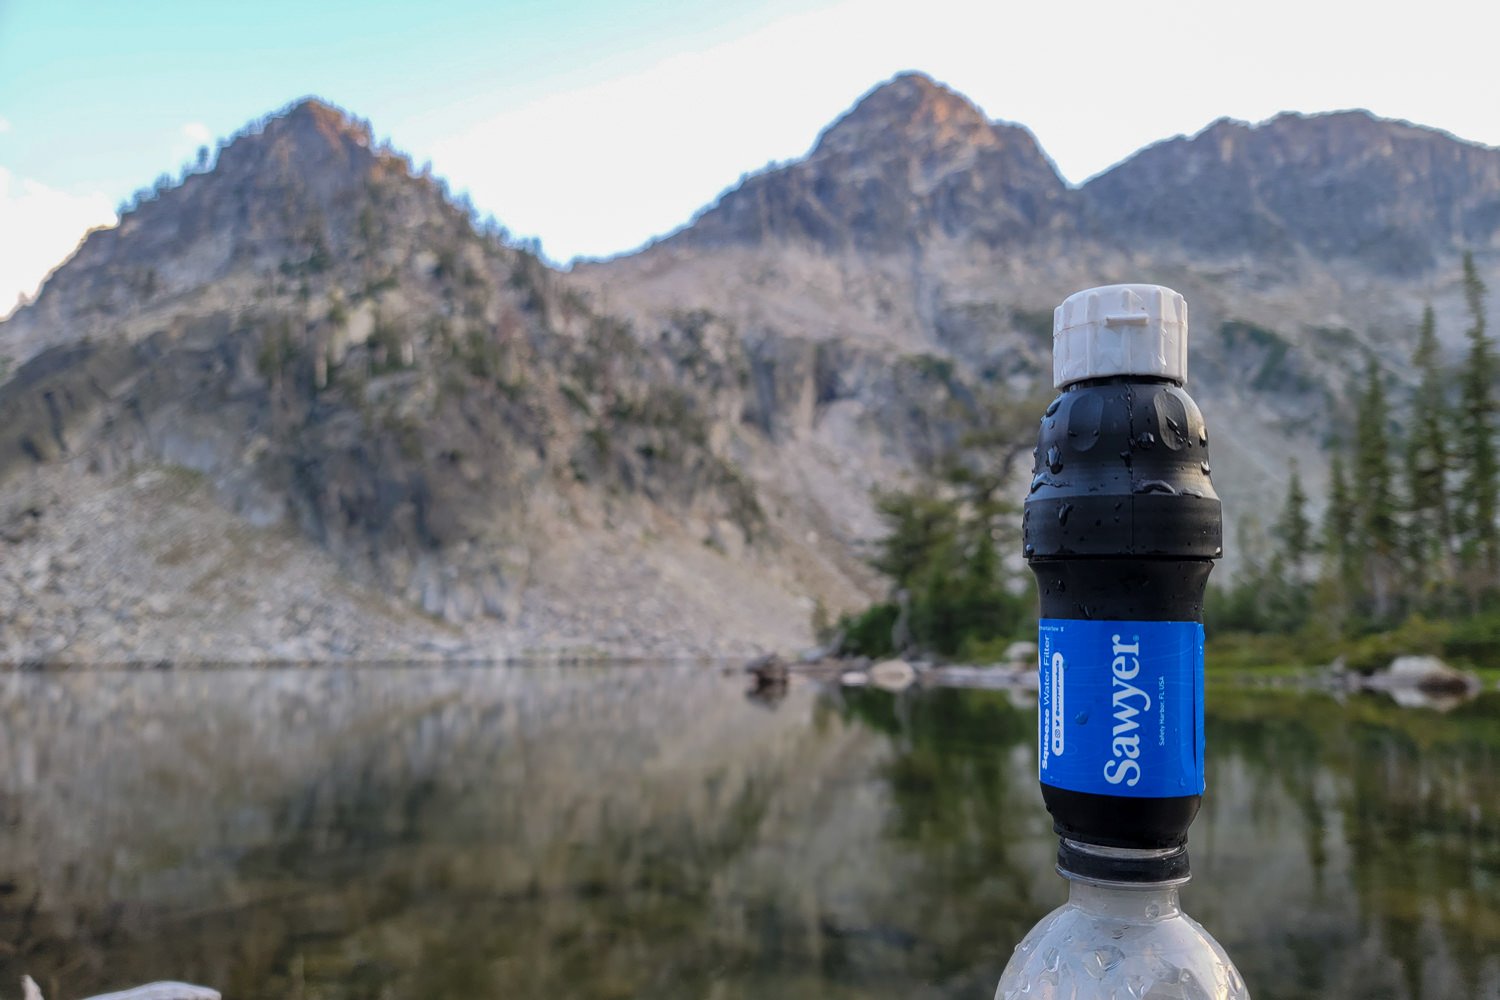
Water
Water is plentiful along this trail and is easily accessible from lakes and streams. Review your route when you leave a water source to ensure you will have enough water to get from one source to the next. Bring a lightweight water purifier. Though the water is often crystal clear through the Wallowas, it is rich with glittery flecks of mica. This mineral is chemically harmless but can cause your filter to clog faster than expected. Make sure you have a backup treatment option like water purifier tablets or know how to clean your filter, depending on your device.
Bears & Food Storage
There are black bears in Wallowa-Whitman National Forest. However, it’s not very common to see them along this route. Even if you don’t see any bears, there will still be plenty of smaller critters that will want to get into your food supply. And they’ll happily chew through your expensive backpacking gear to get after it. For that reason, food protection and storage are very important considerations in this area.
There are no food storage requirements along this trail, but you should always store your food properly in the backcountry. Make sure you know how to hang a bear bag properly or carry a food storage container. Bear canisters and Ursacks are the most effective storage methods and the easiest to use.
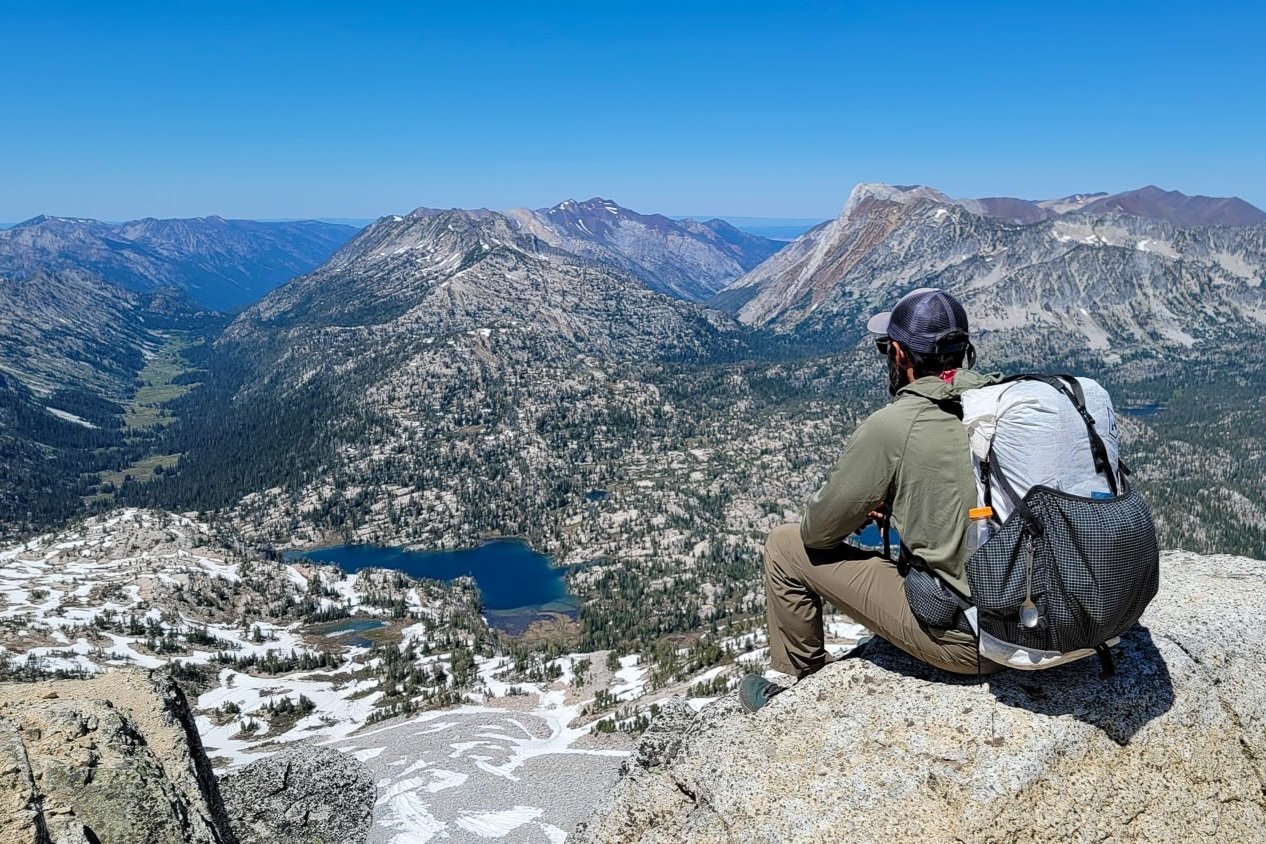
Side Trips
If you have the energy and time, two incredible side trips off the Wallowa River Loop Trail will reward you with panoramic views of the Eagle Cap Wilderness. The Matterhorn and Sacajawea Summits and Eagle Cap Summit trails will not disappoint.
Trailheads
You will begin and end your trip at the Wallowa Lake Trailhead, which is located at the south end of Wallowa Lake. This trailhead is the start for dozens of hikes and horse packing trips, so the parking is limited and frequently full. During busier times of the year, consider downloading the summer shuttle schedule if you cannot park at the trailhead. A more comprehensive guide to the shuttle and where to park is available on signs at the trailhead but not online.
If you’re headed clockwise, you will begin your hike at the East Fork Trail, heading toward Aneroid Lake. If you begin counterclockwise, you will begin your hike on the West Fork Trail, heading toward Six Mile Meadows. This is a true loop, so you can go in either direction. Some argue that hiking clockwise makes climbing Polaris Pass easier, but hiking in either direction is totally doable.
Getting There
Driving Directions: The Wallowa Lake trailhead is 6 hours from Portland and 4 hours from Boise. From Portland, follow Interstate 84 East. Take exit 261 from I-84 E toward La Grande/Elgin. Continue to follow OR-82 East to Power House Rd in Wallowa County. You will arrive at Wallowa Lake Trailhead. If you are traveling from Boise, you will take 84 West to OR-82 East. Be sure to stop in Enterprise and Joseph; not only do the locals appreciate your business but there are also great places to eat and learn about the local history and culture.
Gear List
Make sure to check out our Ultimate Backpacking Checklist, so you don’t forget something important.
Below you’ll find our current favorite backpacking gear. If you want to see additional options, our curated gear guides are the result of many years of extensive research and hands-on testing by our team of outdoor experts.
BACKPACK
- Best Backpacking Pack Overall: Gregory Paragon 58 – Men’s / Gregory Maven 58 – Women’s
- Best Ultralight Backpacking Backpack: Hyperlite Mountain Gear Unbound 40
- More: Check out our best backpacking backpacks guide for ultralight and trekking options
TENT
- Best Backpacking Tent Overall: Big Agnes Copper Spur HV UL2
- Best Ultralight Tent: Zpacks Duplex
- Best Budget Tent: REI Half Dome 2
- Best Tent Stakes Overall: All One Tech Aluminum Stakes
- More: Check out our best backpacking tents guide for more options
SLEEPING BAG/QUILT
- Best Sleeping Bag Overall: Men’s Feathered Friends Swallow YF 20 / Women’s Feathered Friends Egret YF 20
- Best Quilt Overall: Enlightened Equipment Revelation 20
- More: Check out our best backpacking sleeping bags guide and best backpacking quilts guide for more options
SLEEPING PAD
- Best Sleeping Pad Overall: NEMO Tensor All-Season
- Best Foam Sleeping Pad: NEMO Switchback
- More: Check out our best backpacking sleeping pads guide for ultralight and trekking options
CAMP KITCHEN
- Best Backpacking Stove Overall: MSR PocketRocket 2
- Best Backpacking Cookware Overall: TOAKS Titanium 750ml
- Best Backpacking Coffee Overall: Starbucks VIA
- More: Check out our best backpacking stoves guide and best backpacking cookware guide for ultralight and large group options
WATER & FILTRATION
- Best Water Filter Overall: Sawyer Squeeze
- Best Hydration Bladder Overall: Gregory 3D Hydro
- Best Backpacking Water Bottles: Smartwater Bottles
- More: Check out our best backpacking water filters guide and best backpacking water bottles guide for ultralight and large group options
CLOTHING
- Best Hiking Pants Overall: Men’s Outdoor Research Ferrosi / Women’s The North Face Aphrodite 2.0
- Best Hiking Shorts Overall: Men’s Patagonia Quandary / Women’s Outdoor Research Ferrosi
- Best Women’s Hiking Leggings: Fjallraven Abisko Trekking Tights HD
- Best Rain Jacket Overall: Men’s Patagonia Torrentshell 3L / Women’s Patagonia Torrentshell 3L
- Best Rain Pants: Men’s Patagonia Torrentshell 3L / Women’s Patagonia Torrentshell 3L
- Best Down Jacket Overall: Men’s Patagonia Down Sweater Hoodie / Women’s Patagonia Down Sweater Hoodie
- Best Fleece Jacket Overall: Men’s Patagonia Better Sweater / Women’s Patagonia Better Sweater
- Best Sunshirt Overall: Men’s Outdoor Research Echo / Women’s Outdoor Research Echo
- Best Socks Overall: Men’s Darn Tough Light Hiker Micro Crew / Women’s Darn Tough Light Hiker Micro Crew
- Beste Ultralight Liner Glove: Patagonia Capilene Midweight Liner
- More: Check out our best backpacking apparel lists for more options
FOOTWEAR & TRACTION
- Best Hiking Shoes Overall: Men’s HOKA Speedgoat 6 / Women’s HOKA Speedgoat 6
- Best Hiking Boots Overall: Men’s Salomon X Ultra 5 GTX / Women’s Lowa Renegade Evo GTX
- Best Hiking Sandals Overall: Men’s Chaco Z/1 Classic / Women’s Chaco Z/1 Classic
- Best Camp Shoes Overall: Crocs Classic Clogs
- Best Traction Device for Hiking Overall: Kahtoola MICROspikes
- More: Check out our best backpacking footwear lists for more options
NAVIGATION
- Best GPS Watch Overall: Garmin Instinct 2 Solar
- Best Personal Locator Beacon (PLB): Garmin inReach Mini 2
- More: Check out our article How to Use Your Phone as a GPS Device for Backpacking & Hiking to learn more
FOOD
FIRST-AID & TOOLS
- Best First-Aid Kit Overall: Adventure Medical Kits Ultralight/Watertight .7
- Best Pocket Knife Overall: Kershaw Leek
- Best Multitool Overall: Leatherman Wave+
- Best Headlamp Overall: Black Diamond Spot 400-R
- Best Power Bank Overall: Nitecore NB 10000 Gen 3
- More: Check out our best first-aid kit guide, best pocket knife guide, best multitool guide, best backpacking headlamps guide, and best power banks guide for more options
MISCELLANEOUS
- Best Trekking Poles Overall: Black Diamond Pursuit
- Best Backpacking Chair Overall: REI Flexlite Air
- Best Backpacking Stuff Sack Overall: Hyperlite Mountain Gear Drawstring
- More: Check out our best trekking poles guide, best backpacking chairs guide, and best stuff sacks guide for more options
More Information
We hope this guide helps you plan a Wallowa River Loop Trail trip. It’s one of our favorite places to backpack in the Pacific Northwest, so we hope you will enjoy it and help preserve this beautiful wilderness.
Every summer, the forest service partners with the Wallowa Mountains Hells Canyon Trail Association to improve the trail experience for people recreating in the area and to protect this special place. Please consider donating or volunteering for the Wallowa Mountains/Hells Canyon Trail Association.